skyhighZJ
Thanks for your taxes
- Joined
- May 31, 2012
- Location
- Aberdeen, NC.
Those rims look great, Simple but a touch of class!


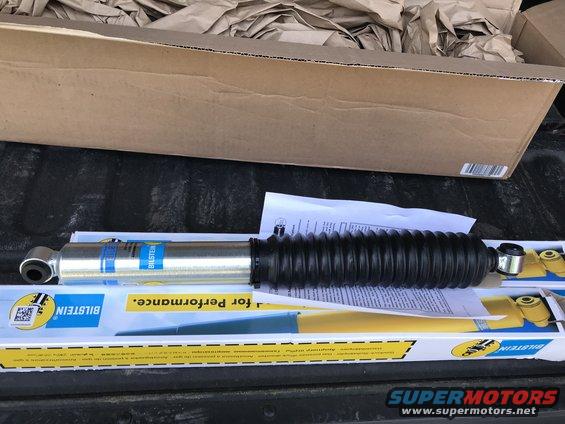
Hmmmmm I spend $140 and am done in 2 minutes.... should I smoke a cigarette.... I'm pretty sure that's illegal most states..... Damn I need I nap!
")


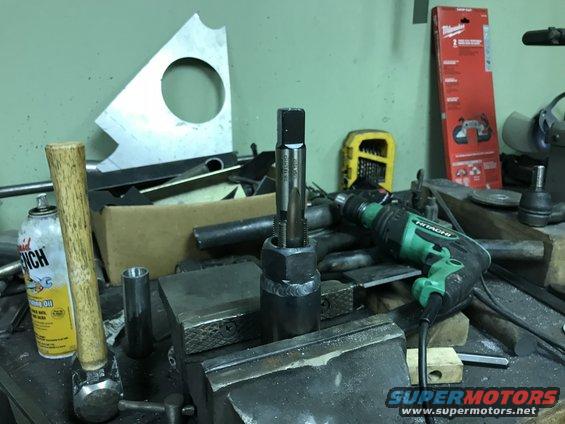
Oh and does anyone have a 14 bolt socket I can borrow???
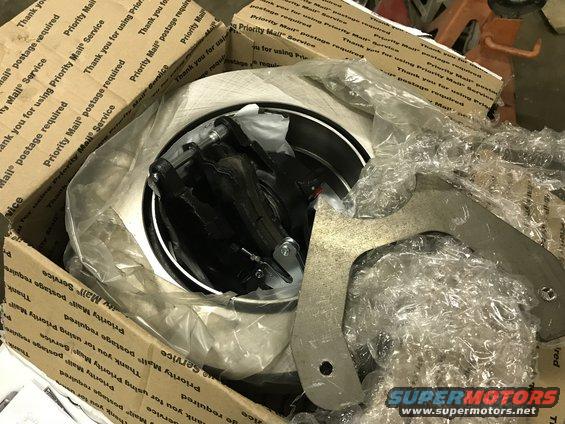
You could have picked up an AAM 10.5 or 11.5 and had disc brakes and a parking brake. Just a thought....
View attachment 269649 Saw this RC Crawler on IG and thought of this build!
View attachment 269649 Saw this RC Crawler on IG and thought of this build!