Now for something really different

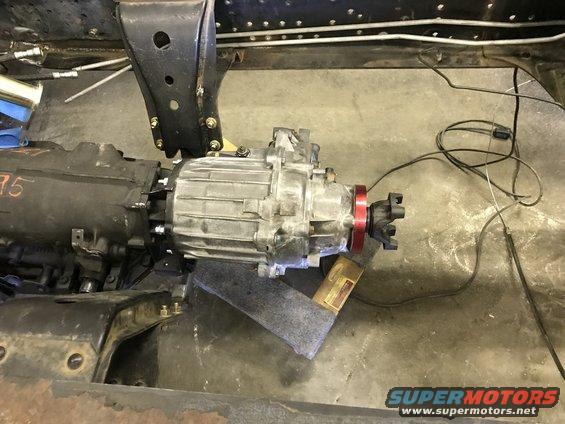
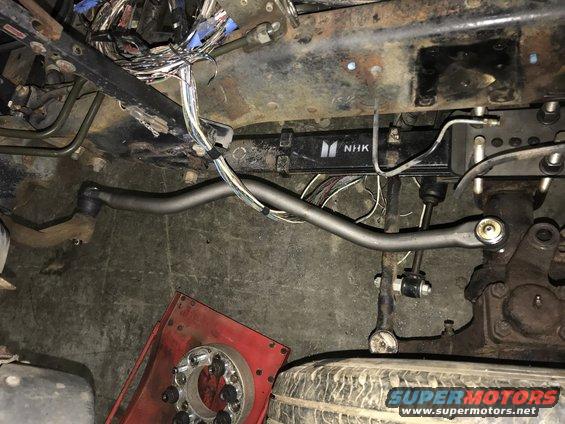
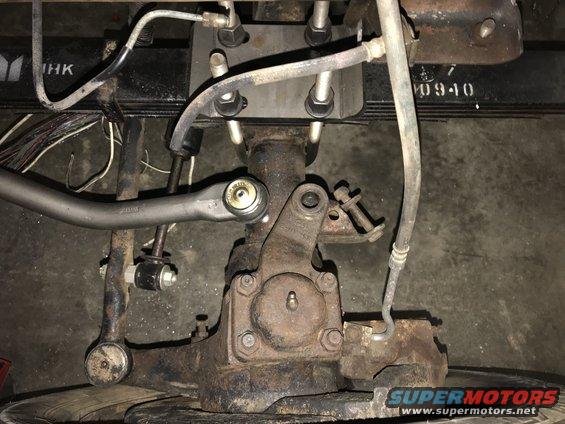
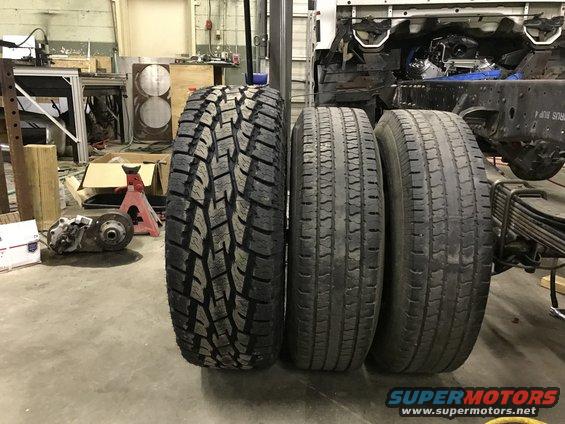
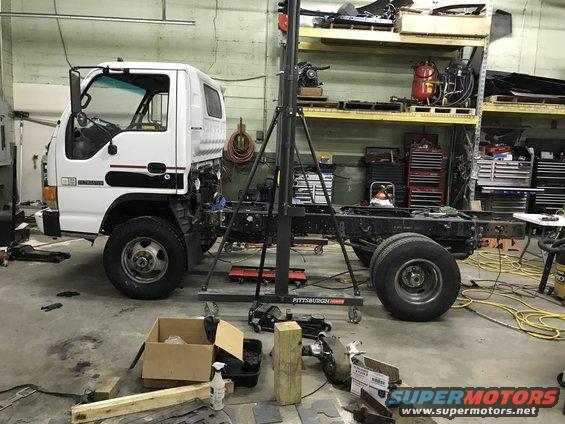
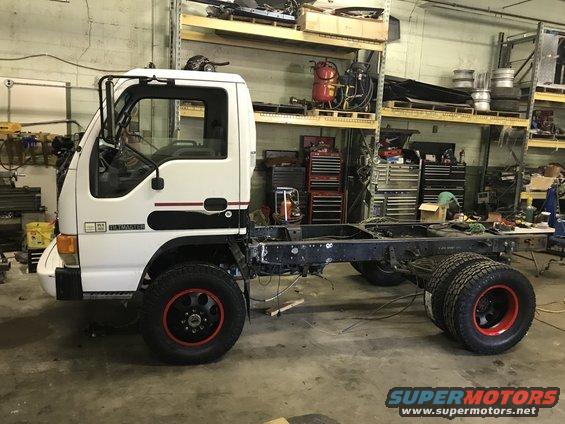
This is super cool. are you reusing the front springs? is there enough room for the pinion etc, or did you have to lift it some? Could you have redrill the perches?

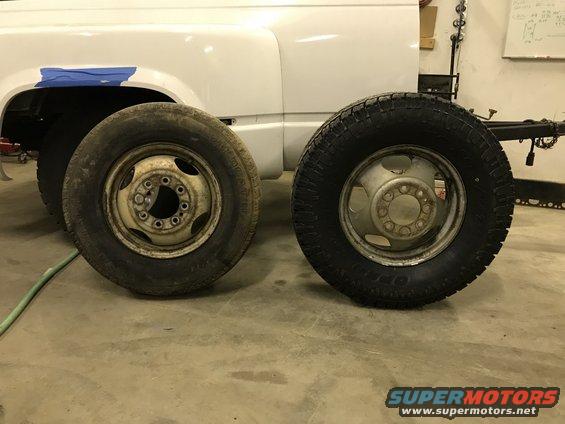
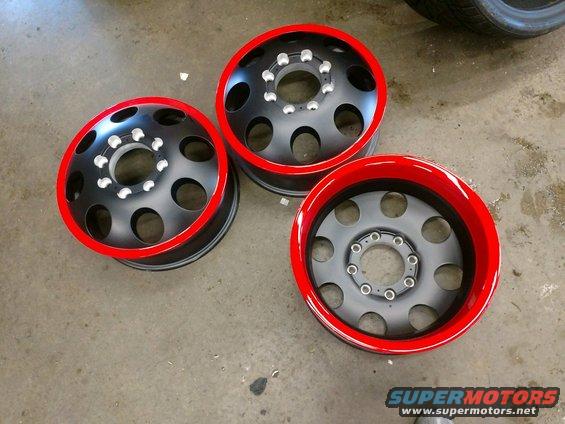
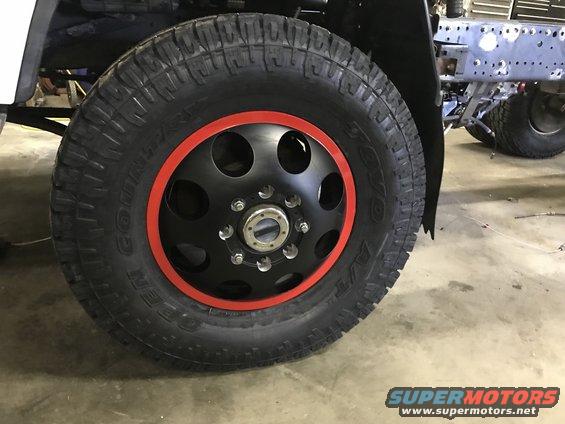
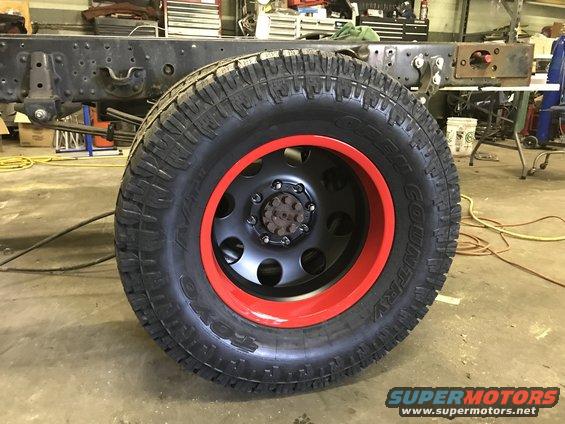
And what the rear axle stock 8 lug or had someone swapped it?
 
I am reusing the stock springs that came on the truck. The pinion ticks in nice next to the engine. I did cheat the axle to the passenger side a tad. Redrilling the perches wasn’t an option as there just wasn’t enough metal there to do it. The previous owner had swapped in a 14 bolt before I got the truck.
 
I finally finished up rebuilding the transfer case! I installed JB Conversions master rebuild kit and SYE kit. The instructions were sketchy as they only covered the SYE install and not the rest of the kit.

Here is everything back in place. Notice the new chain! ooooooo ahhhhhhh......

5dc25714a6d041aba9aed9a16a648937.jpeg


Cases back together and I did make sure the oil pump tube remained connected.

fc824a08e85a462faaa45bc9a8cdbd9c.jpeg


Here is the replacement part to the old slip yoke:

c429c1b9fcf043b6845534f929f64b9b.jpeg


All back together with Advanced Adapter studs installed:

f378689697a24e48a509c855368af5e4.jpeg


Back in the truck! I took a brass wire wheel to the case to purdy it up a bit.

ace0272bd5f14c76b116de801854a2b6.jpeg


Here is the box of old bearings, seals, snap rings, etc...

3b88decdccb24b86881cb55af1c449b1.jpeg
 
Got a little more done on the ol project, waiting on some parts to get here:

Here's kind of a before and after of the hard lines we made for the heater lines:

c20f5a7cfdb74ef4a8a91f202a380900.jpeg


I ordered up a new fuel pump as the old one was very rusty. I didn't get a before shot of the locator ring and hold down ring but let's just say you would have needed a tetanus shot just looking at the picture.

d1359c395e7f4e06978a60f3a28464ba.jpeg


The old crusty fuel pump:

40e299525e414ddca0a0c2b55114f66b.jpeg


New and improved!

bae700fabe1143a9a012f2506dcb785f.jpeg


The inside of the tank was very clean:

80df847f50274f1380d48f5230749ff8.jpeg


All done!

5a7a056d78d645dbbd9f8e50f158cafc.jpeg
 
One thing that always bugs me is when you see a cool build like a 6x6 jeep, truck, whatever, and they don't give any details on how they did the conversion. When Ian built the crawler hauler on XOR he didn't give any real details on how he worked out the suspension. Well here is how I am building the steering for my truck.

Here is the stock steering rod which is too short for what I need. The NPR steering is the push/pull design. This will work out well with the Chevy axle as it works the same way.

b36284760f1641919897f6be2d24c146.jpeg


Here you can see how much longer it needs to be:

762fd348d443442bb436c8d5ddeb0edf.jpeg


The stock rod is about 1.25" OD. My plan is to make a sleeve, or sleeves in this case, and use a 1 ton tie rod end to make the rod the correct length and adjustable. A quick call to East Coast Gear netted me the weld in tie rod bung. The various tube you see here will be used to make the sleeve. Once this is done I'll have a working steering system, in theory...... I hope......

f1d28a4bcf4e454bb32f8e25e060ae8a.jpeg
 
“Devil’s in the details”, I for one, appreciate your in depth write up. Keep it coming! Nice work!
 
I'm ready to see you wiring up a line lock and then doing some big, white, smokey burnouts!

Also, not sure what you plan to use for a muffler, but the DynoMax Ultra-Flo Welded mufflers sound great and flow damn good. They make a dual in/dual out that would probably suit your needs.
 
Last edited:
I got the steering link put together tonight. It is mocked together until I can get "that guy" to put a purdy TIG weld on it for me. :D

Here is the bun welded into the inner sleeve. Will turned the lower part of the bung down so it would slip into the outer sleeve some.

9dae5e5089b0452a9dee2d675467c2bf.jpeg


New 1 ton tie rod end.

a9f7eec1301940f5adc9e59f1849c12d.jpeg


Here we are figuring out where to cut the steering link, inner sleeve, and outer sleeve.

2a3adc1fcb8b44fc95a5e7195ec61c4a.jpeg


5d9d0e33a0734482b6367c3f14e88d74.jpeg


Test fitting the sleeves together.

611ff8a26b164d9eaa87b4f13075a444.jpeg


db9e37d63d644881a4956854cb6cd571.jpeg


Final product seems to work like a charm. Just need some finish welding and some paint!

0e251999cd094c02891d74f05cada5c4.jpeg
 
So I've kind of been suffering from a case of builder block the last week or so. Kind of at that point where there is lots to do but I just cant seem to get going. I decided the cure to my problem was to get the tire and wheel package that I am going to run. THis would allow me to set the pinion angle on the rear, setup the shocks, get drive shafts made, install the rear disc brake setup that I will be getting from Lugnut4x4, rebuilt the front axle, the list goes on. The tire size I decided on was 285/70-17 which puts me at about 33". The biggest concern on the tire size is the clearance on the front end. Not a lot of room to play with up there but as you will see 33s work out very nice.

Original front tire

3bf853fb162b4b3f911431d350541e5f.jpeg


Old front tire next to the new

bcd1fd80d54848f085f8bbedb2a3b772.jpeg
[/IMG]

a44ff47dbf3e4532a26087f316cc4773.jpeg


The 33" size fills the wheel well up nice and there appears to be just enough clearance around the splash guards

9564dabf4c1240c5ae670f5d42147d17.jpeg


3bac93a5f43e4d6495ae8fd2b4a1eca9.jpeg


a79b81c818474a2cb2914b8a6cc93eaf.jpeg


It appears that I may not need to make any adjustments to my rear suspension. I was concerned that once we got the tires on the front would be higher (oh hell no squat for me!) and I would need to either build some new shackles or get some blocks. As it turns out with the bigger tires up front the frame is perfectly level. Once I get the taller tires on the rear it just may have the stance I am looking for.

4311d5e62b764dfa91f0b38a8f7ecdf6.jpeg


294502d8c86249dcbaa82301399c45b0.jpeg
 
You obviously need some big ol' 16x14 rims for the rear with slicks on them for when you're feeling all Ricky Bobby!

I'm real ready to see this thing driving!
 
Yes the Chevy dually bed will be replaced by a 2018 Dodge dually bed. Will be picking it up this week. I then need to find some cab and bed parts to build my custom tool box. Hope my new rims will be ready next week so I can set the final stance.
 
This thing is gonna look sick! I can’t wait to see the finished product. Top marks for originality!
 
I had considered the flat bed route but really wanted the functionality of the pickup bed. It will have the 5th wheel setup in the bed and bumper pull of course. That plus I the the dually bed look is going to be cool!
 
Another missing piece showed up today! After we welded up the sleeves for the tie rod I couldn't get the tie rod to thread back in. So had to find a 7/8-18 LH tap to fix the issue. No problem right??? Wrong!! I only found one place in the US that handled them, Parts Mike, and it was a mere 140.00 shipped. Could have ordered from Japan but the estimated delivery time was between late April and sometime in June. I believe saw another thread where someone was looking for one. Well here is what the sucker looks like, at least it's nice and shiny.

7d9d645bb51b44f0b242b7ca70fd1984.jpeg
 
You could have probably found a bolt an cut some grooves in it to clean out the threads. Just a thought.
 
Time for some bling! I ordered some rims last week. I went with a new rim by American Racing

b30c92842afc4437a69584eea05c7d29.jpeg


70bd6209e31e48d88b8e4bed655e4824.jpeg


Then had some custom painting done to them

9d3dfd3dc9644f2e92caab47785c3a11.jpeg


4a971414cde54f00a7399b951e1c337c.jpeg


27465592c3ad4e848b8f549c0a972344.jpeg


I was after an old school hot rod look.... I think I may have pulled it off

f73895db8f9c43f1a5b58da0bed01d91.jpeg


I decided to take a picture next to the truck for scale. I am 6'2" and it is way over my head.

066b32c4673a460a8bb64573b9fe449a.jpeg
 
Back
Top