Land Rover Series 1

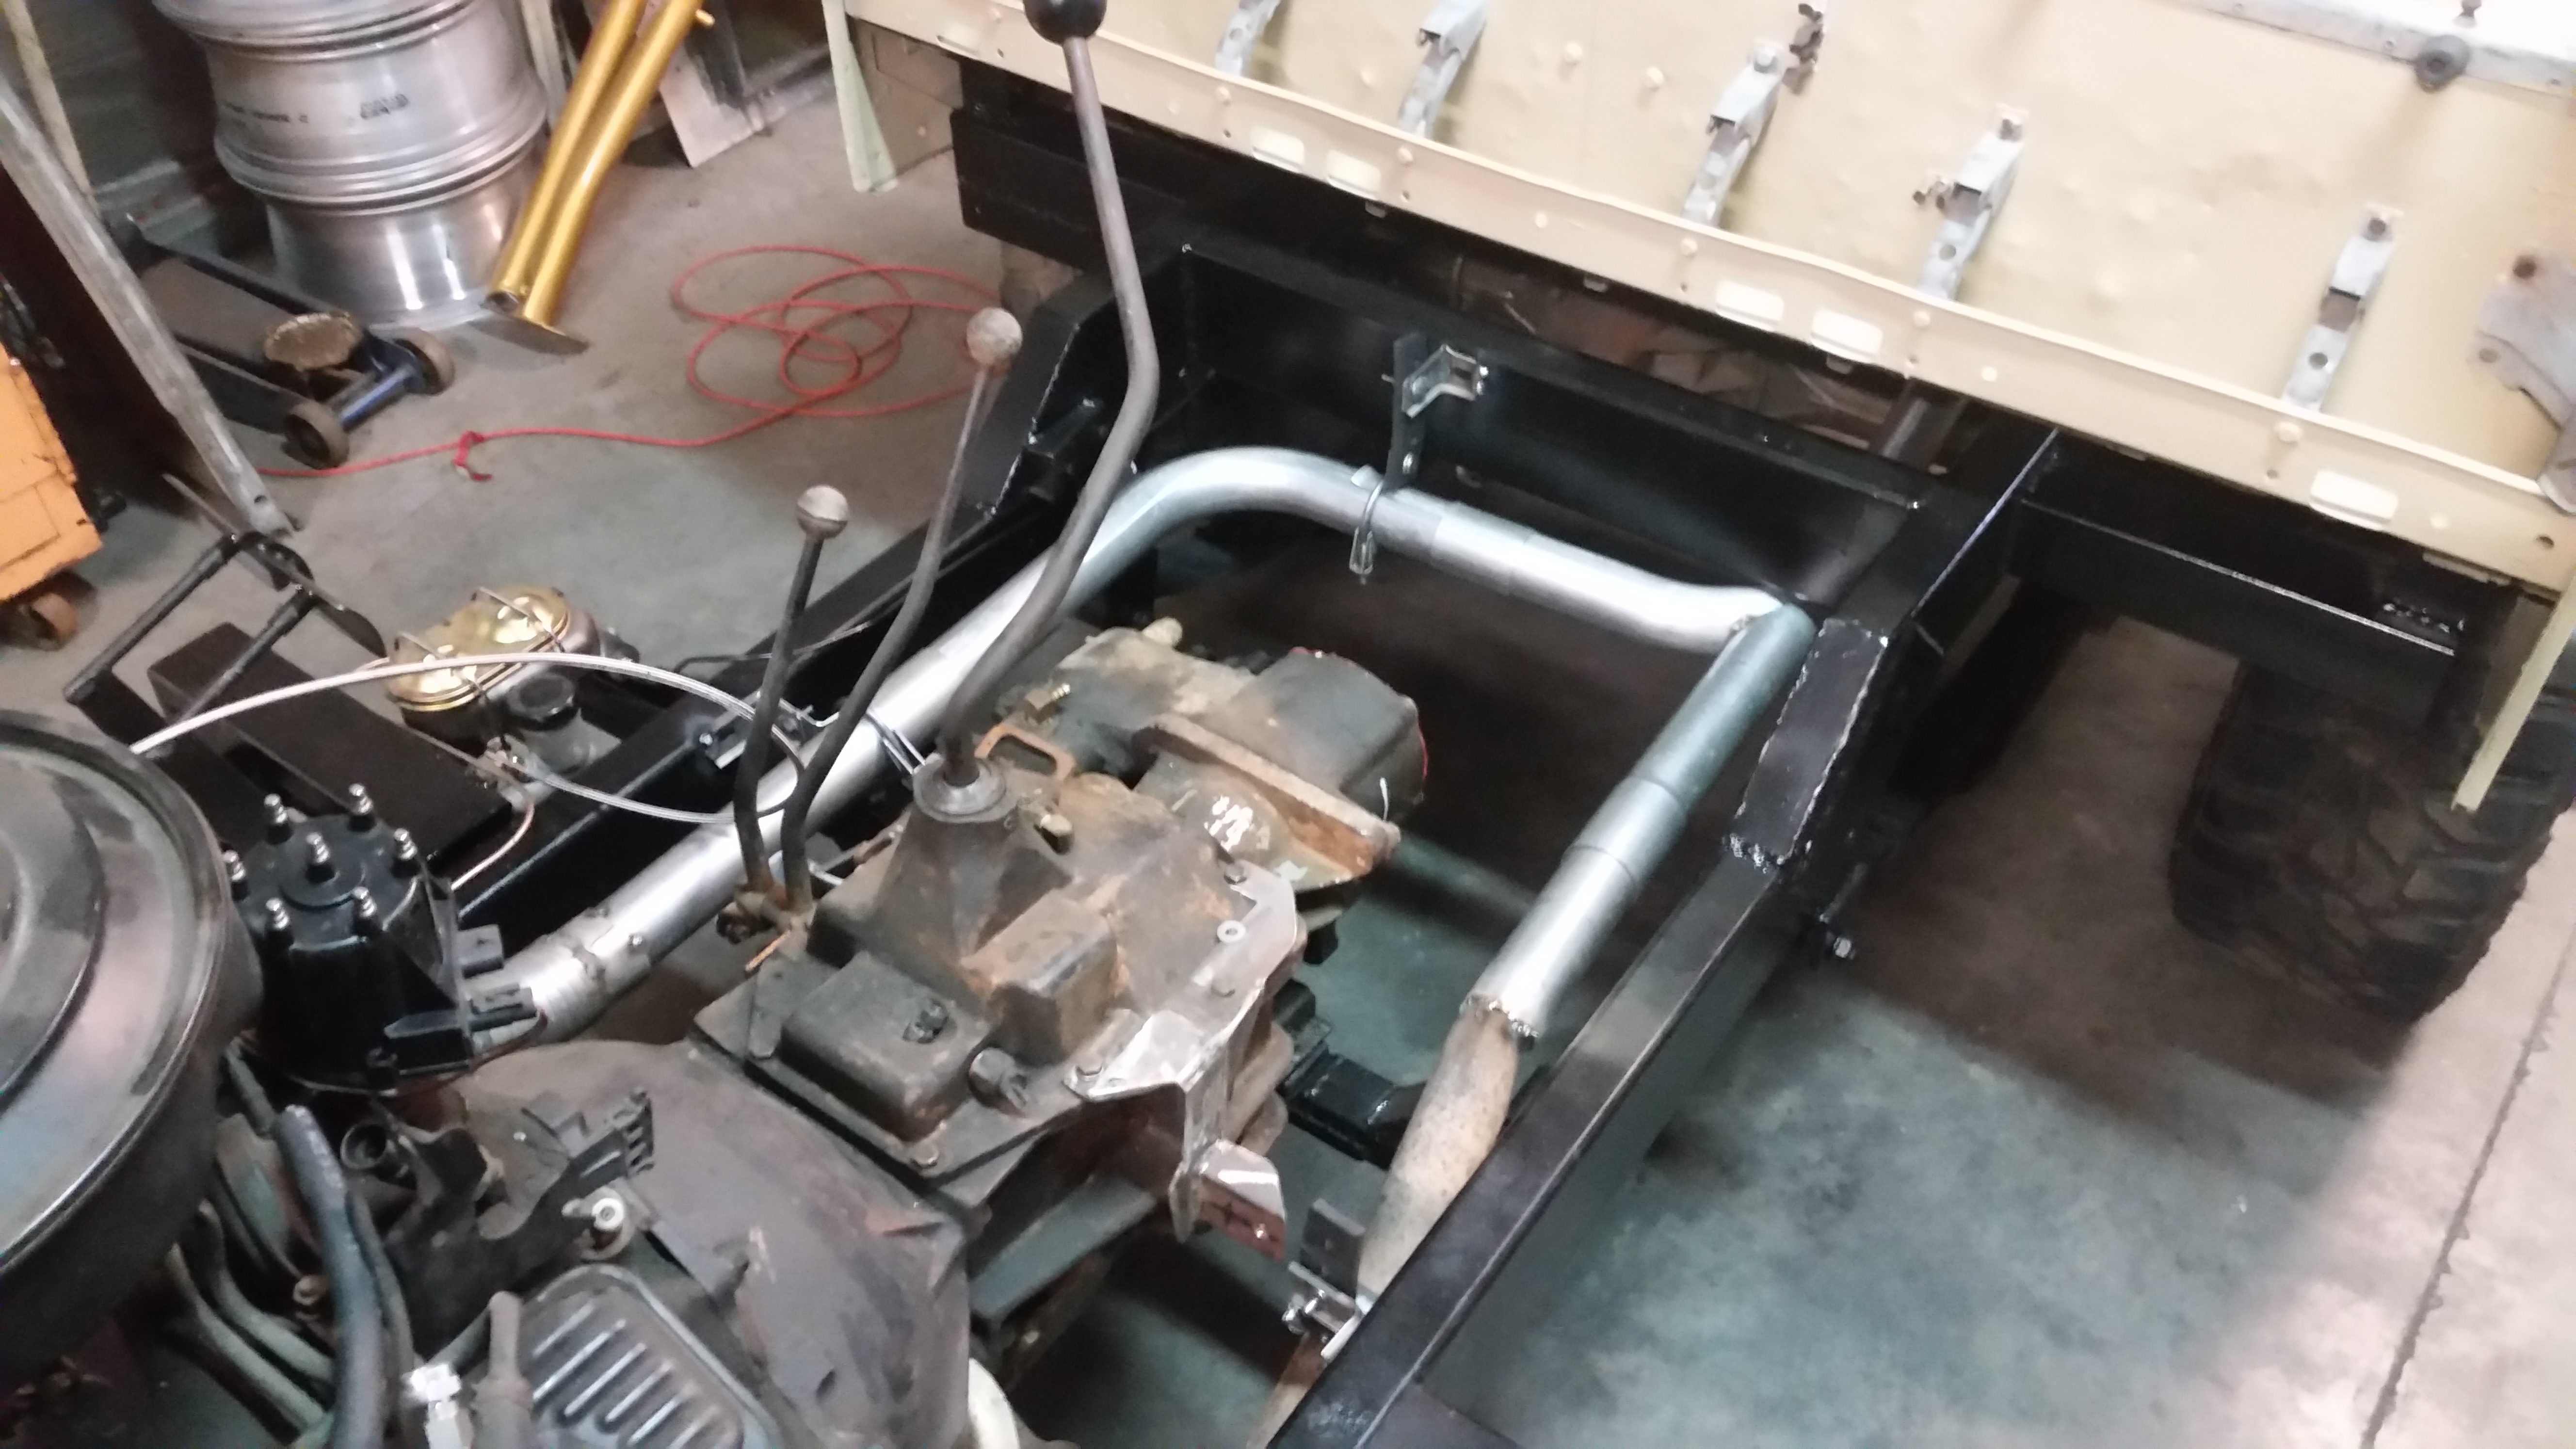
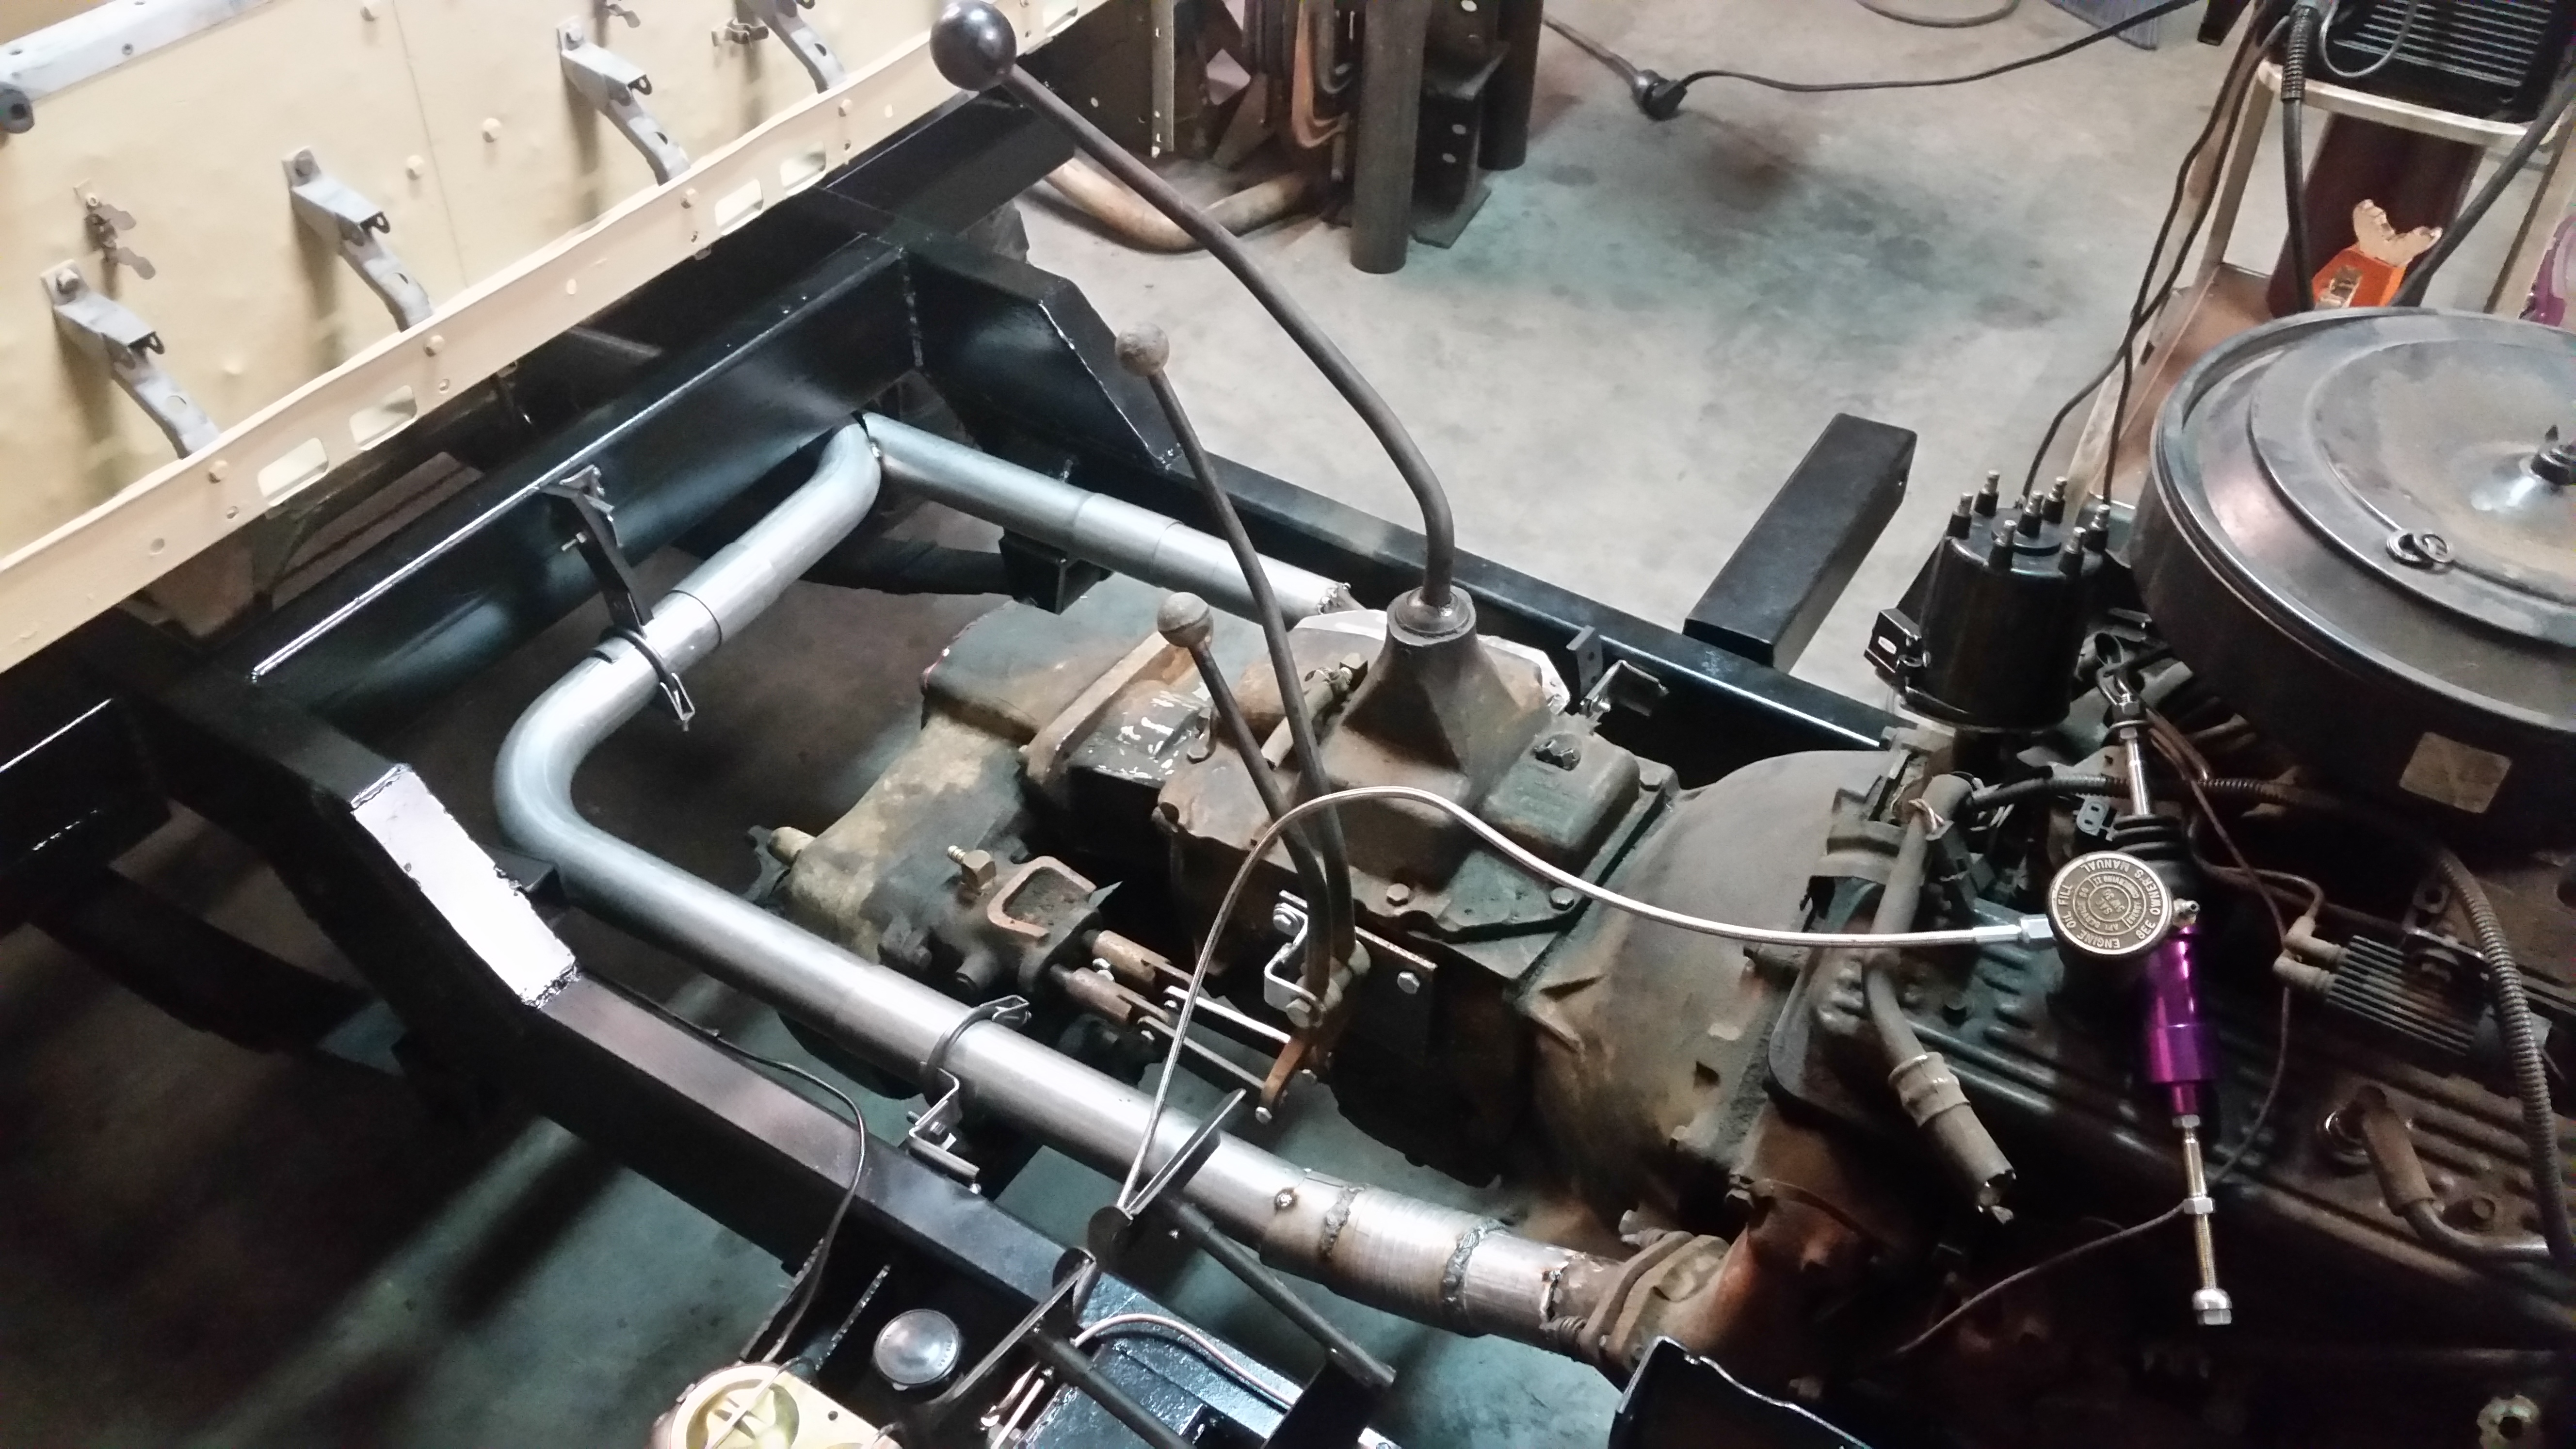
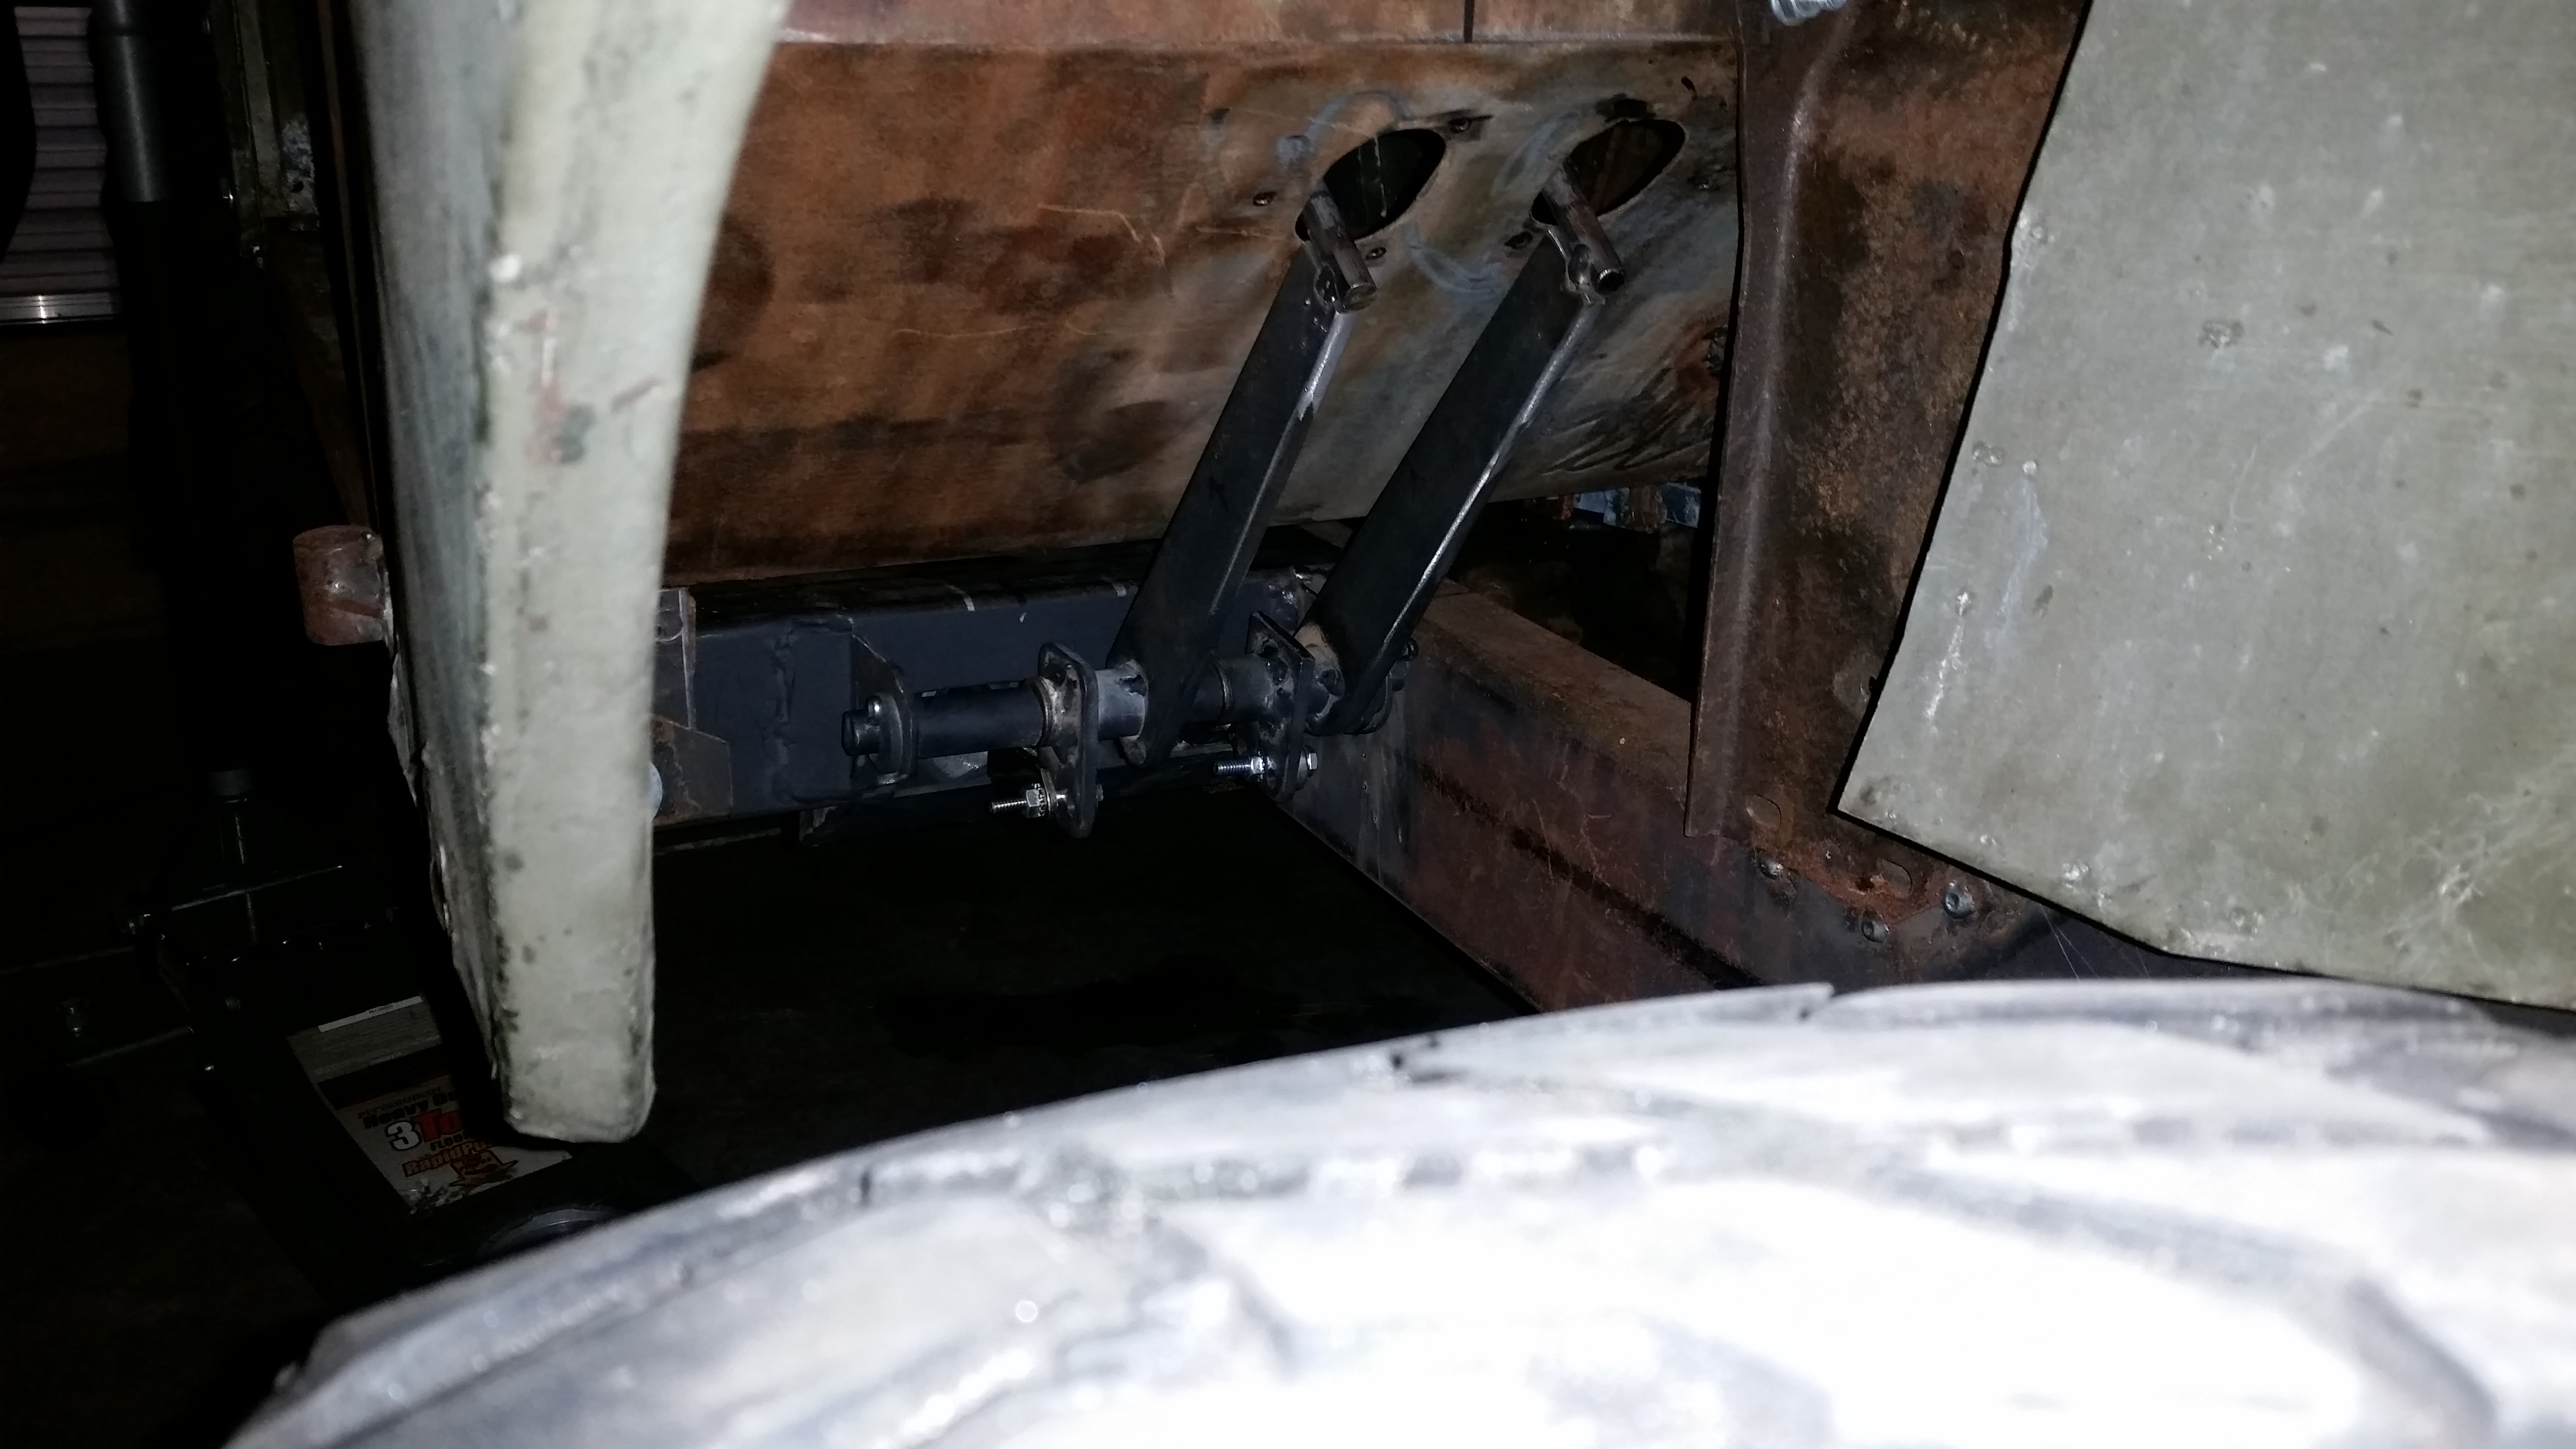
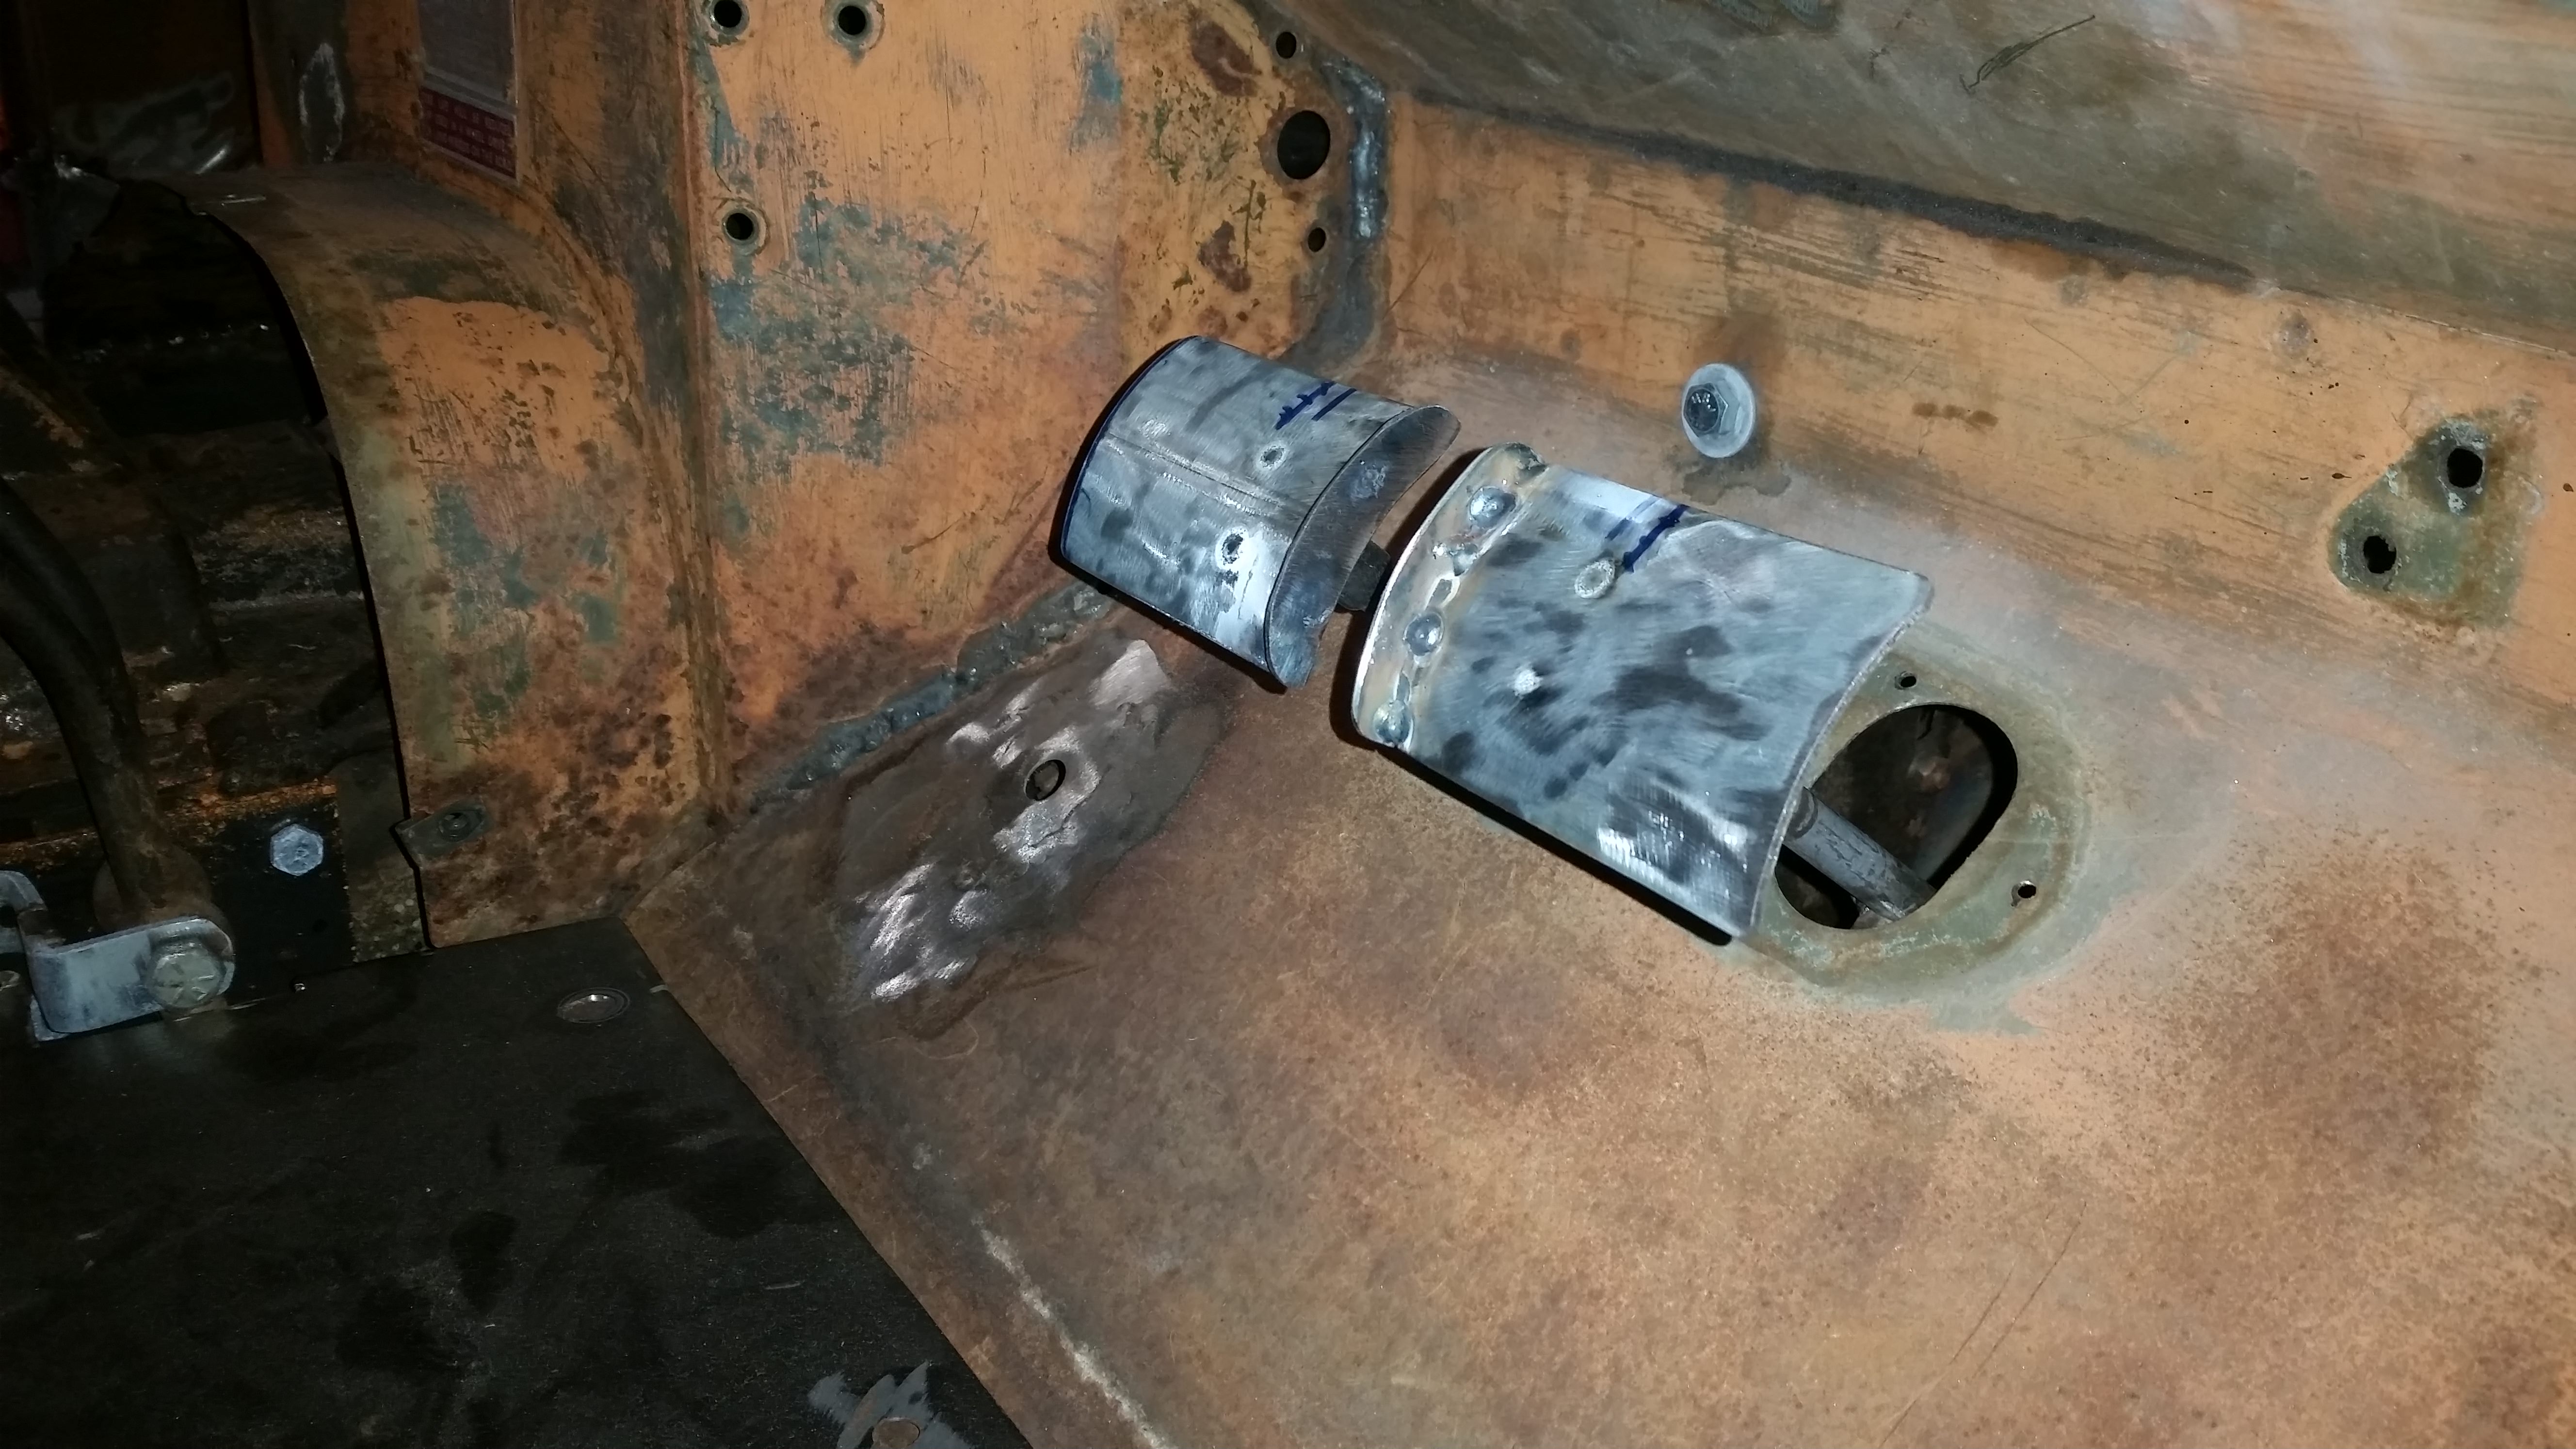
So almost got the last big part of the build done. The Rover originally had through the floor pedals, but they were rotted pretty good, I tossed them and was going to make pedals to come from above the footwell. Well i was not happy with the way it would look so I ended up making my own through the floor pedals.

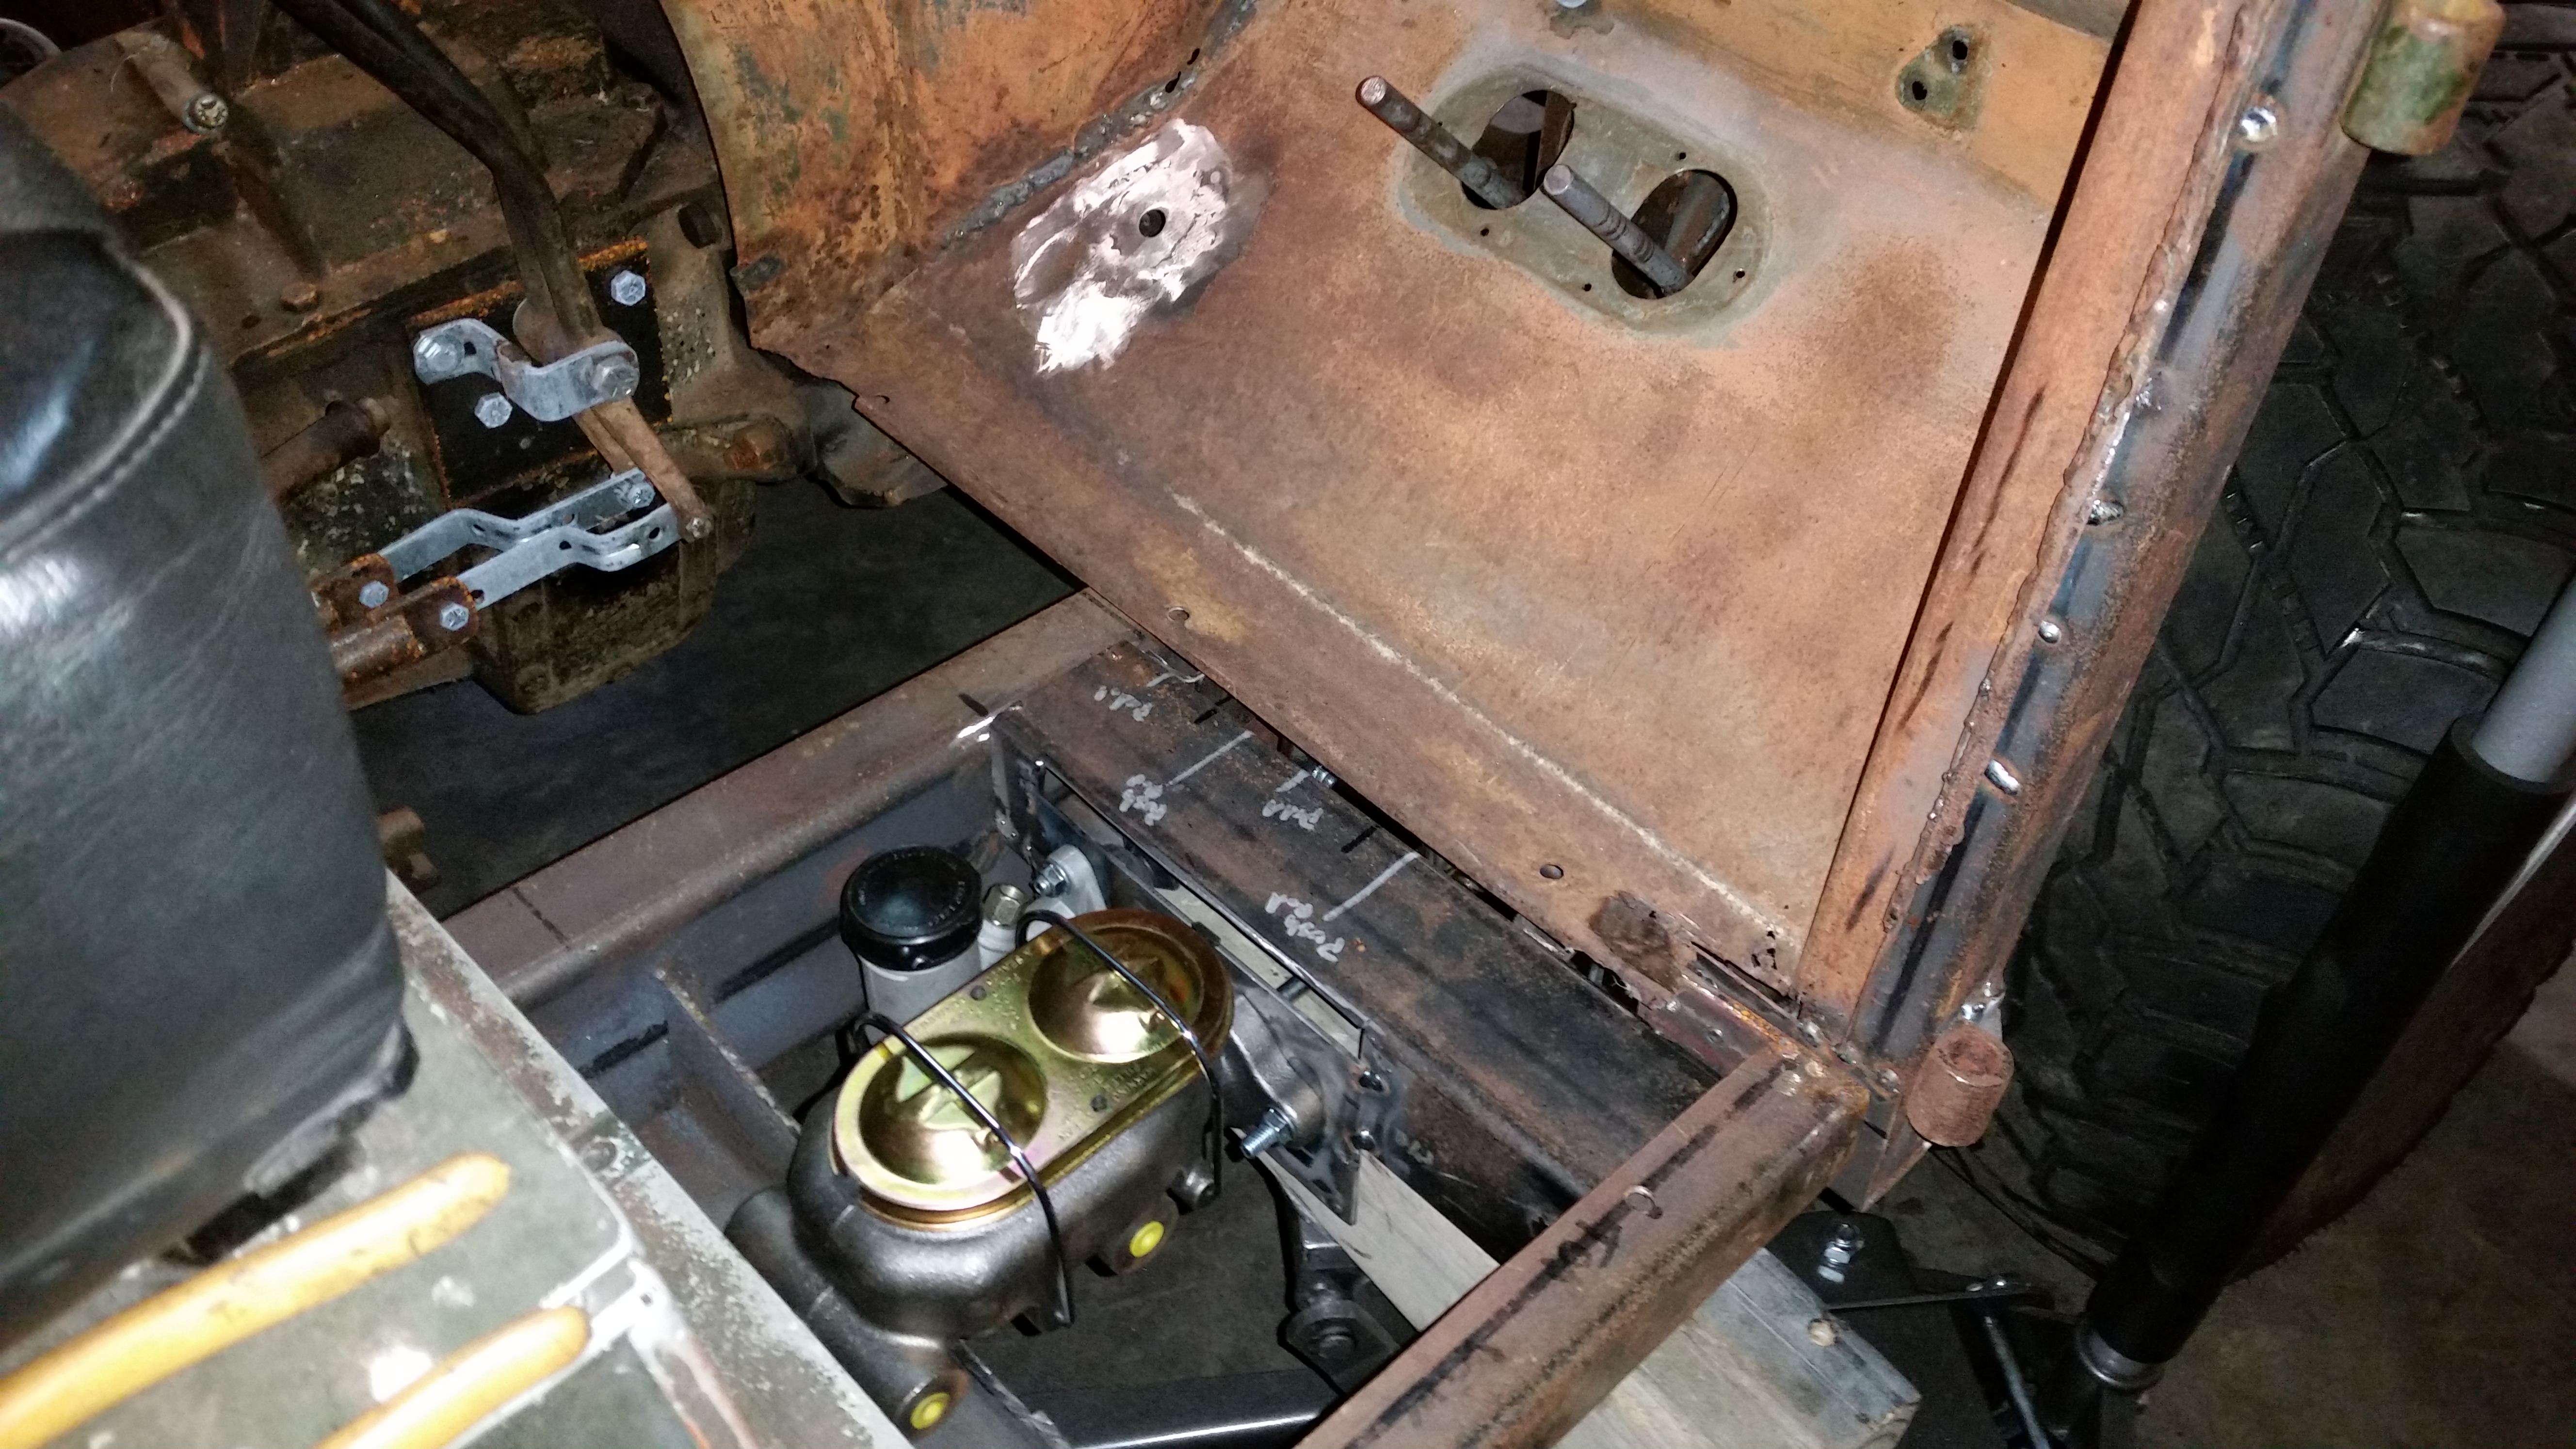
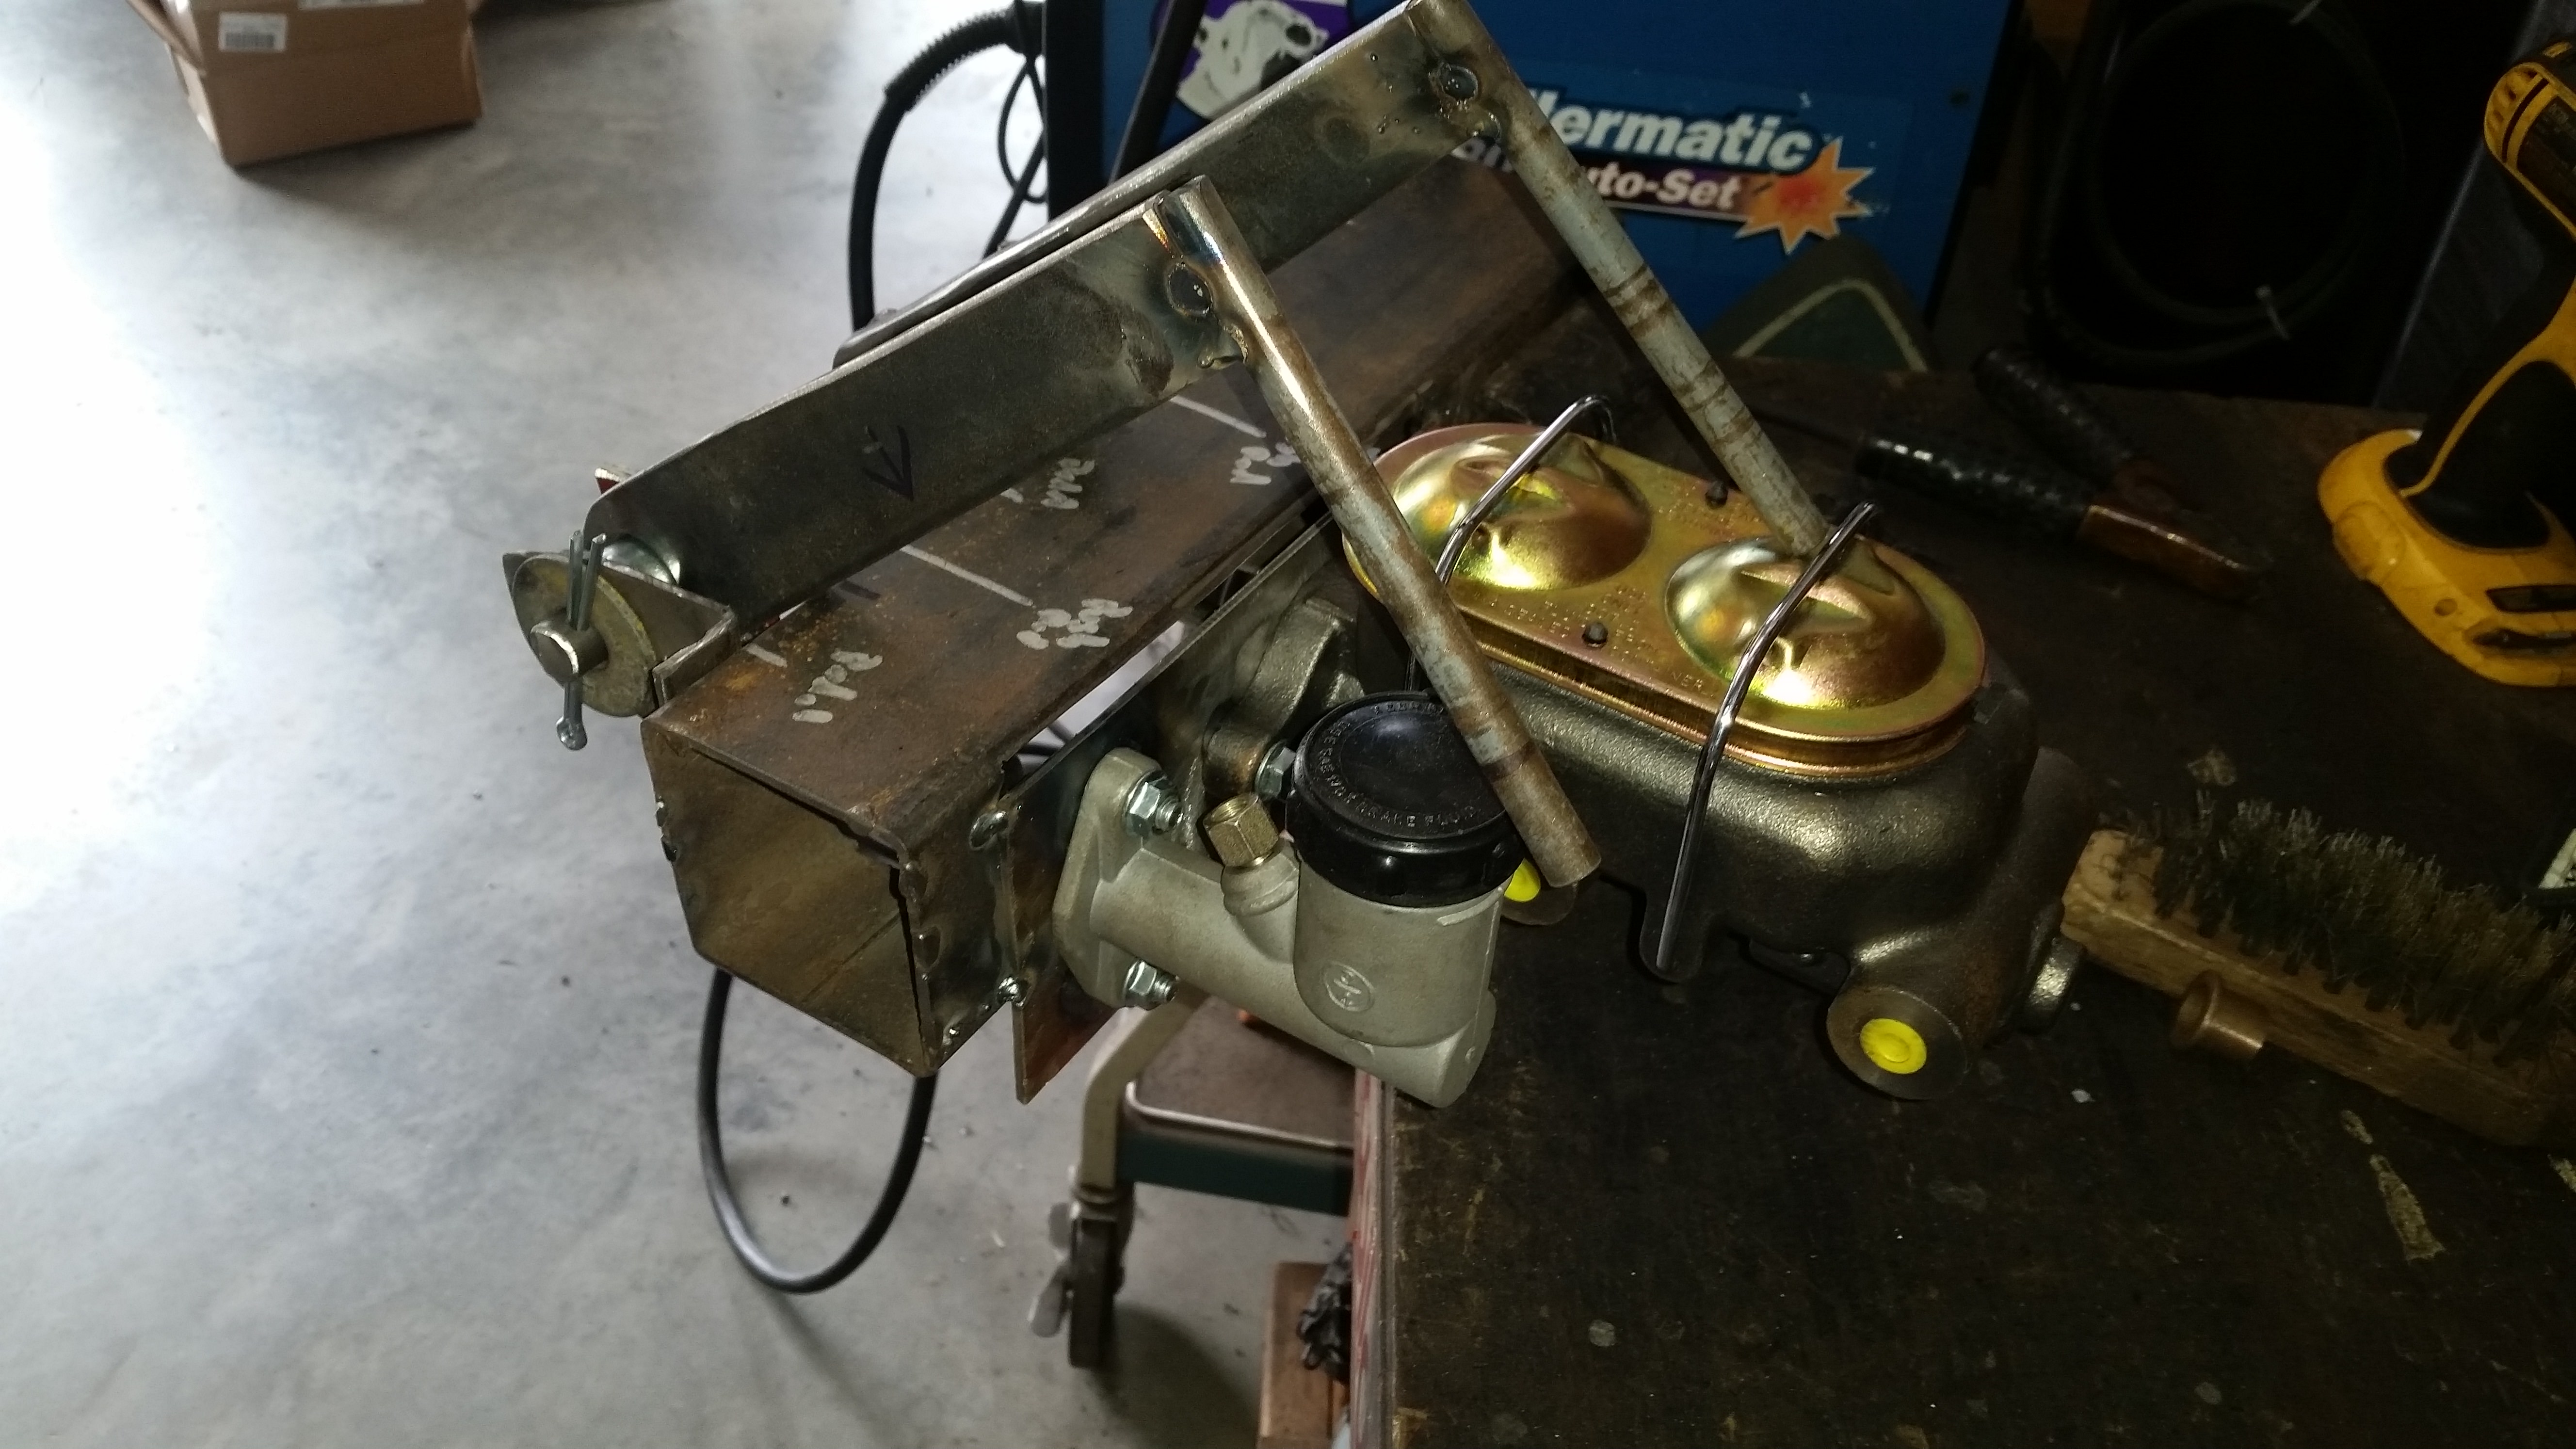
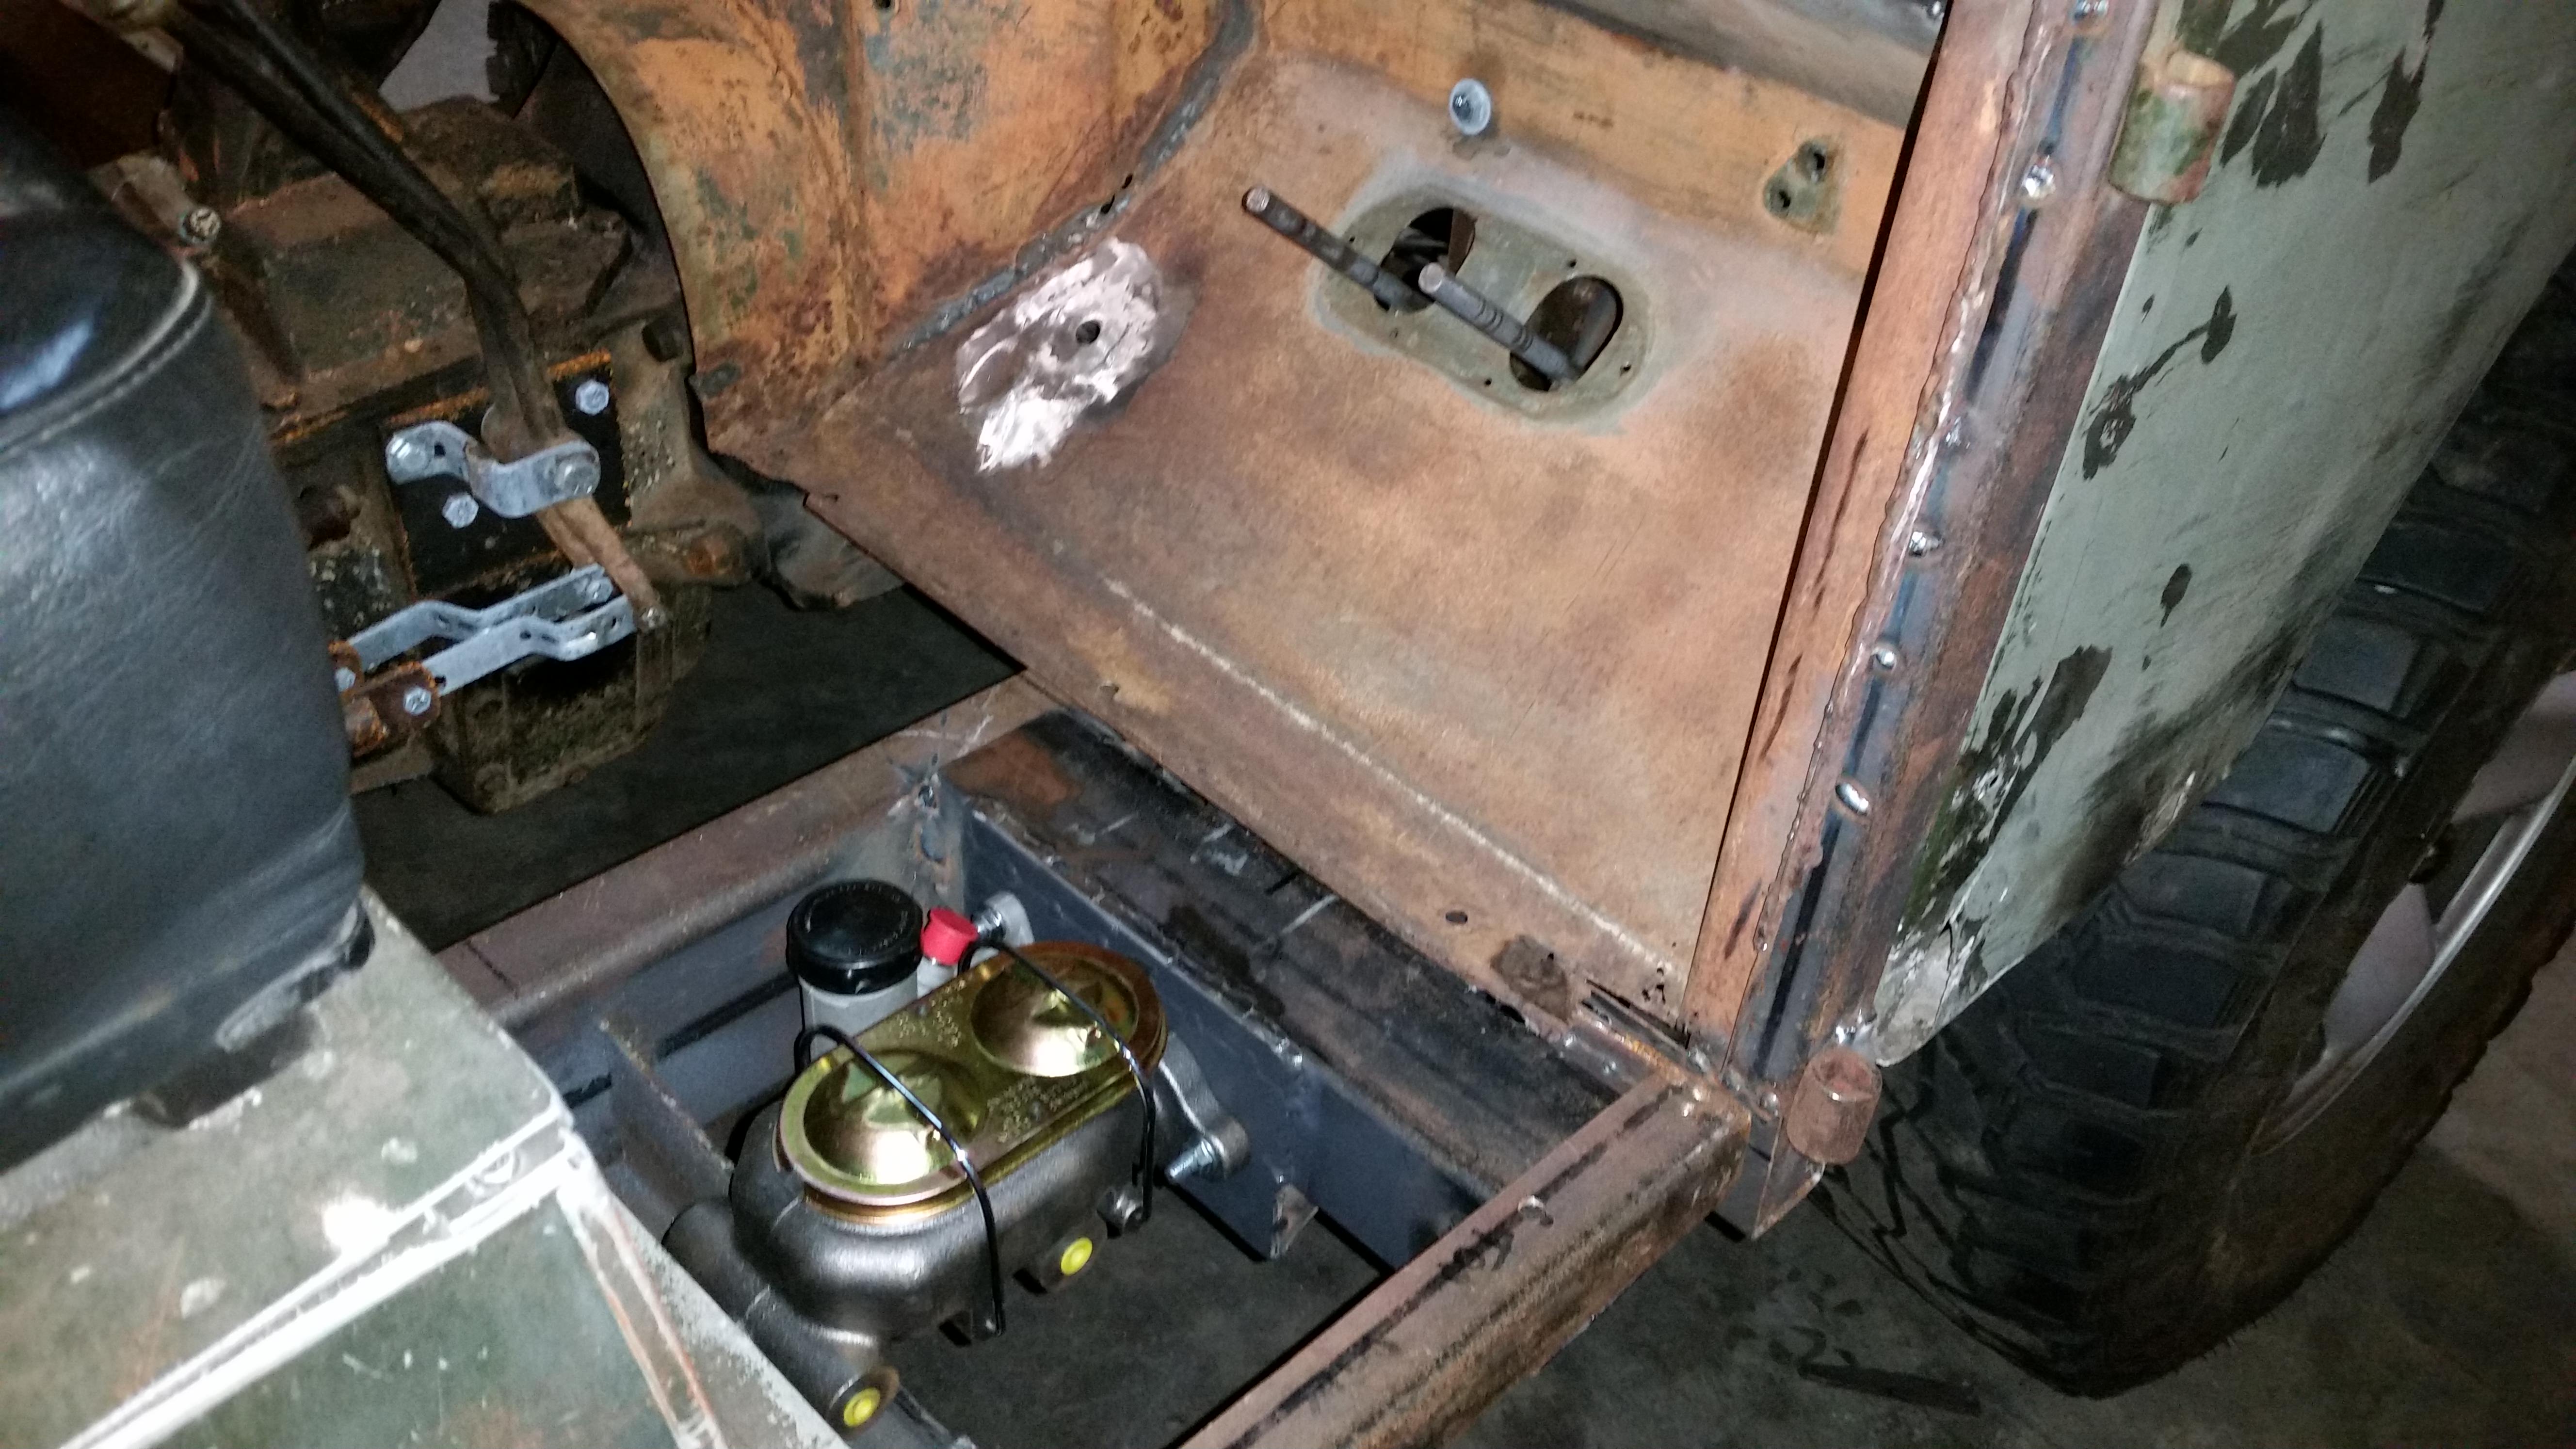
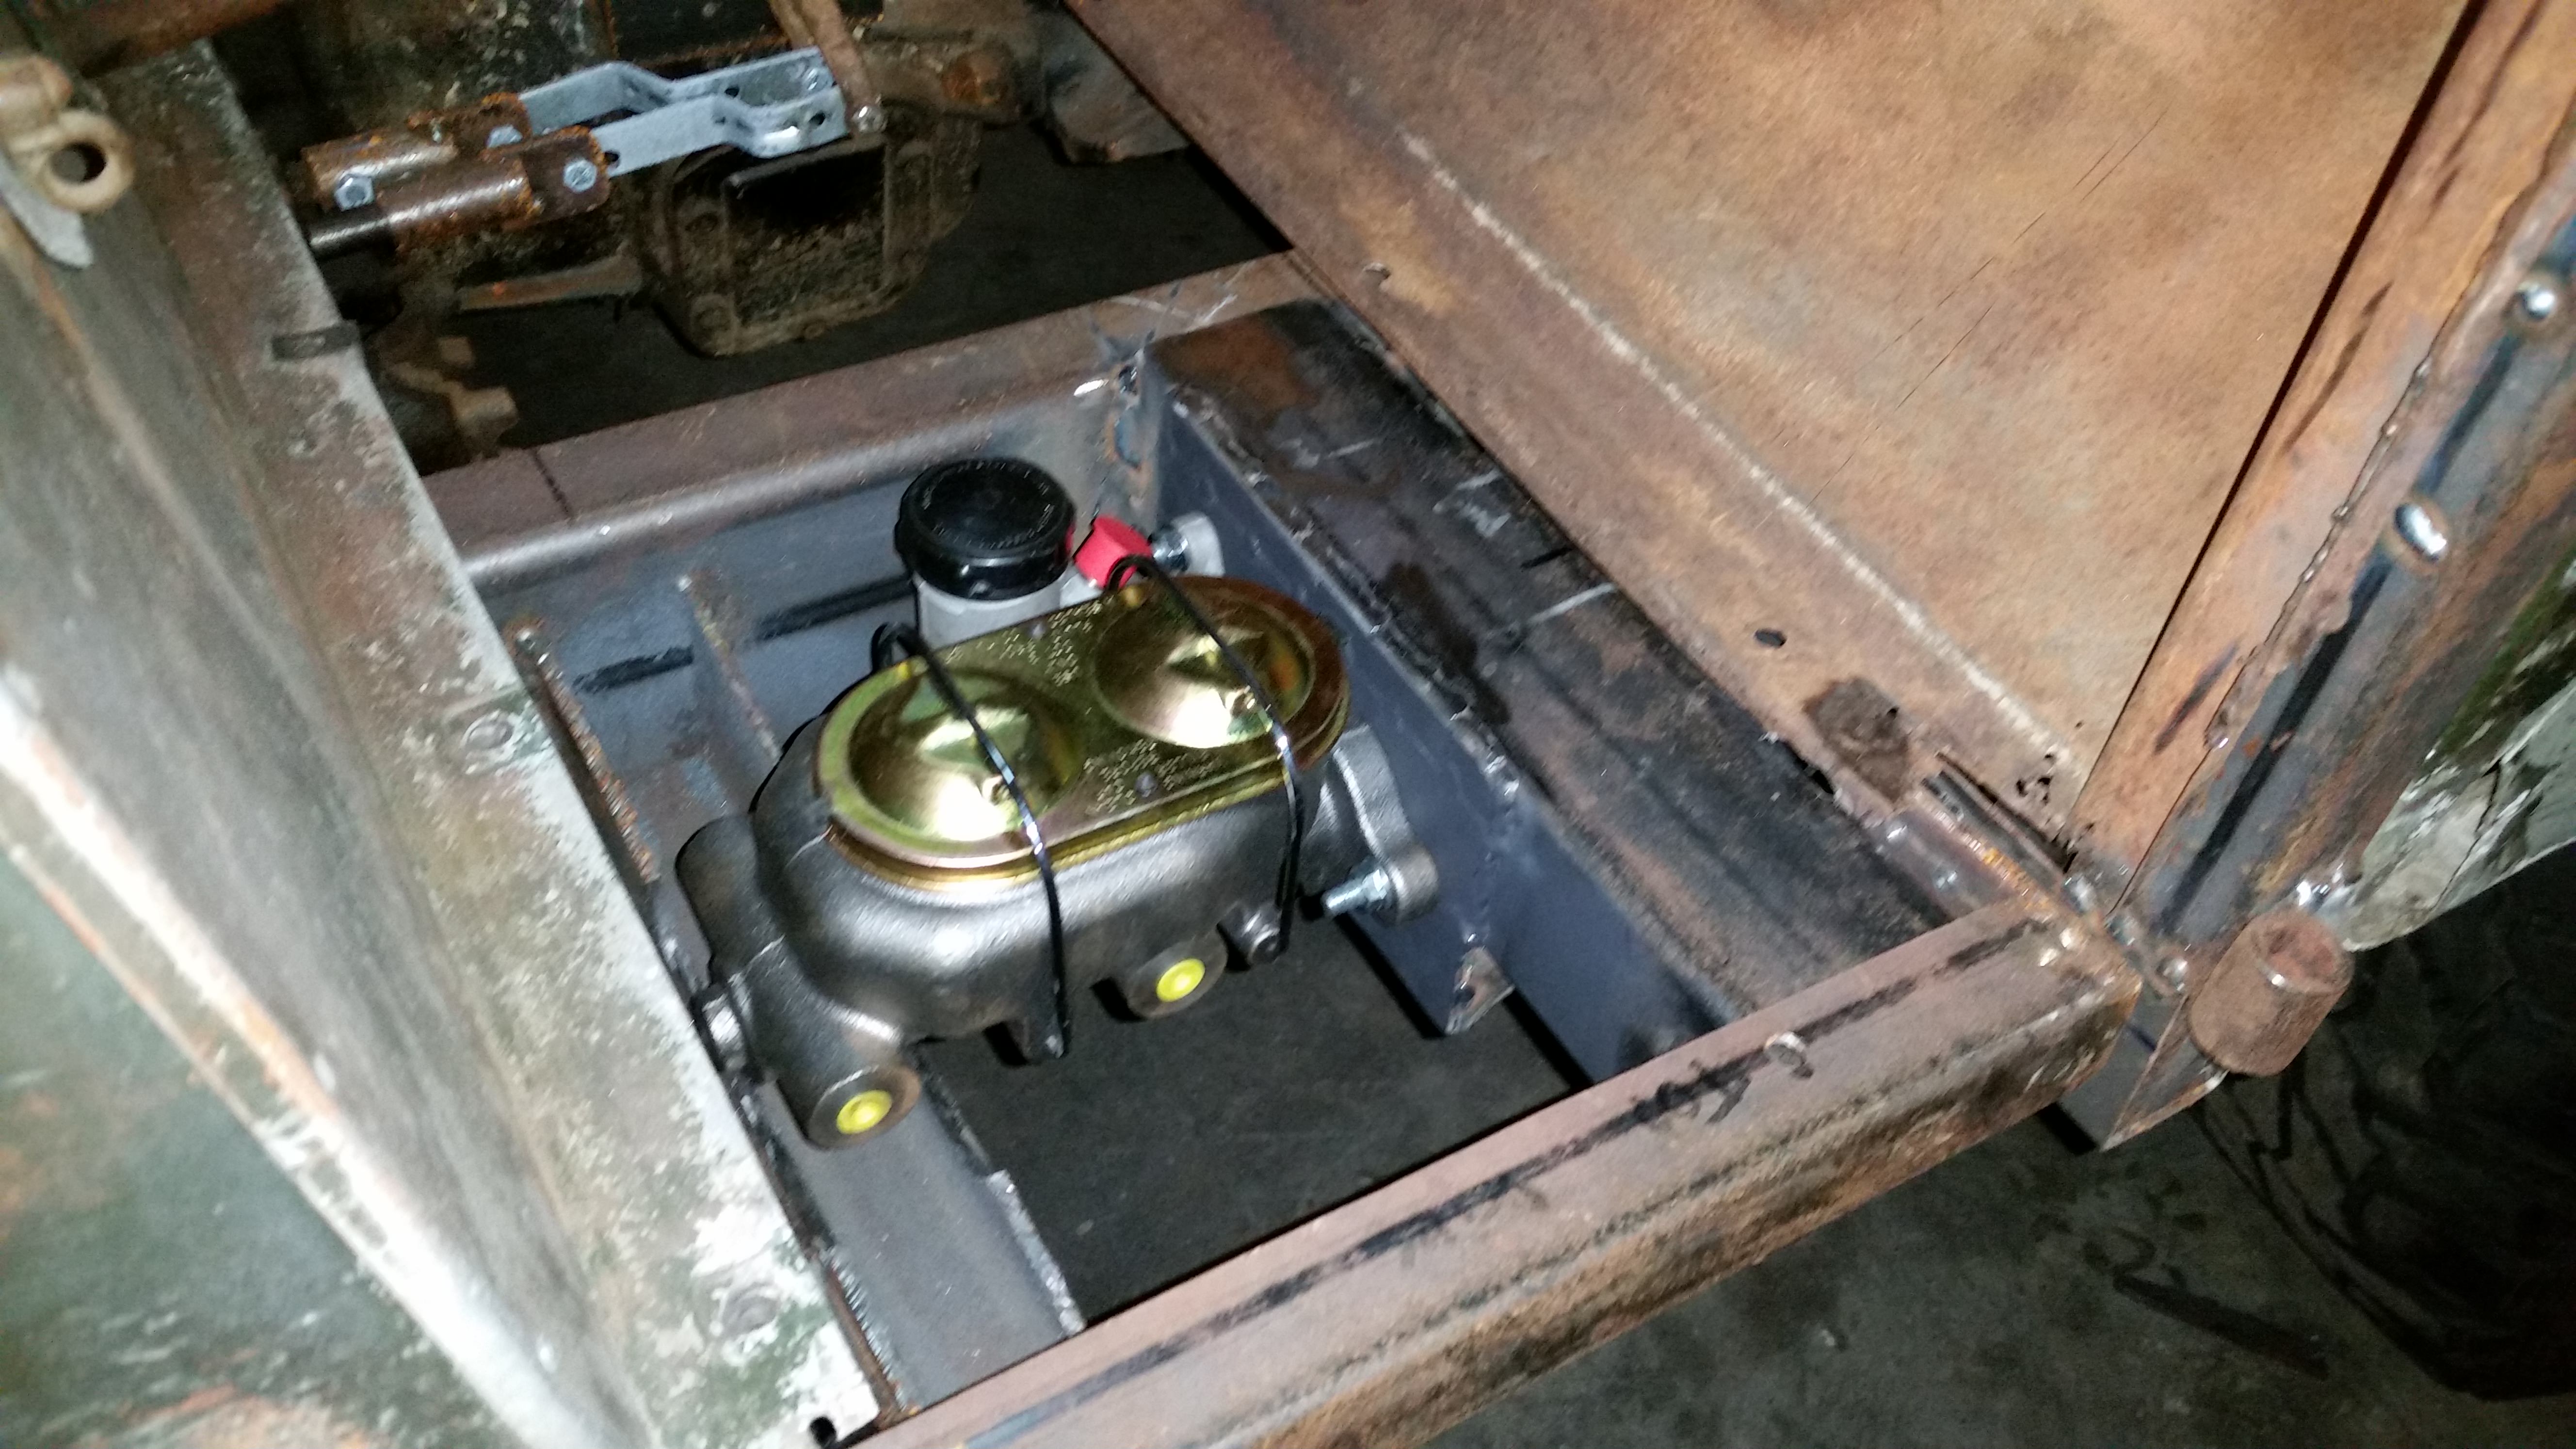
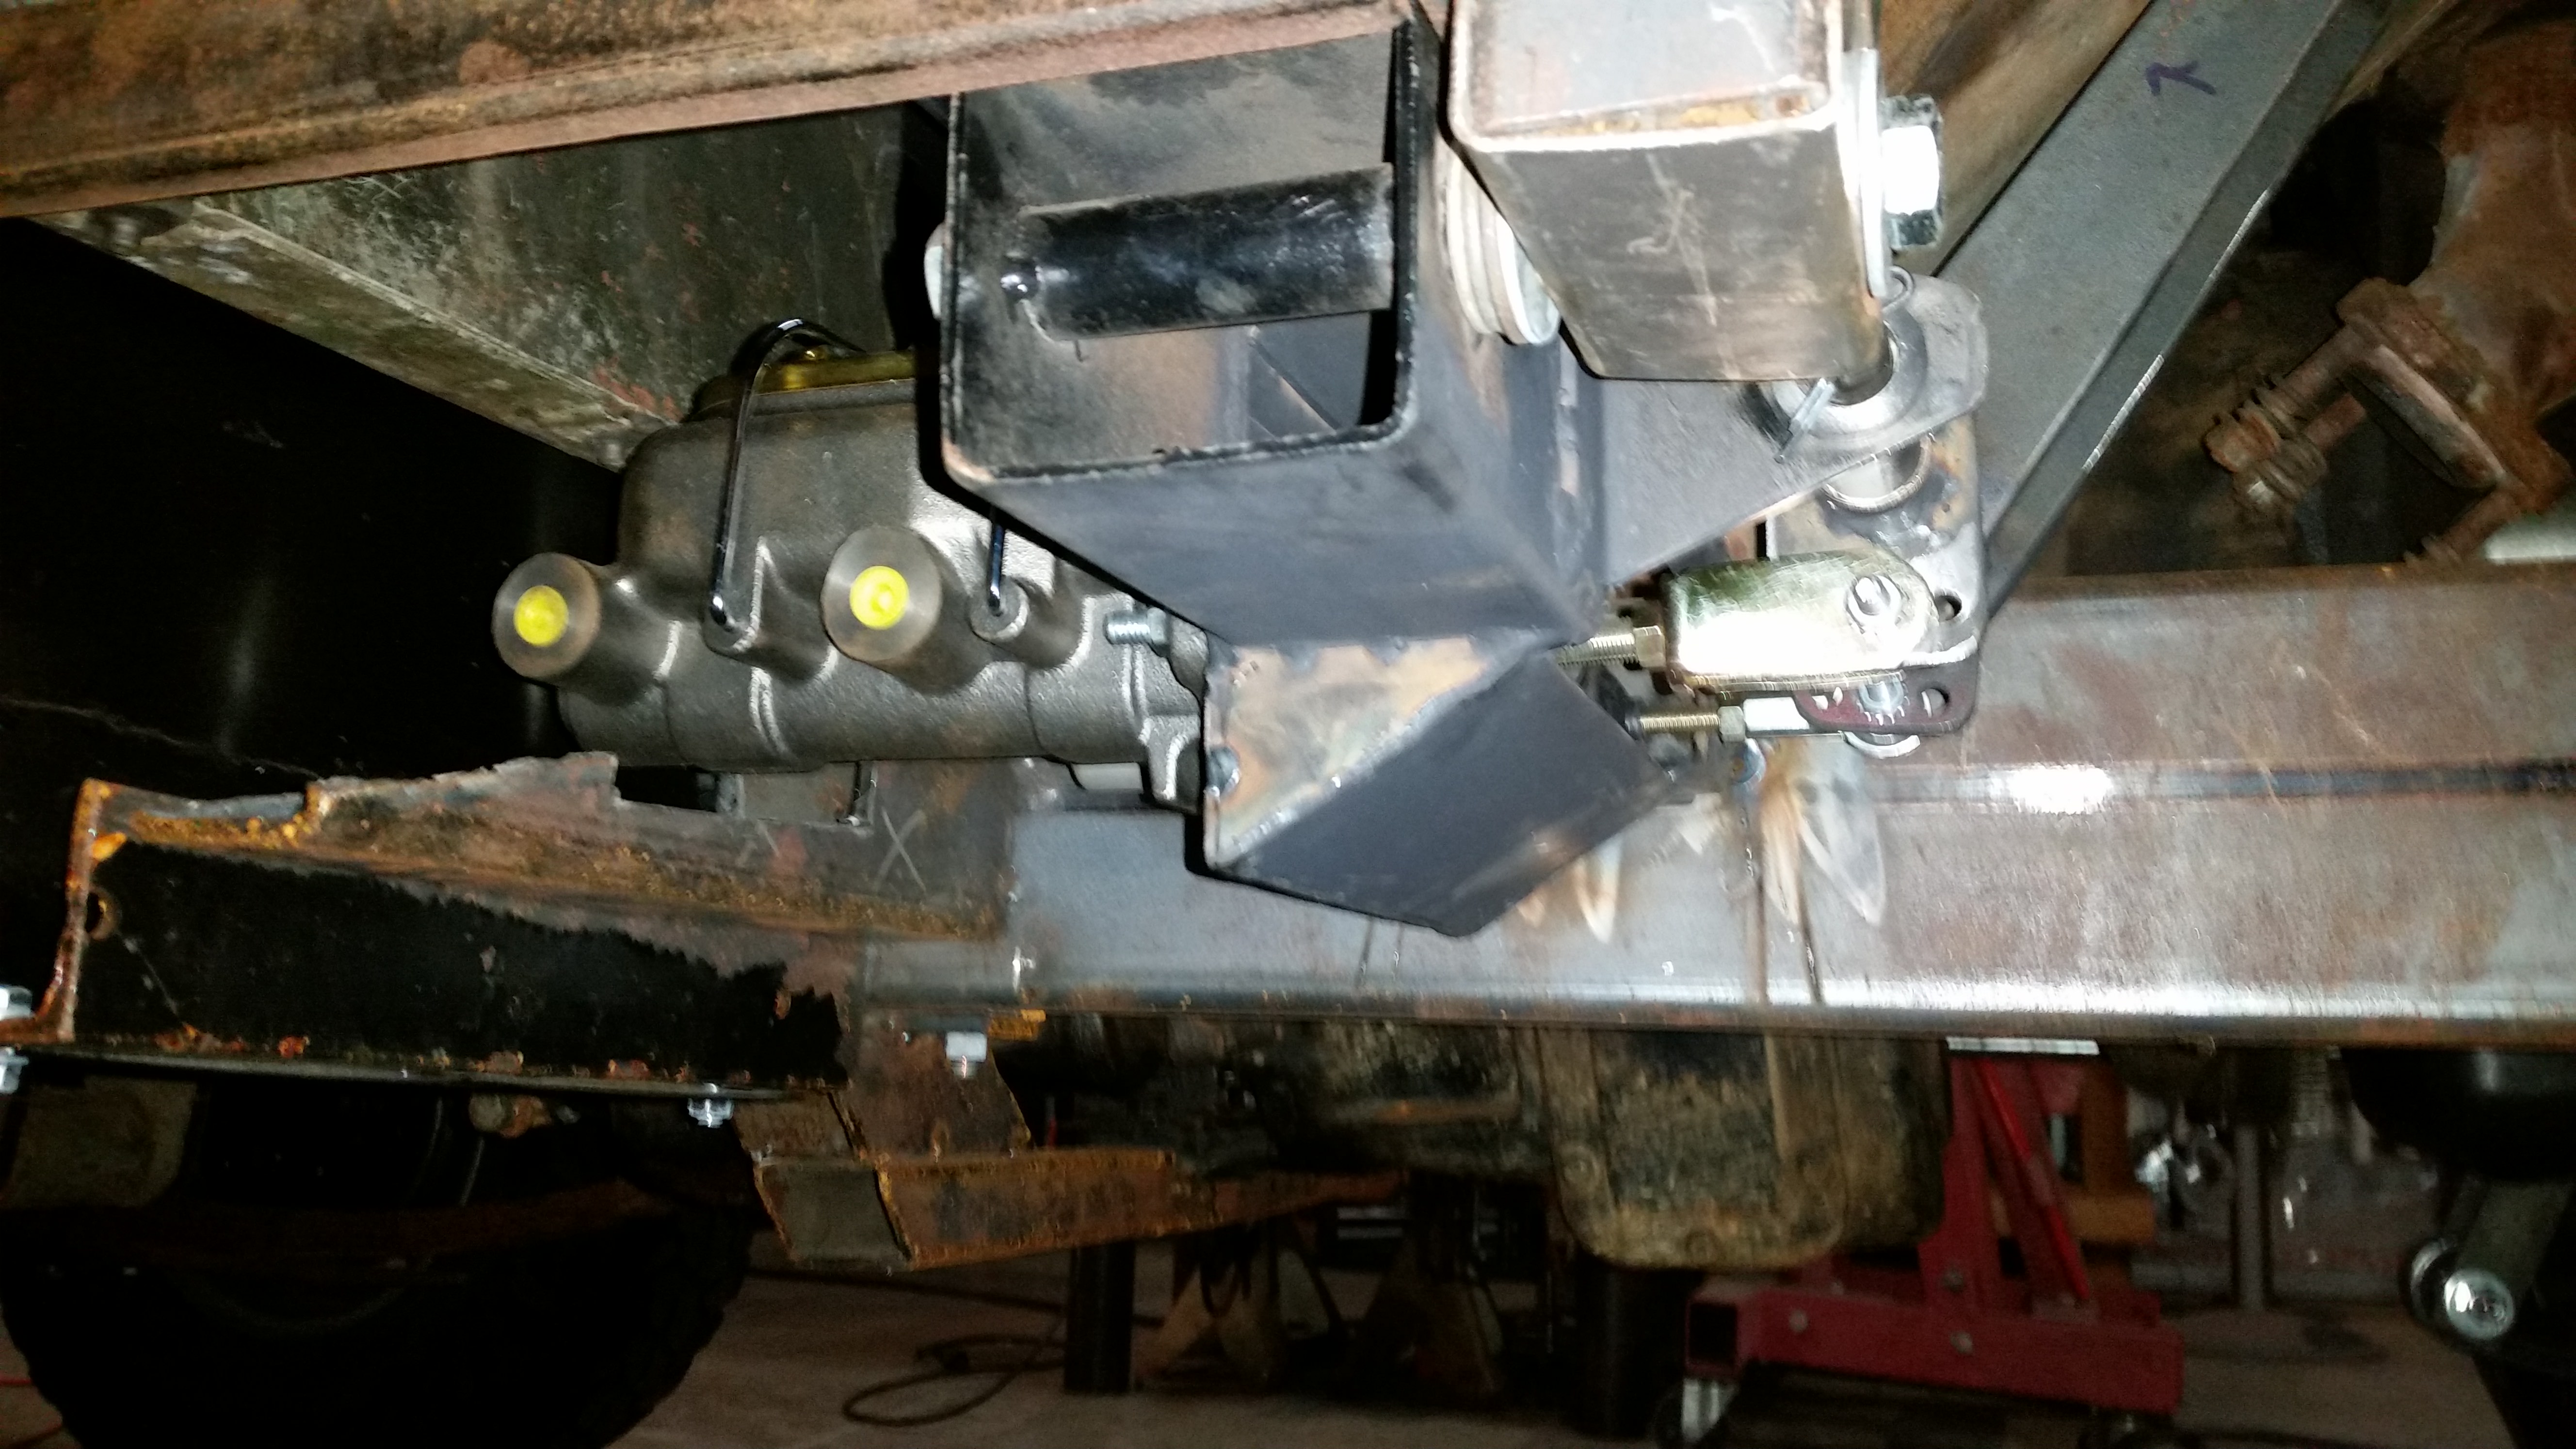
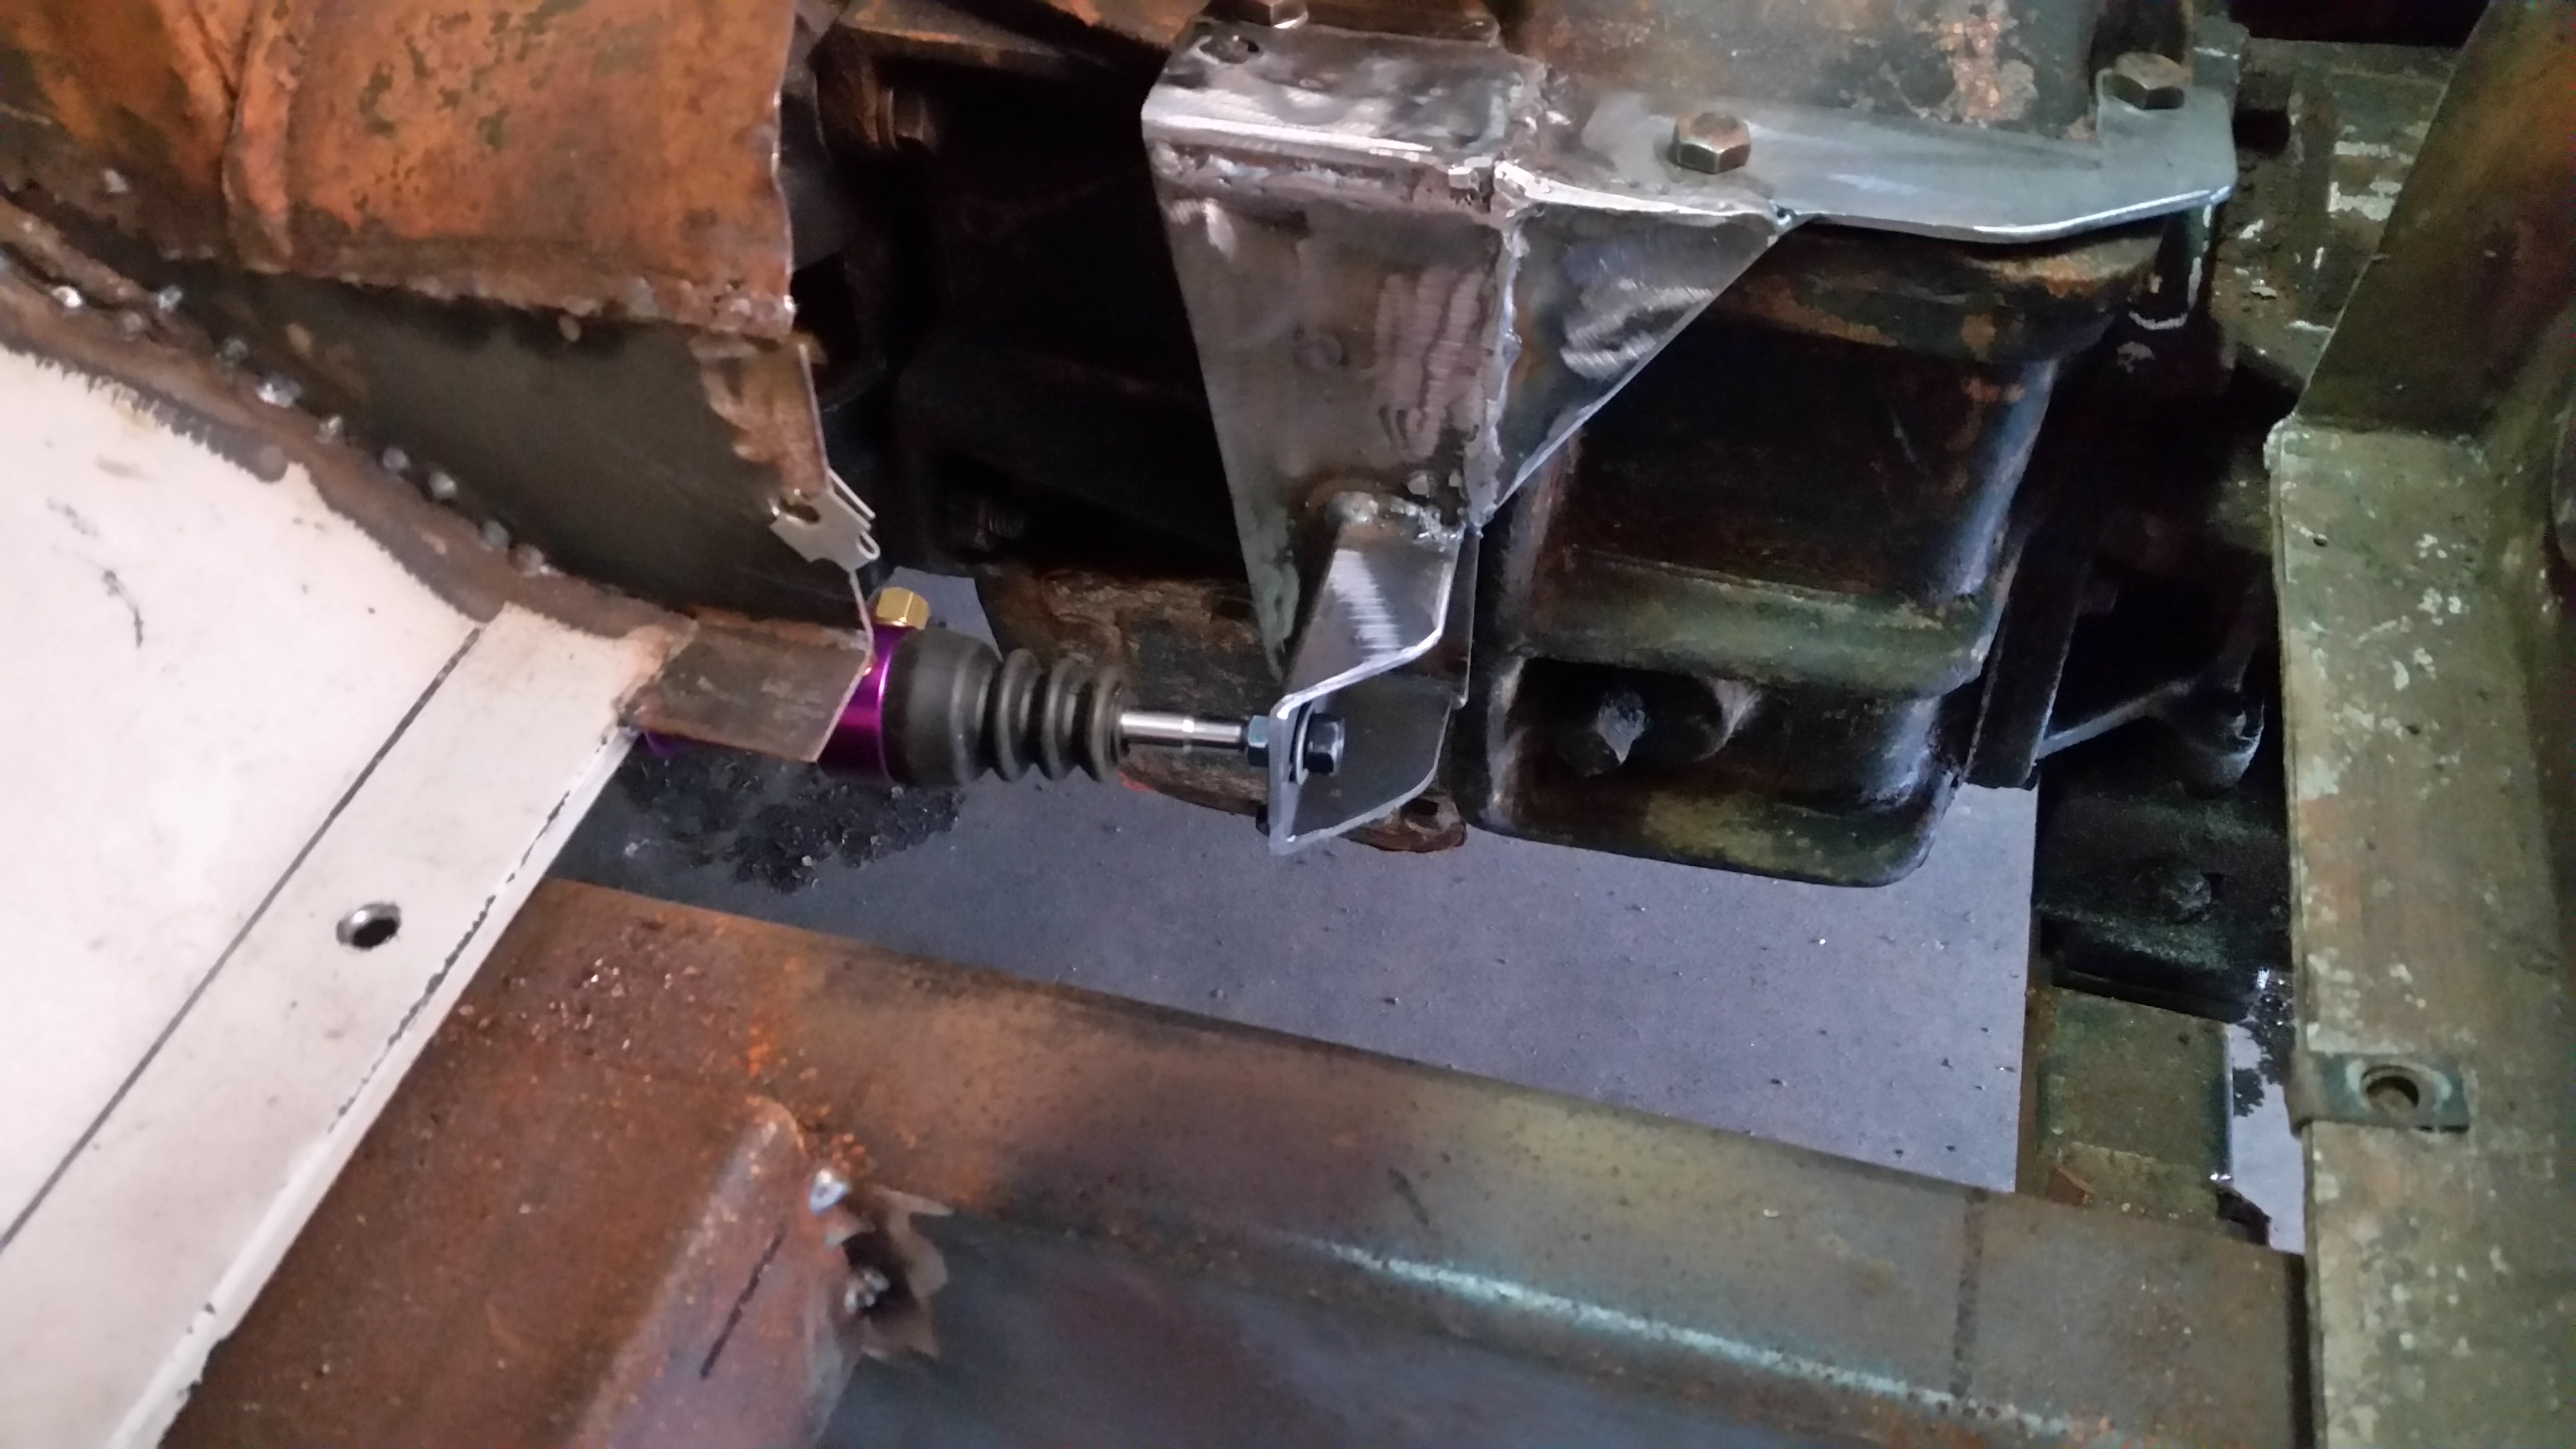
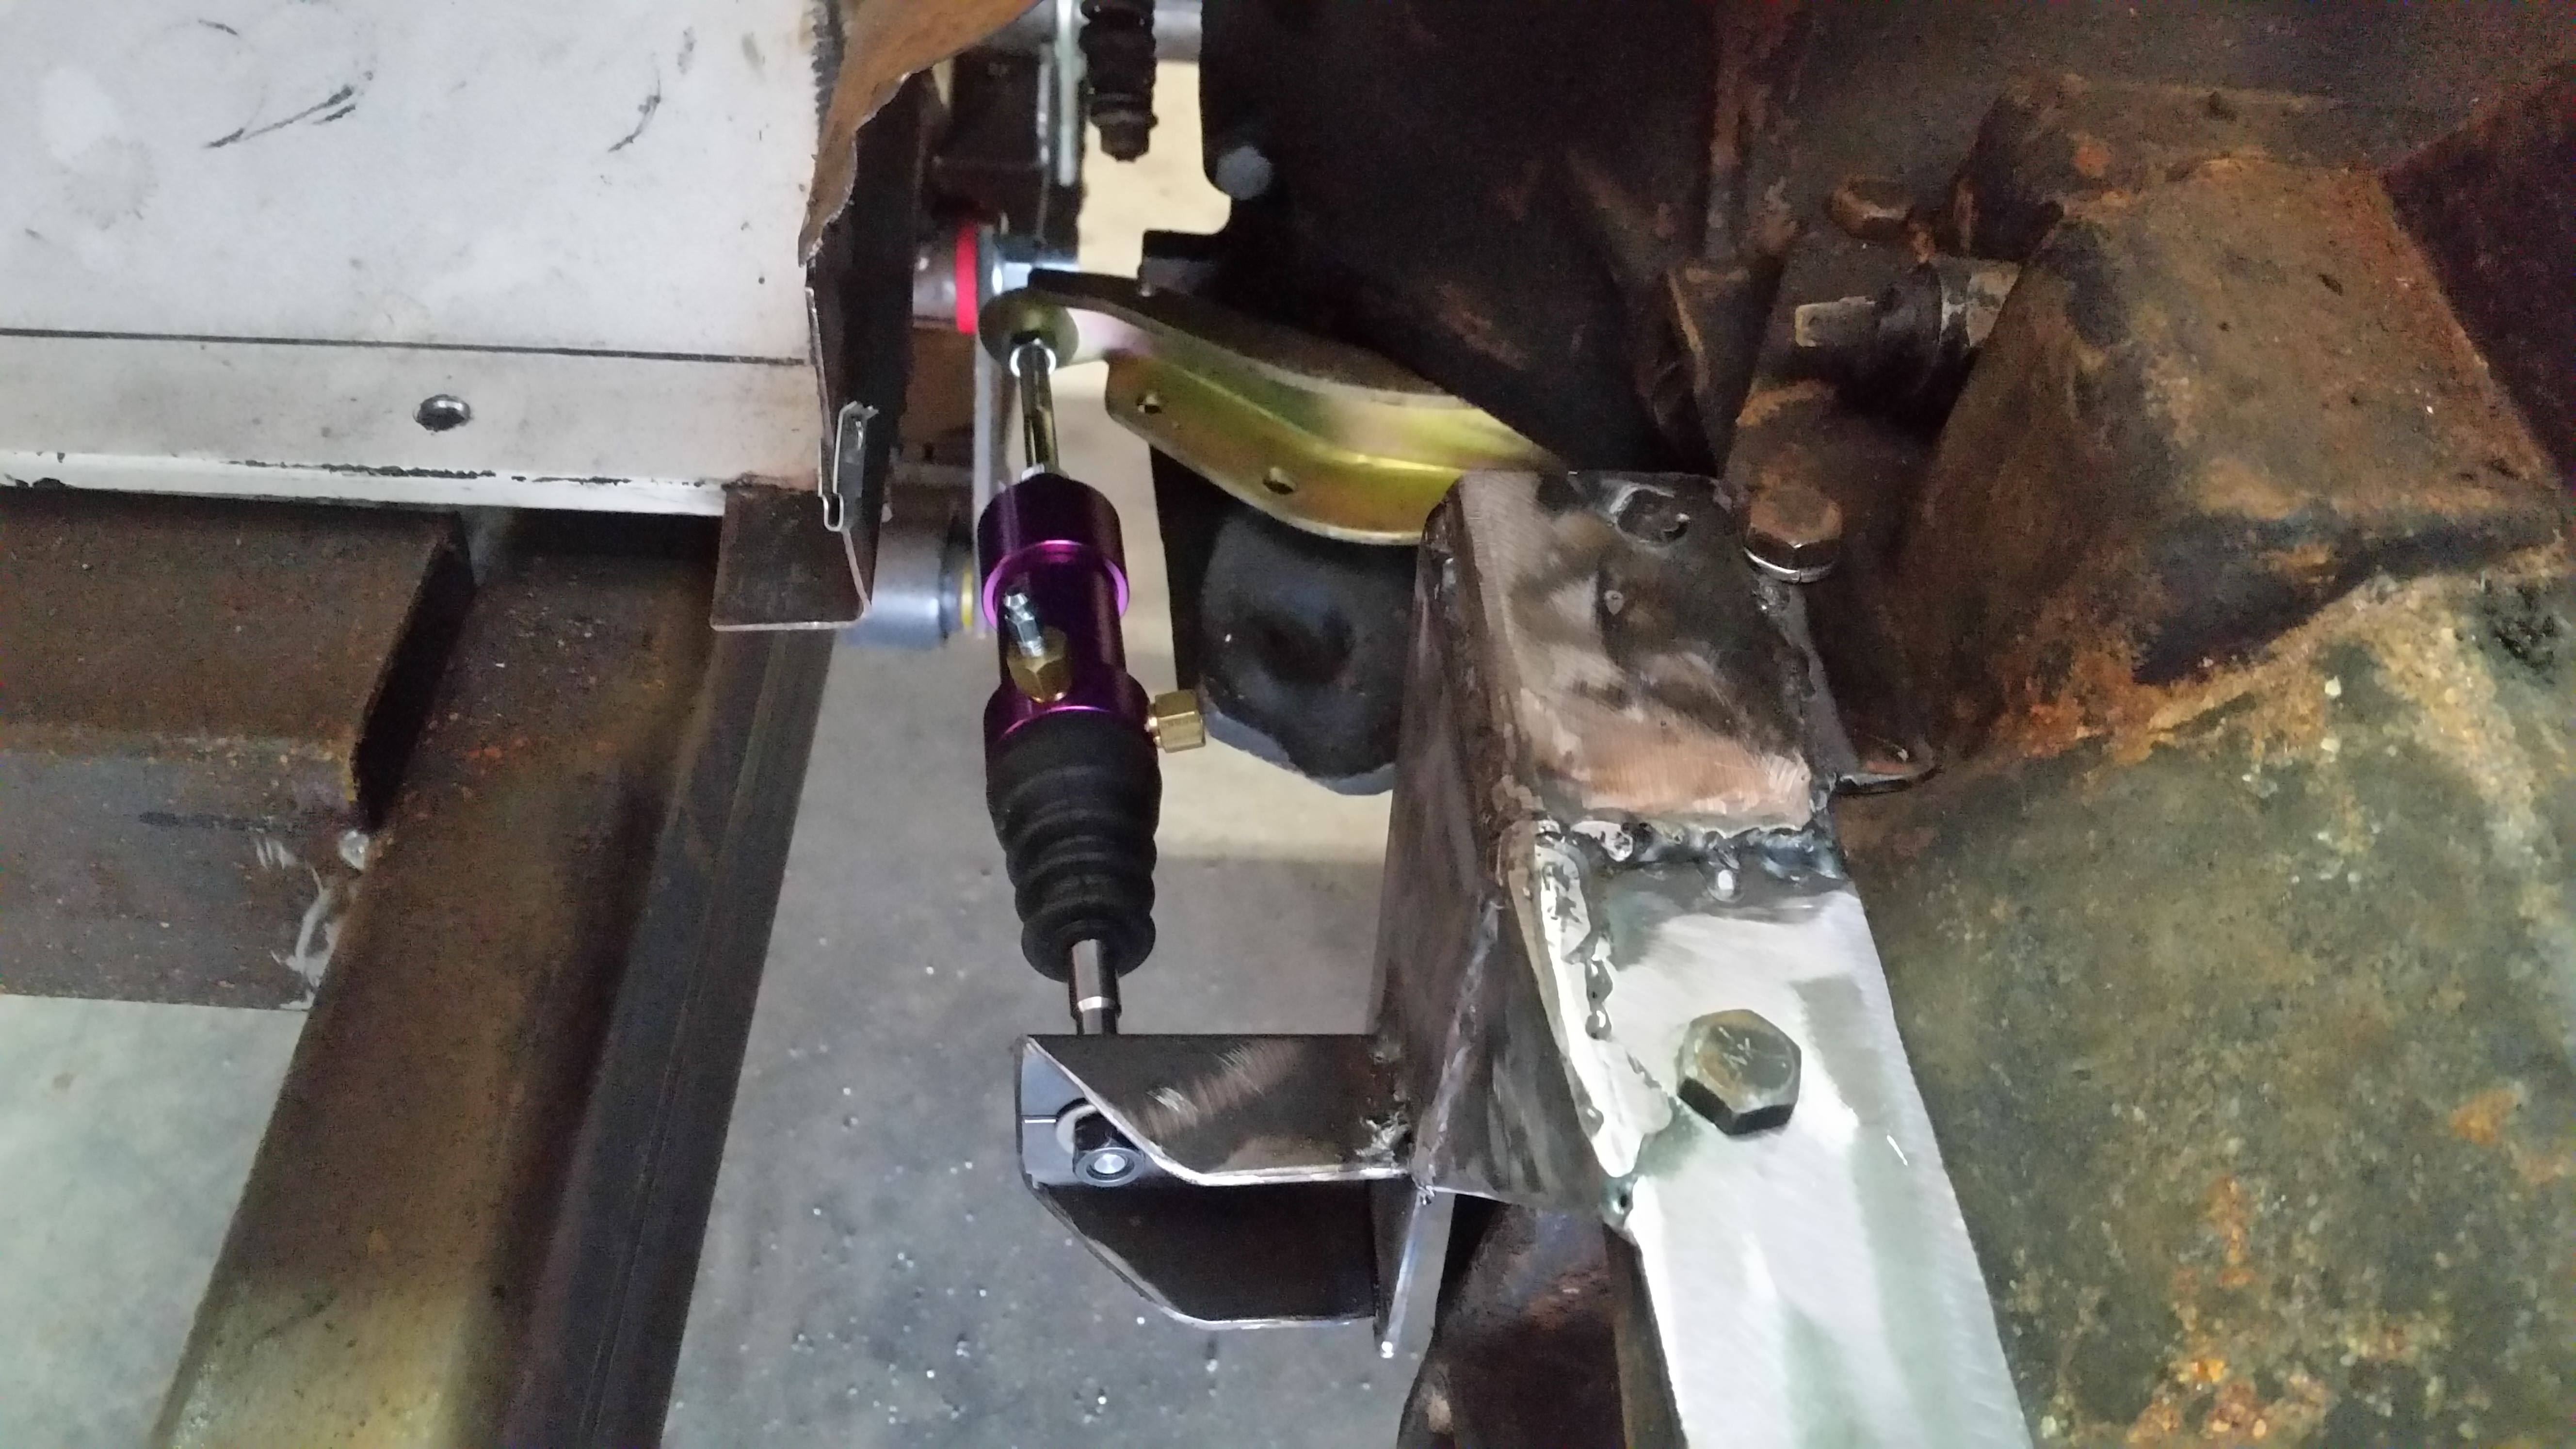
The Master cylinders are under the floor board. I am using a Corvette brake cylinder and just an after market Clutch MC.
VazULE9.jpg


I spent a bit doing the research on pedal ratio and lengths for the pedals.

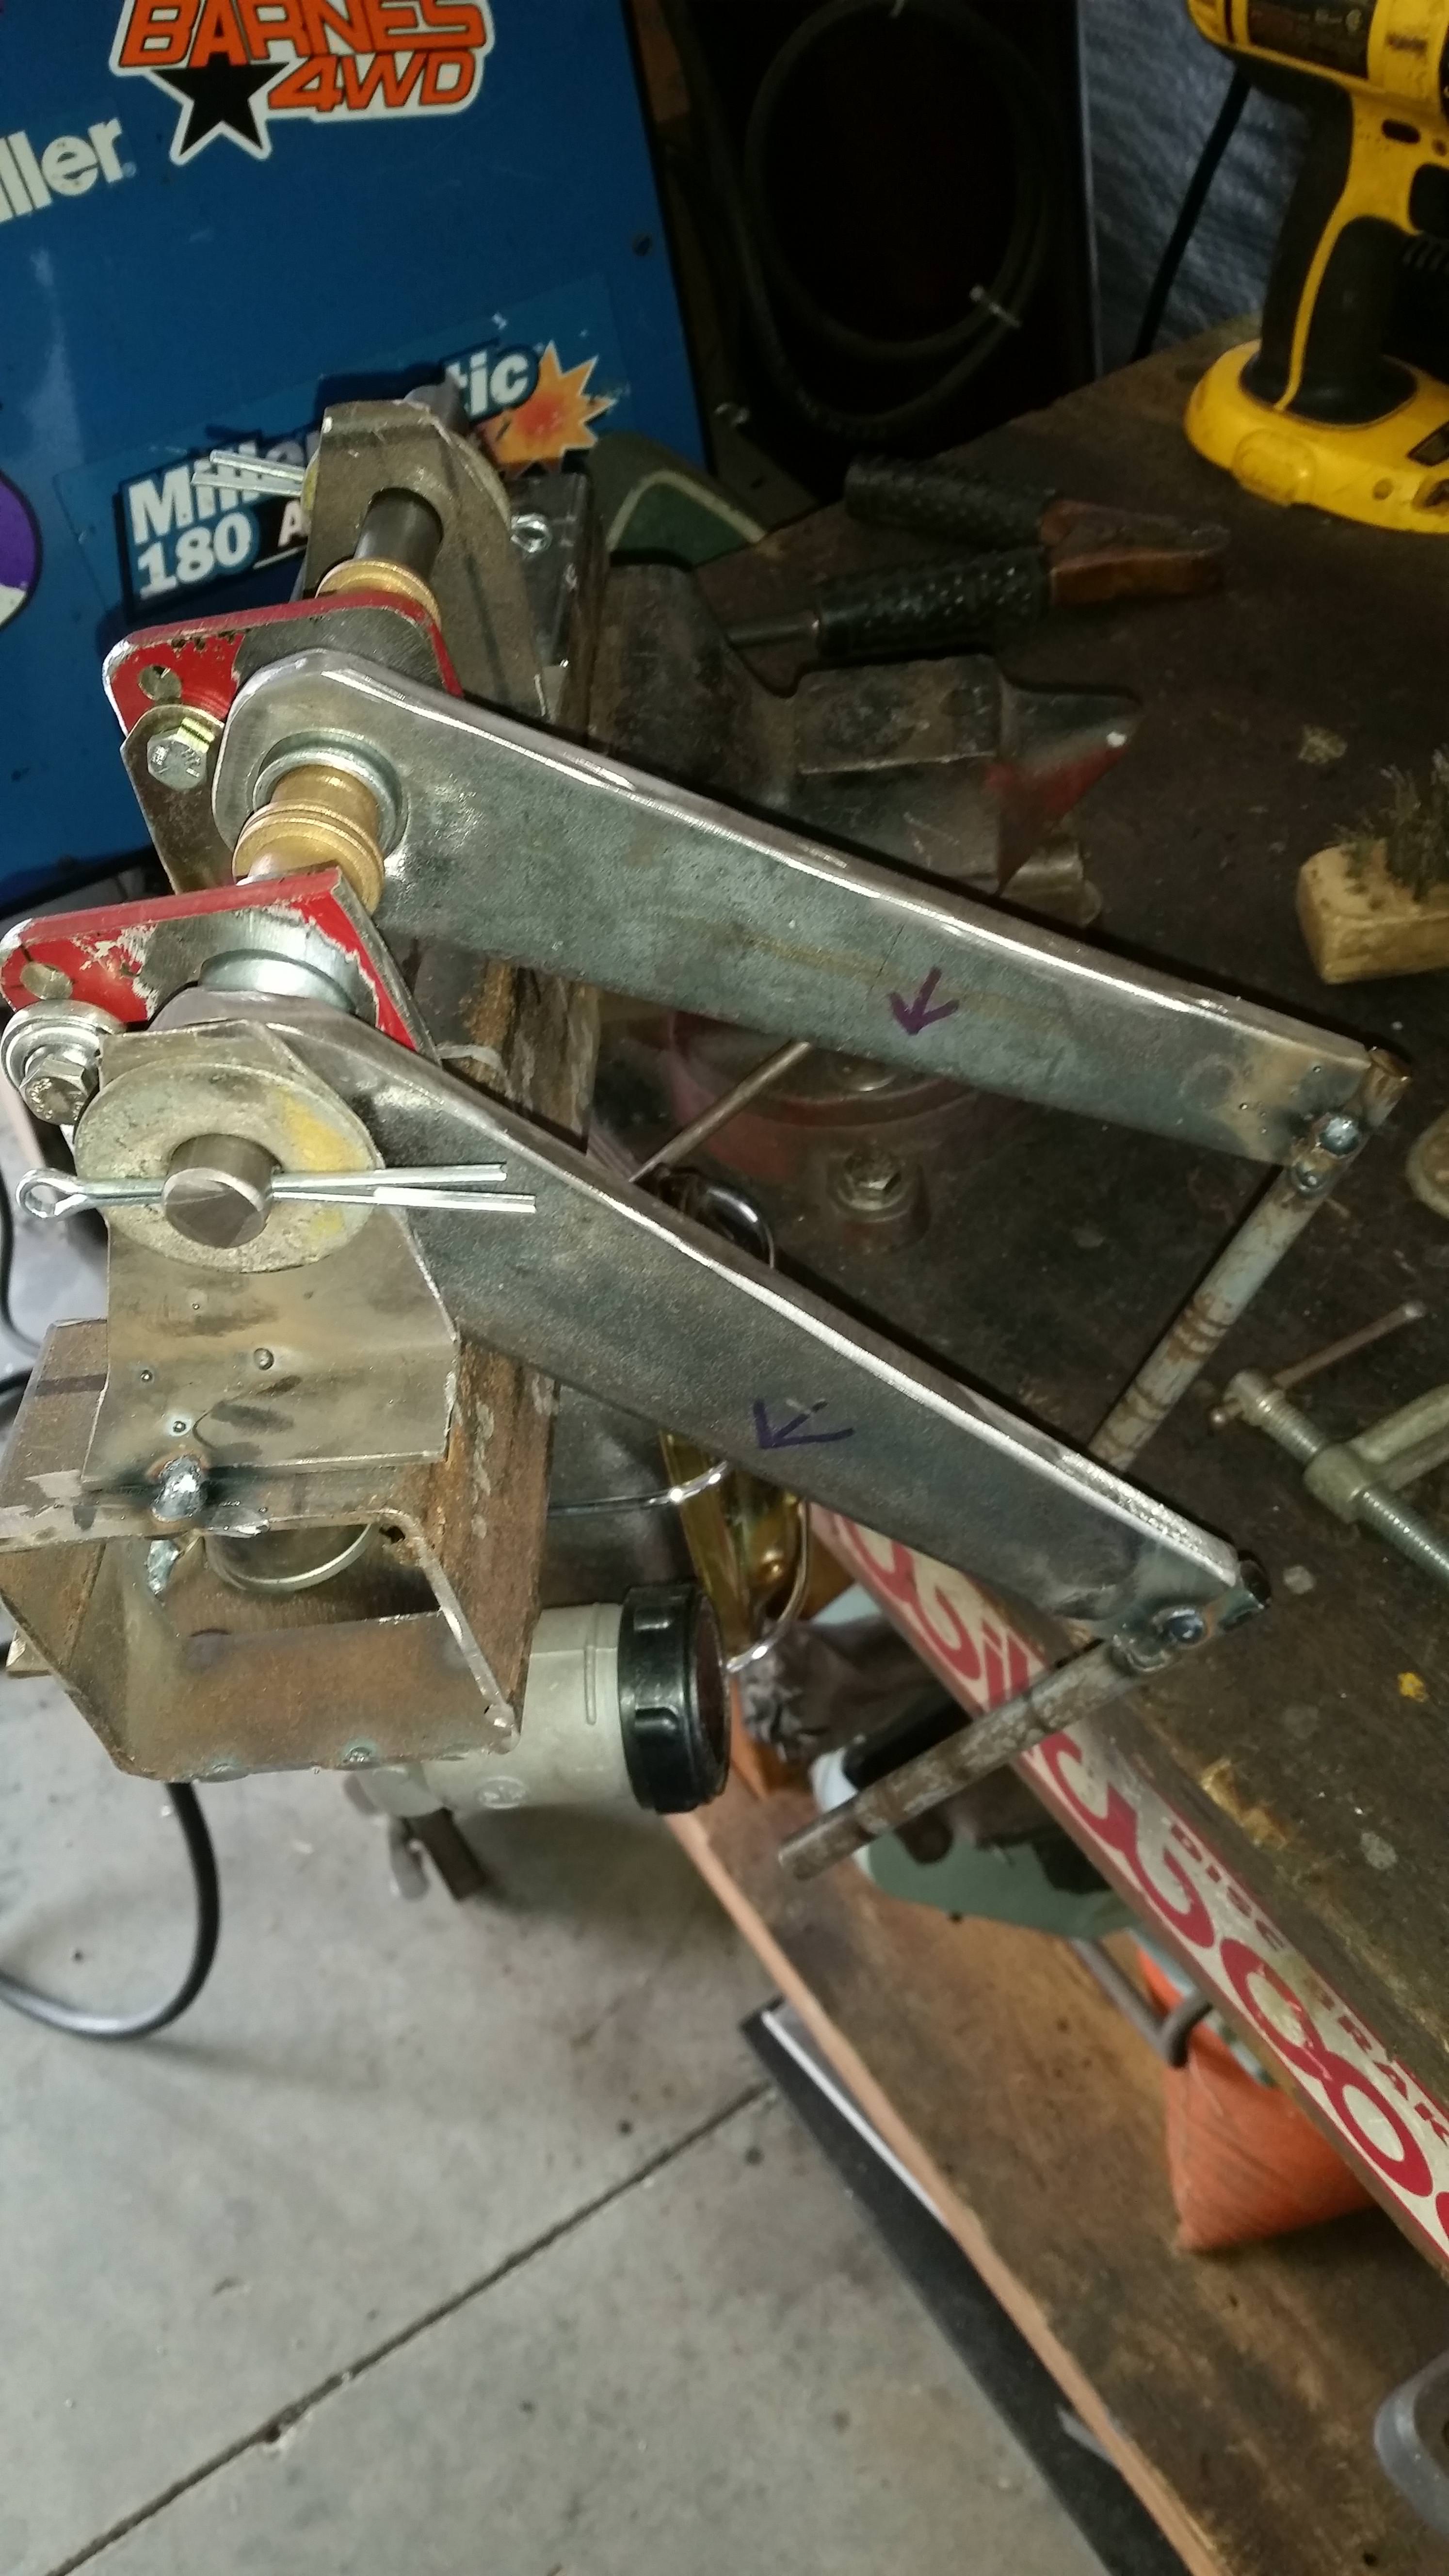
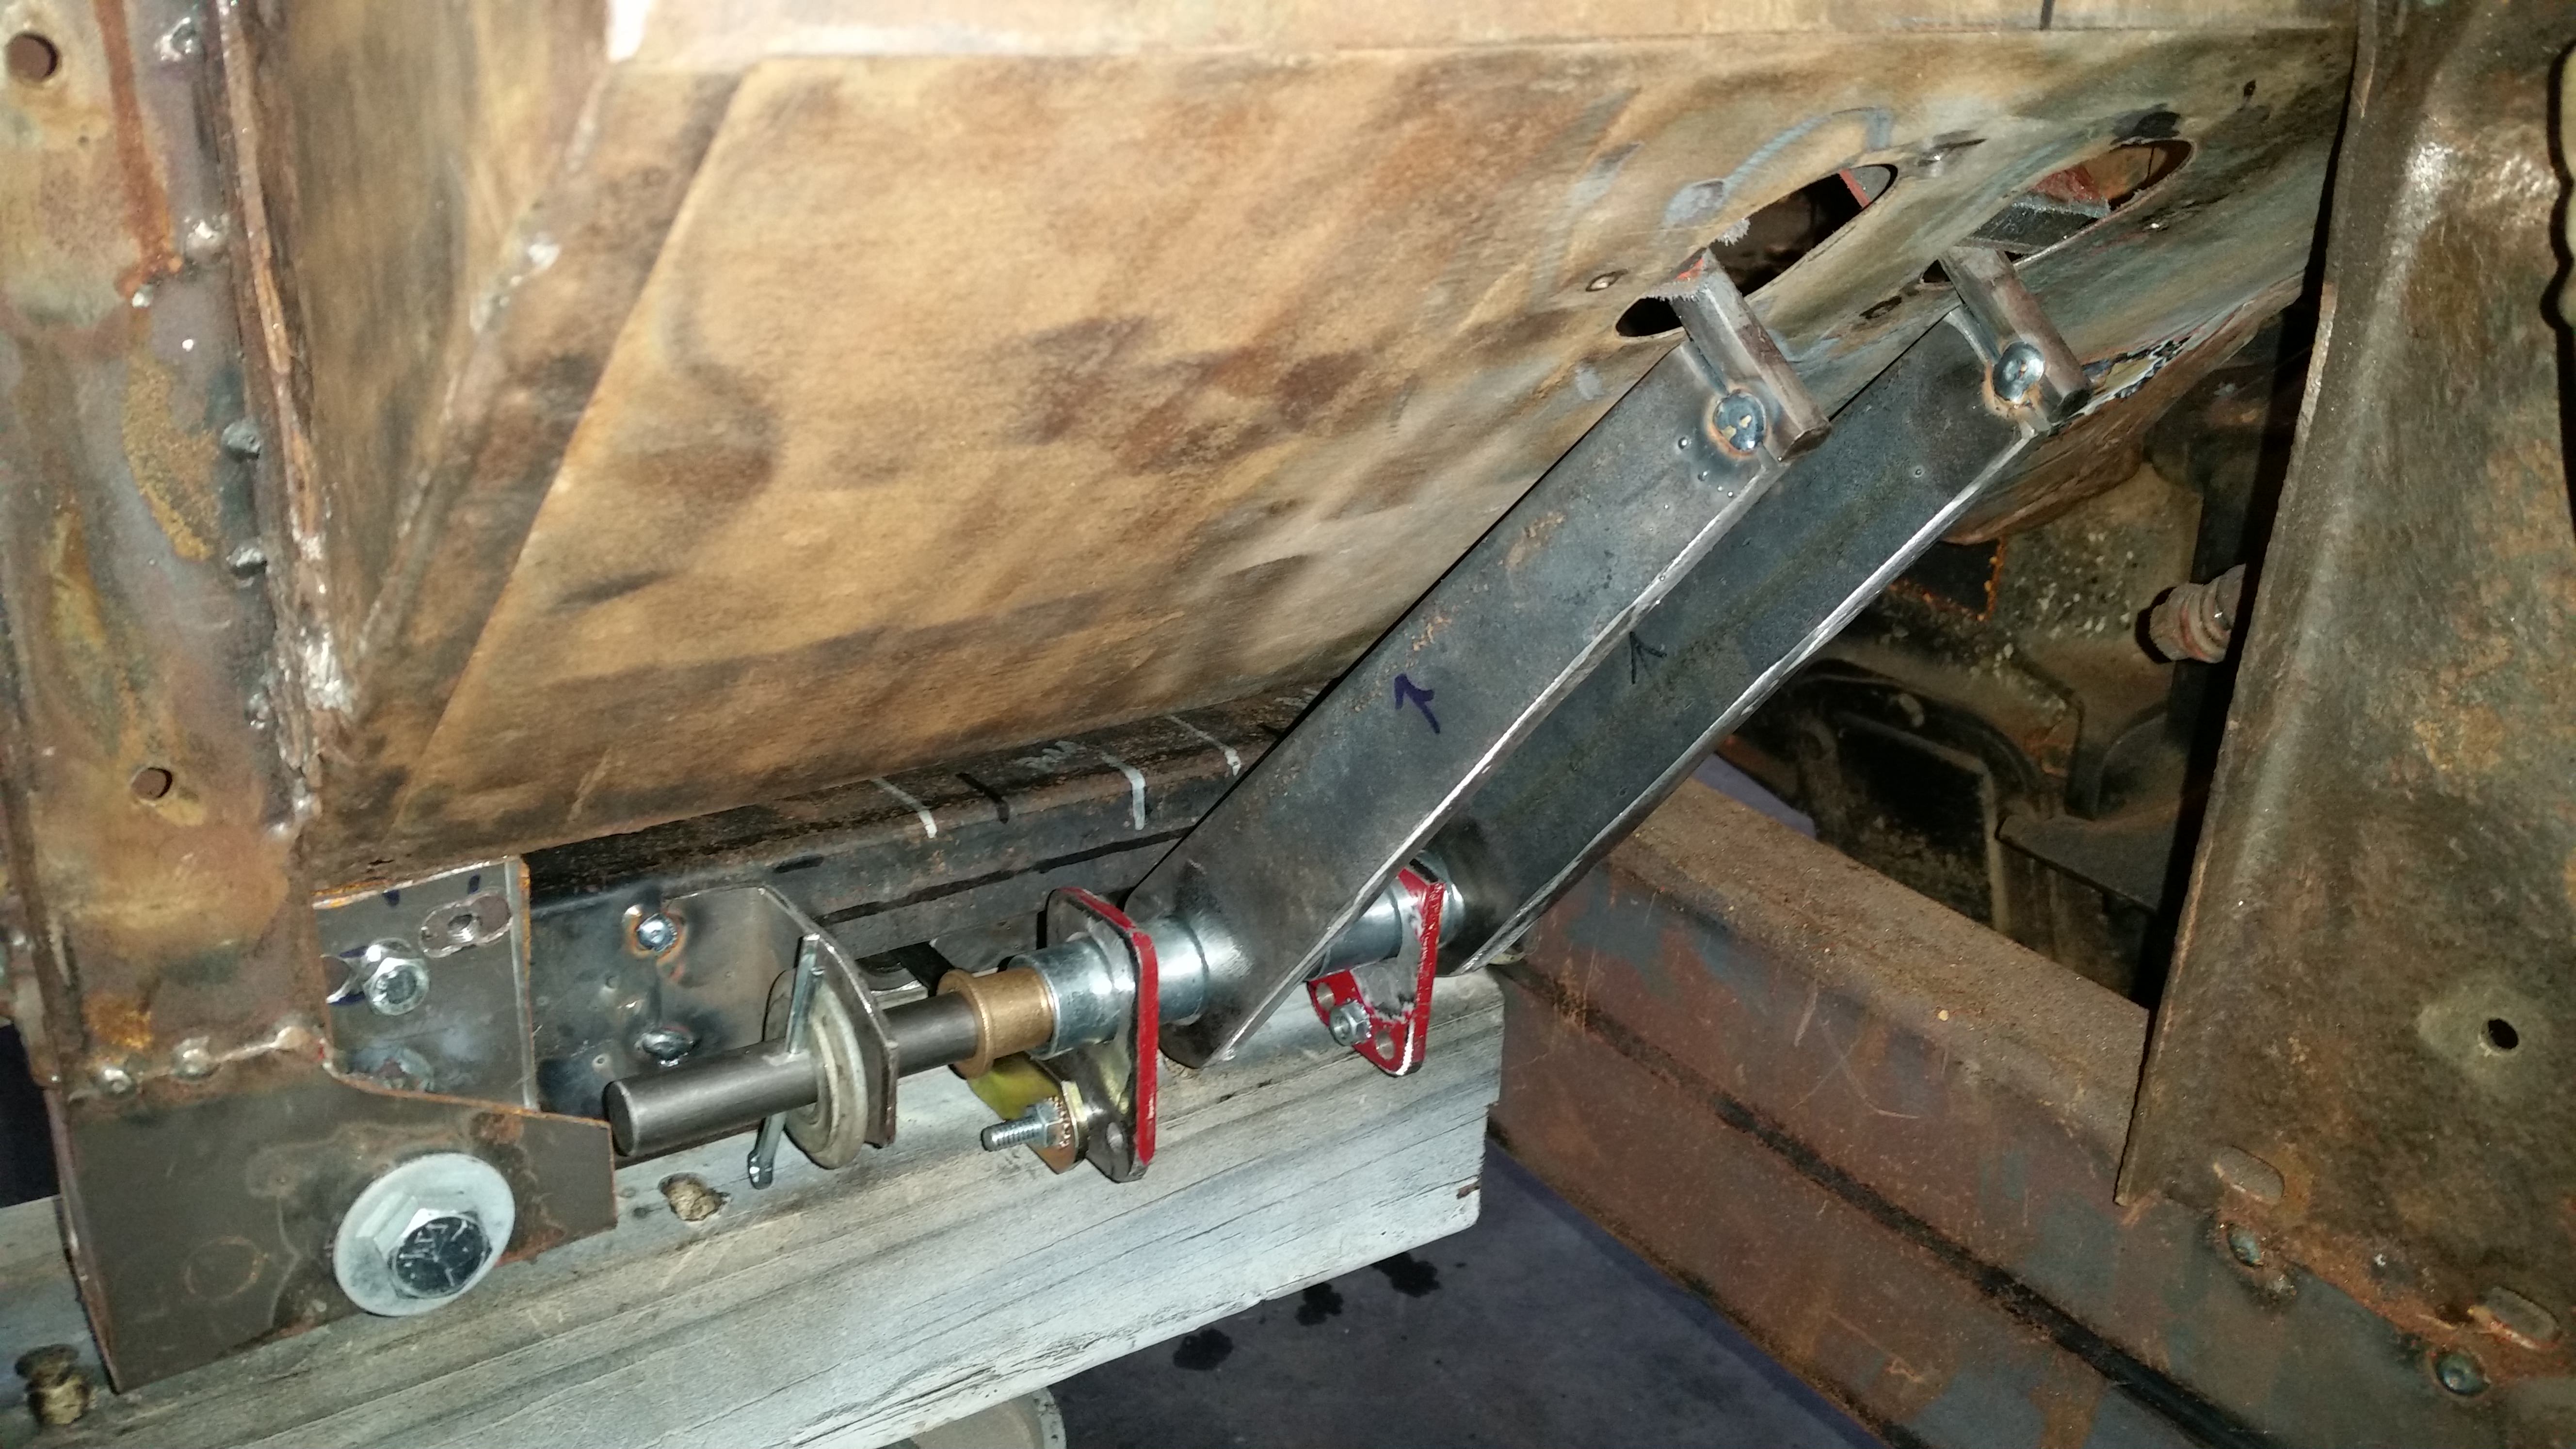
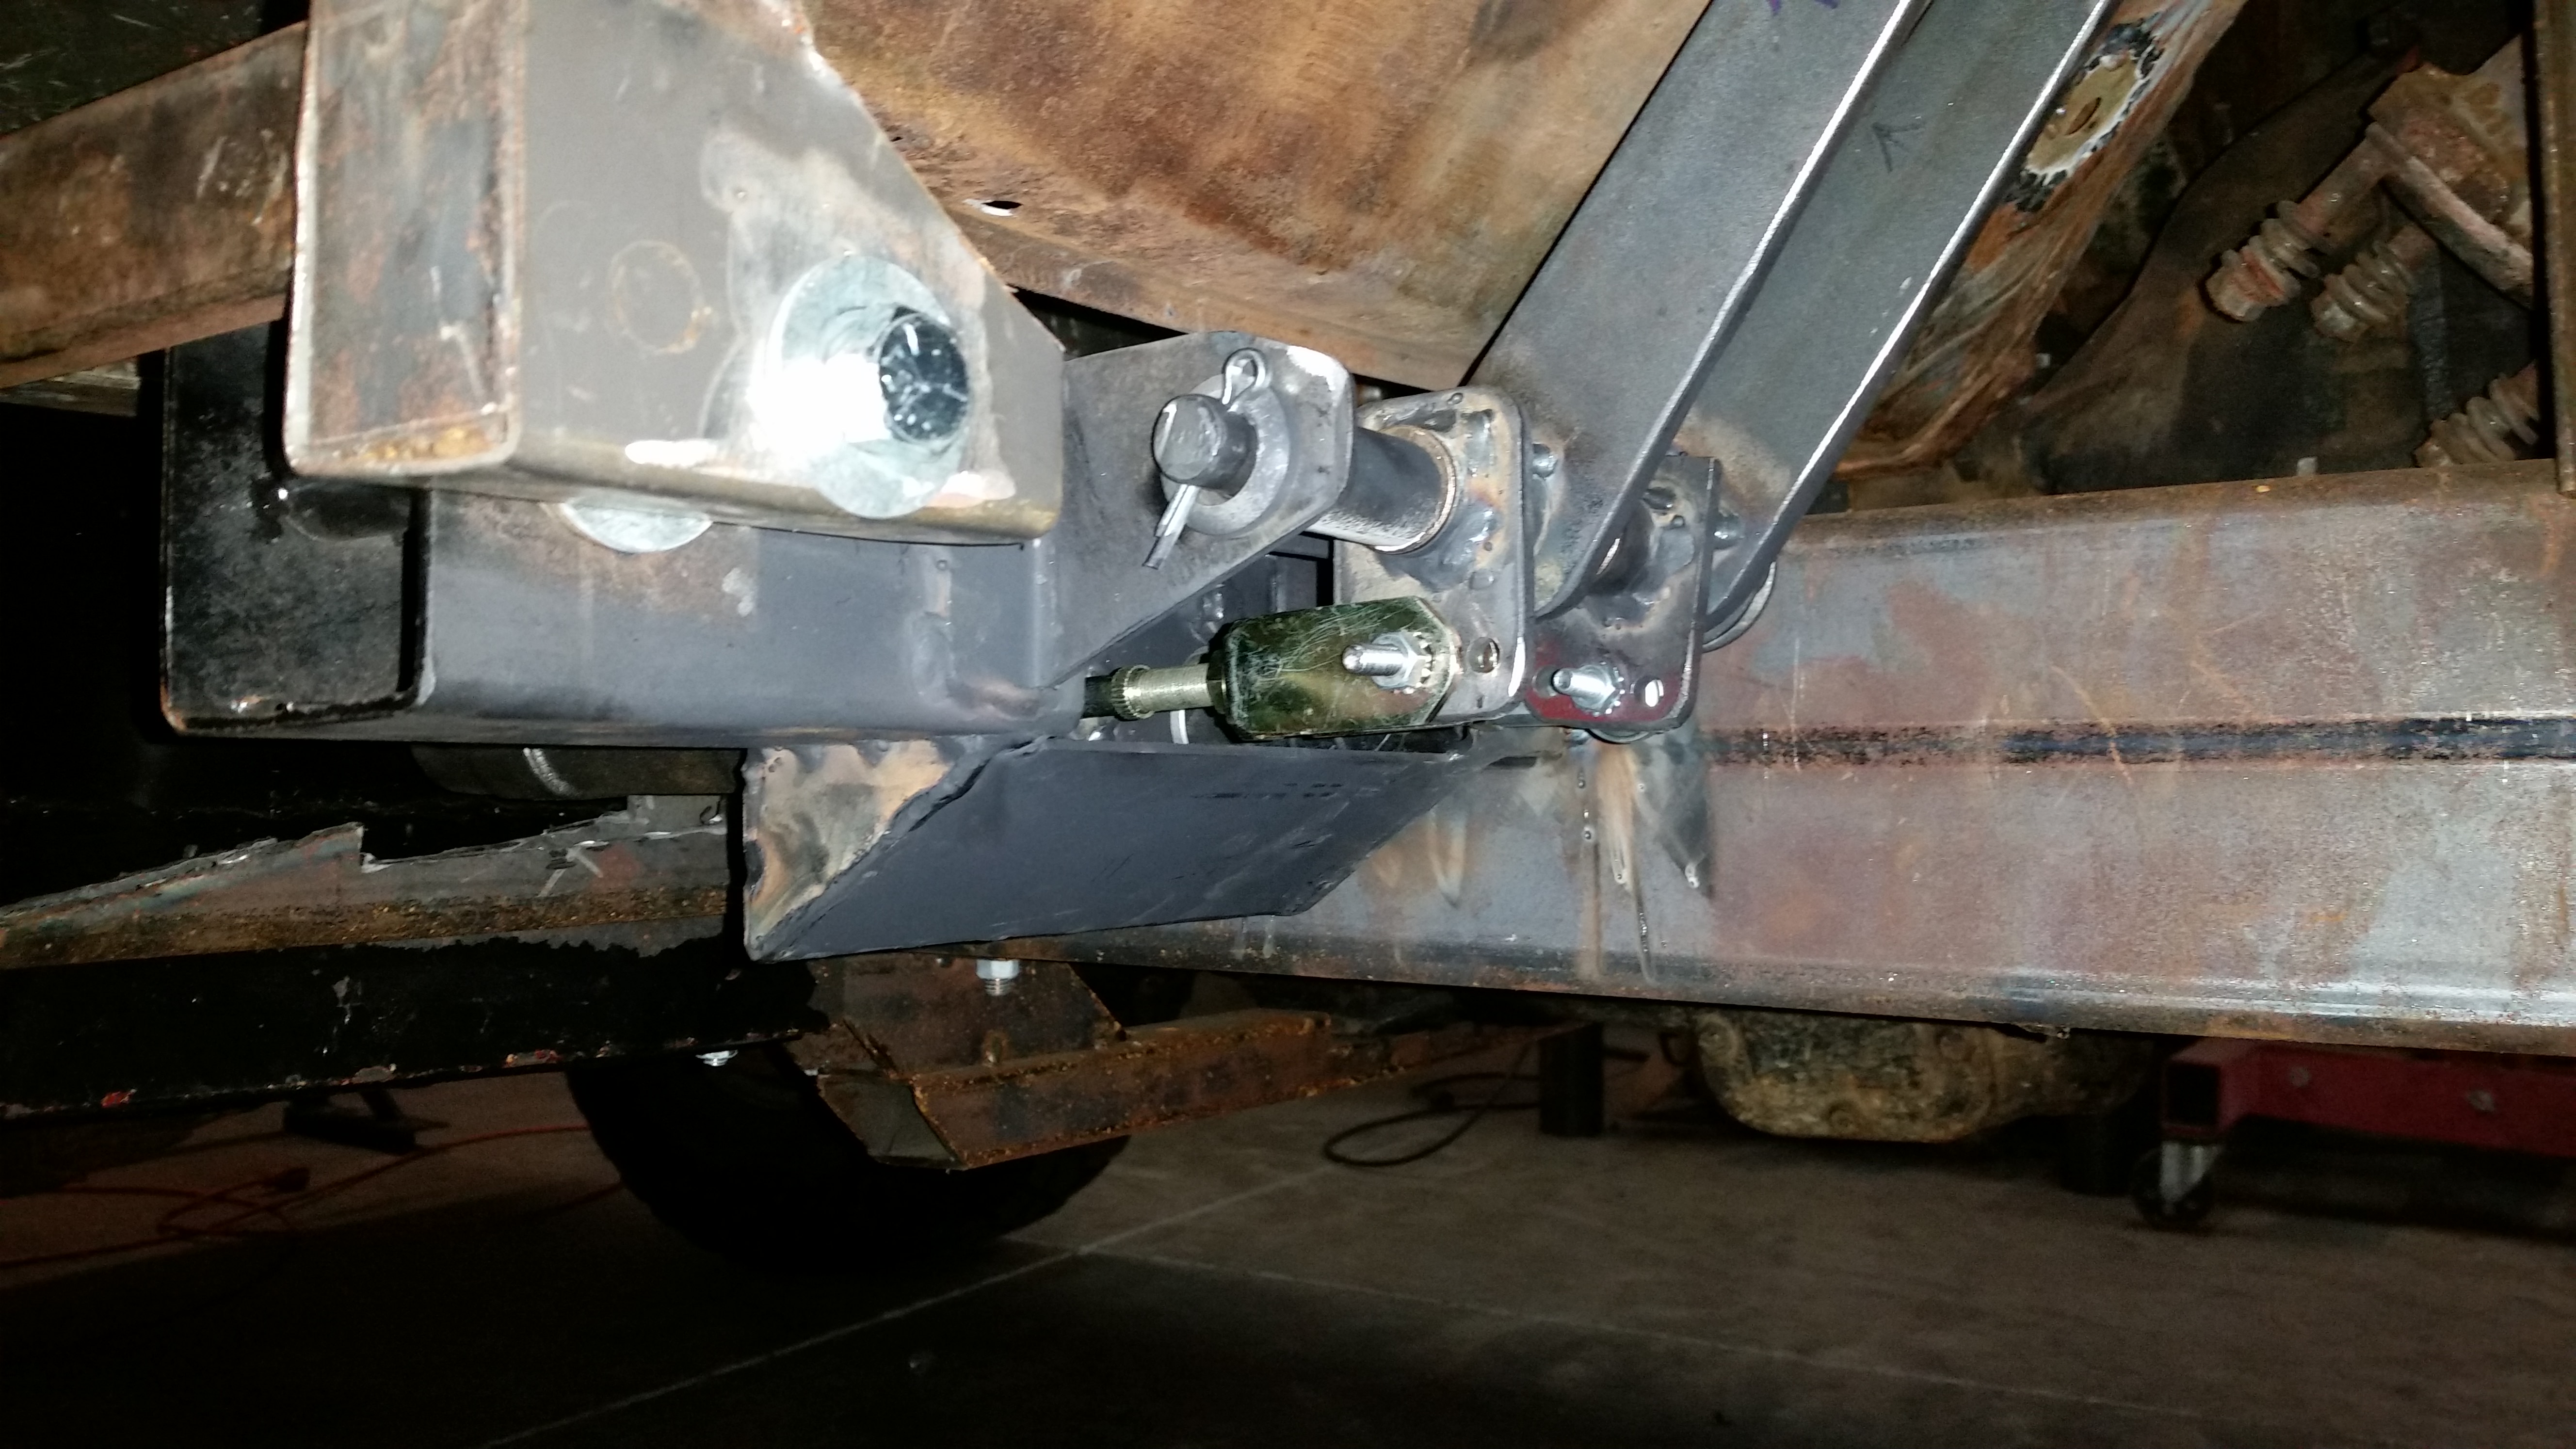
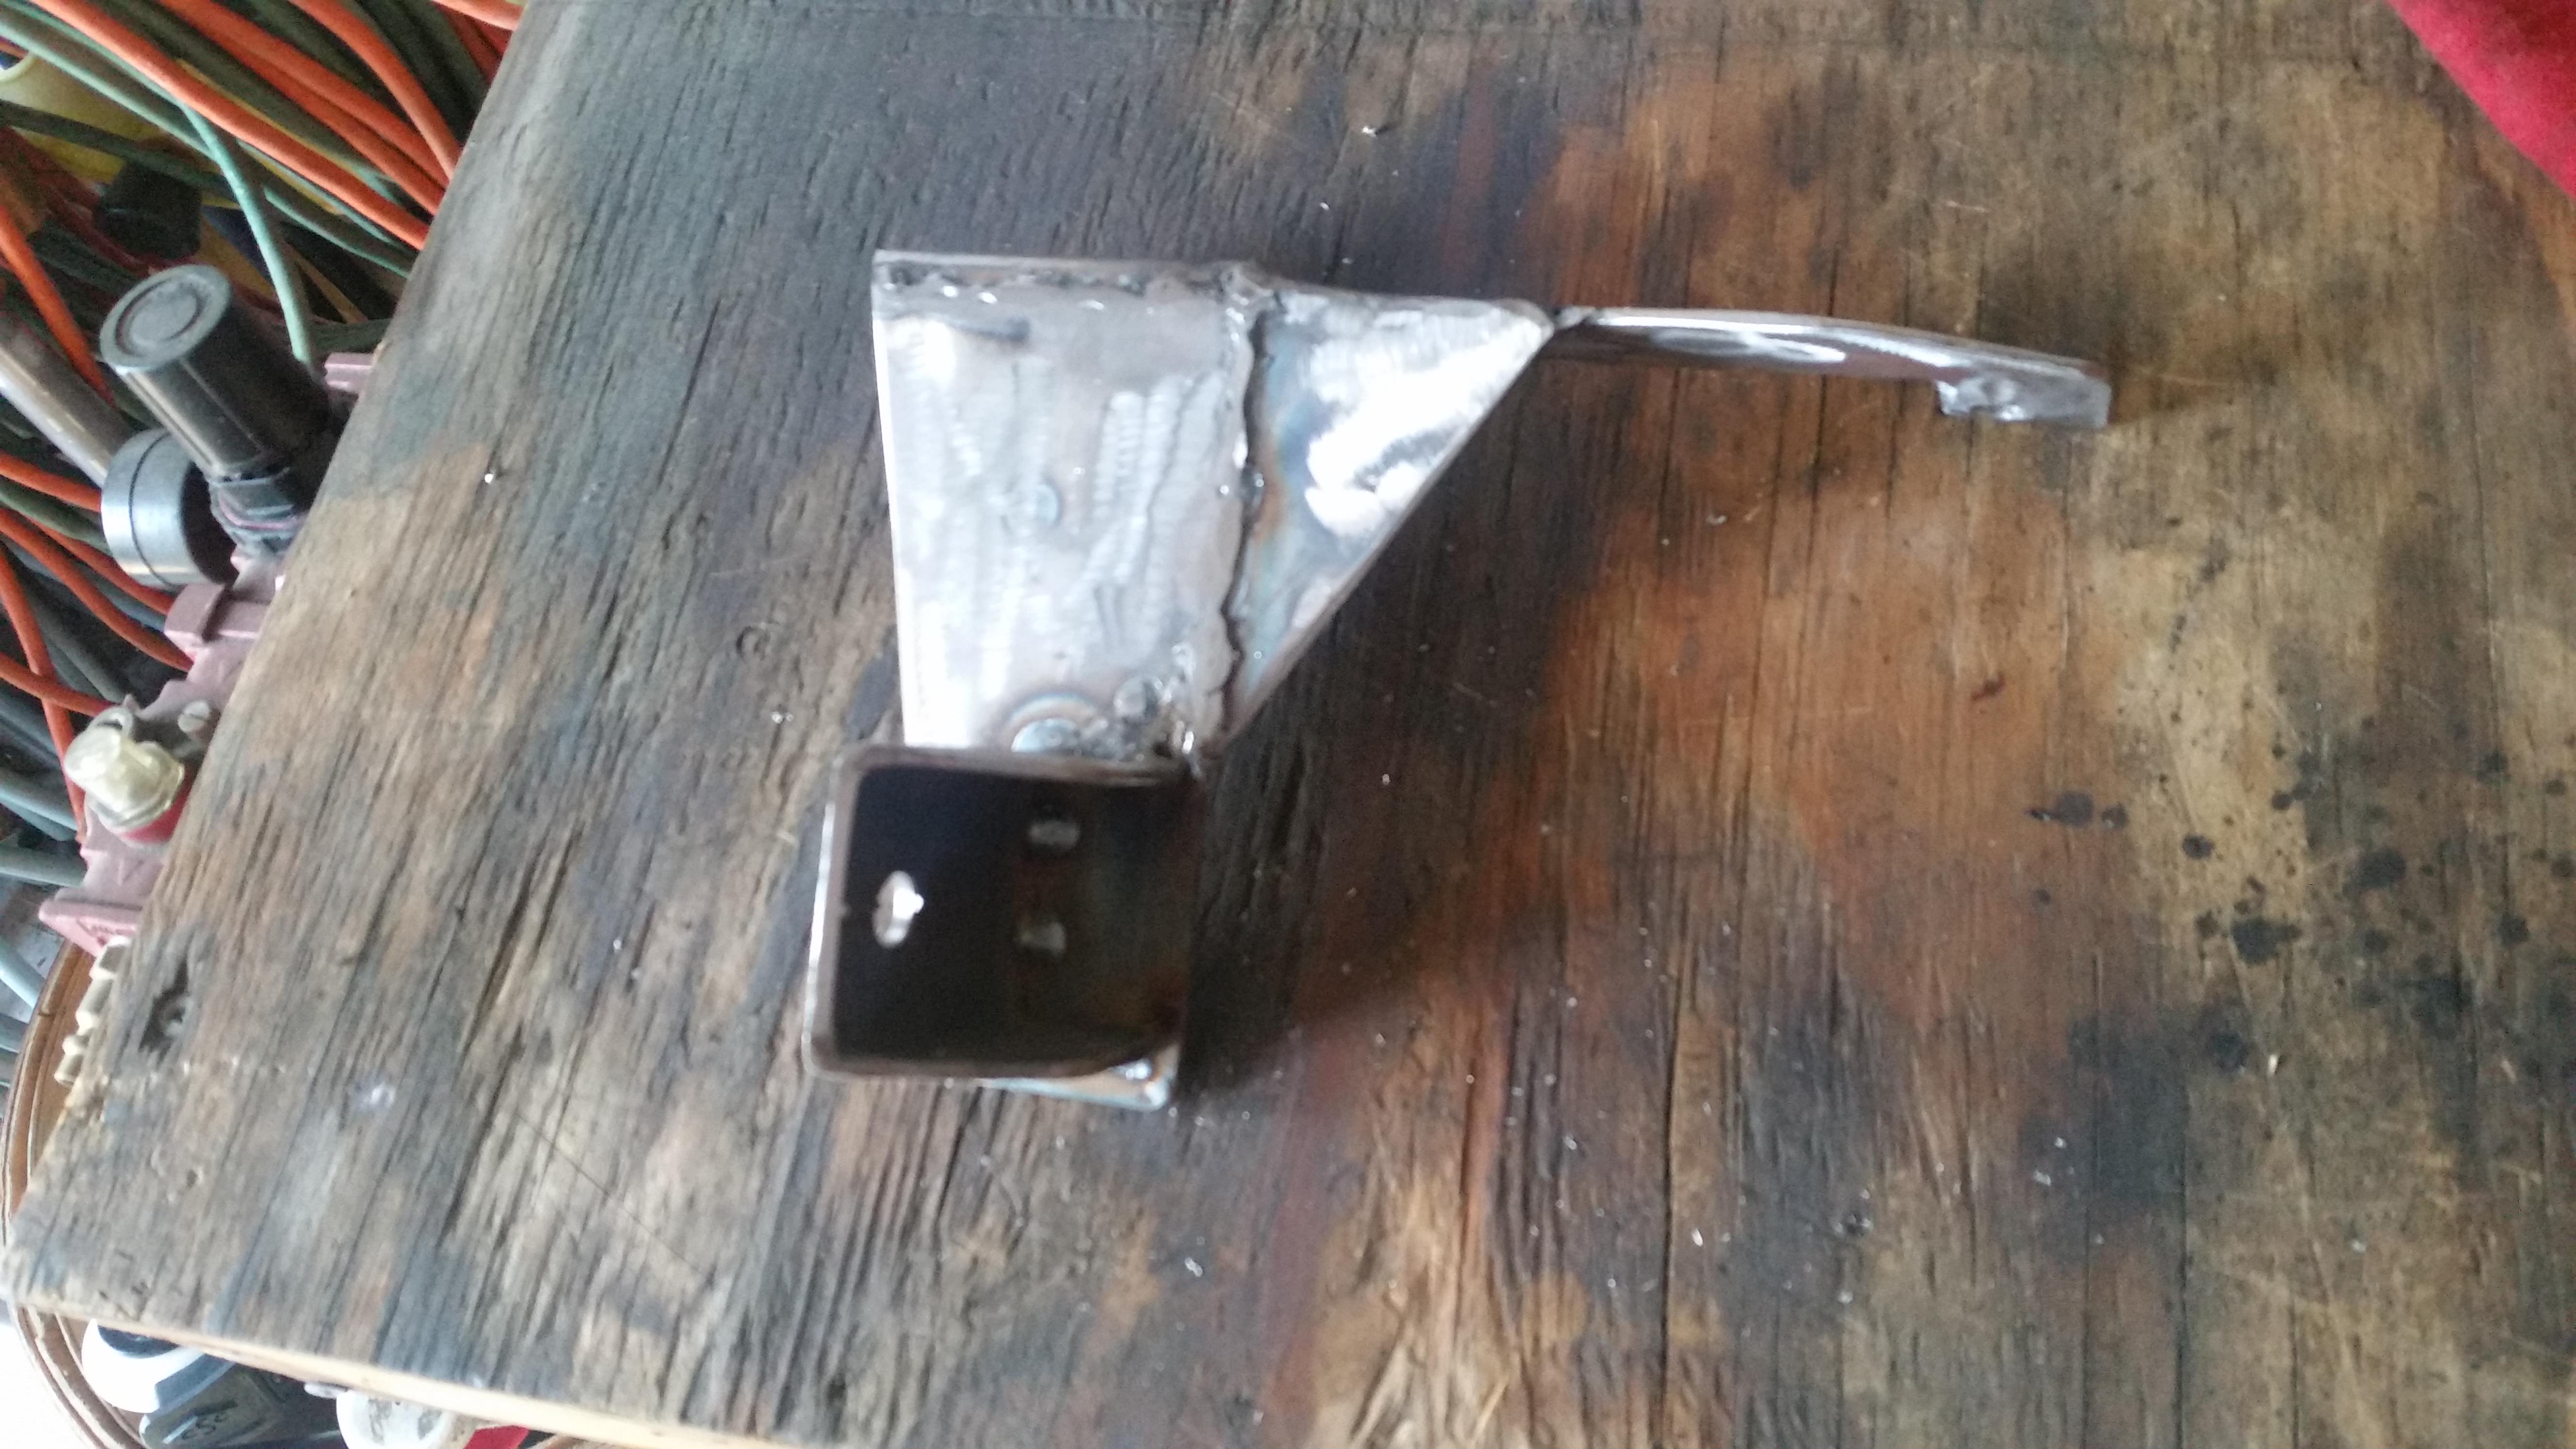
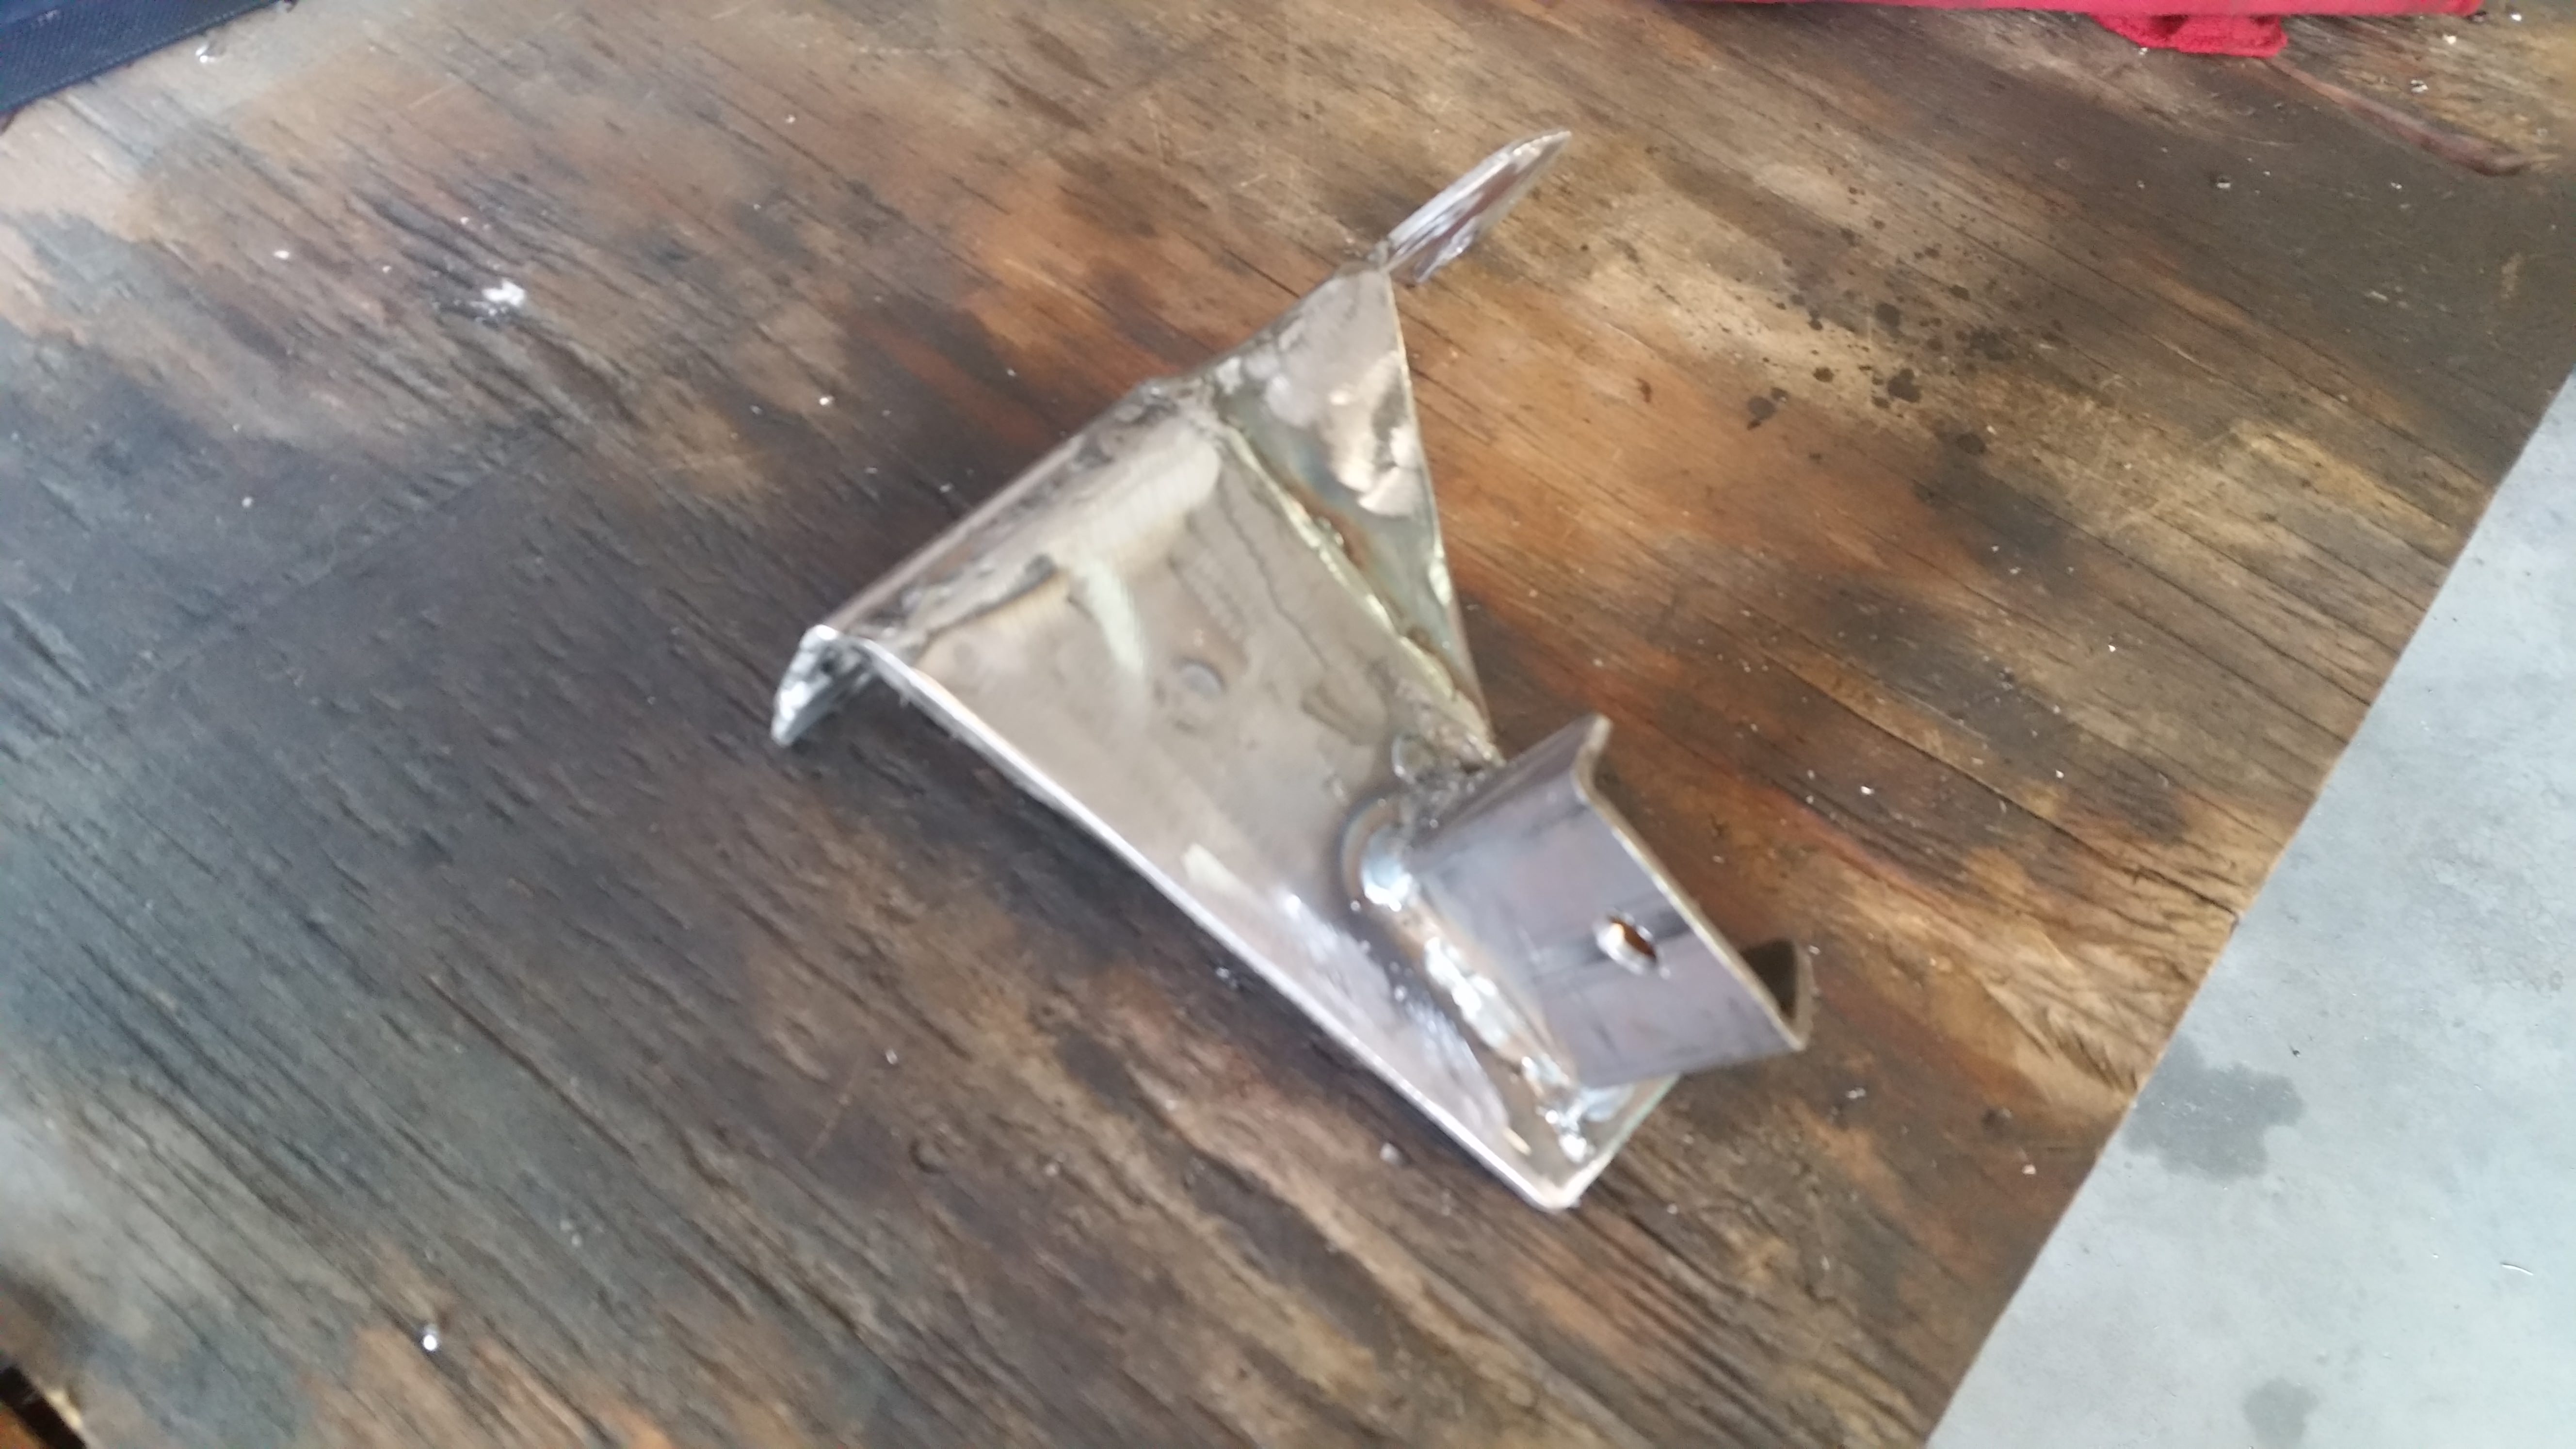
I used 3/8 flat stock for the pedal arms, some round rod for the rod that goes to the foot part. The sleeves have brass bushings to have a smooth movement

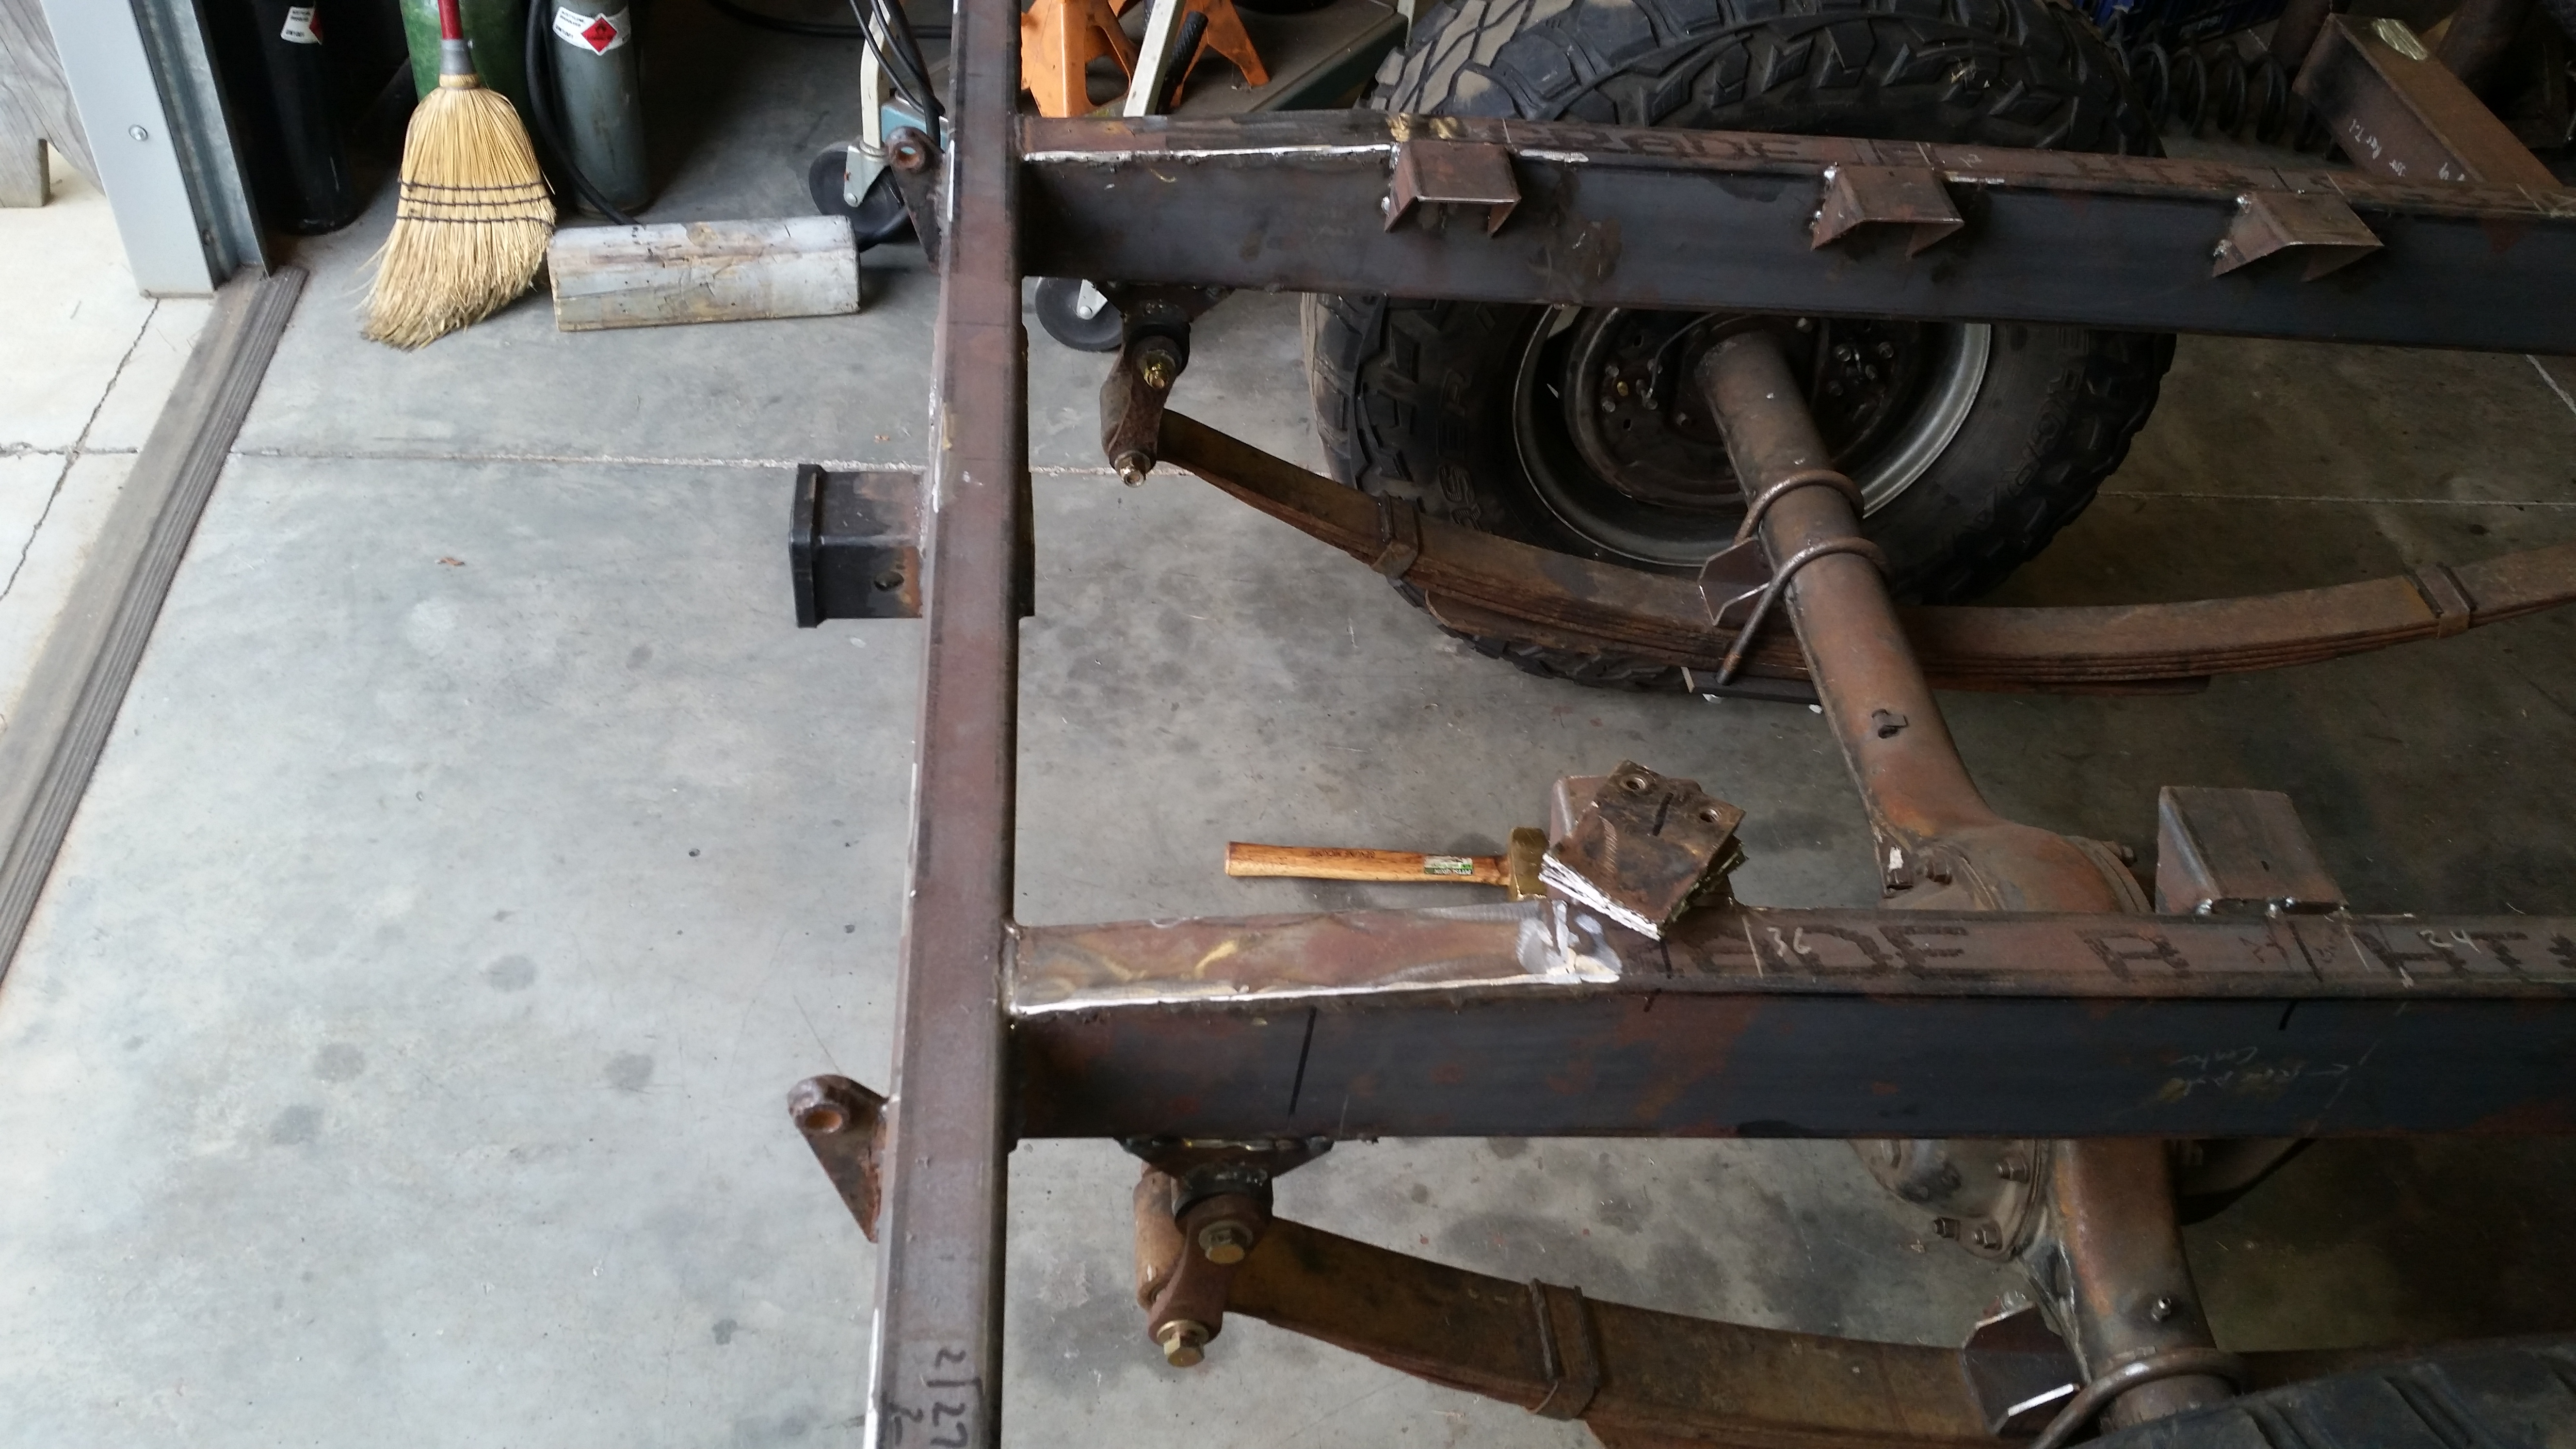
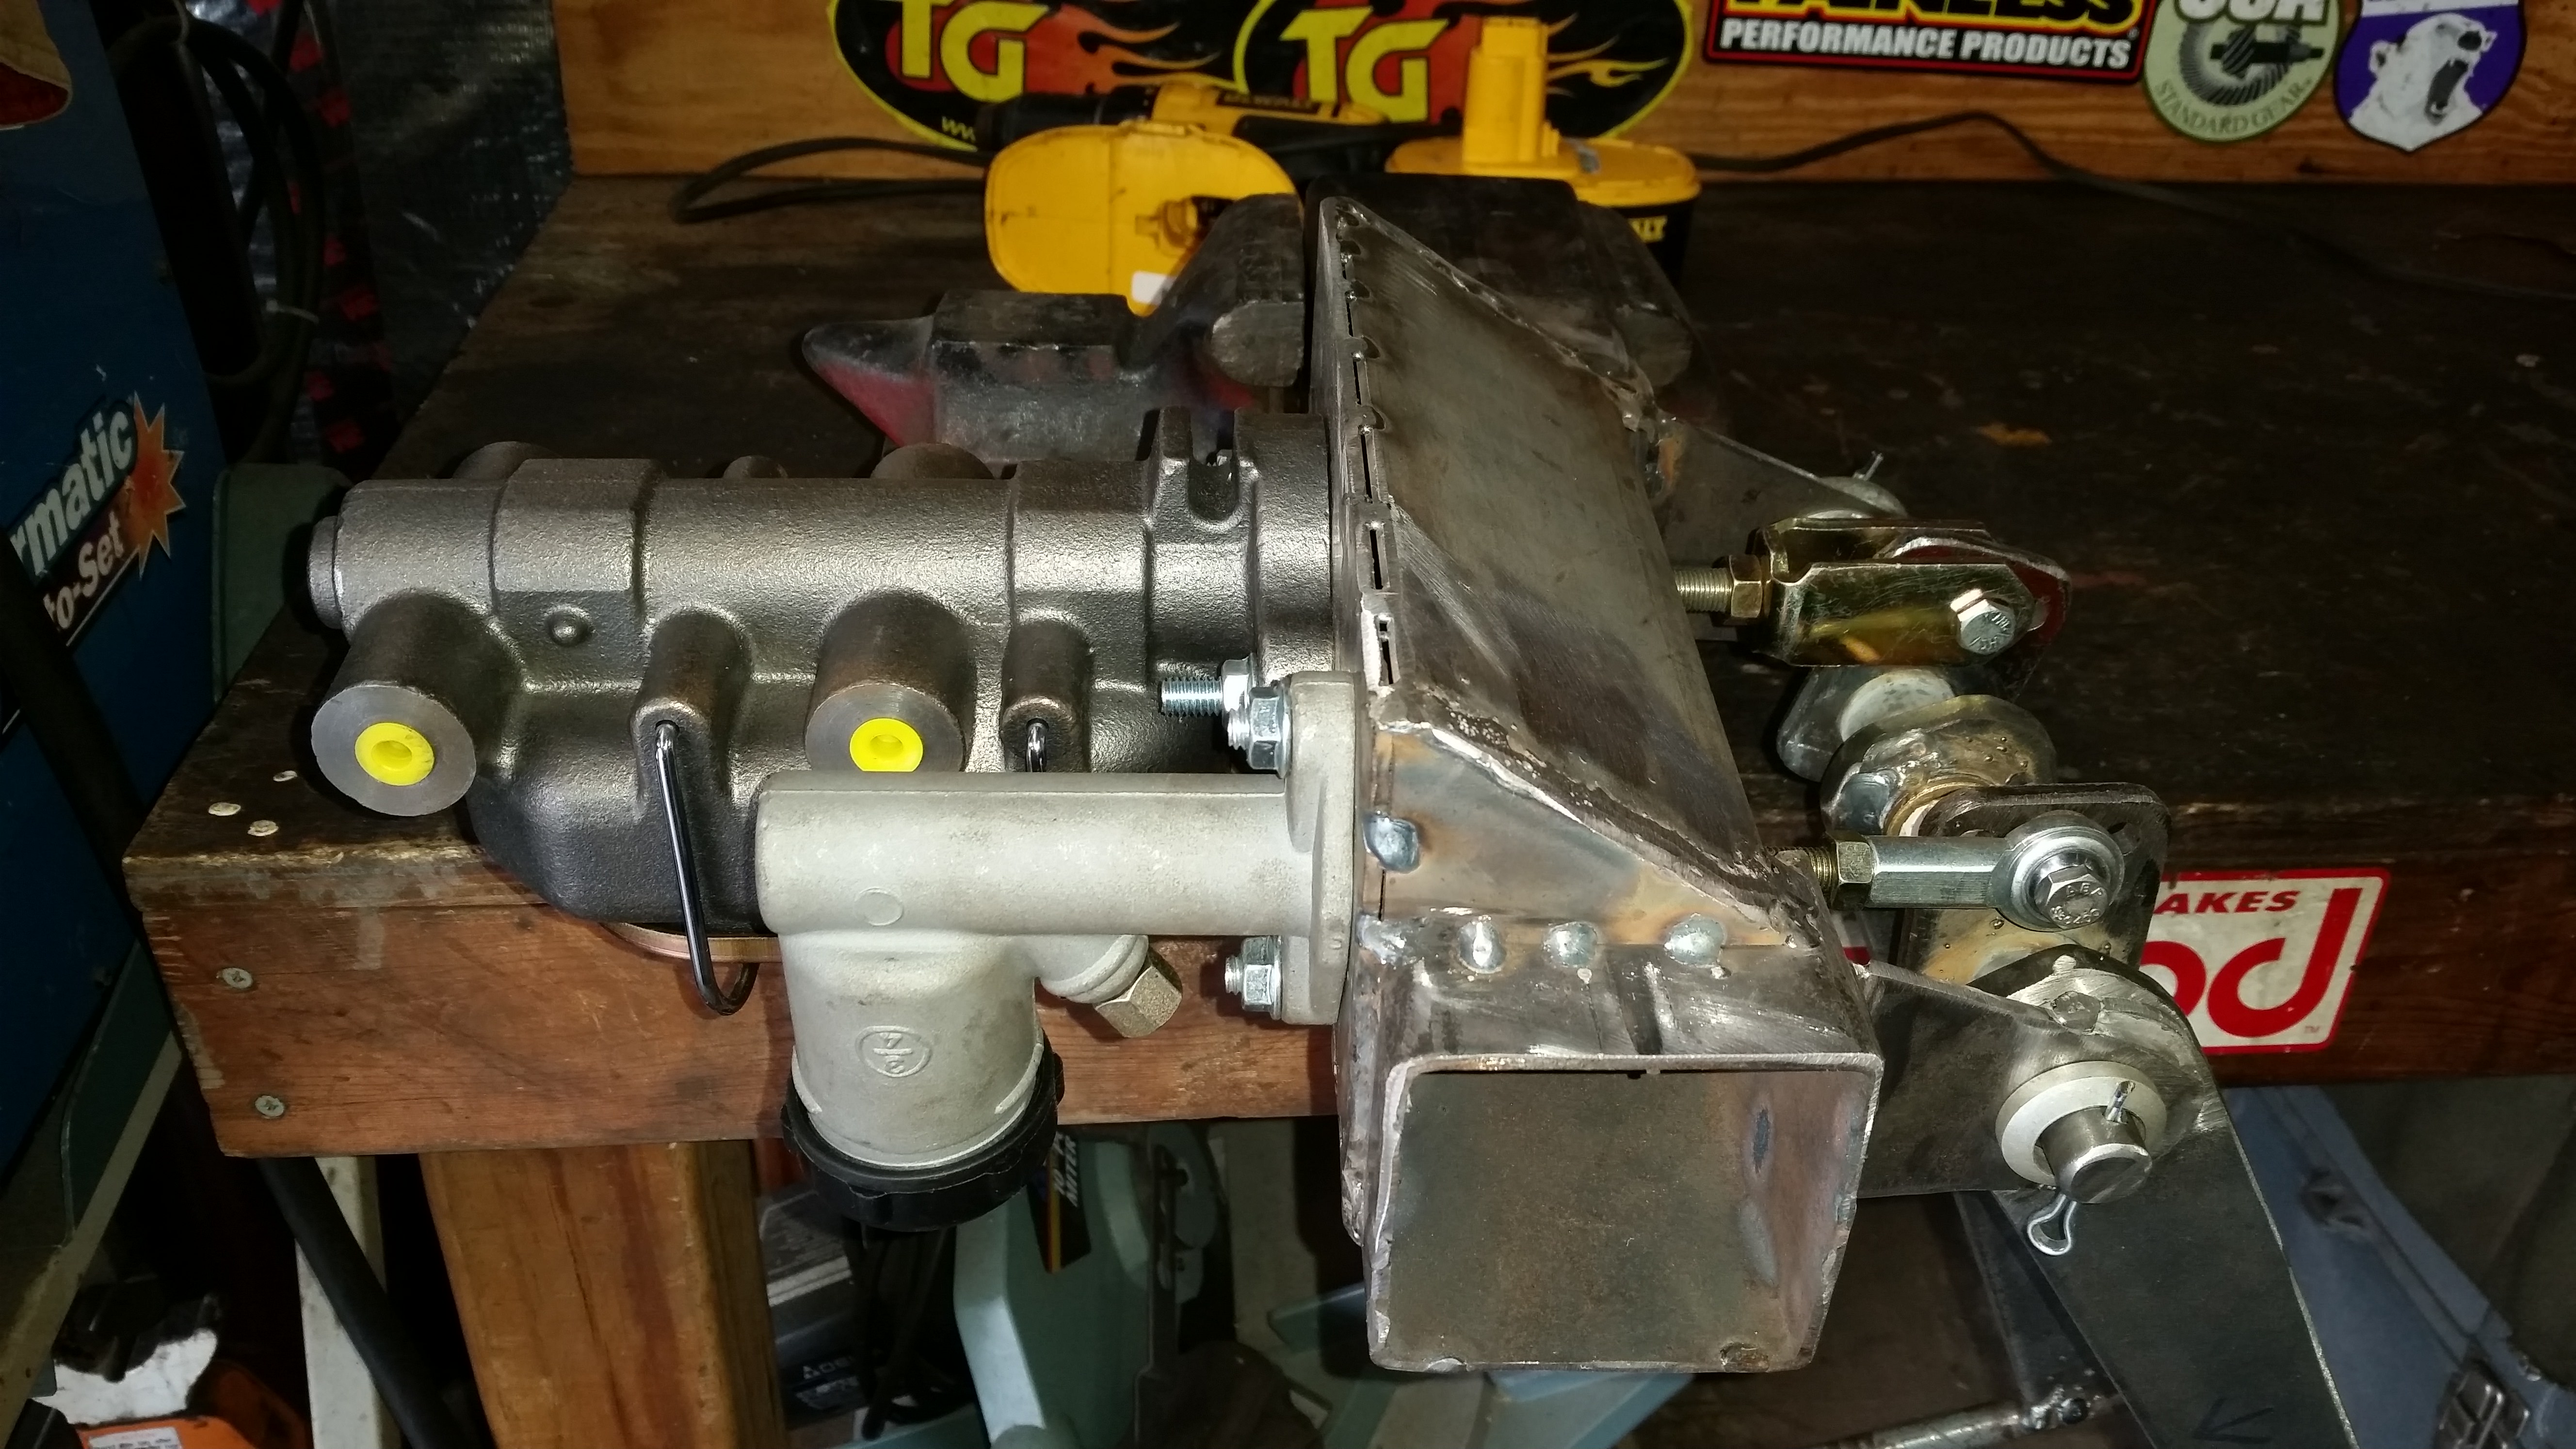
Mocking the outrigger up in the vise
Wk4RUgK.jpg

mYMP2TY.jpg

R3kZCMq.jpg

8tKEtGw.jpg


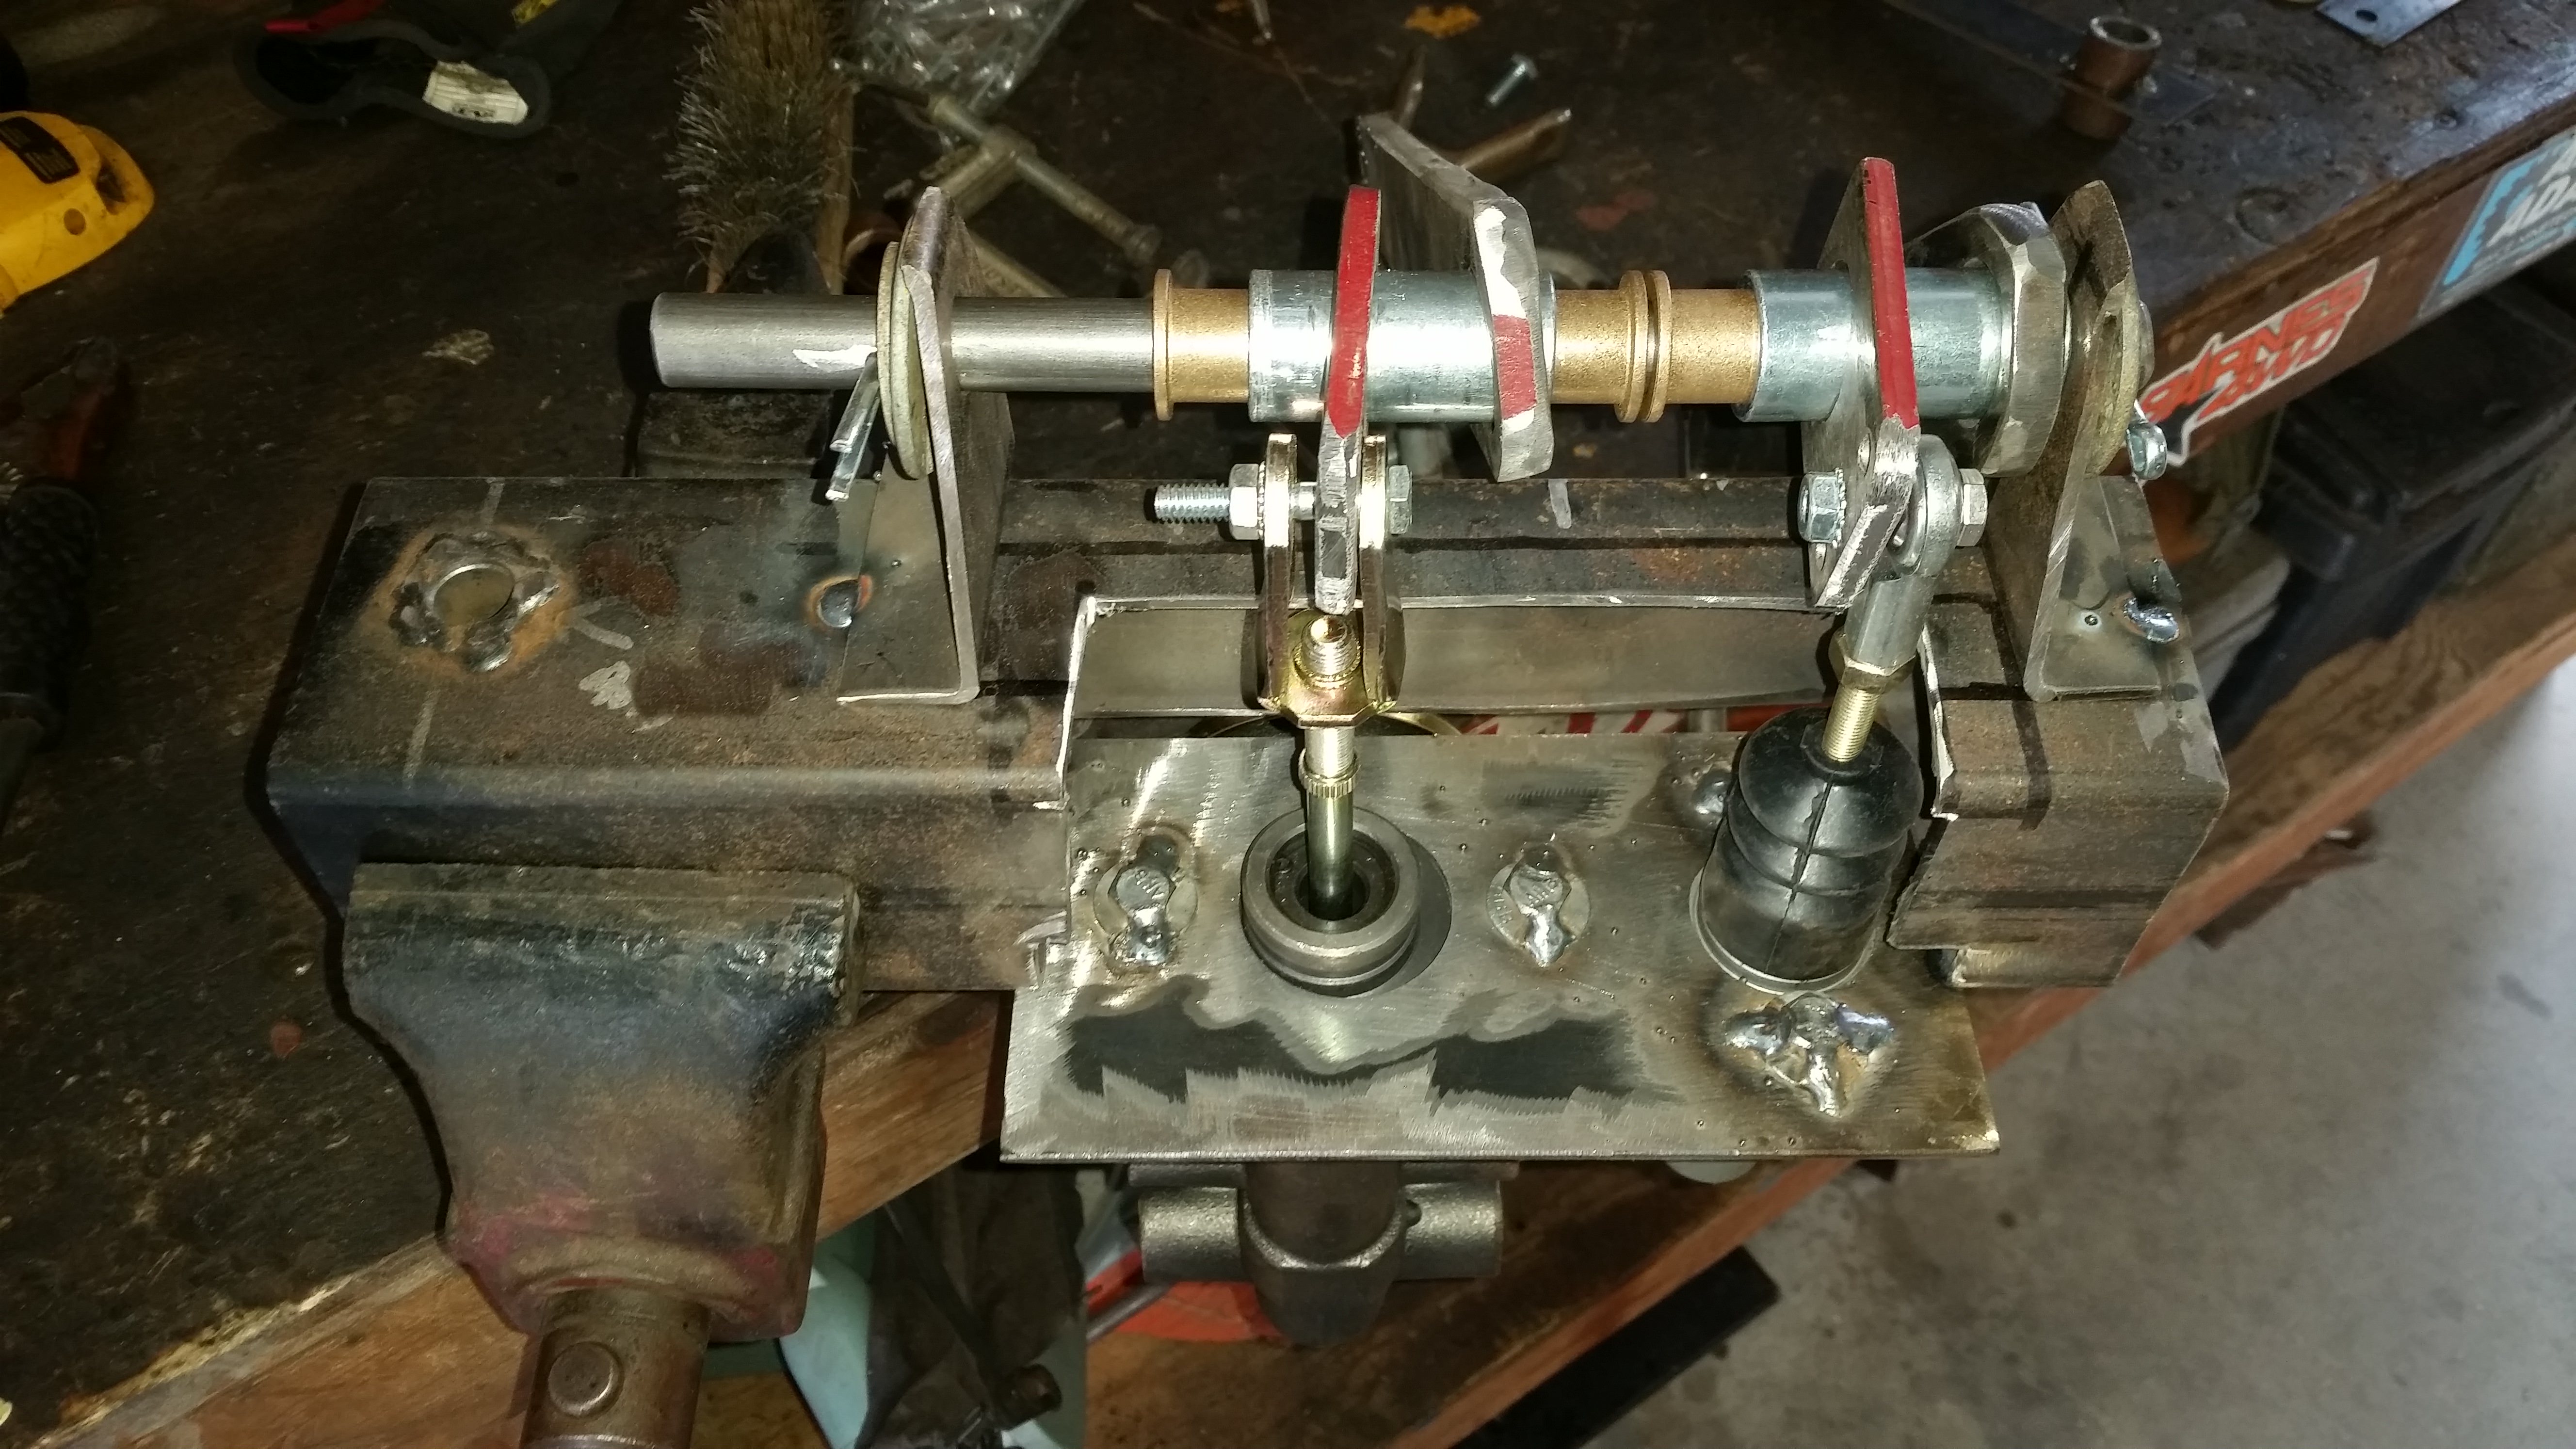
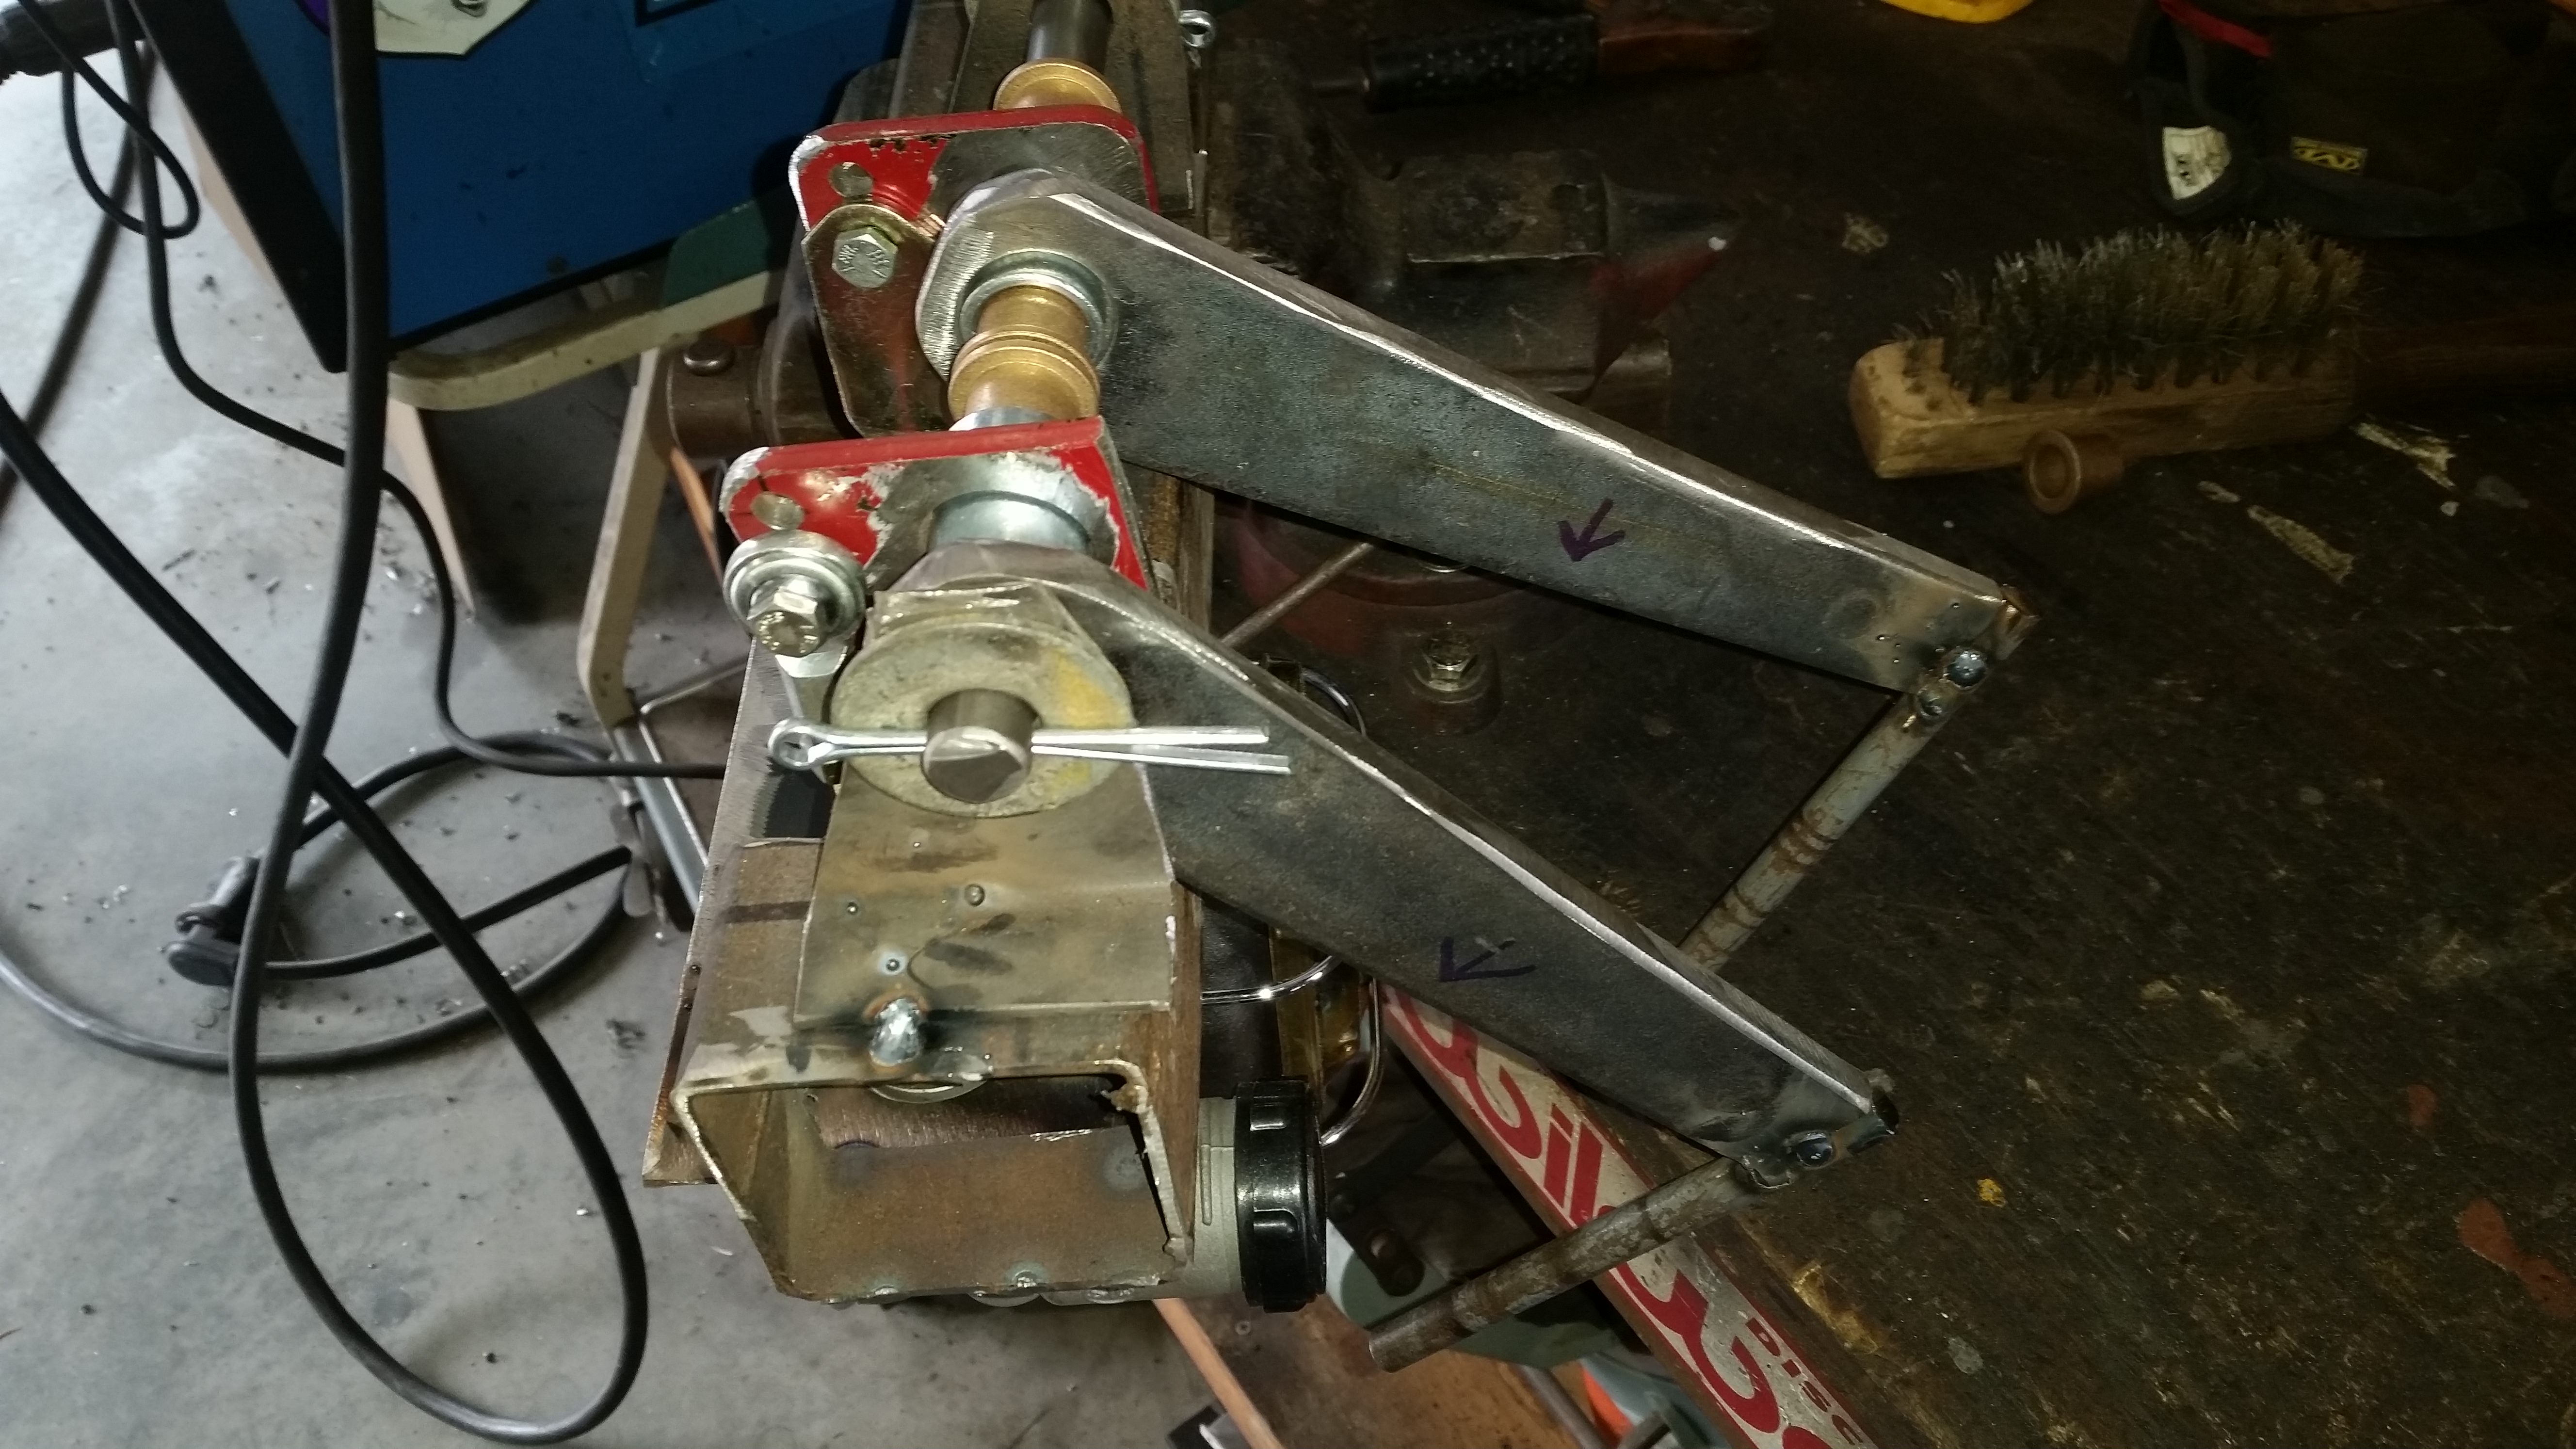
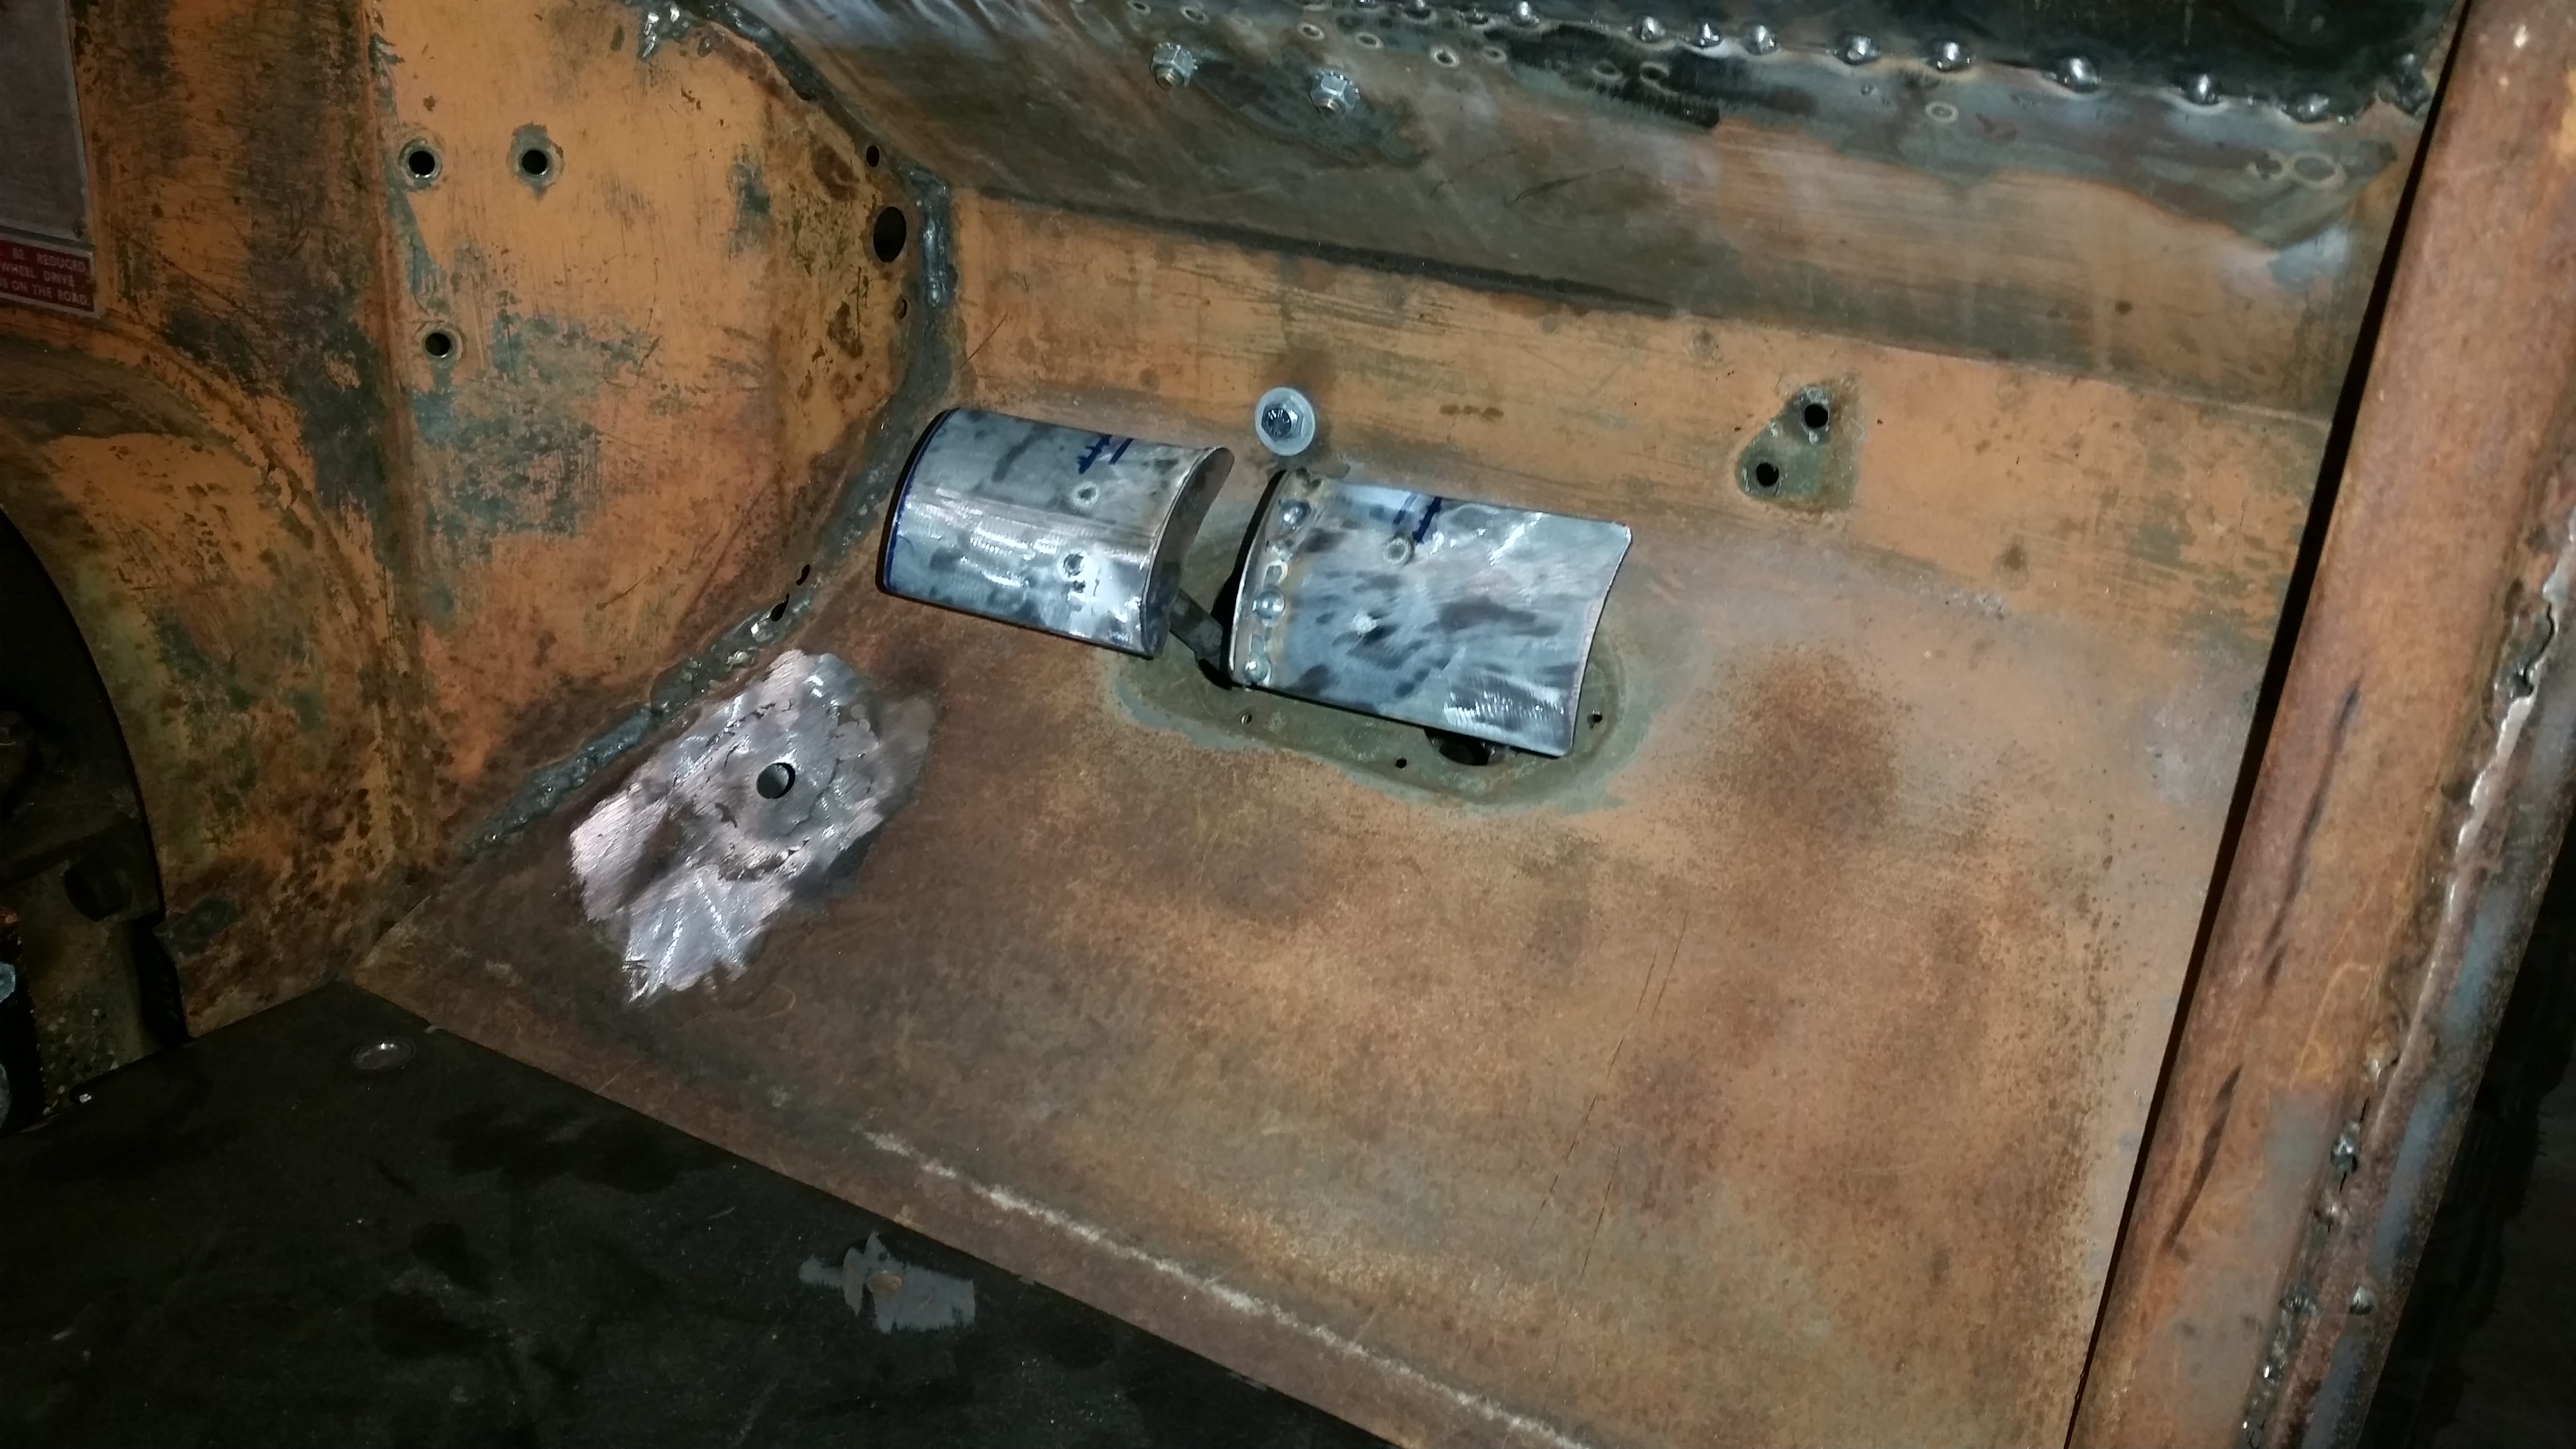
Mocked on the rig, figuring out the spacing between the pedals on the shaft
t0R5QaL.jpg

QxM2lwz.jpg


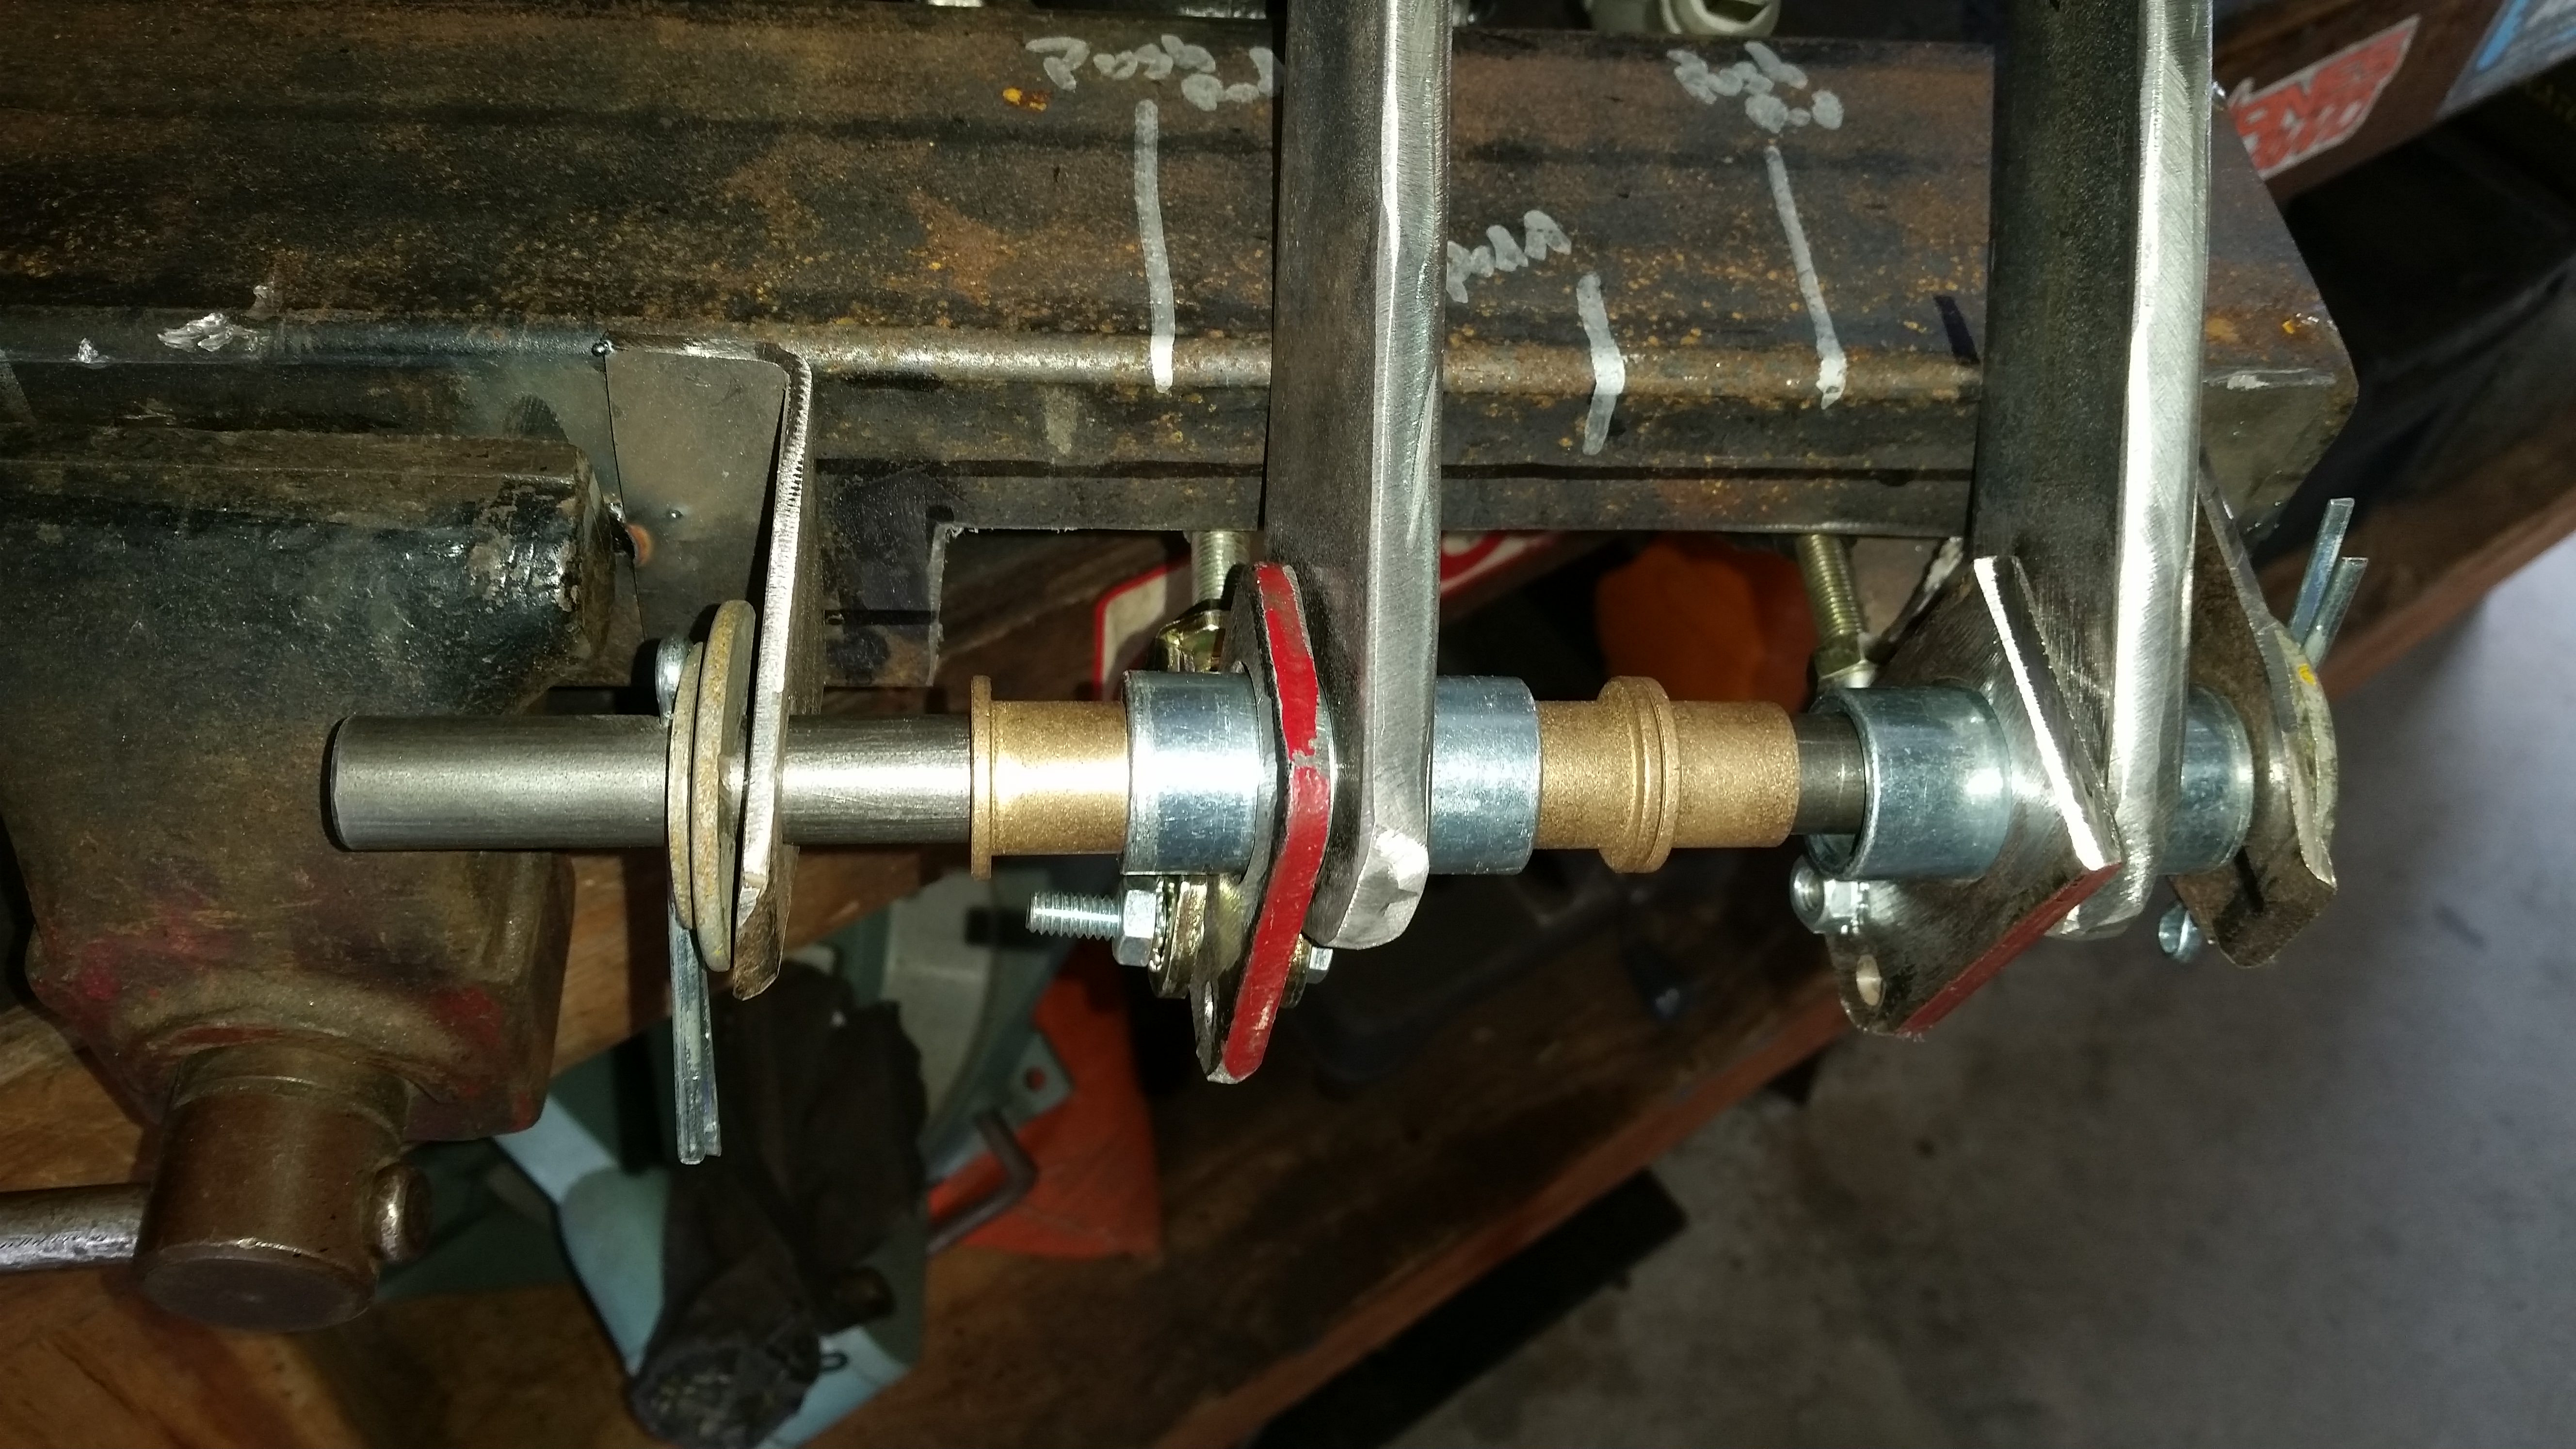
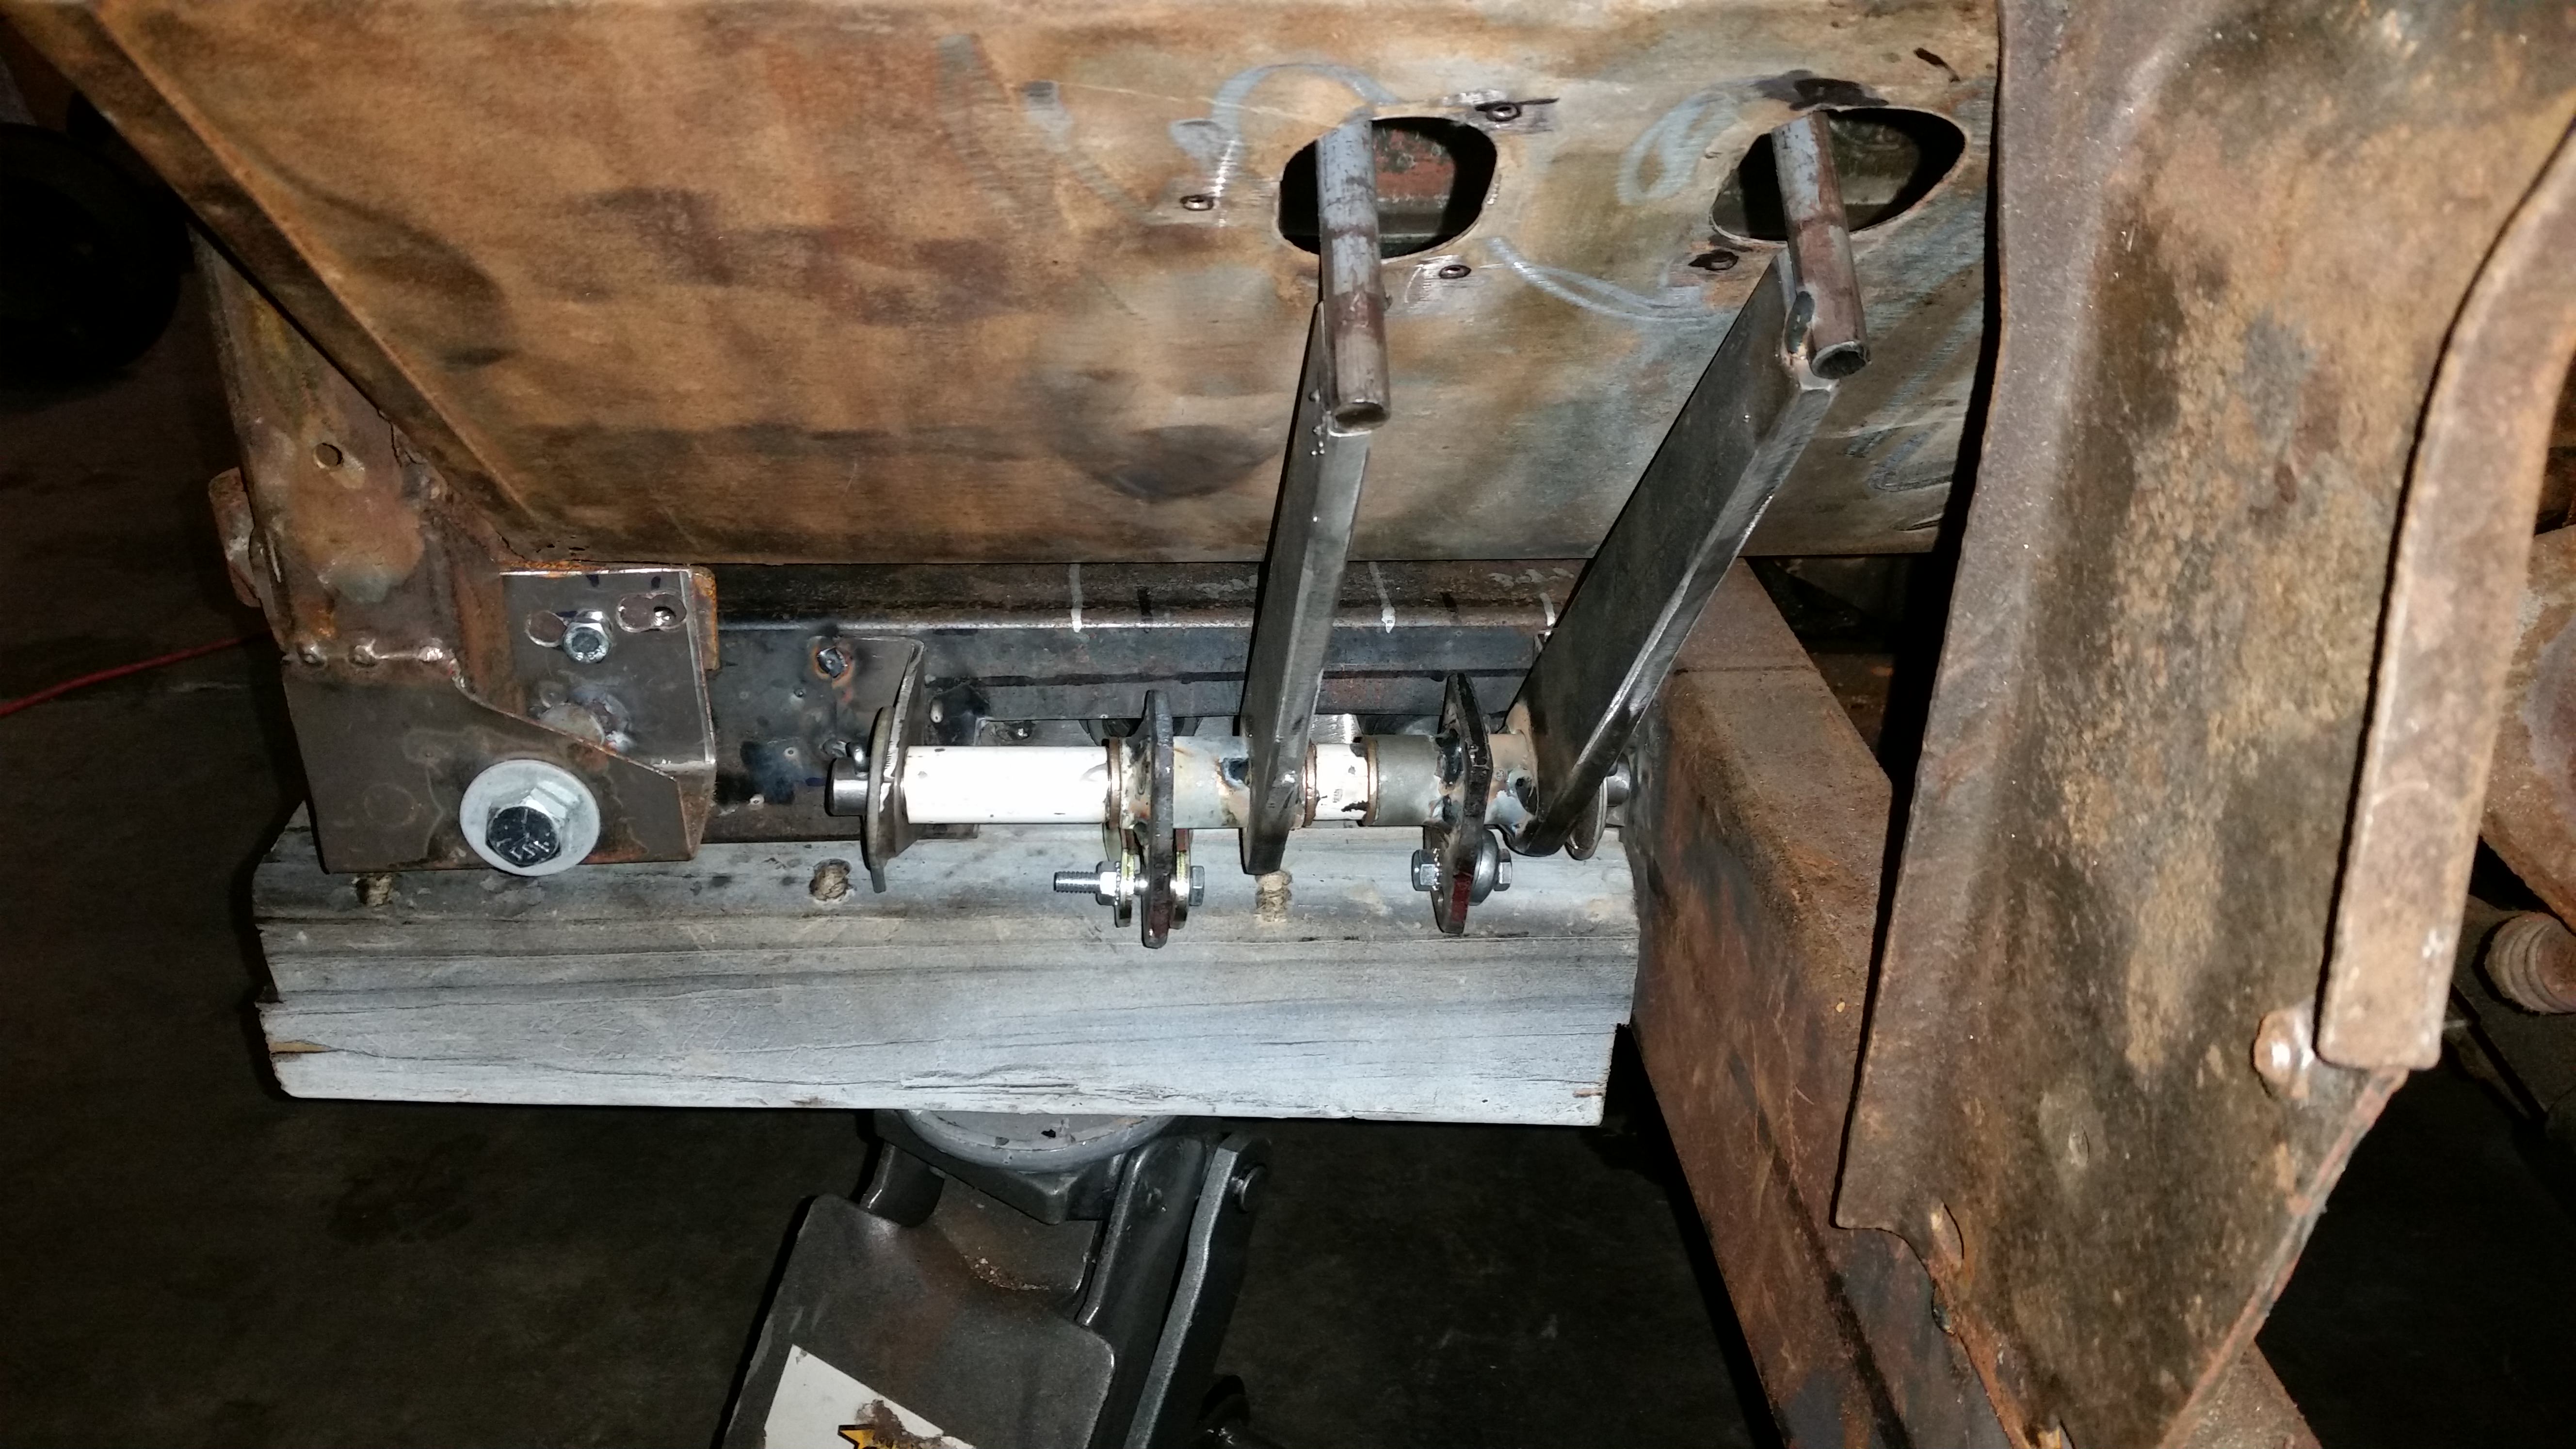
The pedals welded up to the spacer and the white things are just spacers. I need to paint it all
sQV5bOl.jpg


I still need to pull off the outrigger and weld everything up on it and make a skid plate bracket to protect the setup. Then start plumbing the brakes and mount the slave cylinder.
I am glad i got this part done, it has been killing me to figure out this part.
 
The outrigger is welded in and it is all sitting pretty.

I welded in a skid plate to protect the pushrods and to make it a bit more presentable.
Muwy8qy.jpg


The final product for this part. I still need to make the pads for the pedals, but that should not be that hard.
hk1O5vl.jpg

KSdO92q.jpg

QfdqmOv.jpg

rOYYY1Y.jpg

zc4k4As.jpg
 
Lots of little loose ends taken care of today.

Made some grill supports to bulkhead and added a YJ hood prop to it, so not more 2x4s to hold the hood up
TkXuPbH.jpg

5z2O8T7.jpg

SYlSgEQ.jpg

edAMdF5.jpg


Finished my spring mounts by boxing and adding support to them to make them a bit better looking
7pLdGh5.jpg

5Yfmffs.jpg

IV0vG1E.jpg


Set the caster angle and welded up the spring perches to the axles, so it is done
Added some tabs for the brake lines, removed old tabs from the axle and get things ready for the brake lines that will come in this week.
 
I still haven't touched the Rover in a bit, but I am ramping up to have at it. I got a piece of jewelry for it from a good friend in Florida.
eRn4NSG.jpg

3dFbj39.jpg

DI98jKo.jpg

fjPxJzt.jpg


Of course it is just sitting on the bumper, i am going to try and sink it into the bumper, i have to notch the bumper about an inch to get it to fit.
 
It is a Bellview winch. The early version of the Warn 8274. It only has power in and it has an external brake that is controlled by a cable. Perfect for this old rig
 
Pulled the Land Rover apart to do final welds on the frame and do body work.
I am also addressing things I was not happy with with the build up.

I was not happy with the rear shackles. Originally they seemed fine when i first fabbed it up, but i noticed that after the full weight was on the springs the shackle angle was too much and once i add the hard top, the shackle will hit the frame. So I ended up cutting the shackle mounts and moving them back an inch and I am pretty happy with that.

Another issue i had was the rear body was not aligned properly with the bulkhead. You would never notice unless you looked at the body line with the doors on. The body mount brakets were a smidge off. I pulled off the brackets and i will remount the tub and redo the mounts. Sometimes you just have to suck it up and go back and re finish to make a person happy.

OulzG11.jpg
 
Well I have been busy doing stuff I HATE... Body Work.
I sanded everything down and spent time on the fenders to repair various cracks and missing parts. Filling in the extra holes and closed up the large hole for the second lamp on the fender. It was added at some point and i do not need it.

Fenders
5MRMehh.jpg

NGpN68p.jpg


I started to put down some color. Since all of these panels are interior and not even seen much I brushed on the paint.
BQd7ffy.jpg

Ukl30ln.jpg


I primered up the tub last night, today i made it look pretty on the inside
95oem6R.jpg

EDx9Lz5.jpg

6xcWsOd.jpg


Mind you this is not a "restoration", there will be flaws and what not, I want to get it back on the road/trail where it belongs.
 
I finished painting the various pieces. Just finished up the entire gallon. I was running low and really did not want to have to buy another gallon and waste alot of it. They only sell spray cans and gallons of this color :(

fbRUadz.jpg

XBGBVbi.jpg

UOX5zzi.jpg

mtWnUyU.jpg

IPaEA42.jpg

qwEshRm.jpg

P6DcgvF.jpg

M1dBN0r.jpg


Started on painting the chassis. Next is to run the rear brakelines and then put the rear tub back on to make some room in the garage.
WdA6kJV.jpg


It is starting to get serious now, I think i can actually see the light at the end of the tunnel.
 
Pulled the motor/gearboxes today. Put the tub back on to get more room in the garage. Final welded the motor mounts and added some extra supports for them, I did not like having plain angle iron supporting the mounts. Painted it all. Now to start reassembling everything. It is starting to become a thing . :)

25oafiI.jpg

VOqu2jJ.jpg

neUJvcw.jpg

8SJMGKB.jpg


Oh and i will paint the axles. still need to weld the rear perches on. I wanted to get it together with all the weight on it before i do that.
 
Very cool build, love the color choice, looks great! Perfect winch choice with that Belleview! Can't wait to see it all together, gotta love a Series I!
 
Right now, I am just putting the motor in an getting it running. It did run, but had high miles. At least in this rig, it is super easy to pull everything out of it. :)
 
I need to do the exhaust on the Rover so i can continue on putting it back together. BUT I am still having a hard time making the exhaust work the way i want it to, so I decided to mount the winch and get it off the workbench. I still want to do some more bracing on the winch mount, i am not 100% about it. It is on, so i can continue on and try and figure out the exhaust.

4bqzqvq.jpg

aUDLrvY.jpg

lSScsyQ.jpg

xORitLZ.jpg
 
I got the exhaust mocked up during the hurricane. I don't really like doing exhaust work, but it has to be done.
I got a pretty good kit from summit racing to do the exhaust

https://www.summitracing.com/parts/...lOBBsbULU7pjpLRMJY5nR6SEuO9lGxBgaAvhBEALw_wcB

Only issue was the flange to the exhaust manifold was larger than what i had, but i reused the original flanges i had and welded them on the flex pipe.

The original was i was going to run the exhaust was down the left side of the Rover, but i was not satisfied. My Dad suggested i go to the other side. I slept on the decision. Went back today and flipped the crossover point and it worked out well, and now i am away from the brake lines.

T1wiLQL.jpg

ZVepXMG.jpg


Now i need to fully weld everything and probably give it a spray of aluminized high heat paint to try an protect it.
Order my muffler and o2 sensor bung, and I can put the bulkhead on and continue on assembling the Rover.
 
Back
Top