DanStew
Well-Known Member
- Joined
- Jul 6, 2007
- Location
- Lexington/Columbia South Carolina
Got a new rig to play around with.
A buddy of mine saw this in my old town in Florida
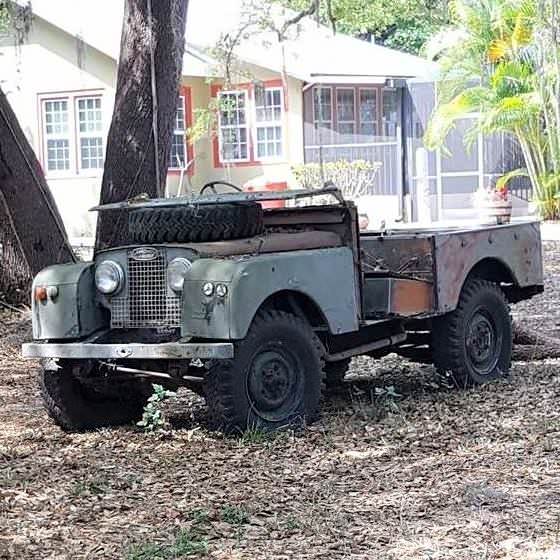
I had him contact the owner and found out it was for sale with a title. I wired down some money and it was mine
I had it shipped up
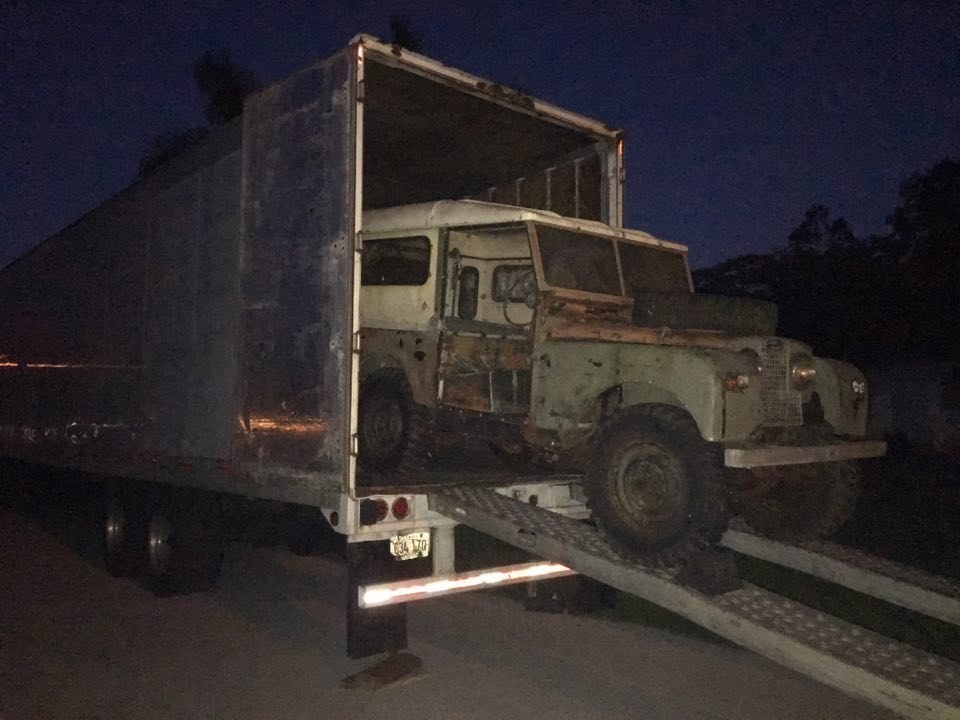
It is home
It is far from perfect. You know it is when the purchase price was cheaper than the shipping price.
But I knew what I was getting into, these do not pop up very often.
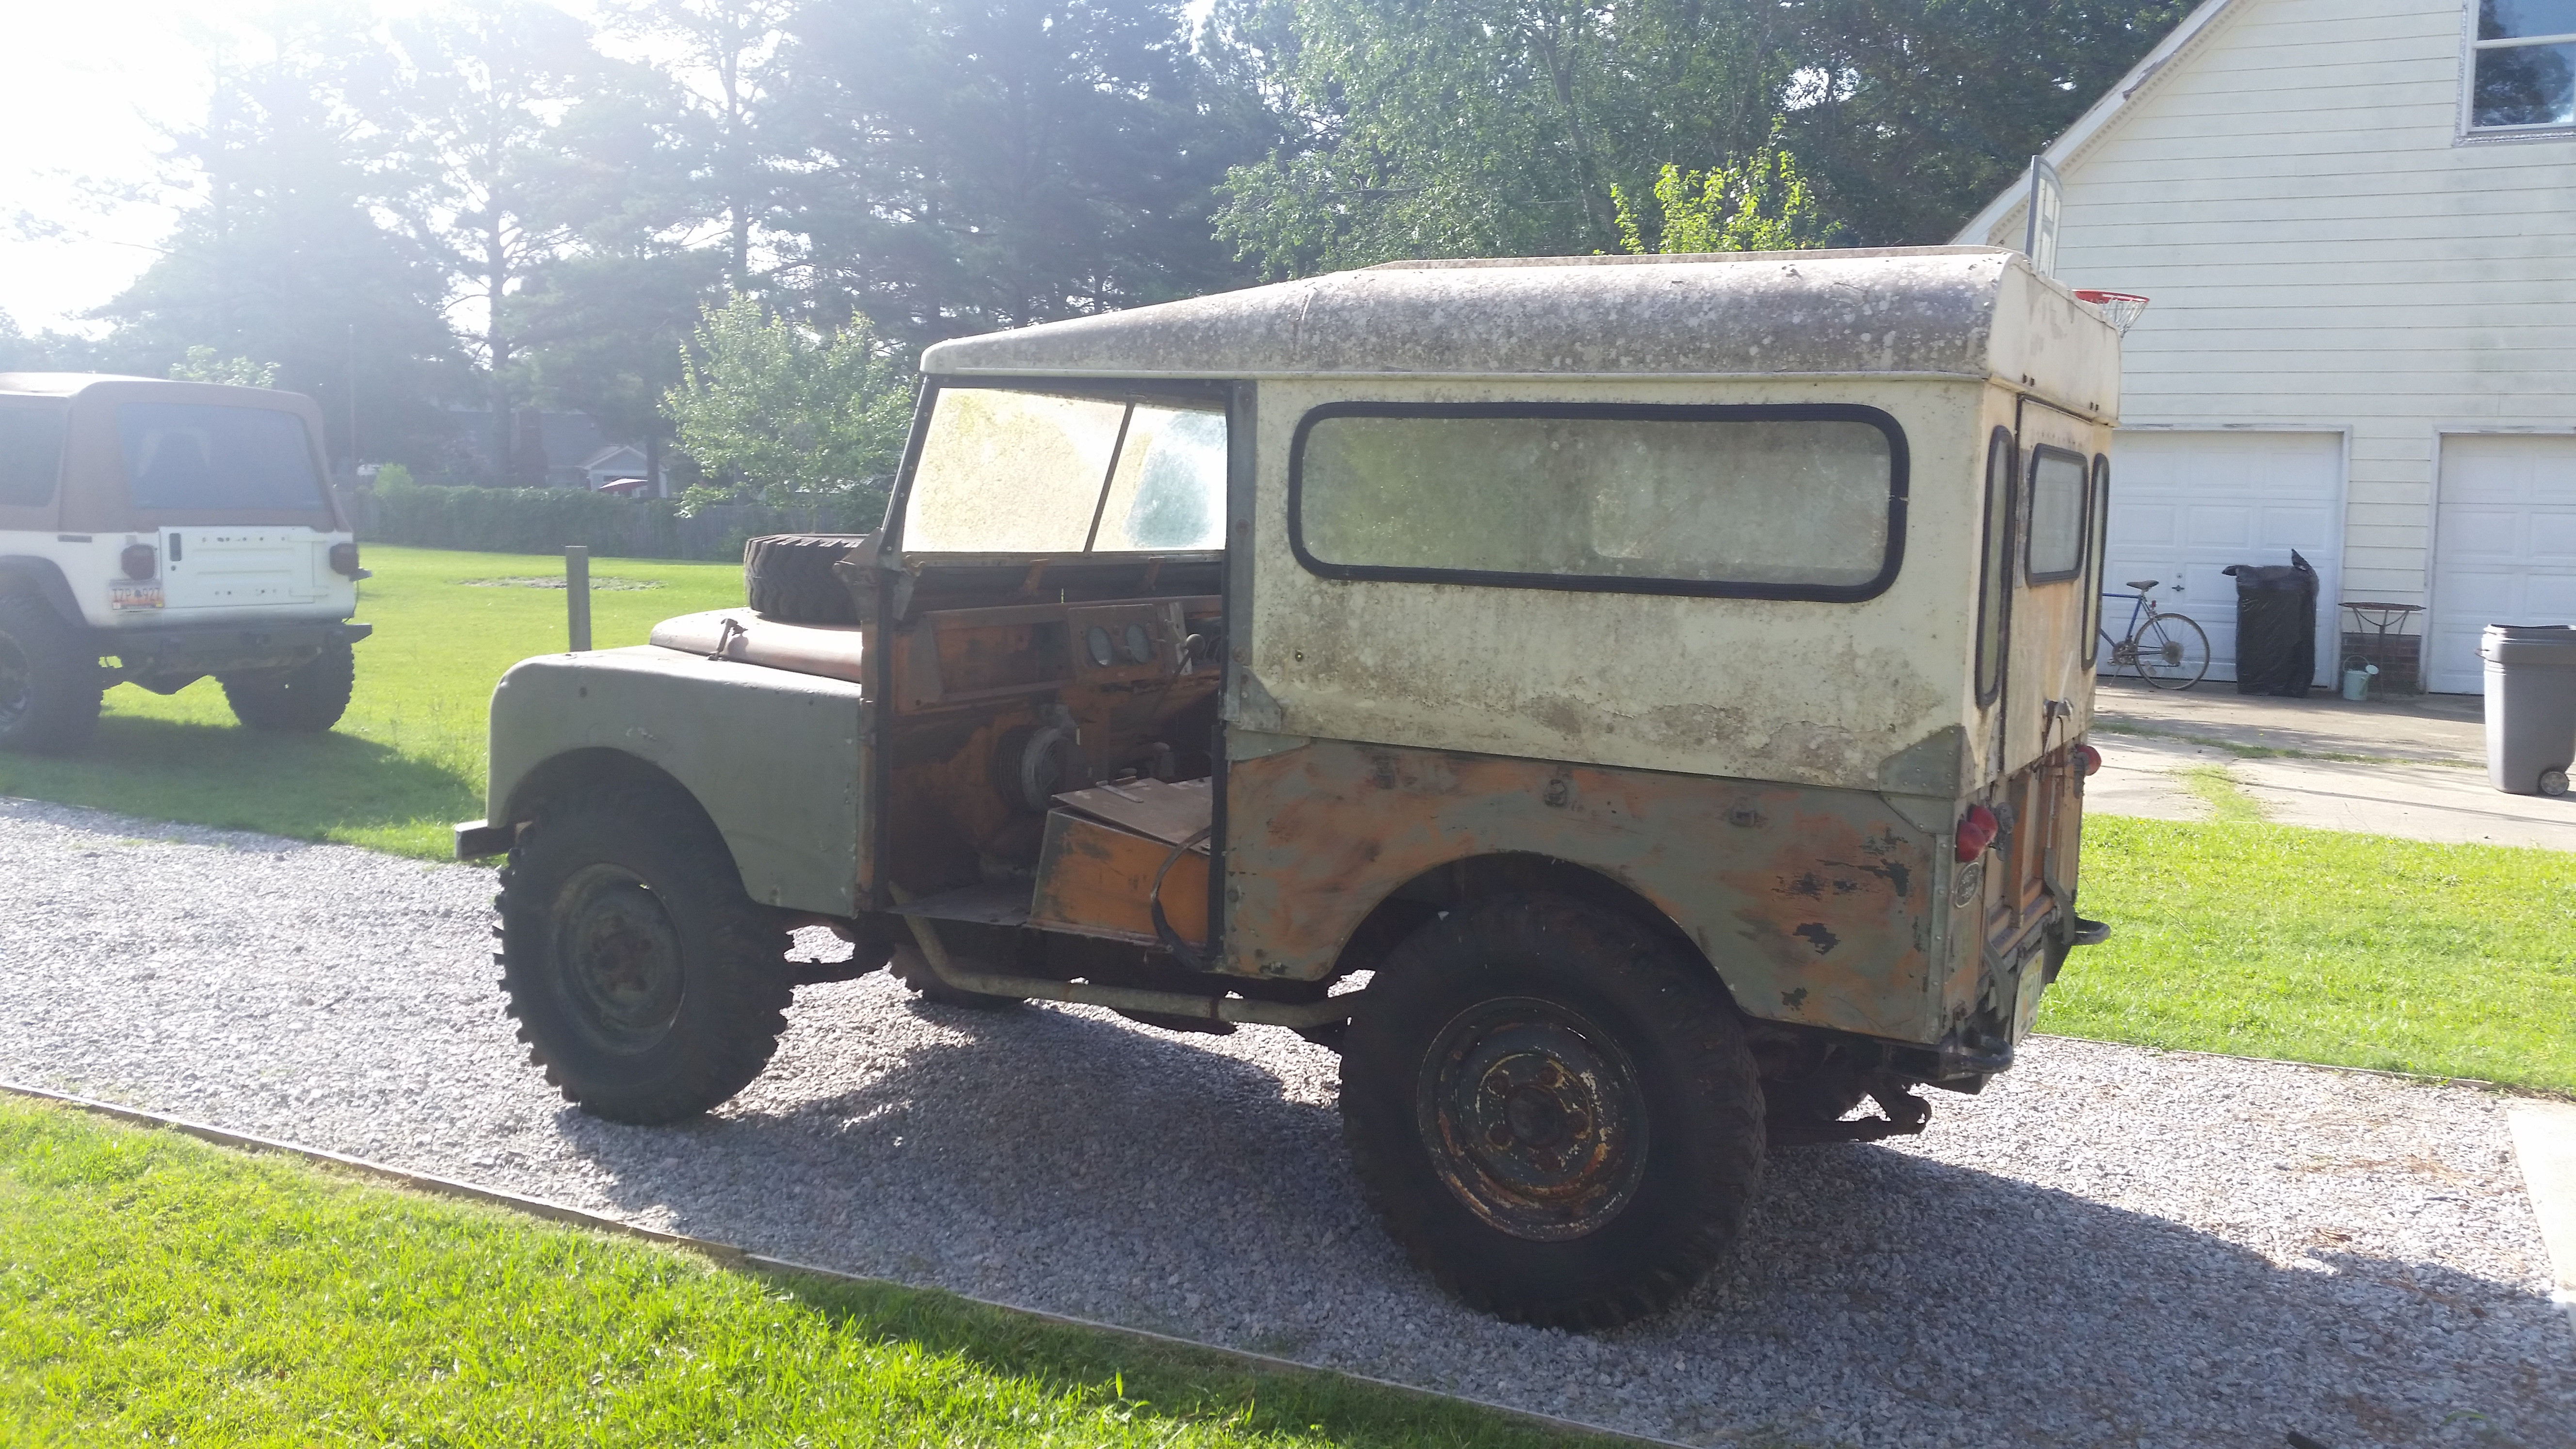
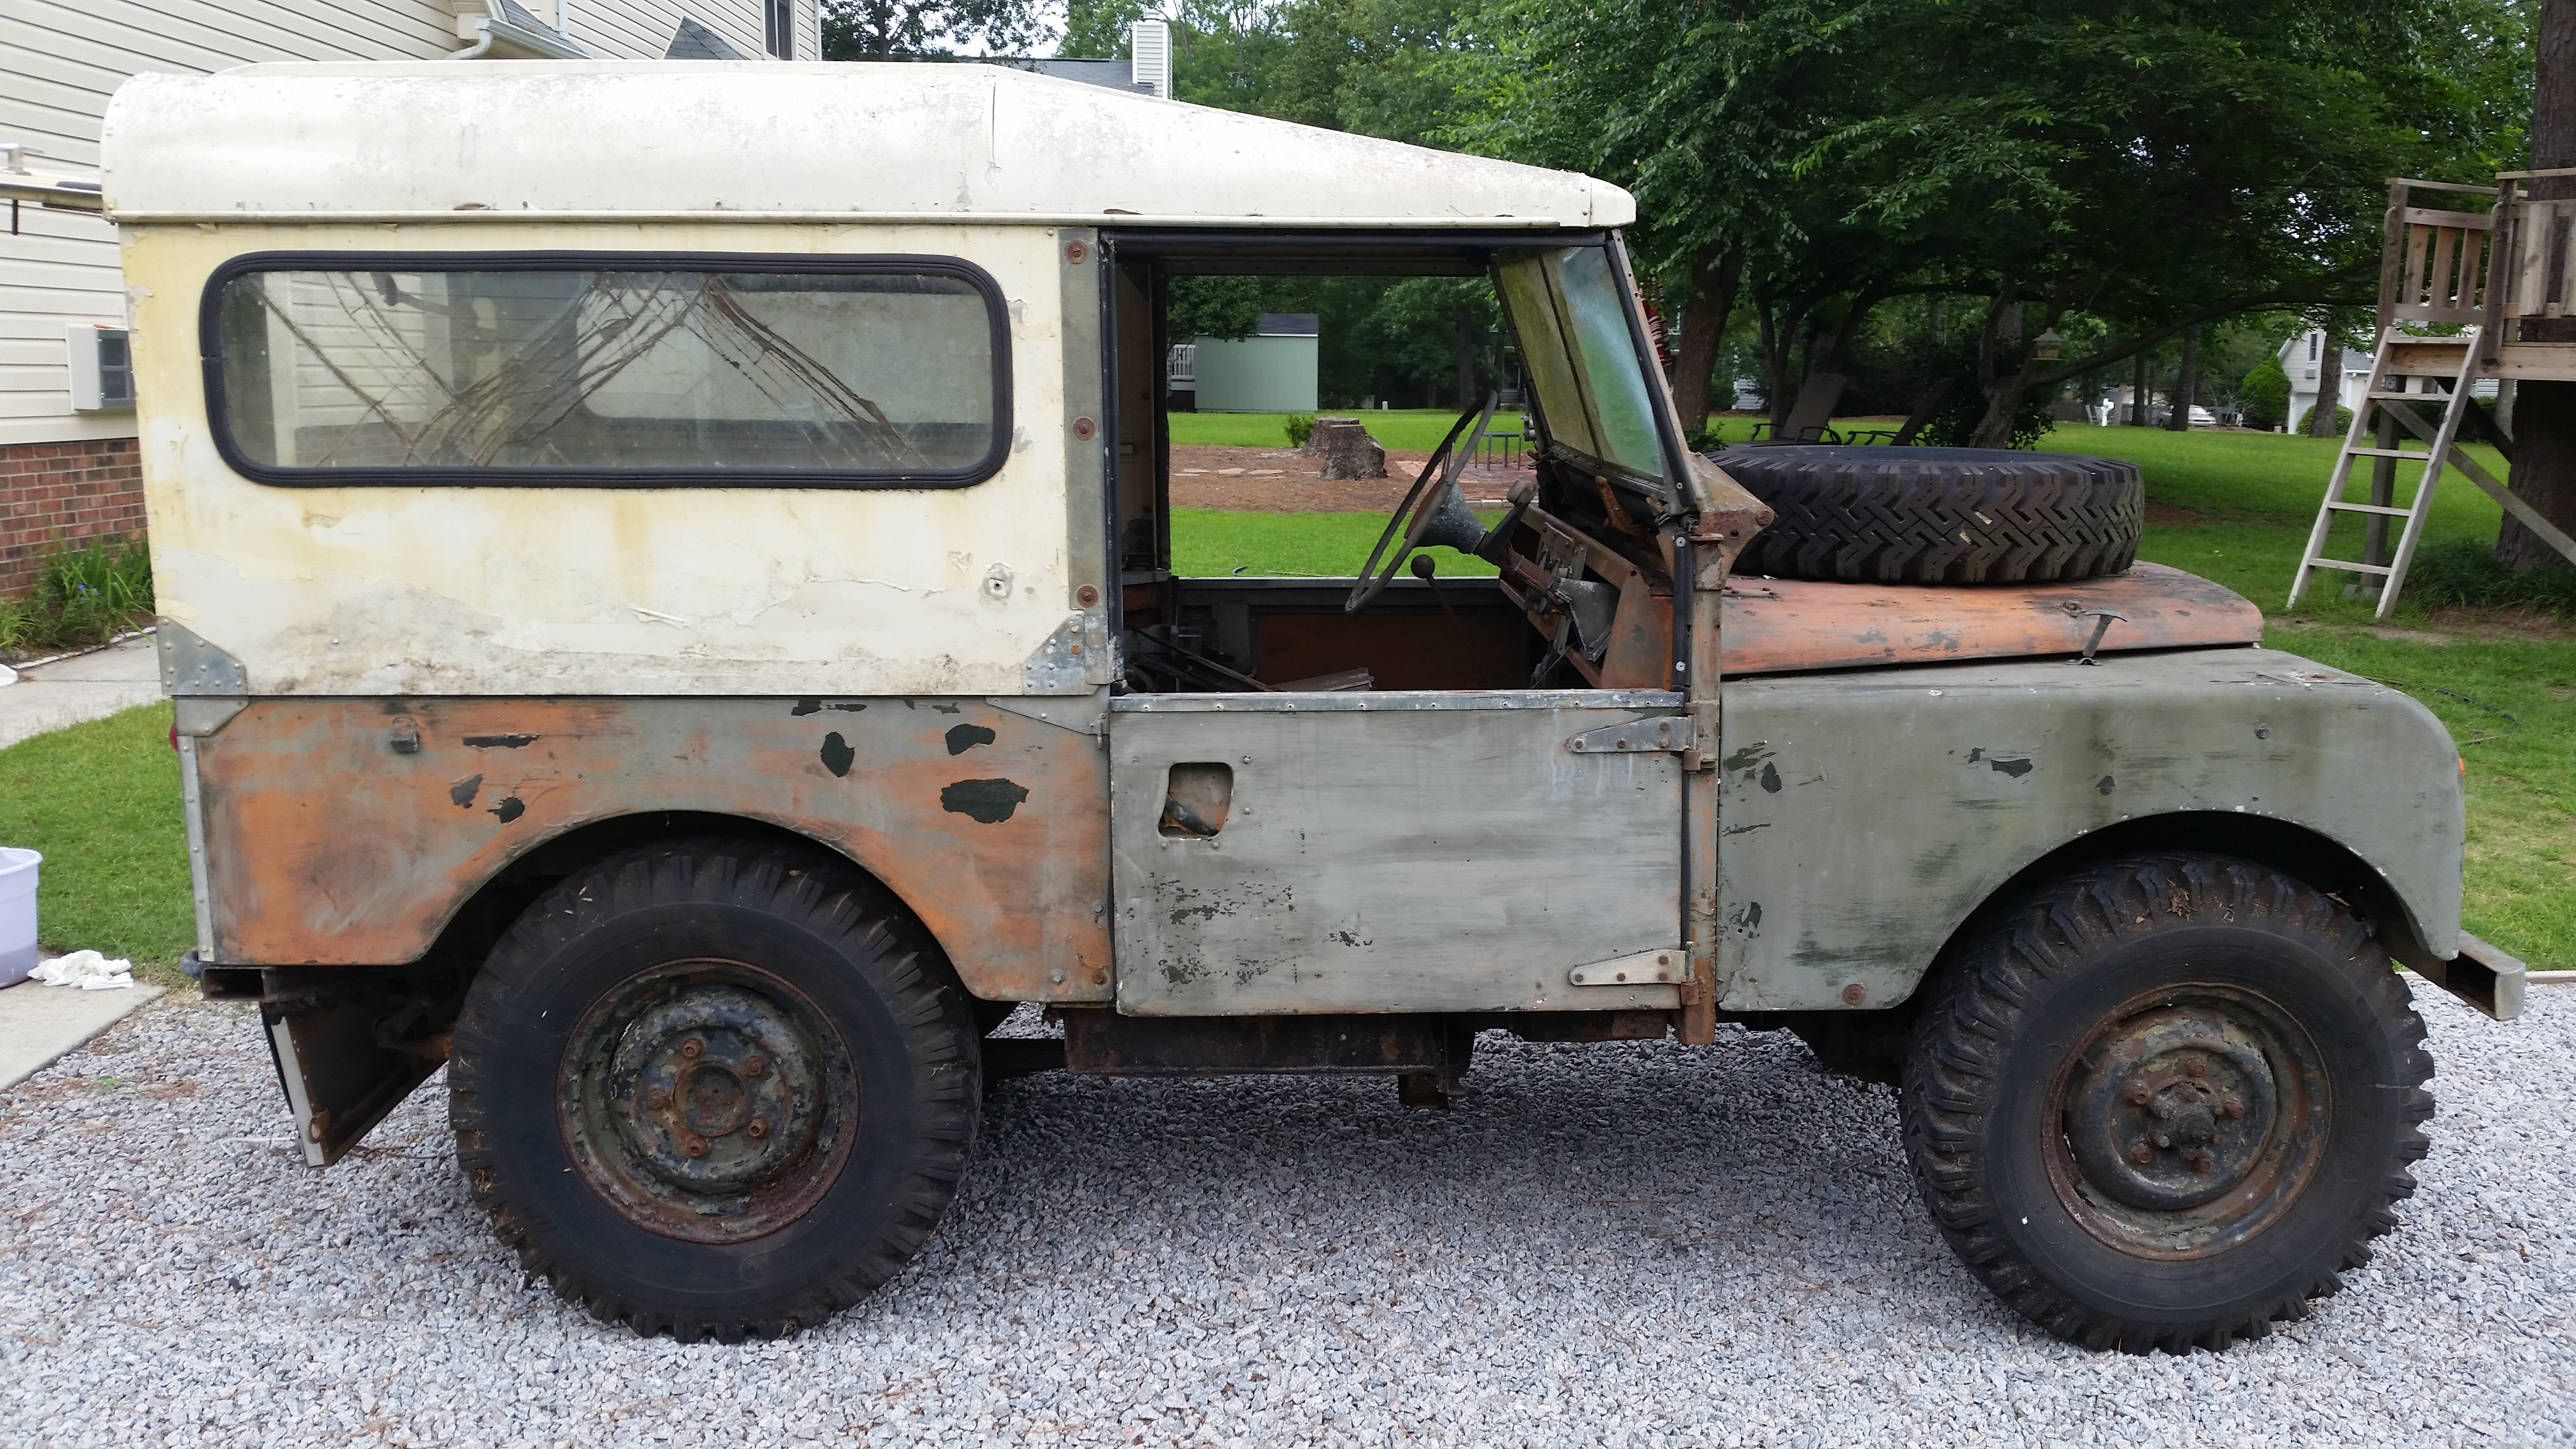
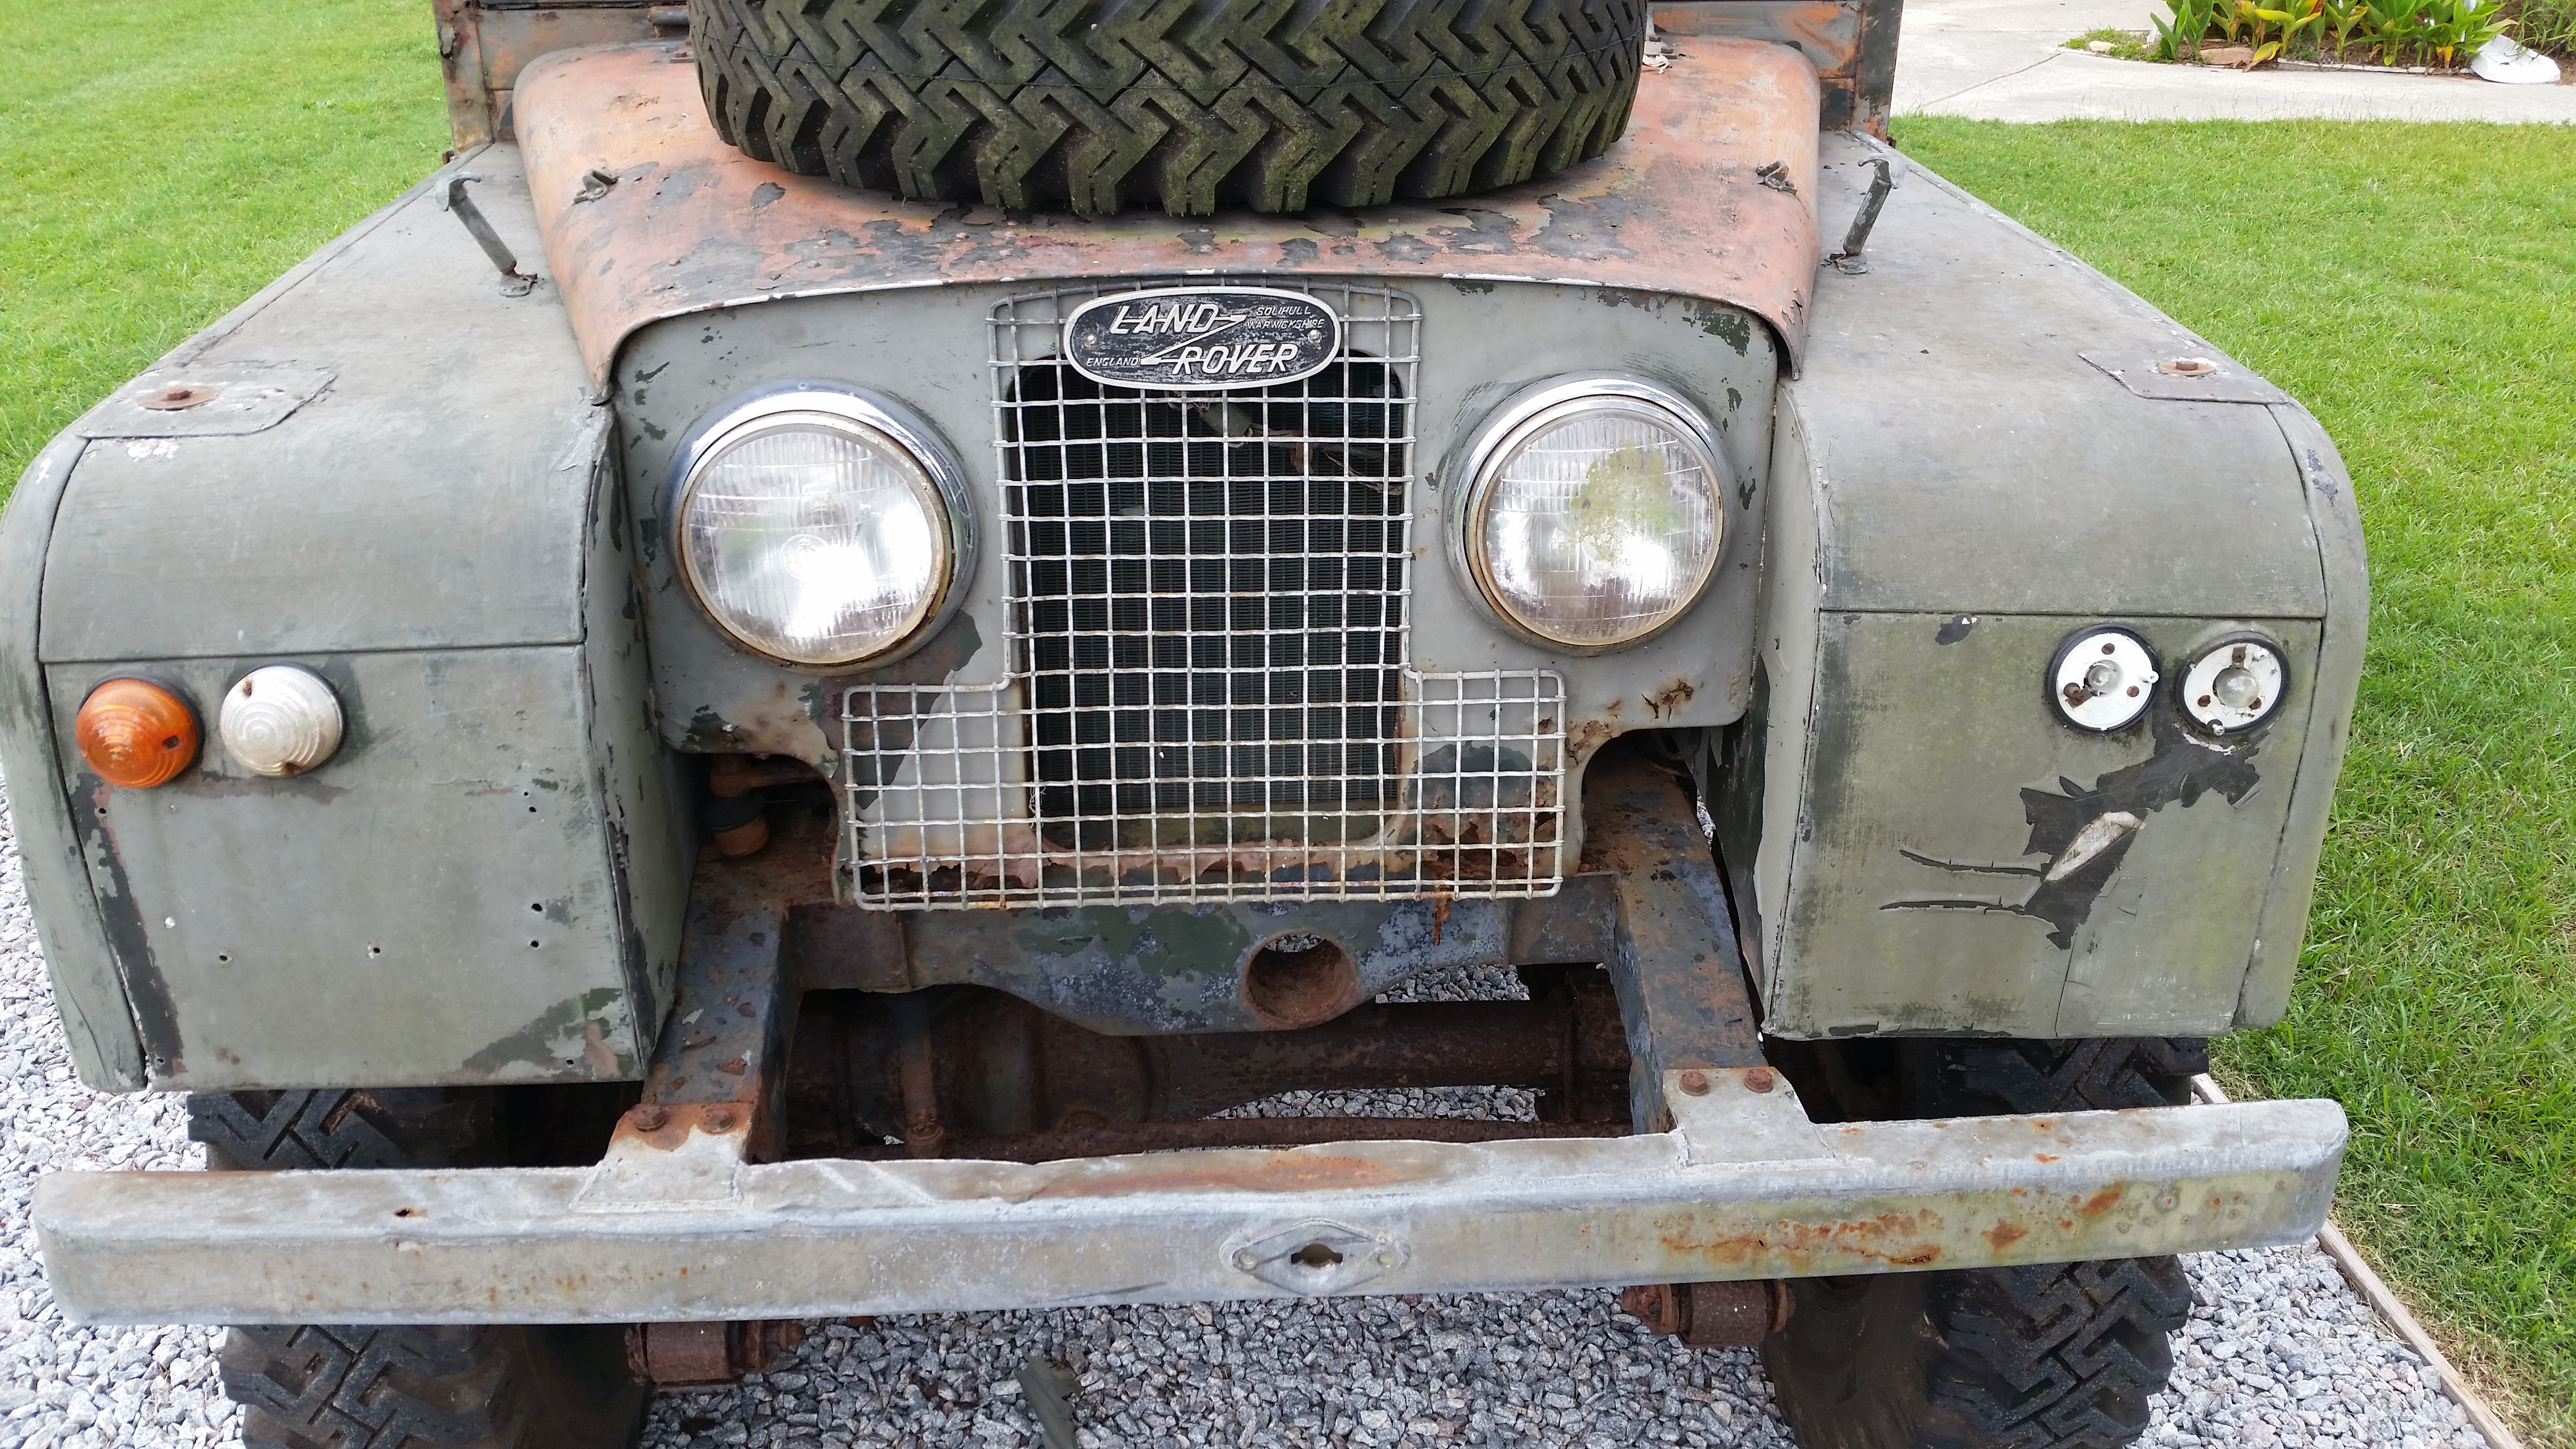
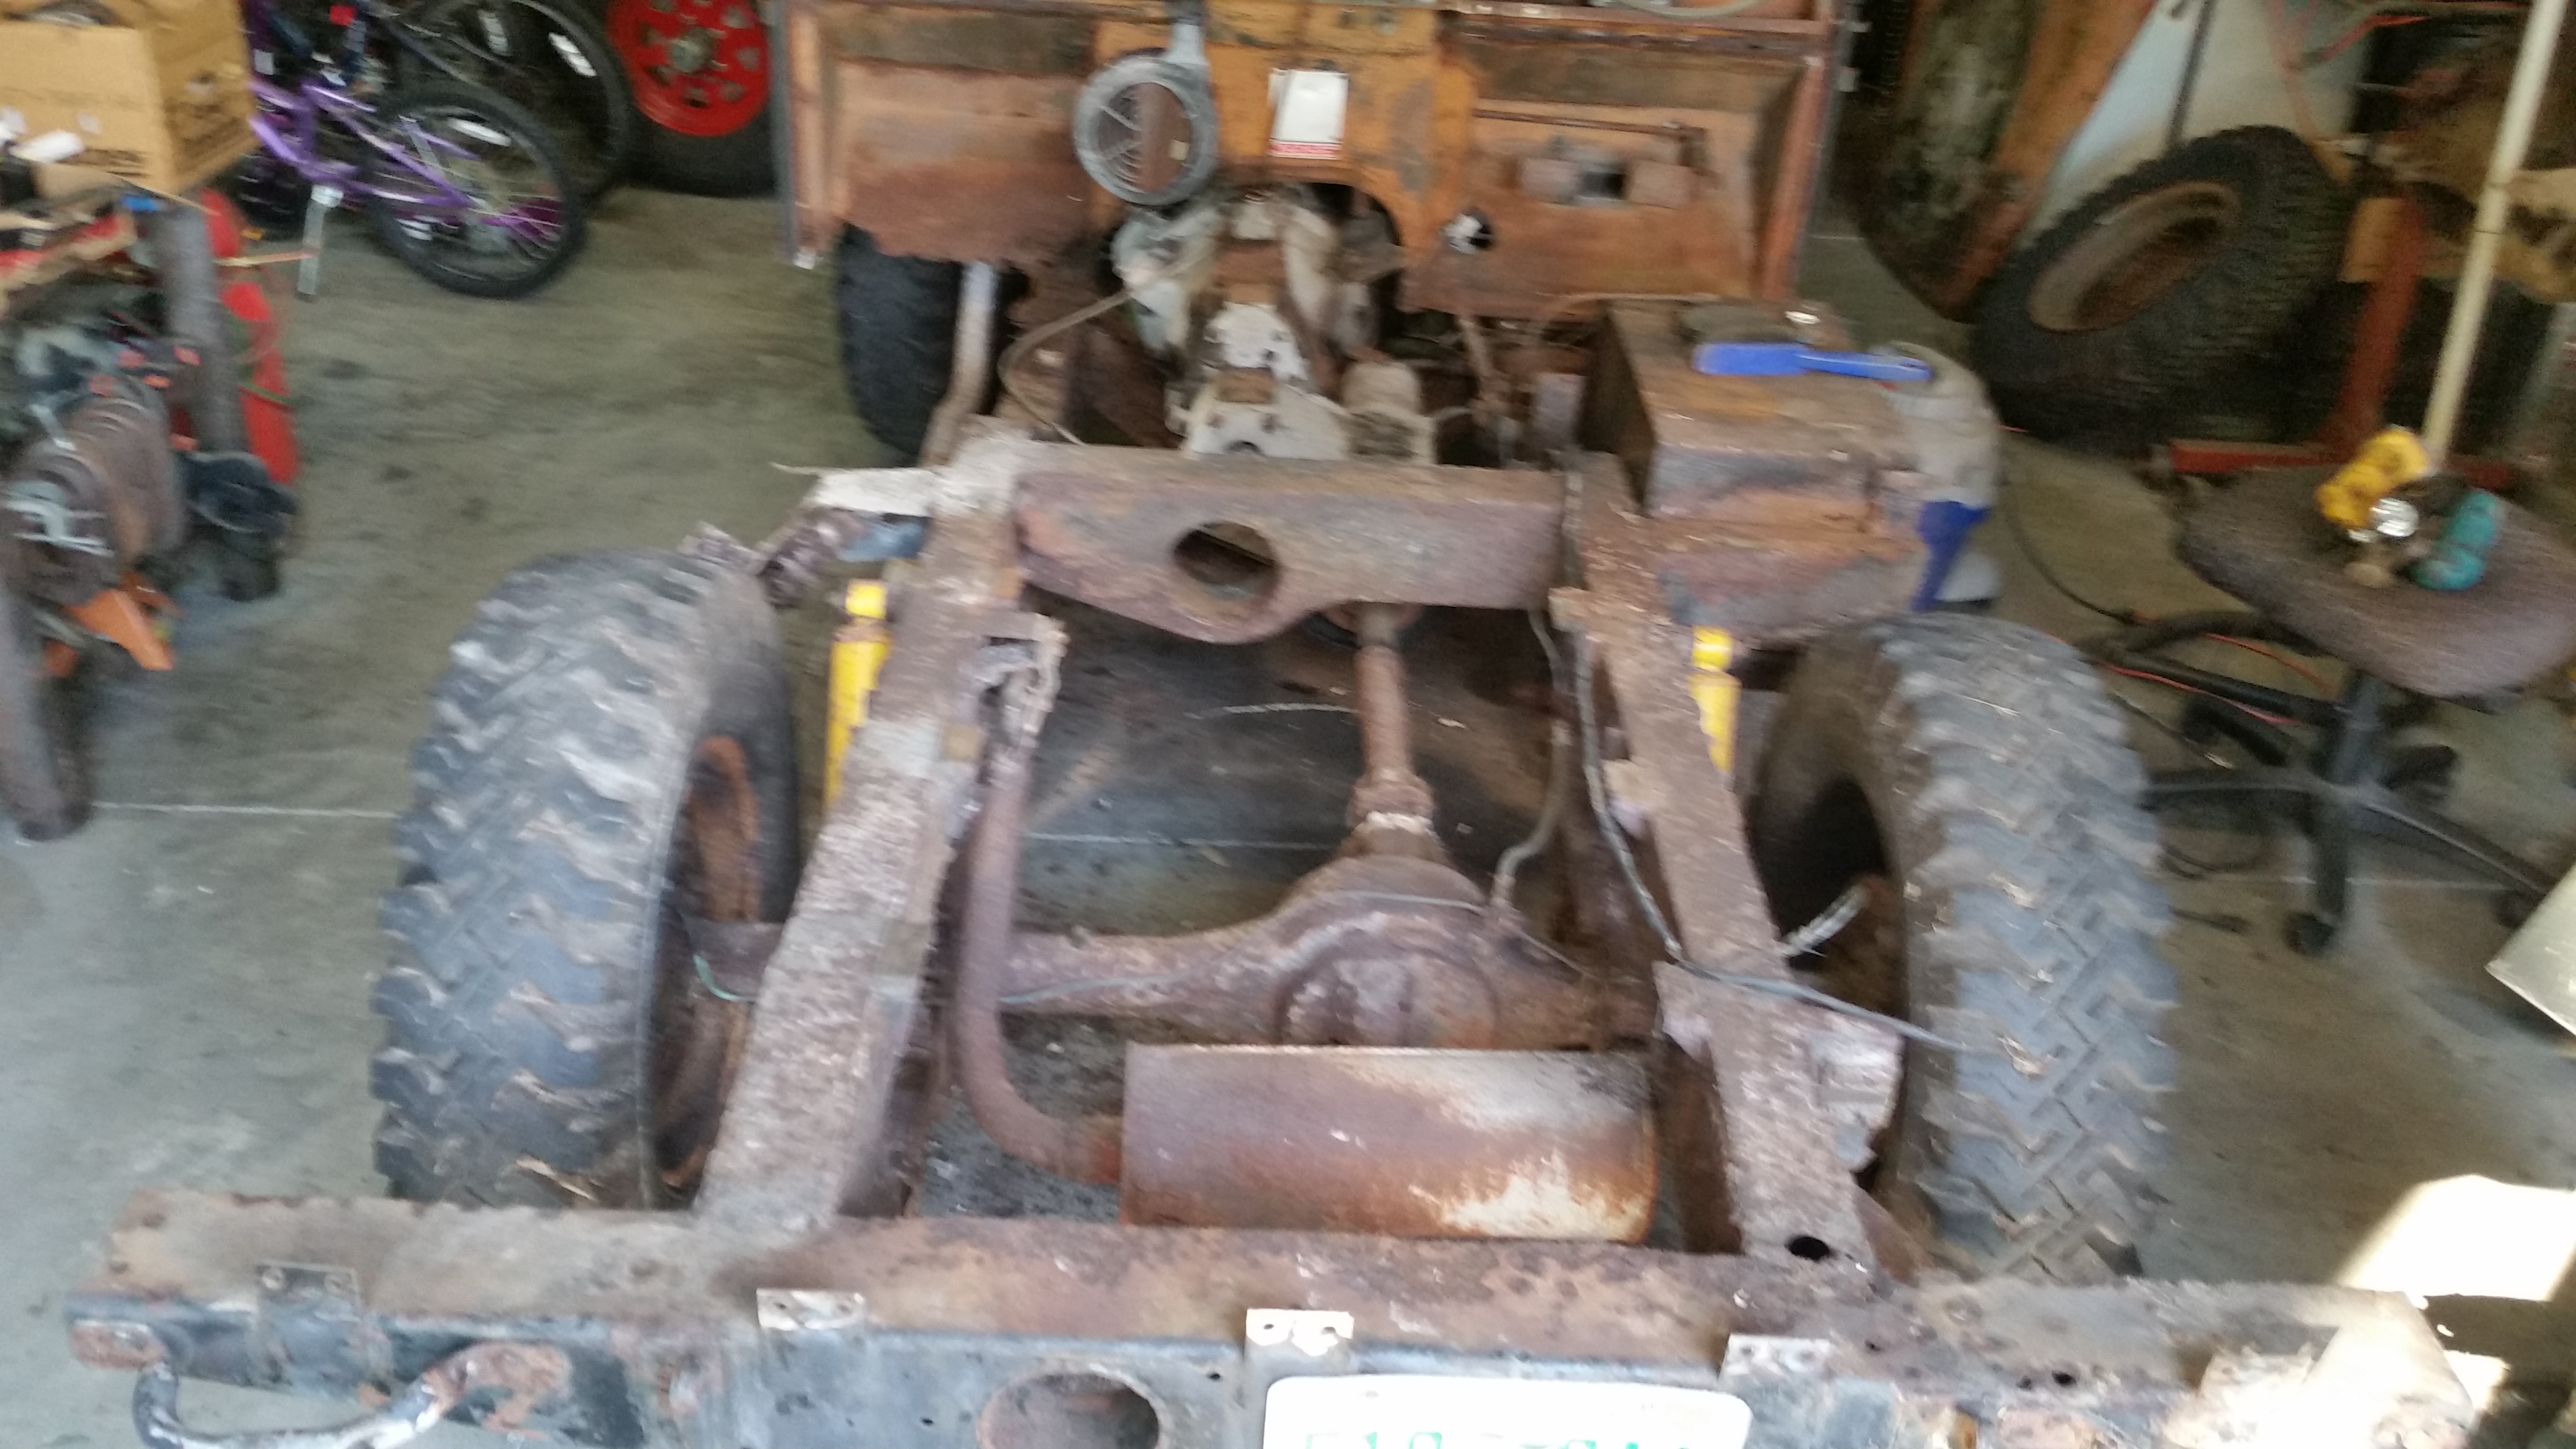
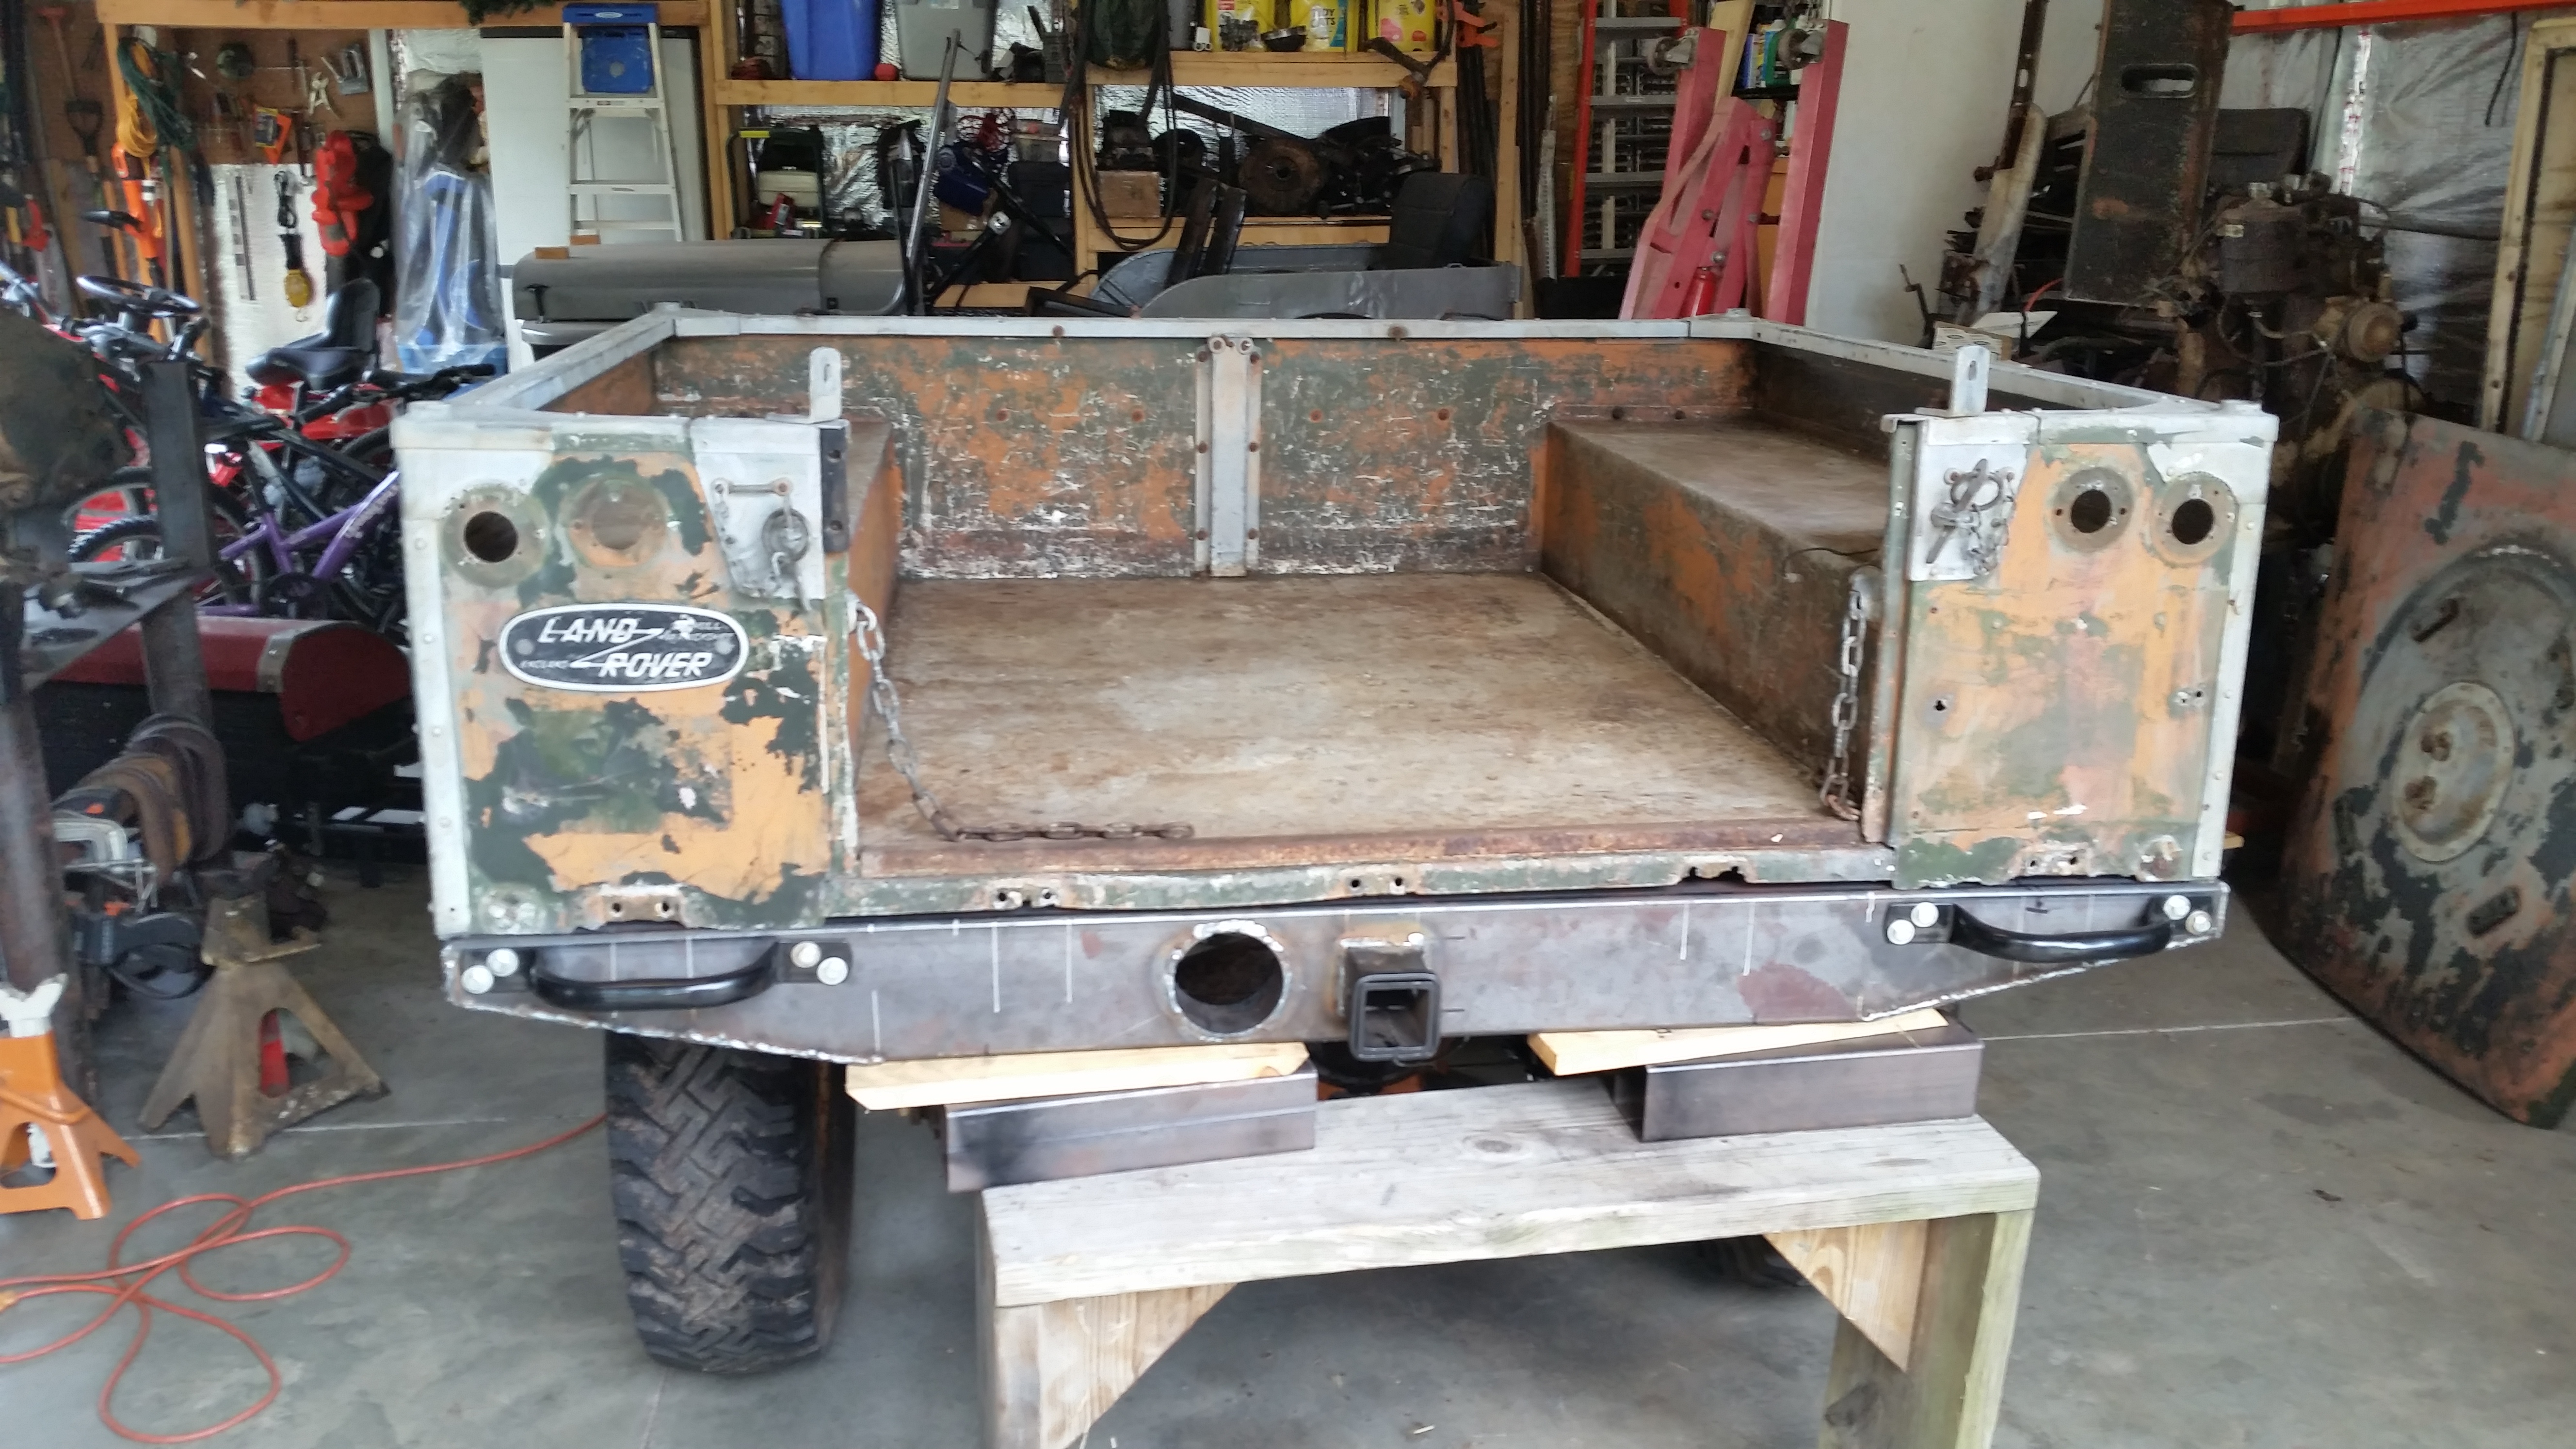
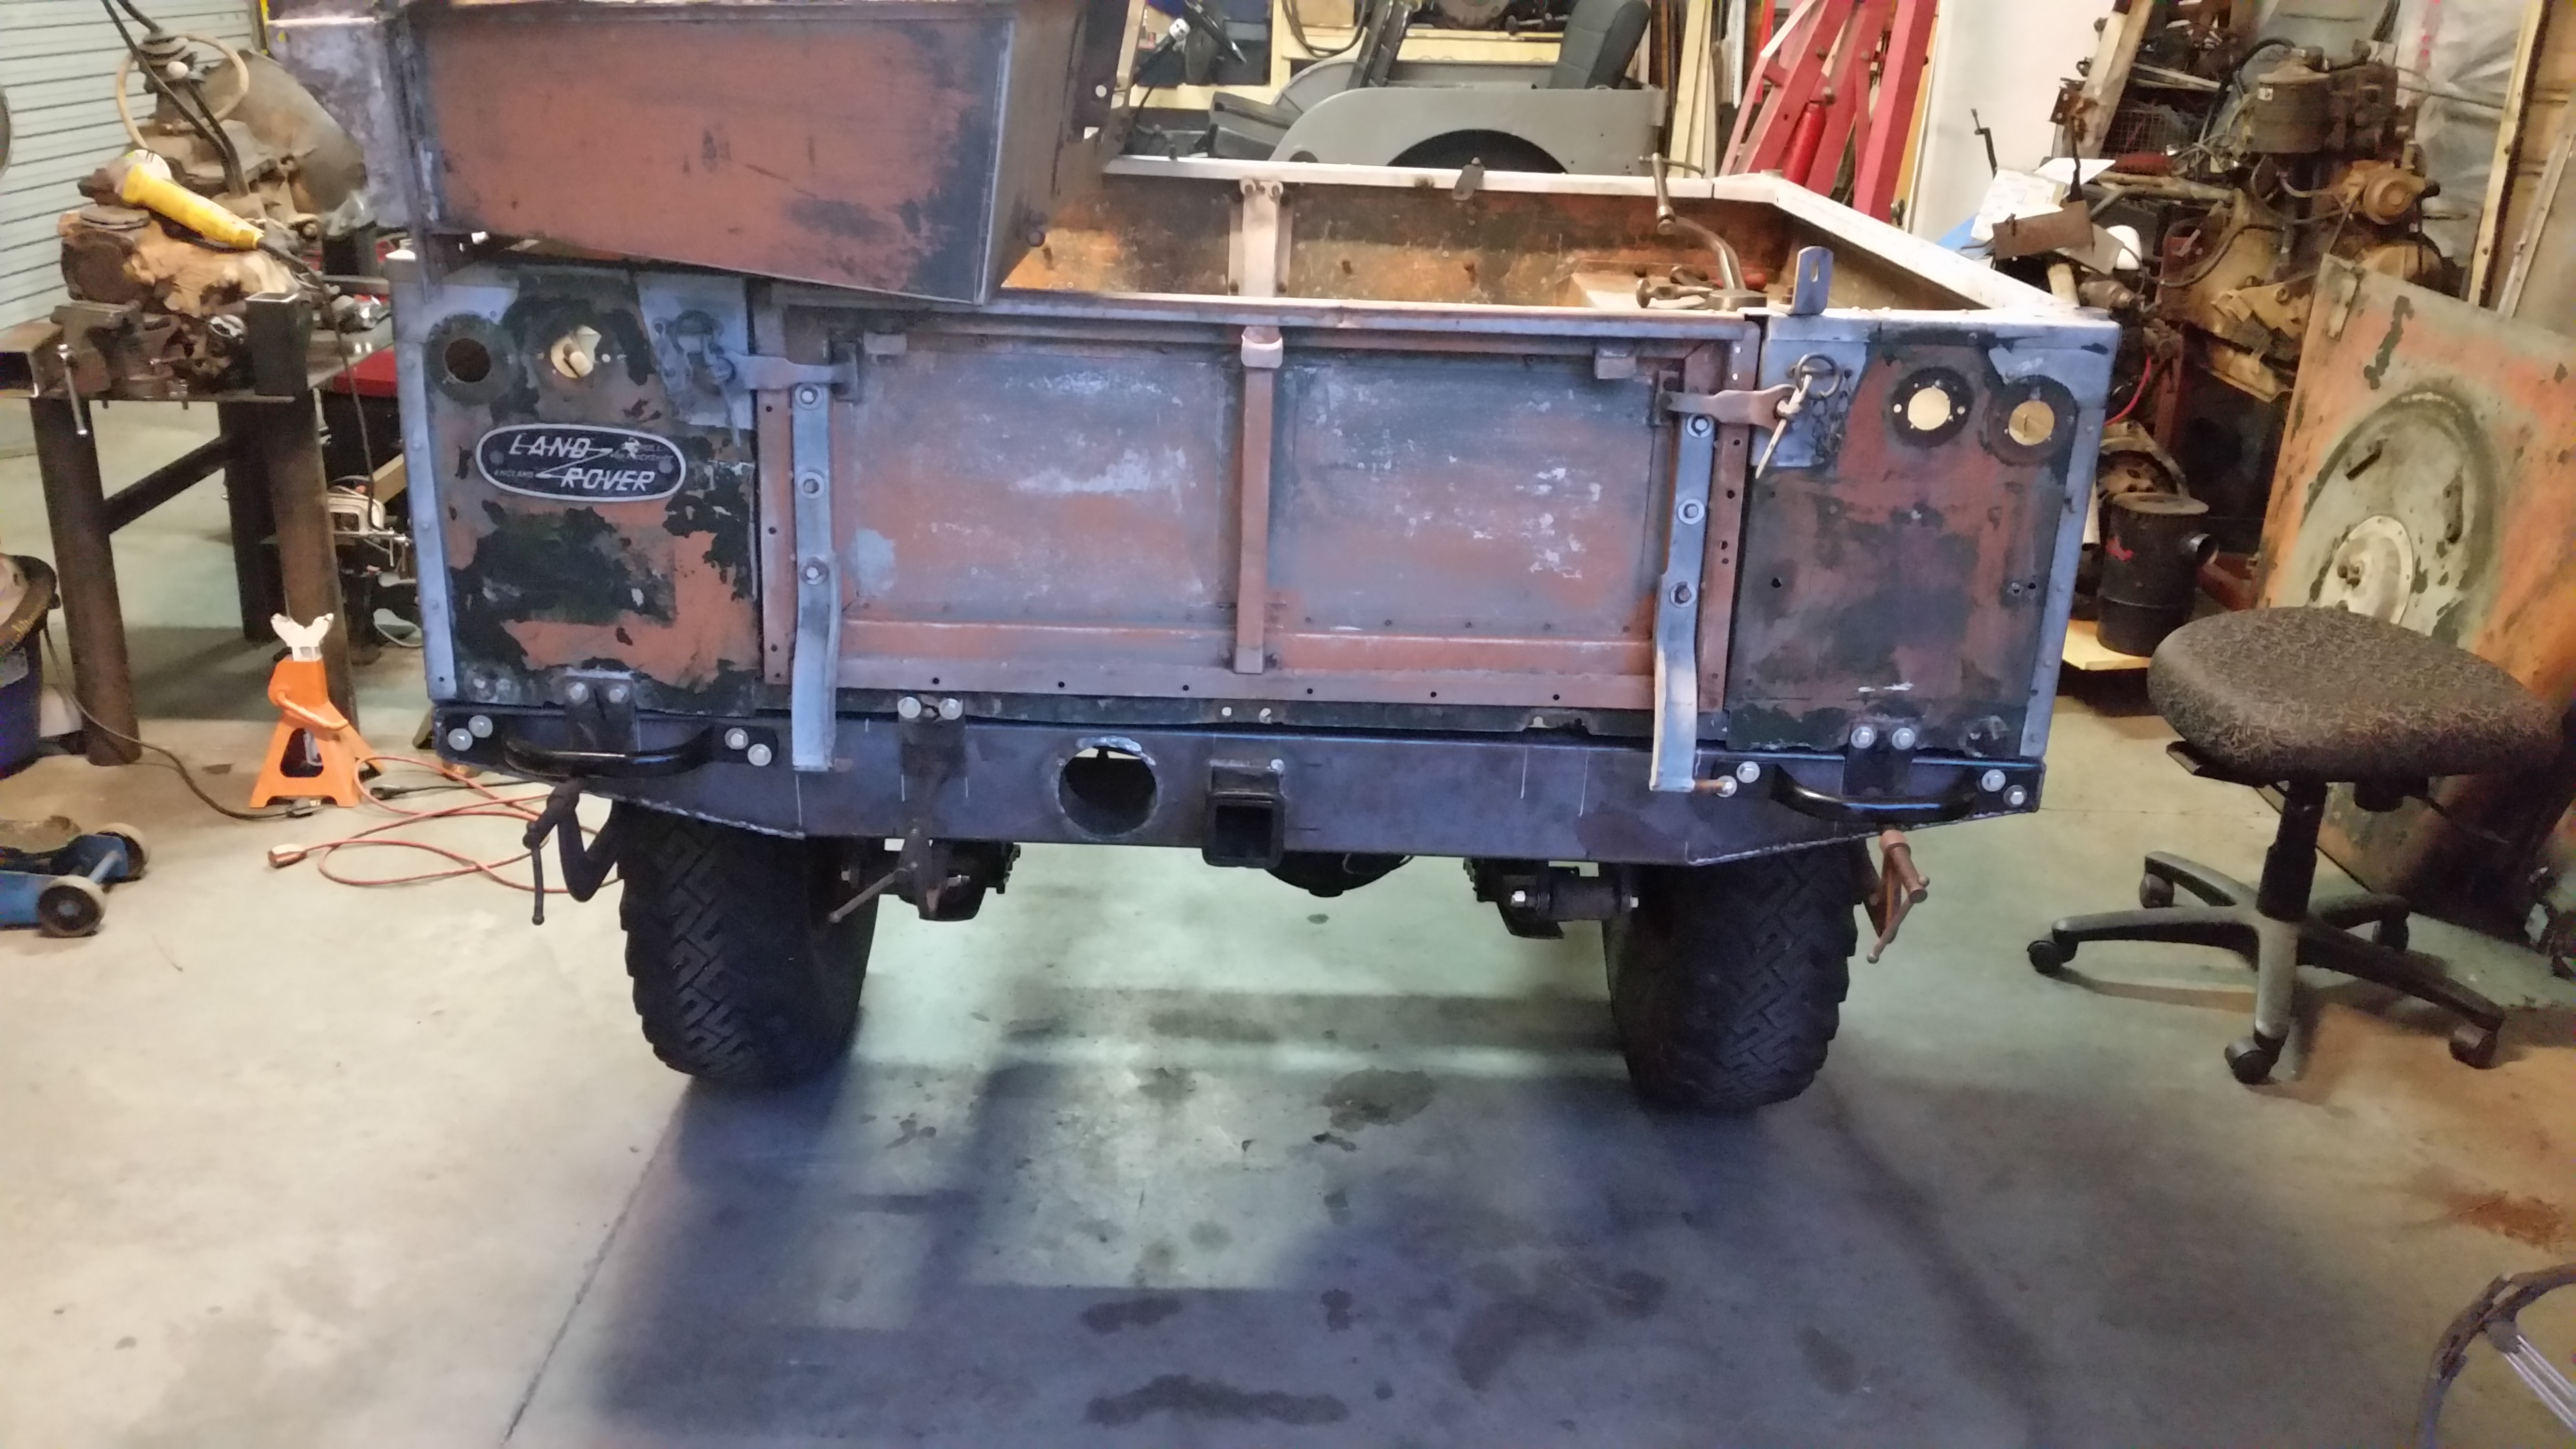
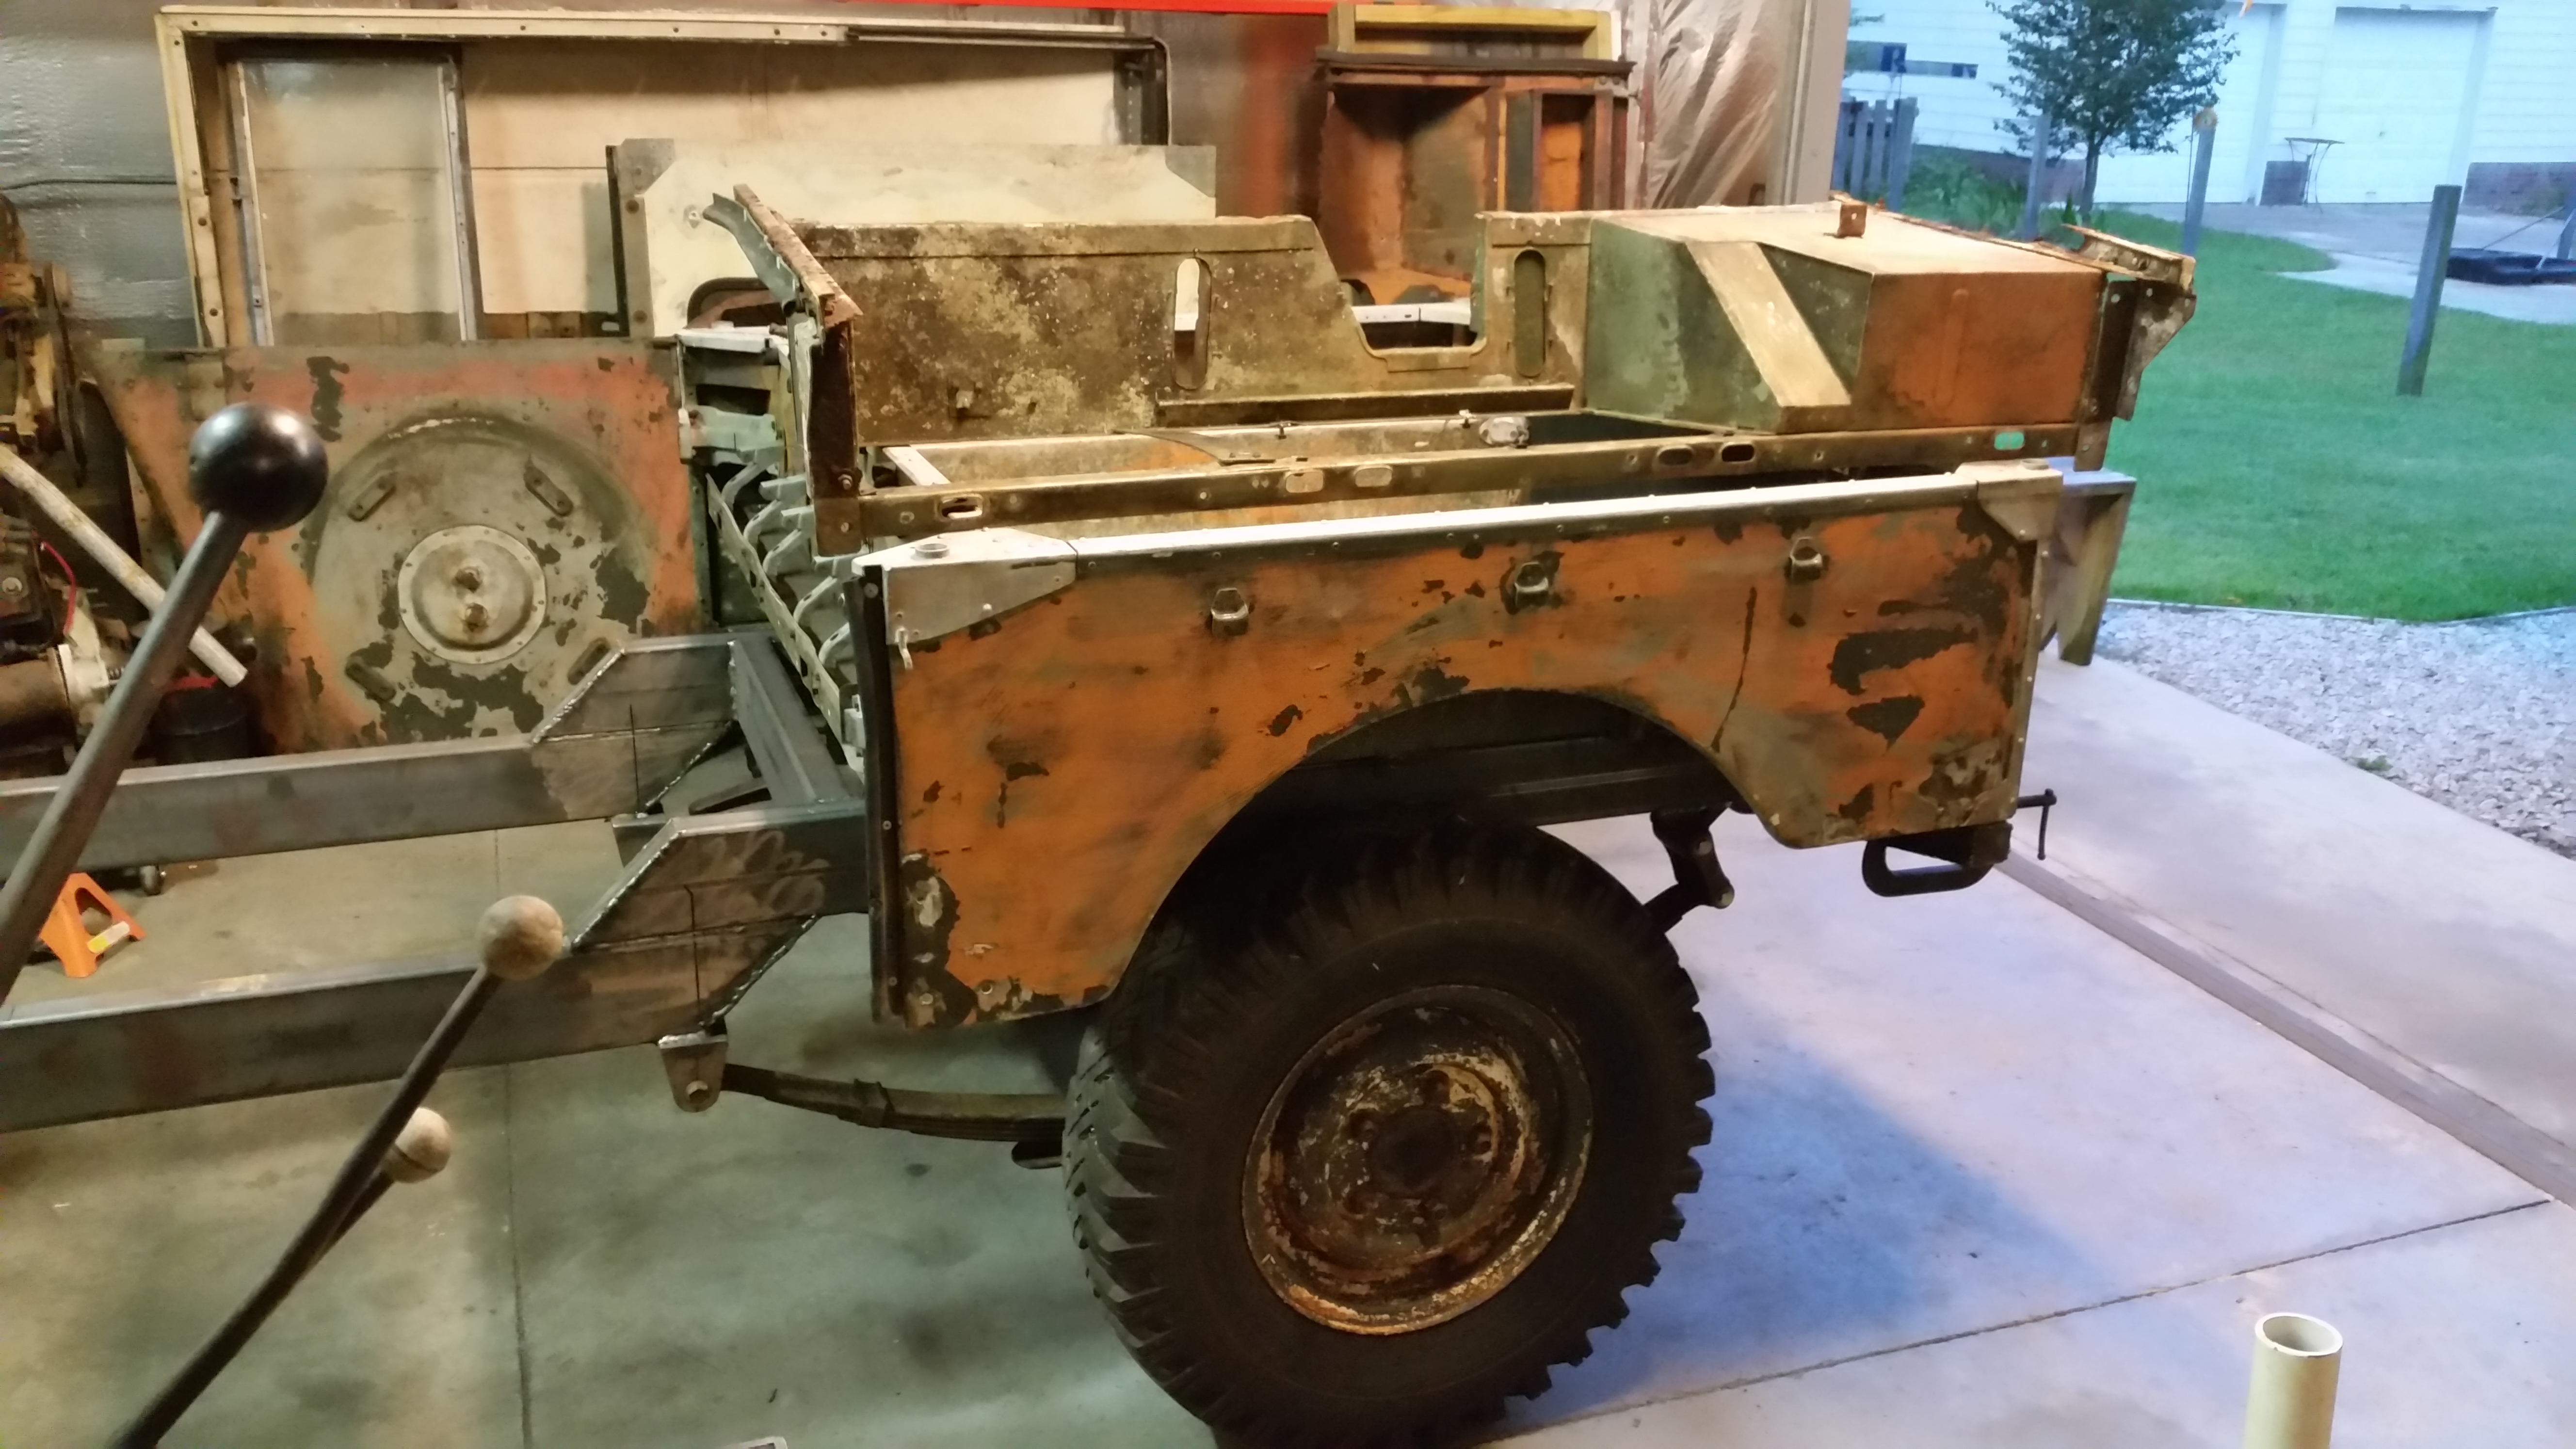
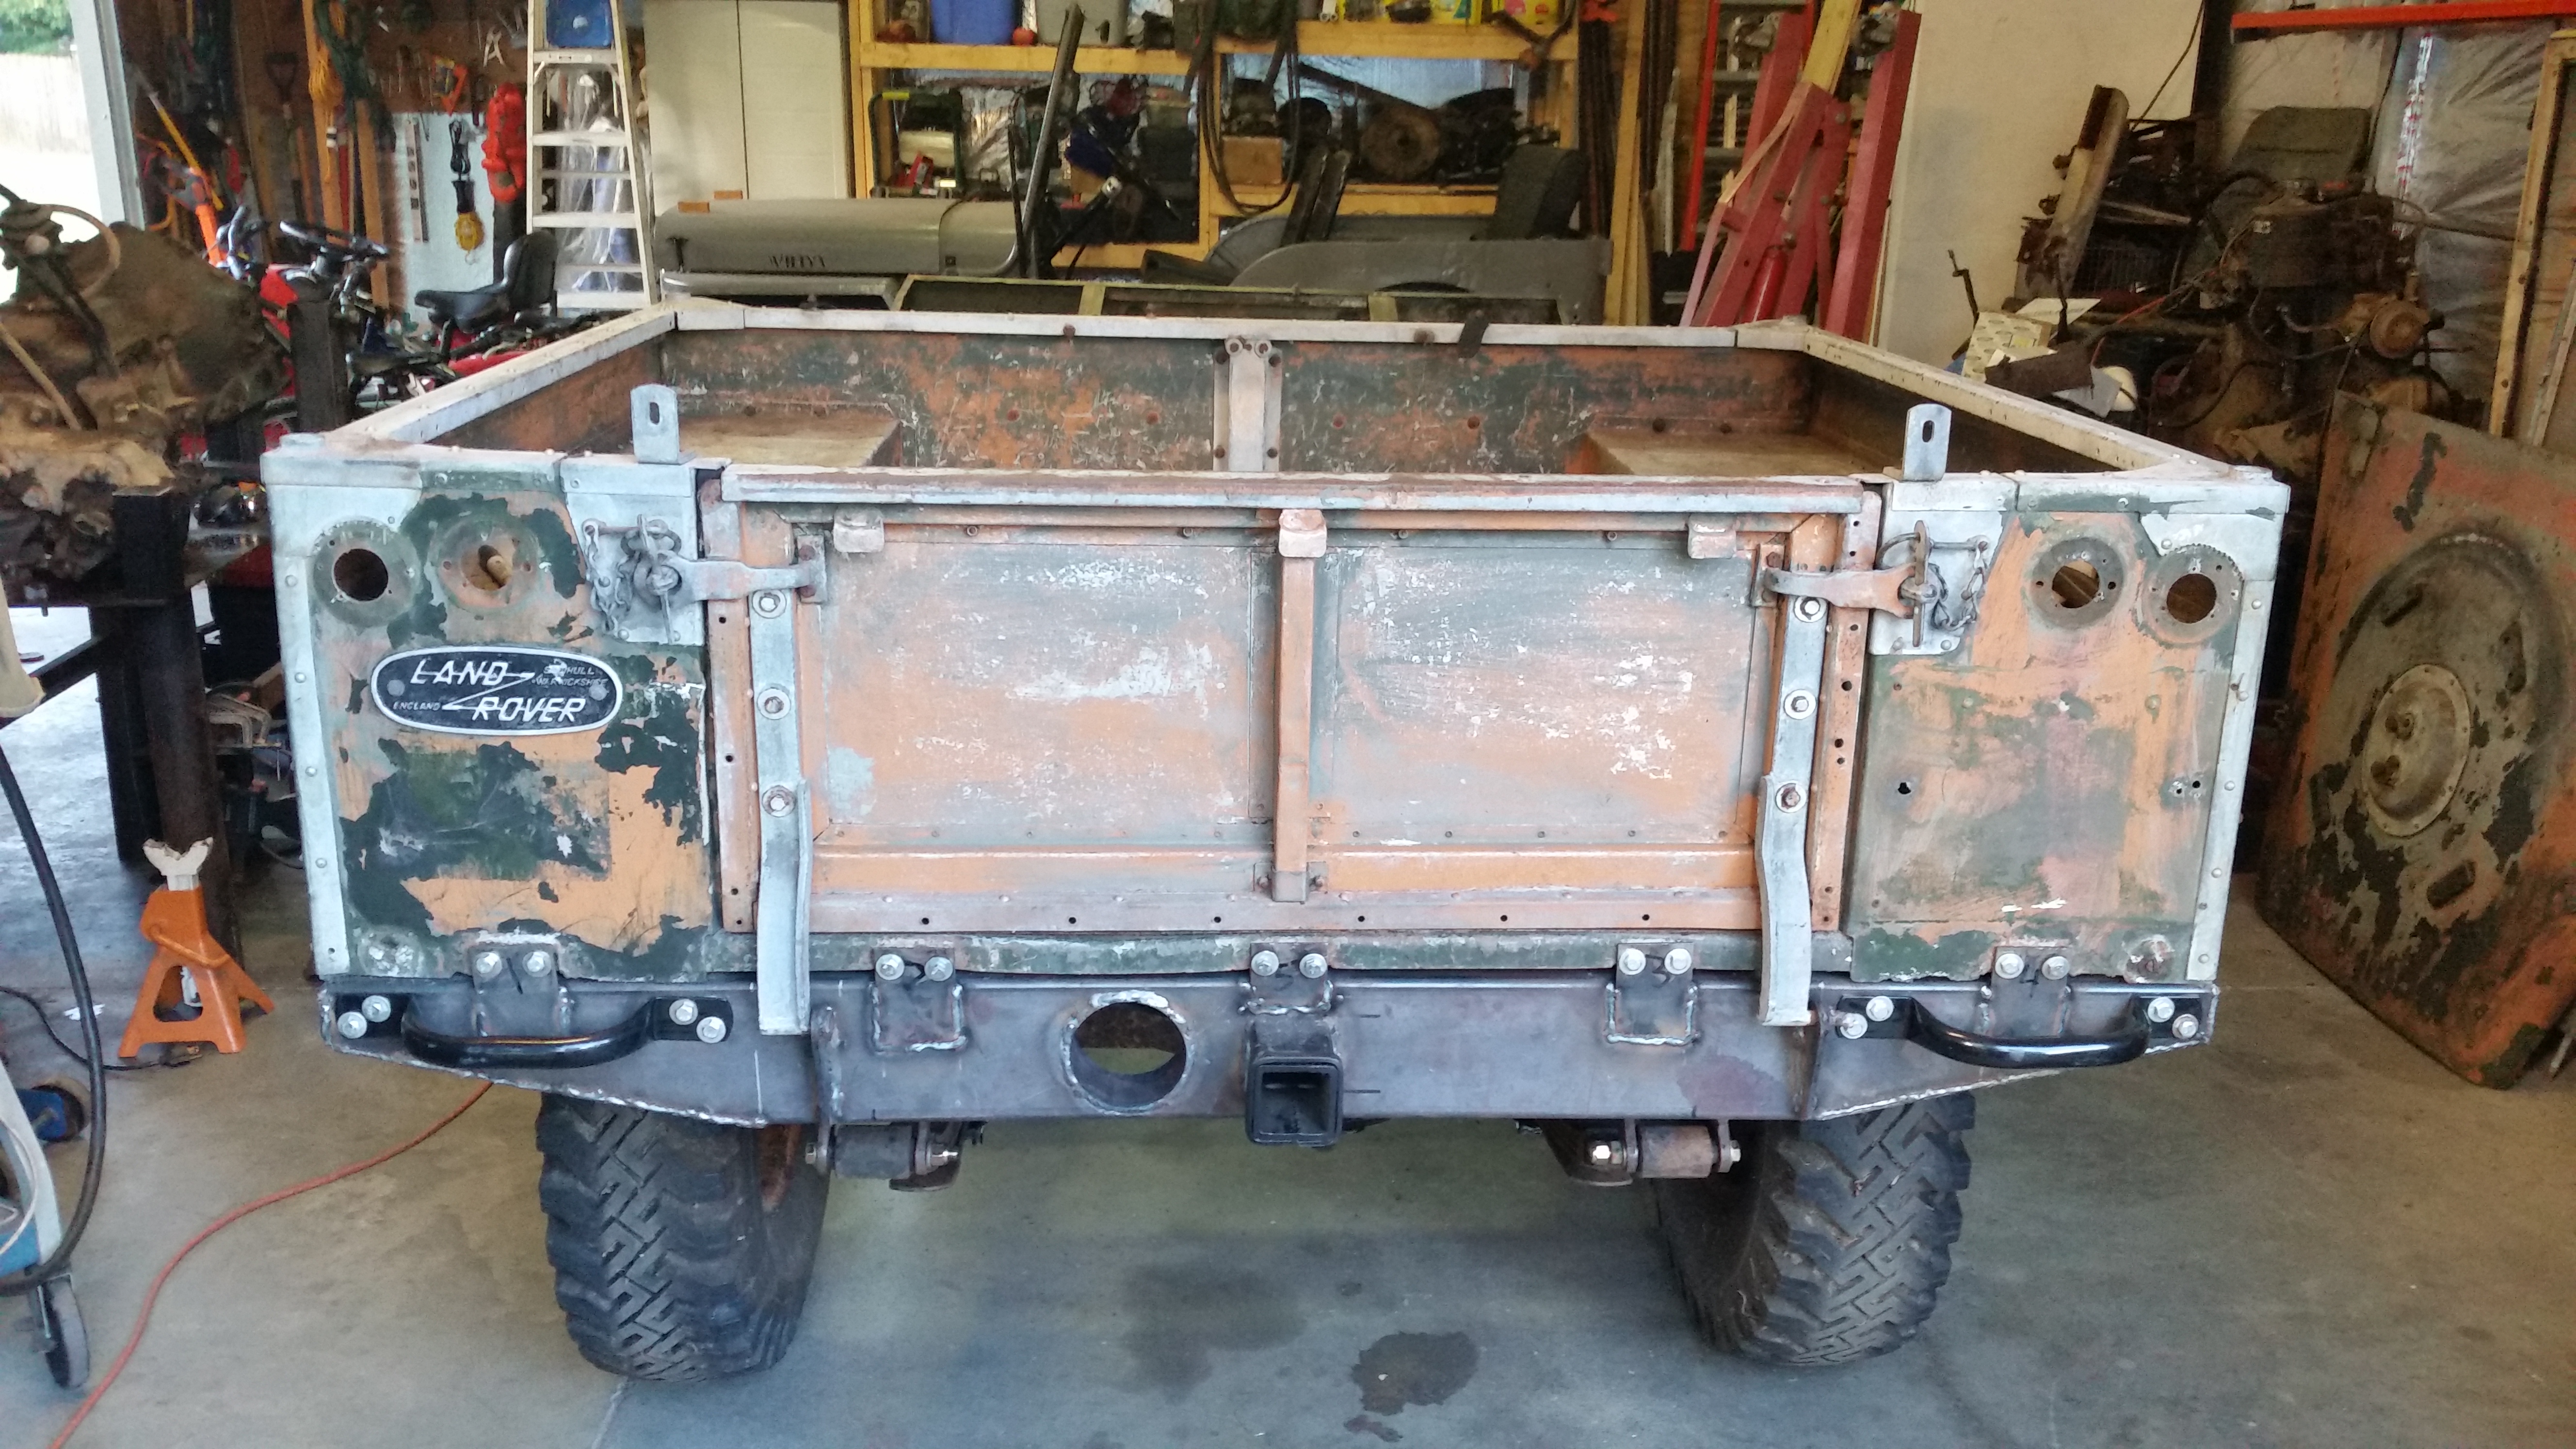
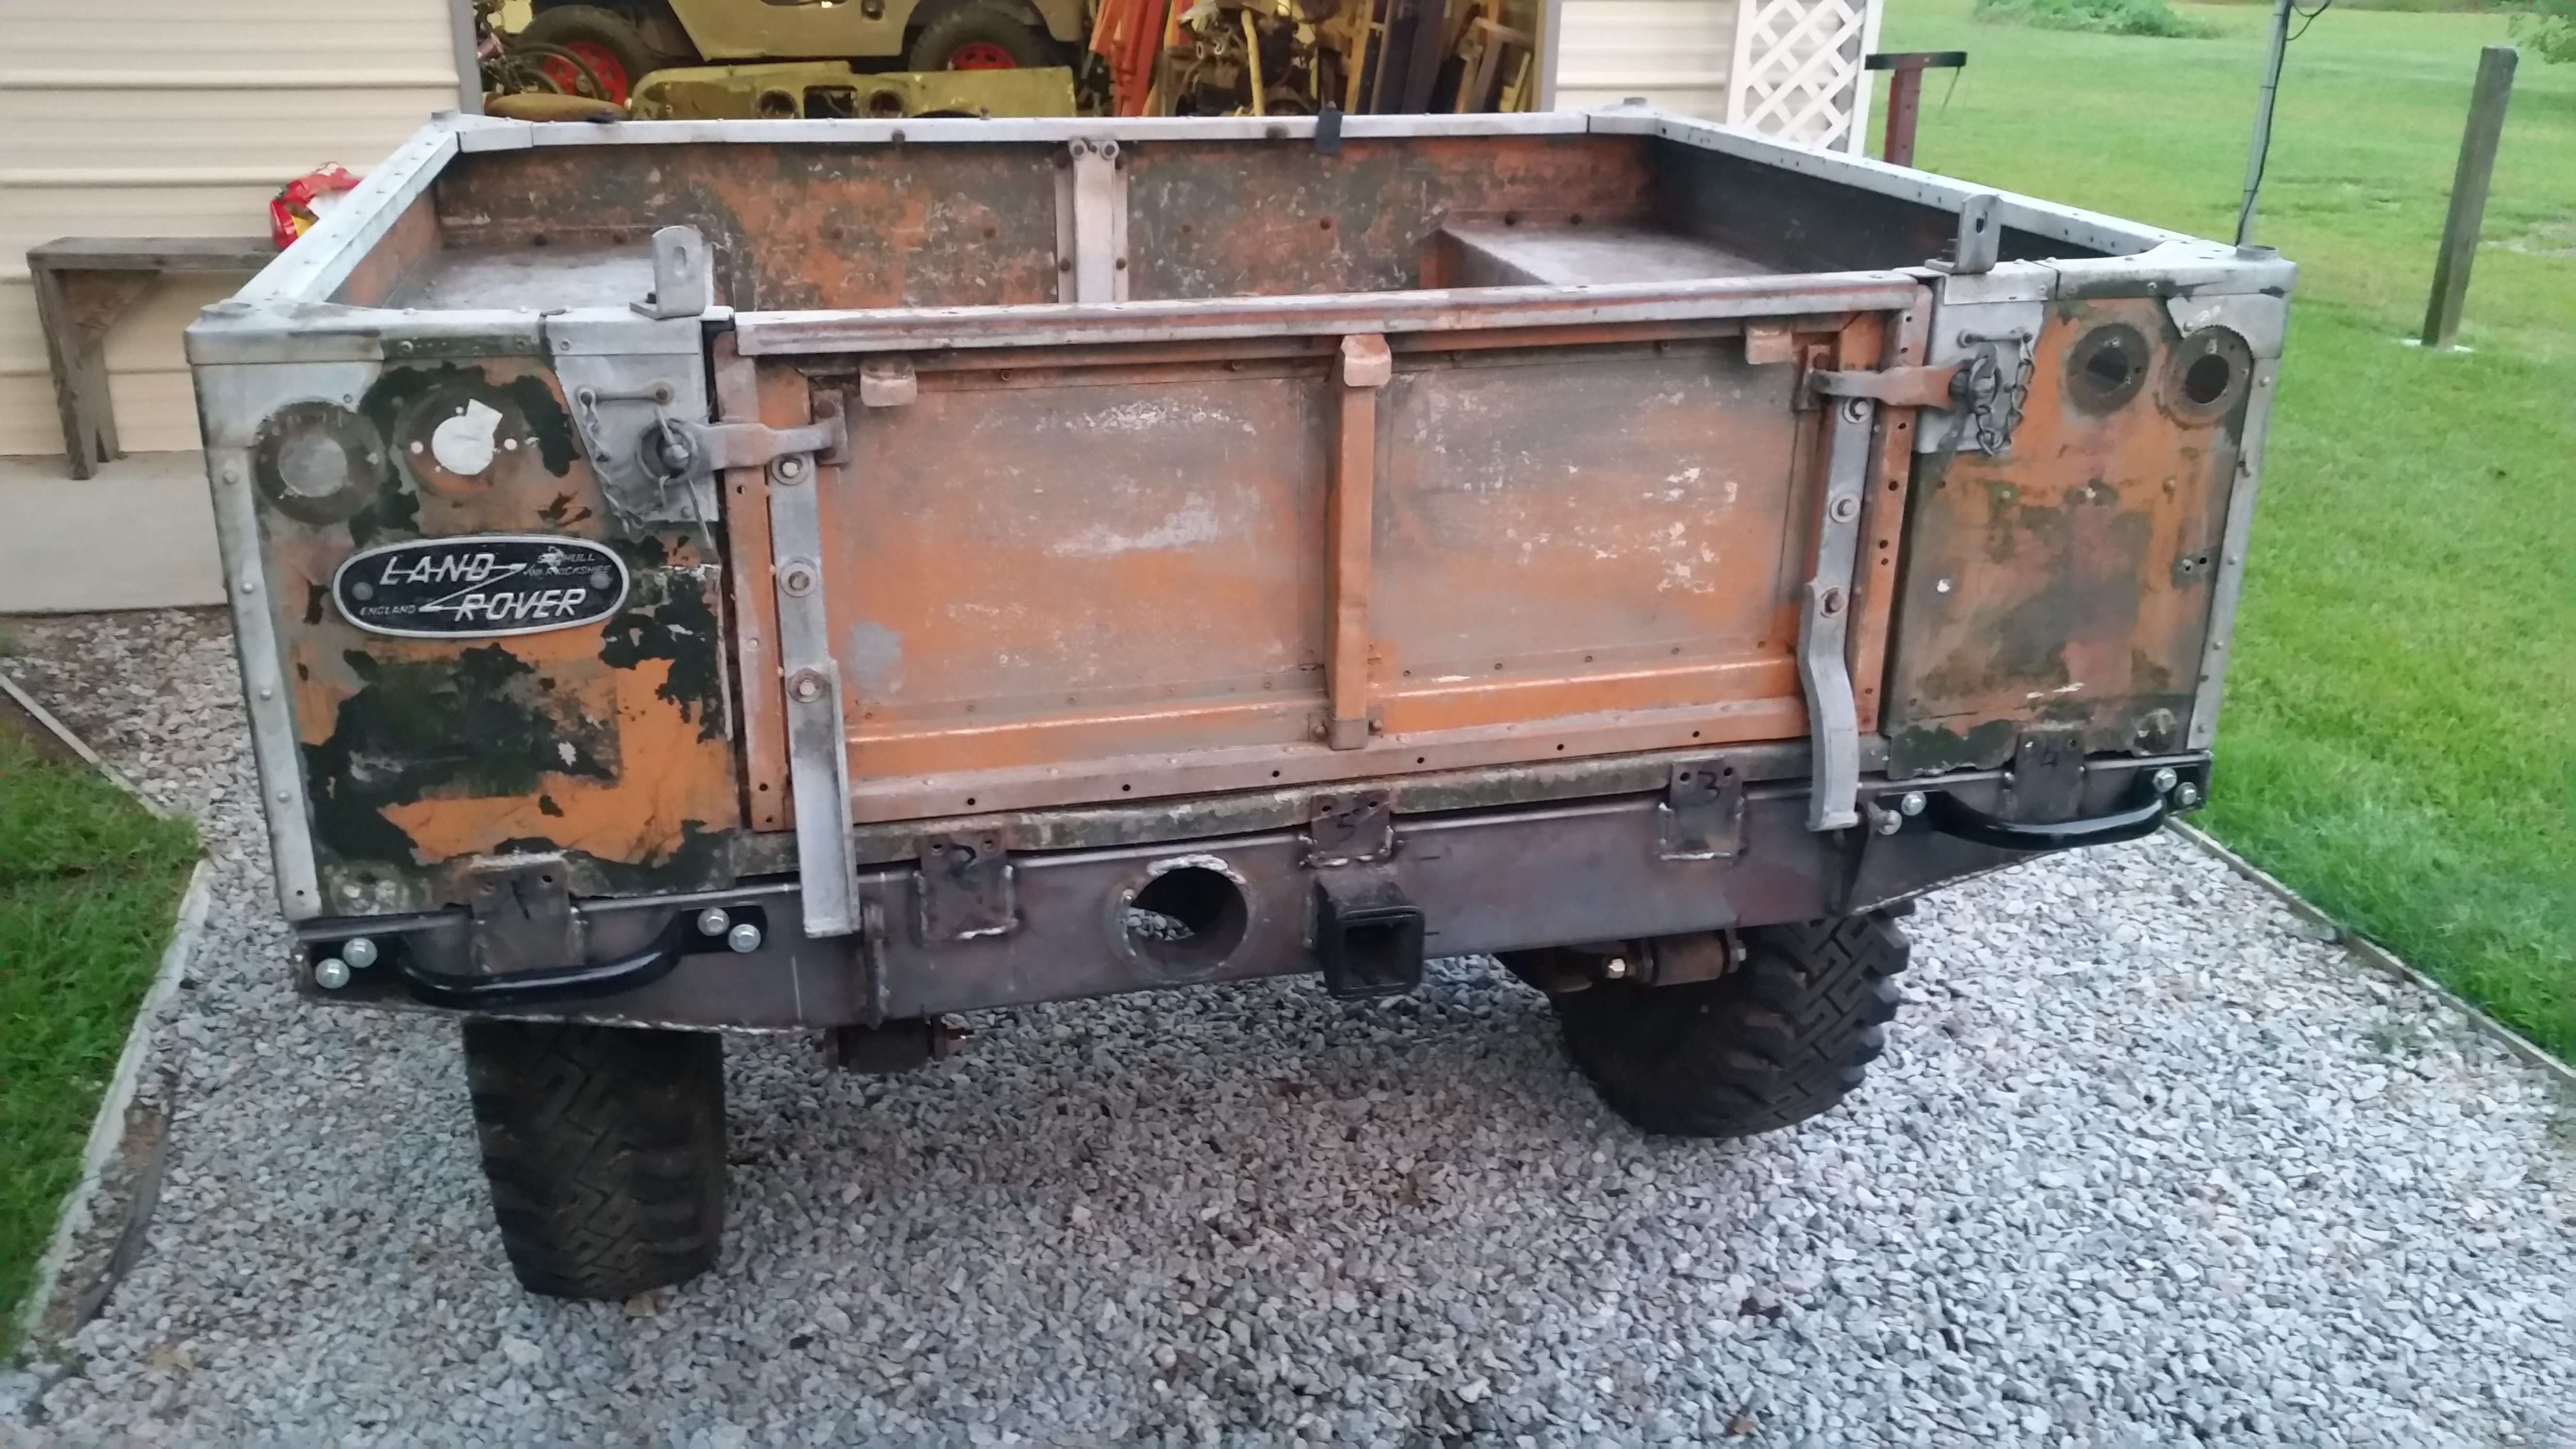
It is a 1958 Series 1 88"
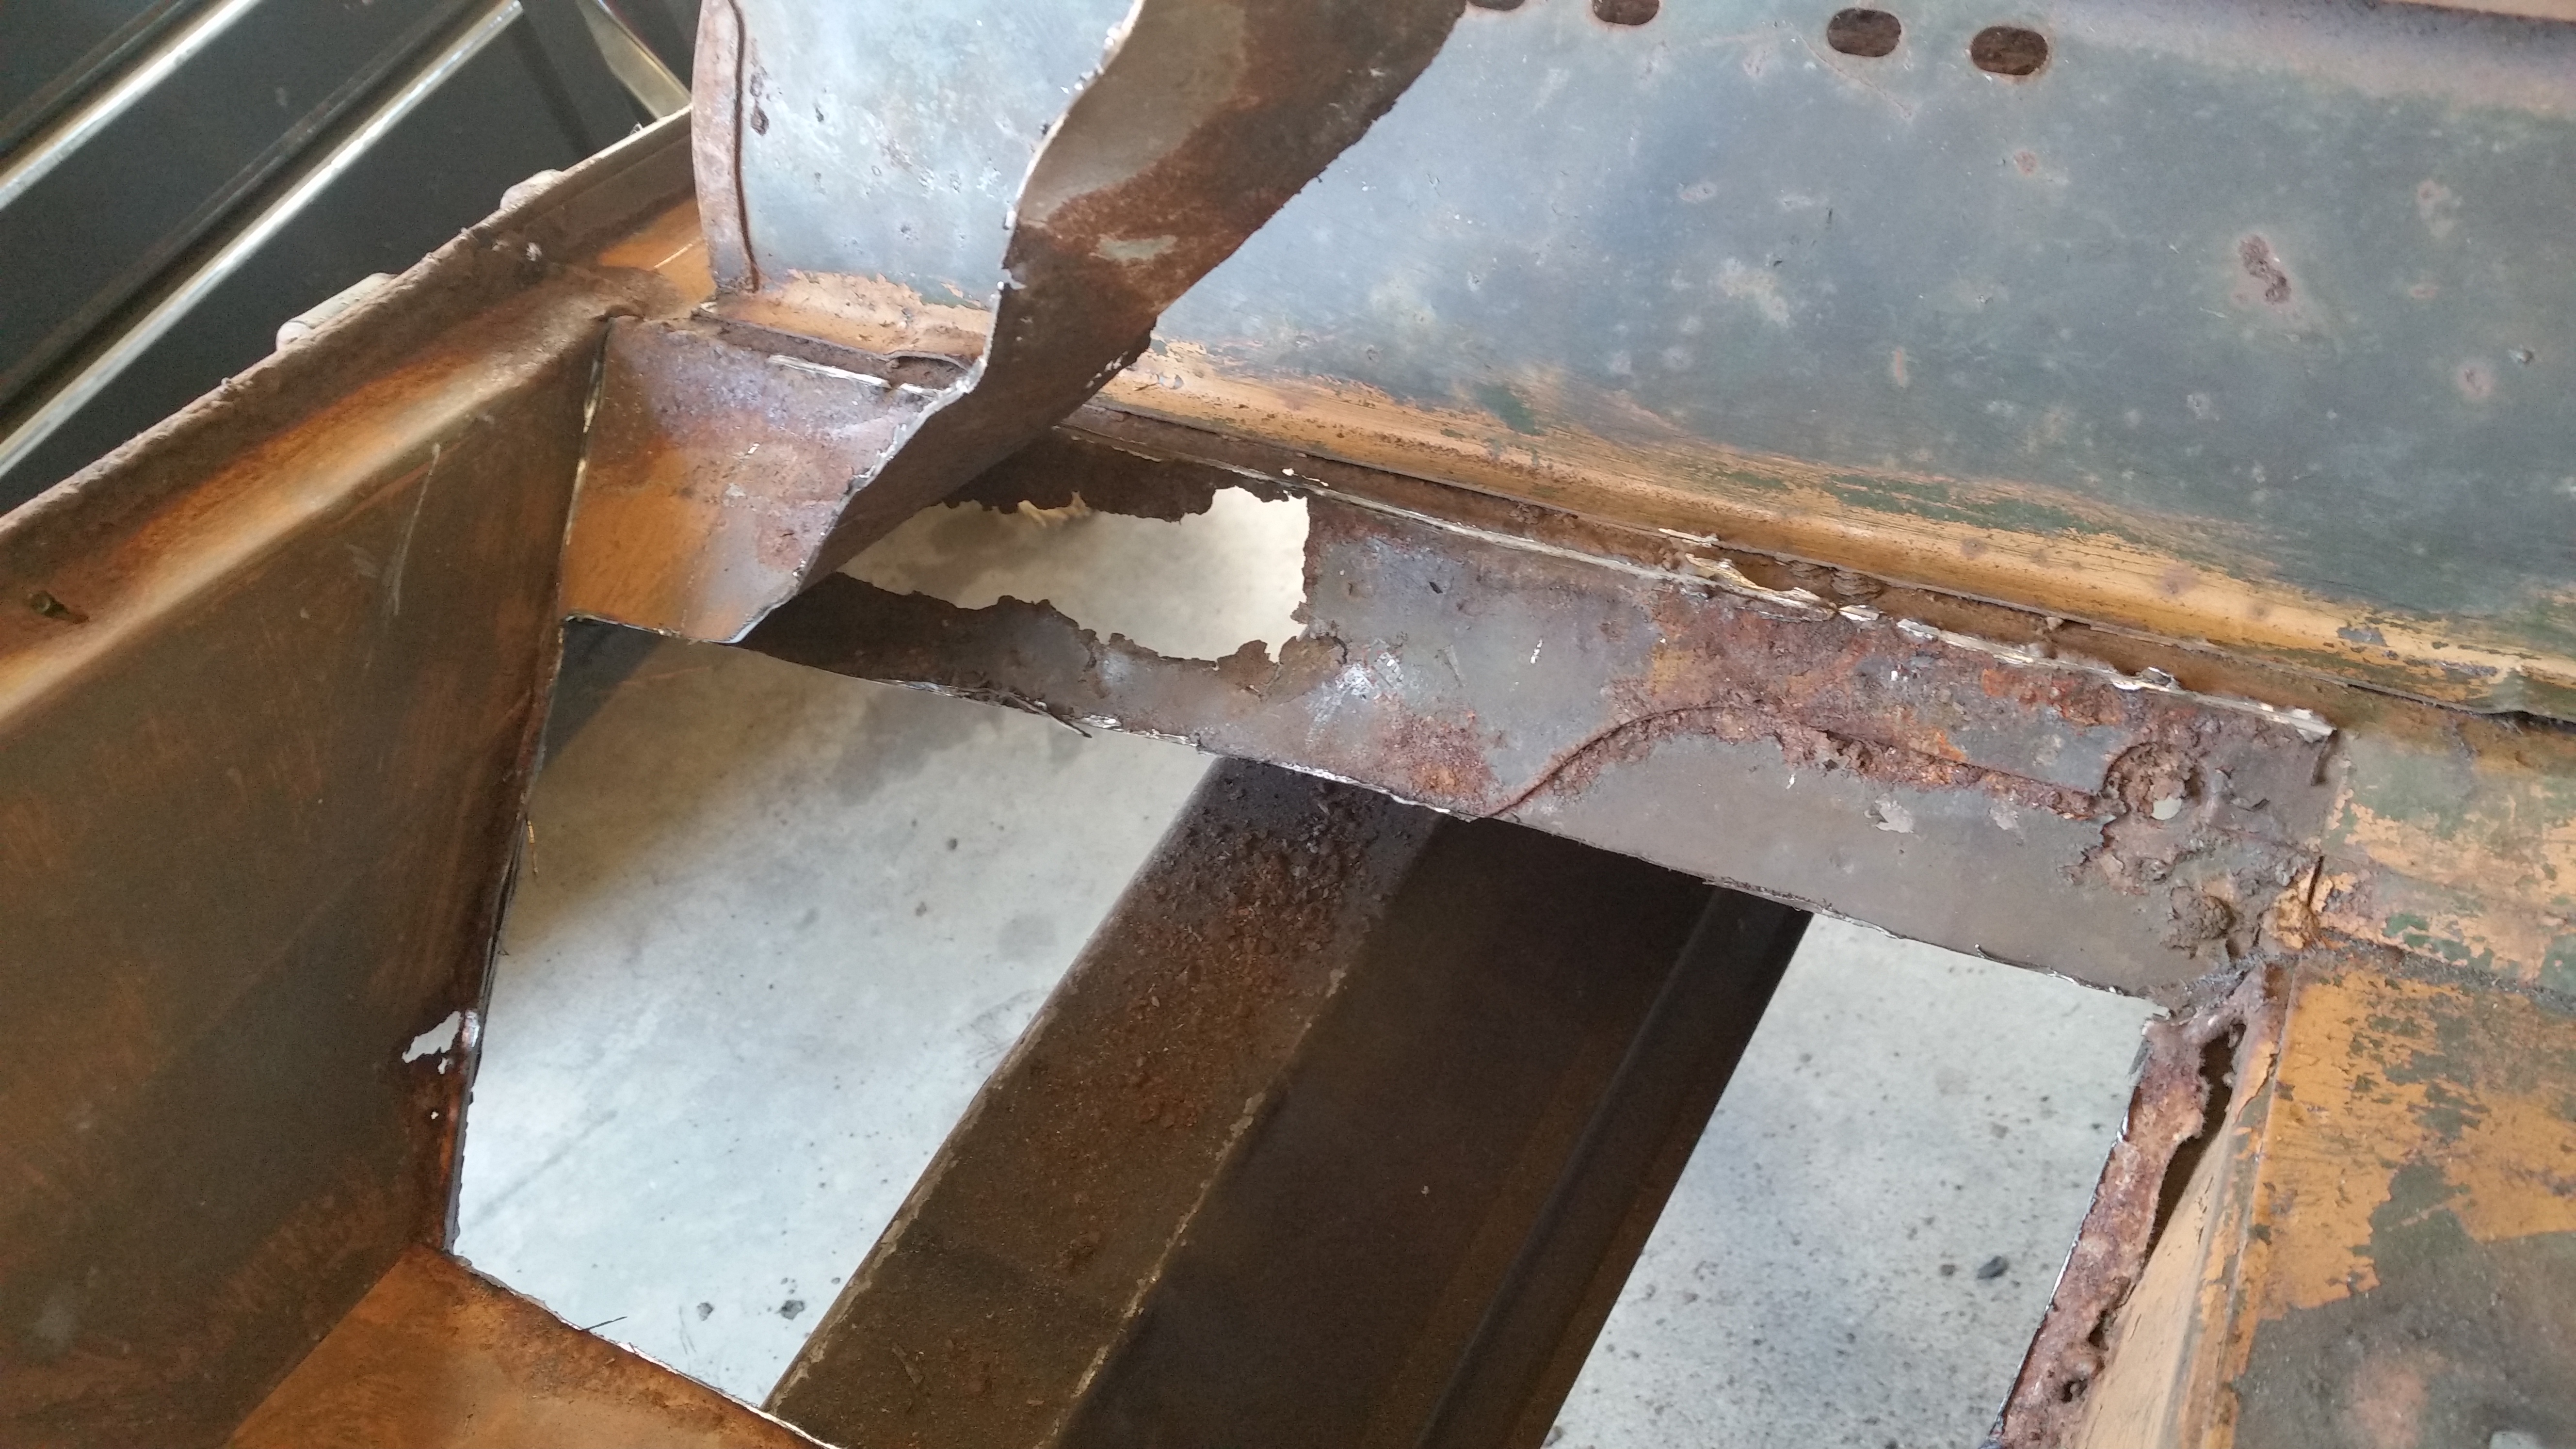
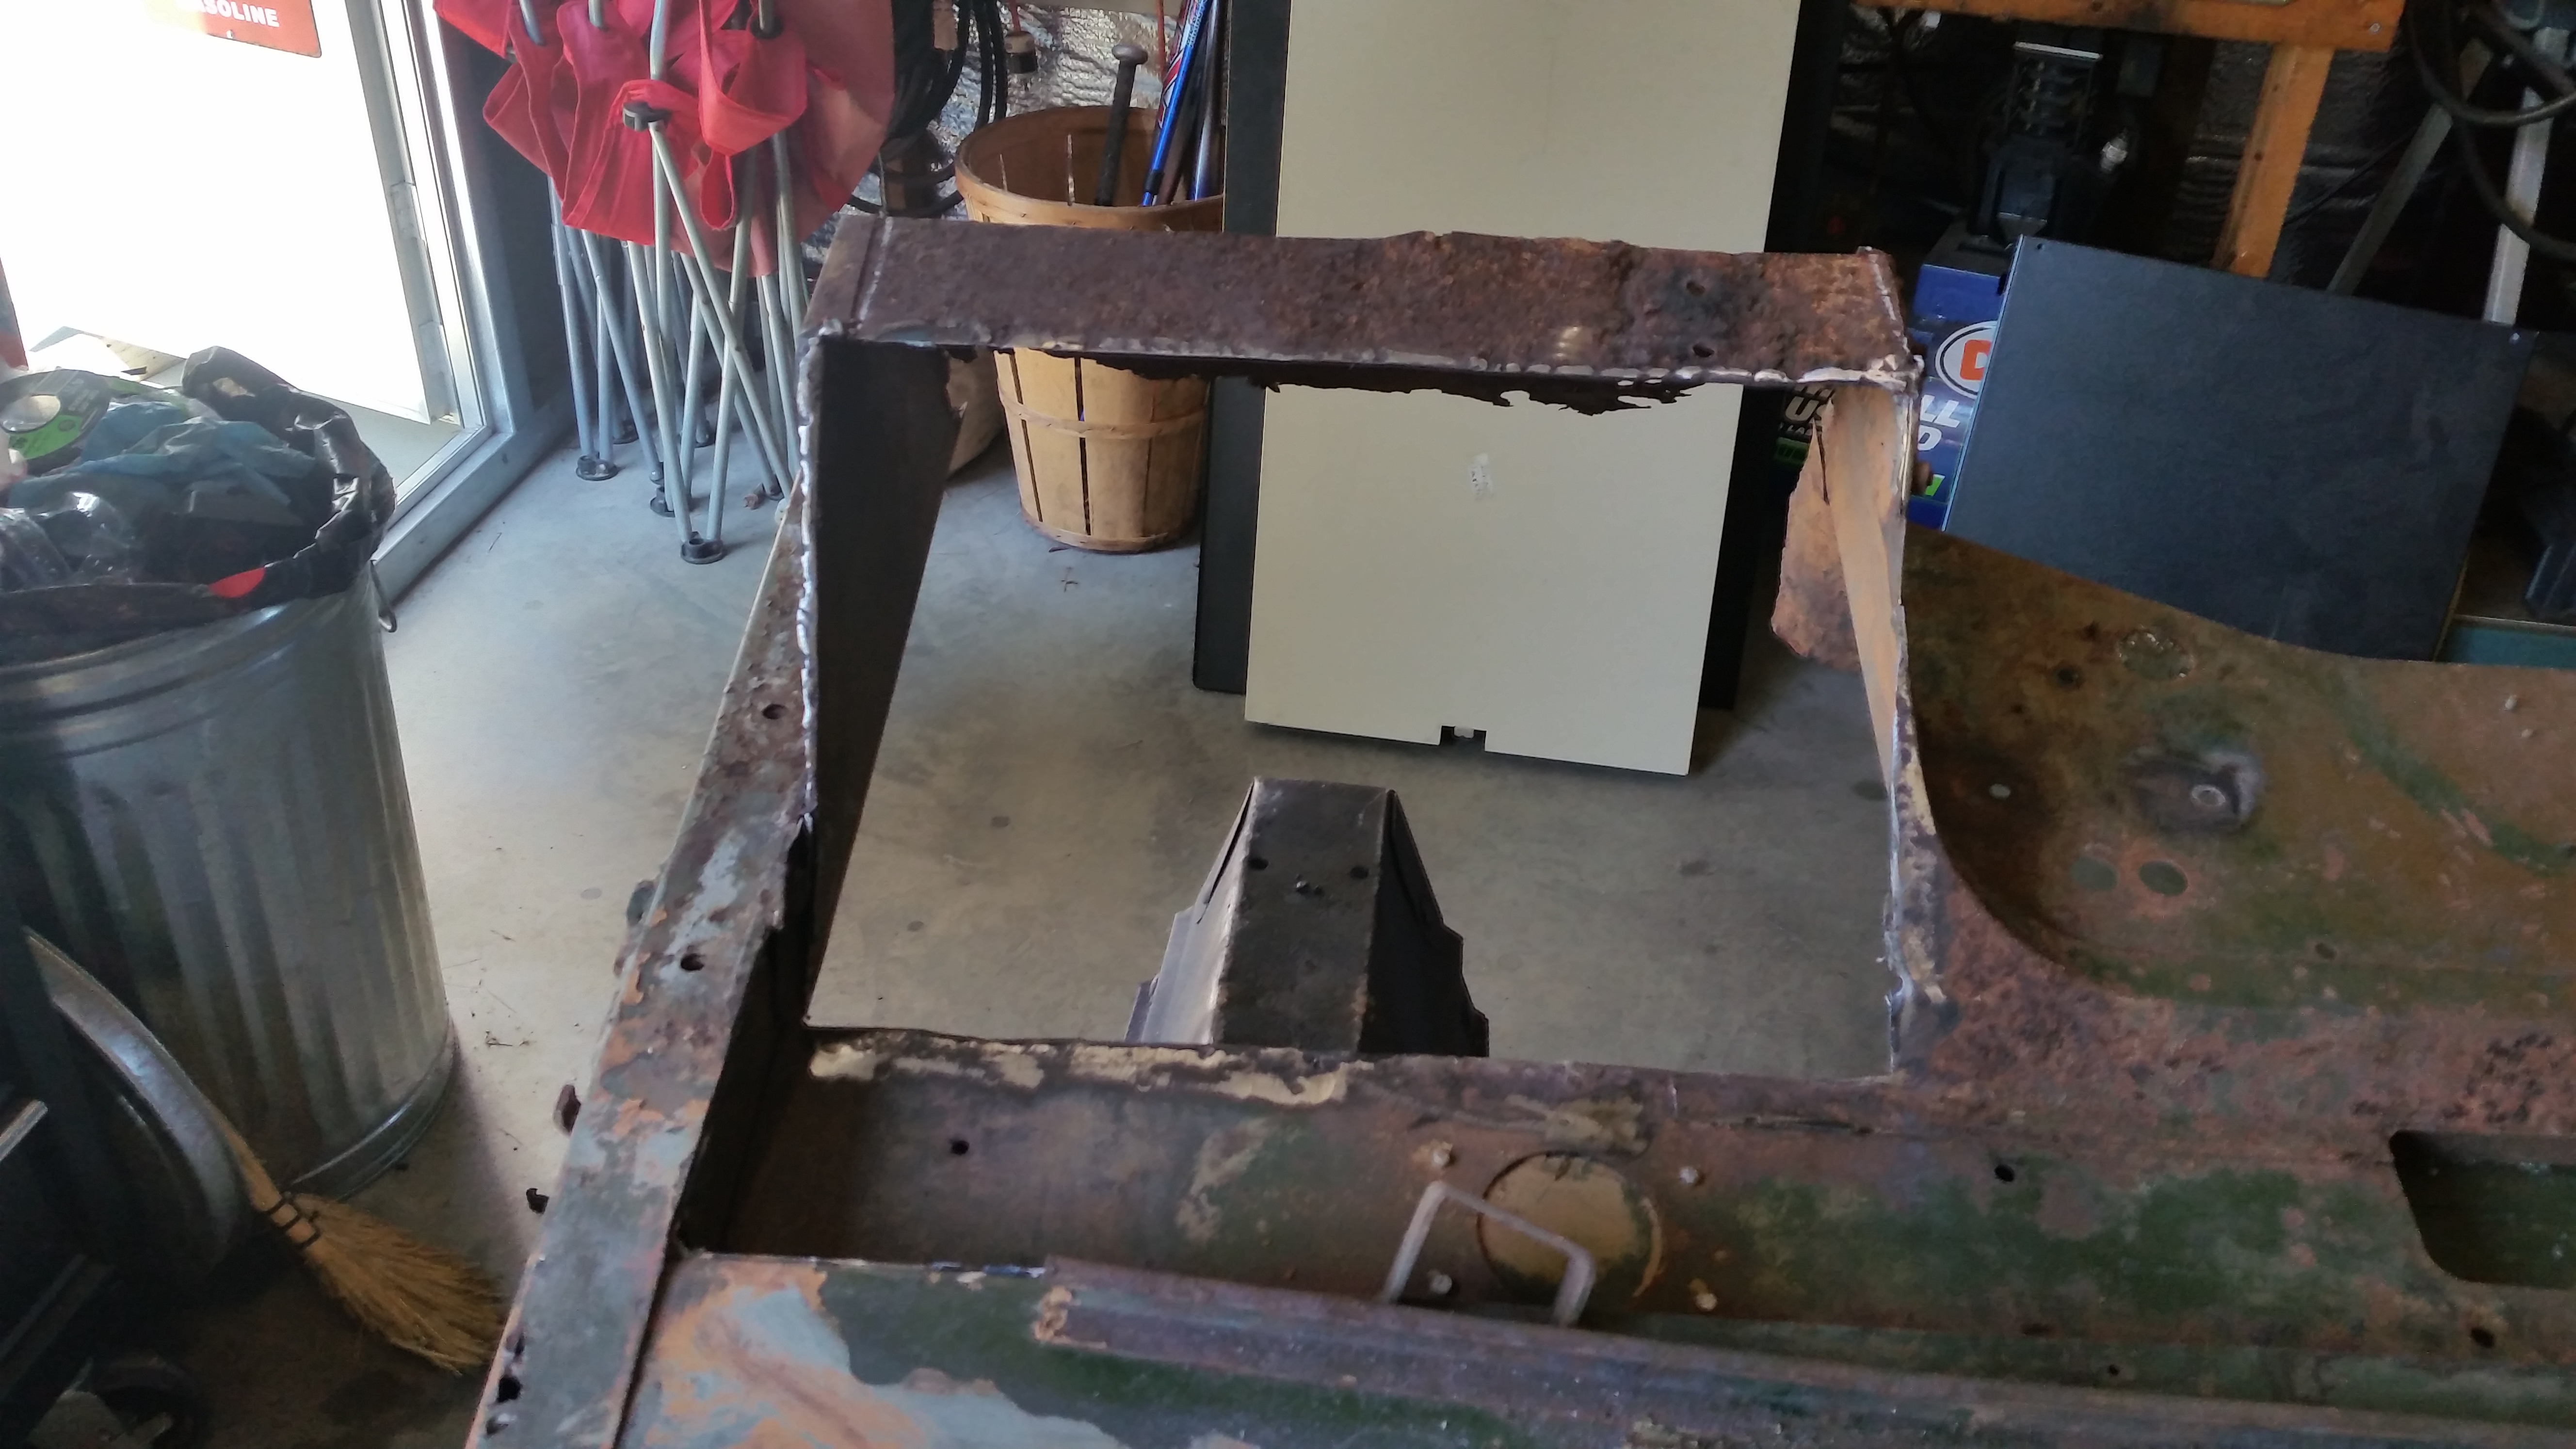
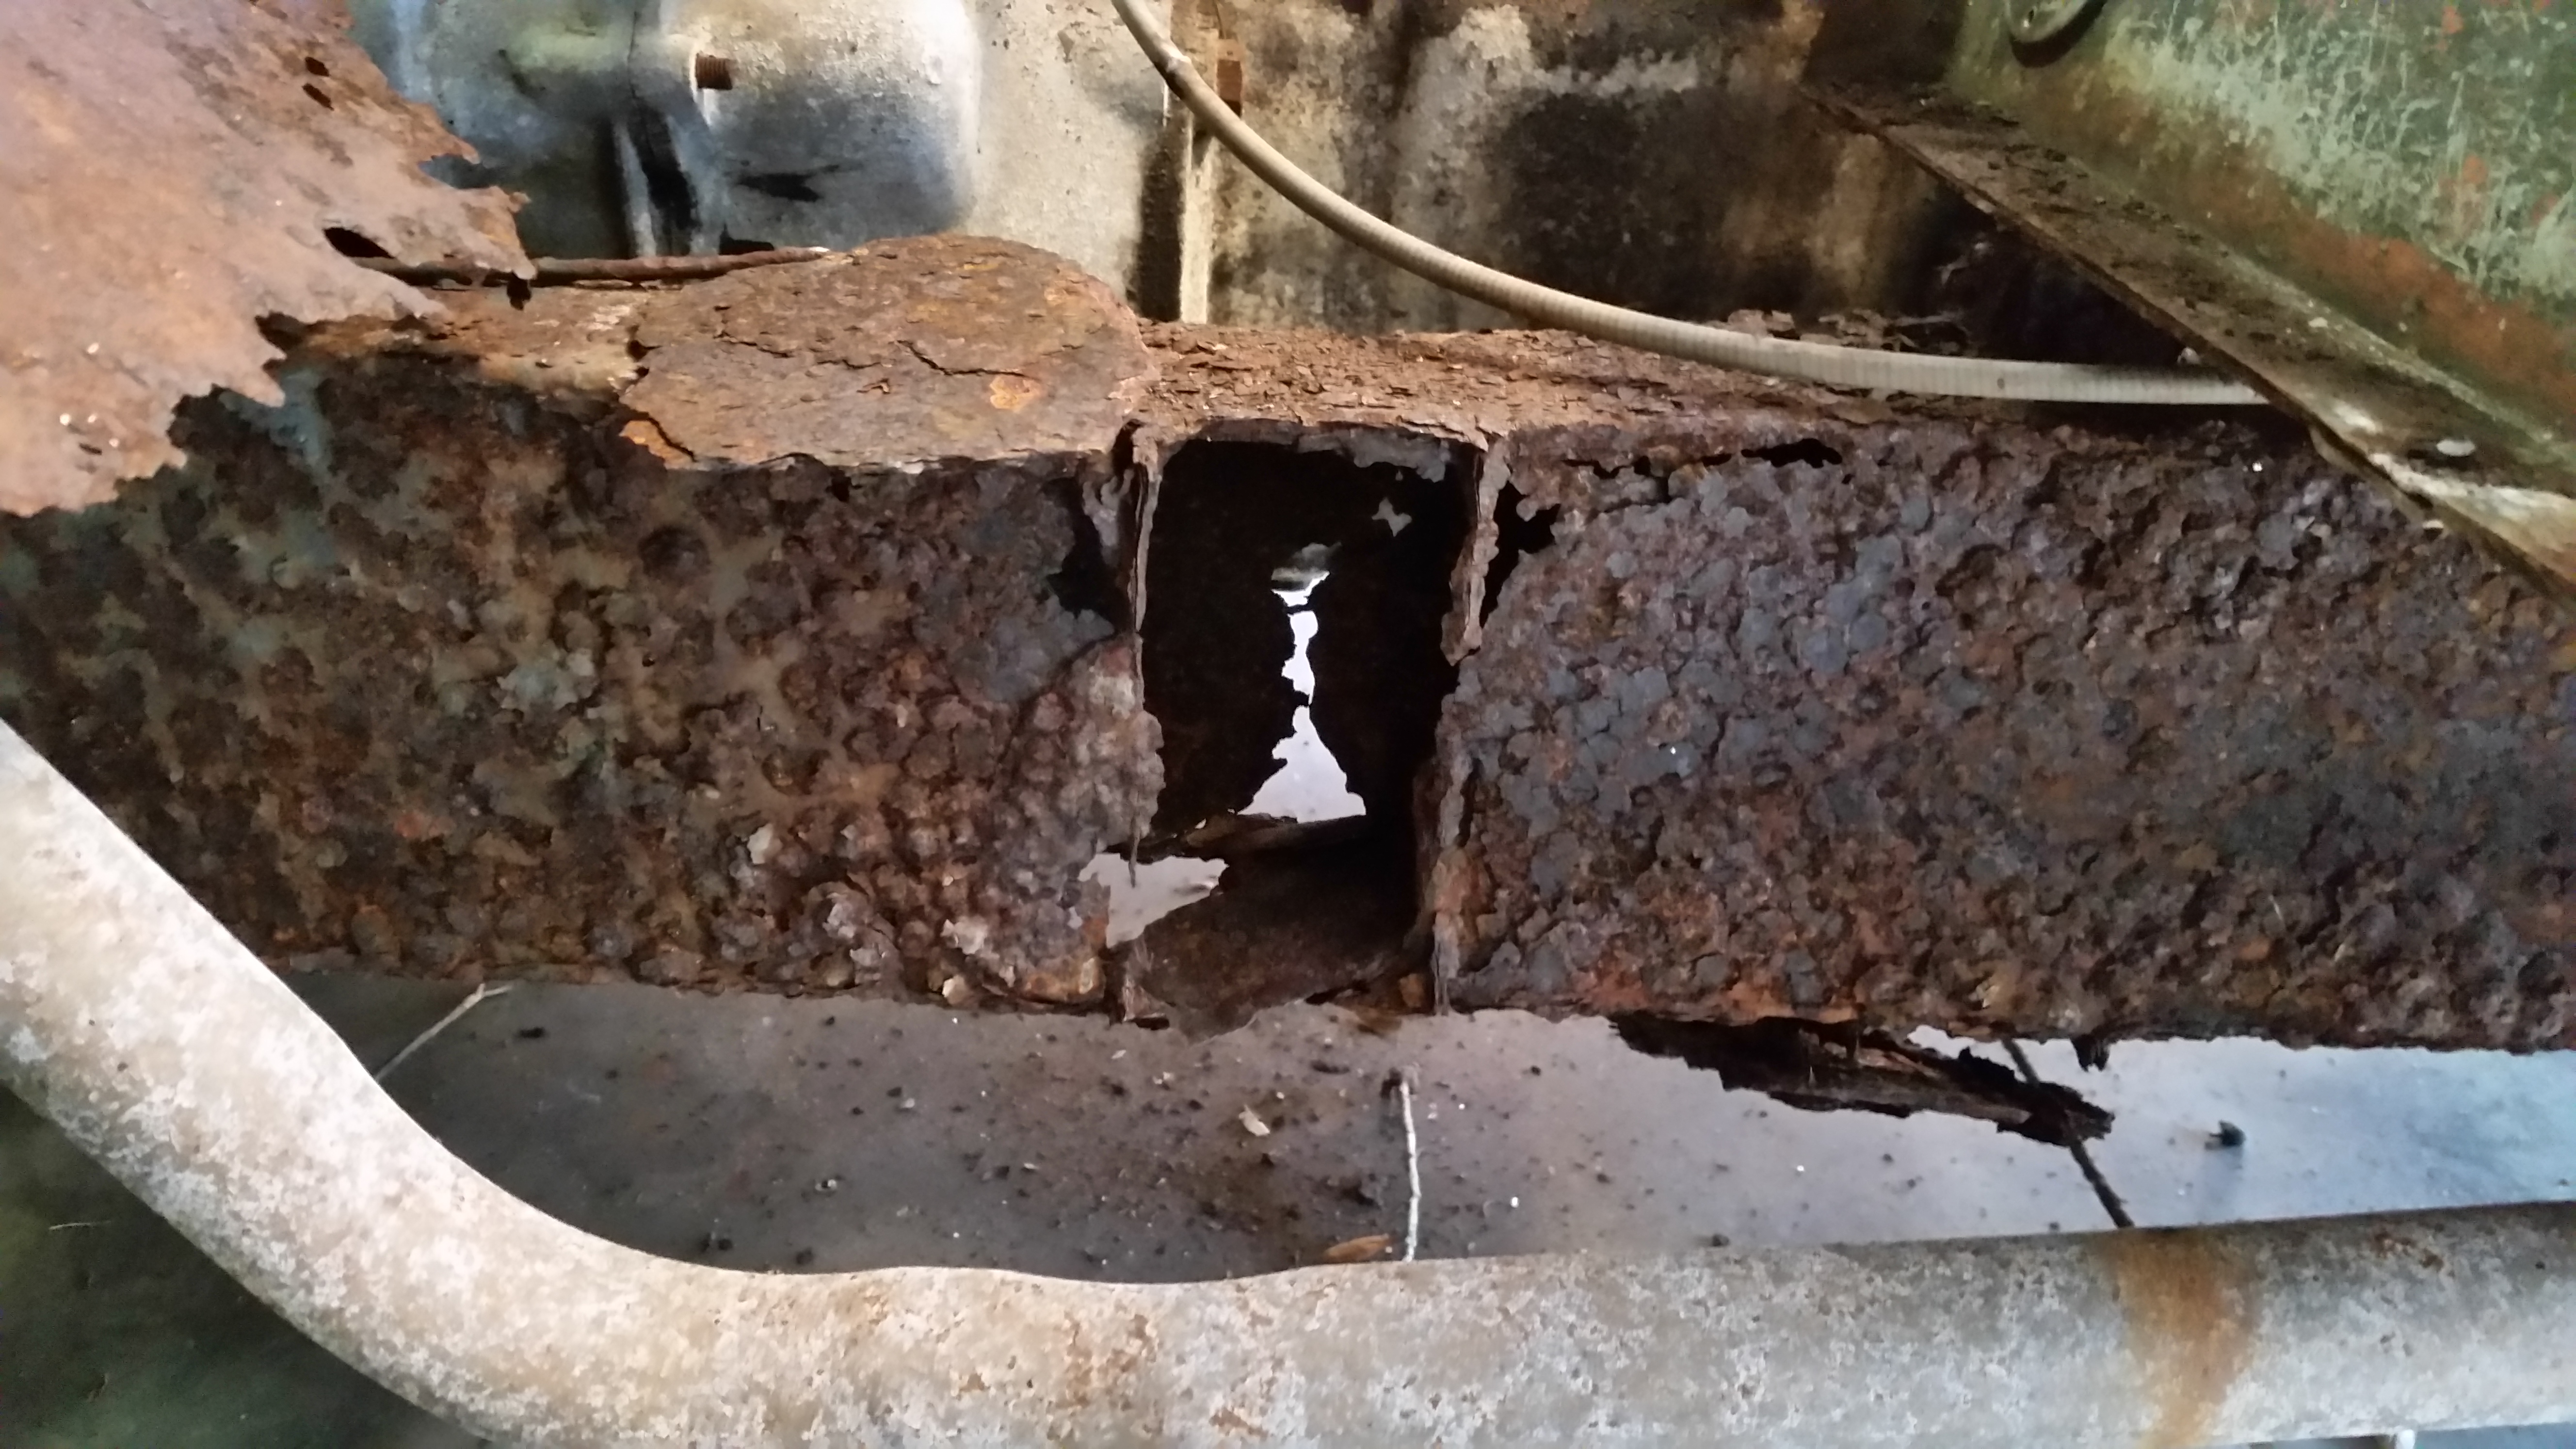
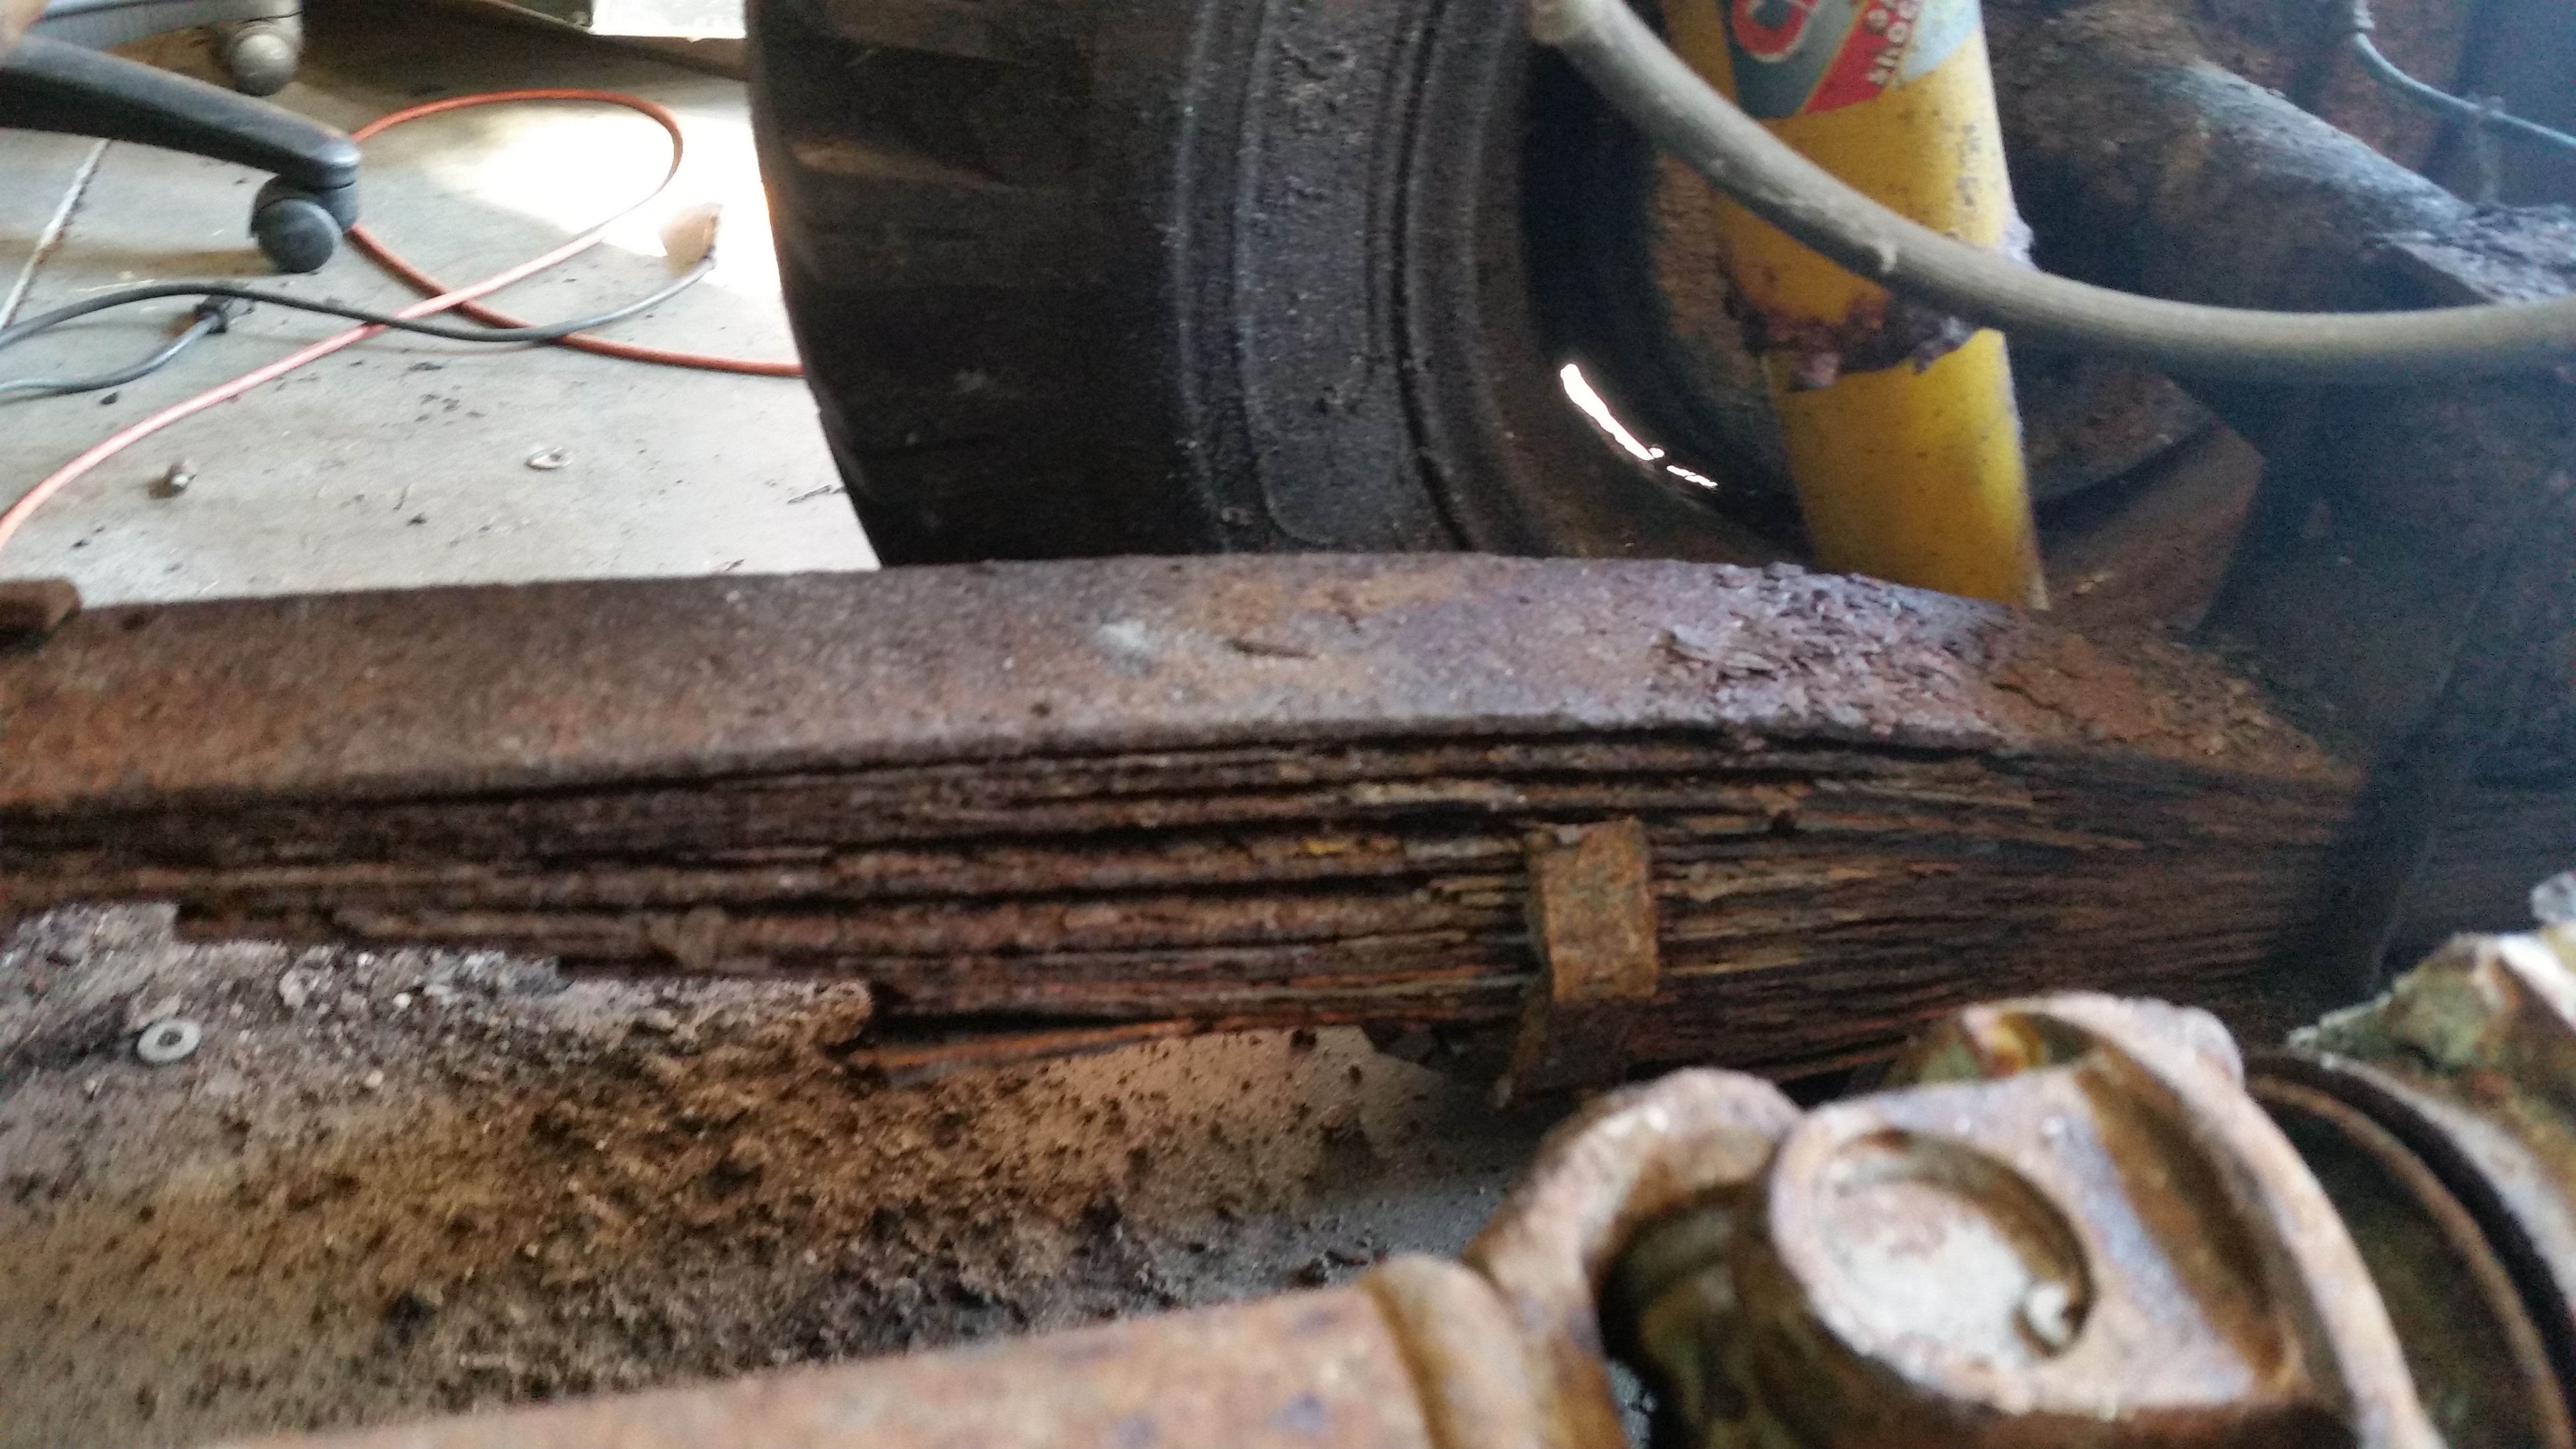
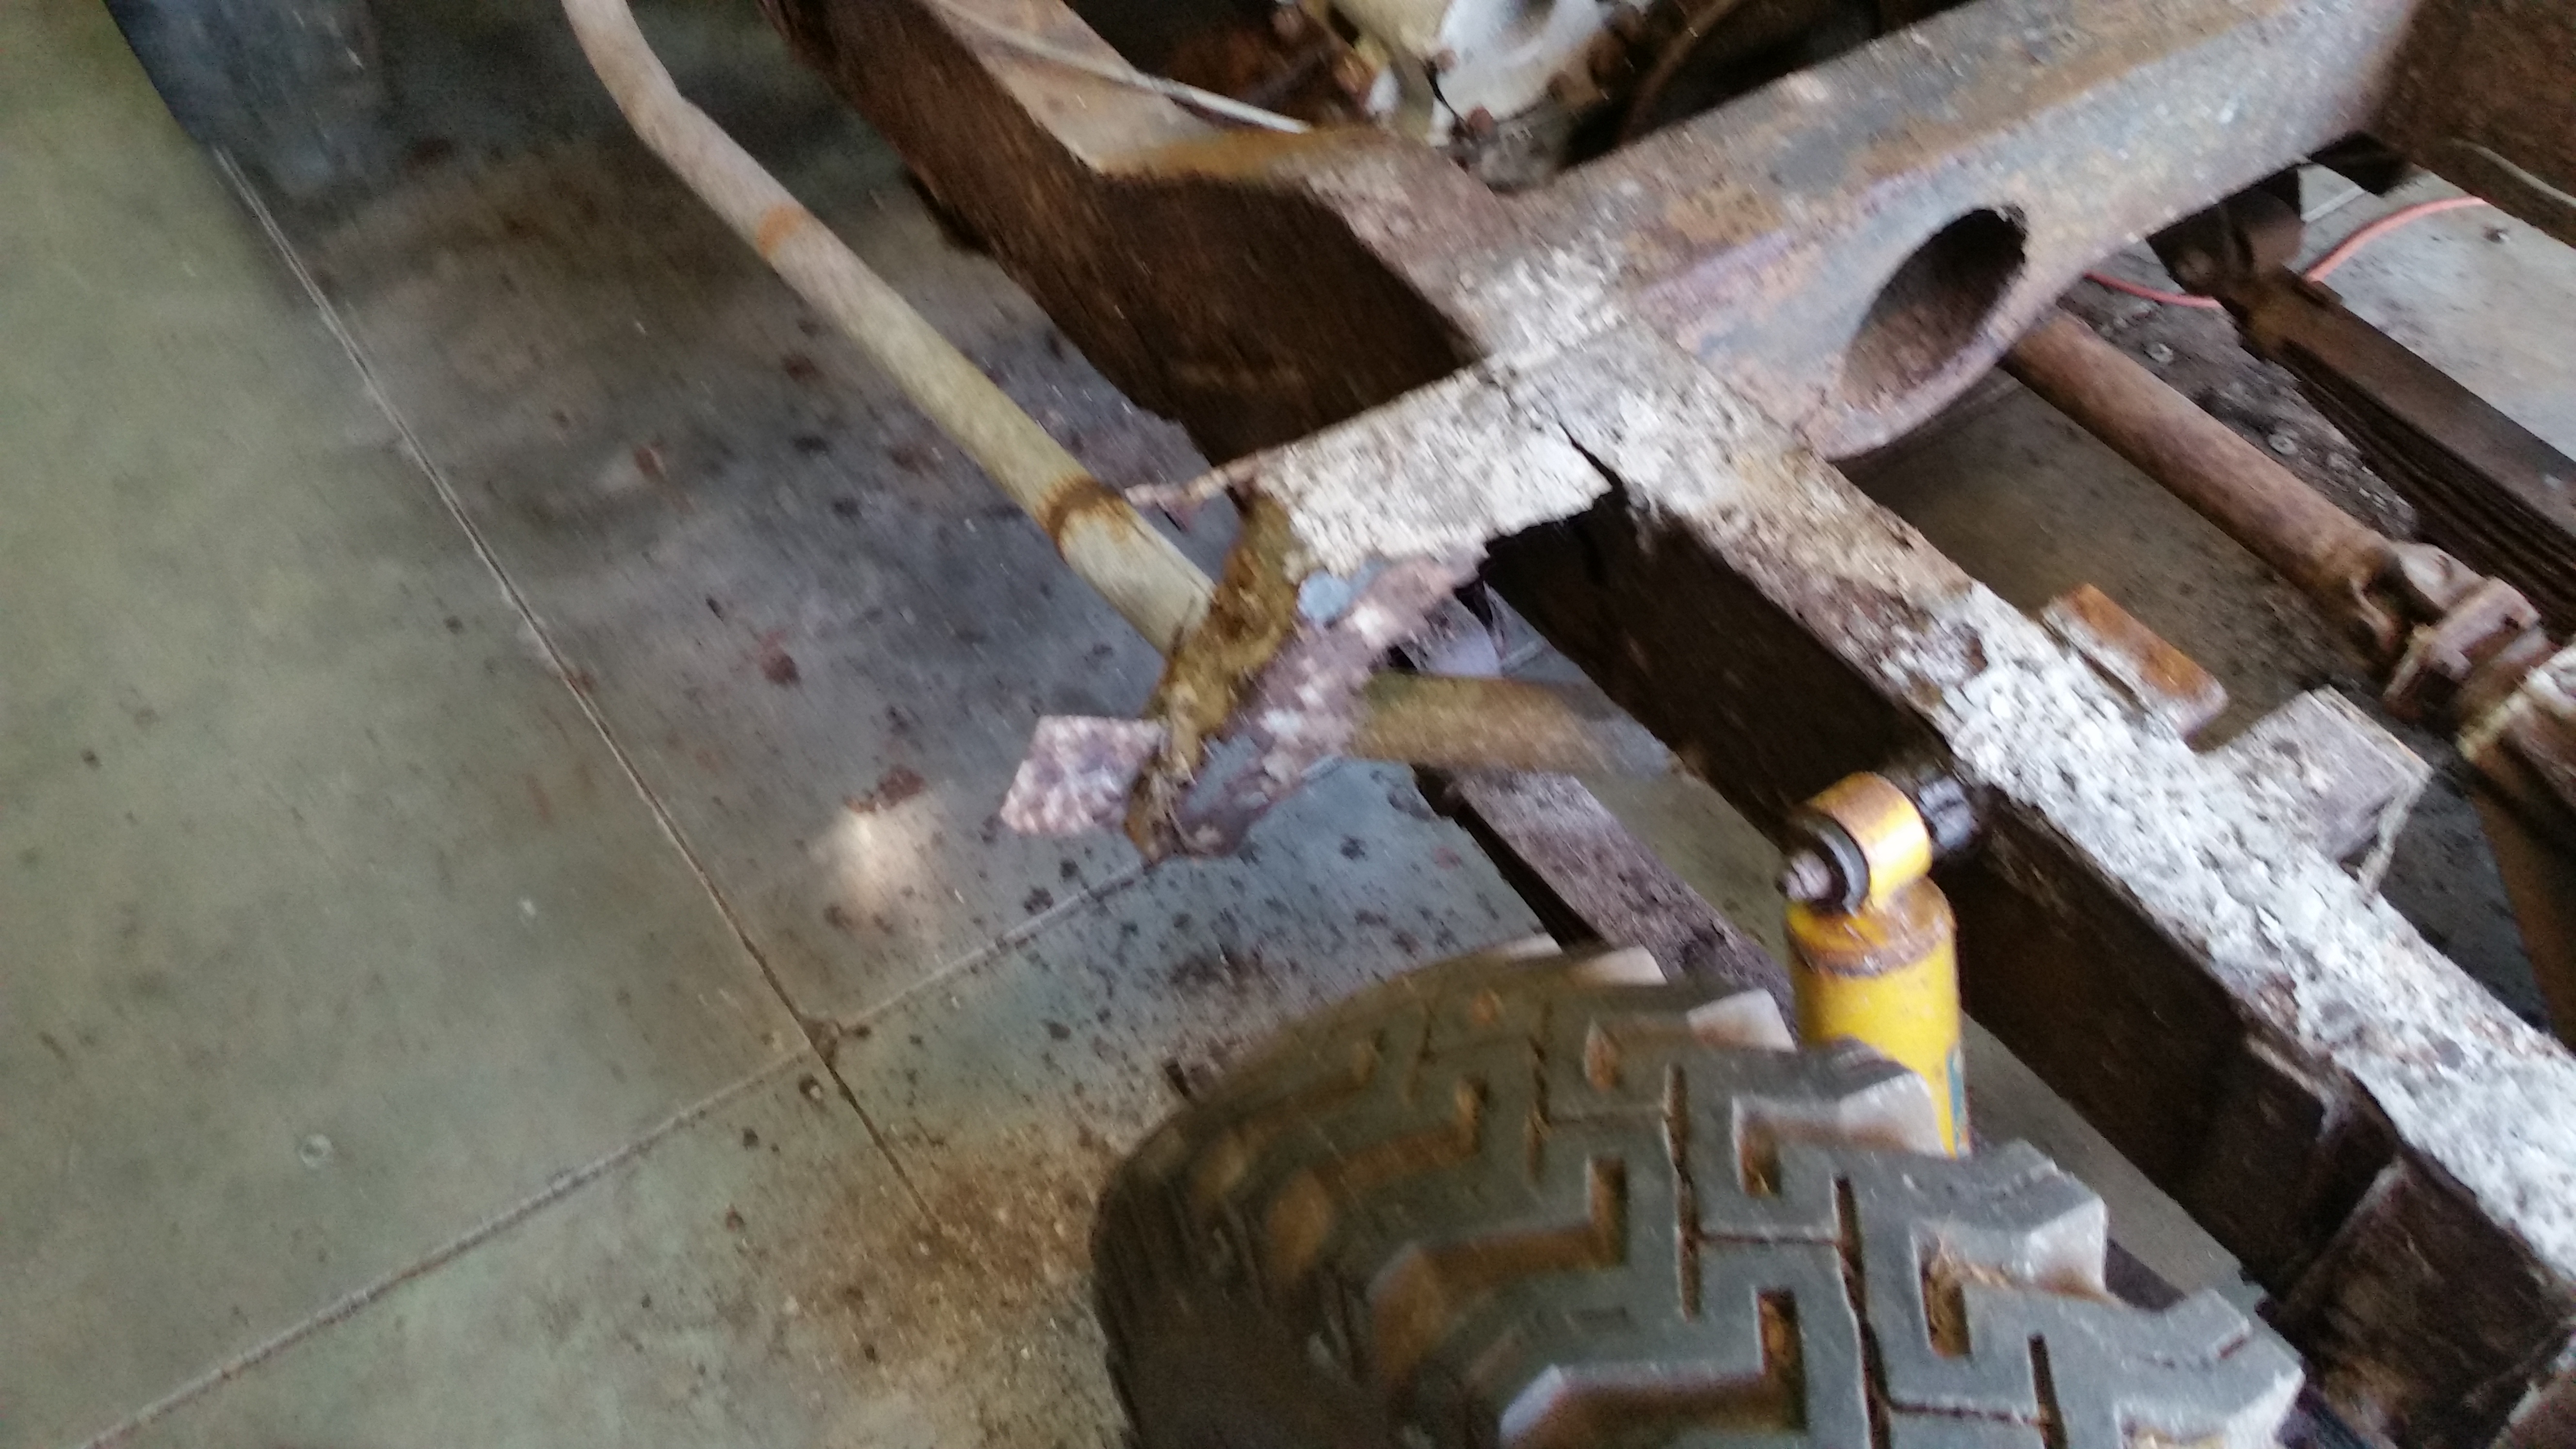
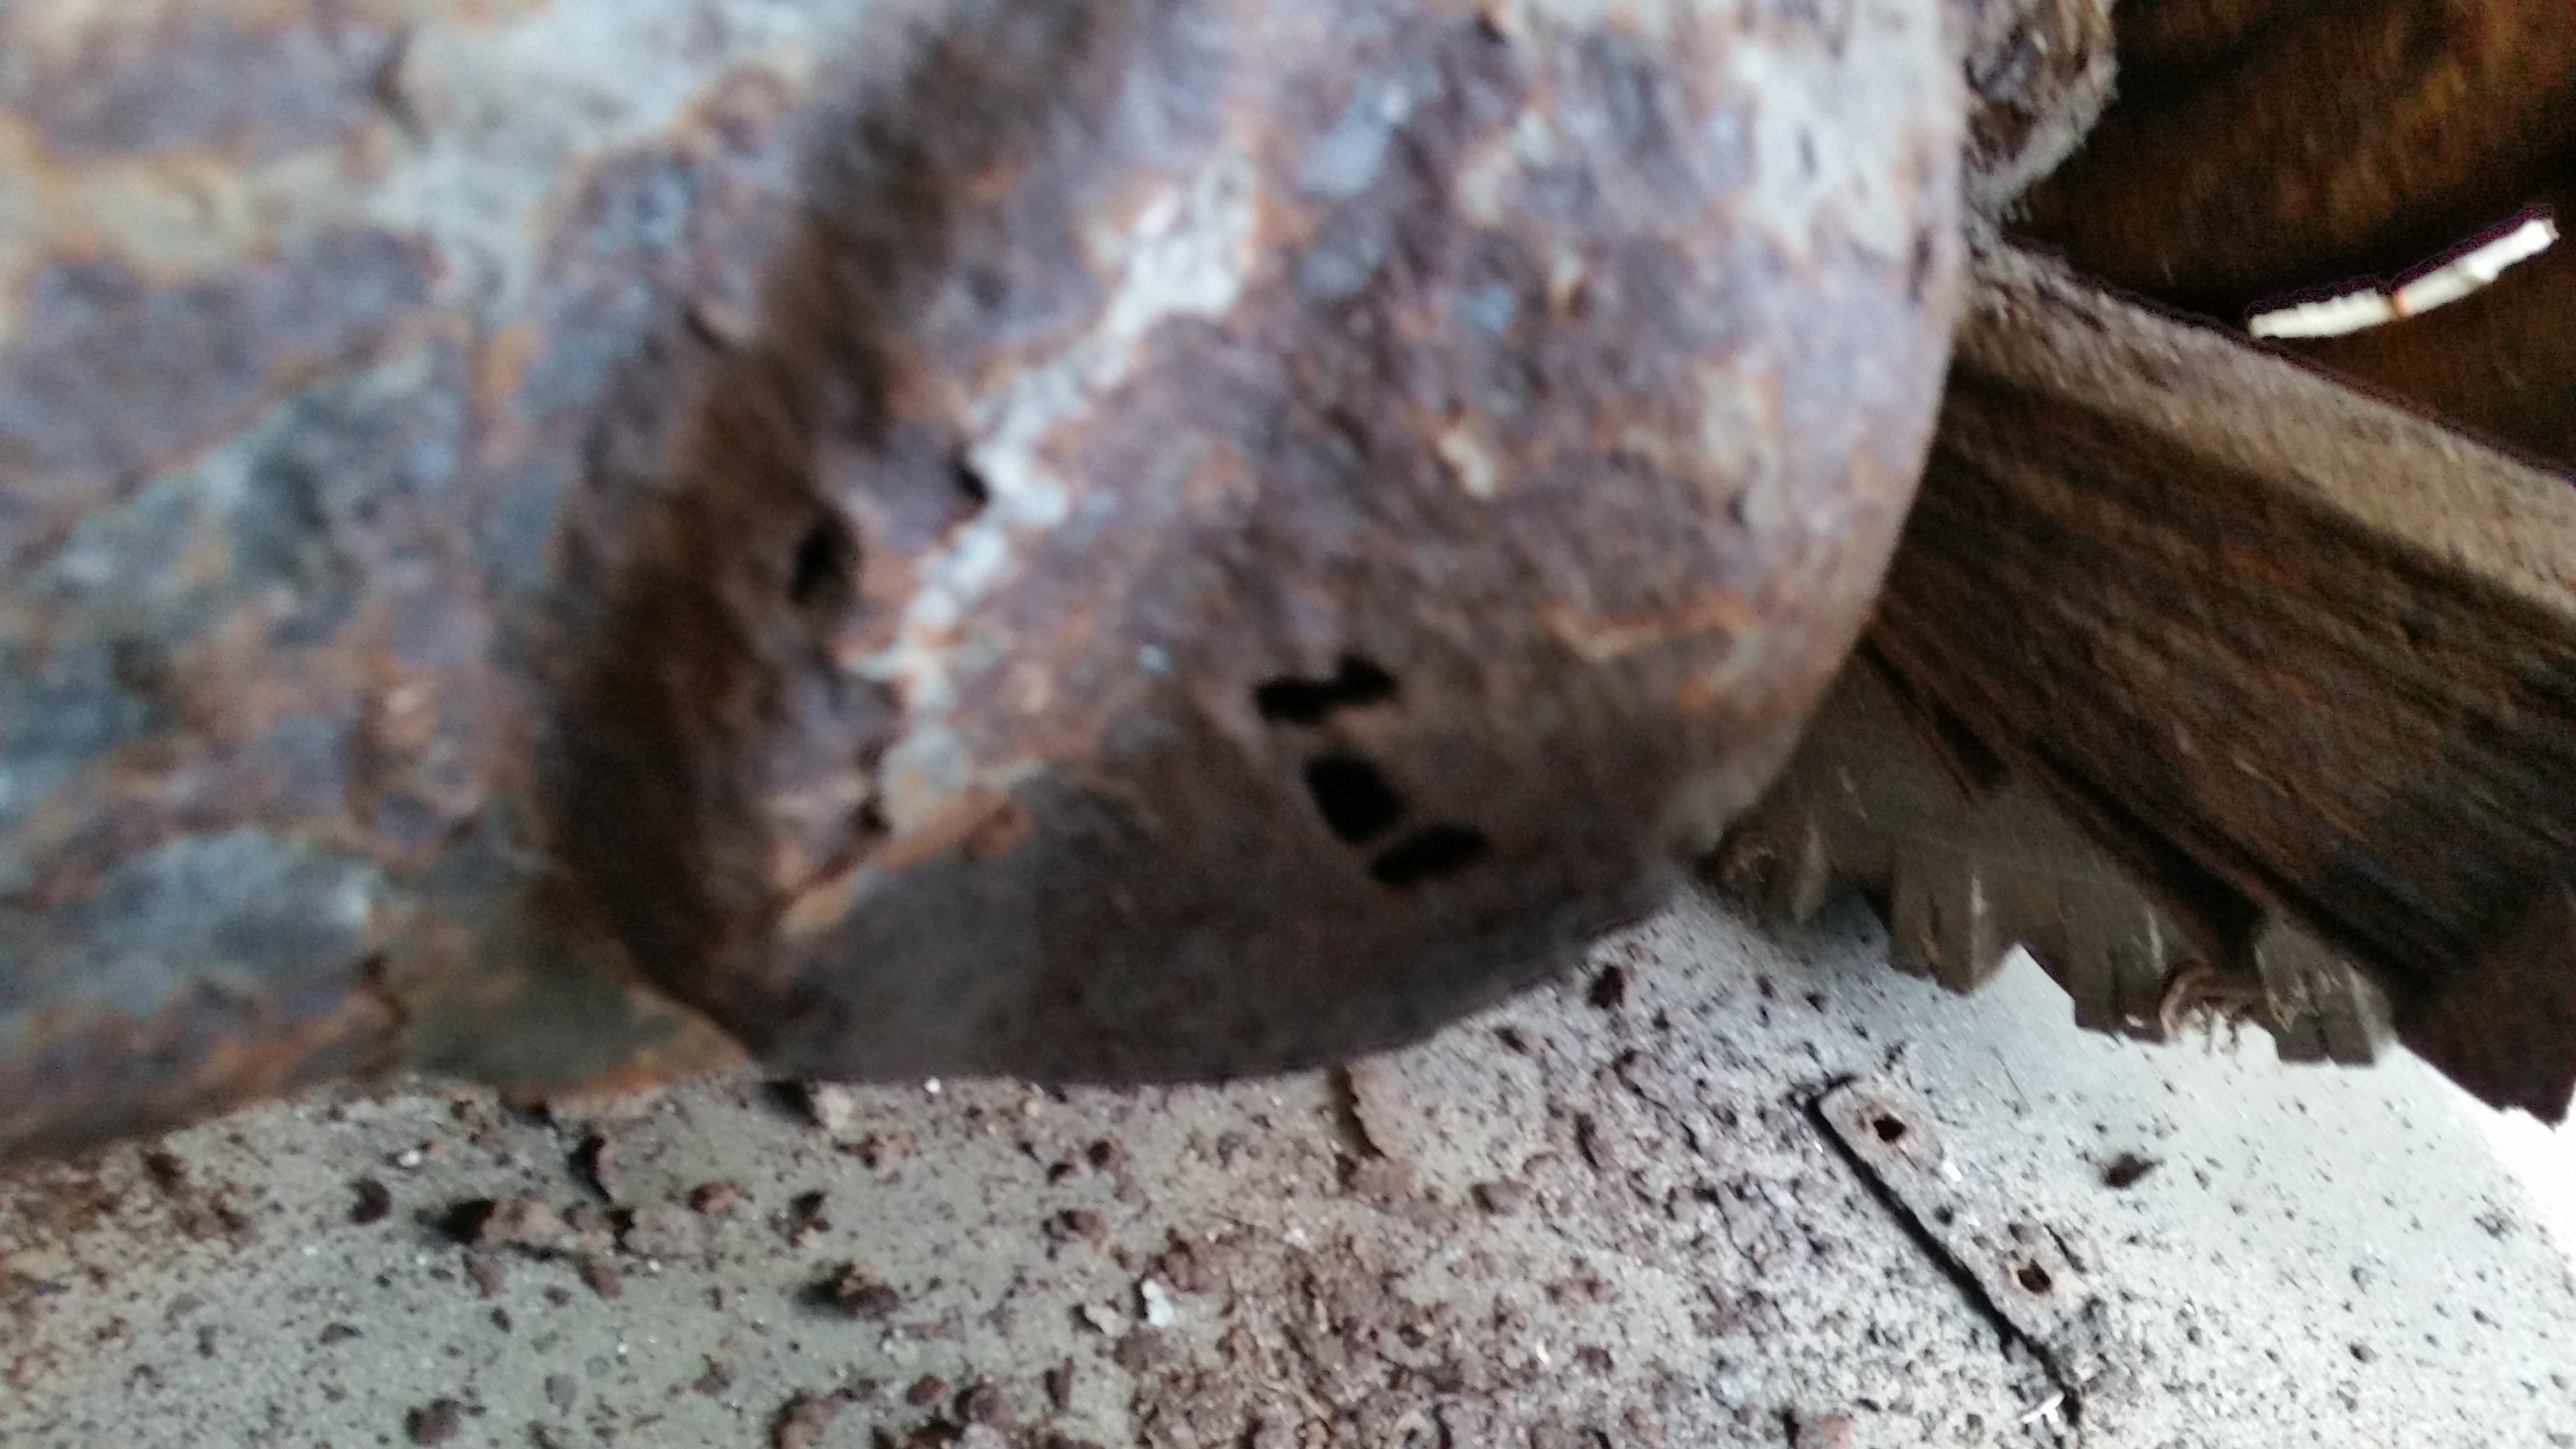
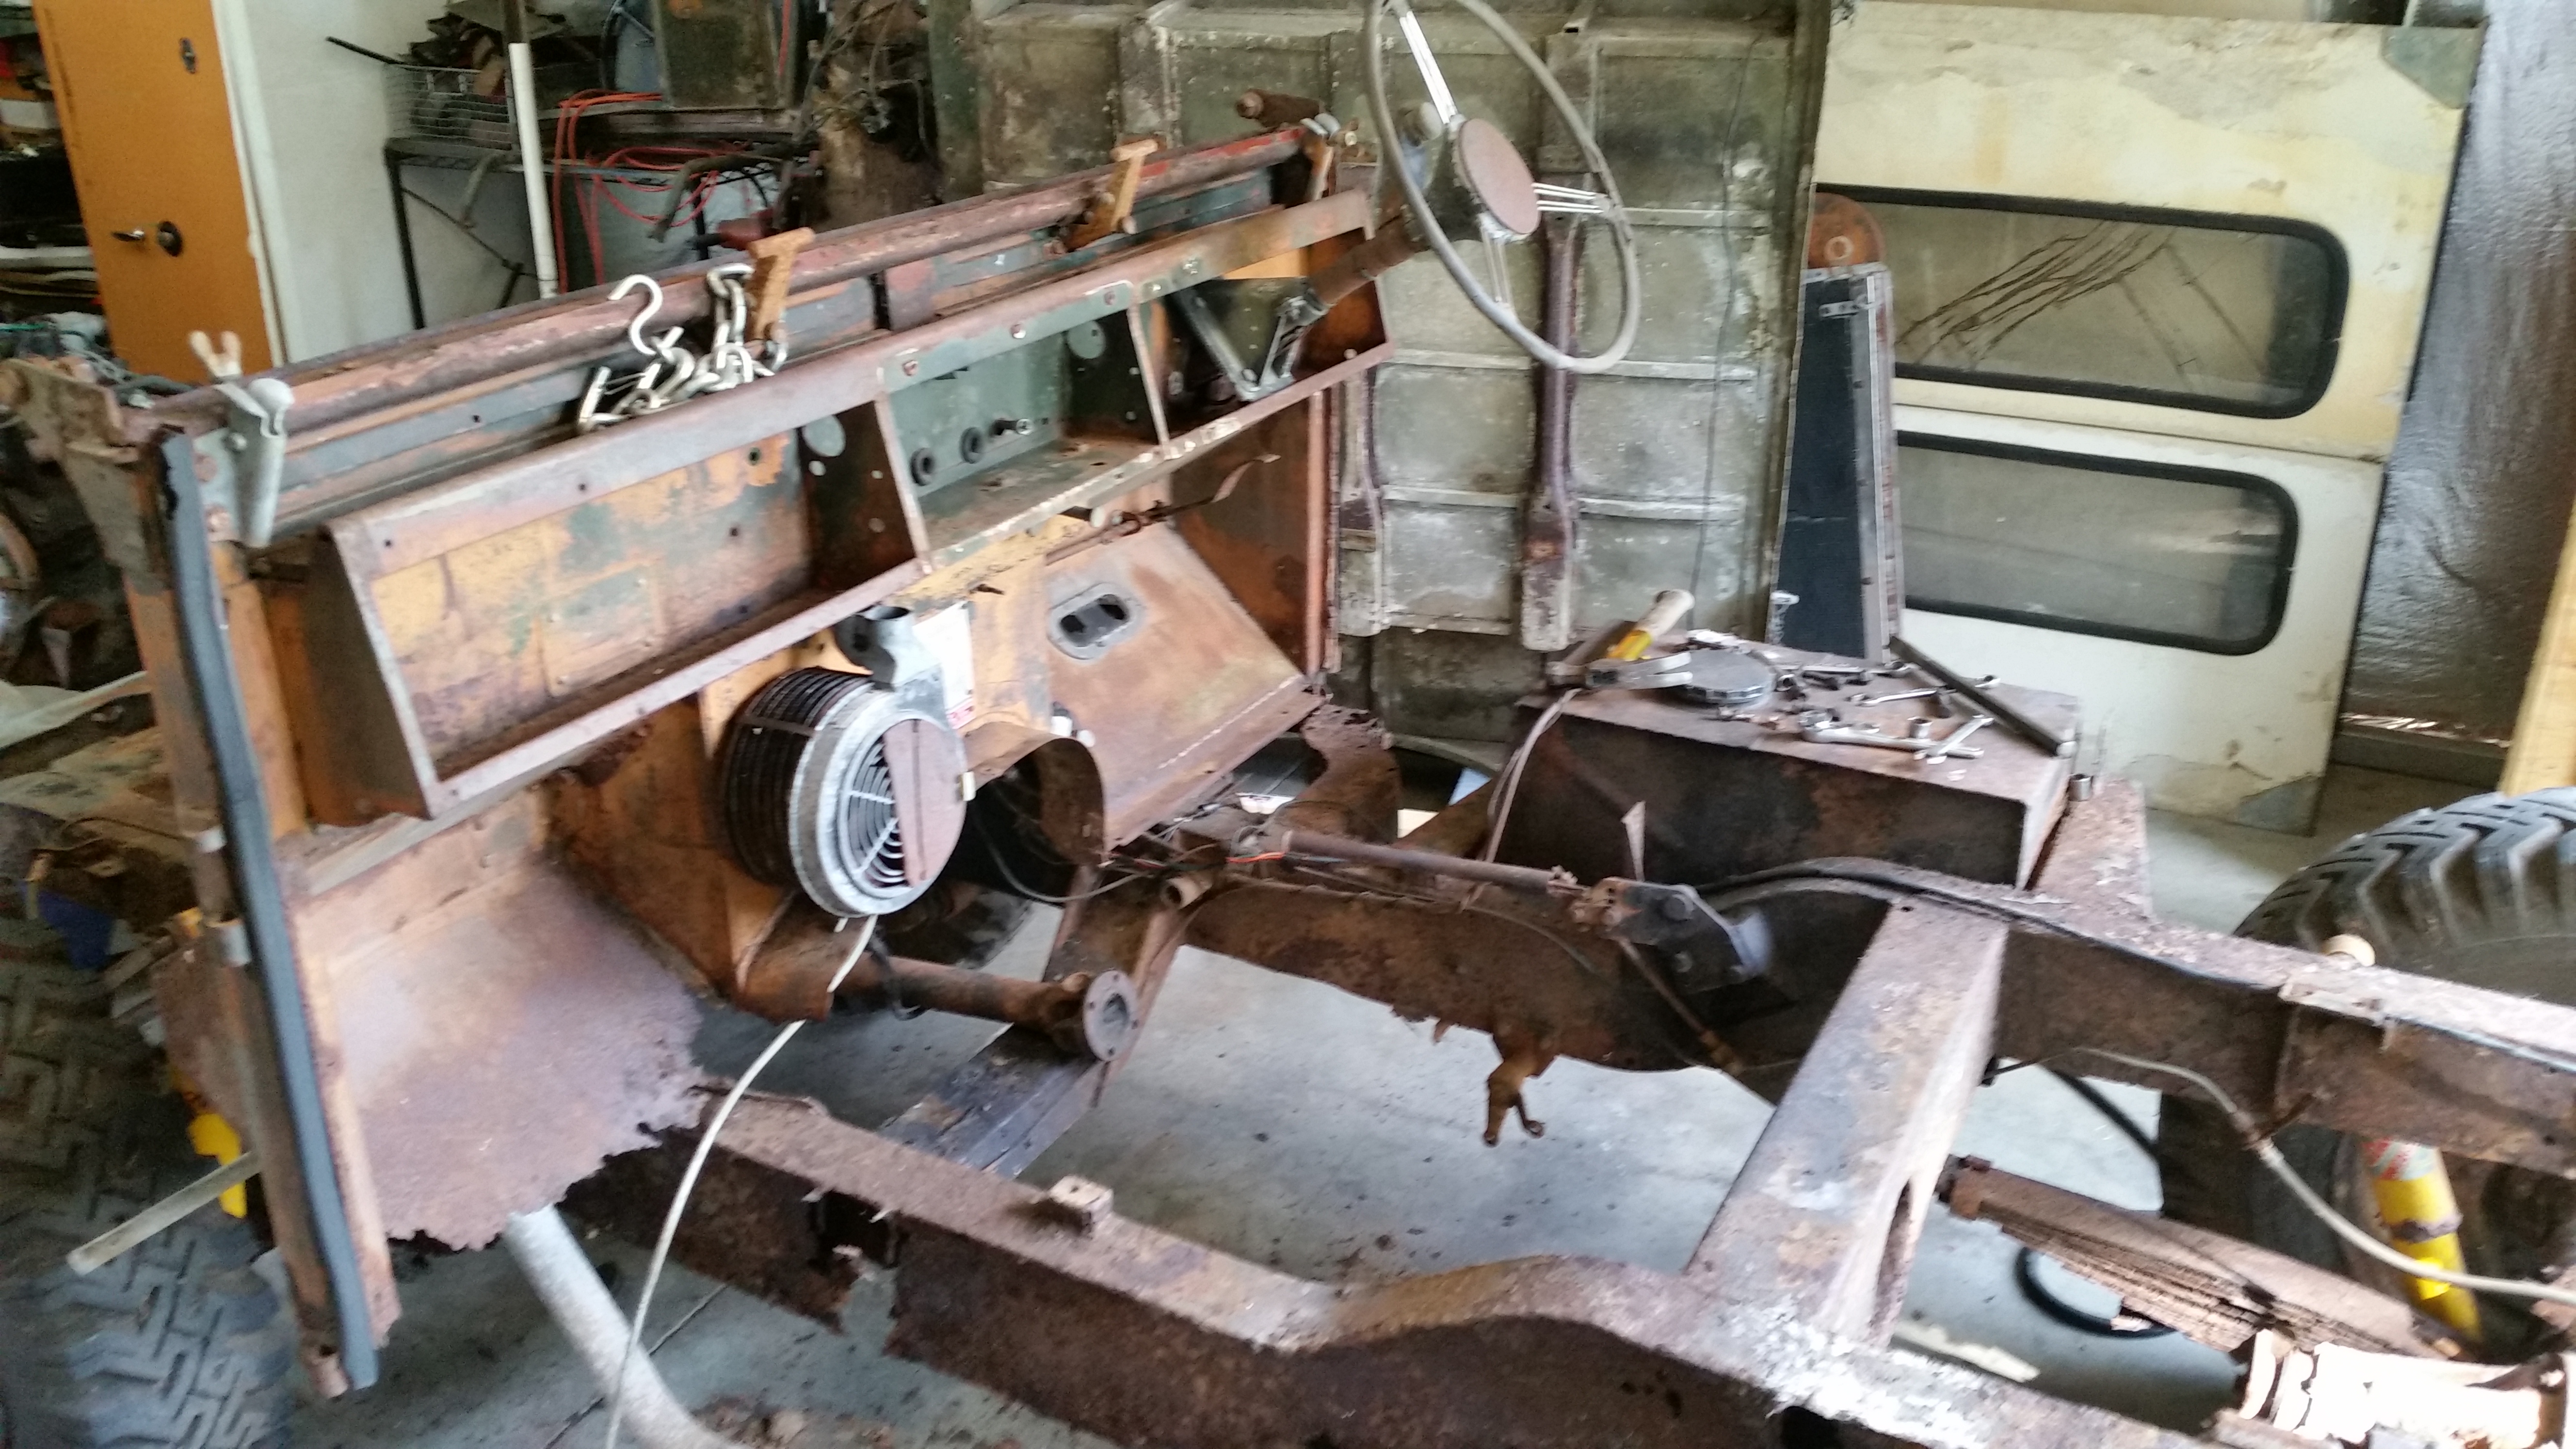
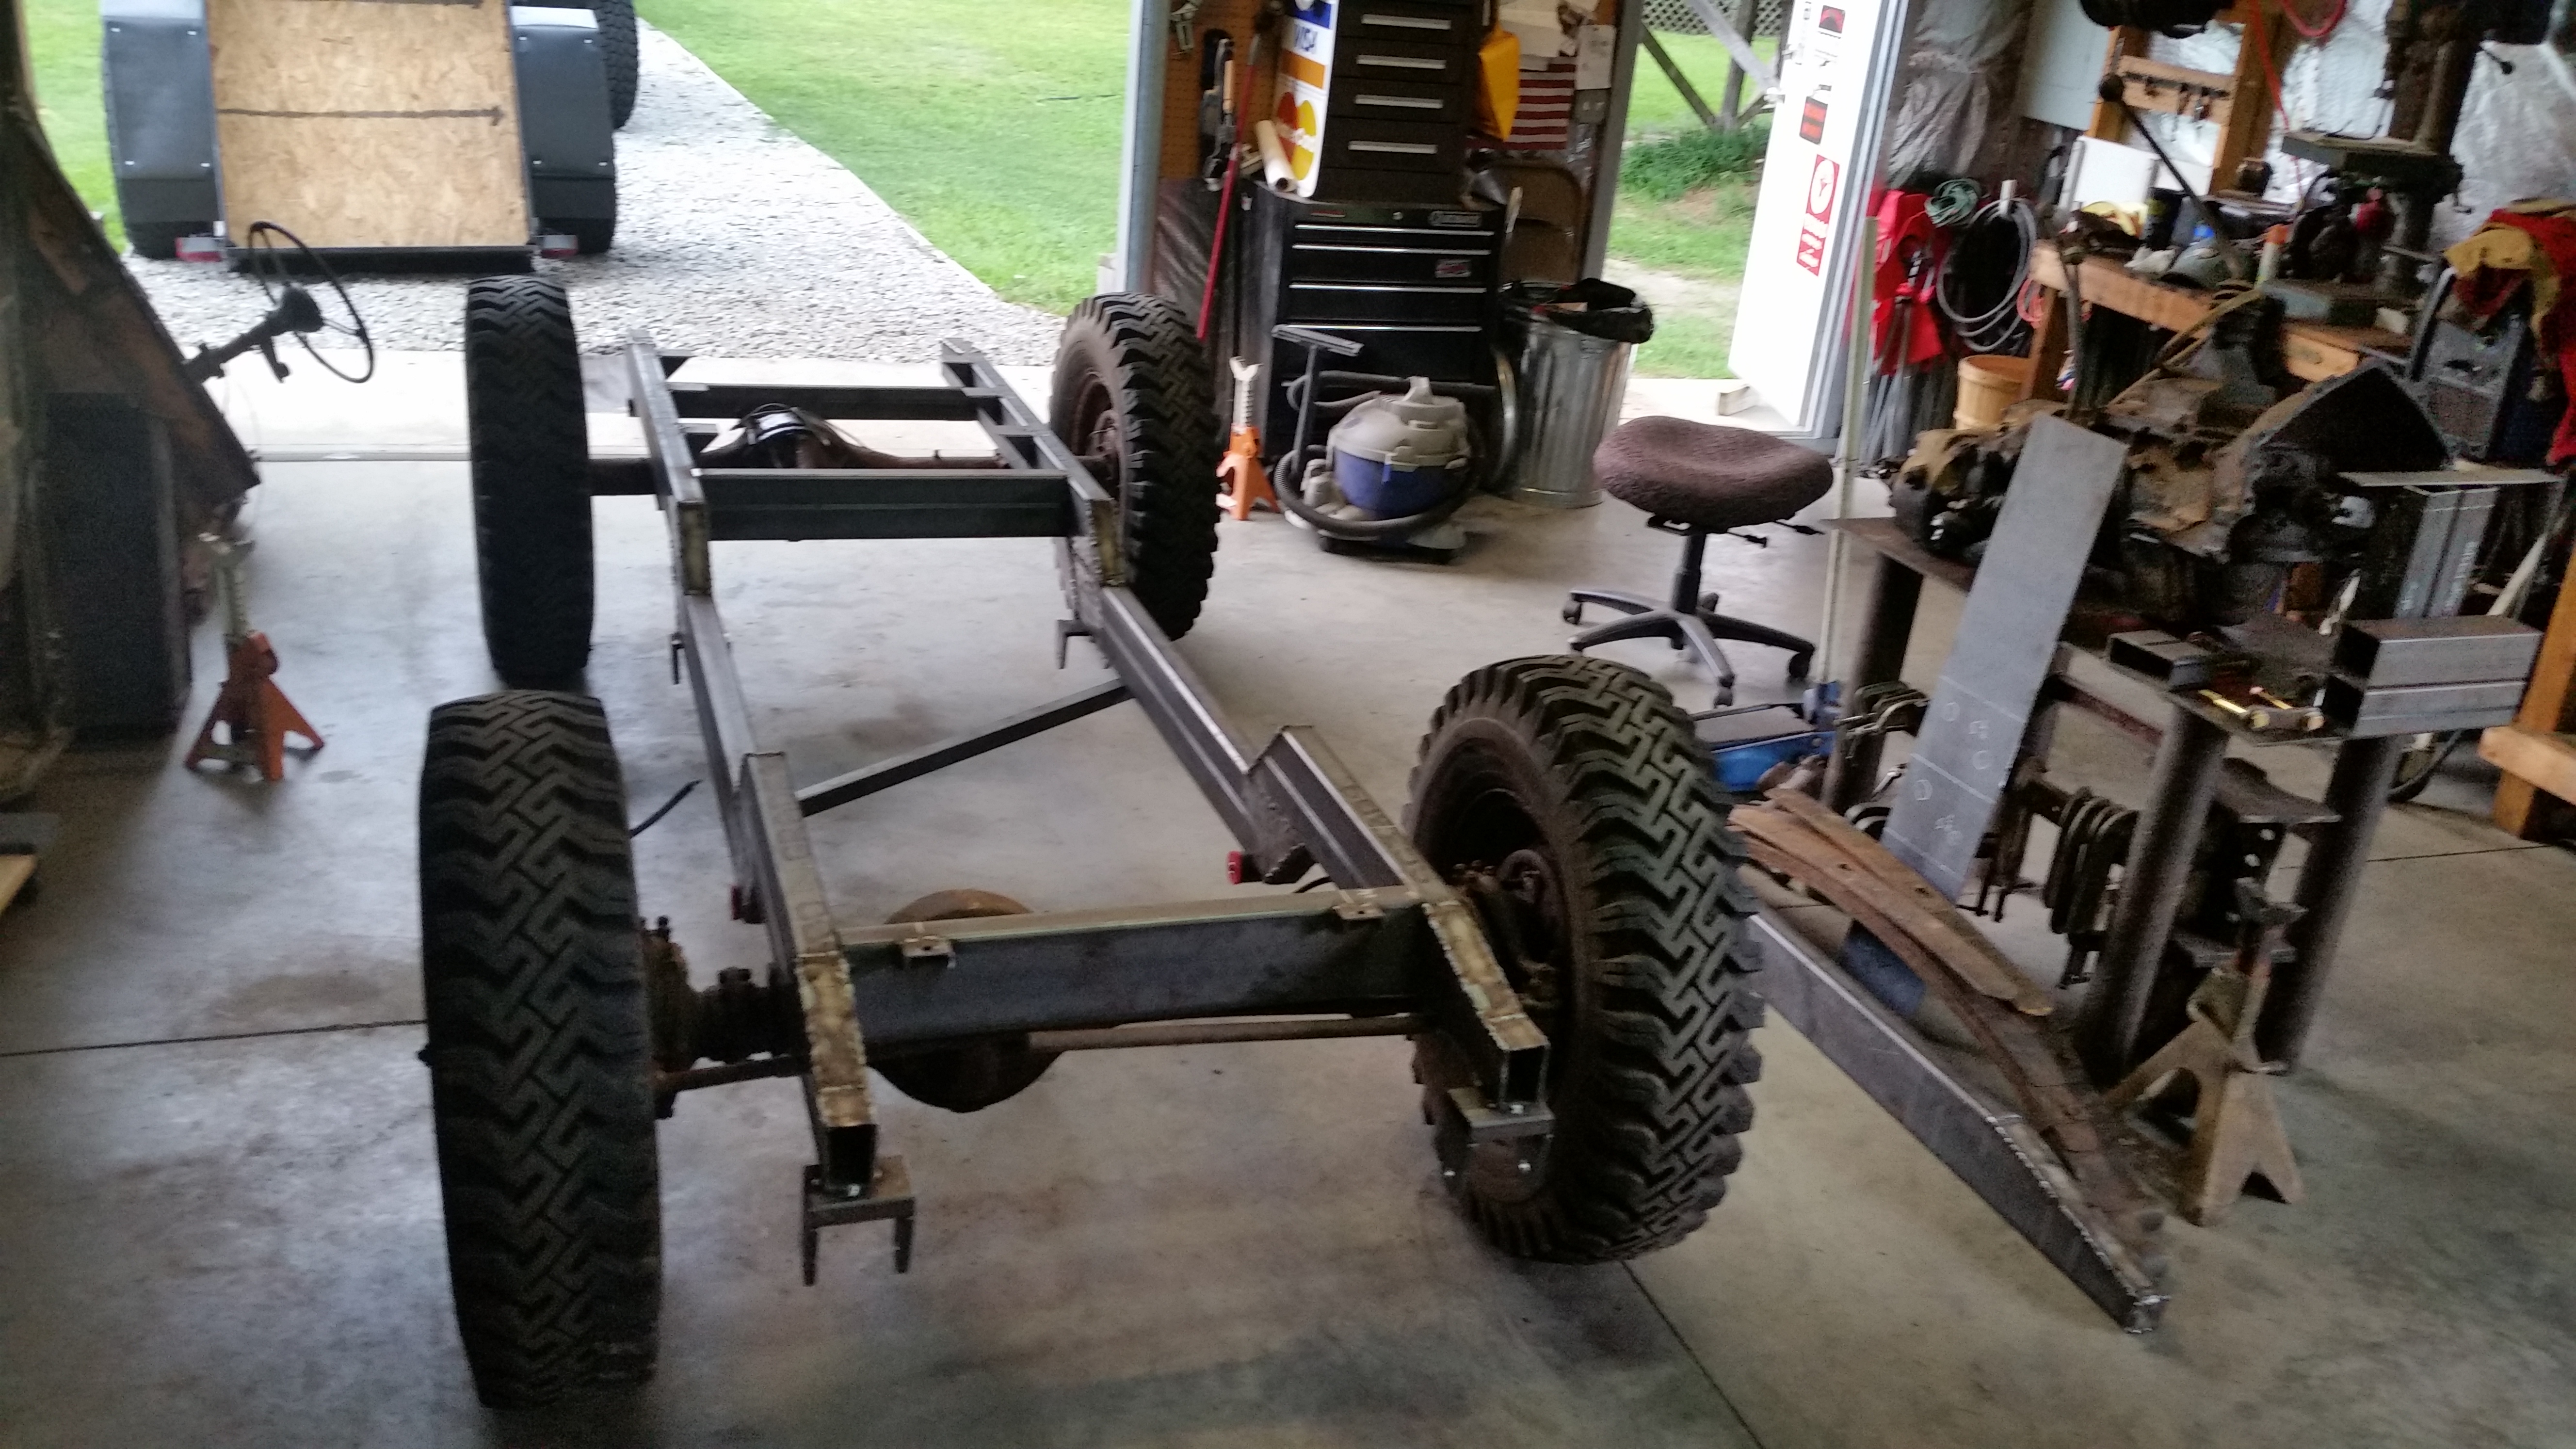
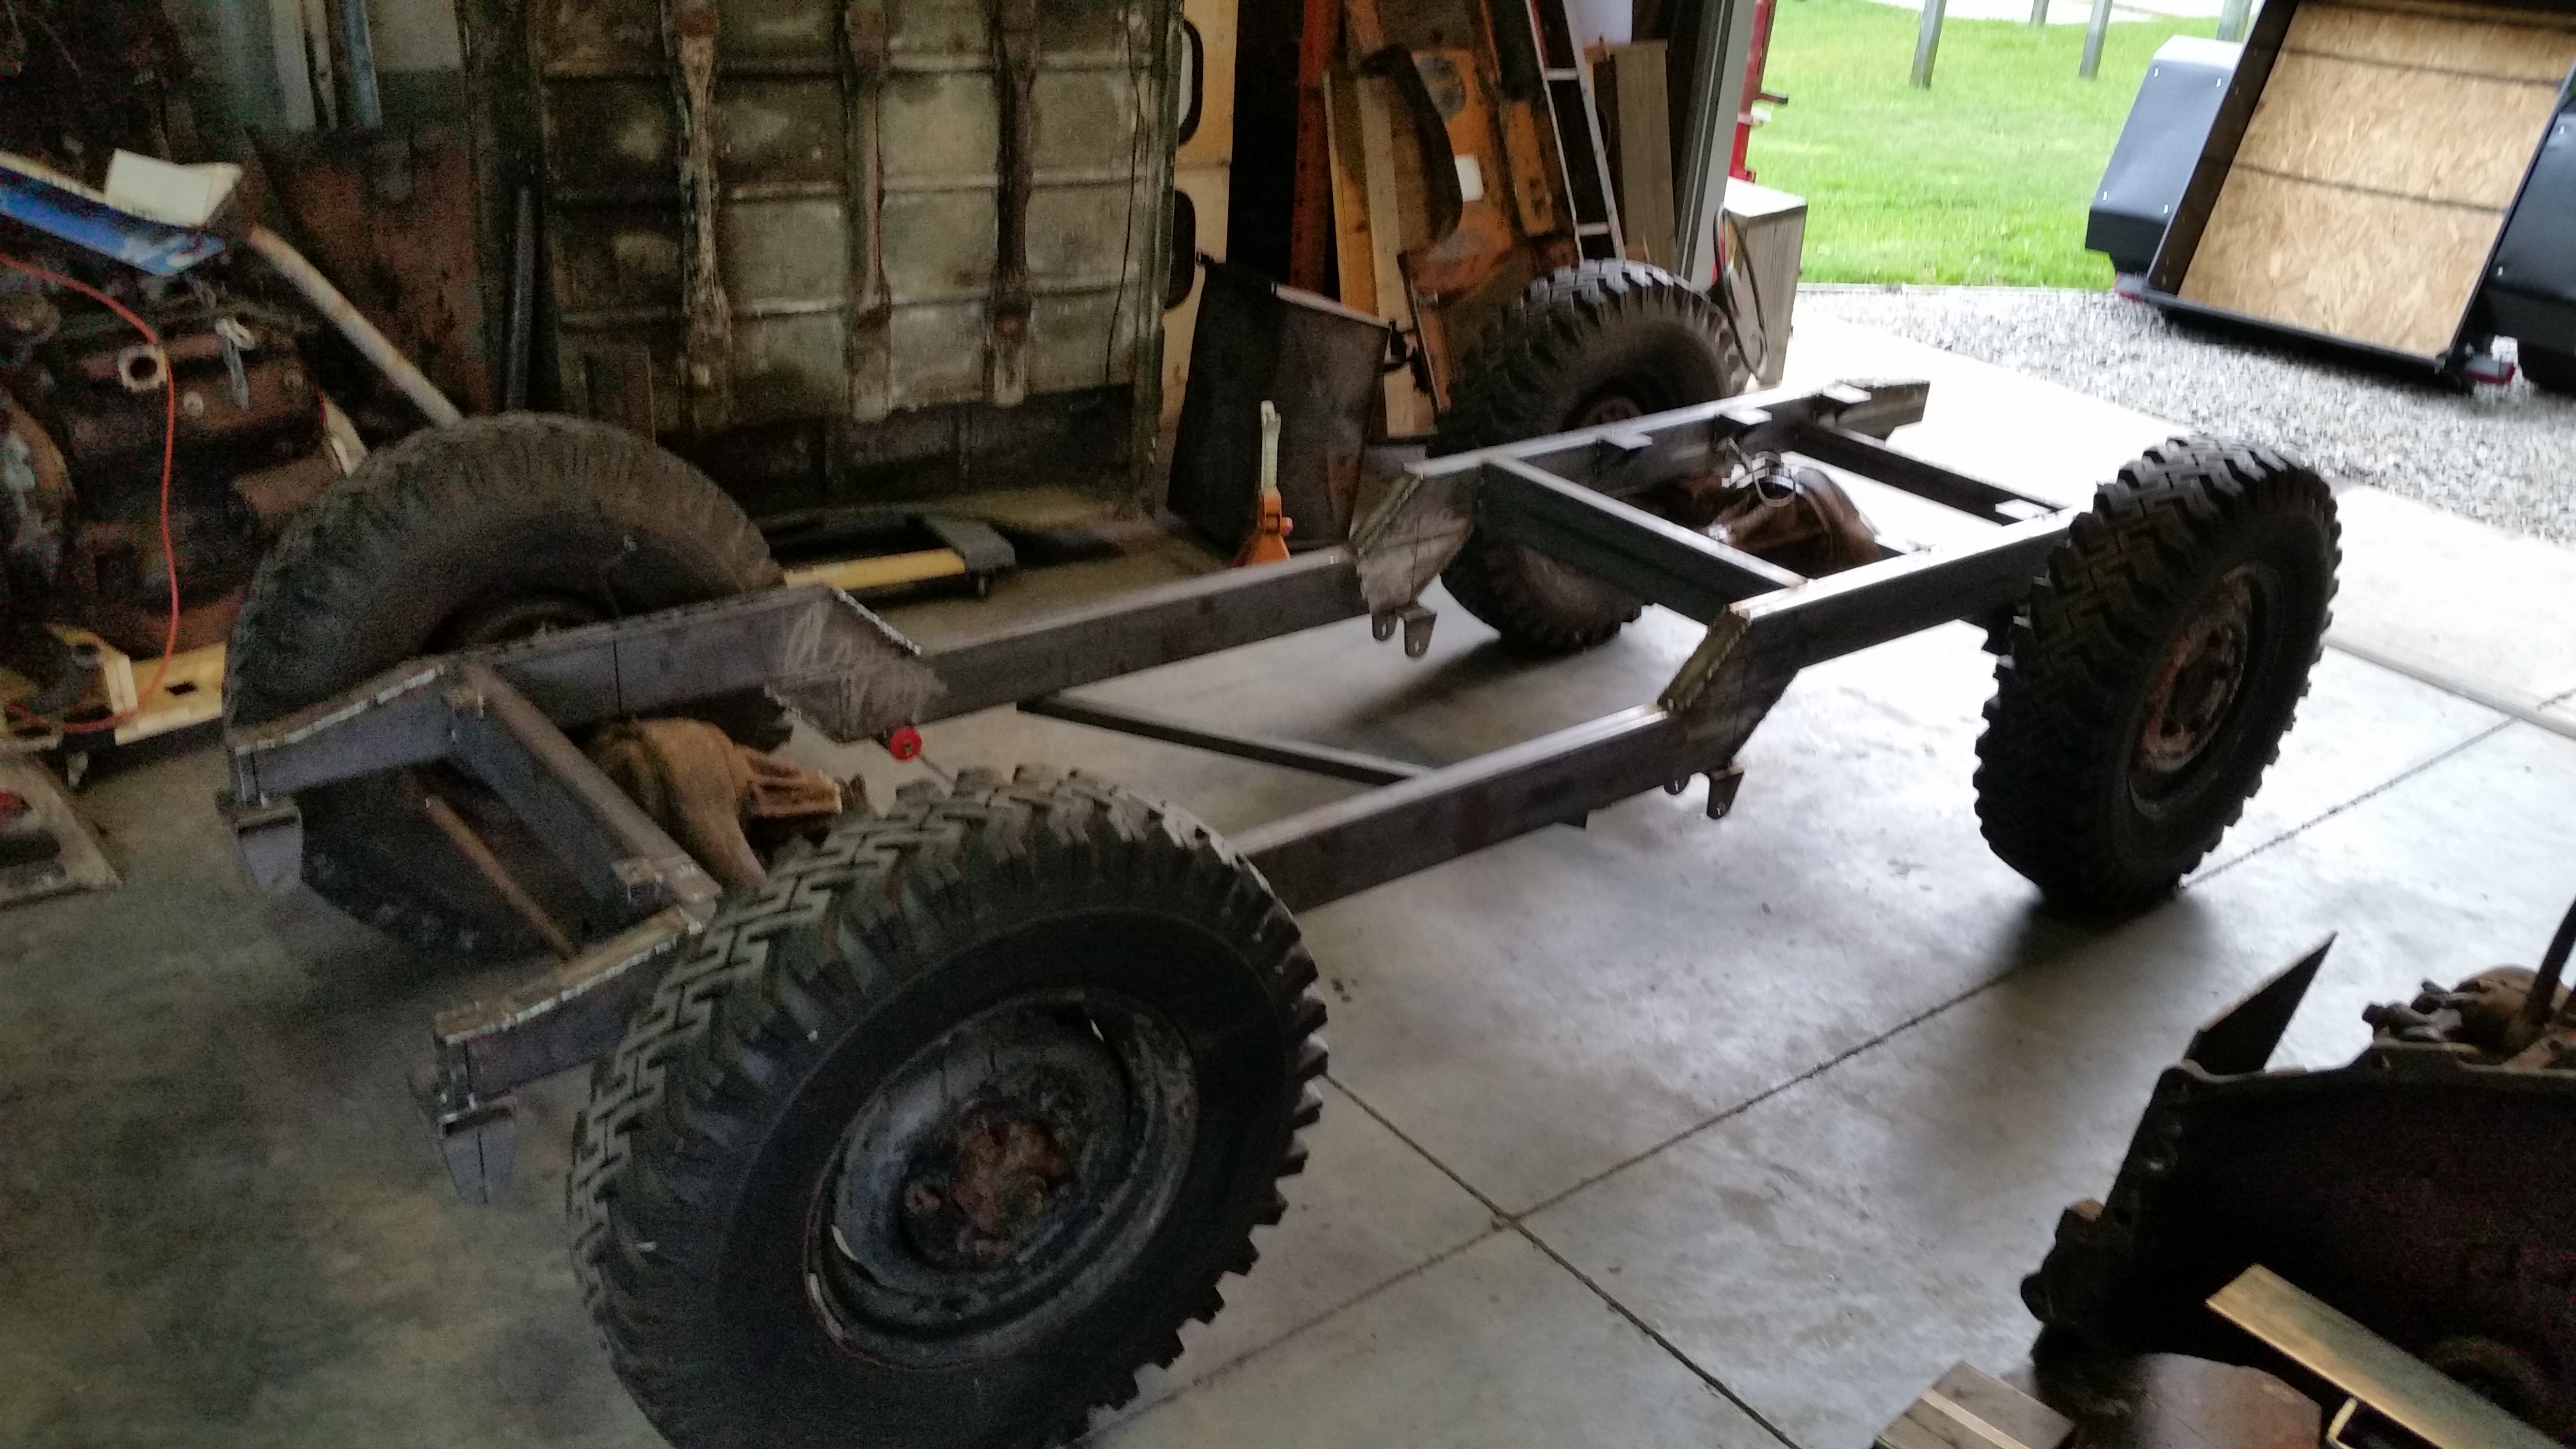
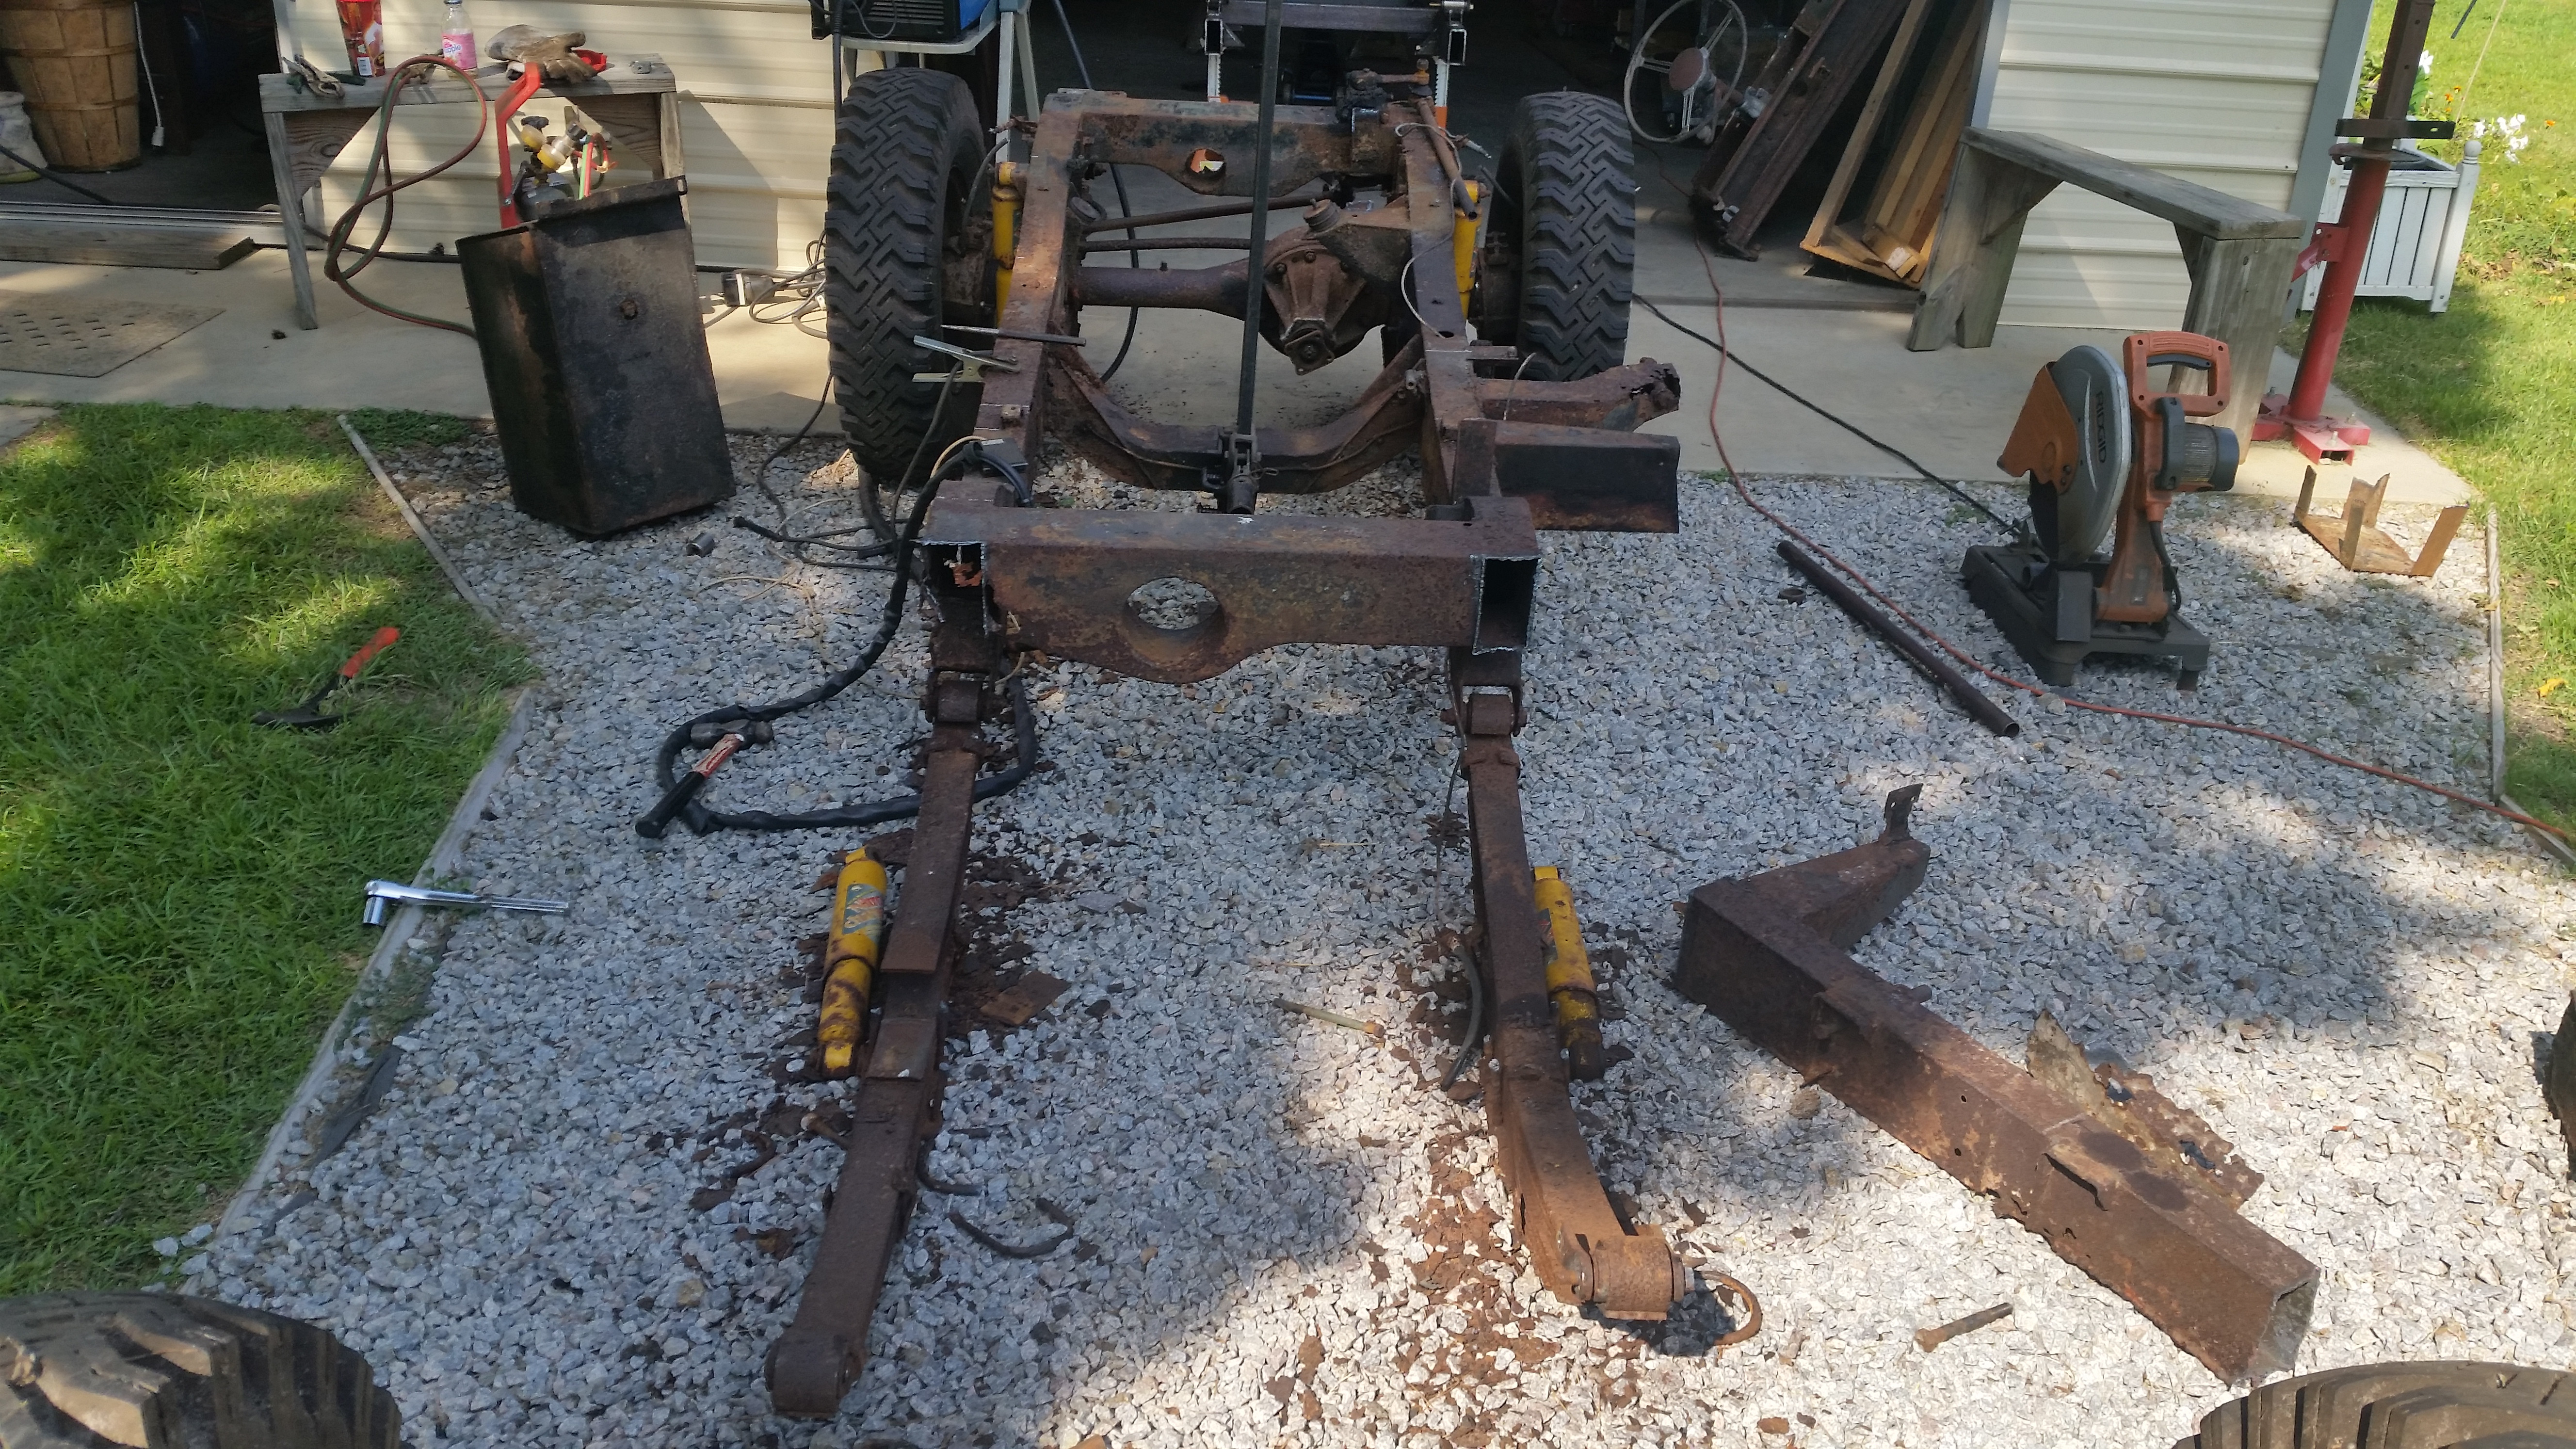
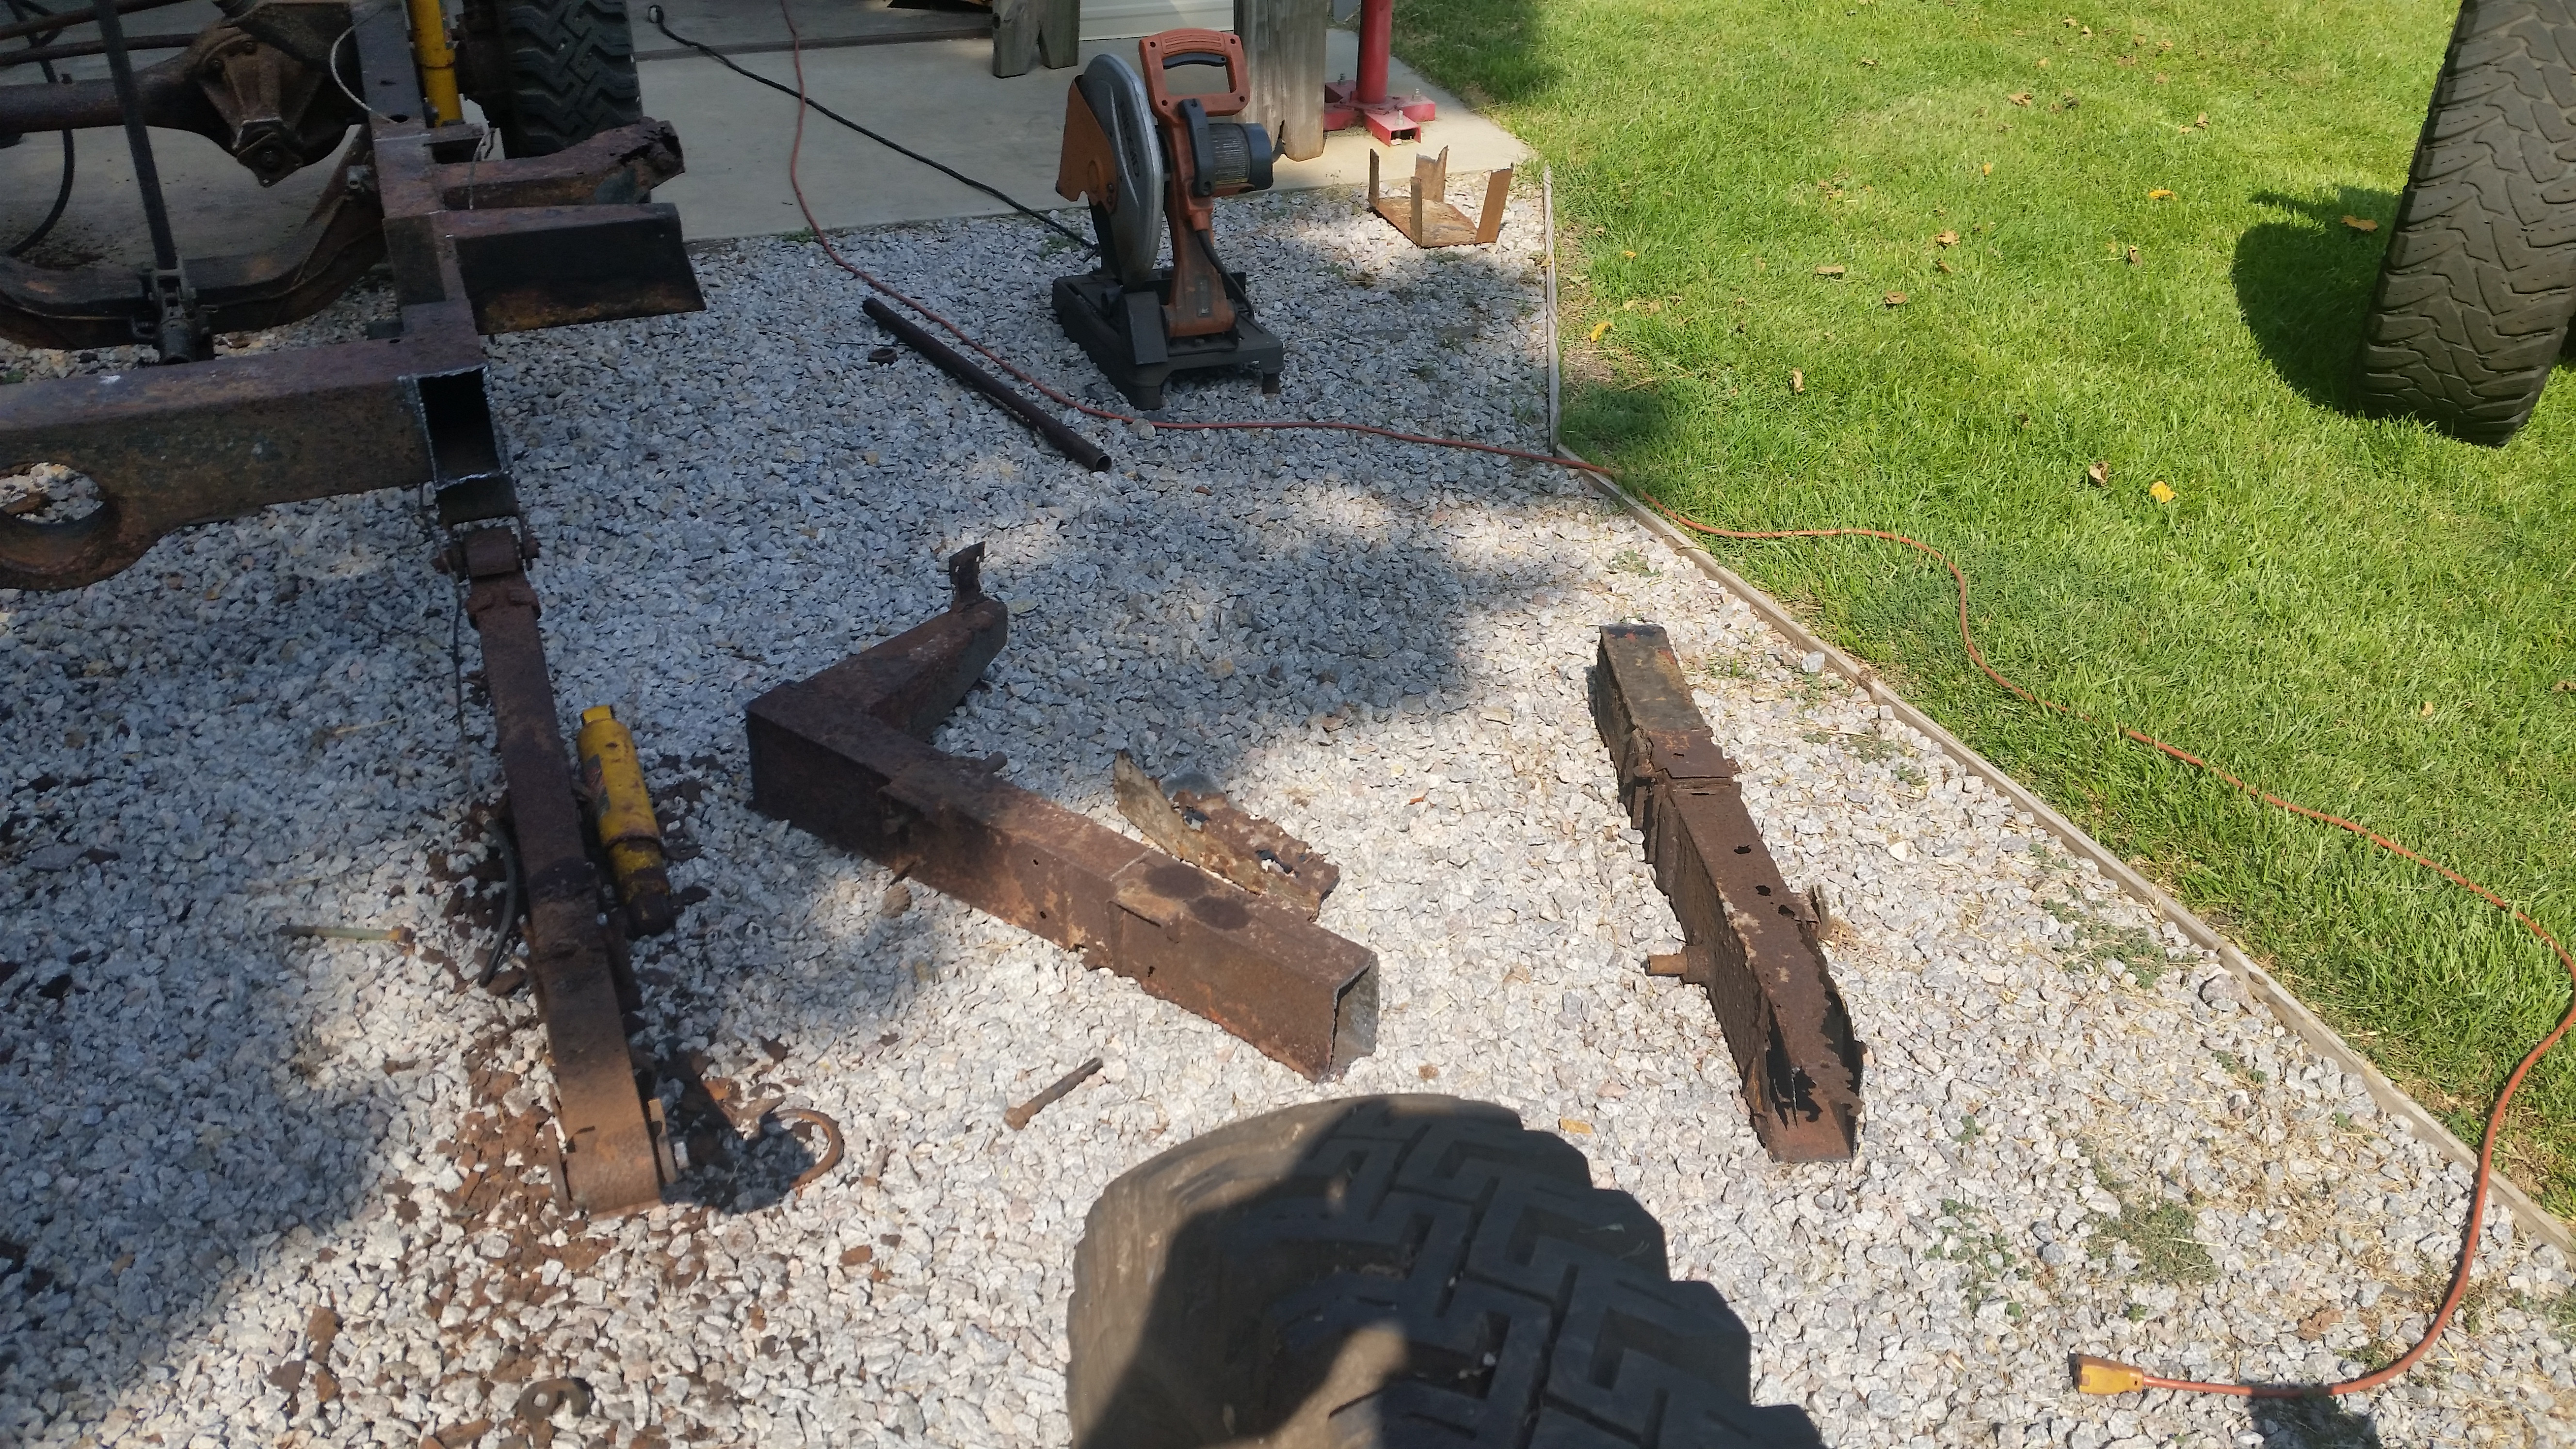
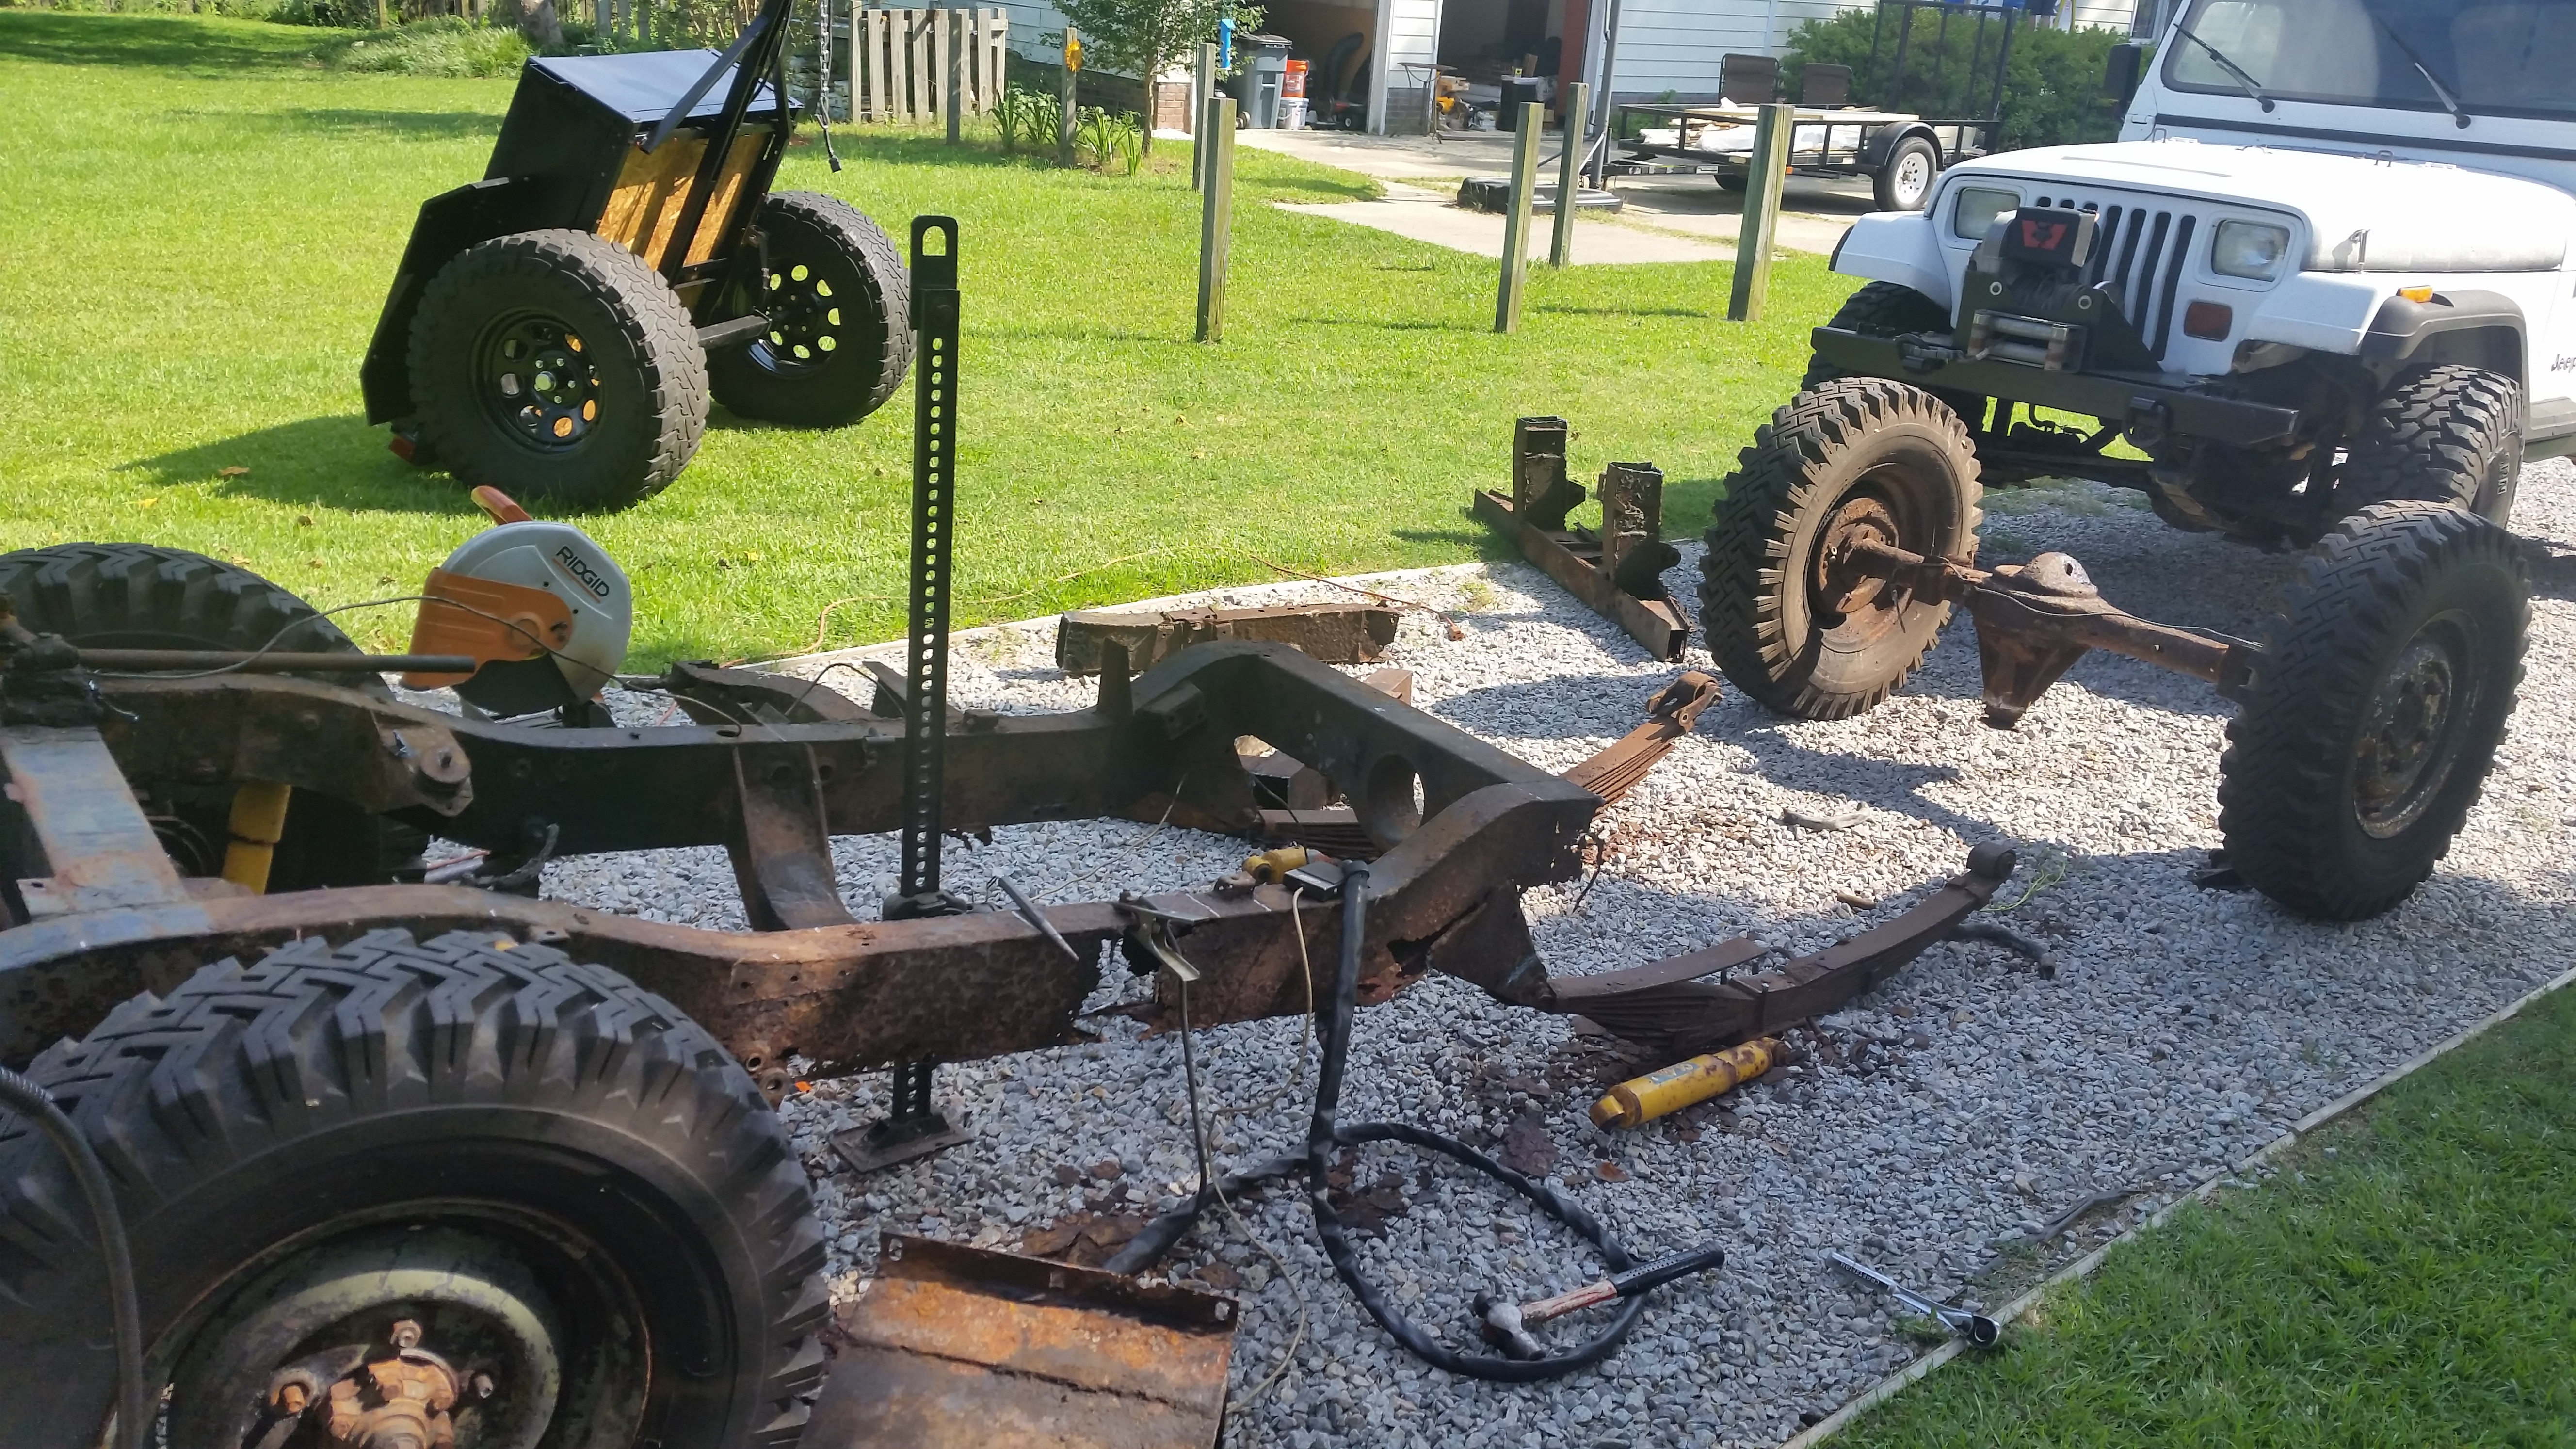
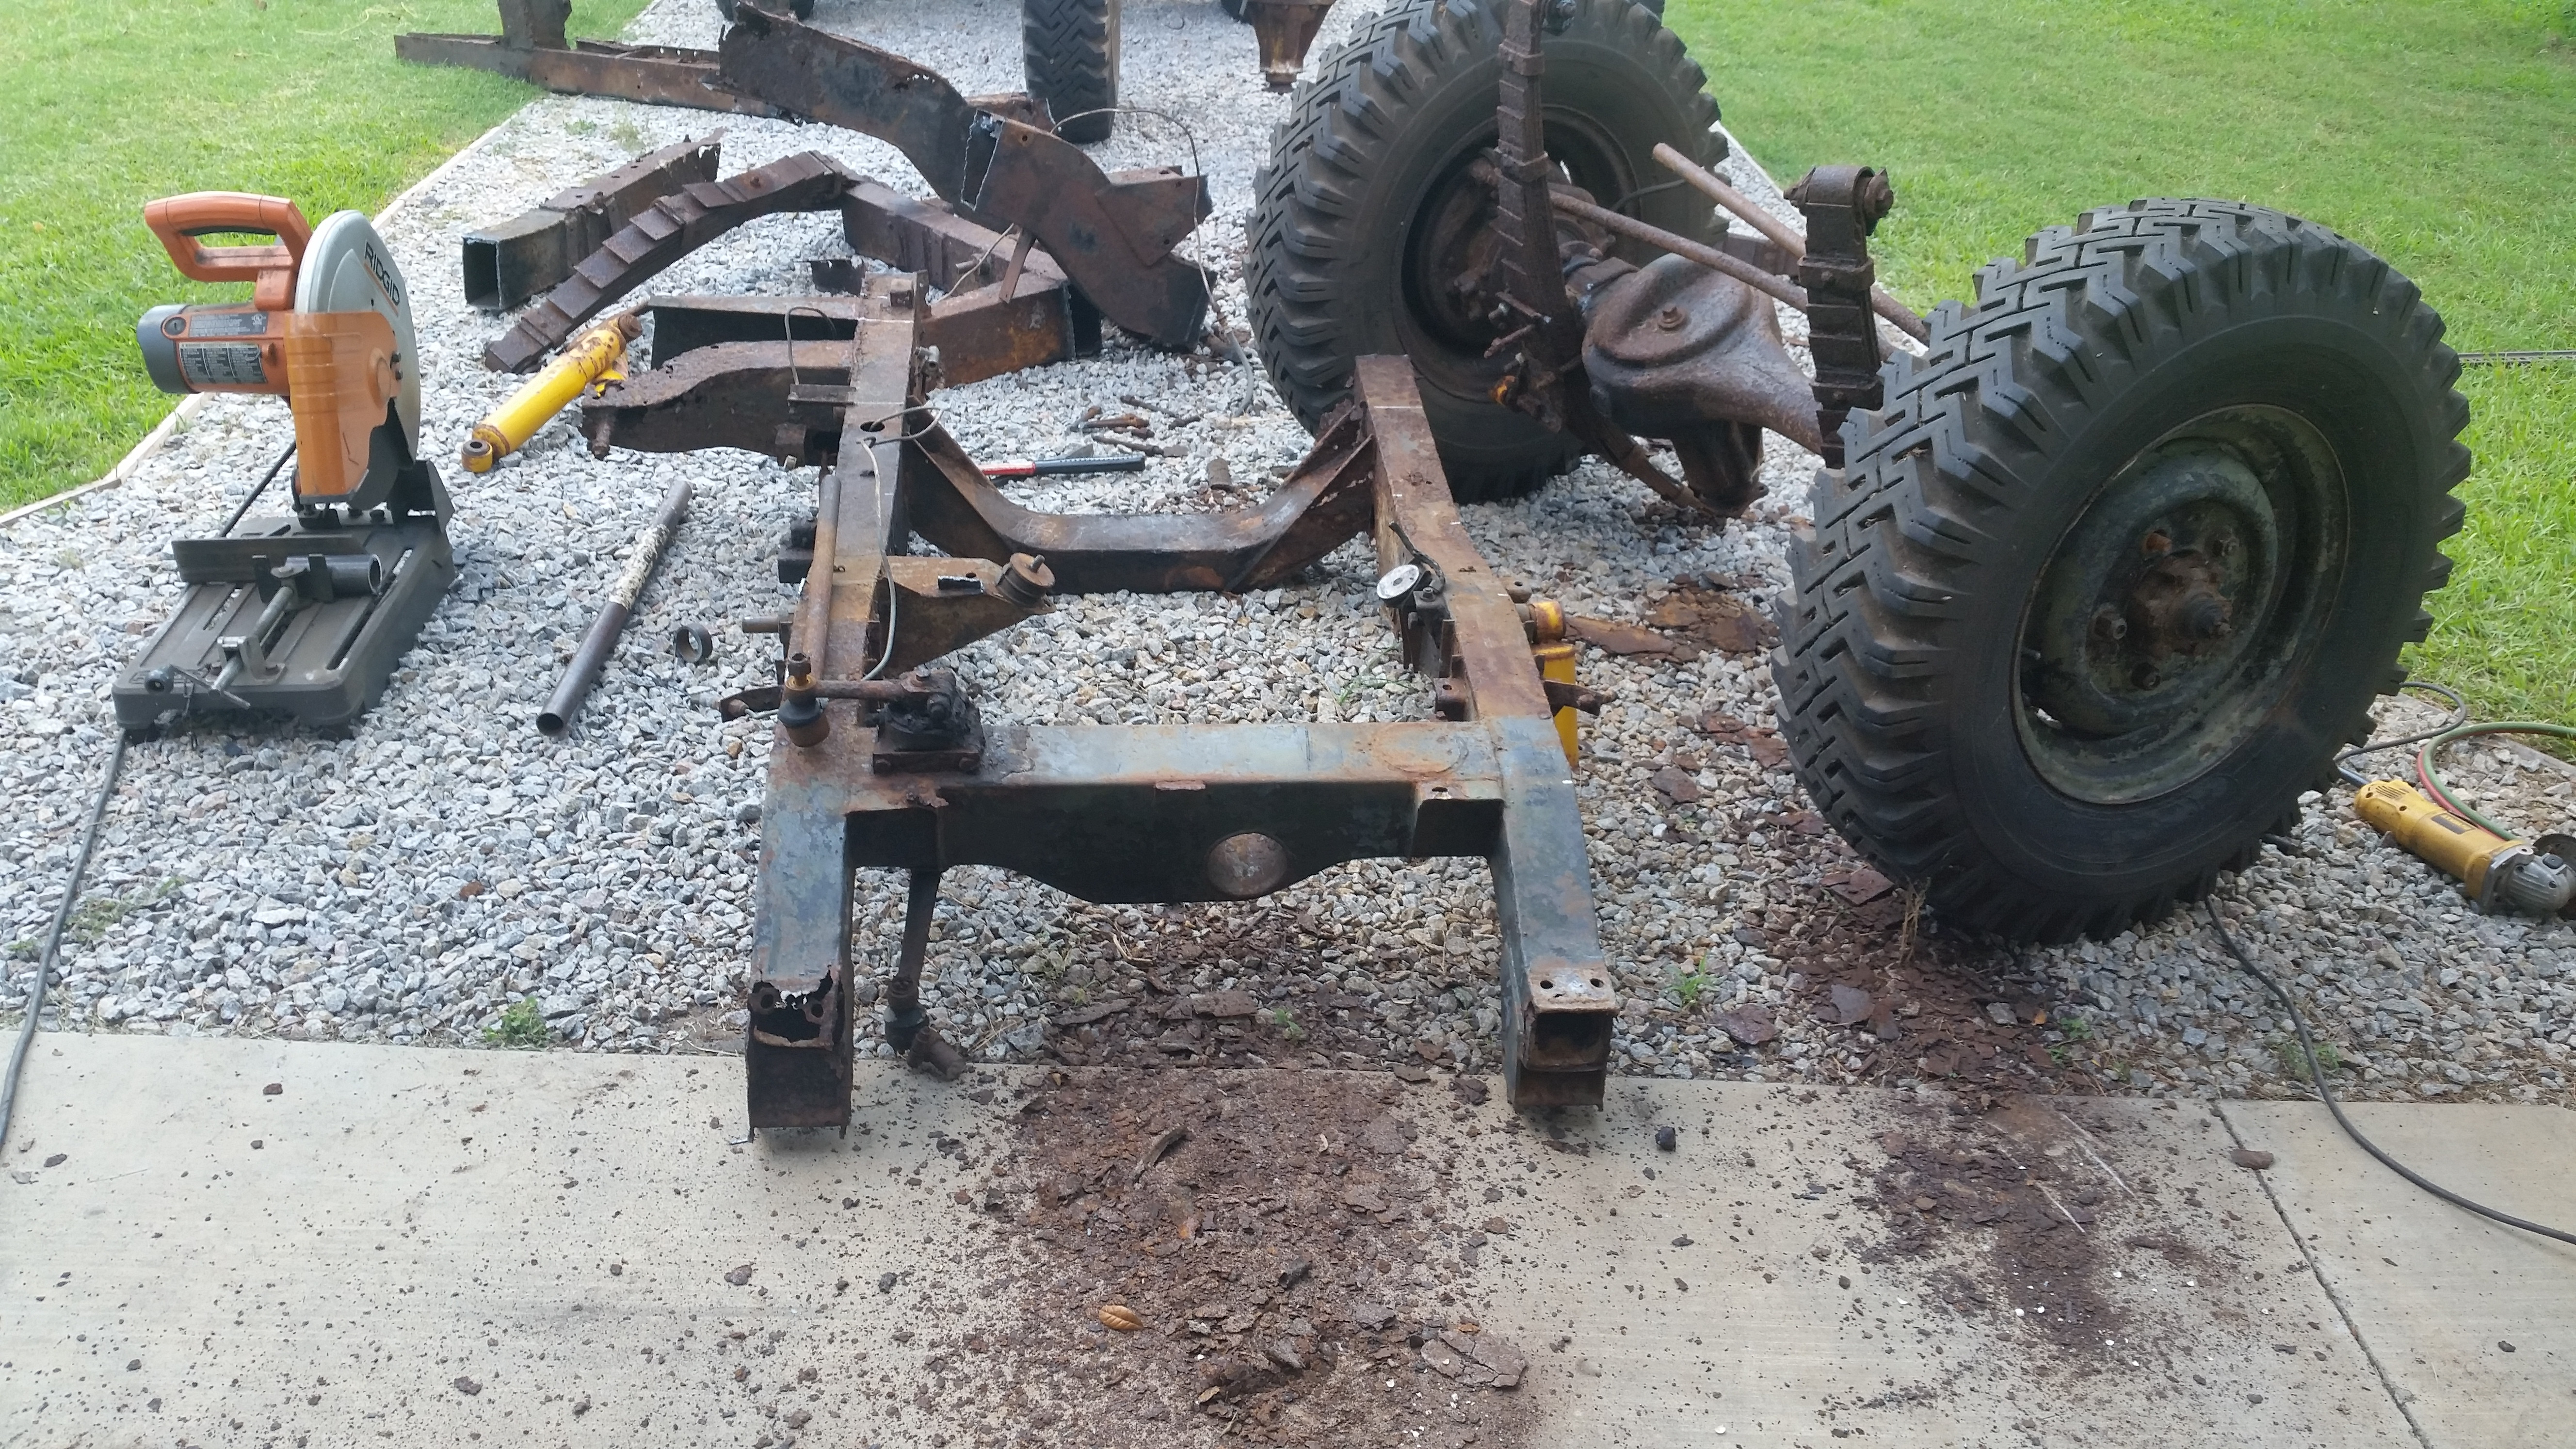
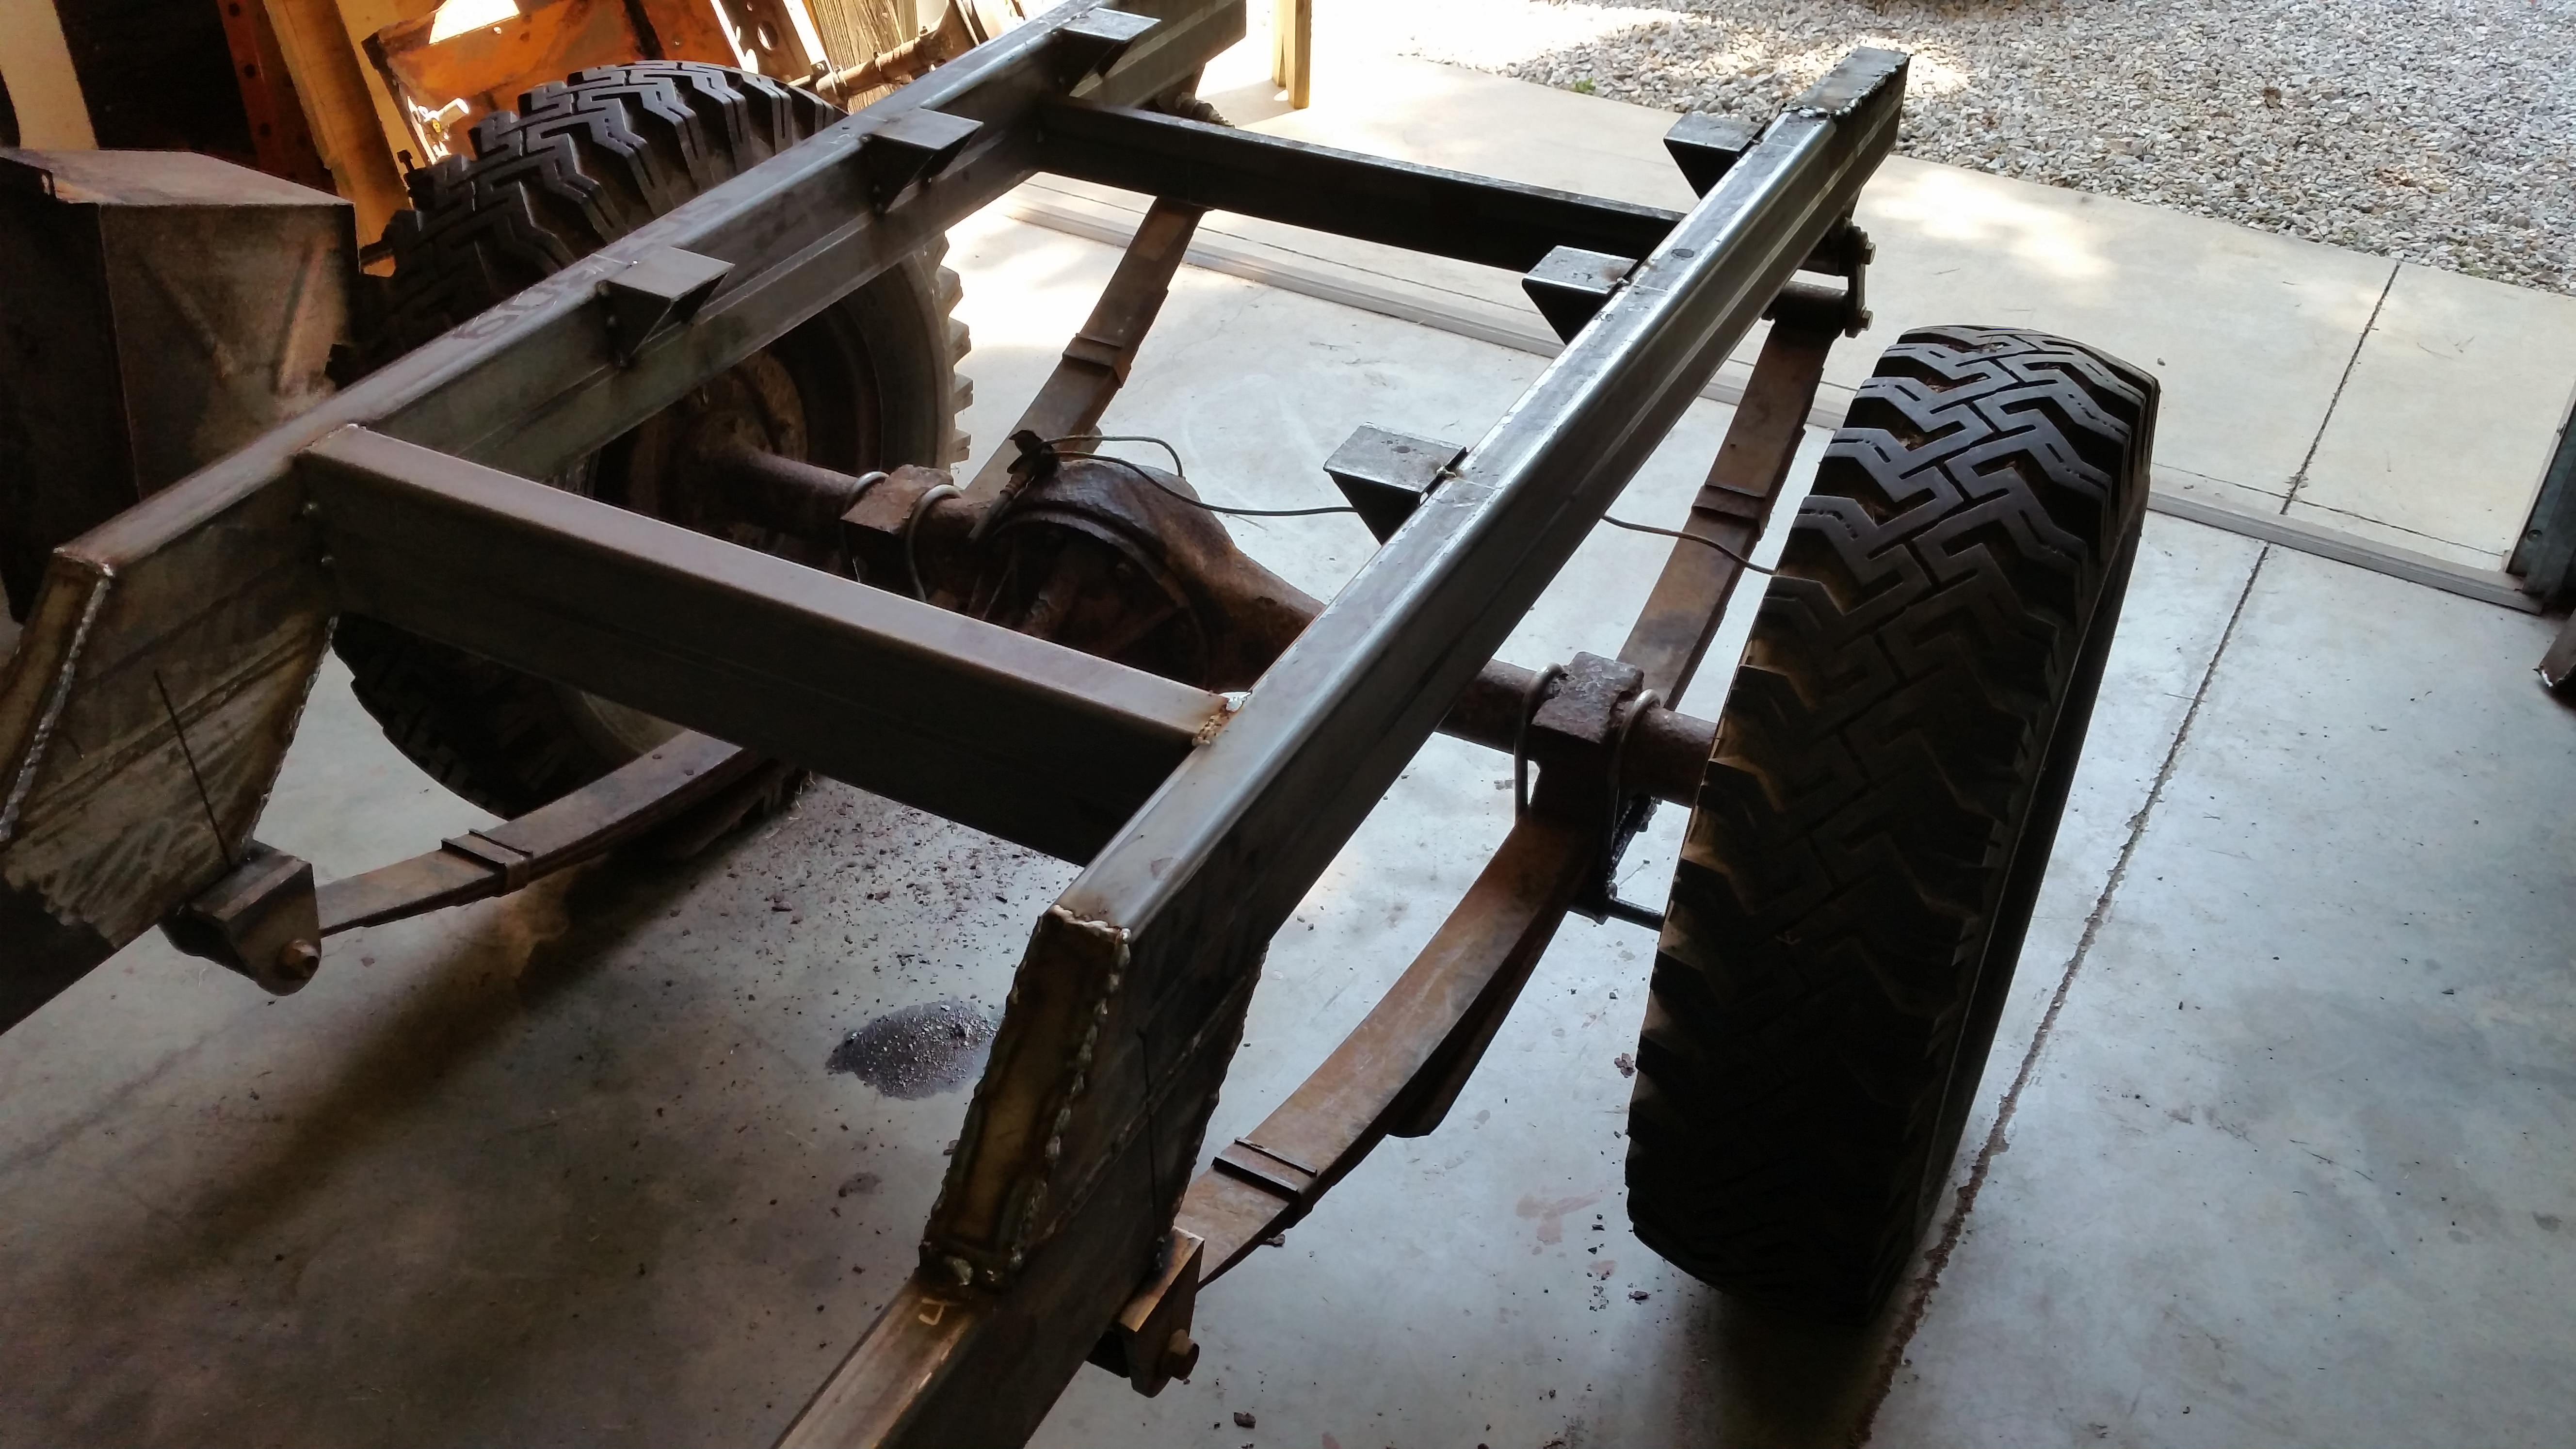
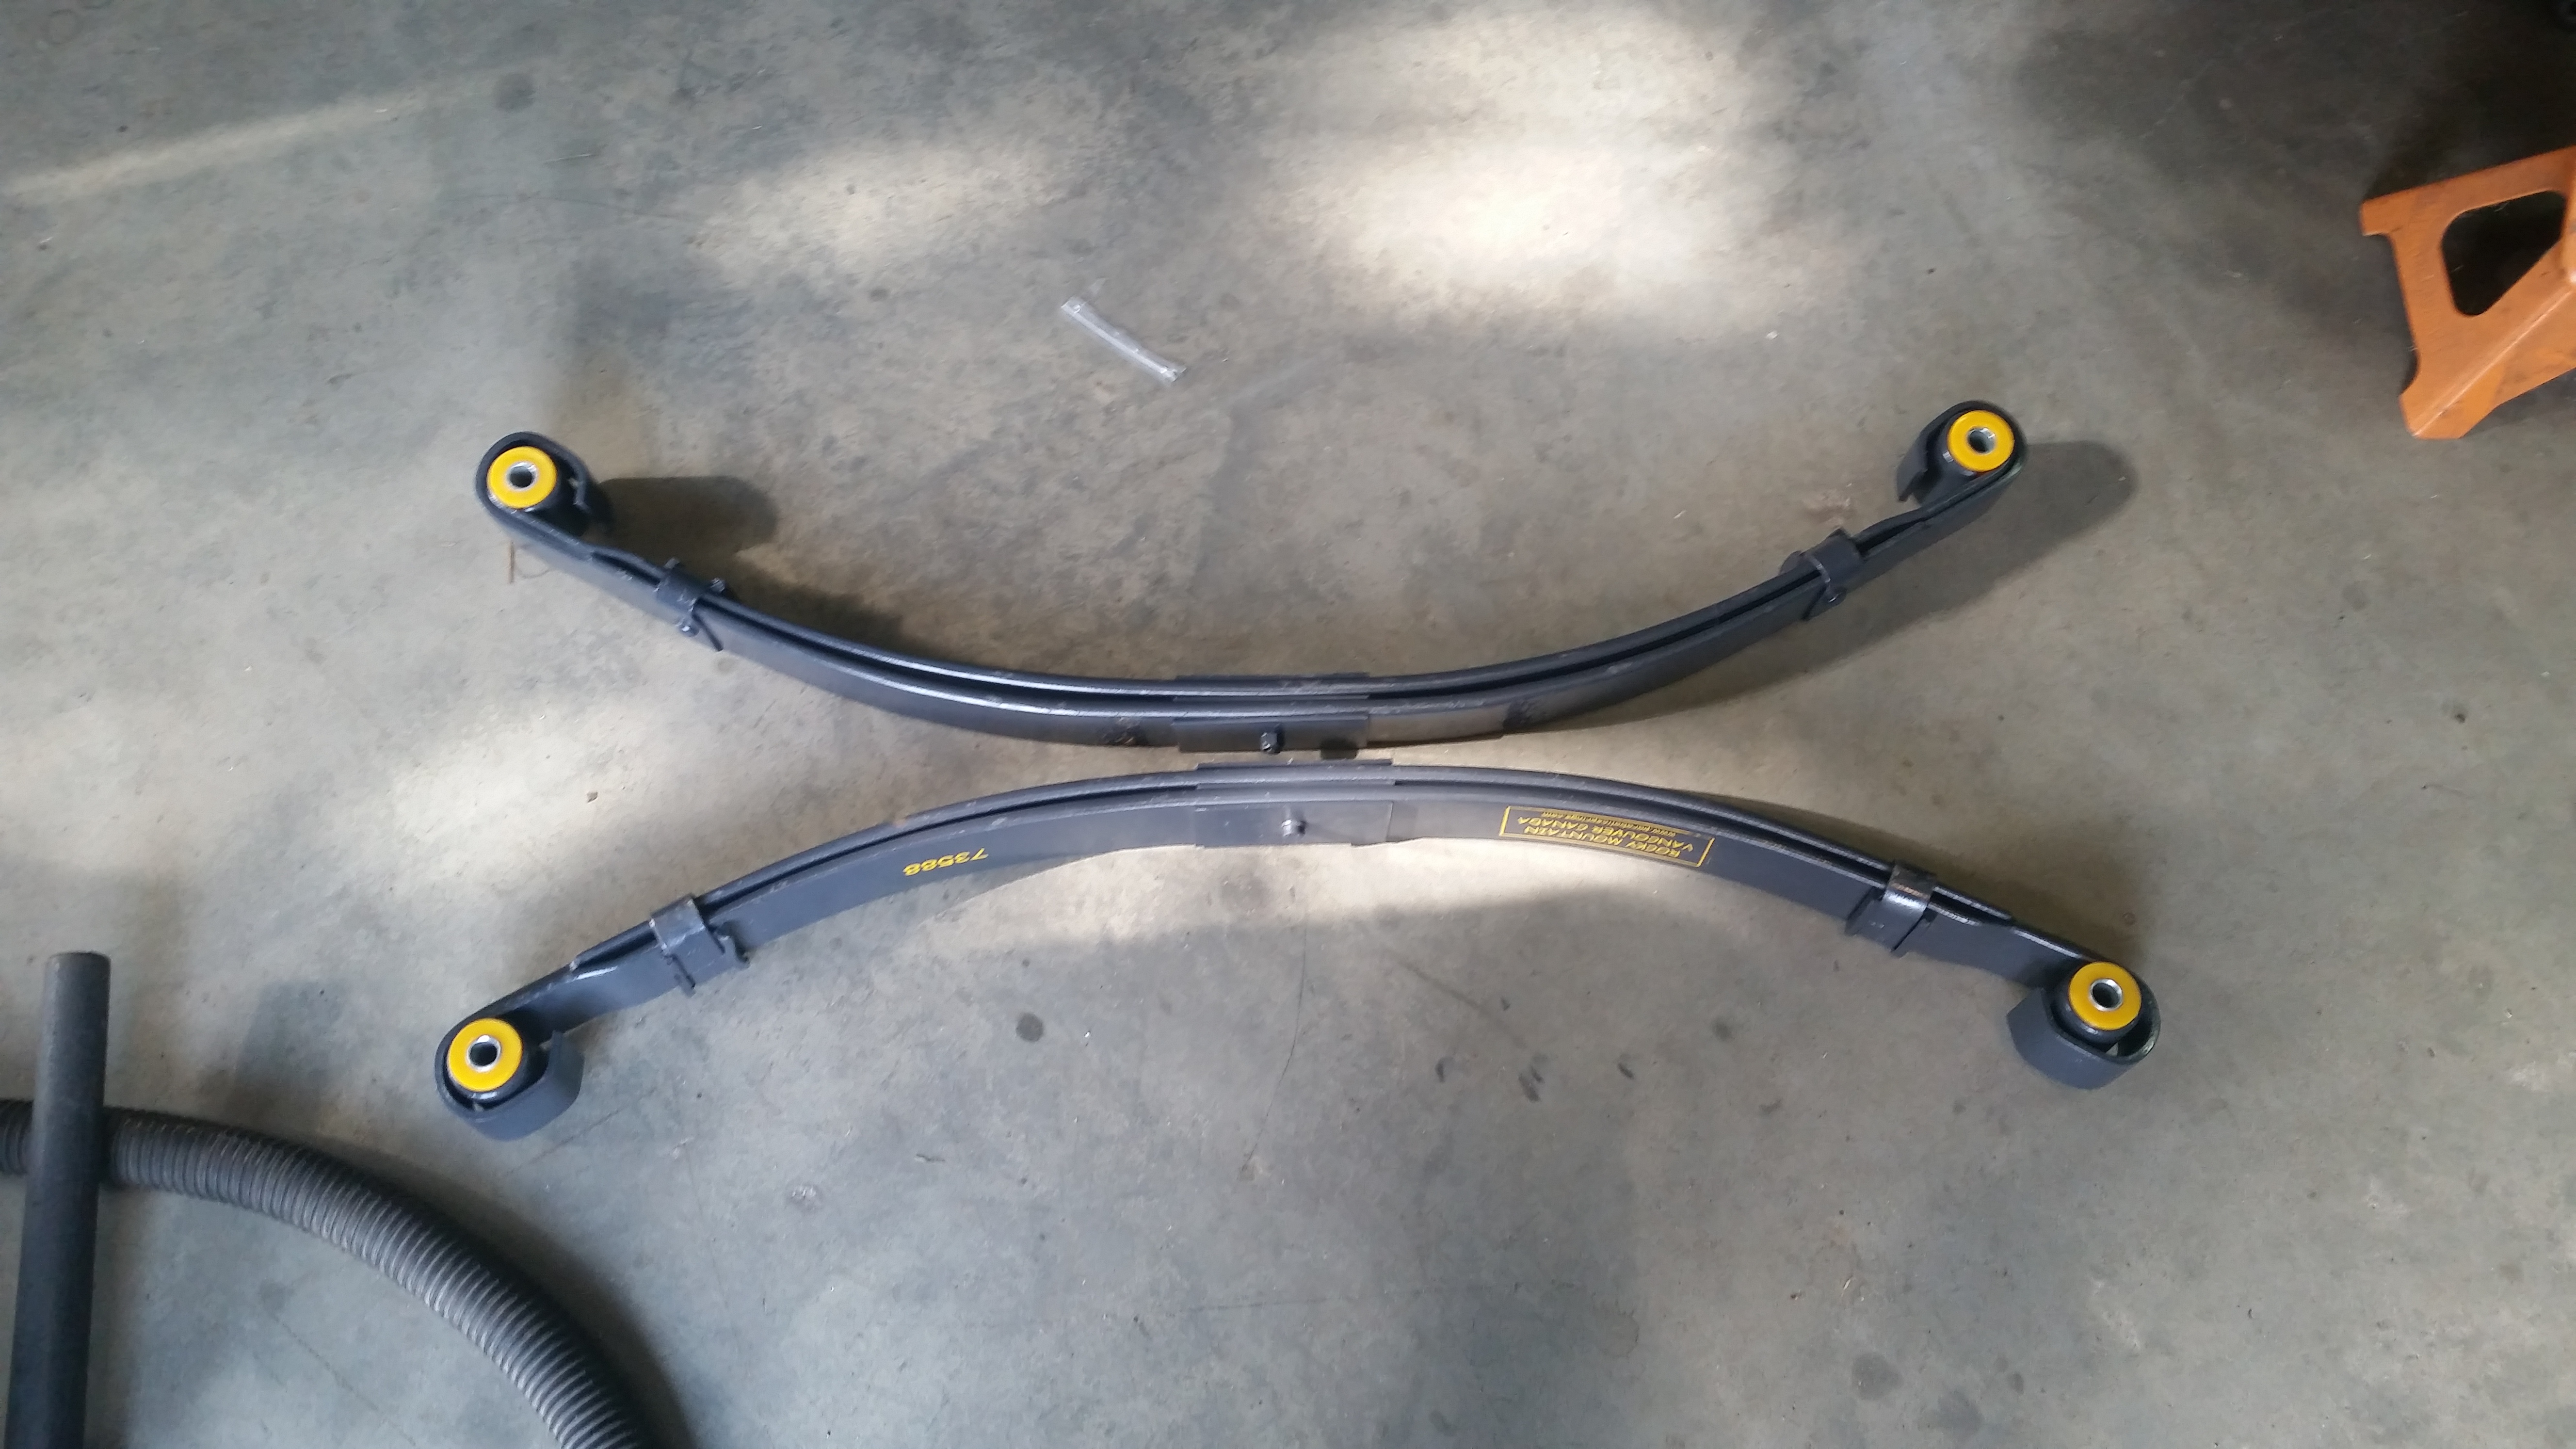
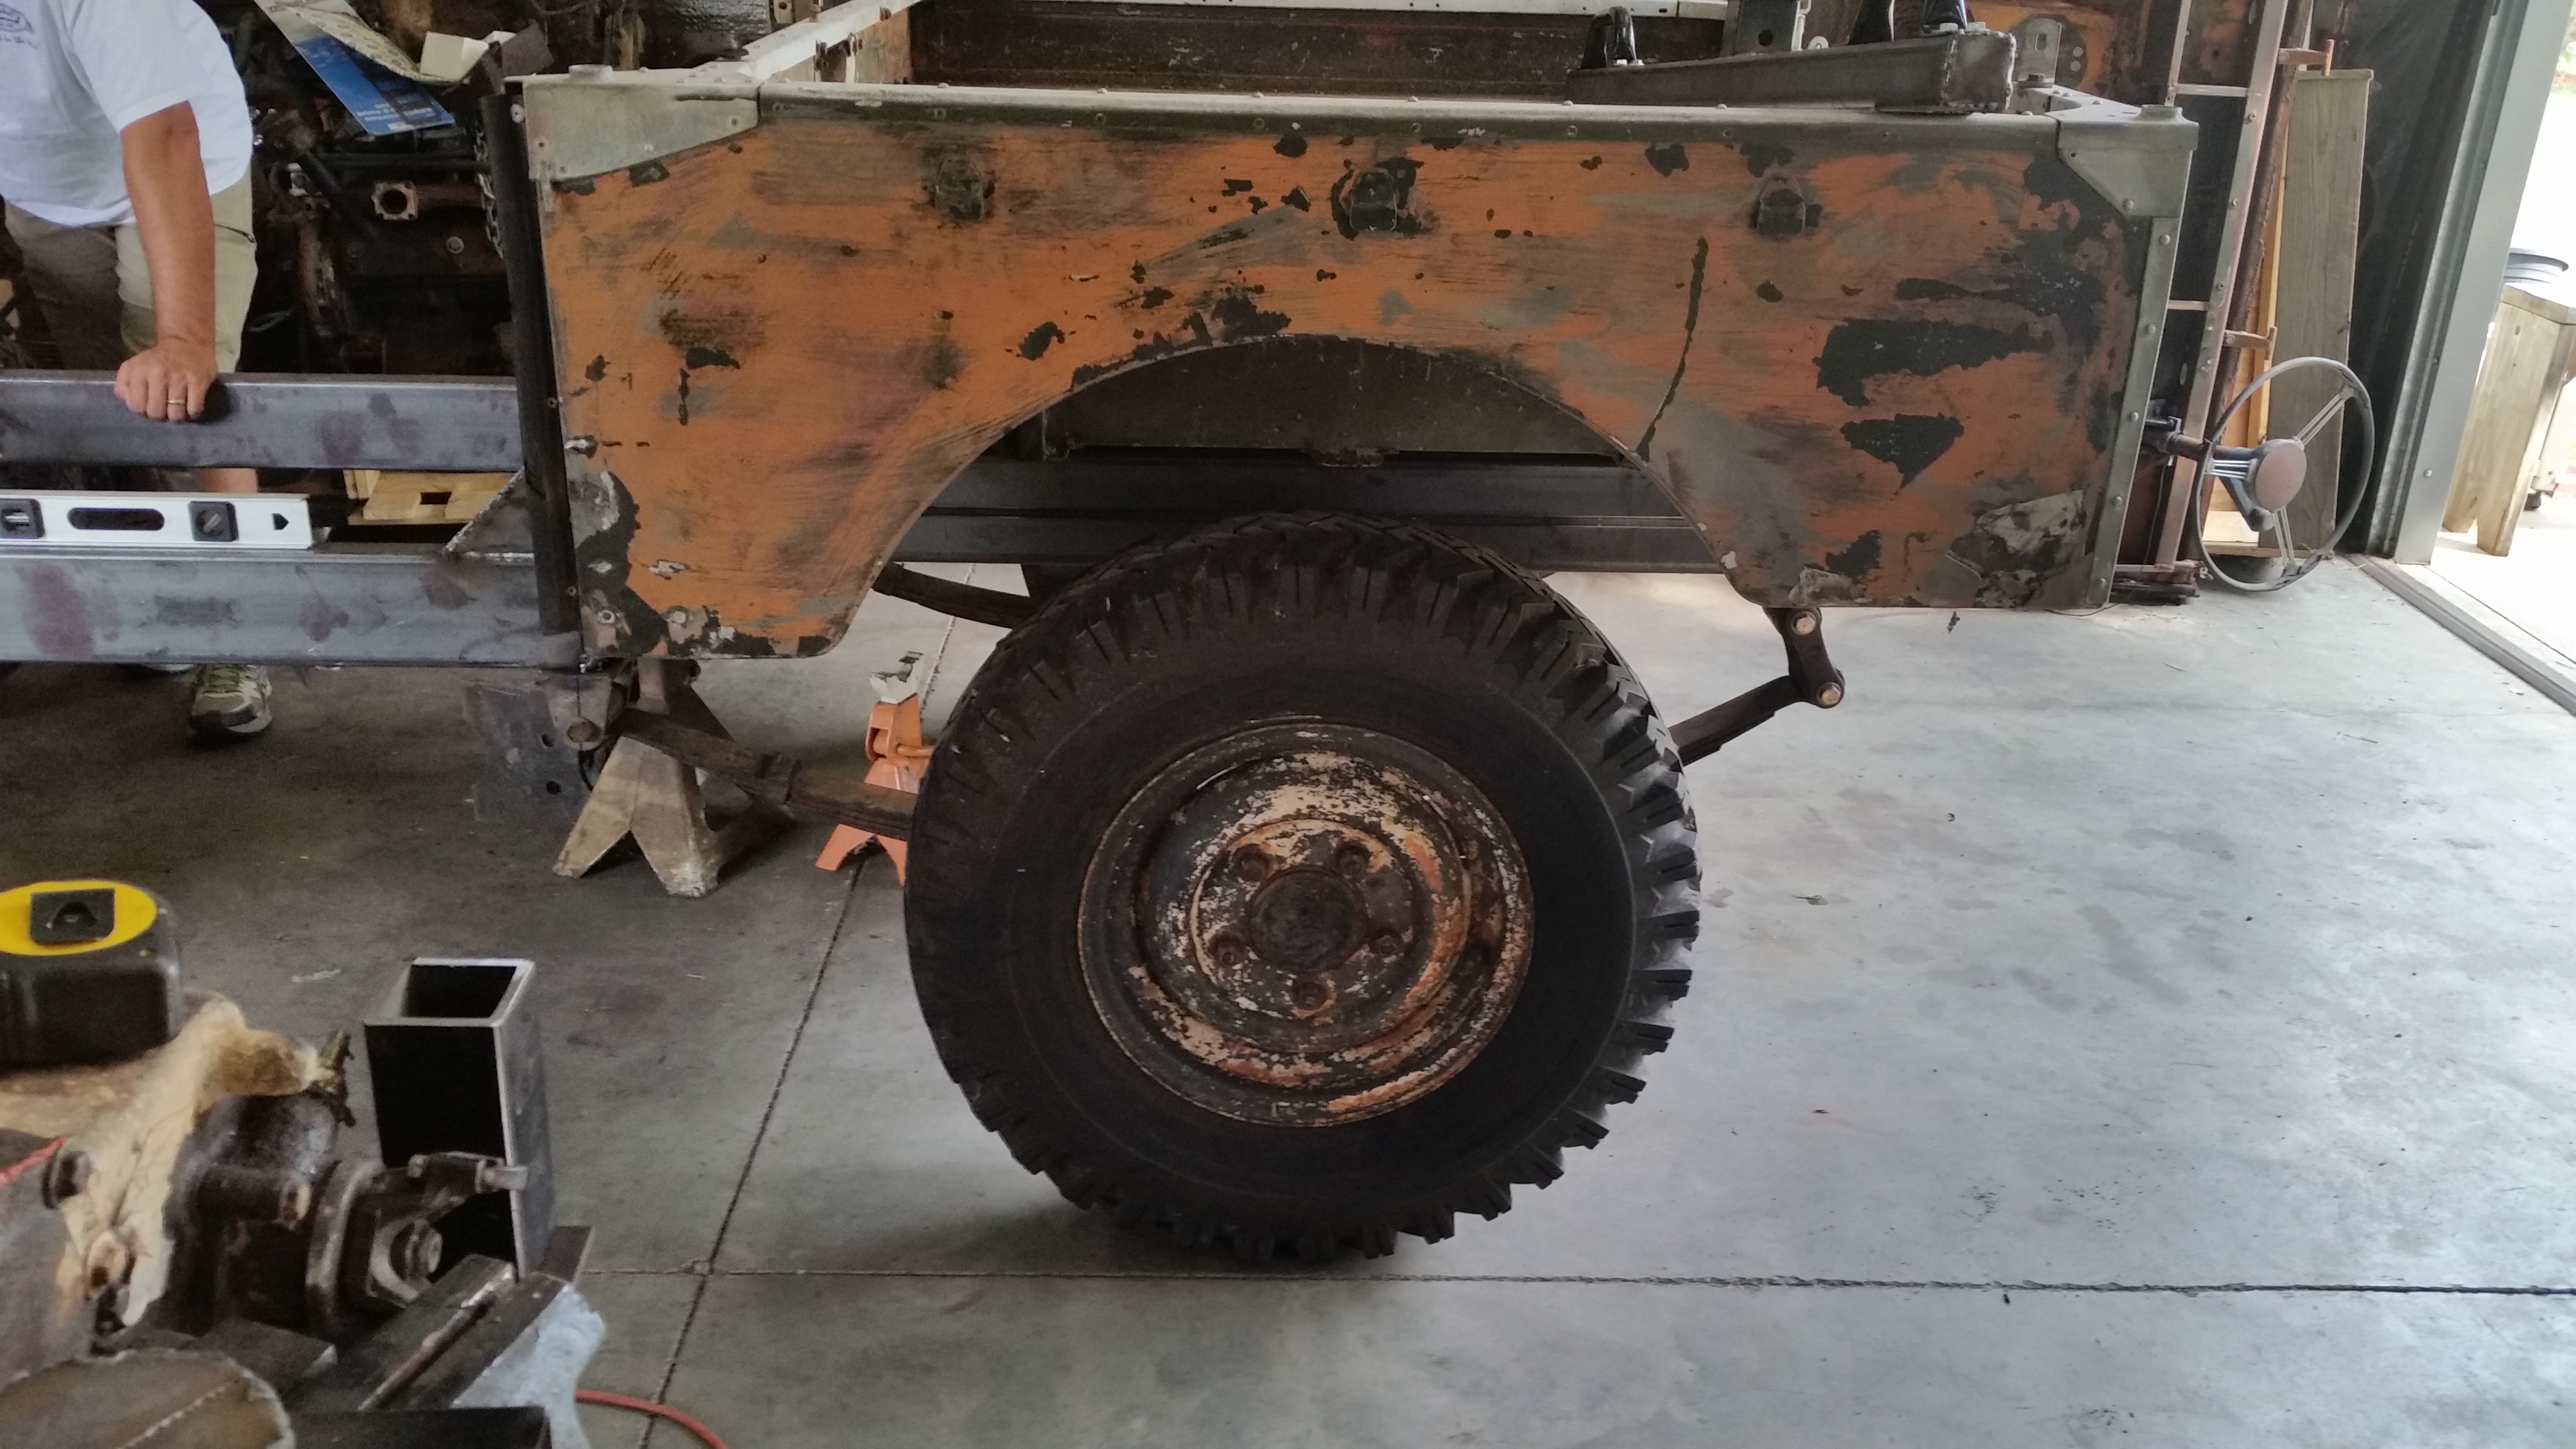
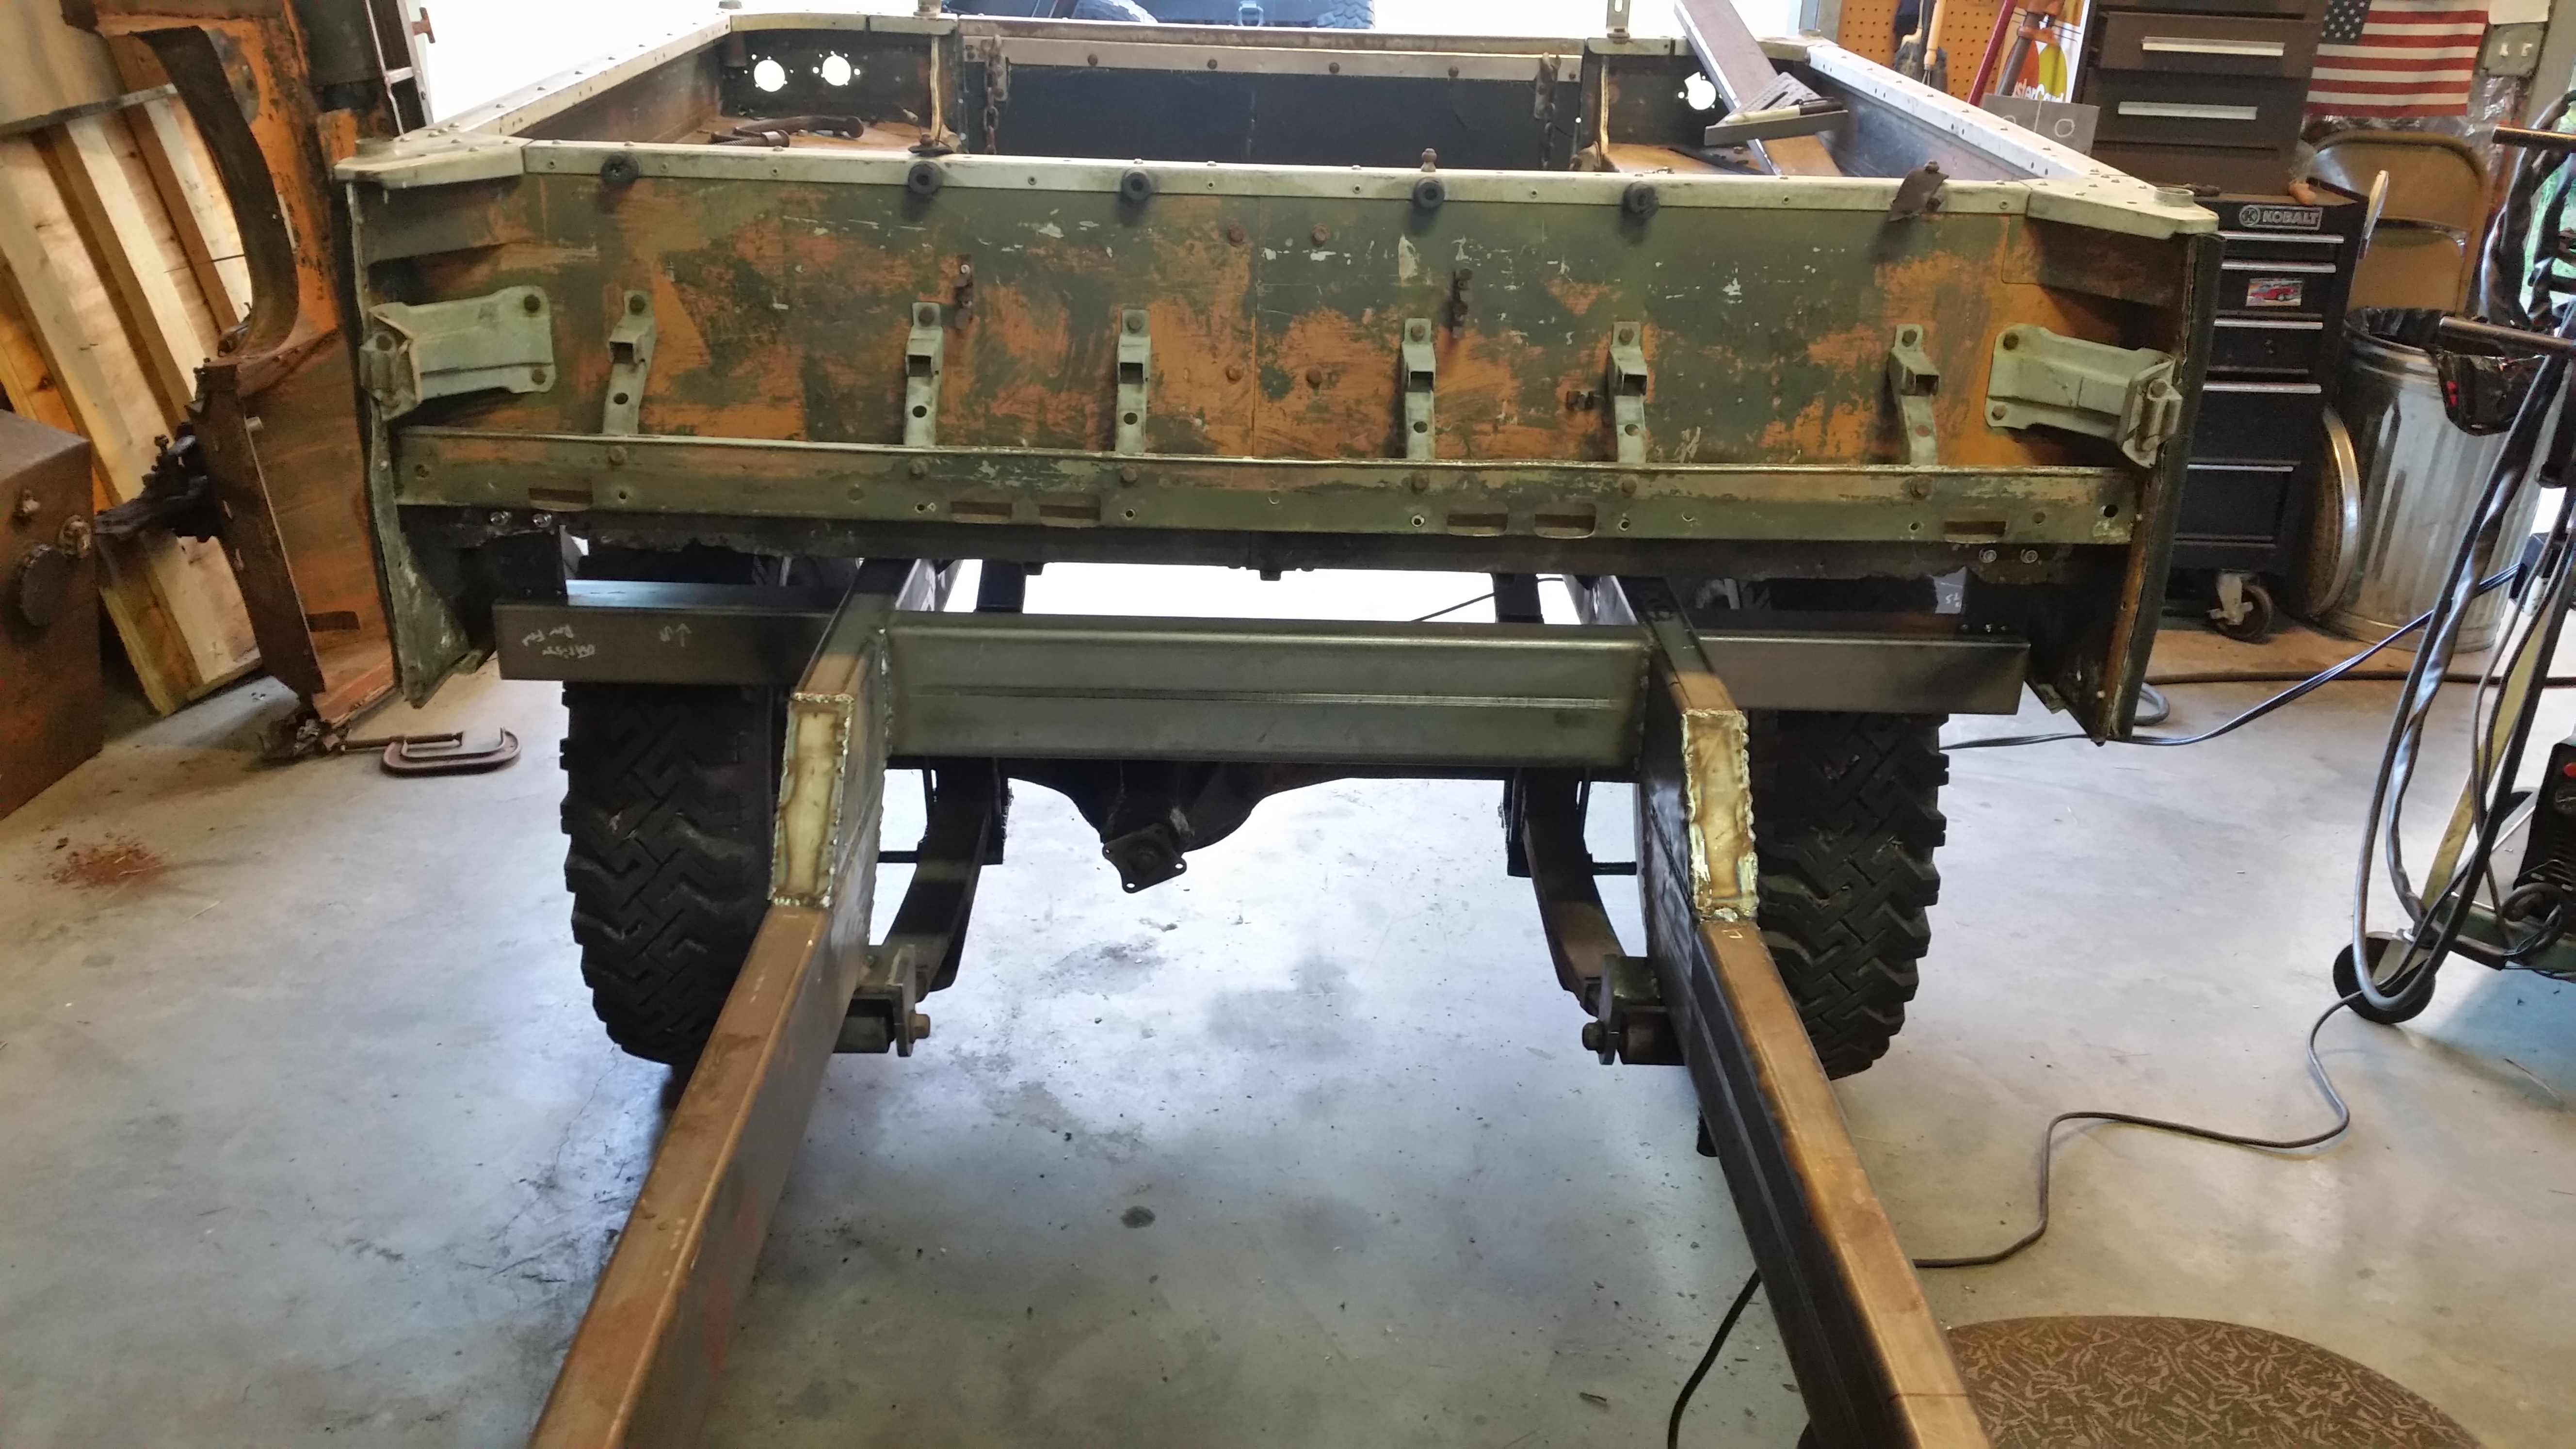
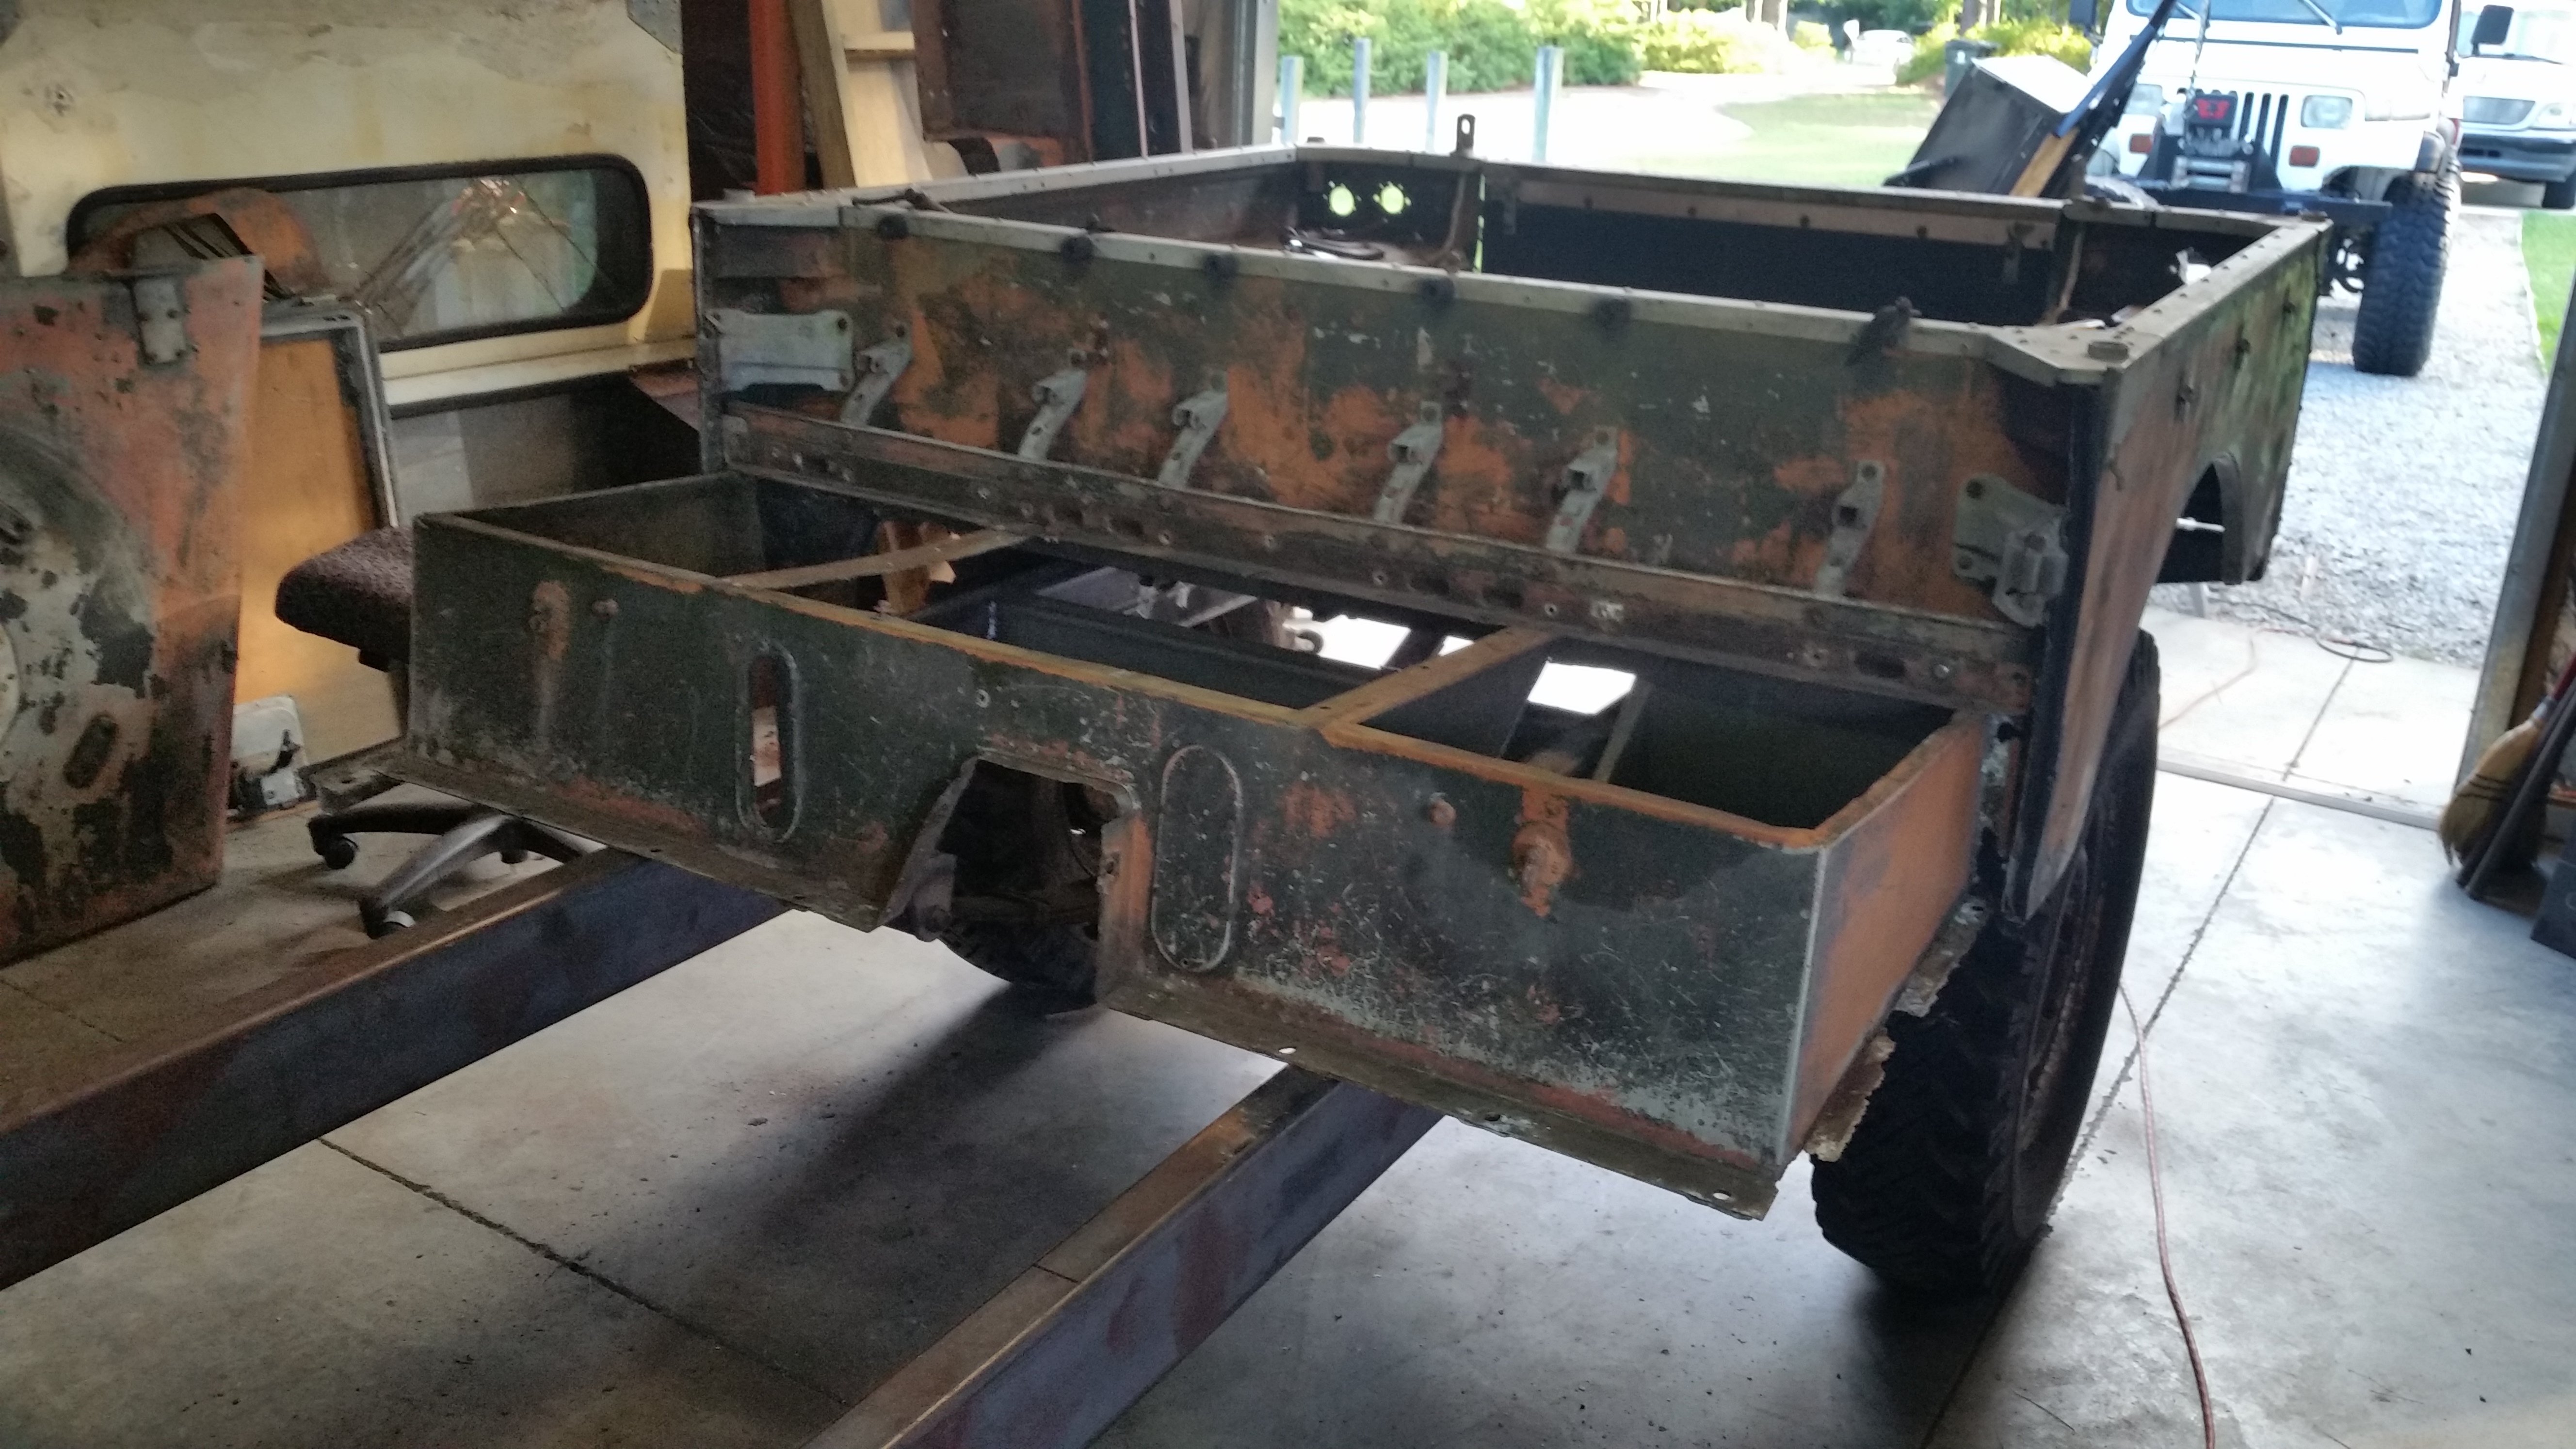
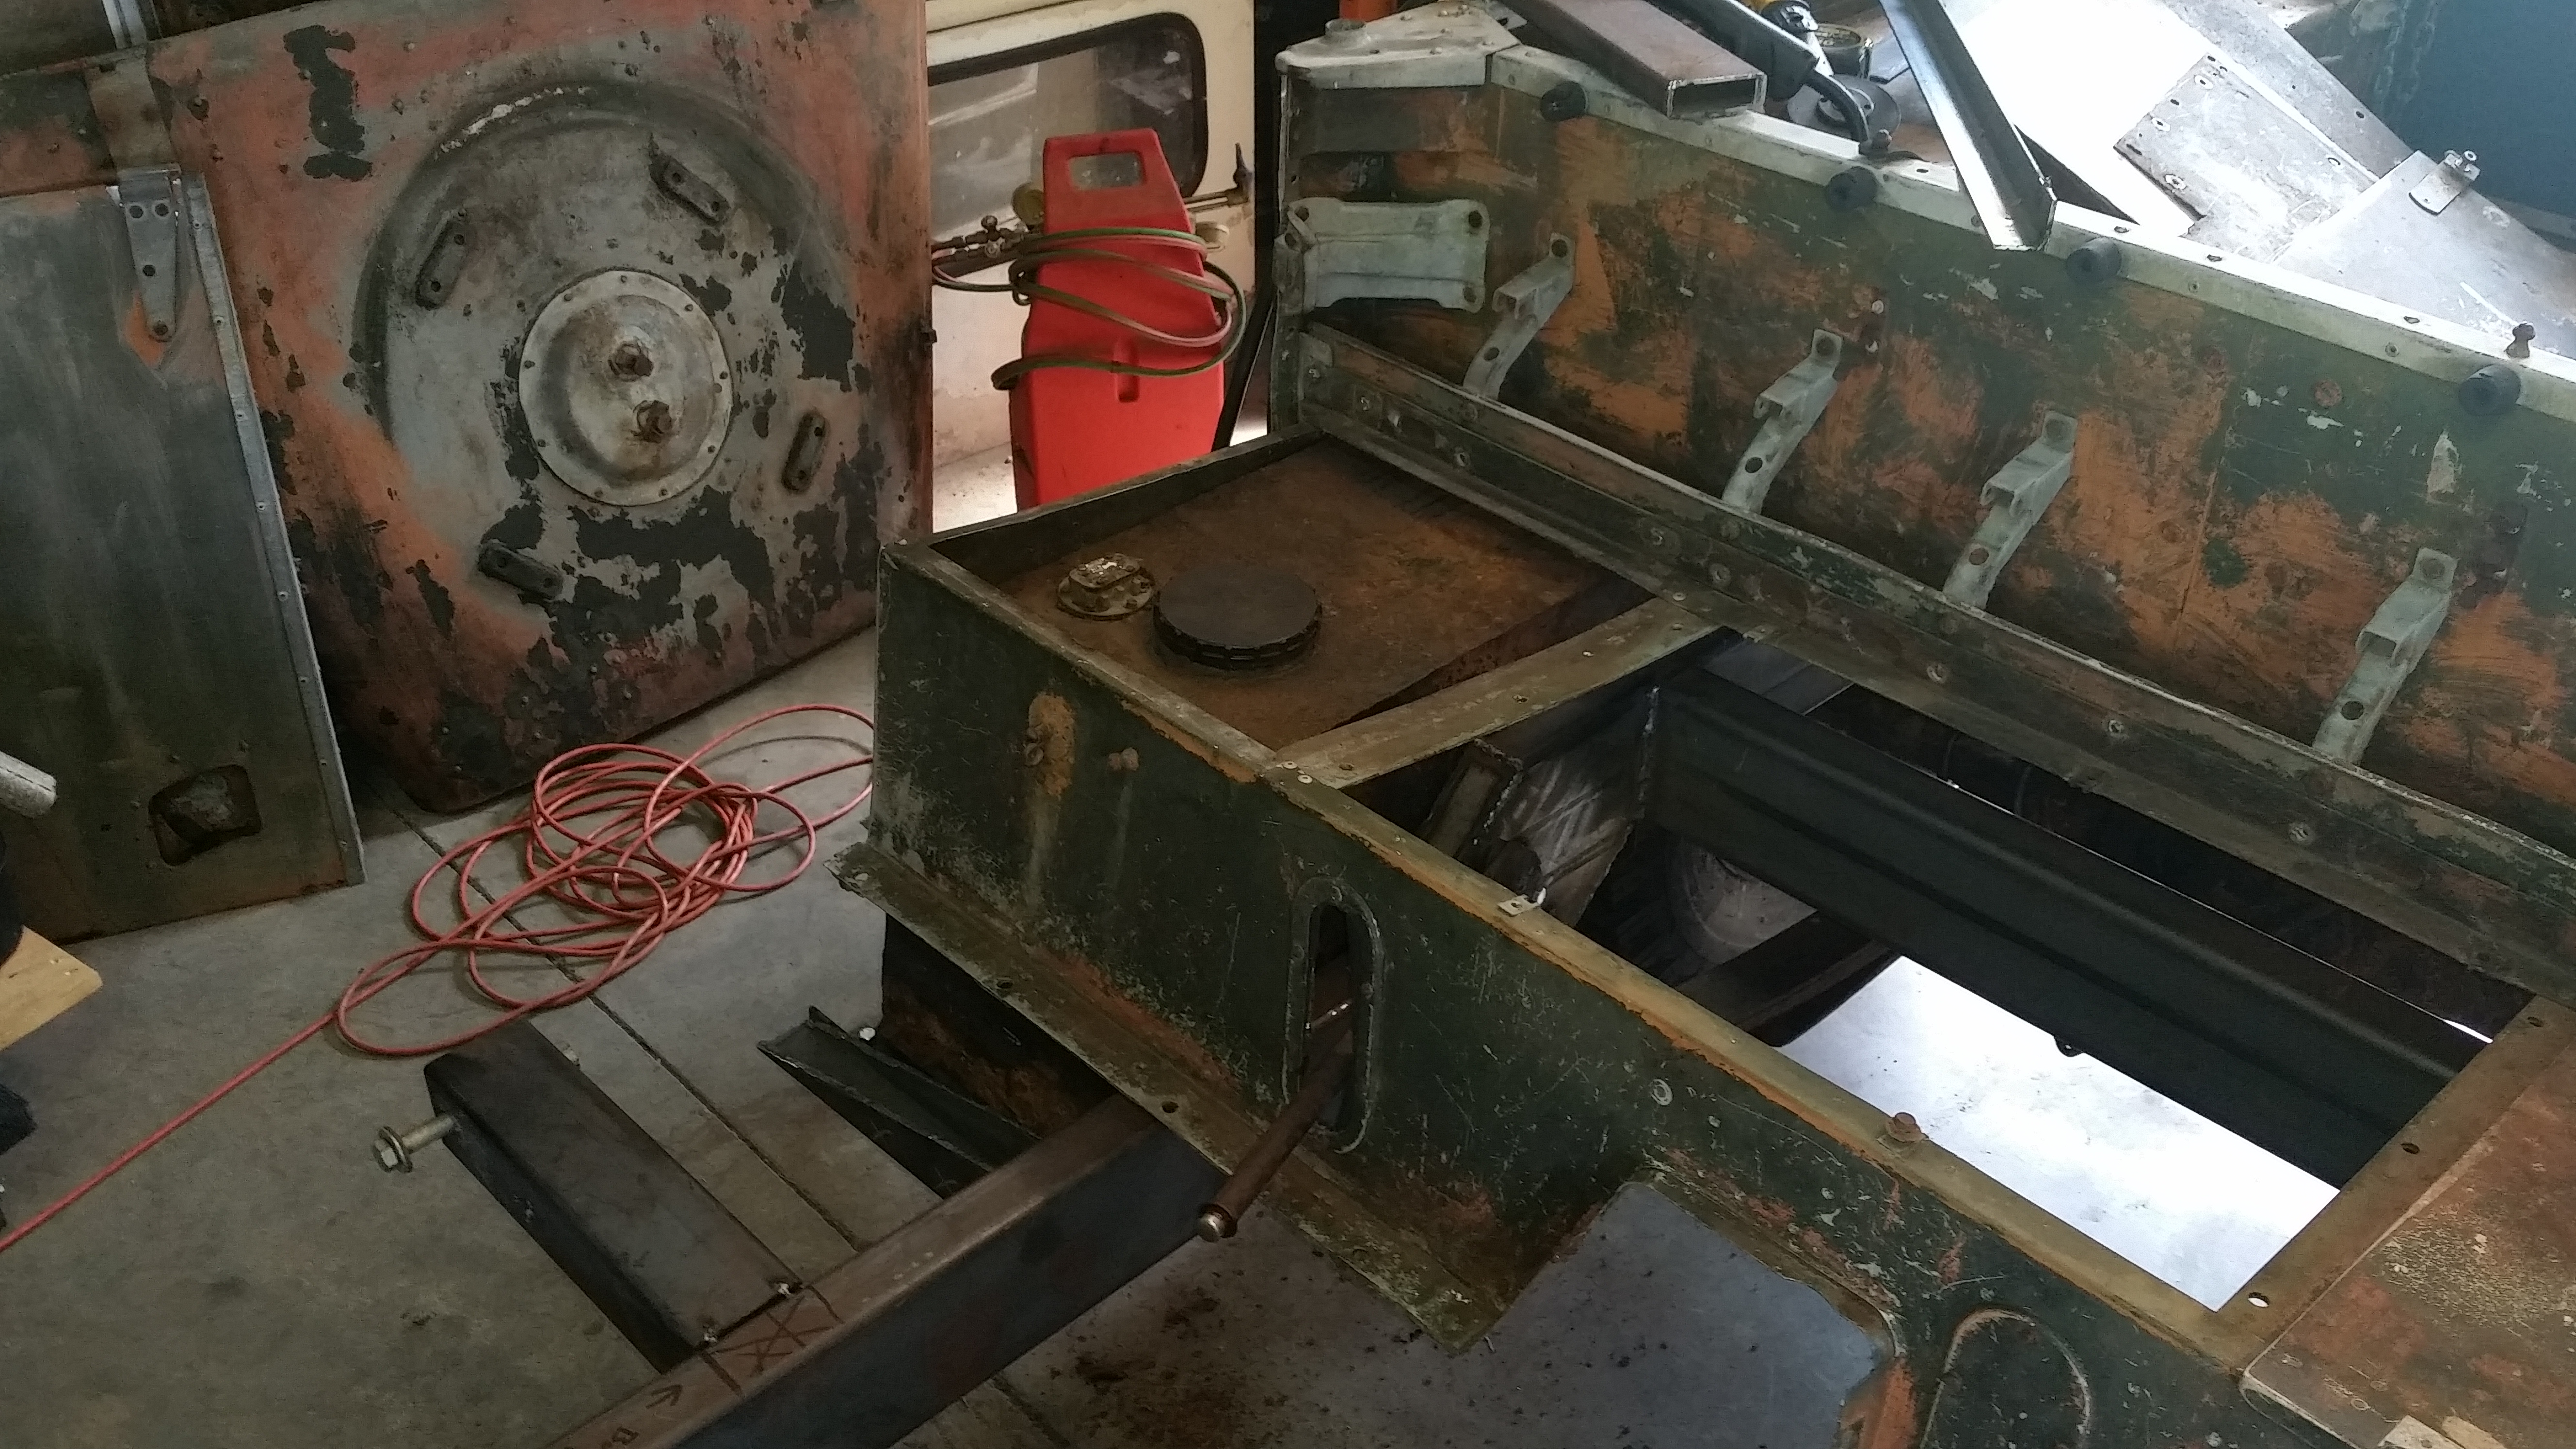
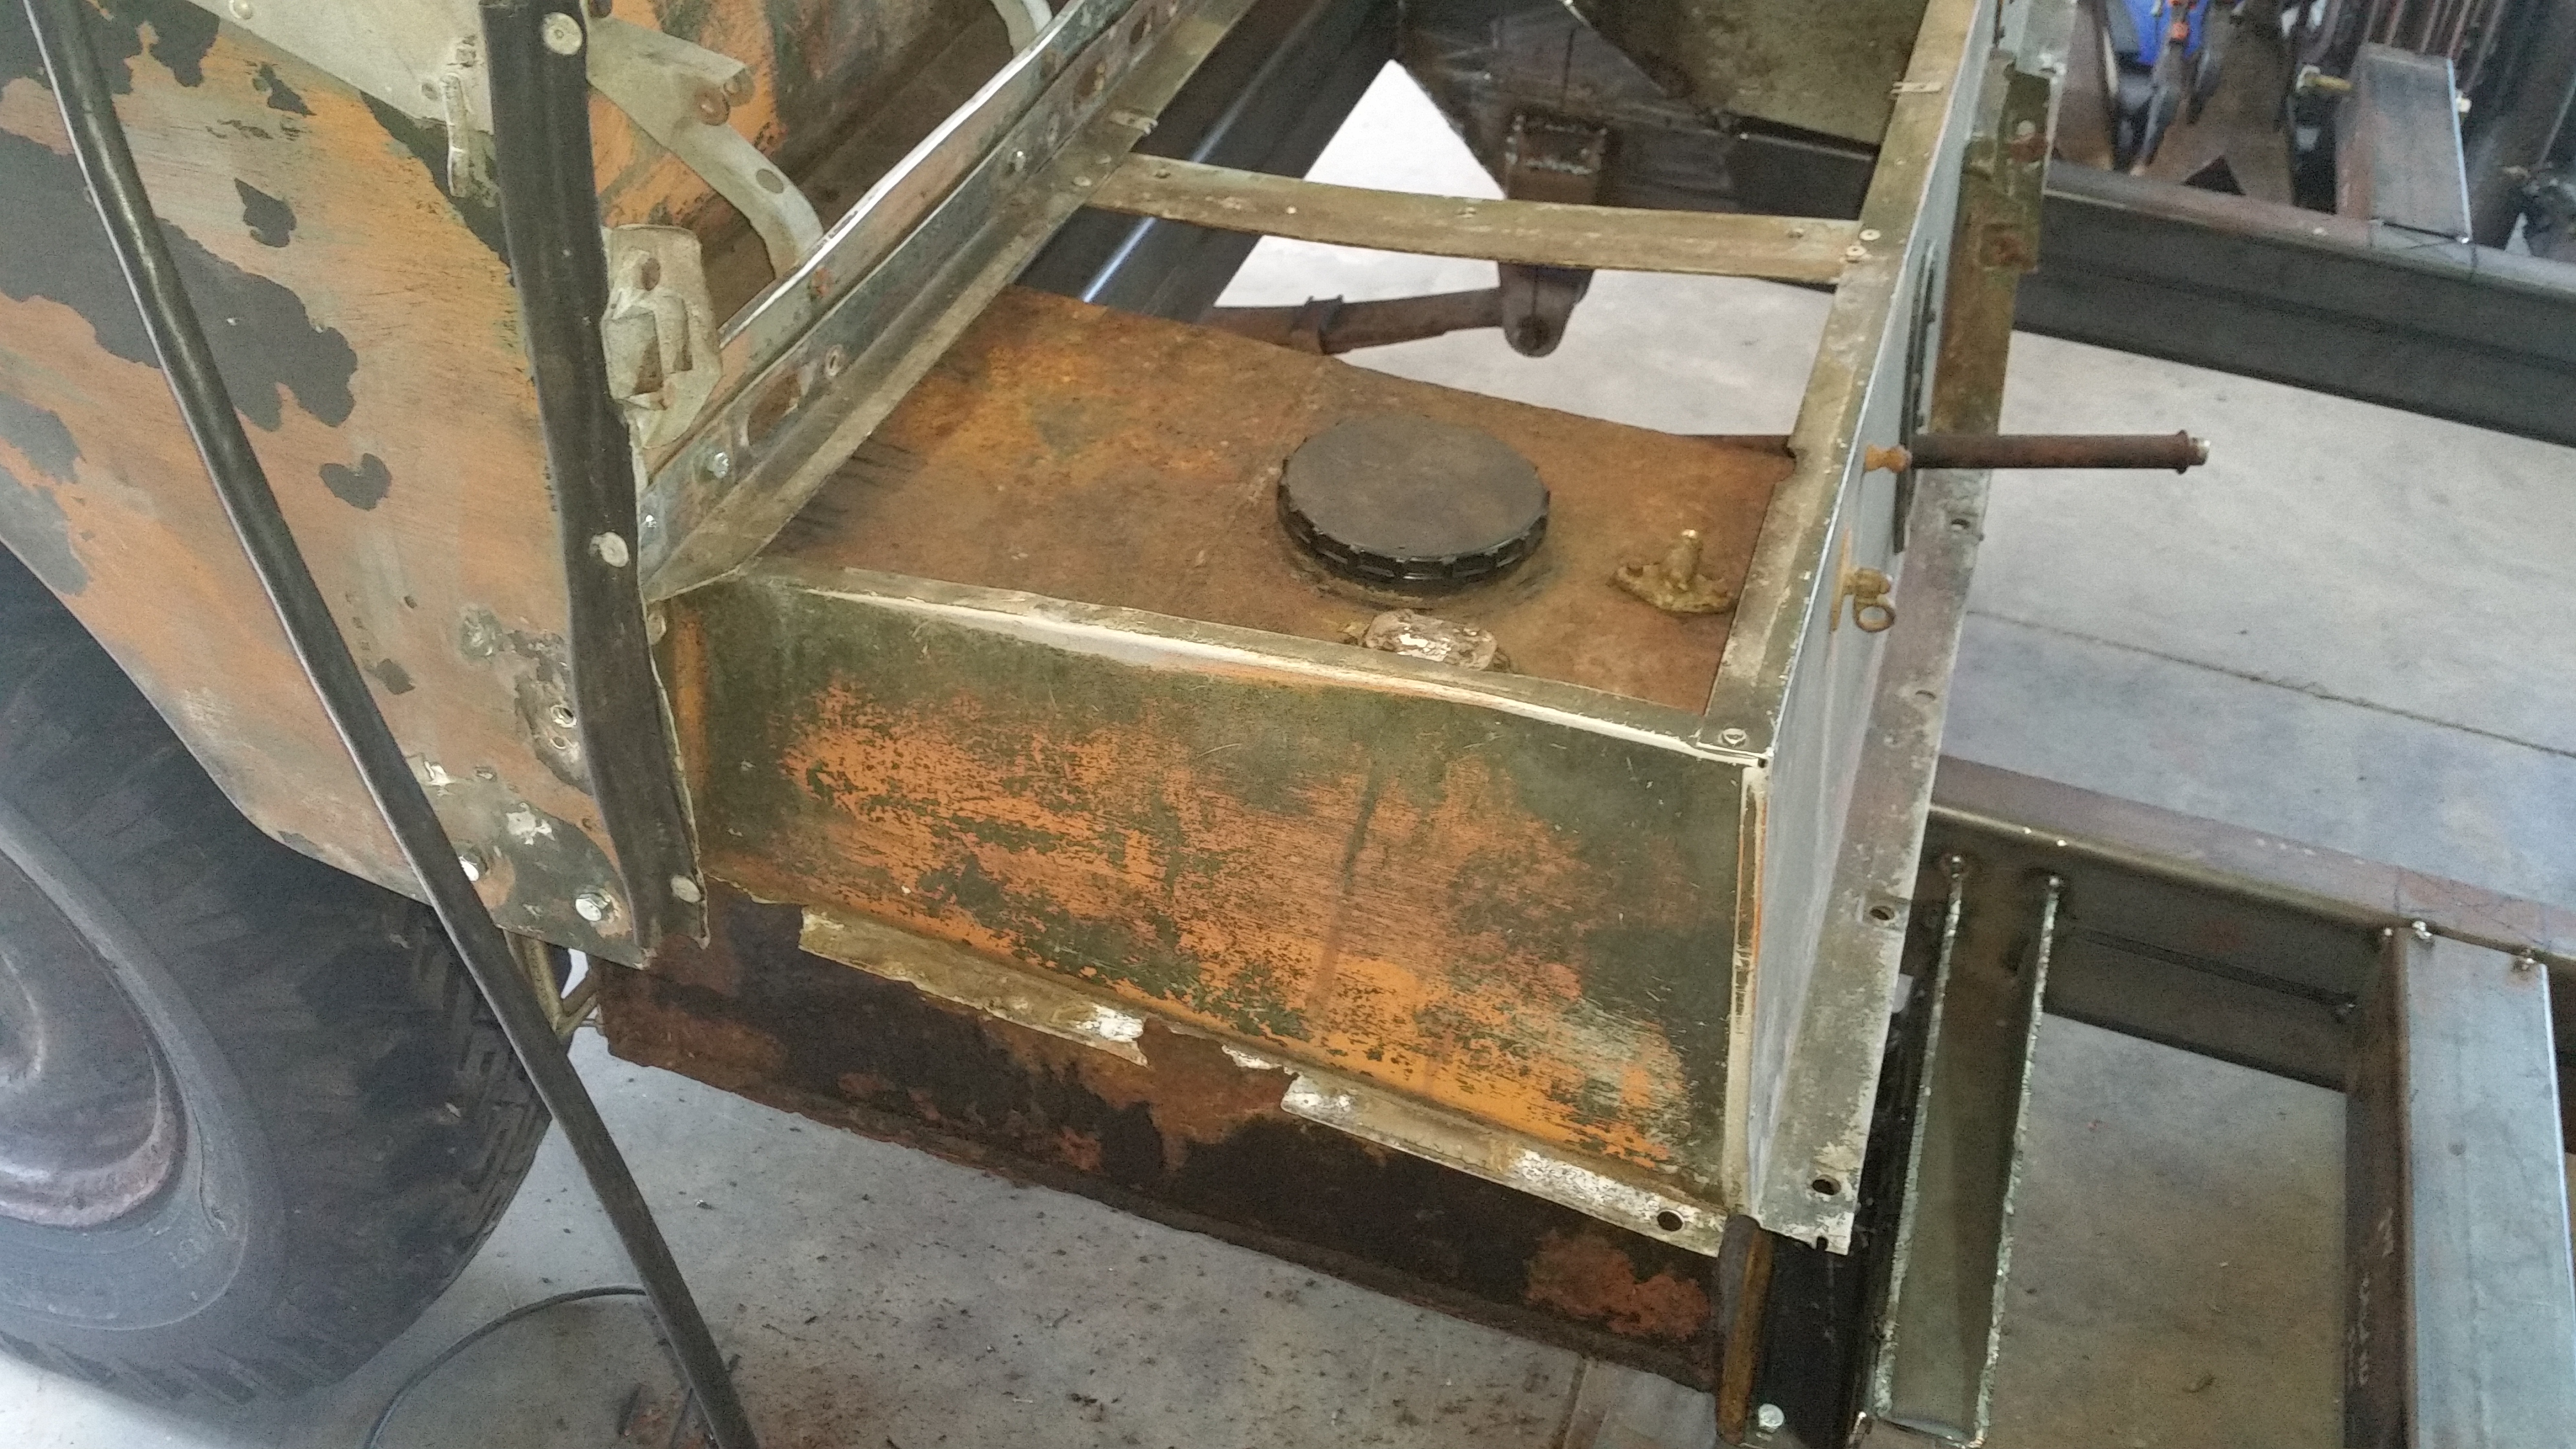
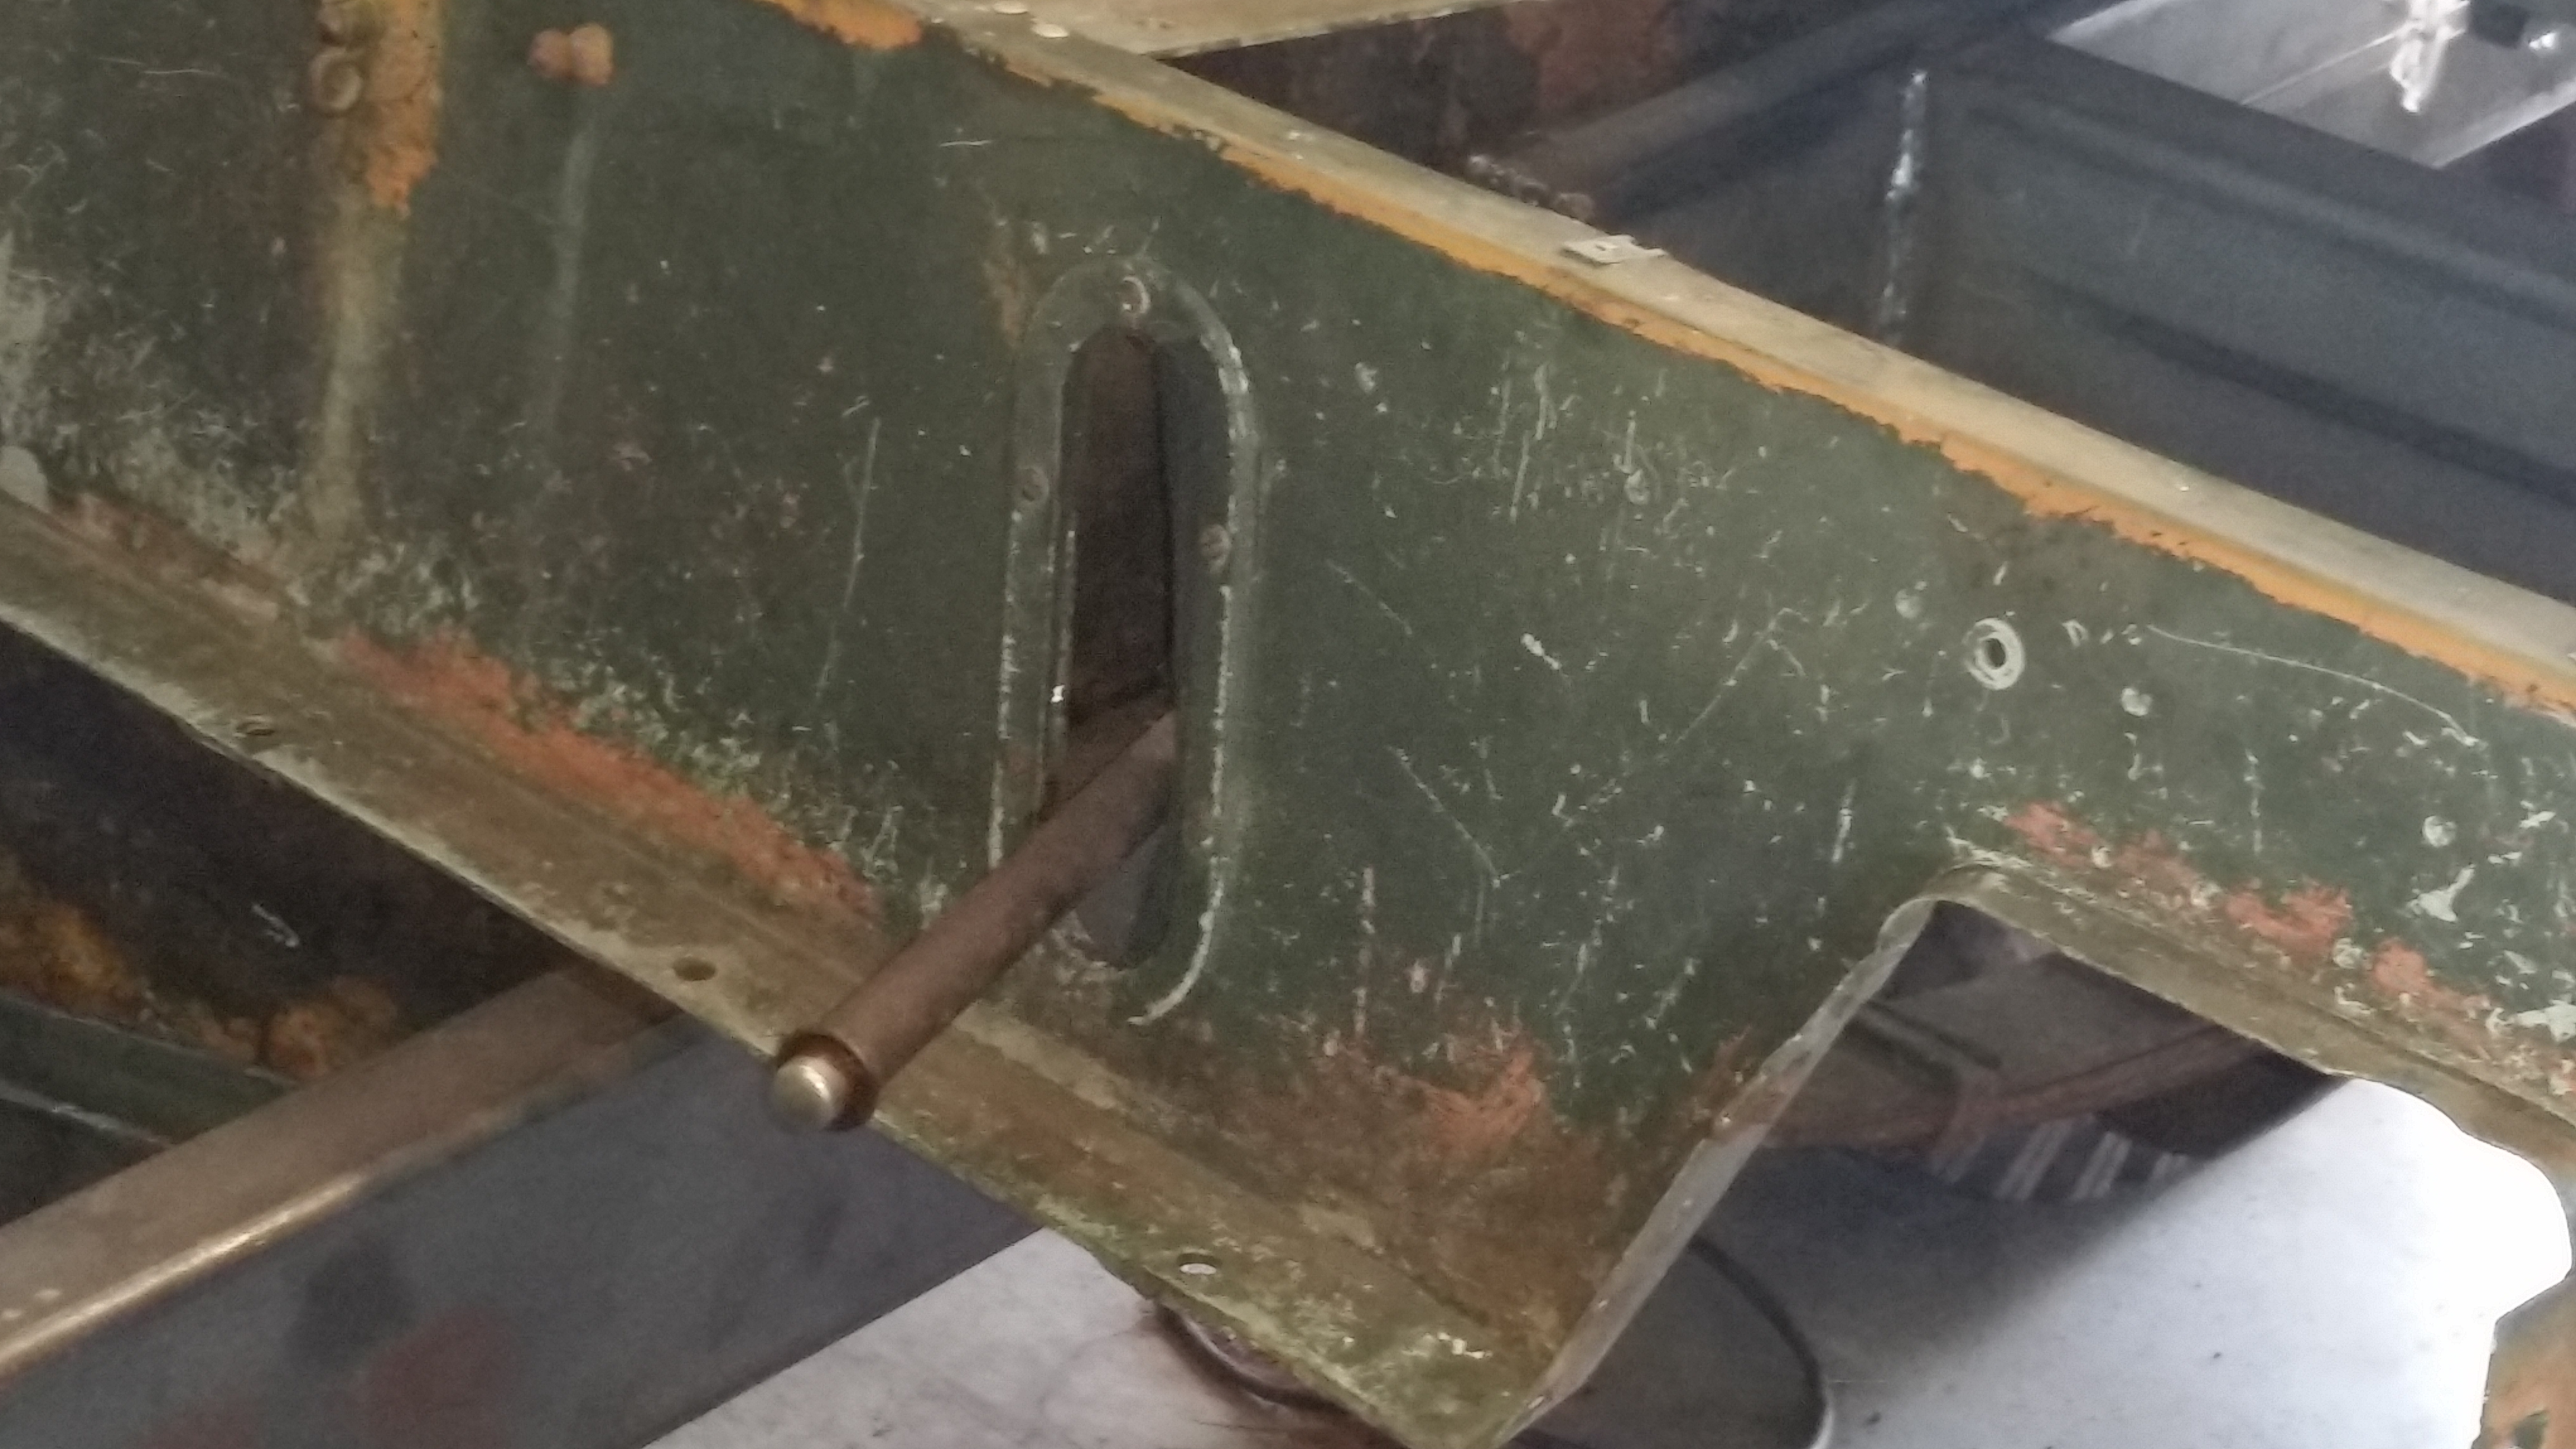
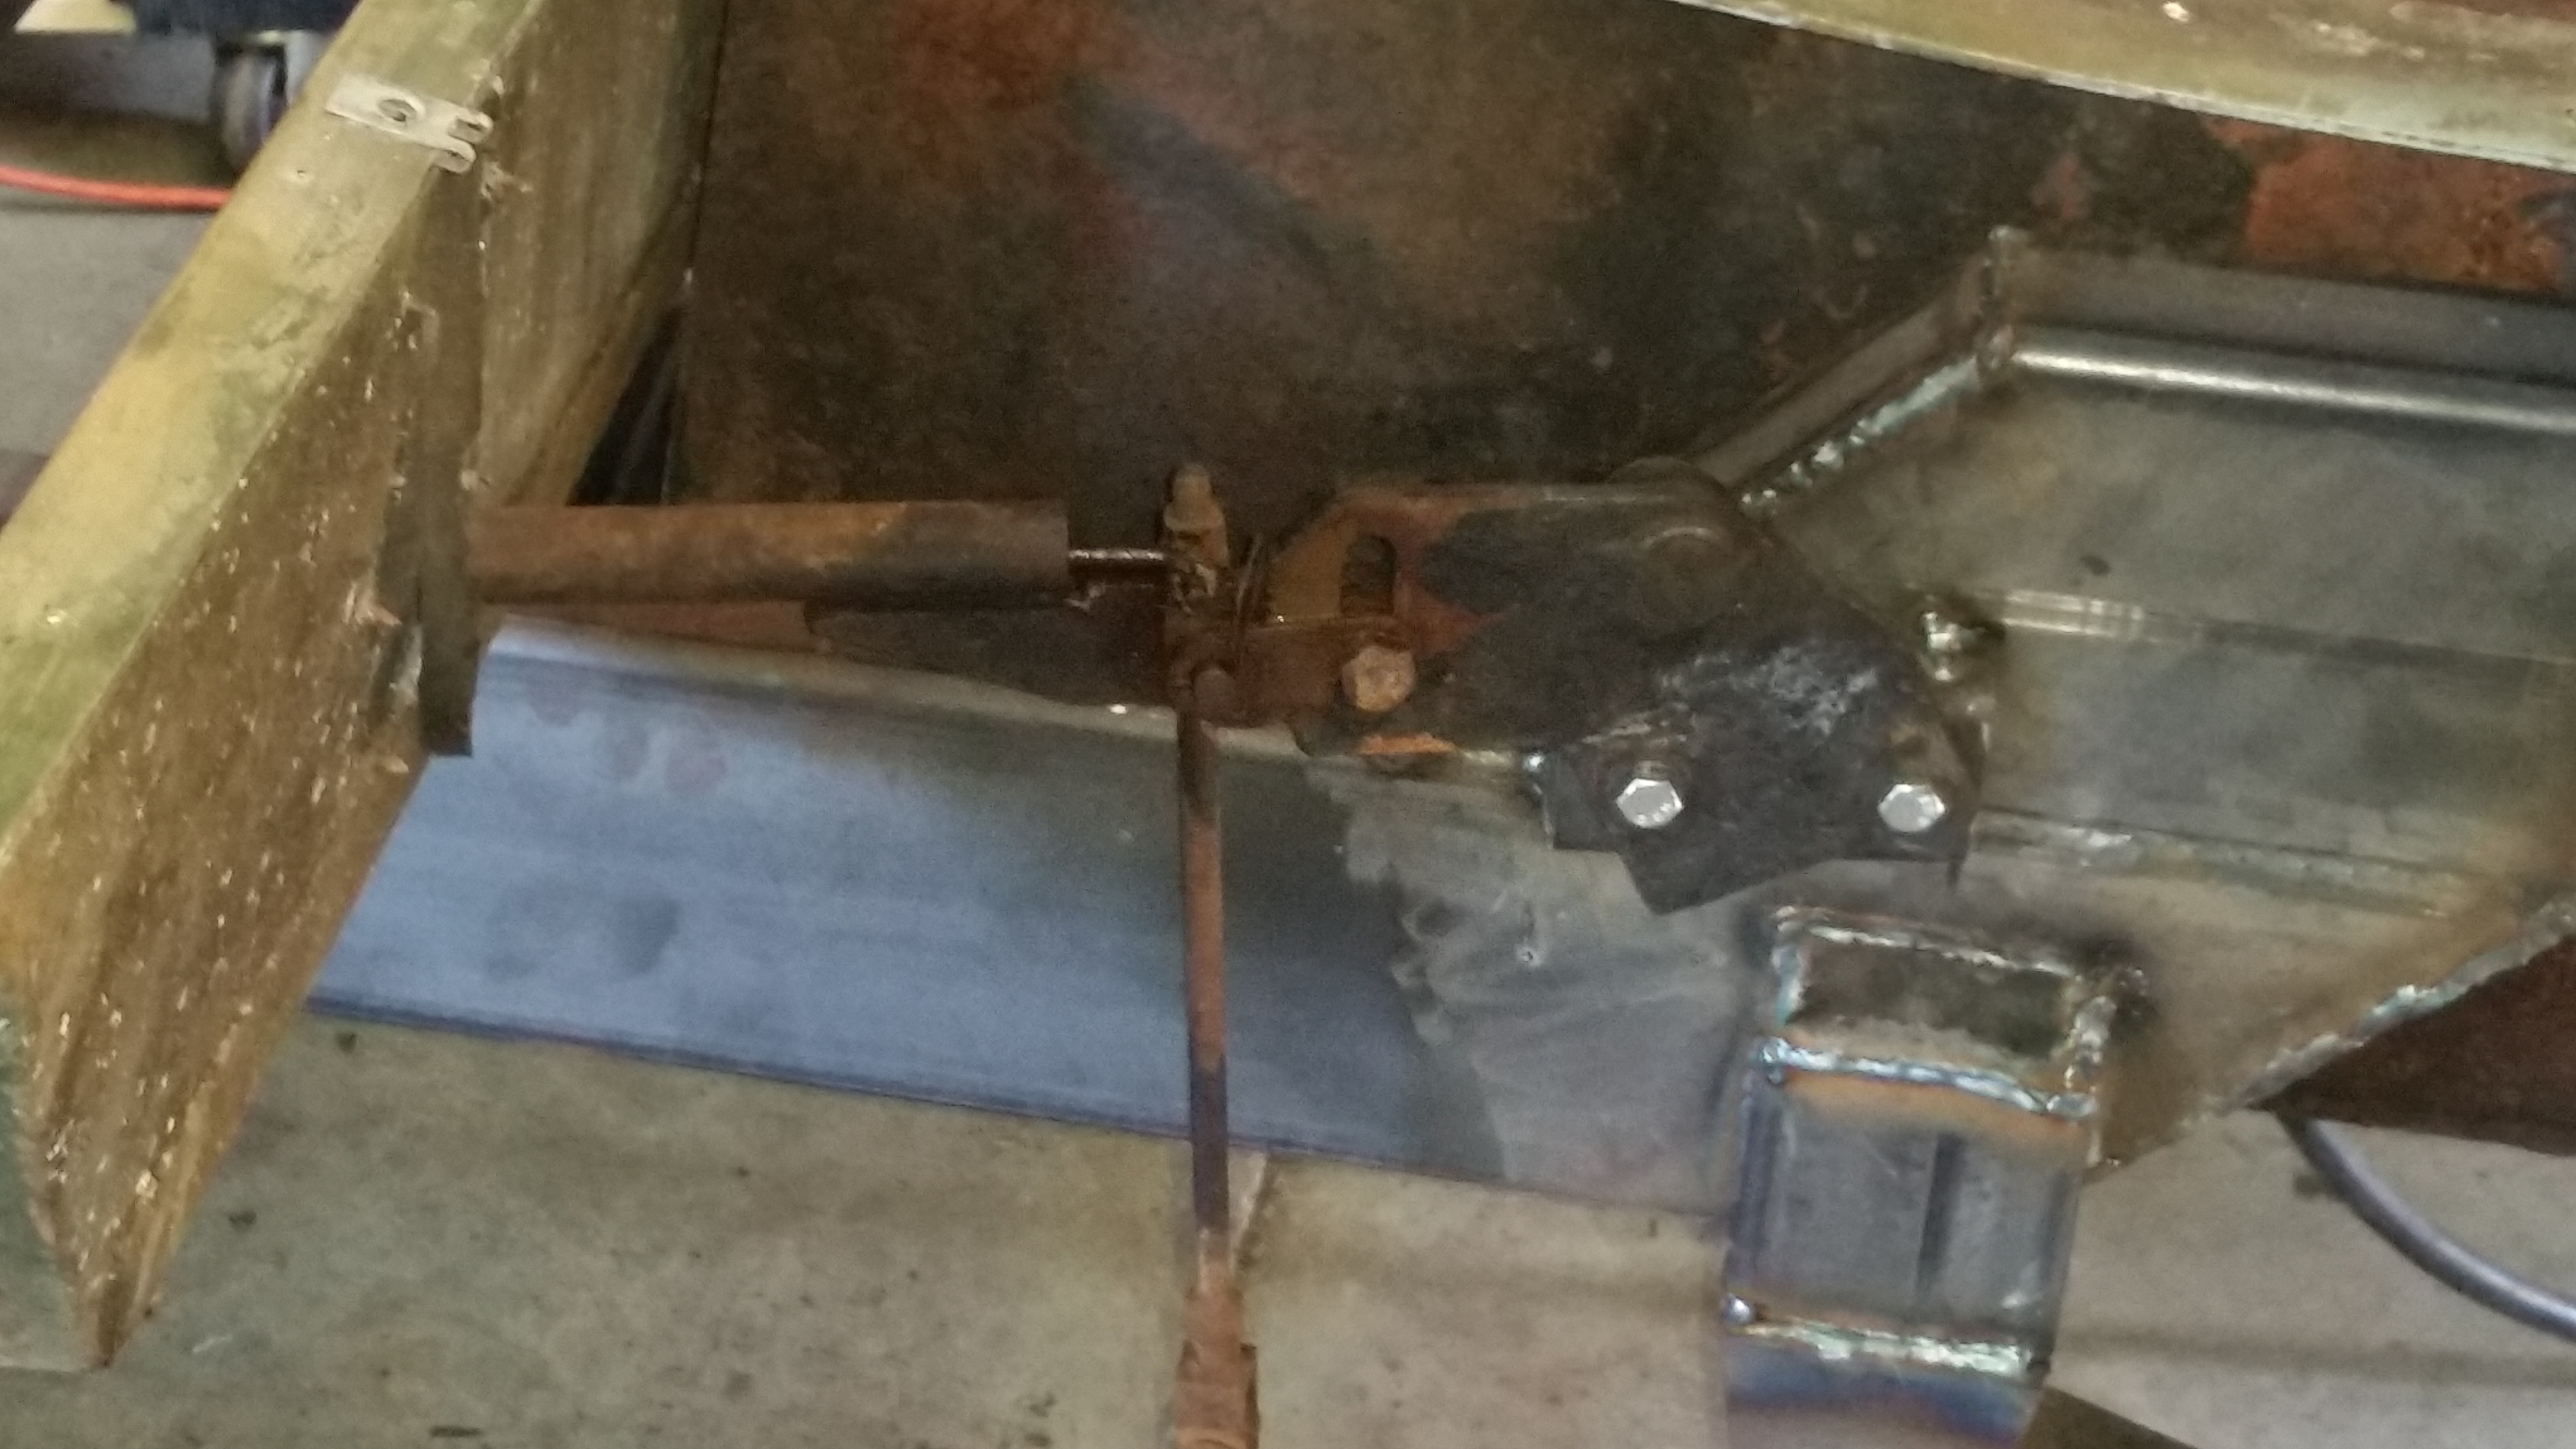
Pretty much all stock and relatively unhacked. The frame is ROTTED and the rear axle actaully had rot holes in the housing.
I think it was driven under the atlantic from England over to the states. It is right hand drive.
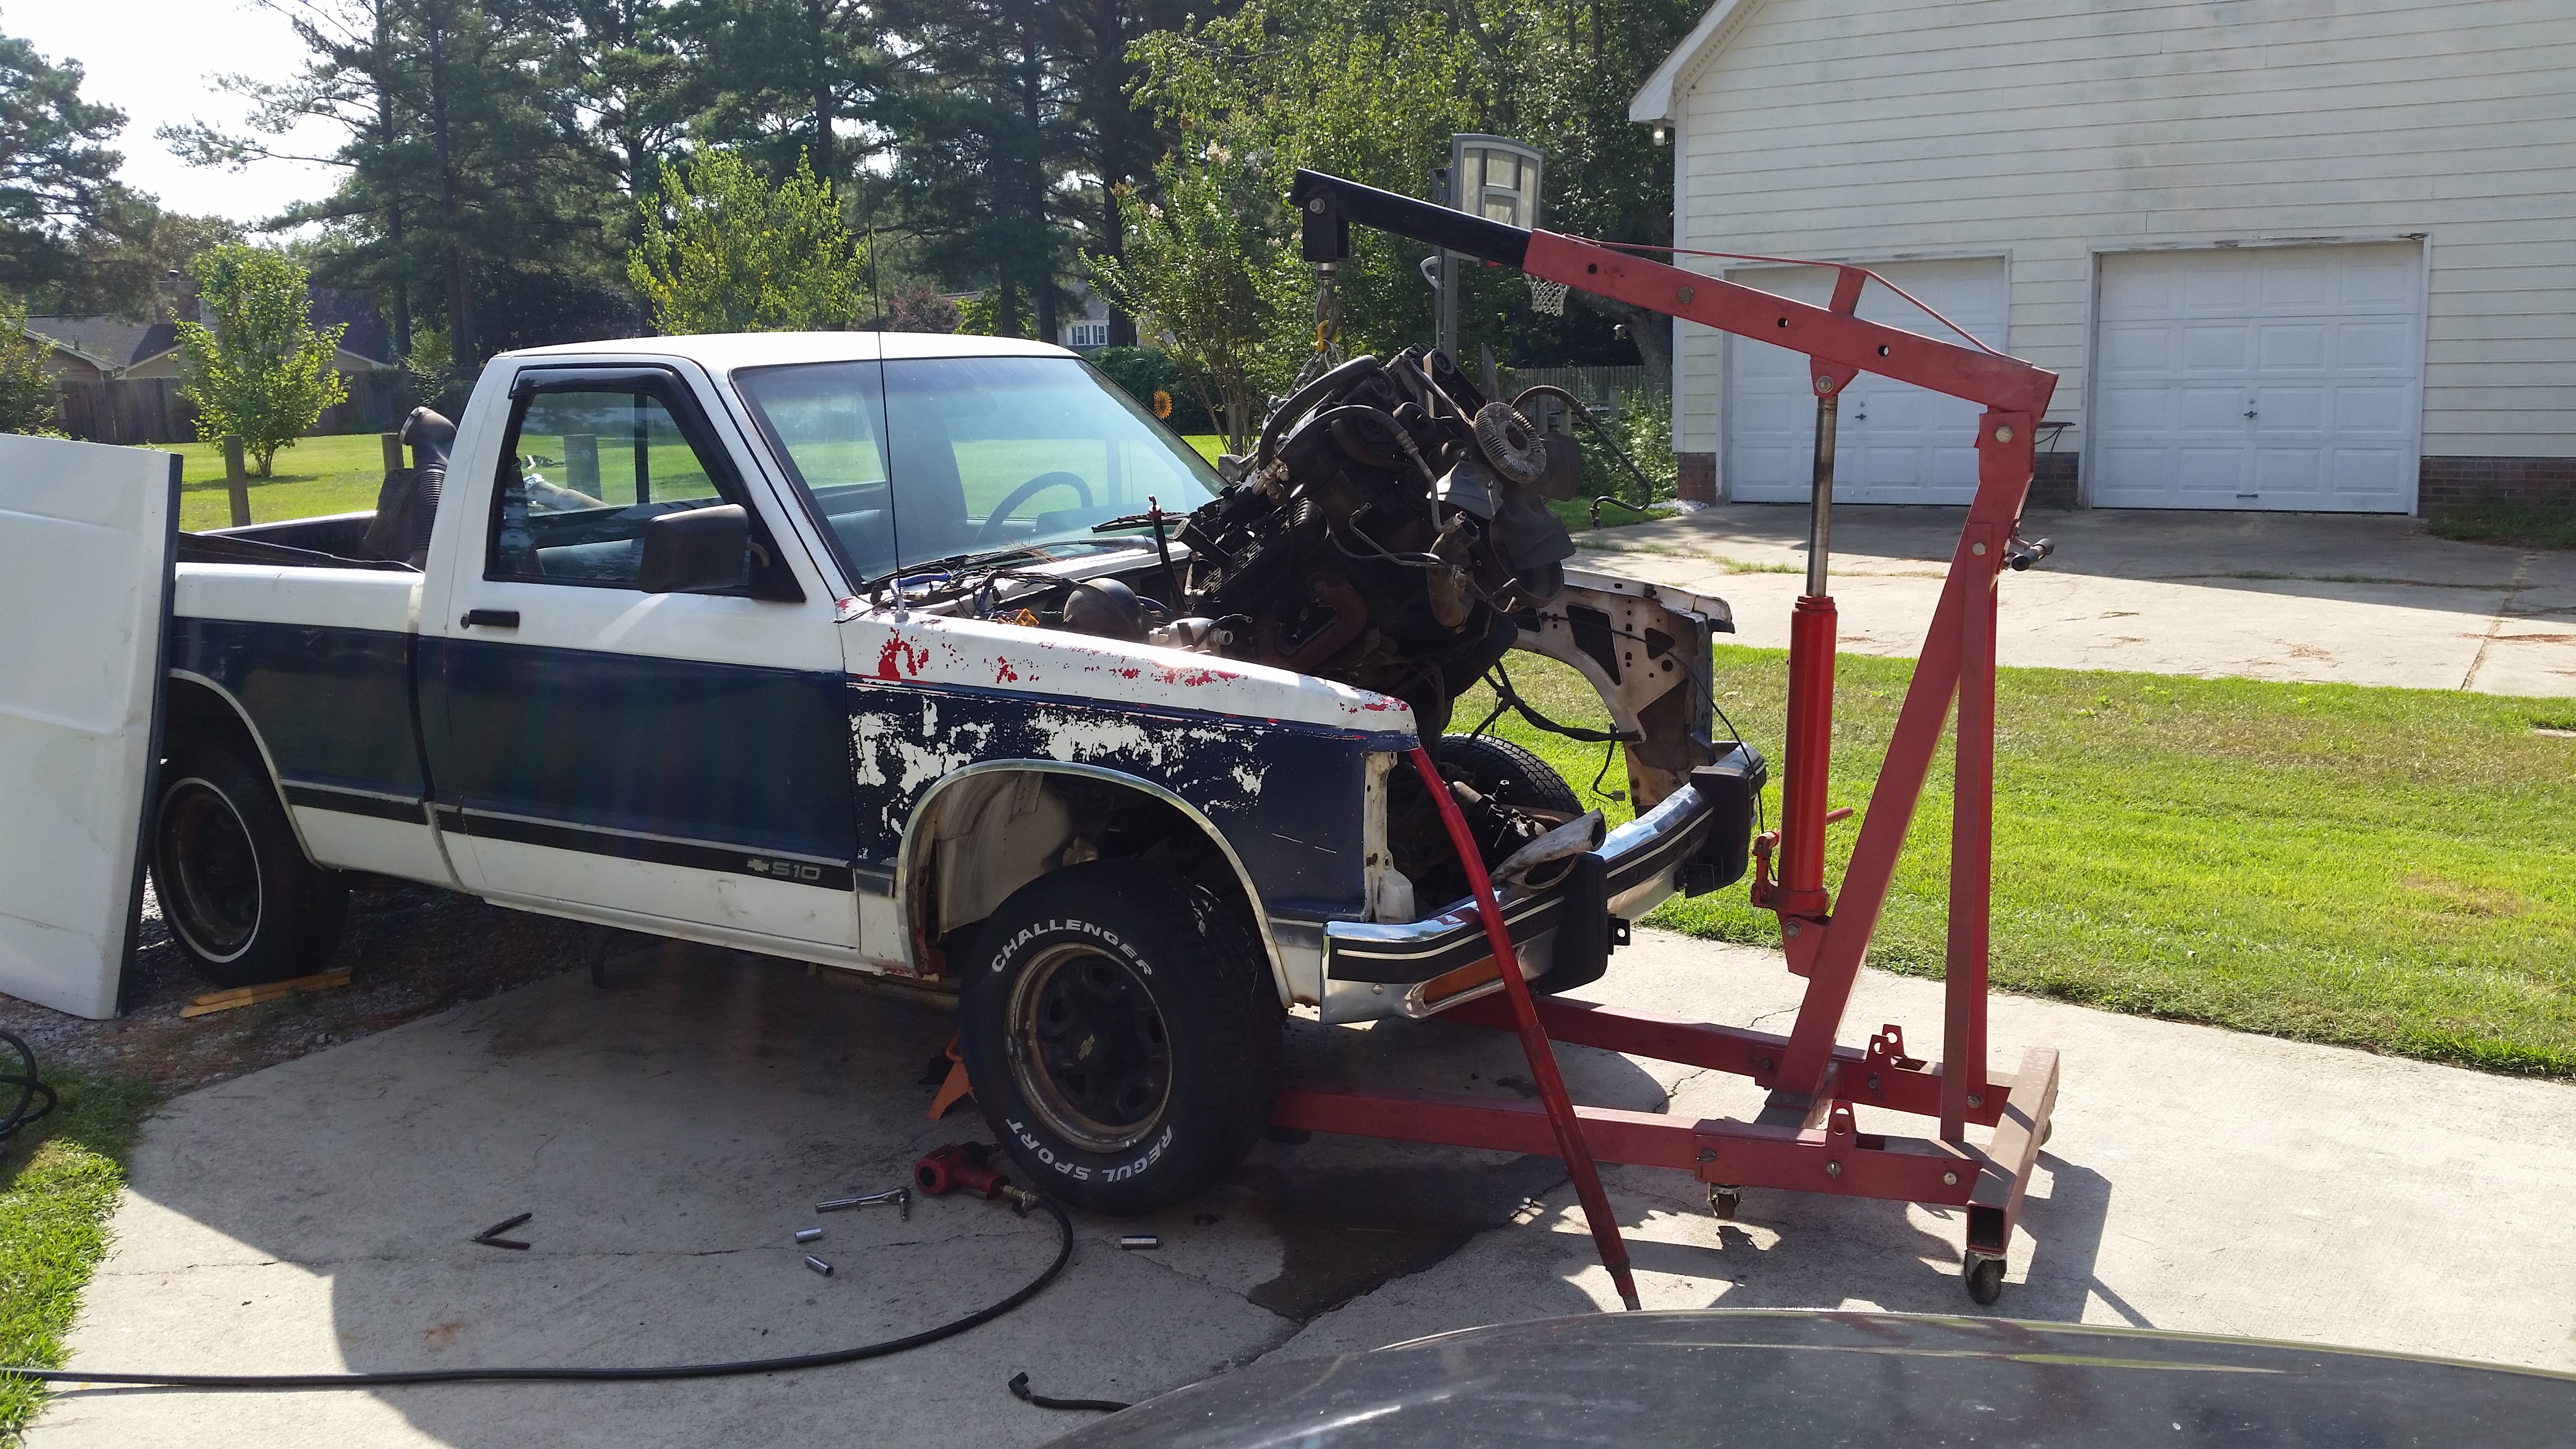
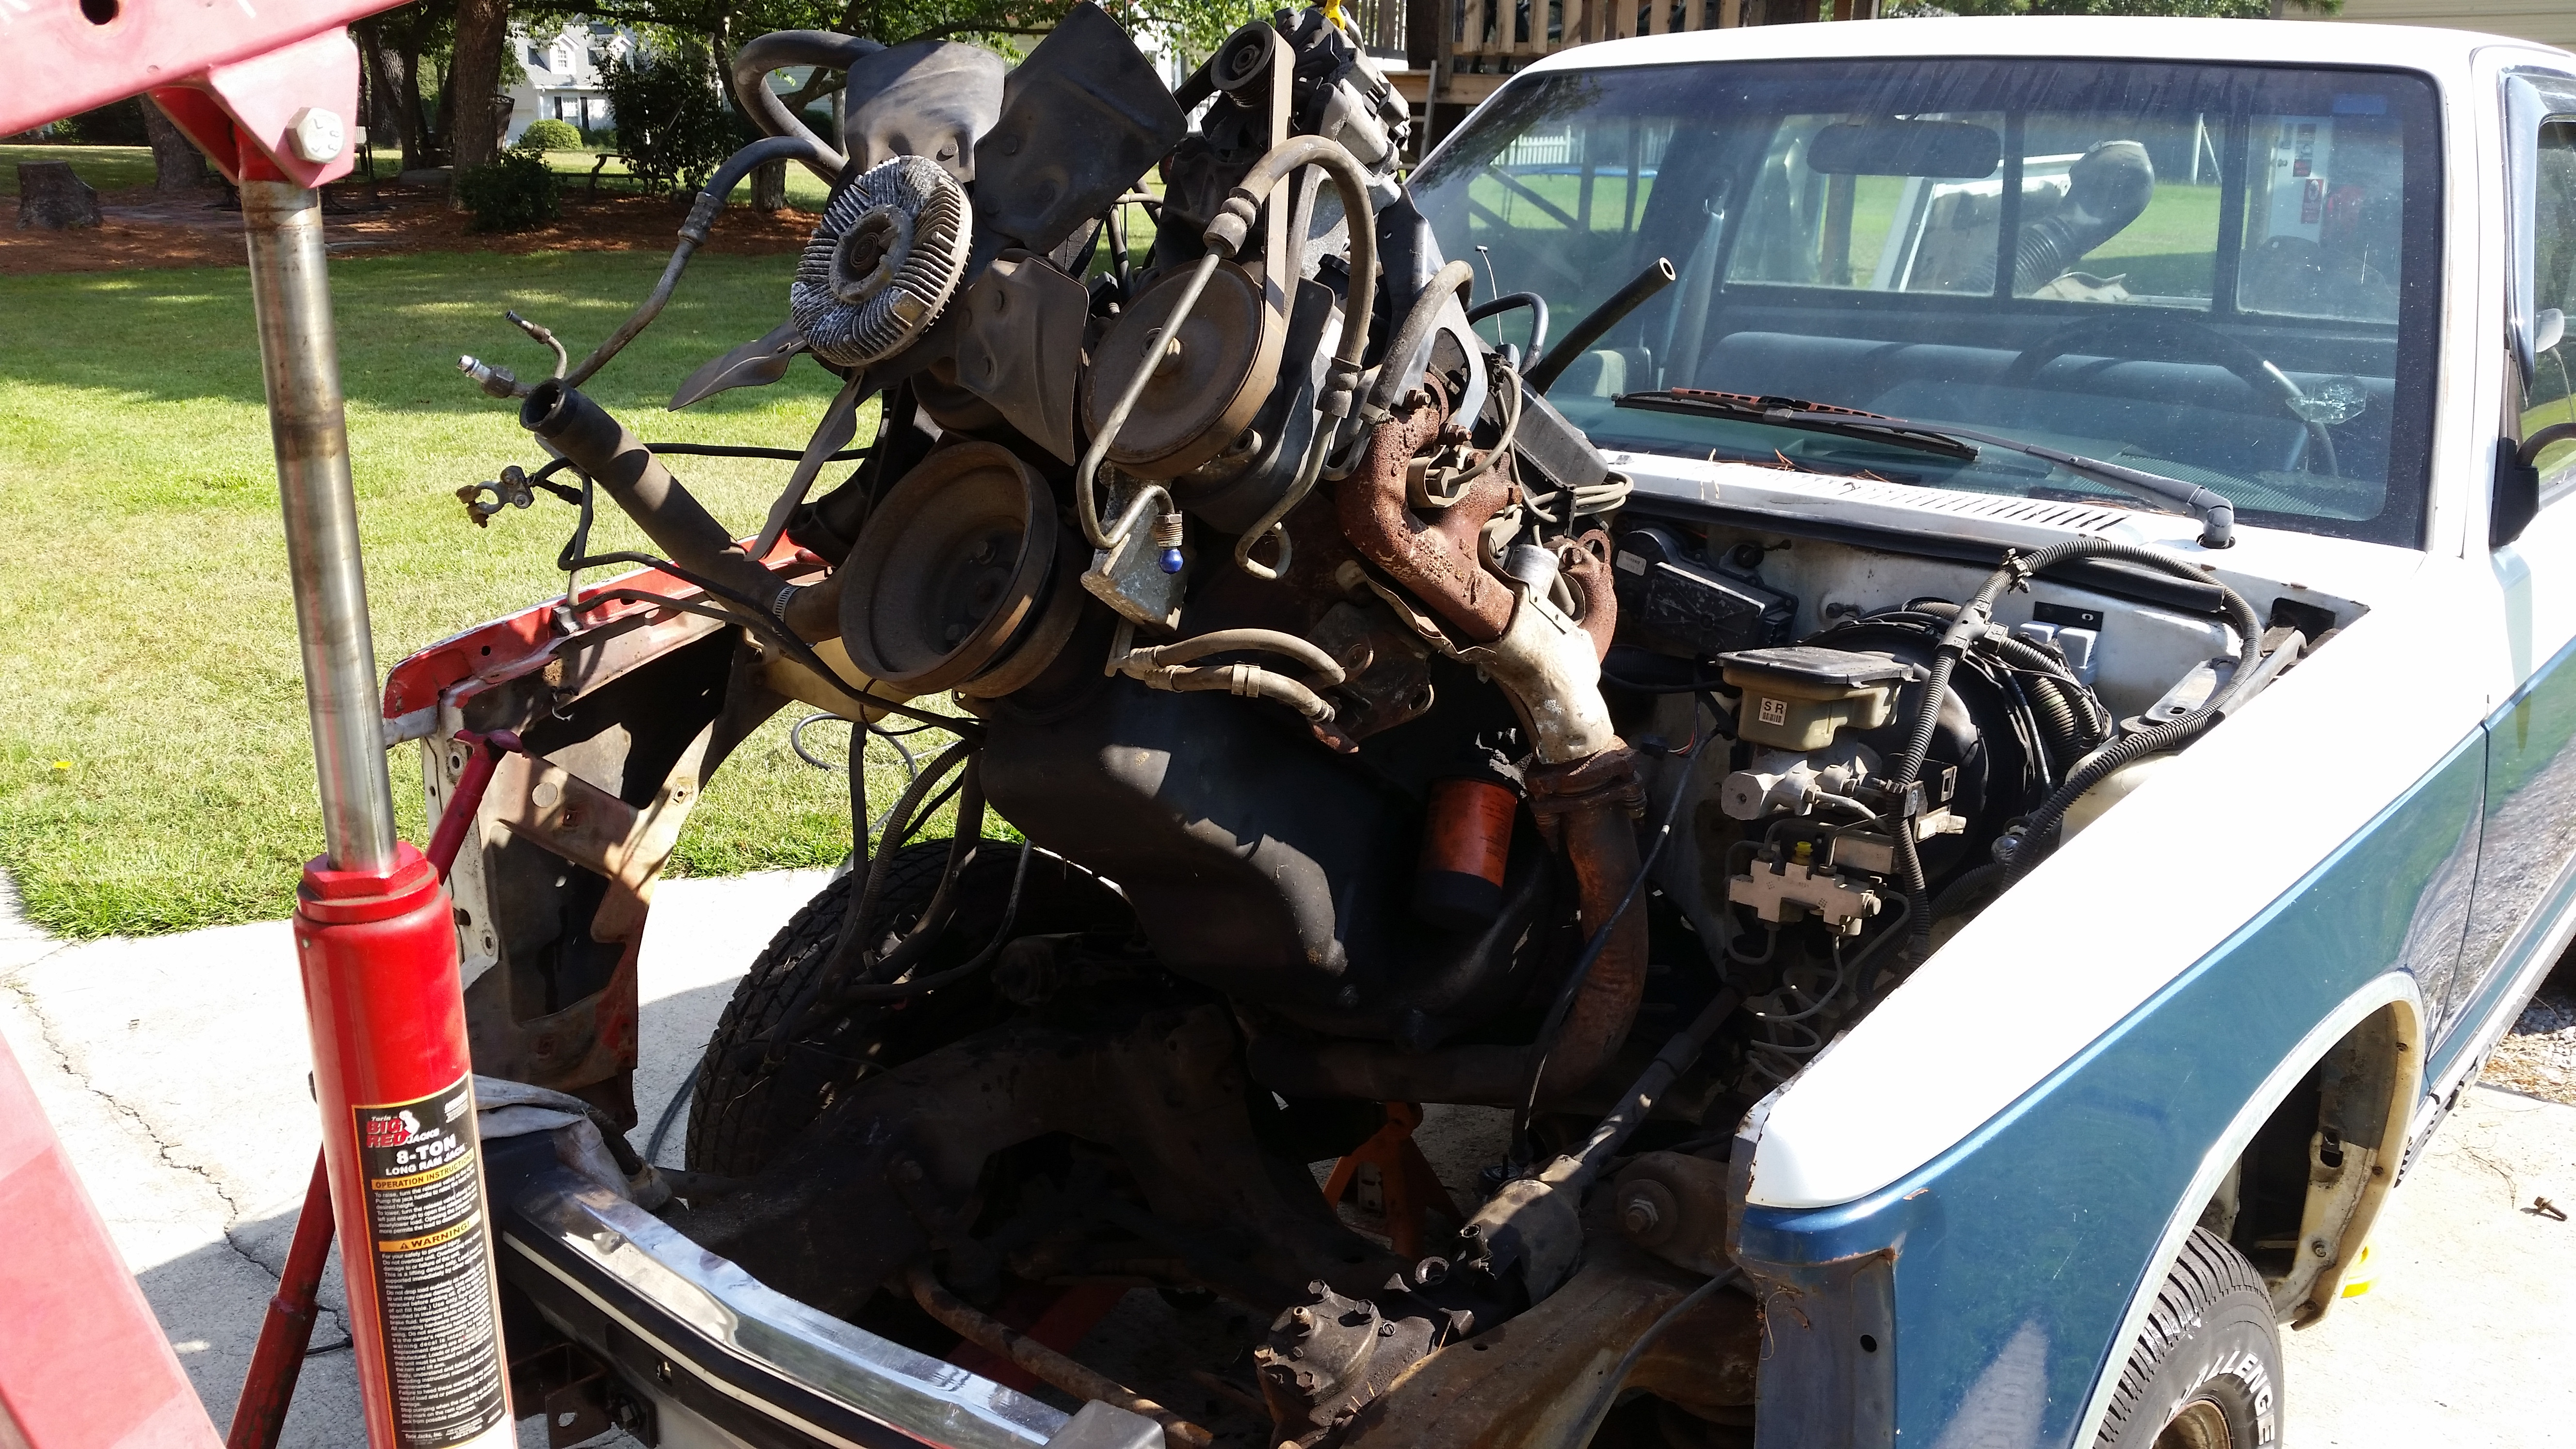
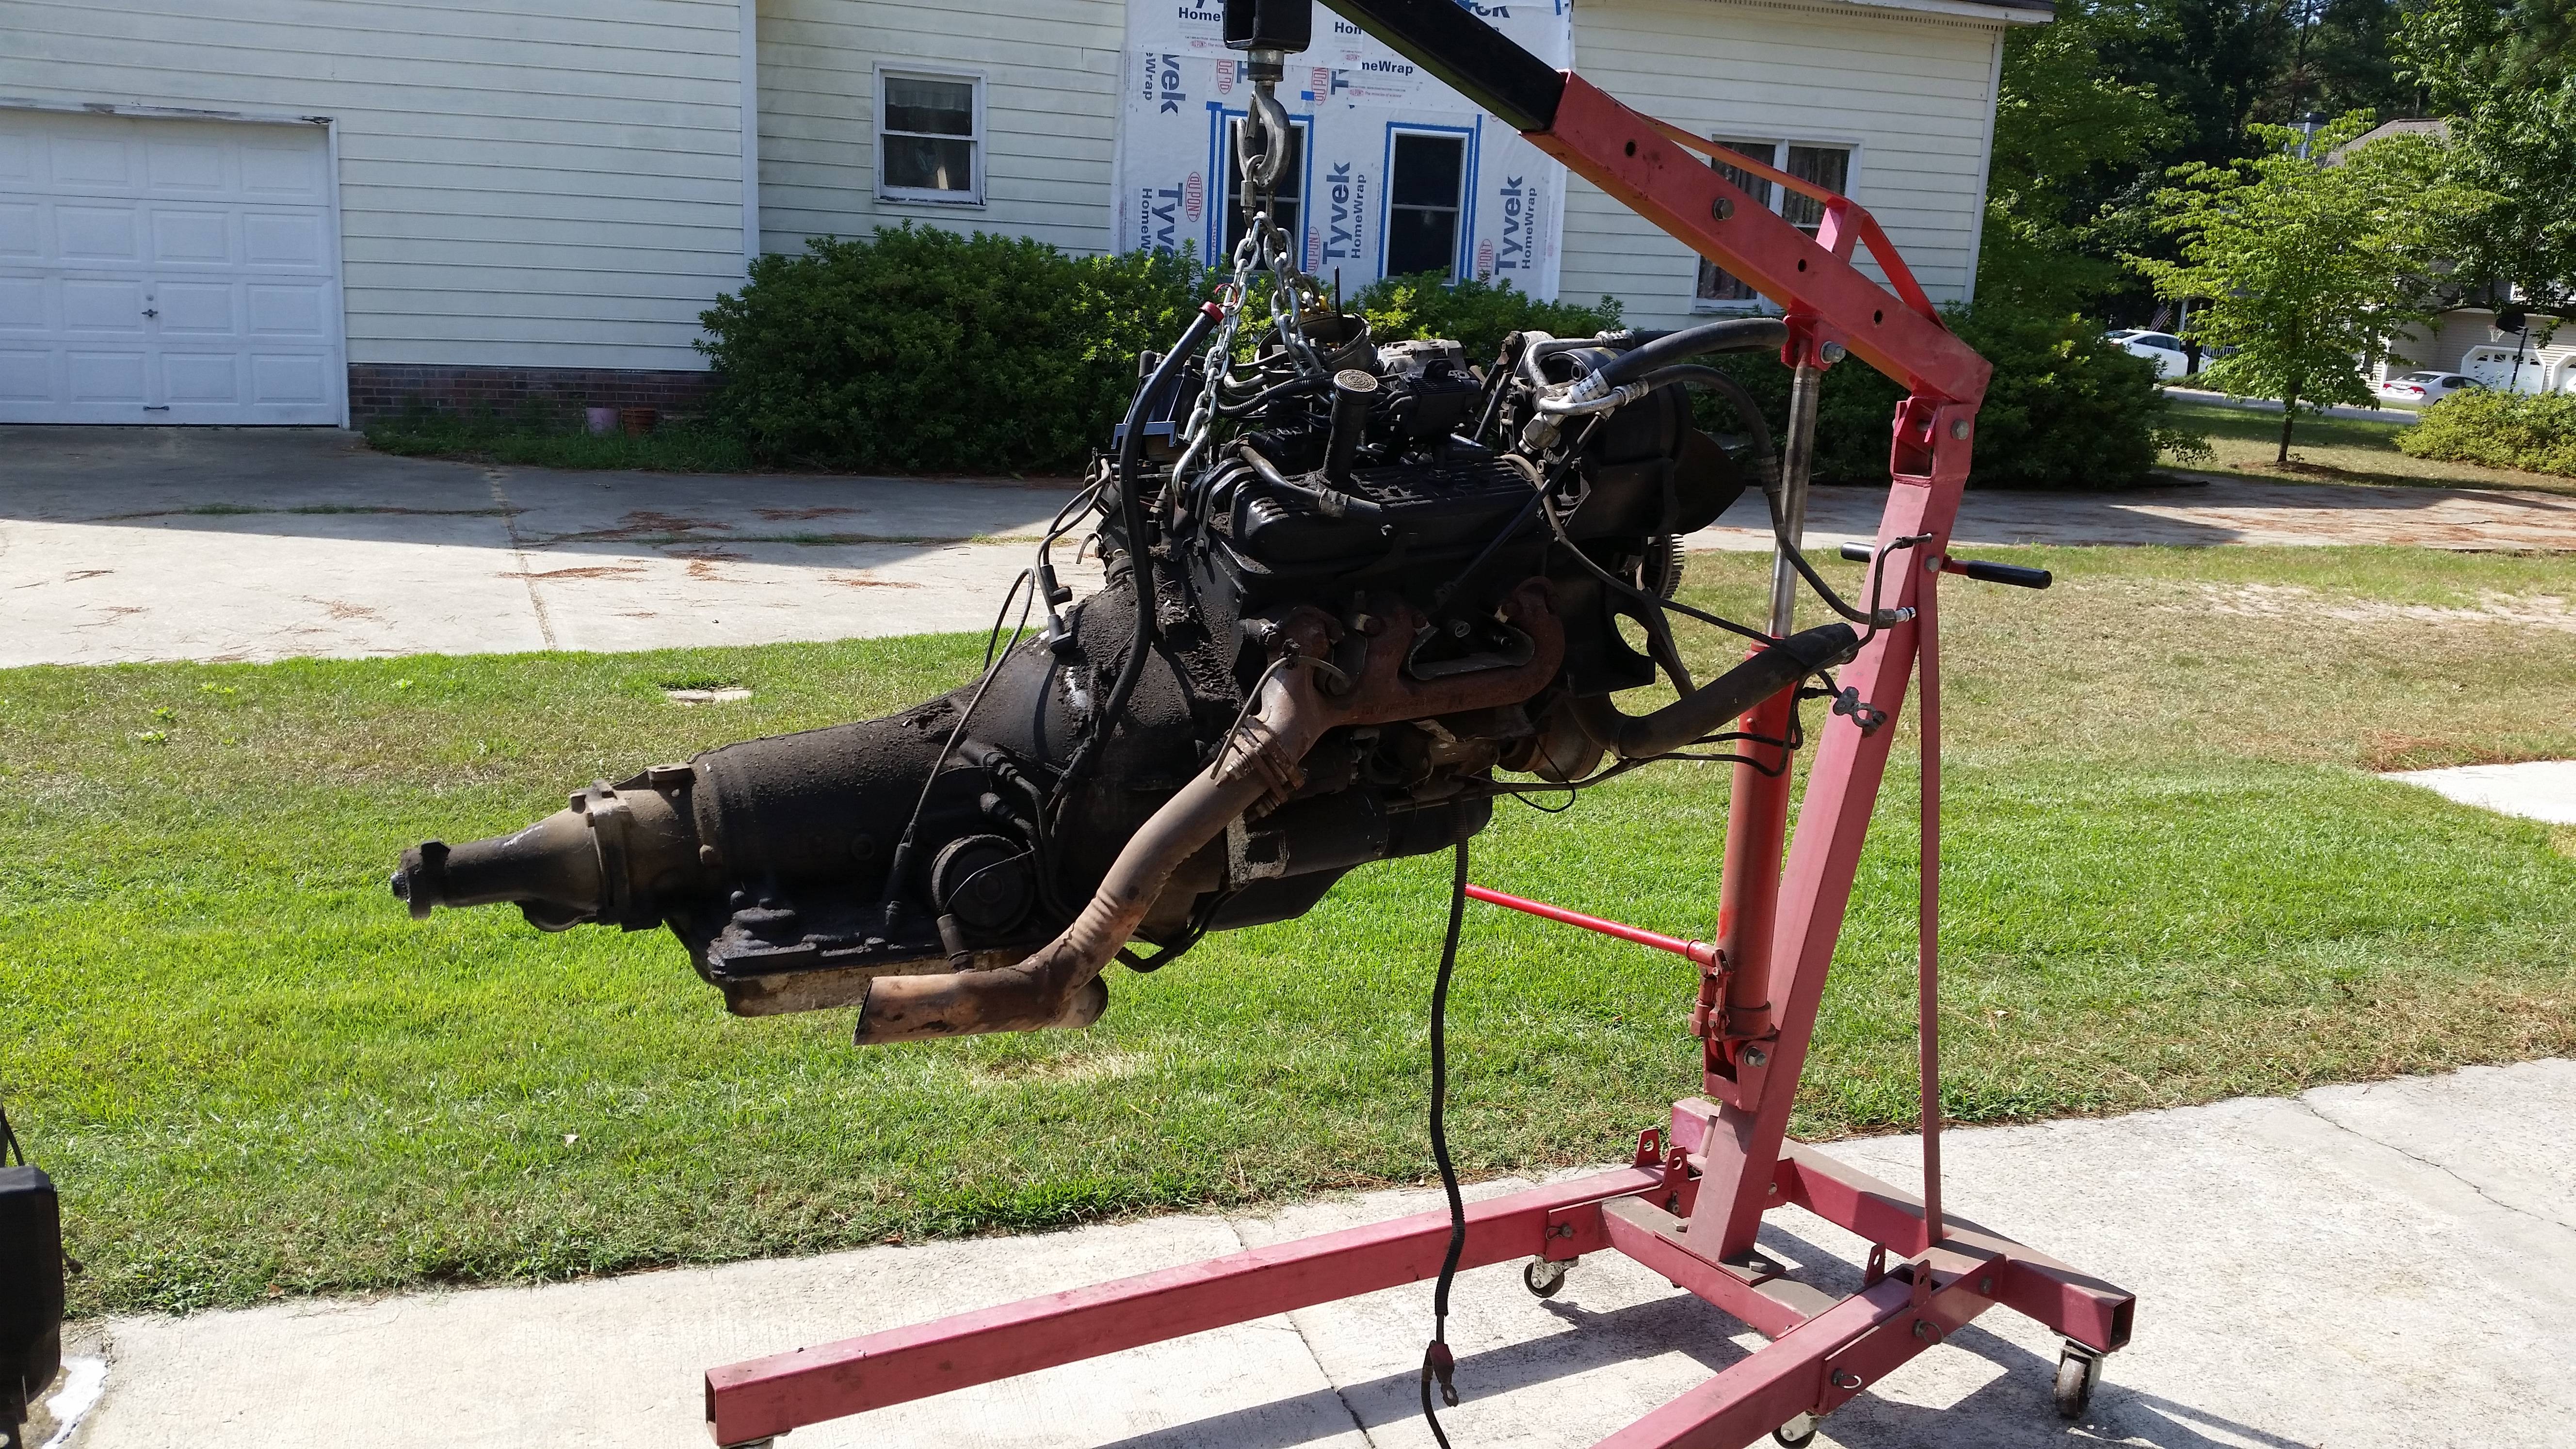
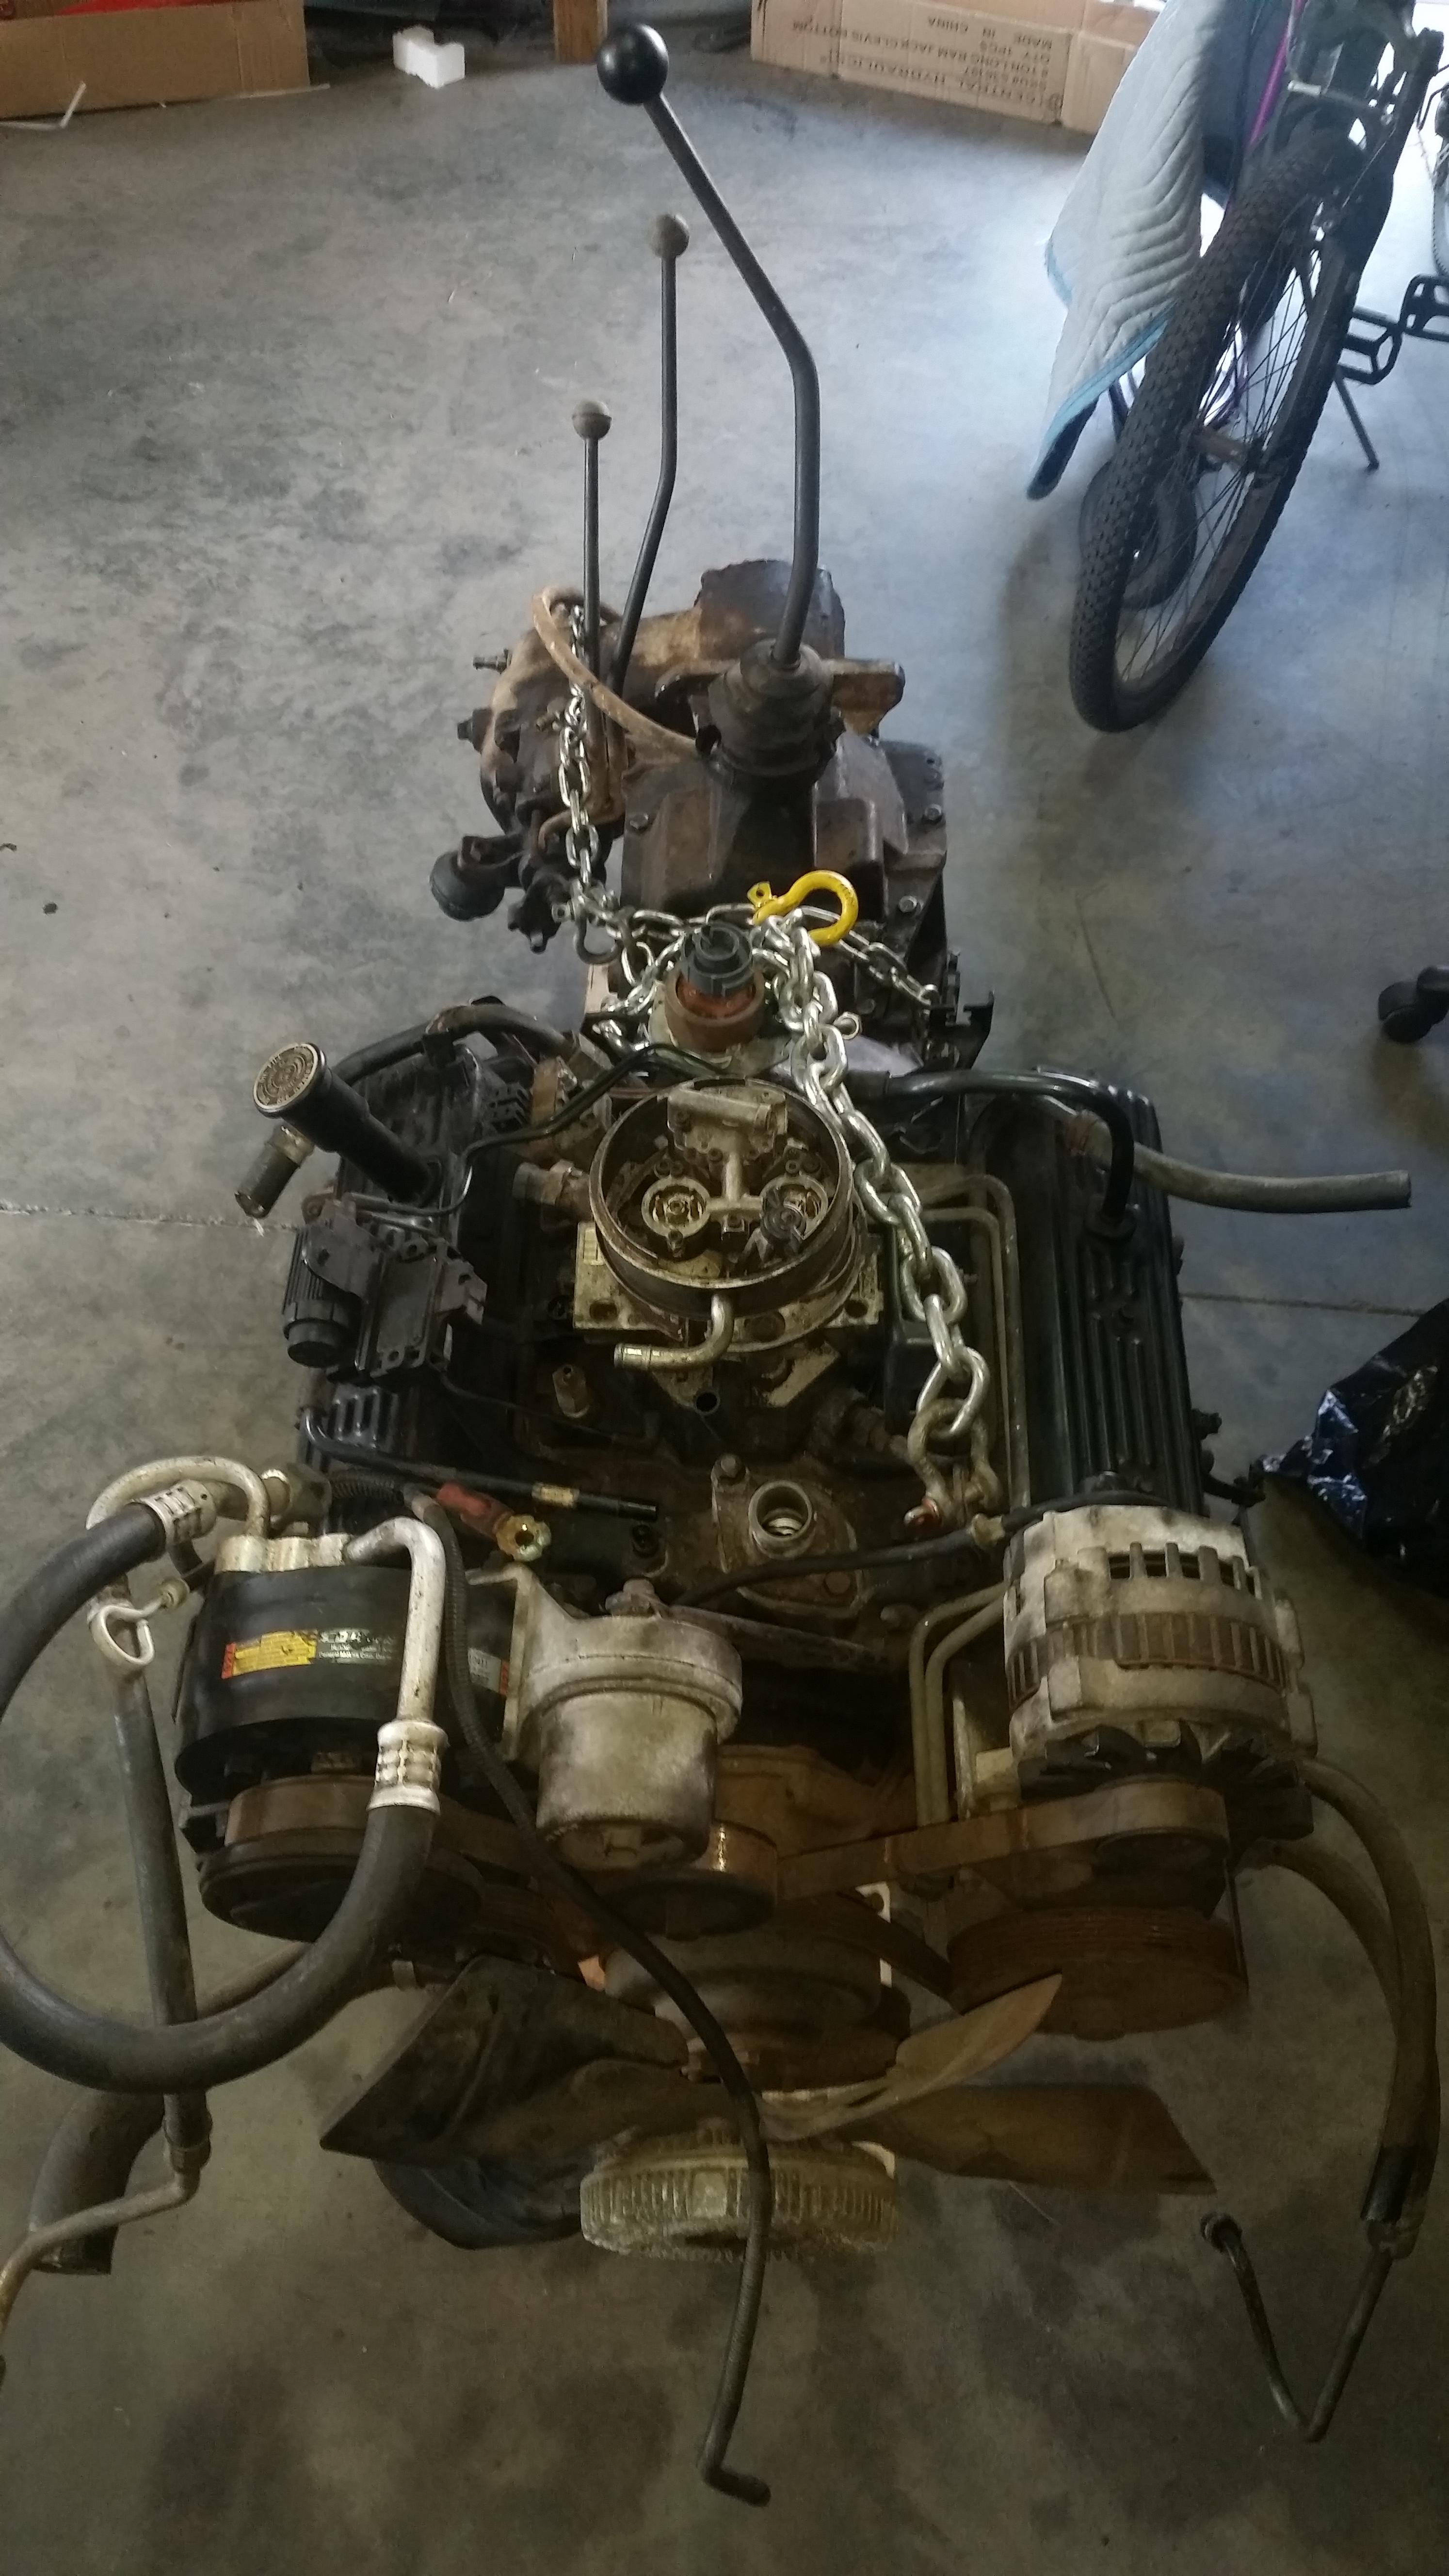
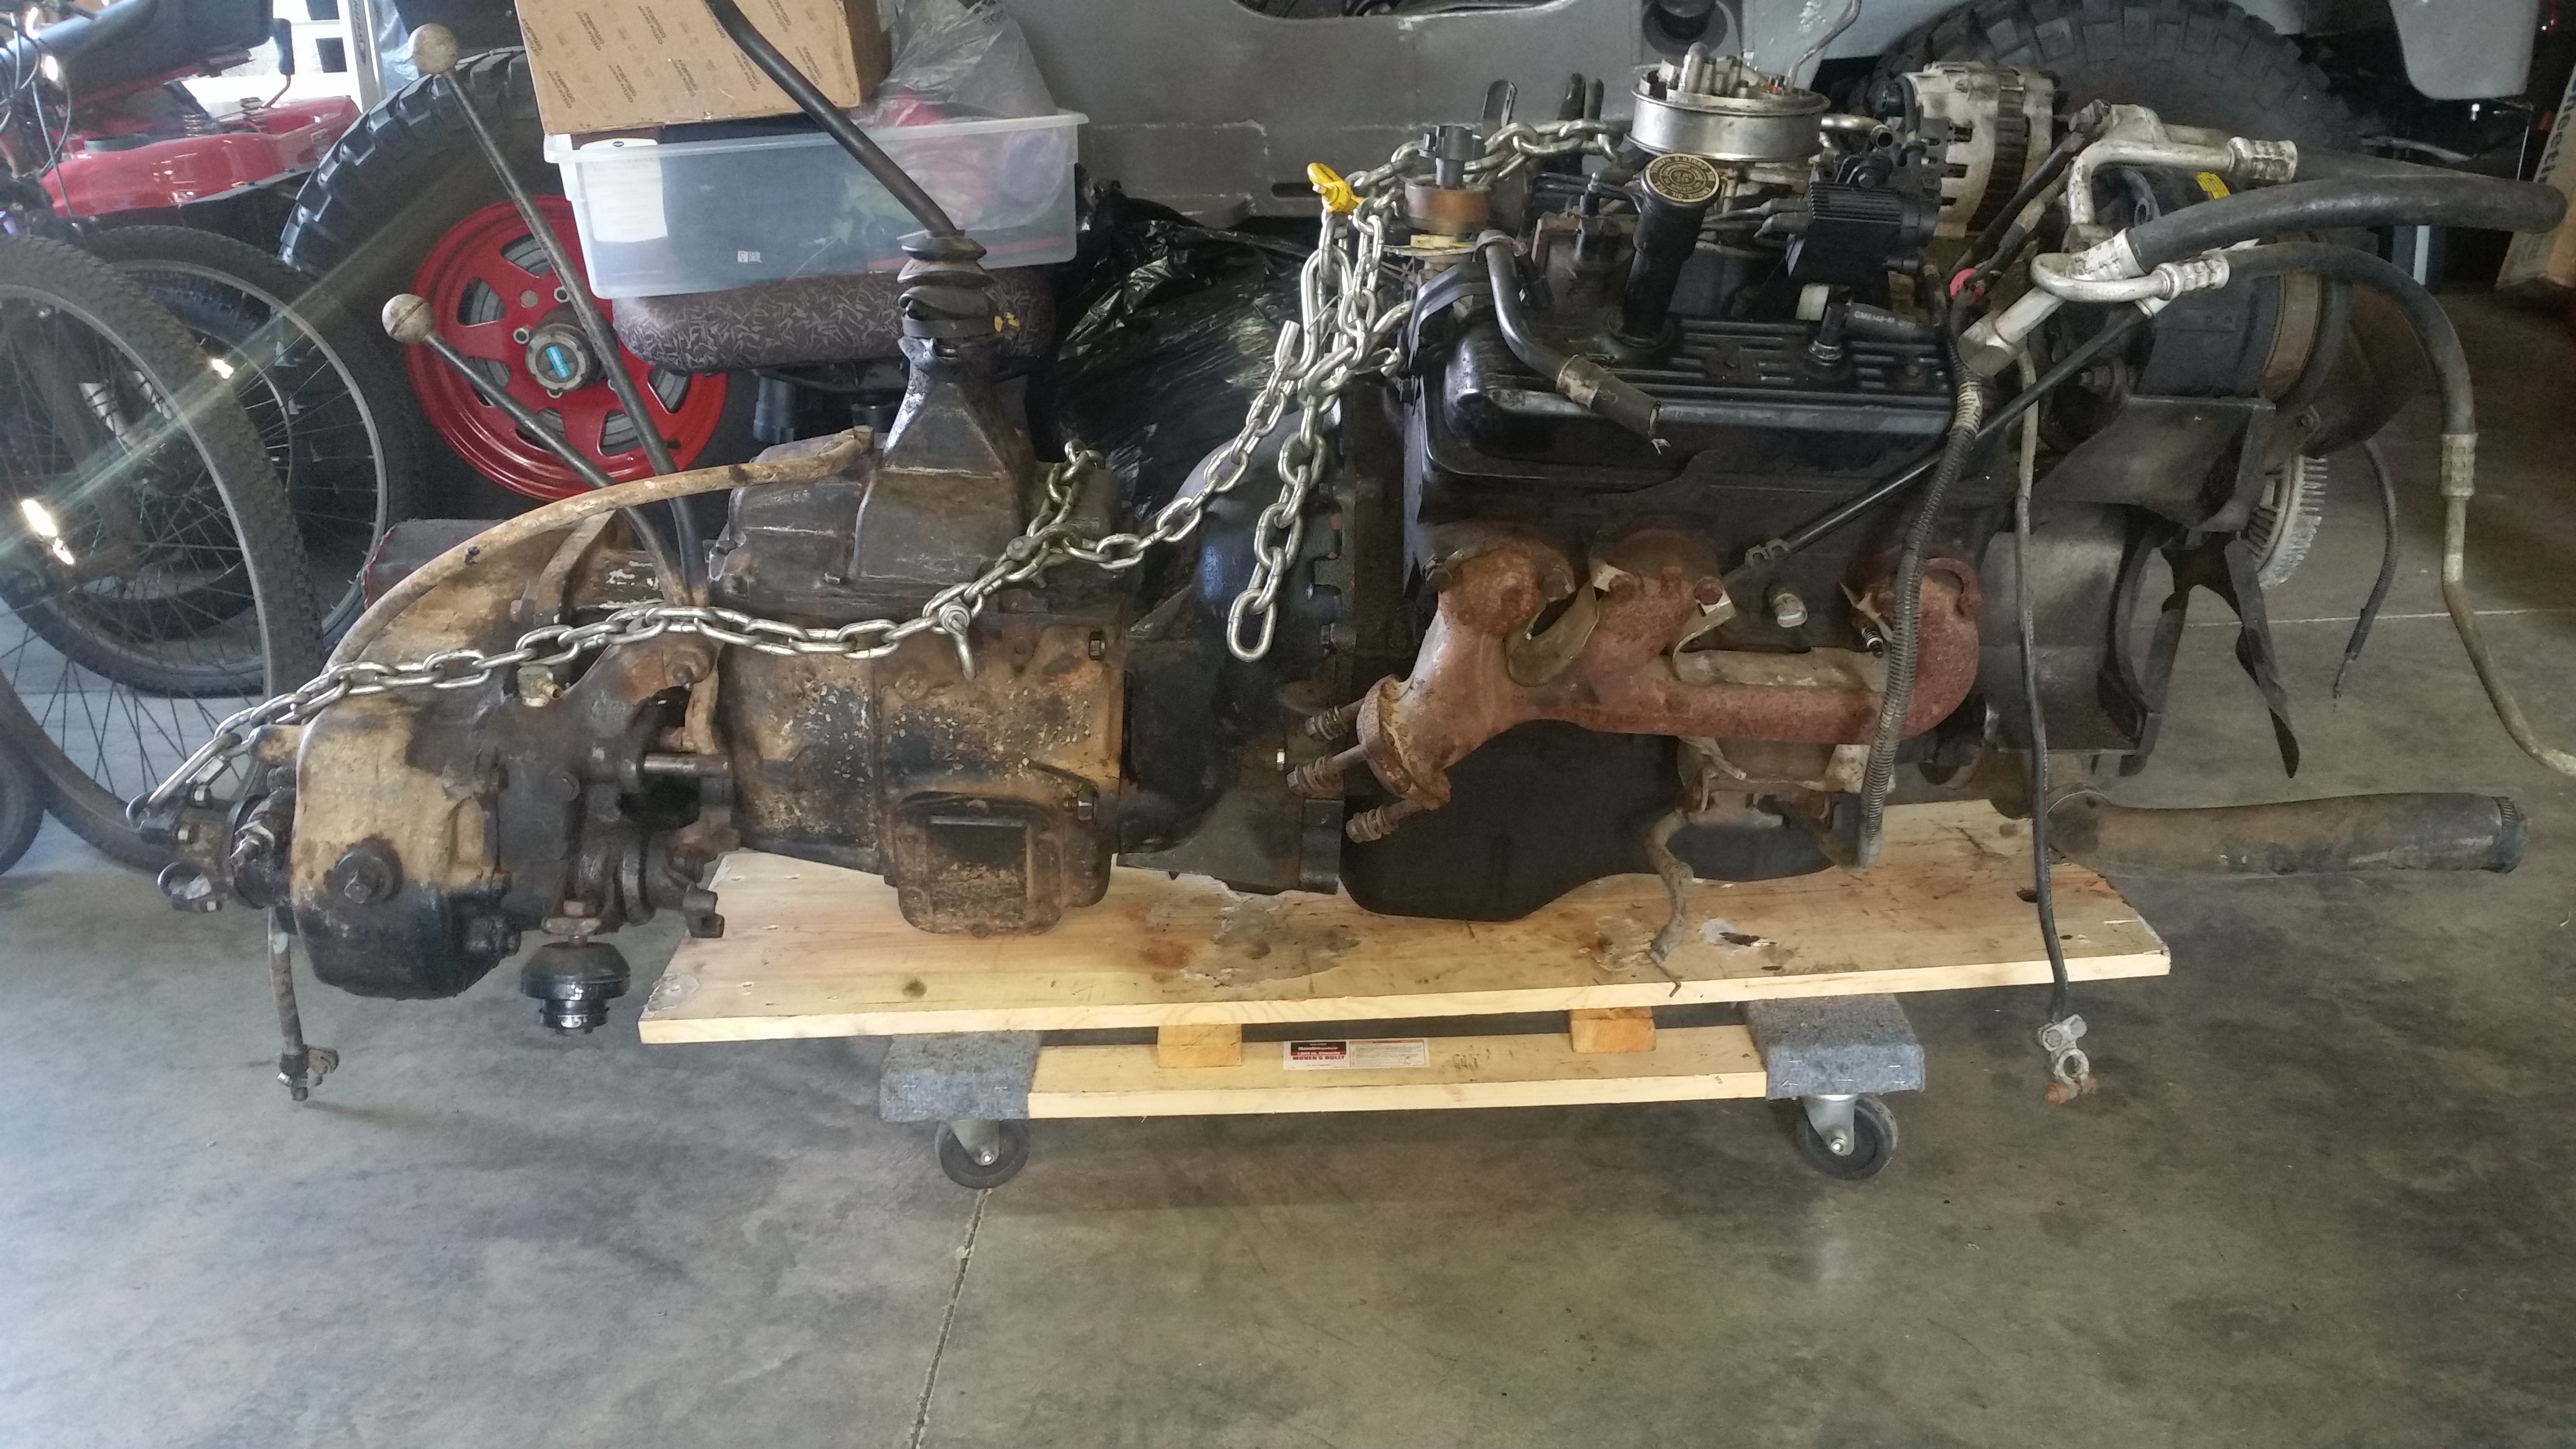
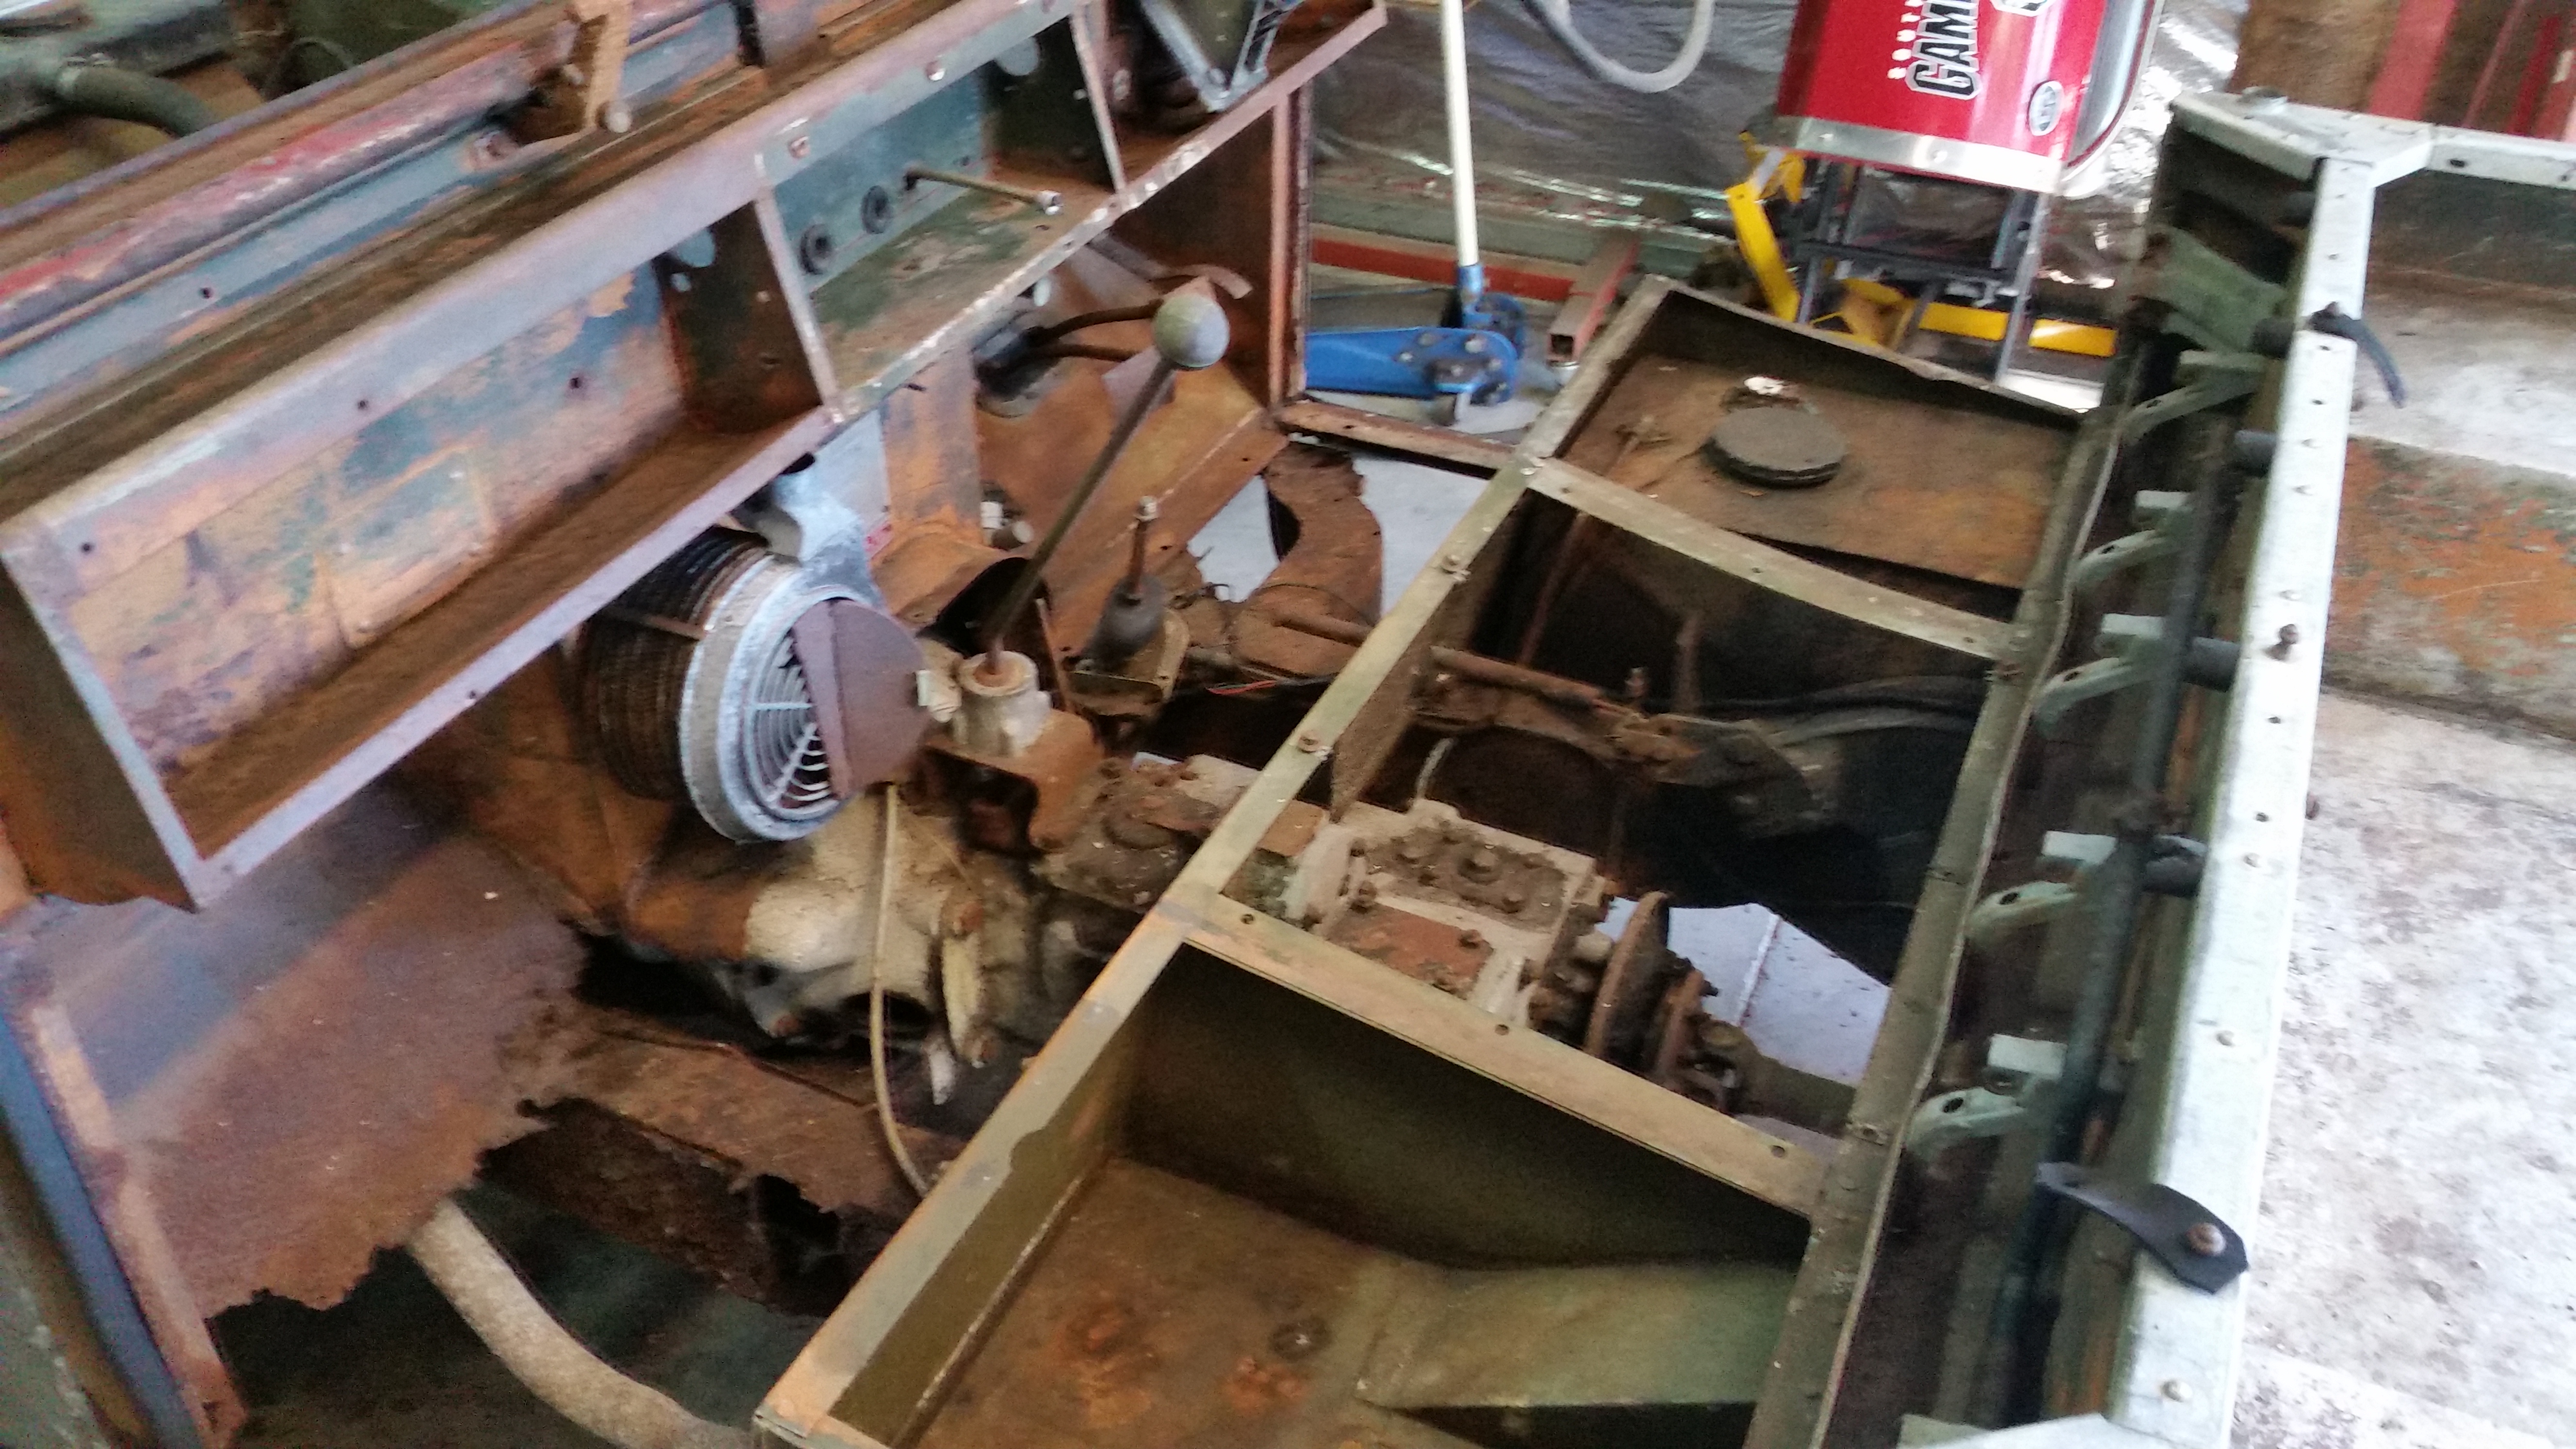
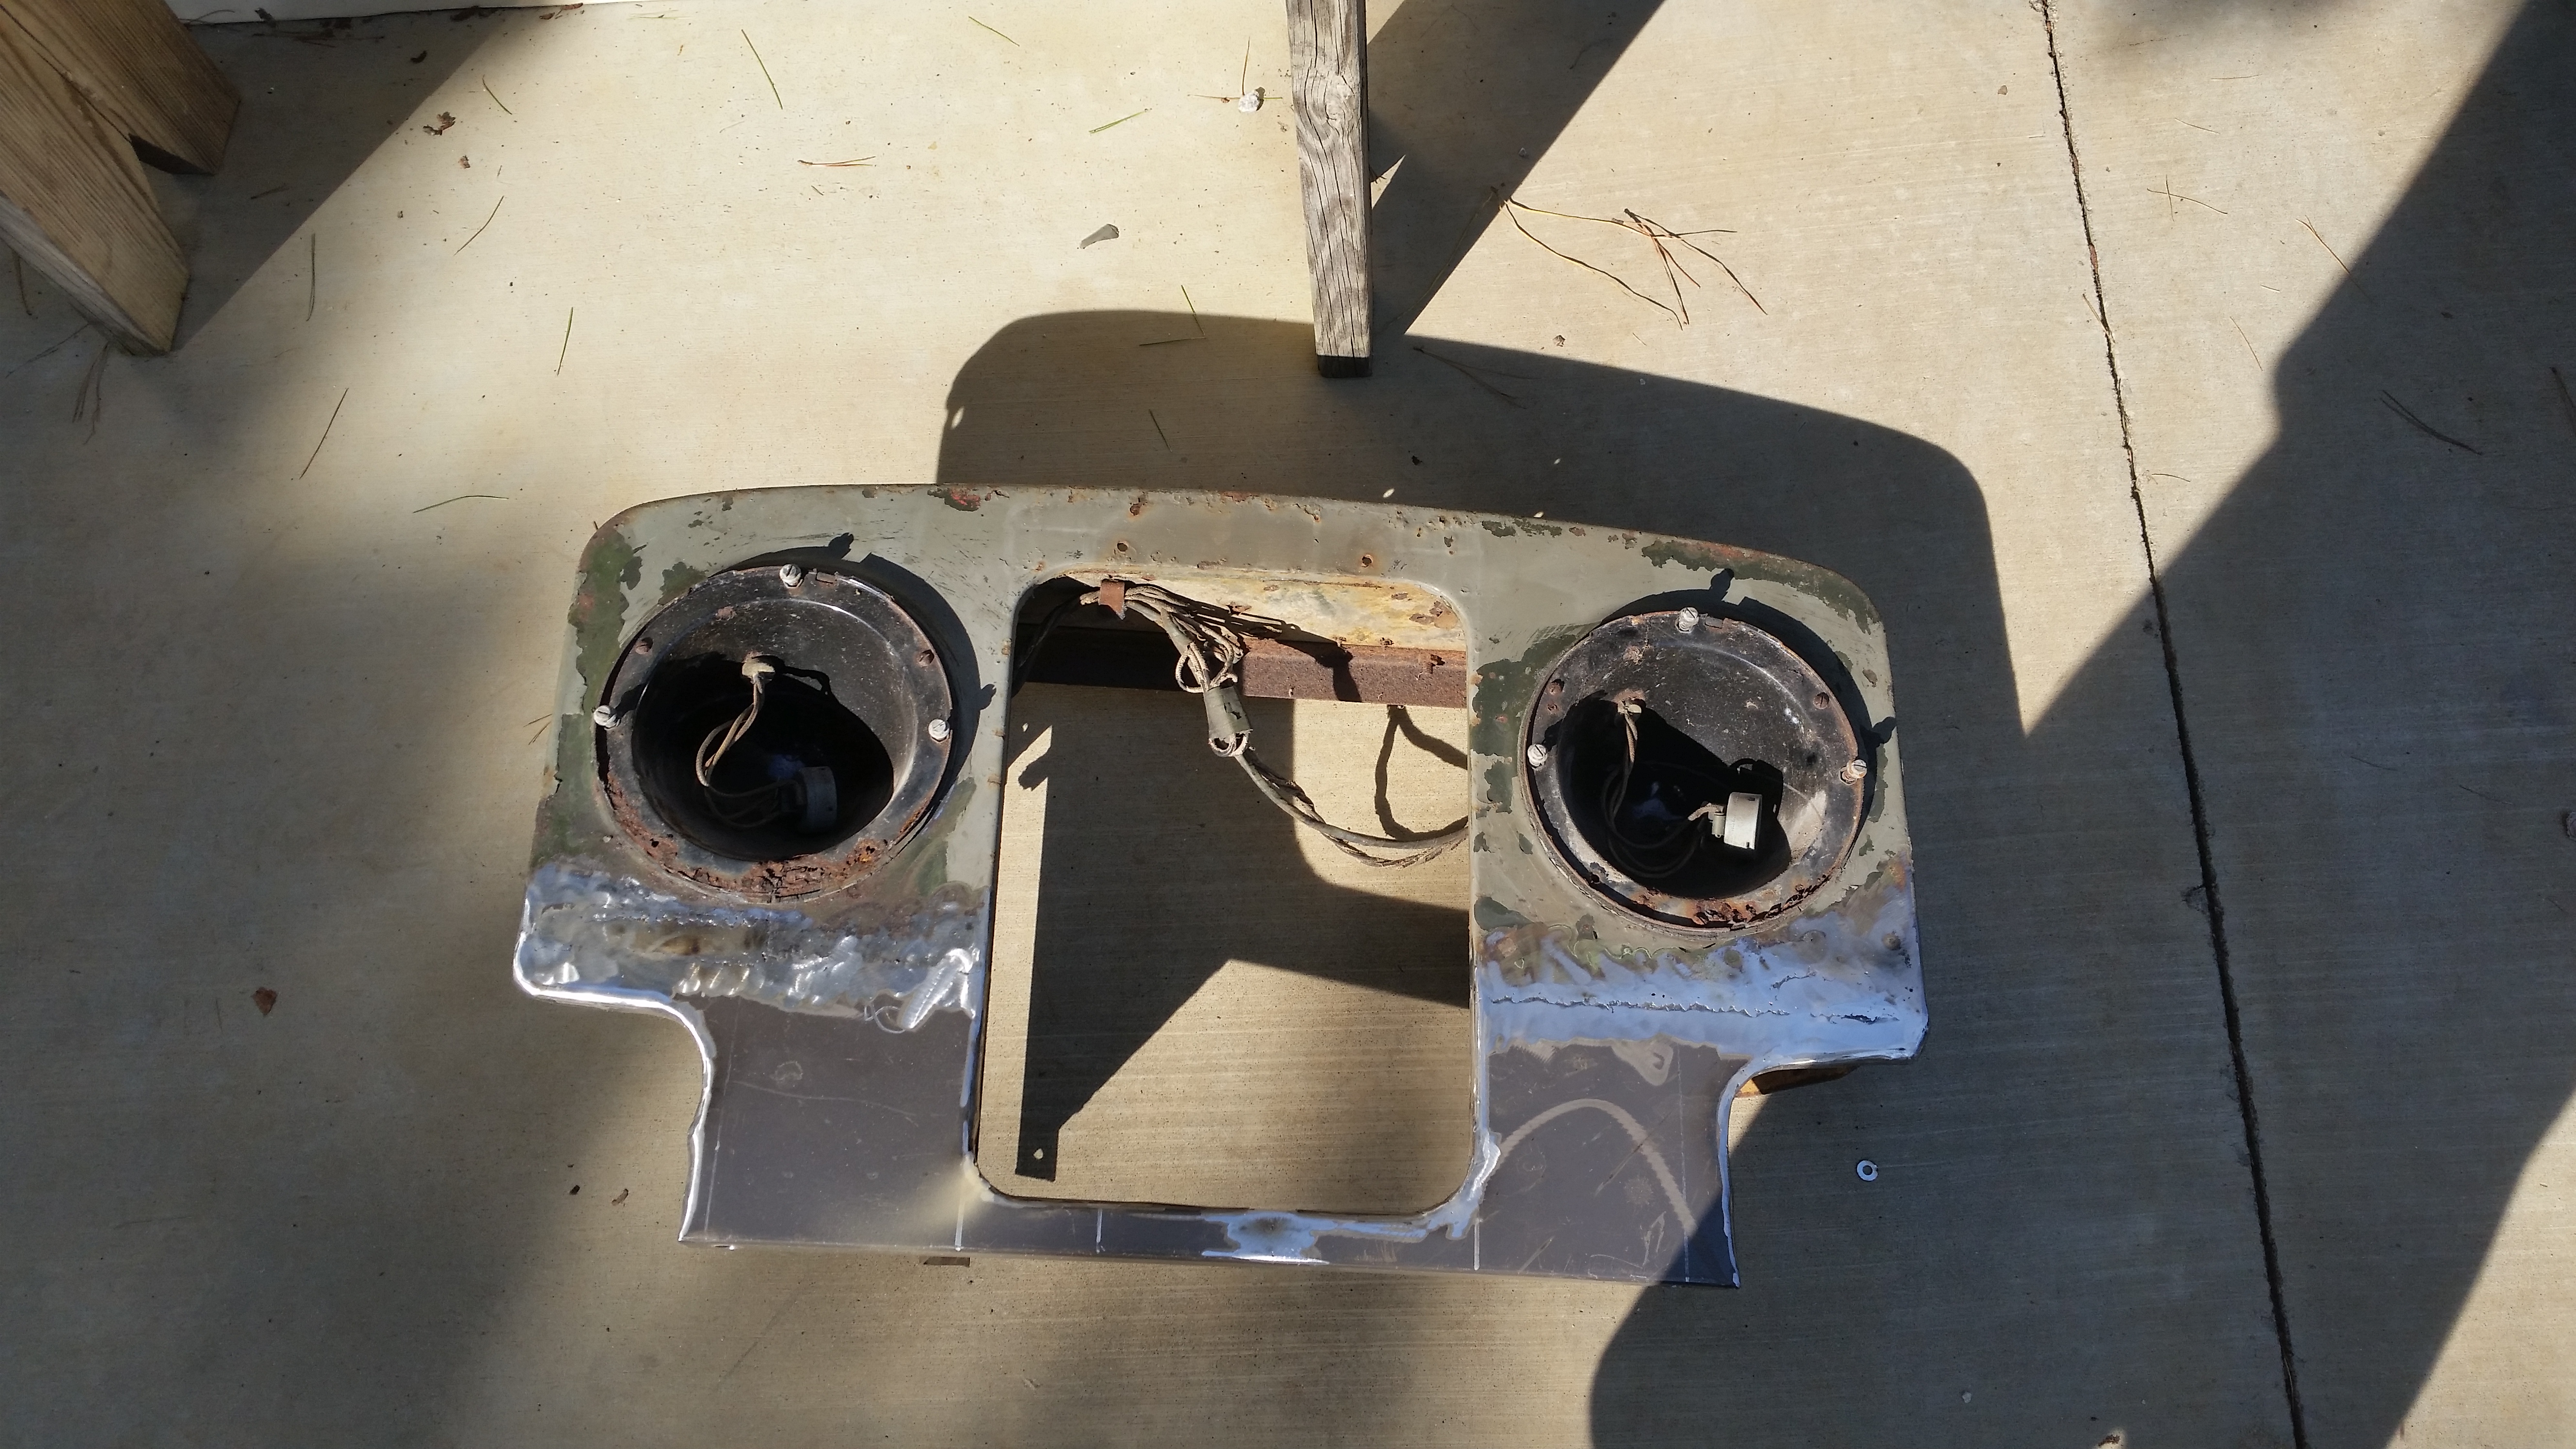
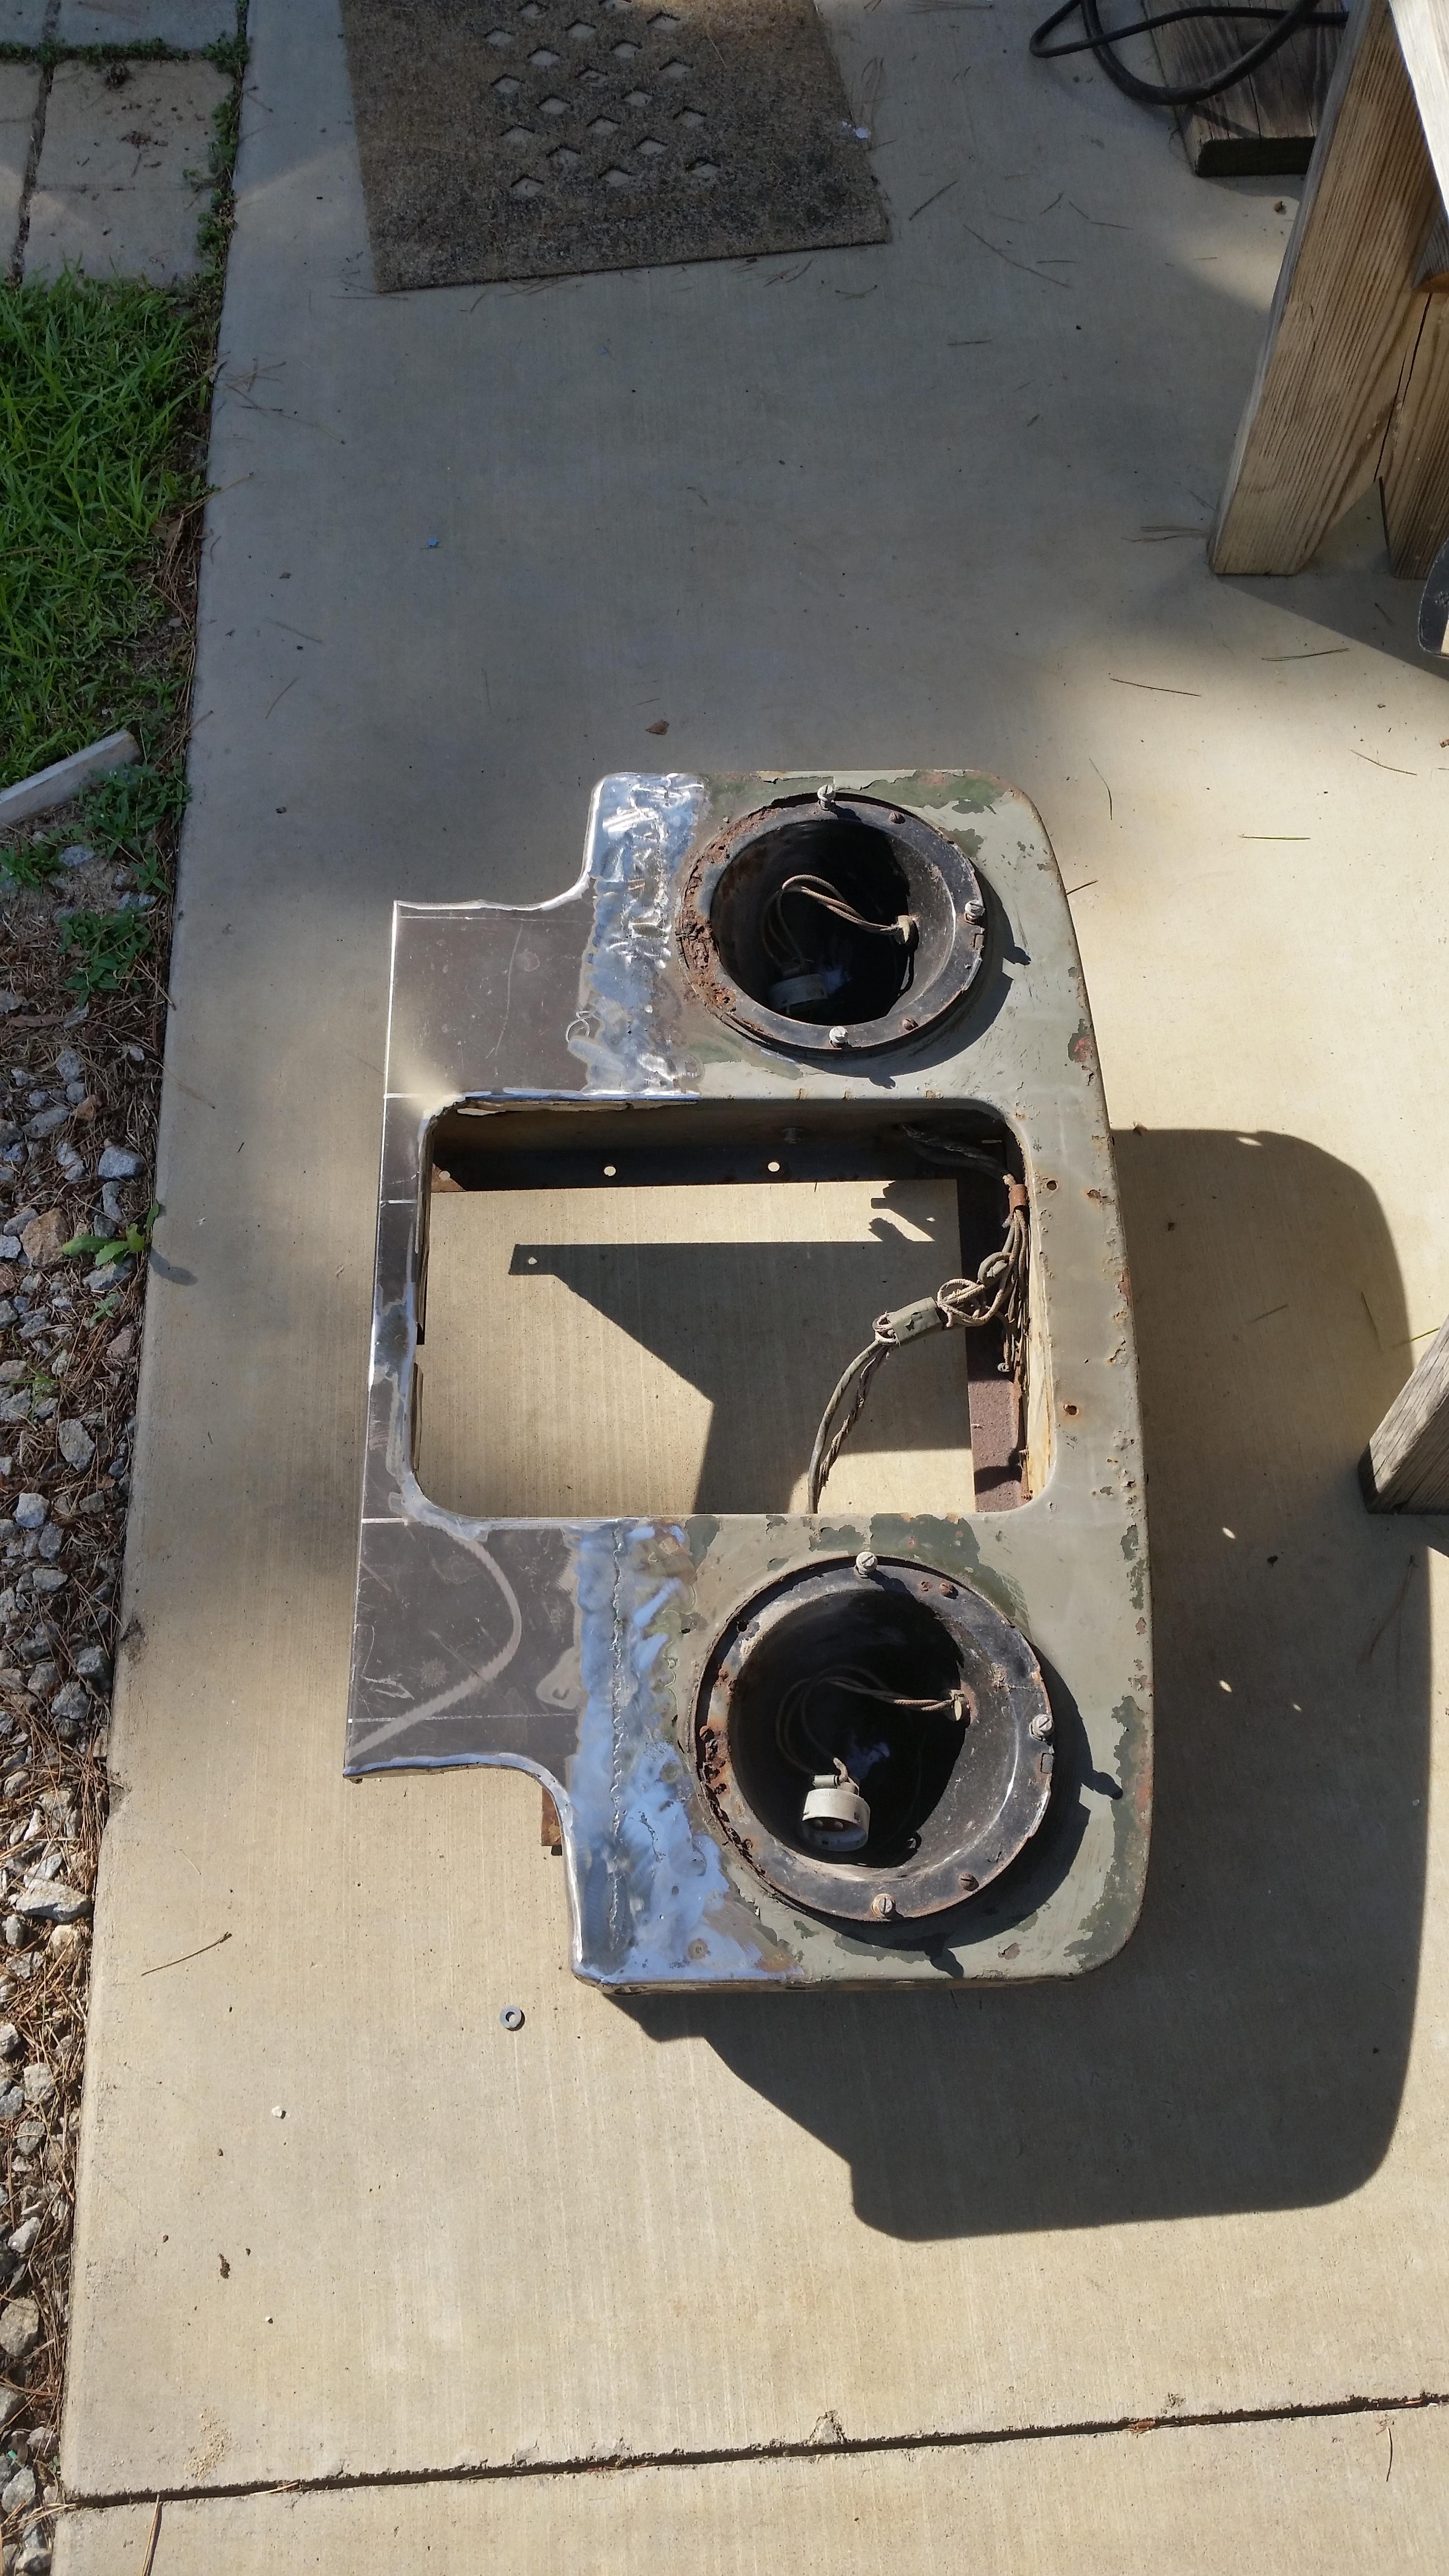
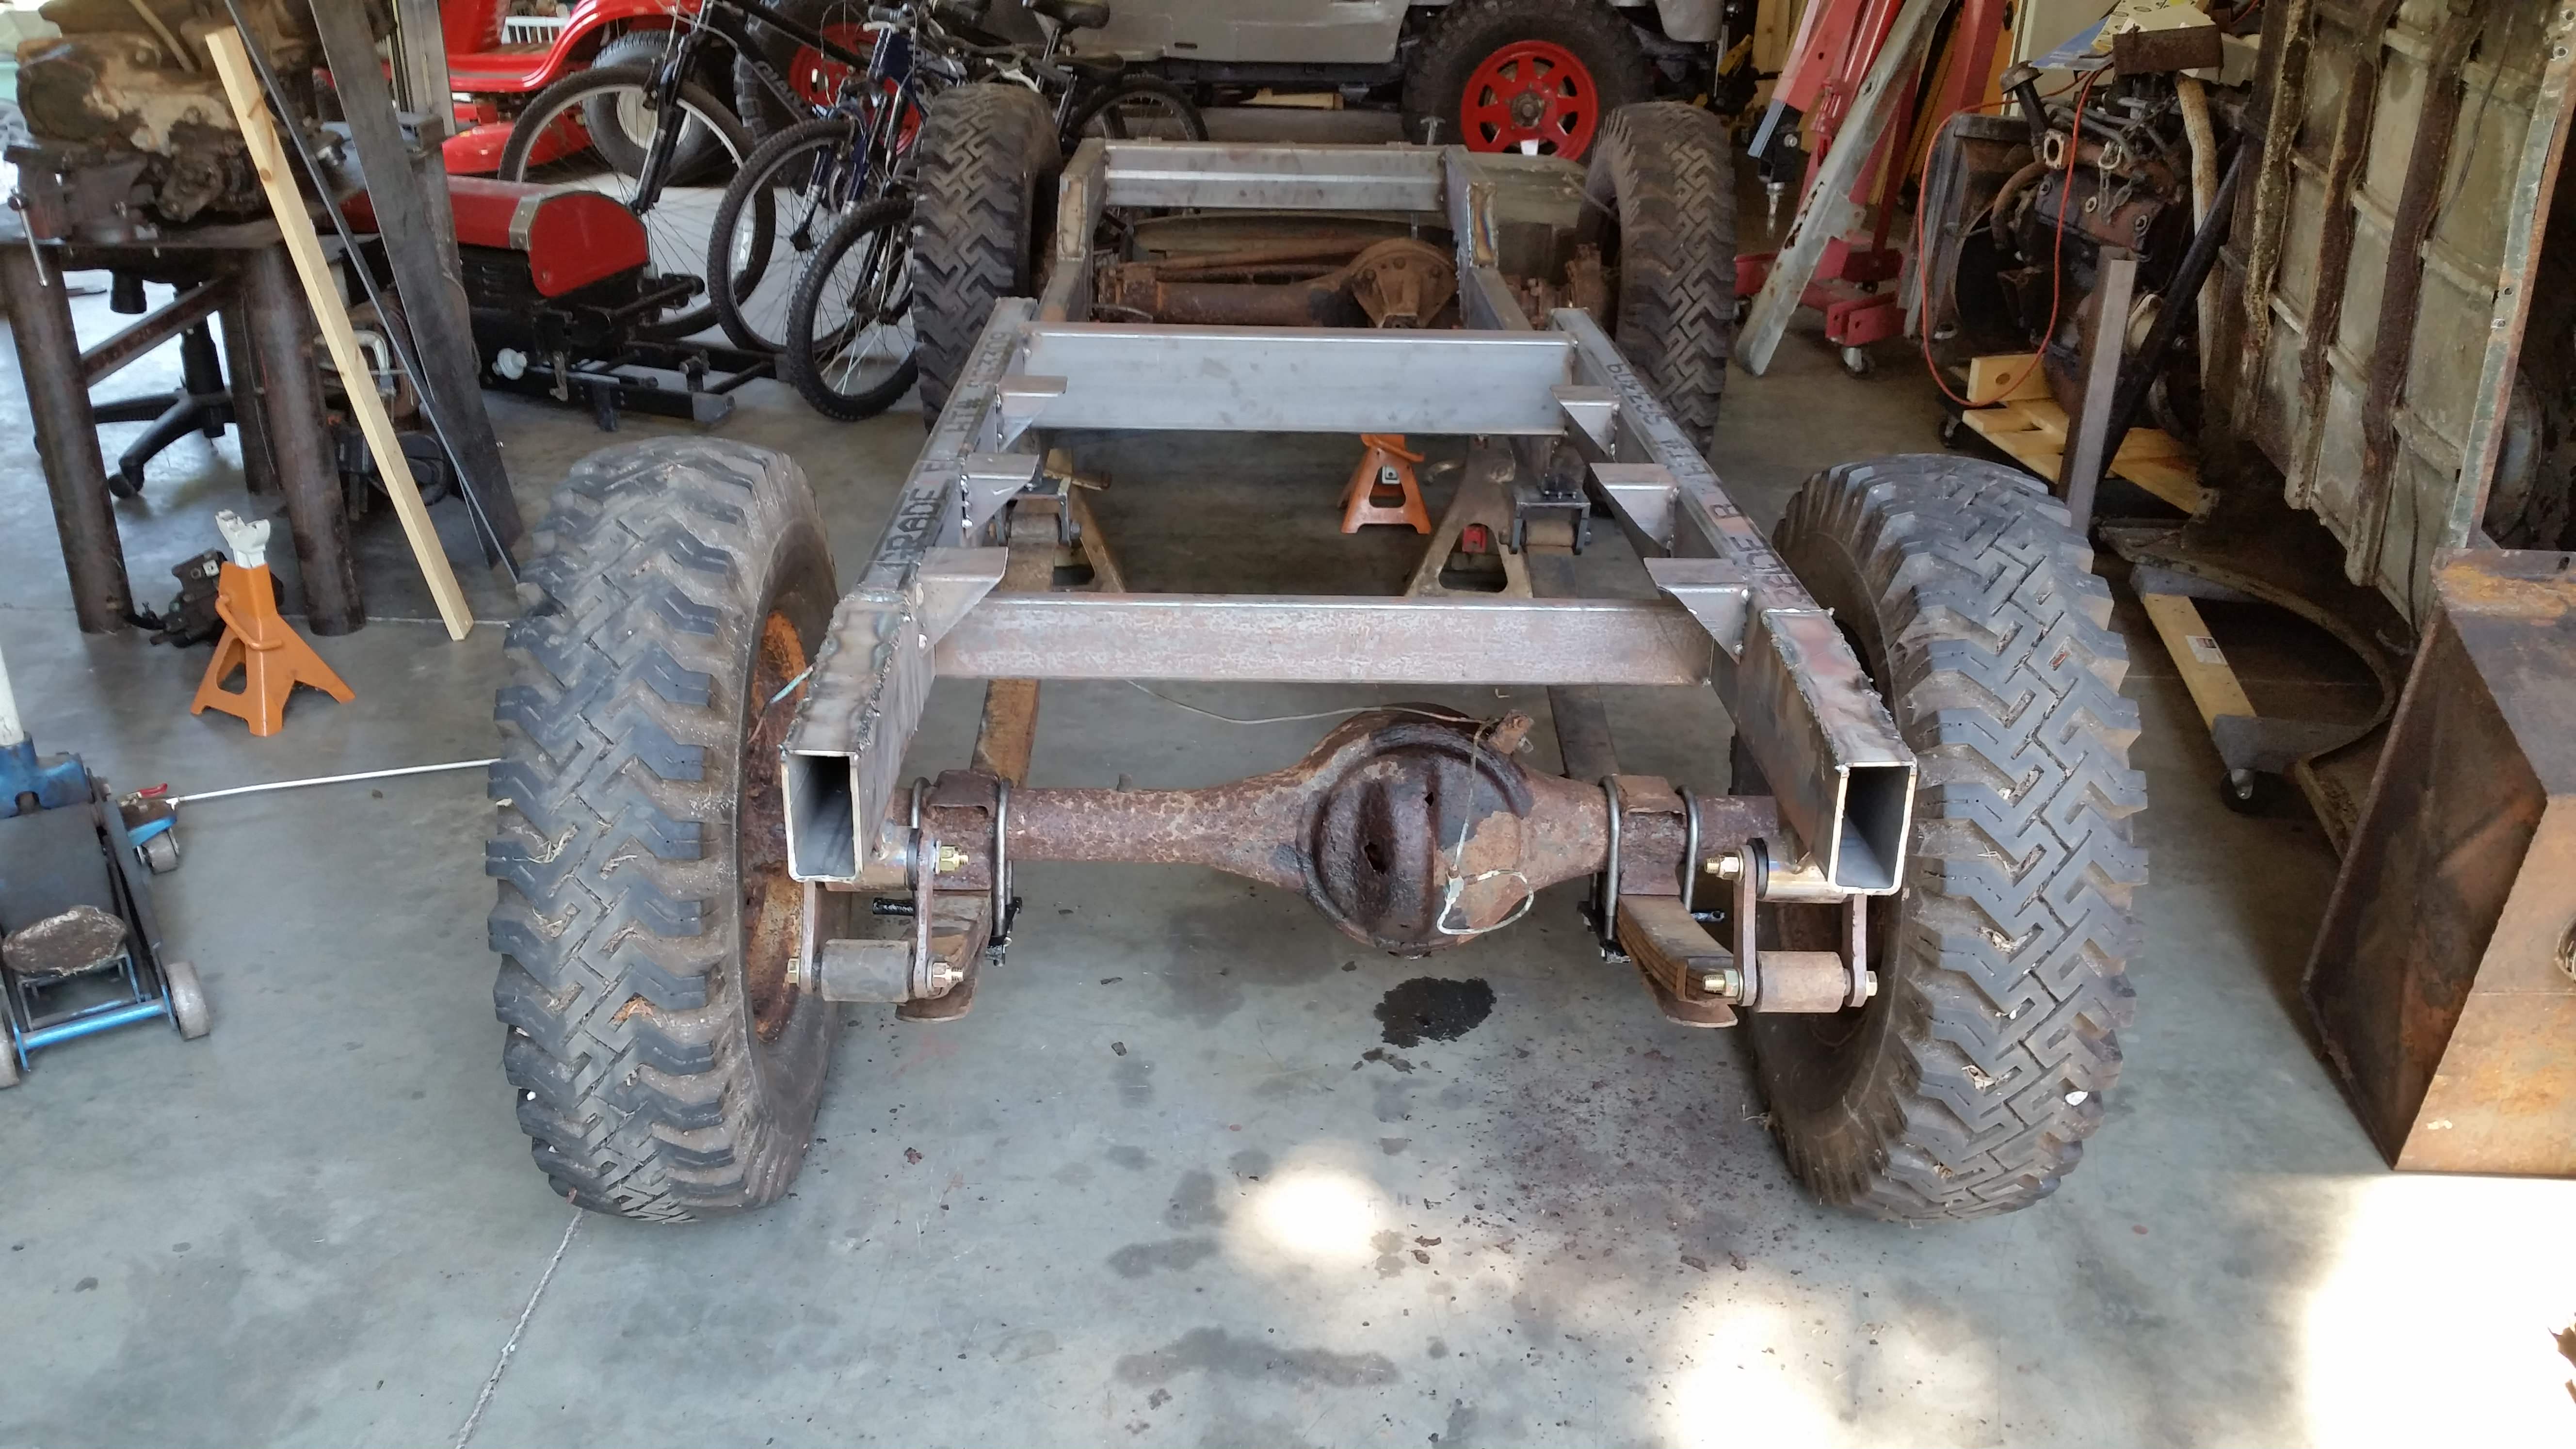
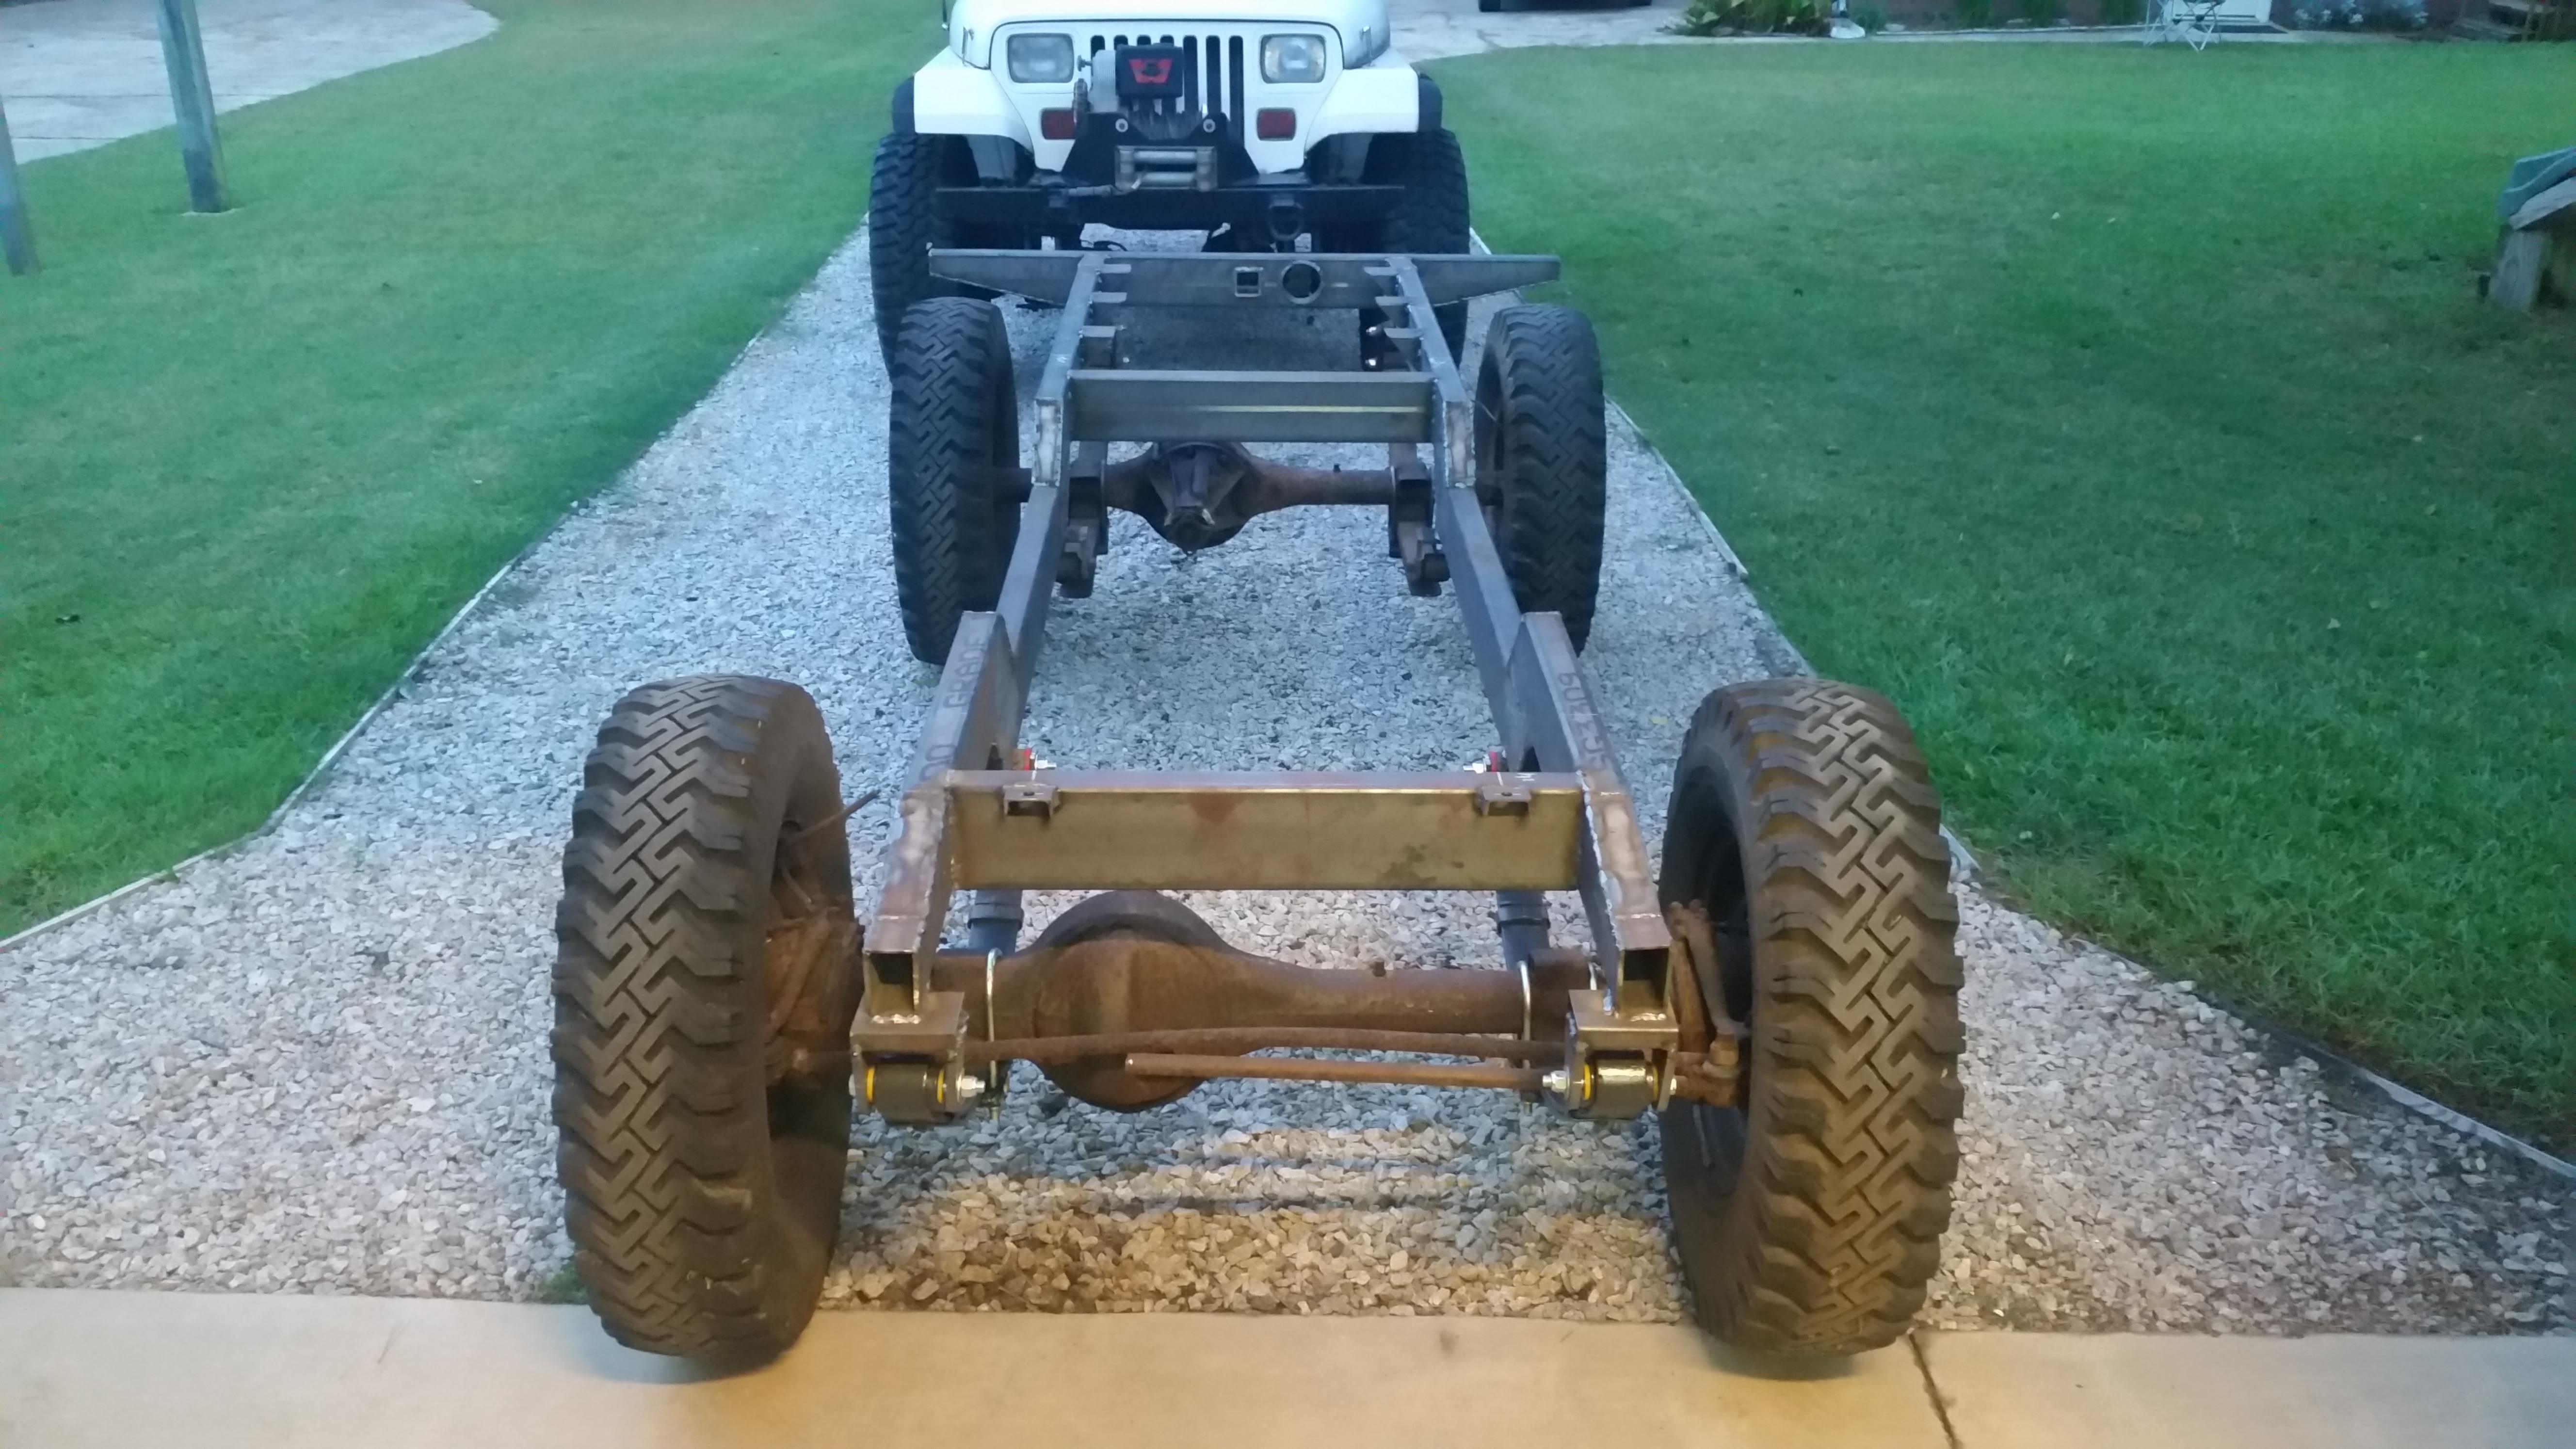
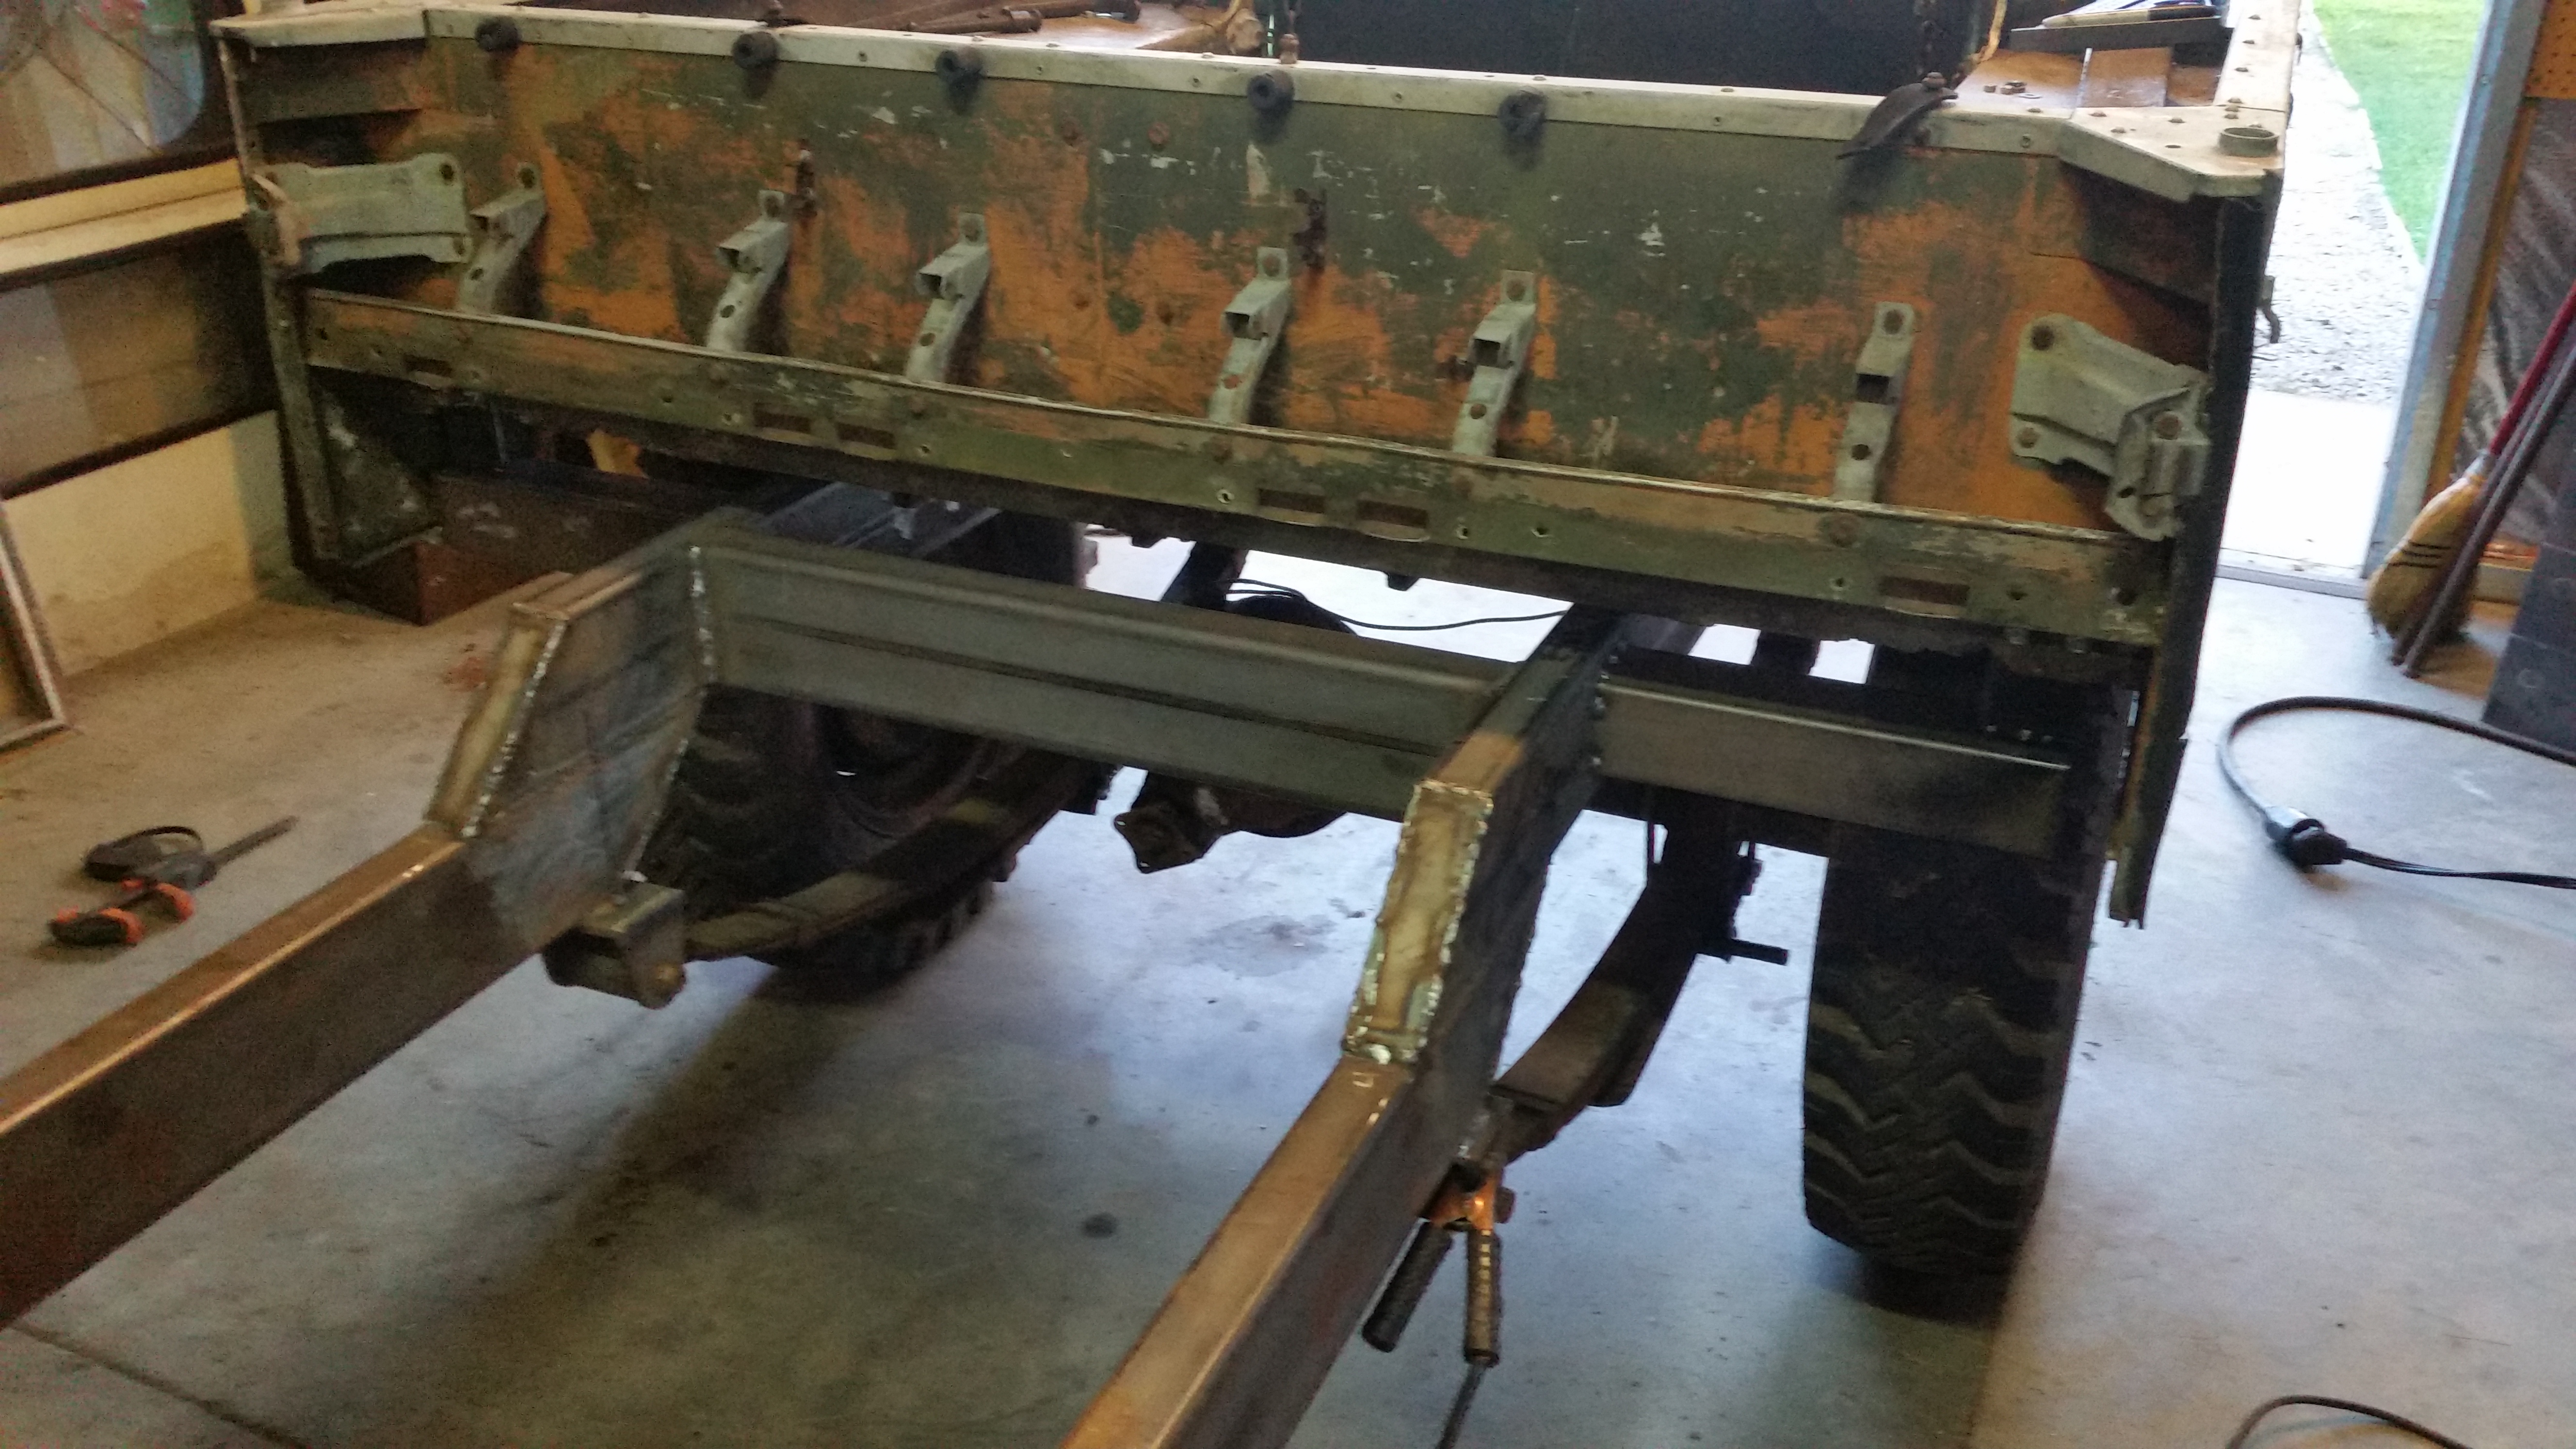
I pulled it apart
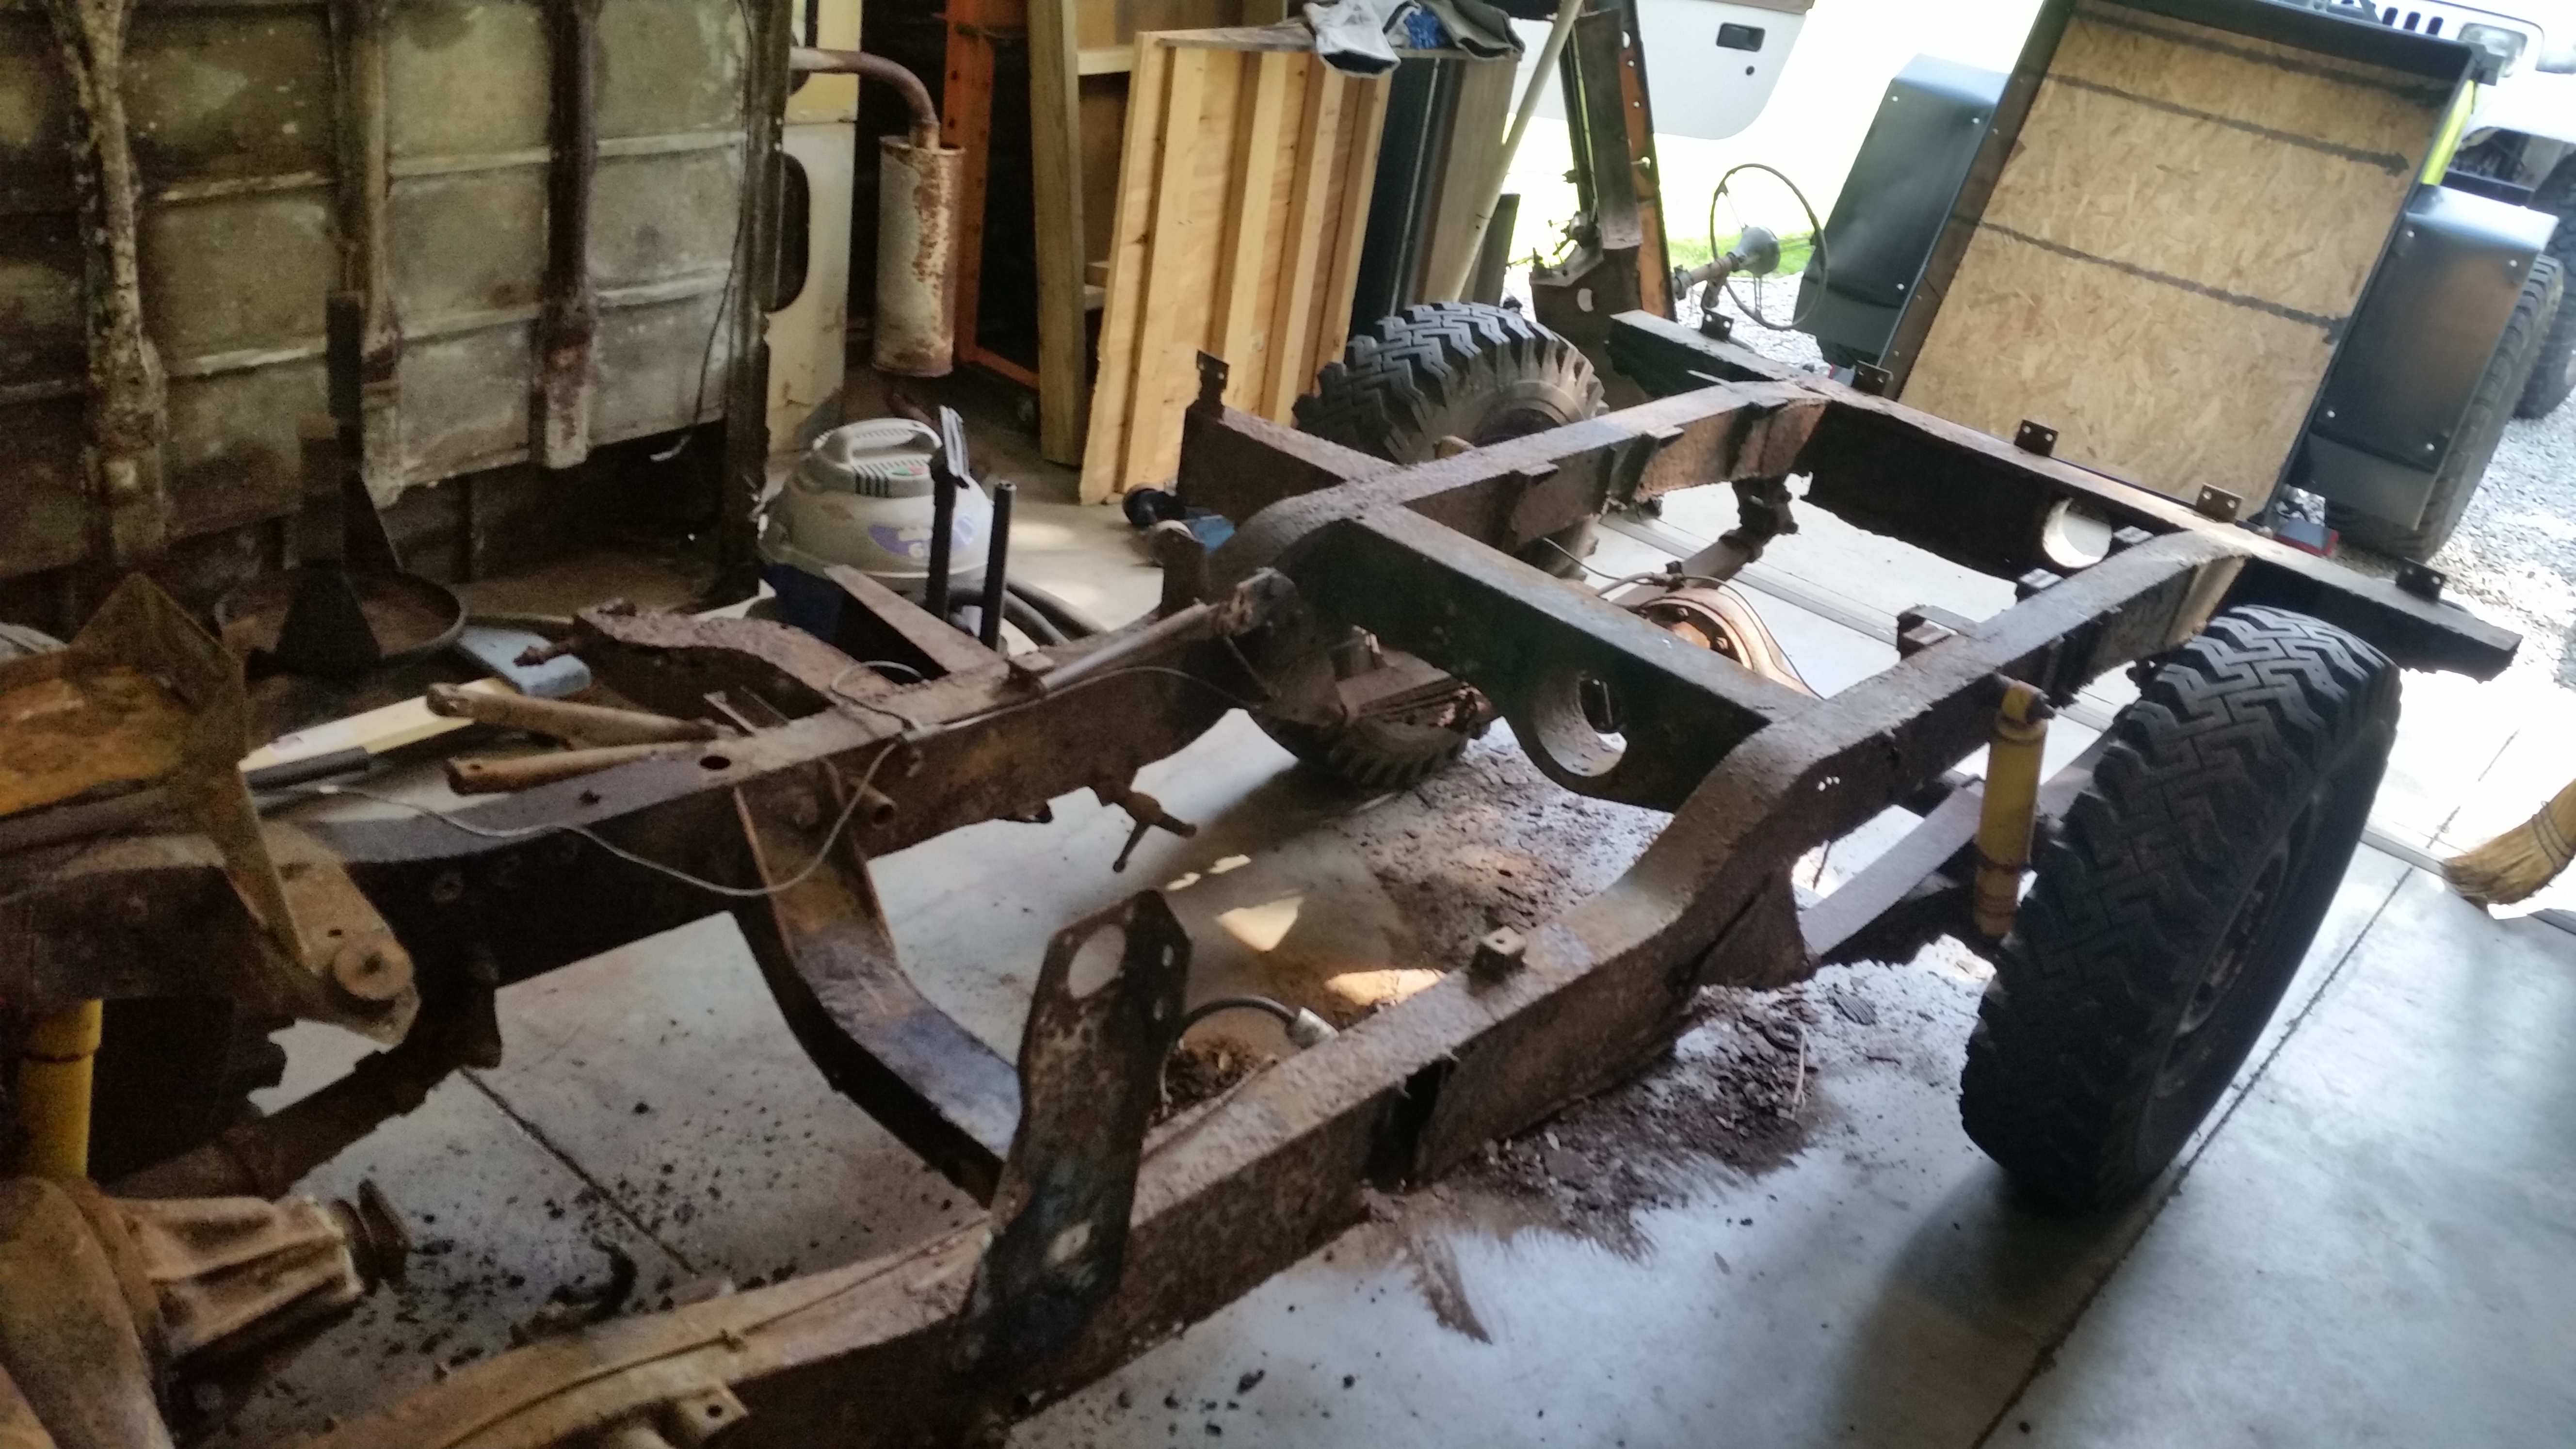
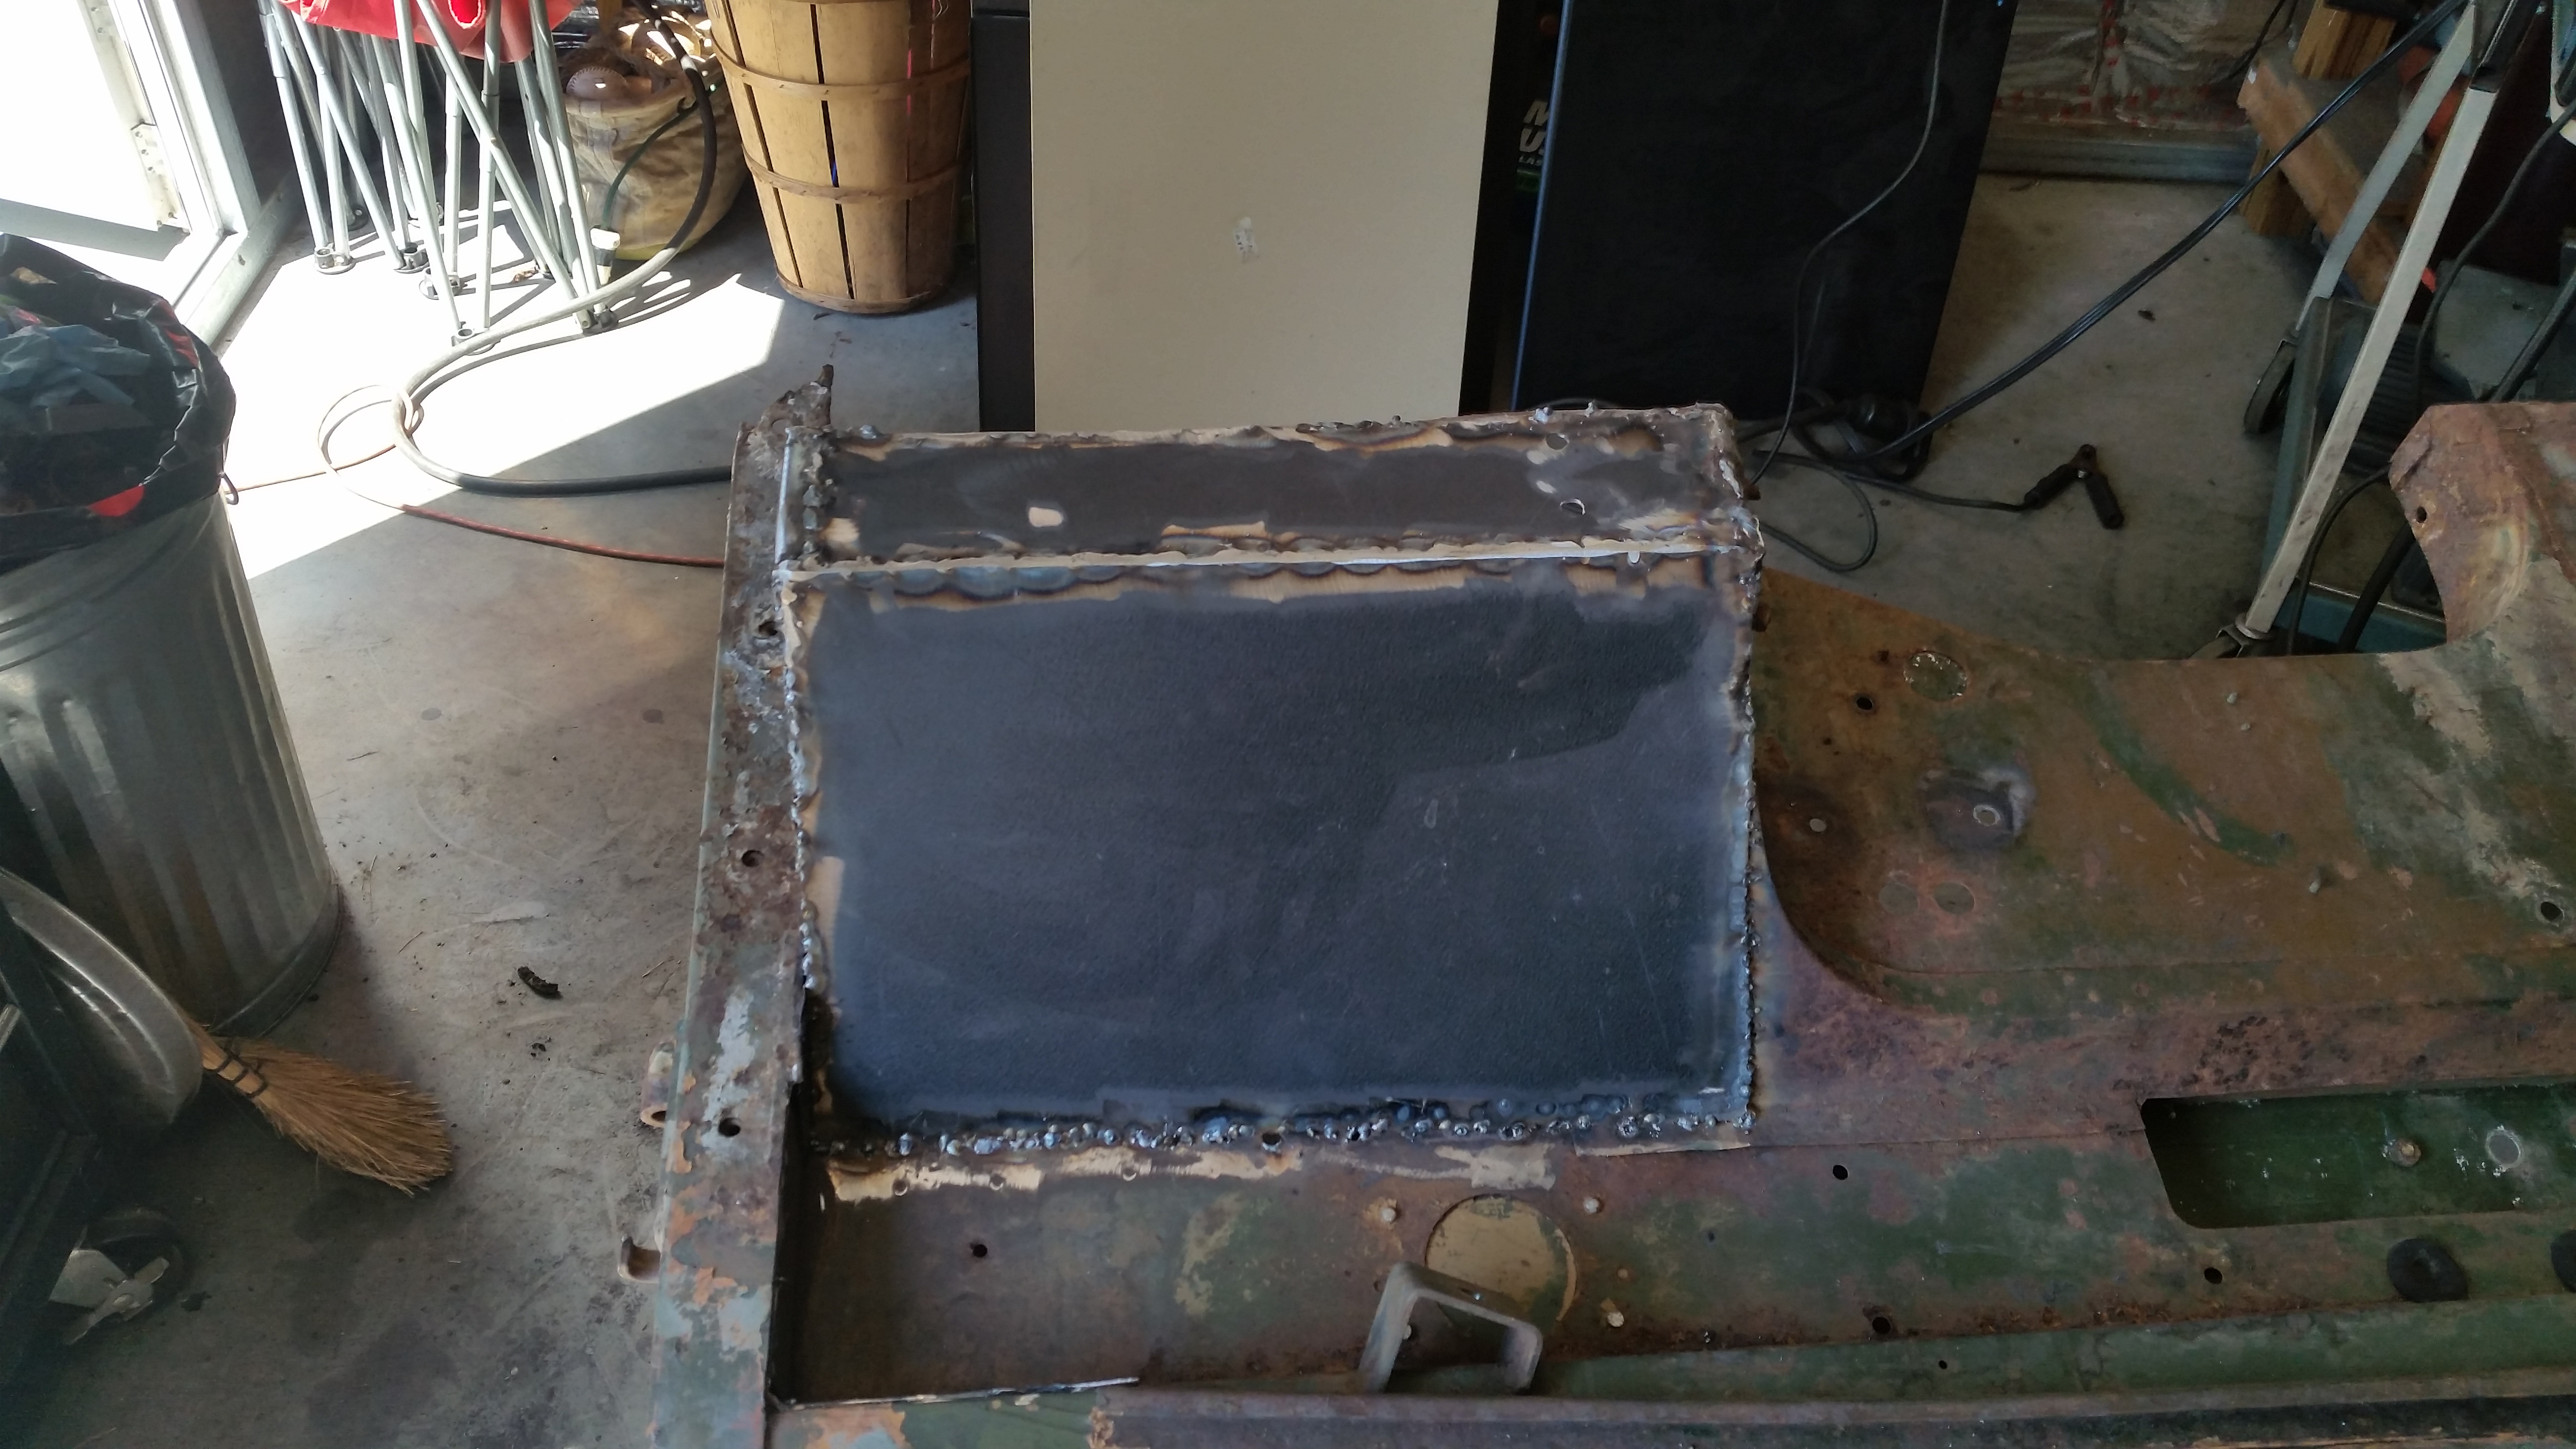
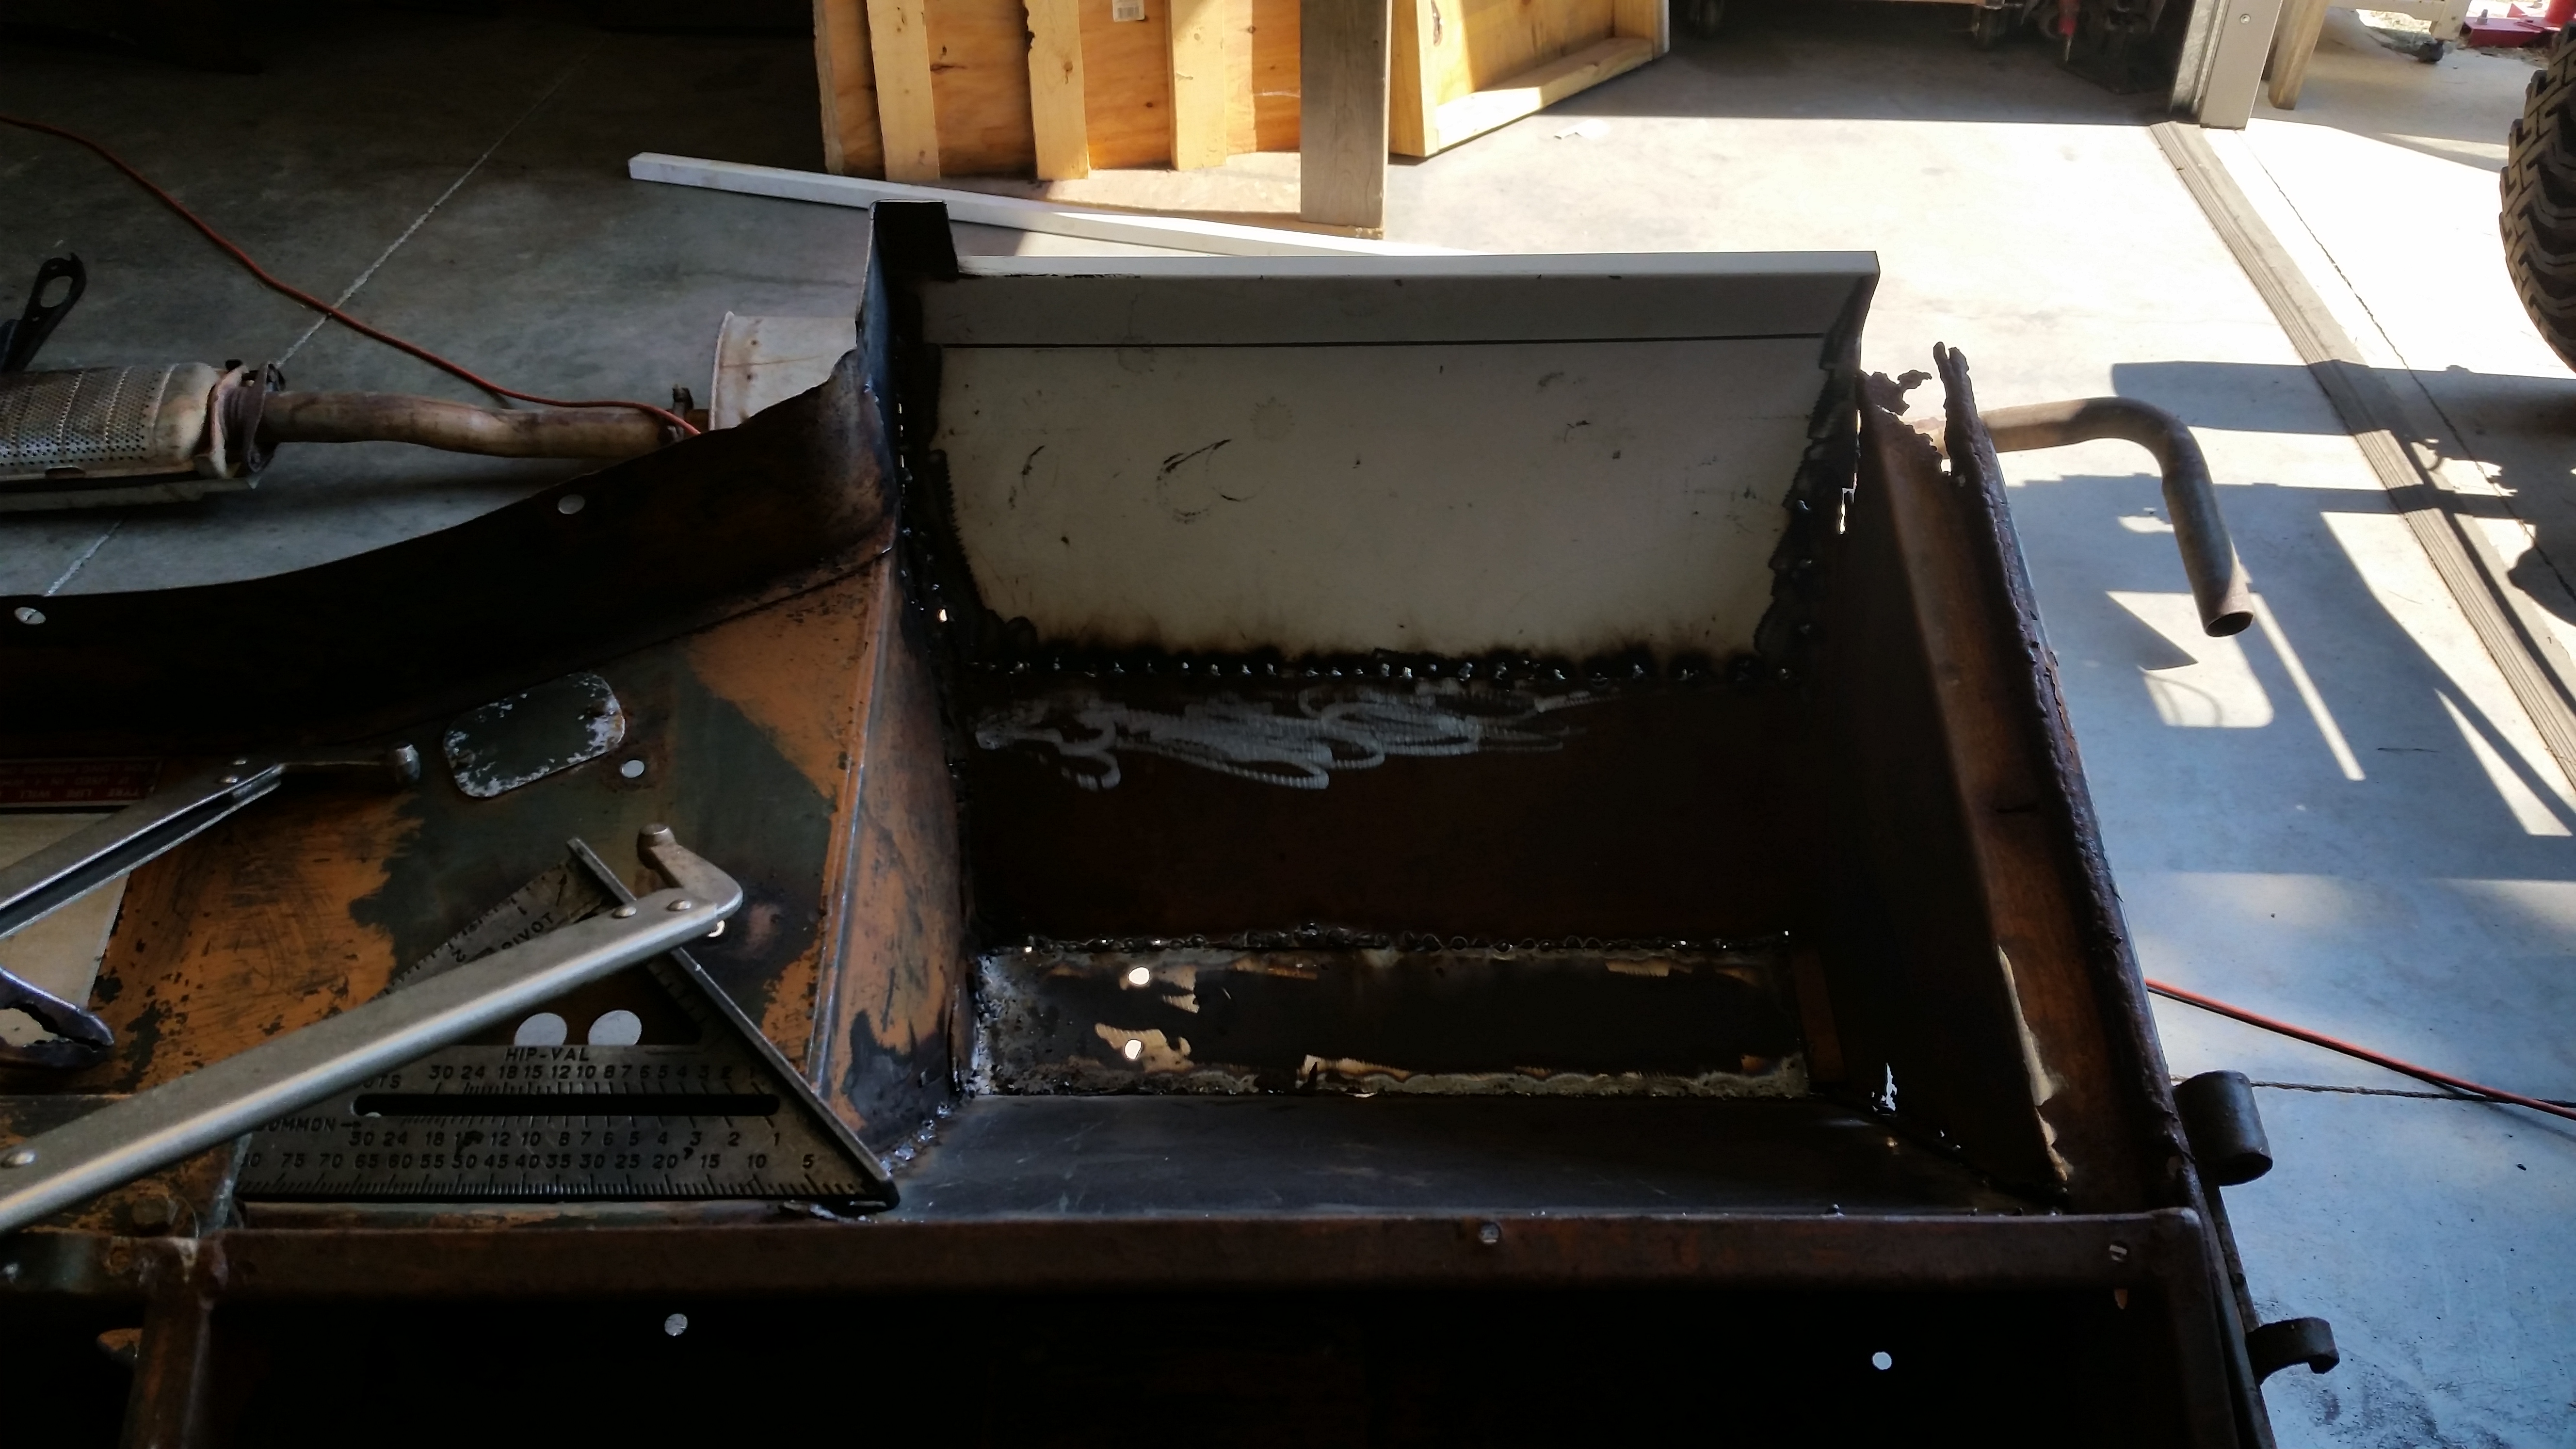
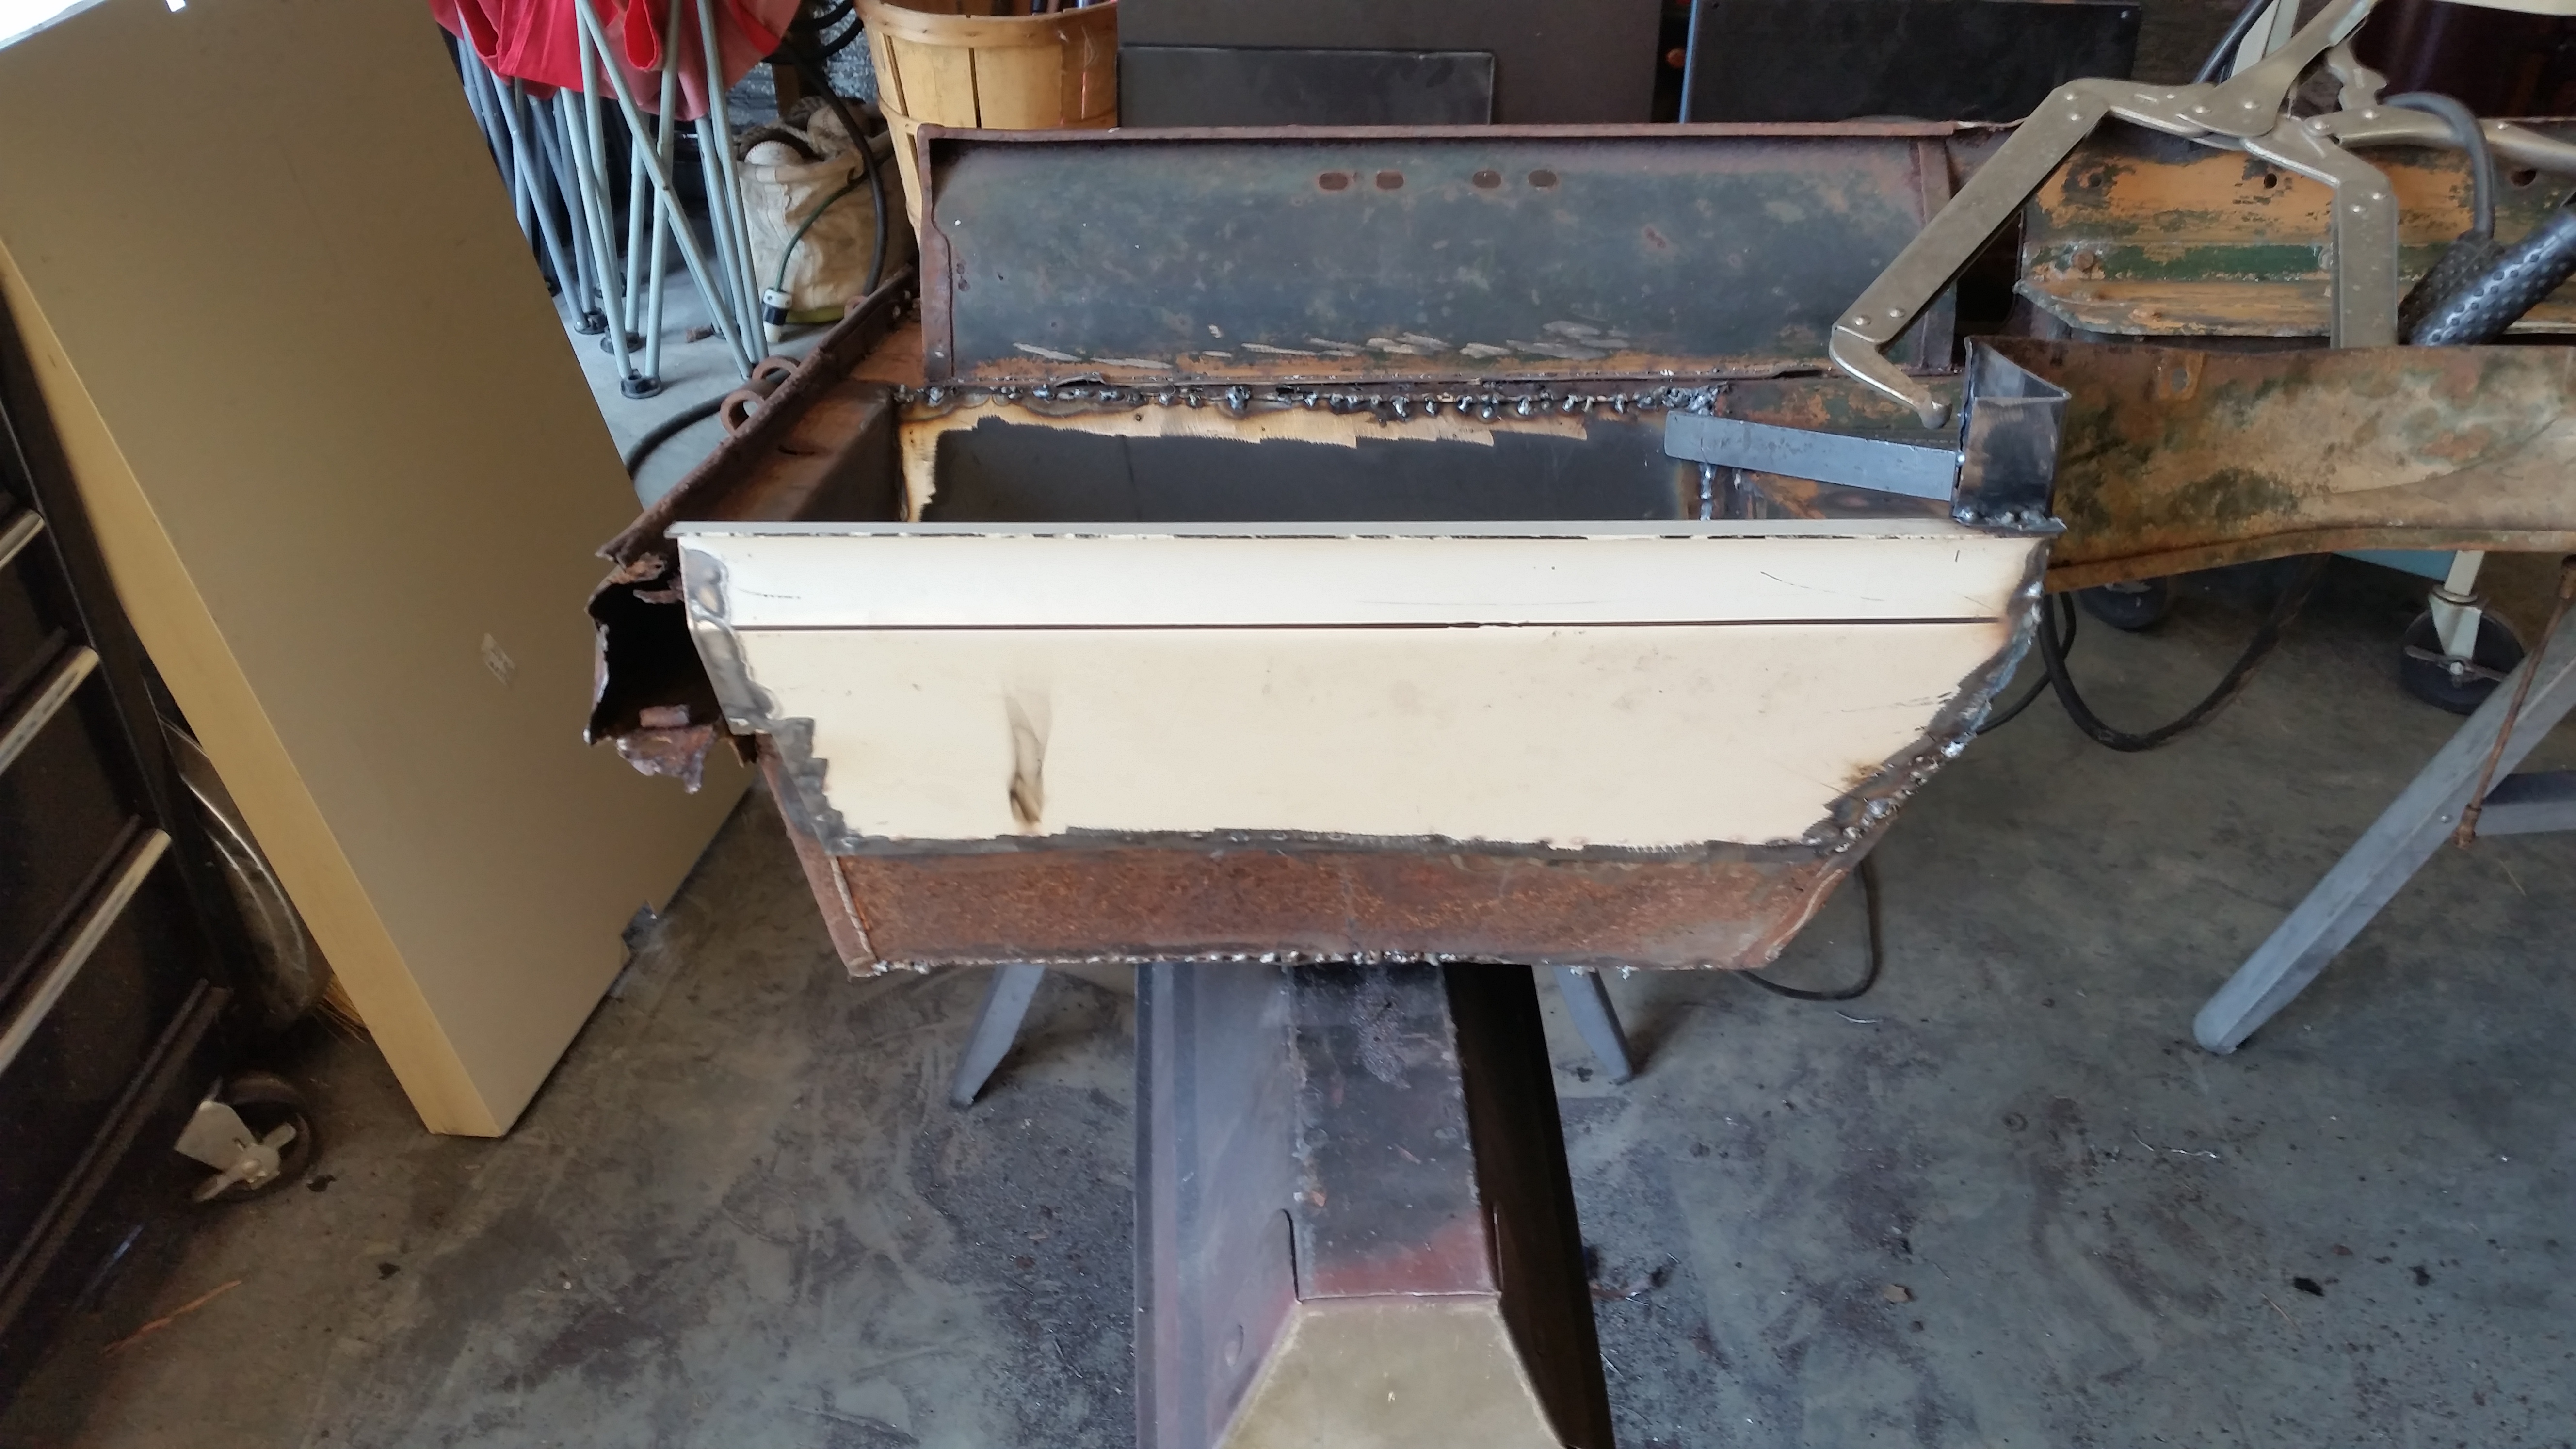
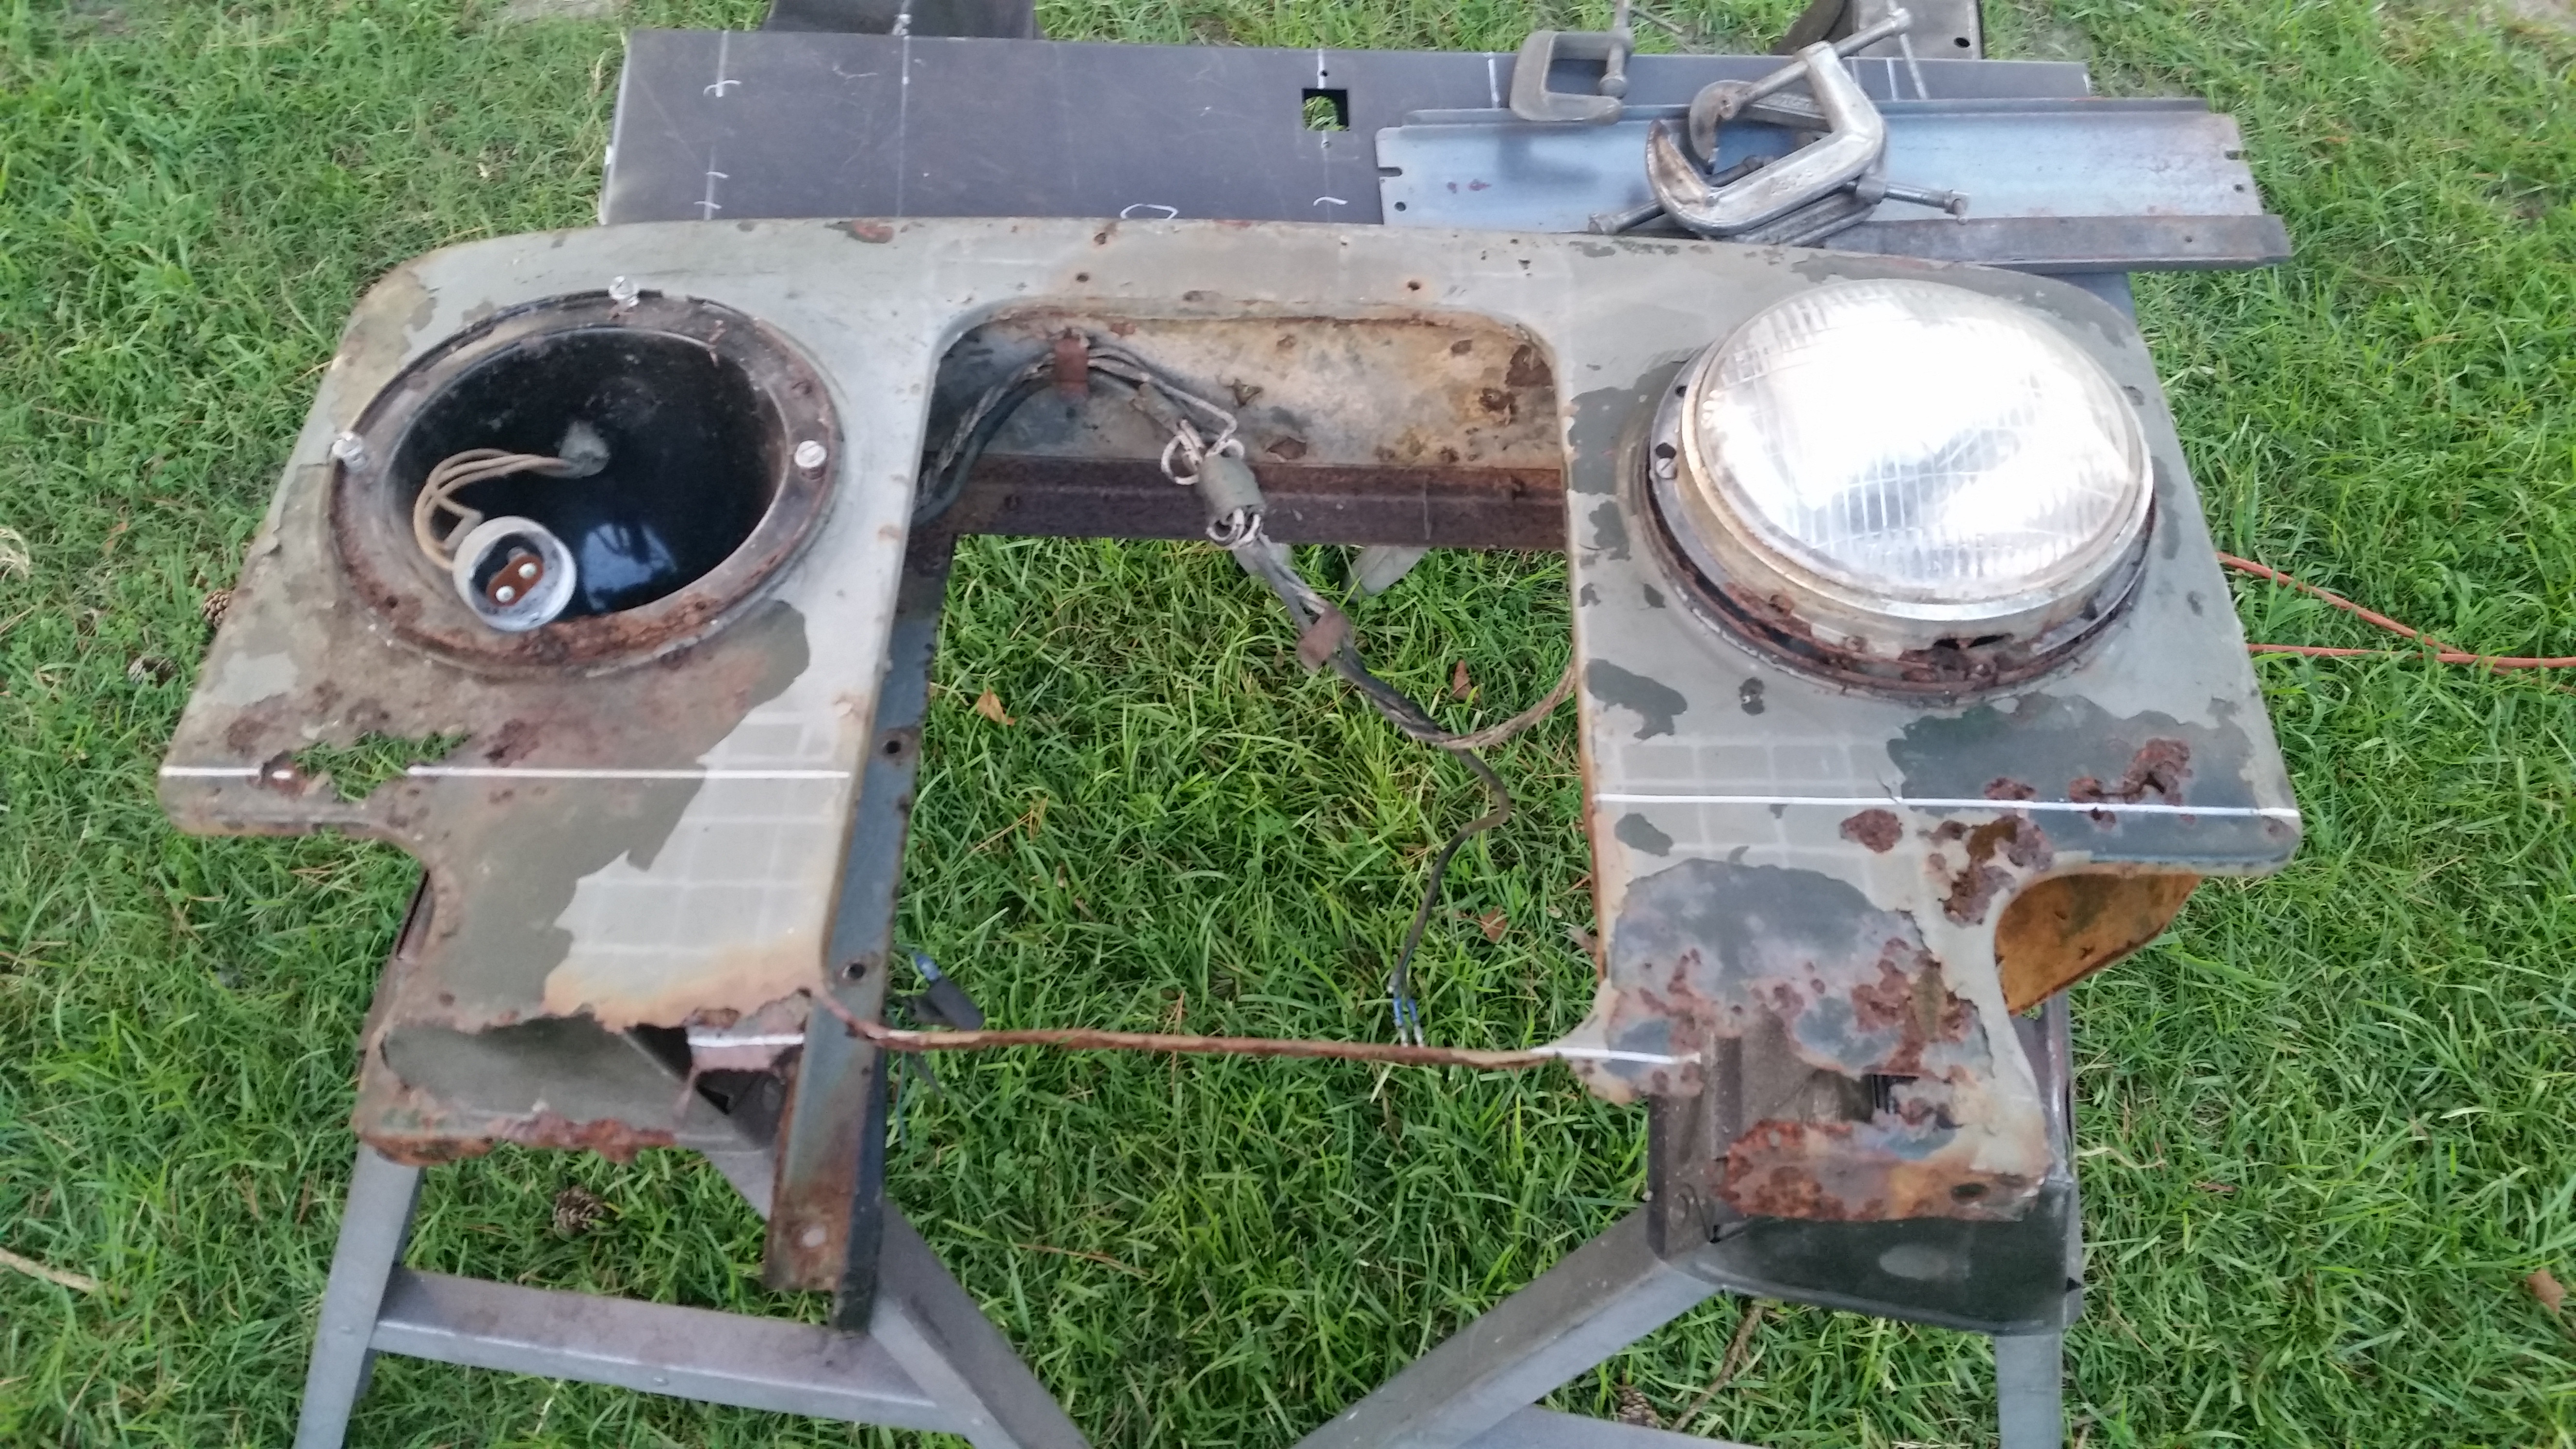
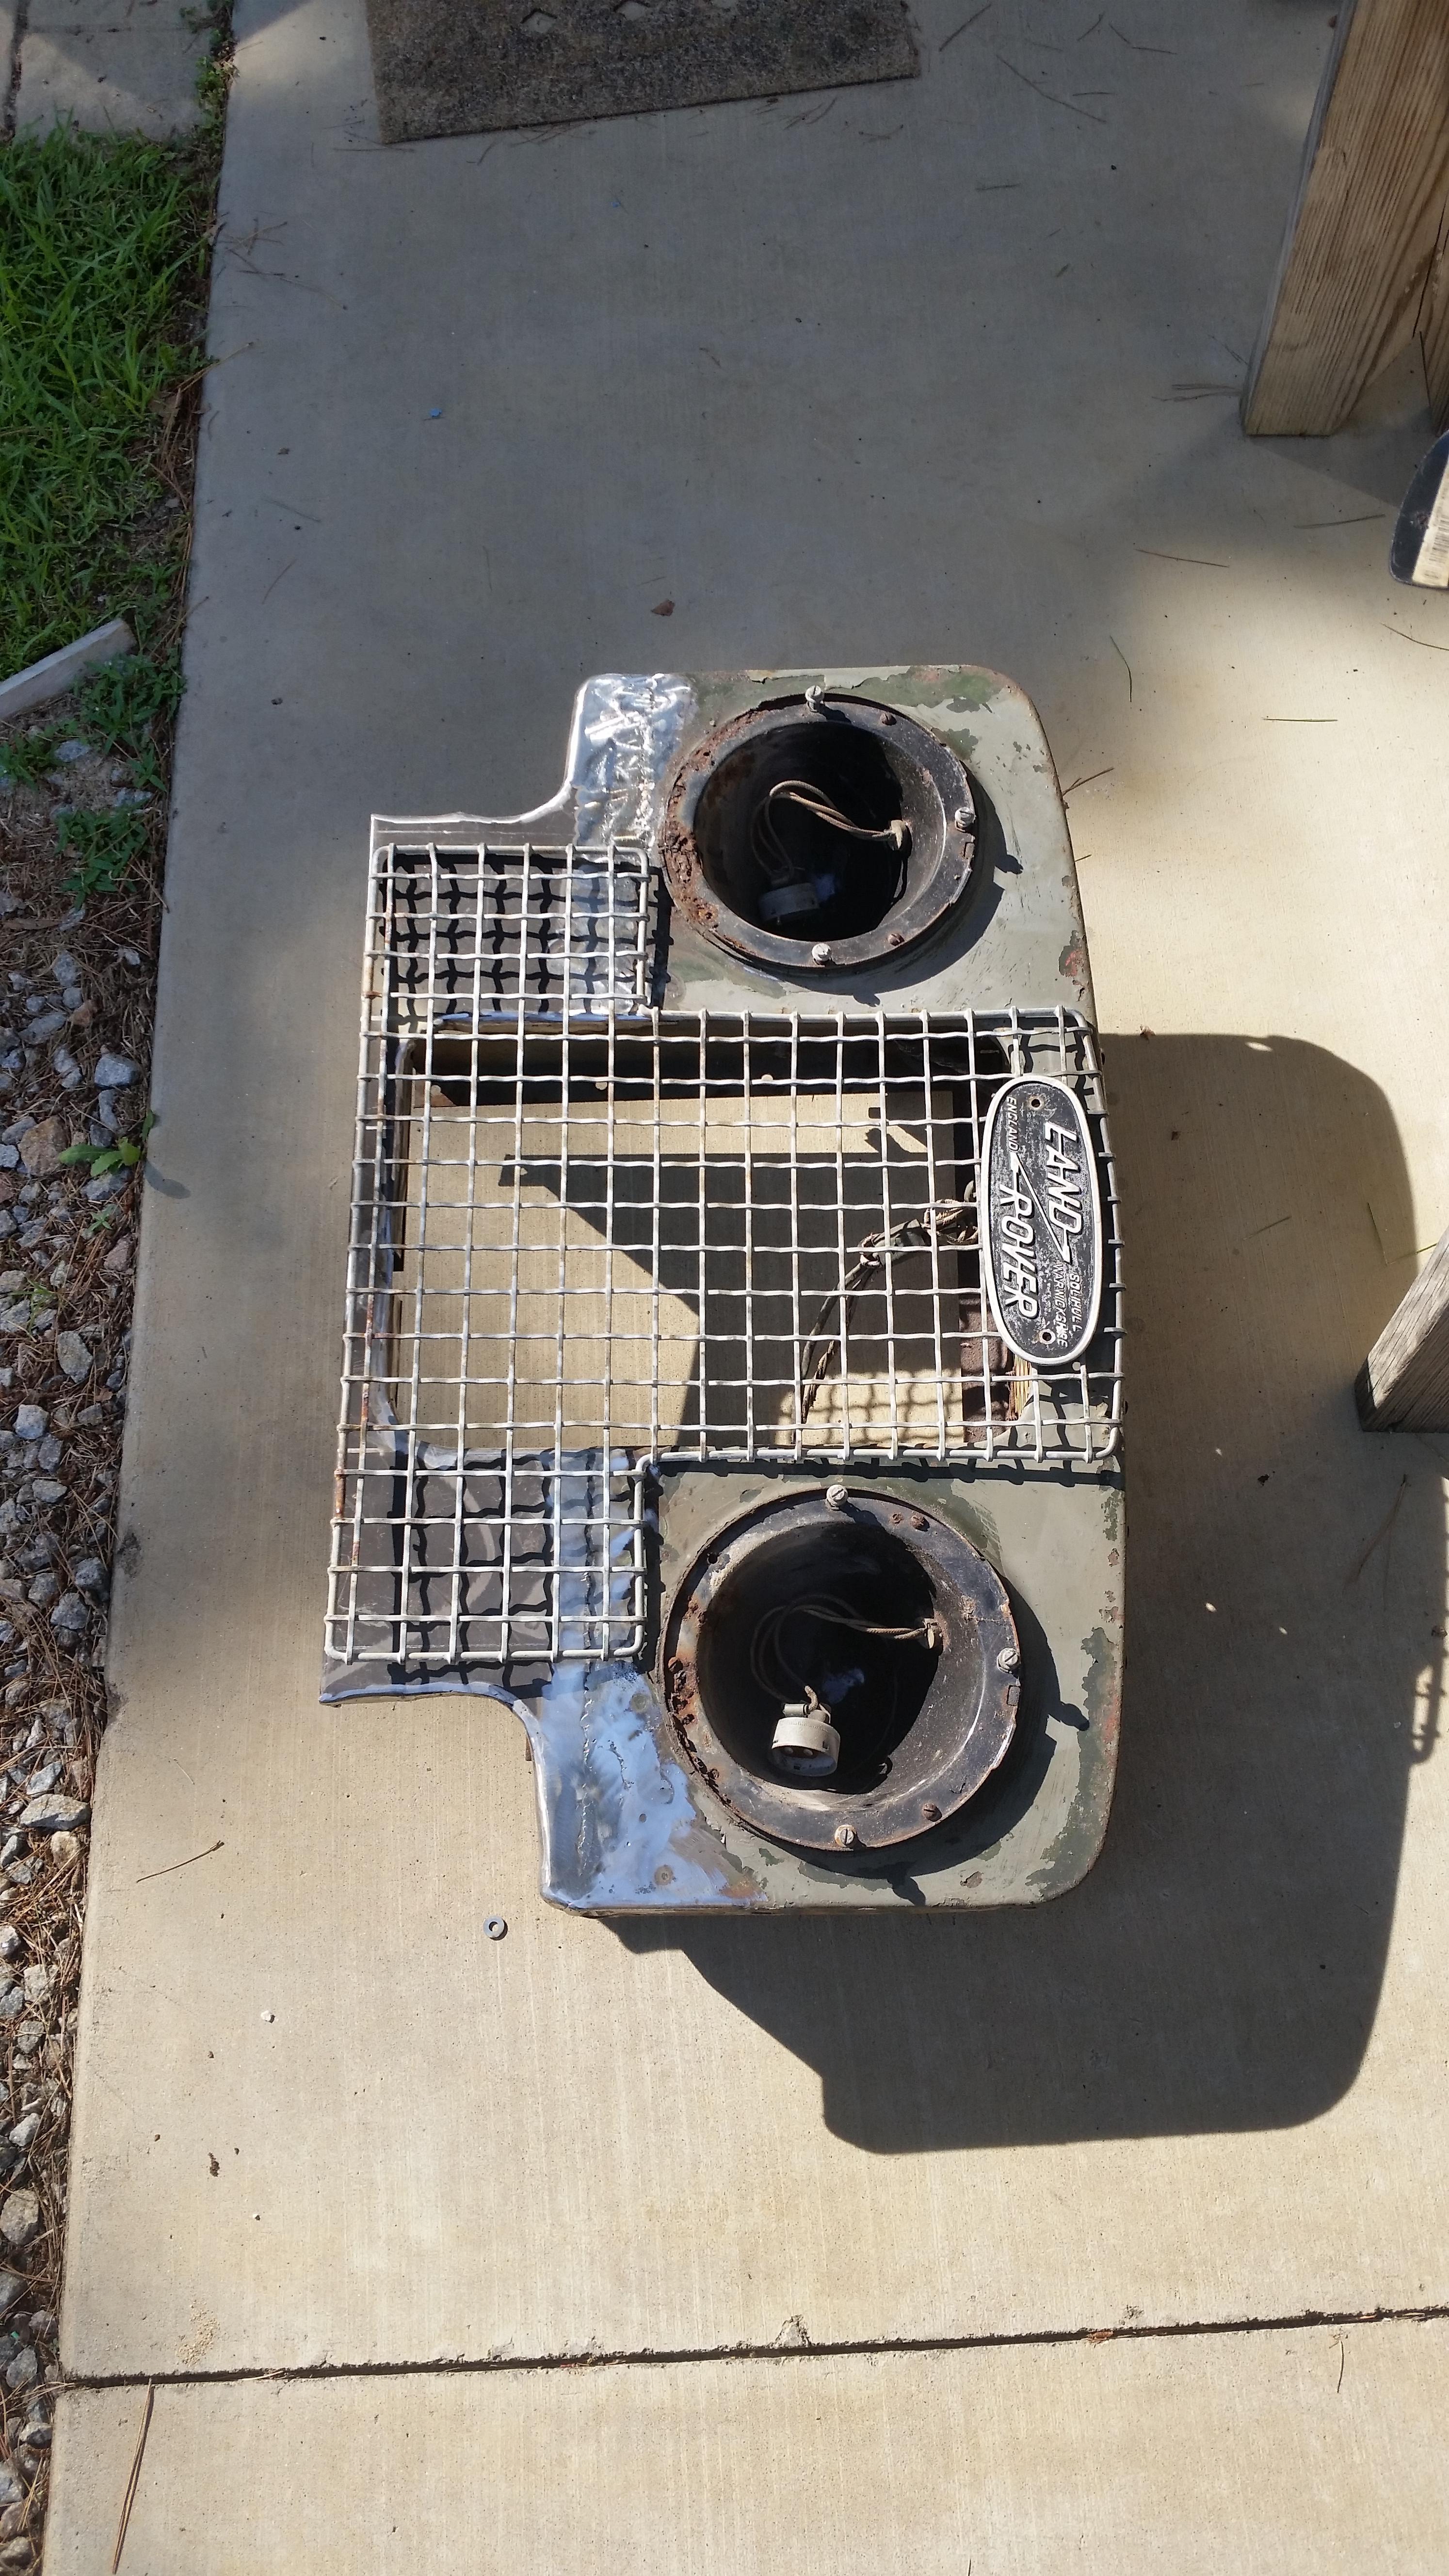
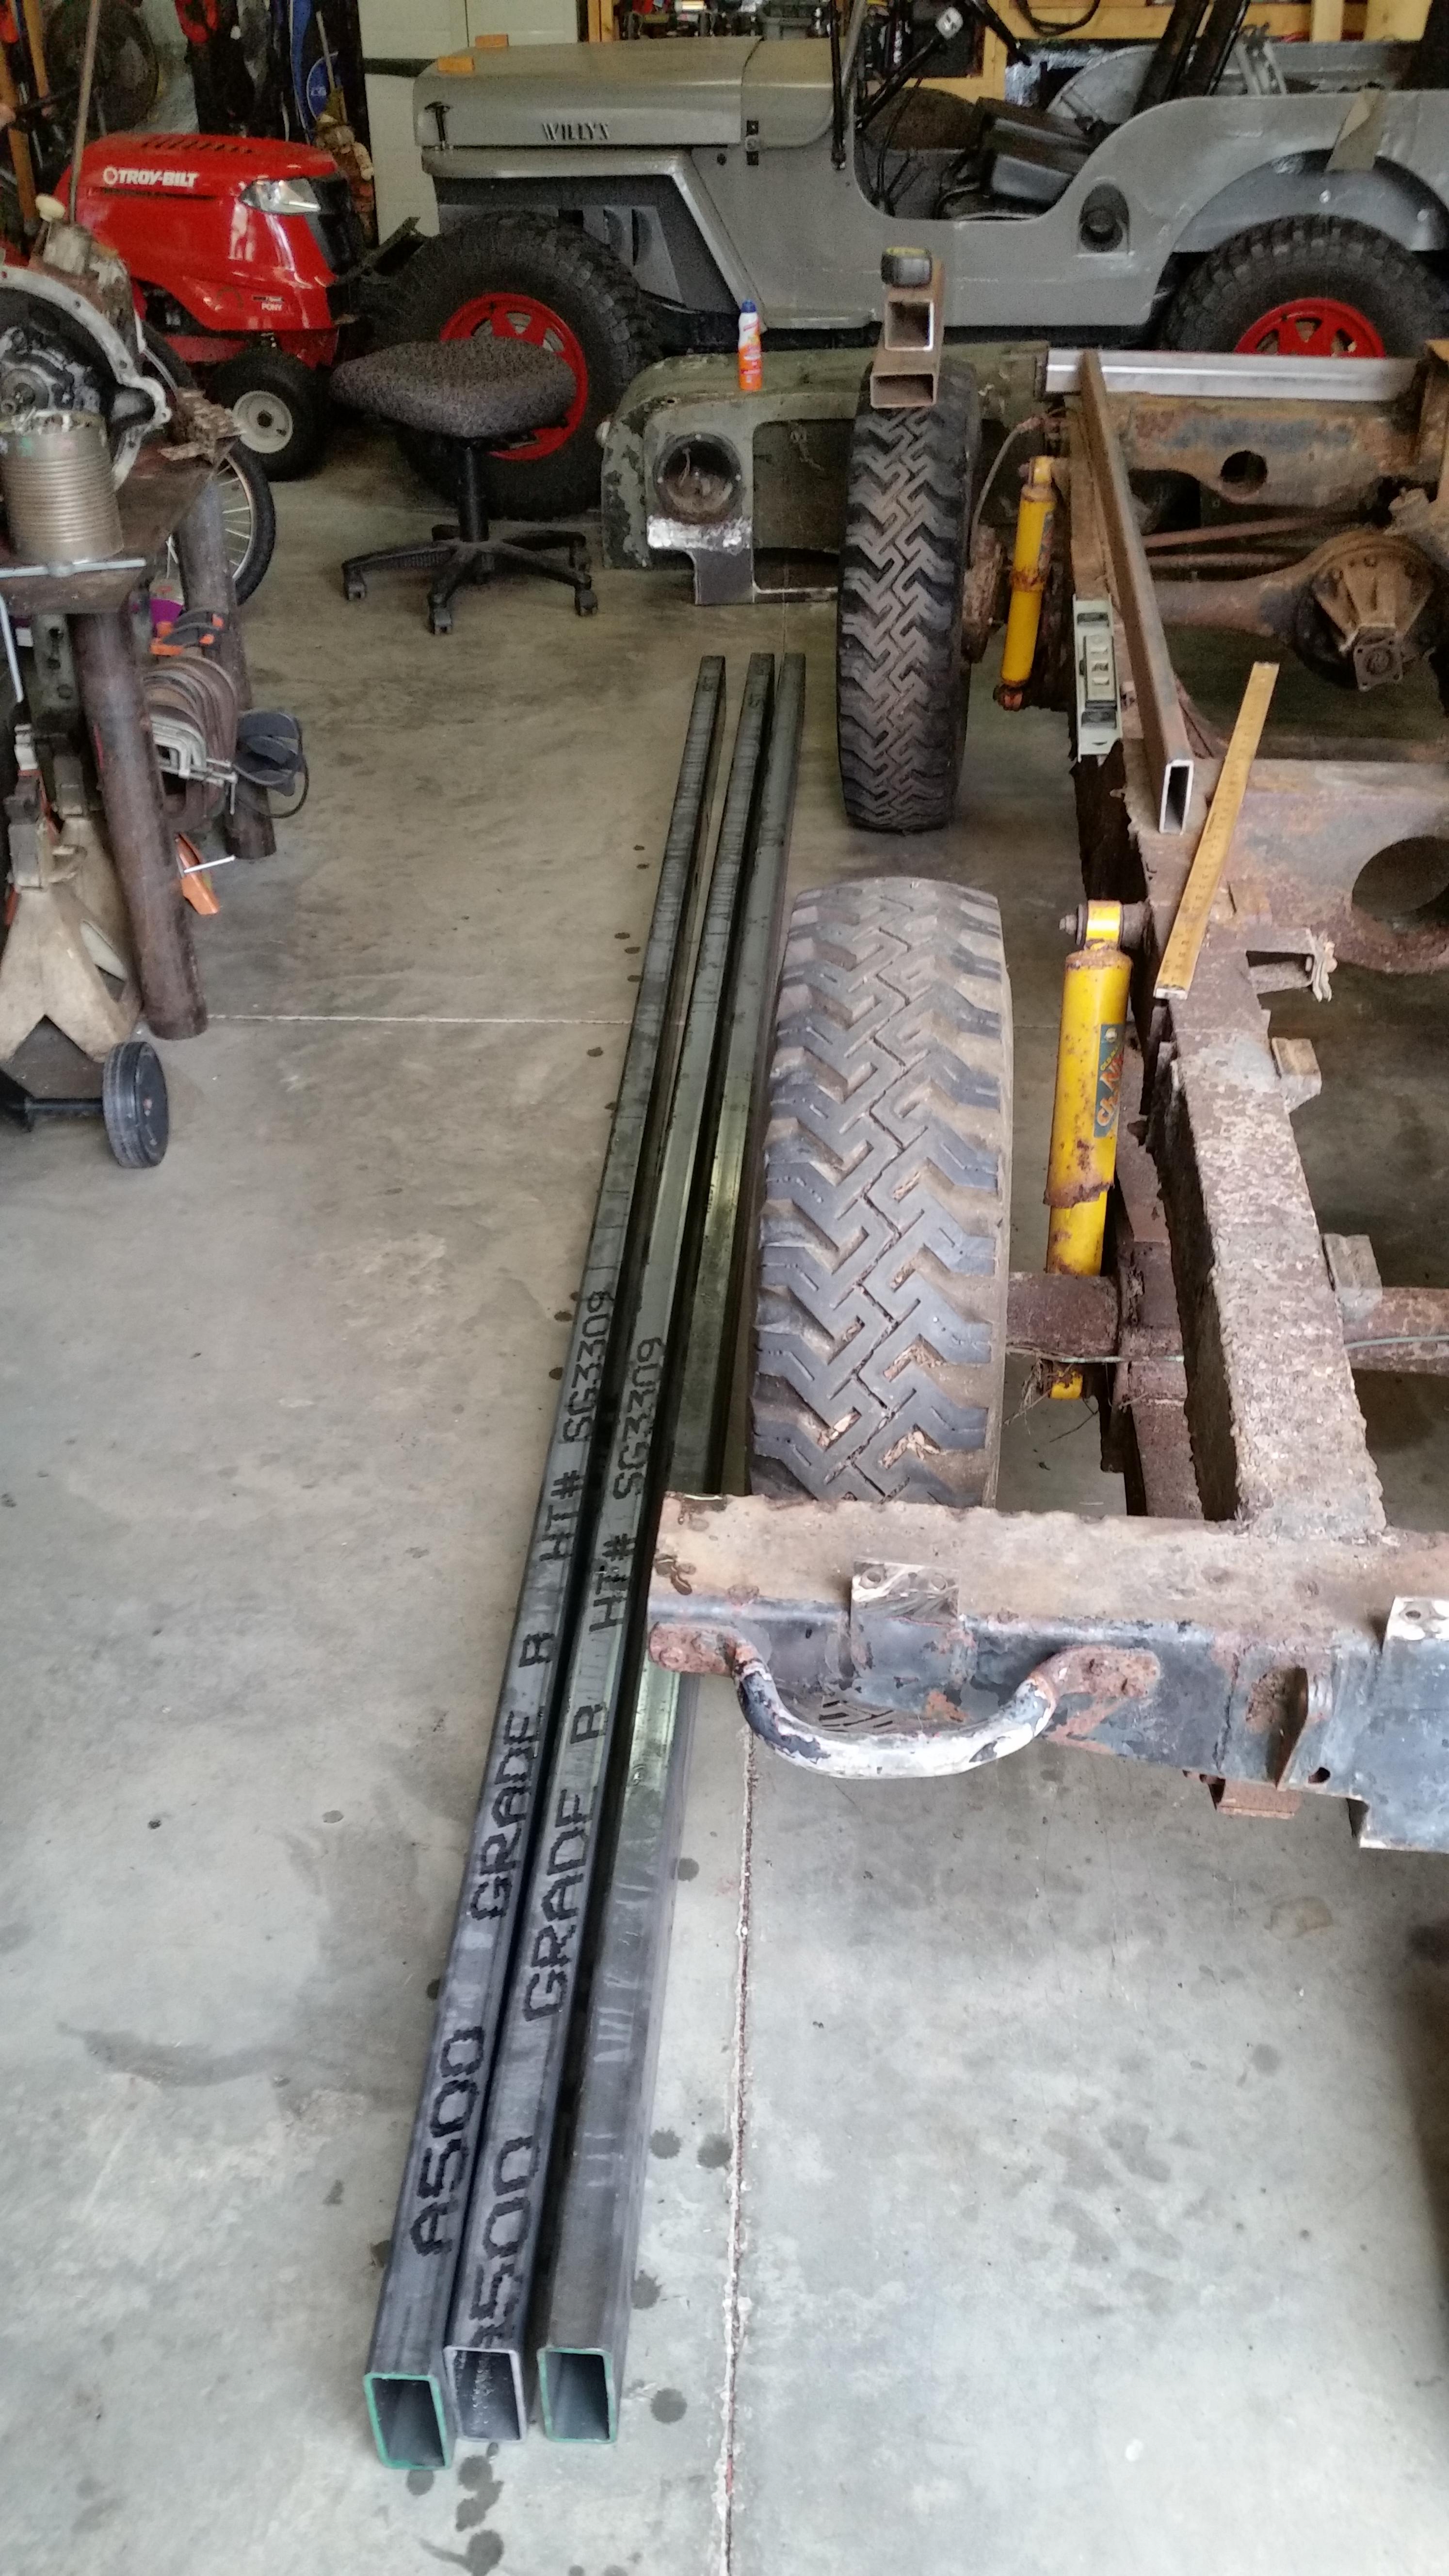
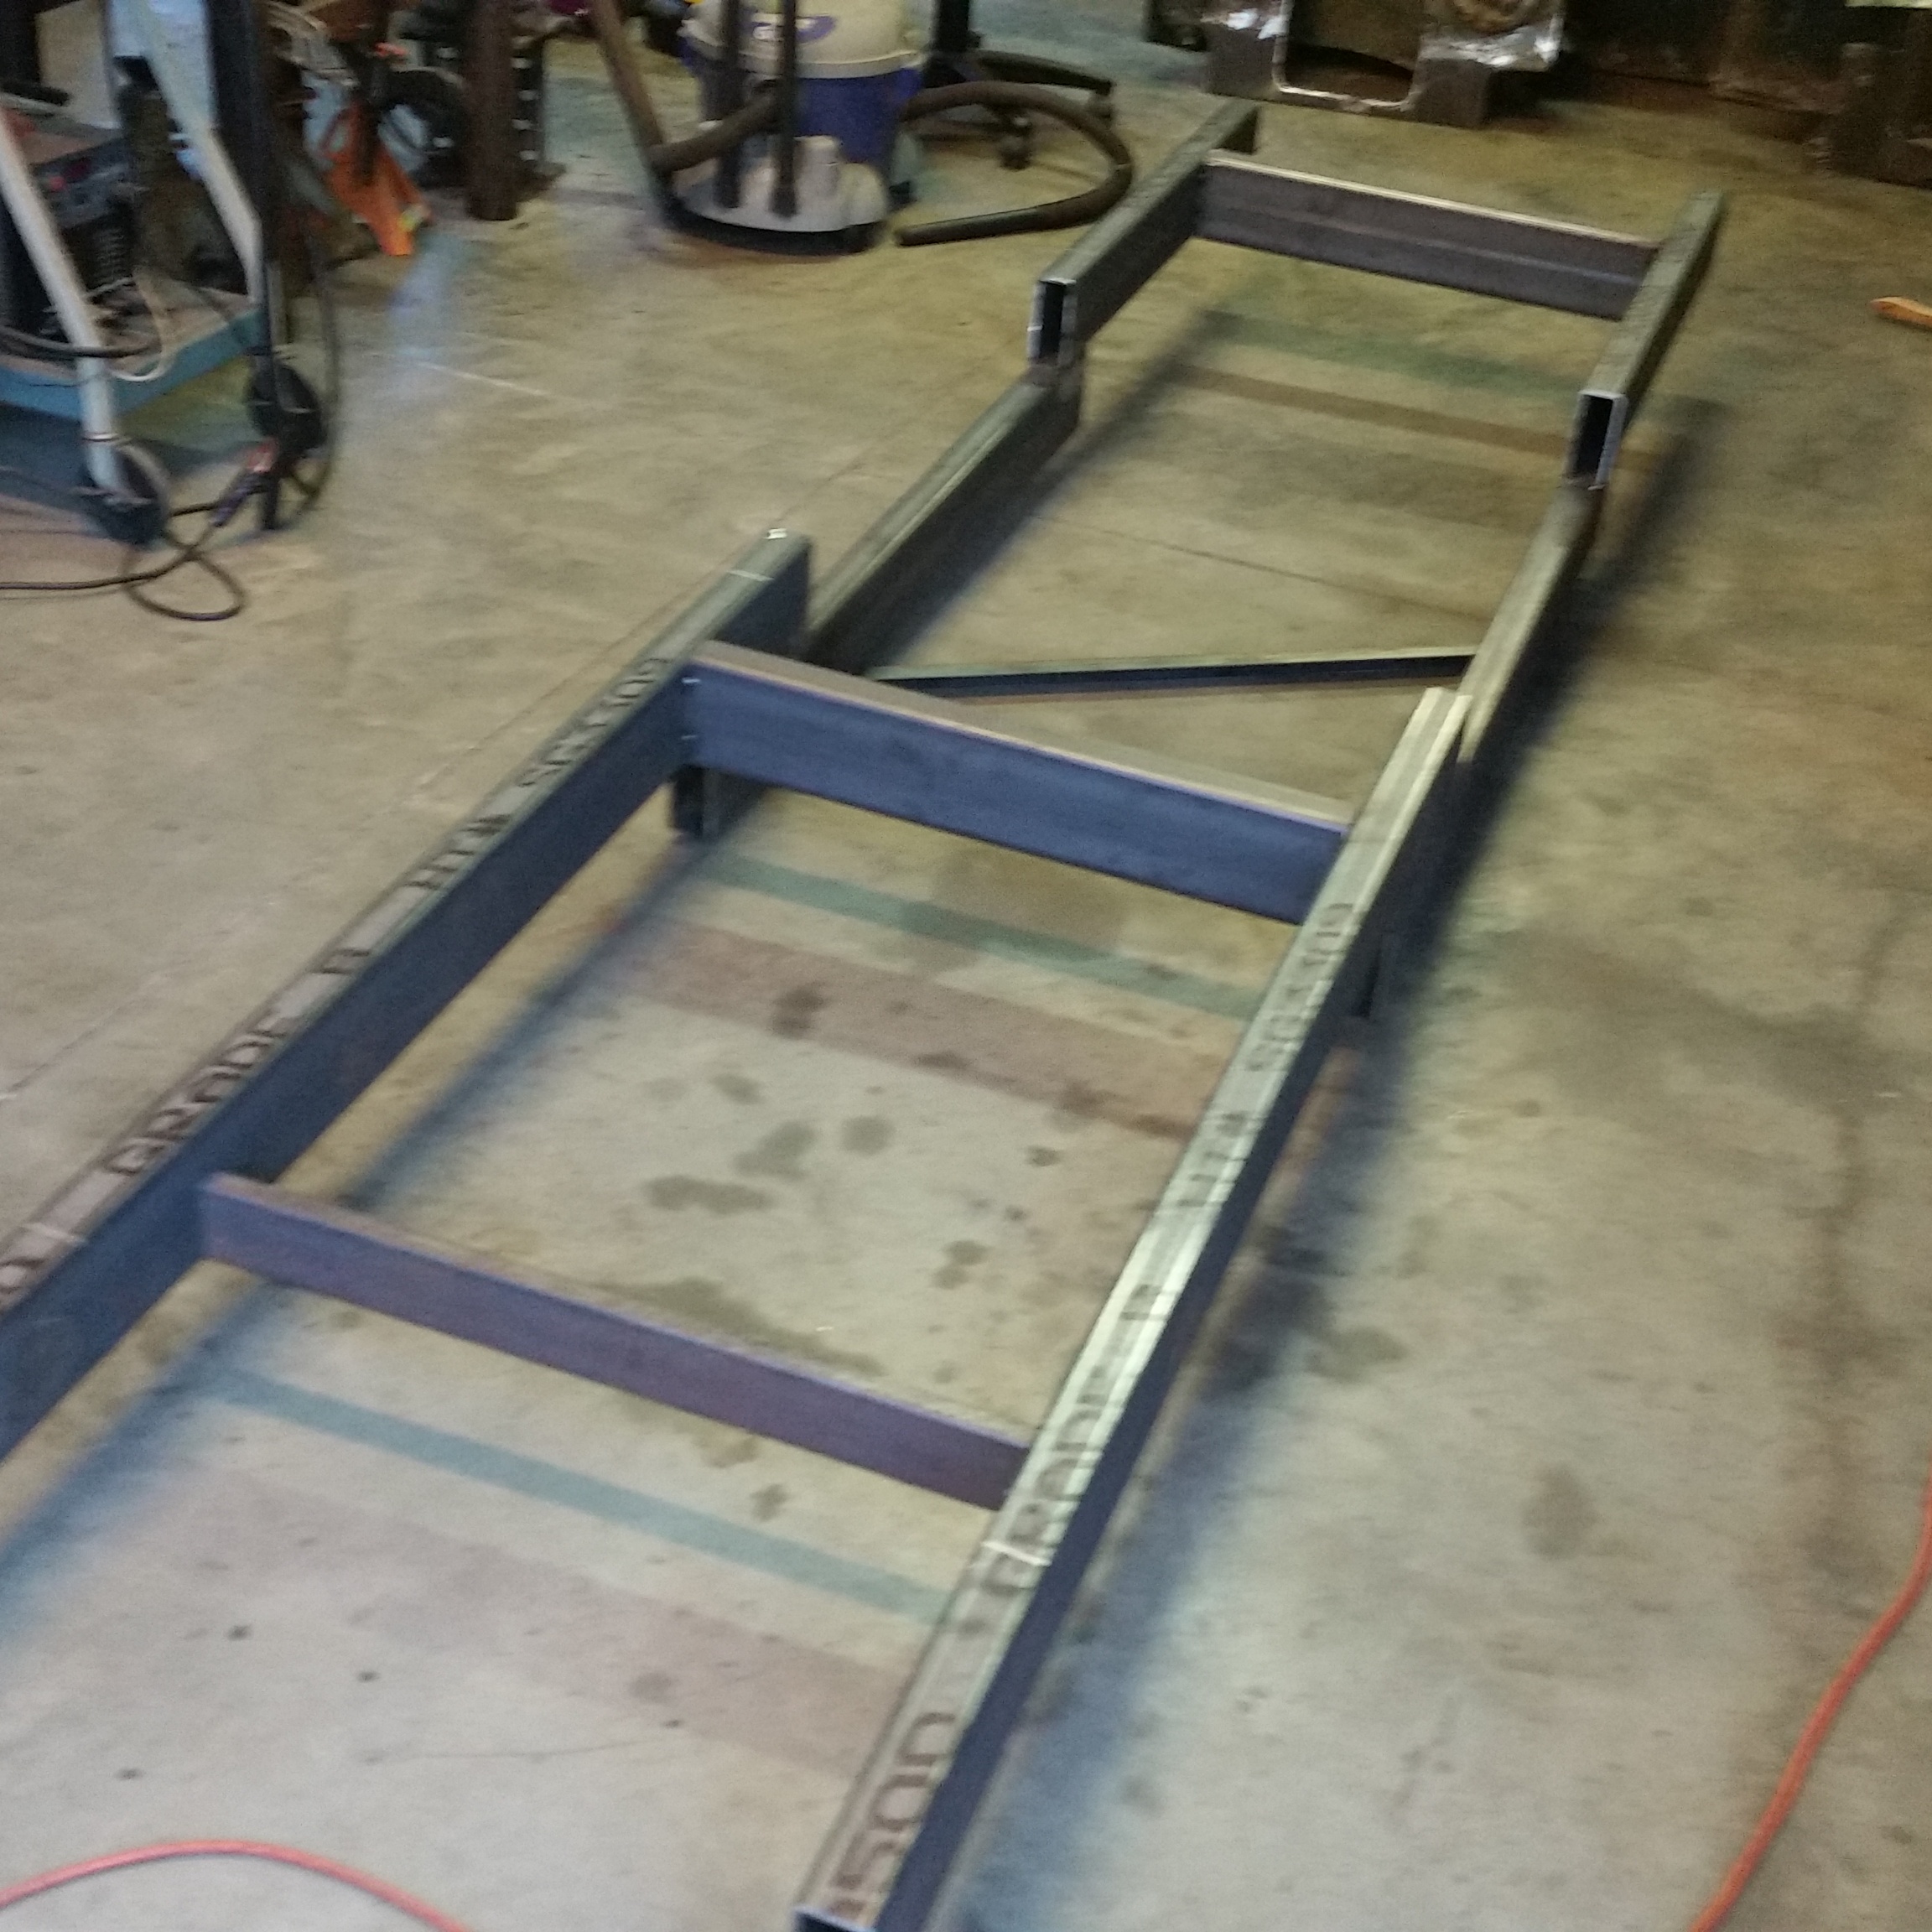
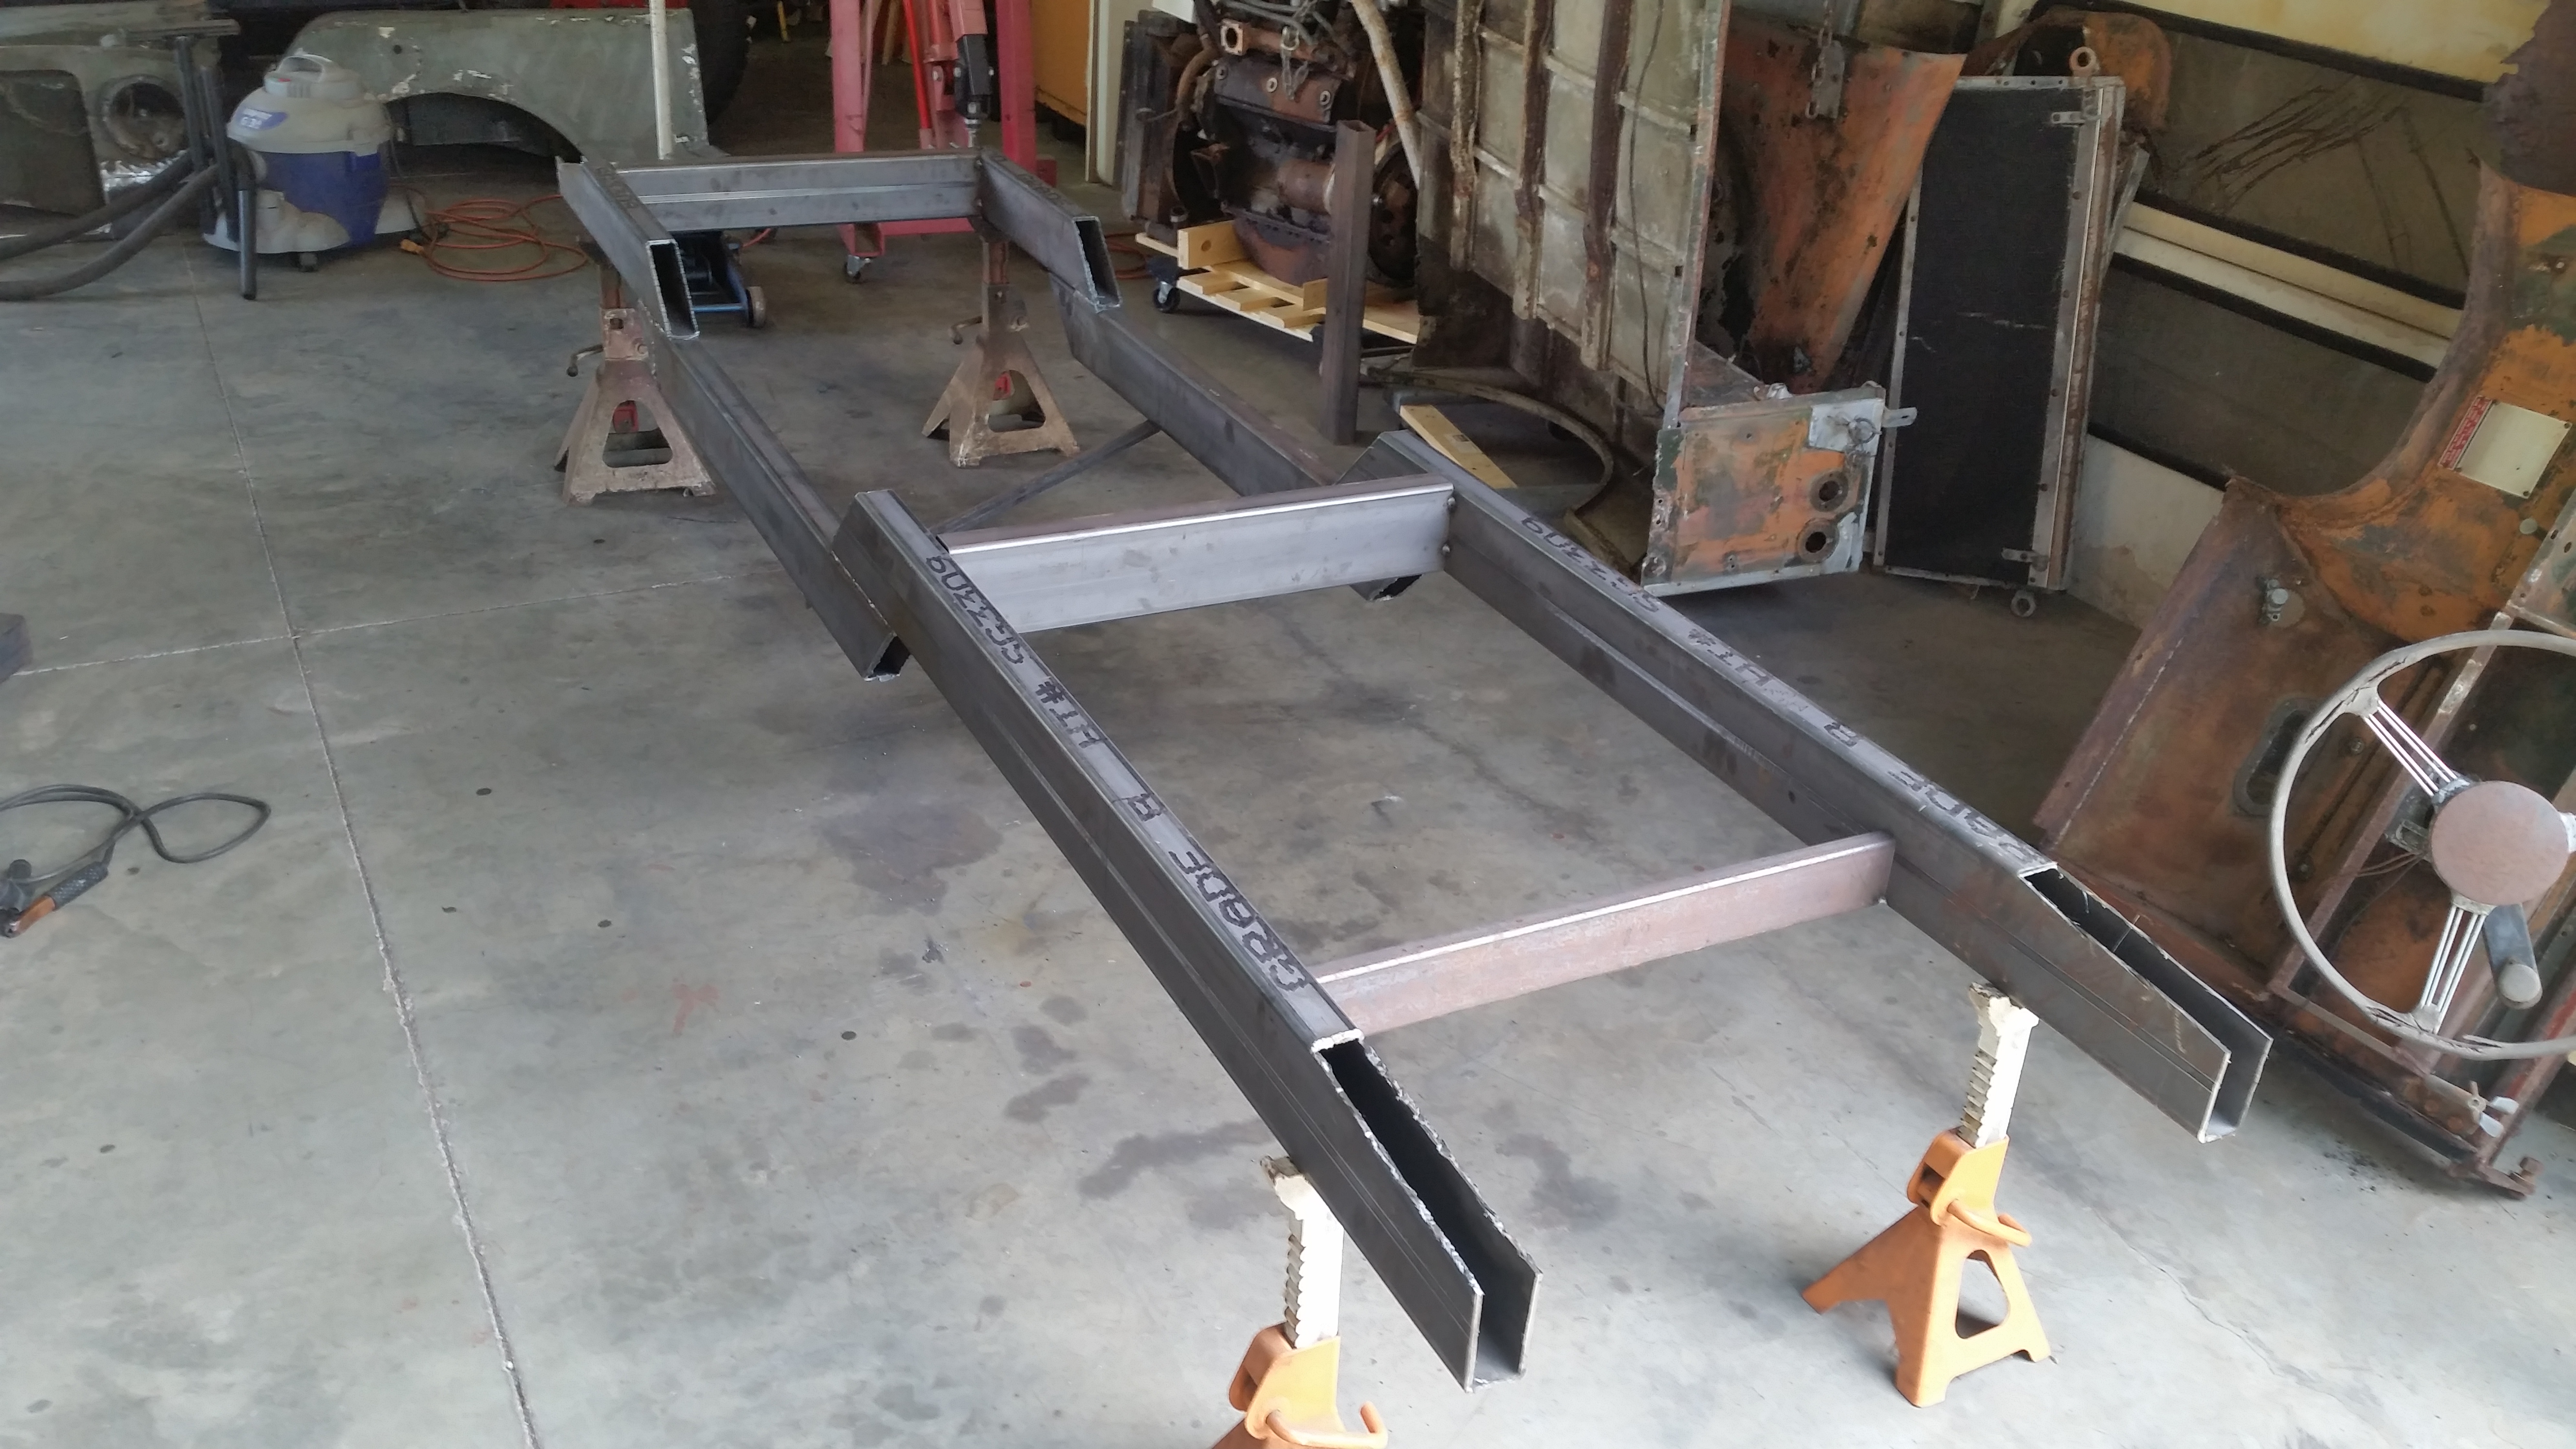
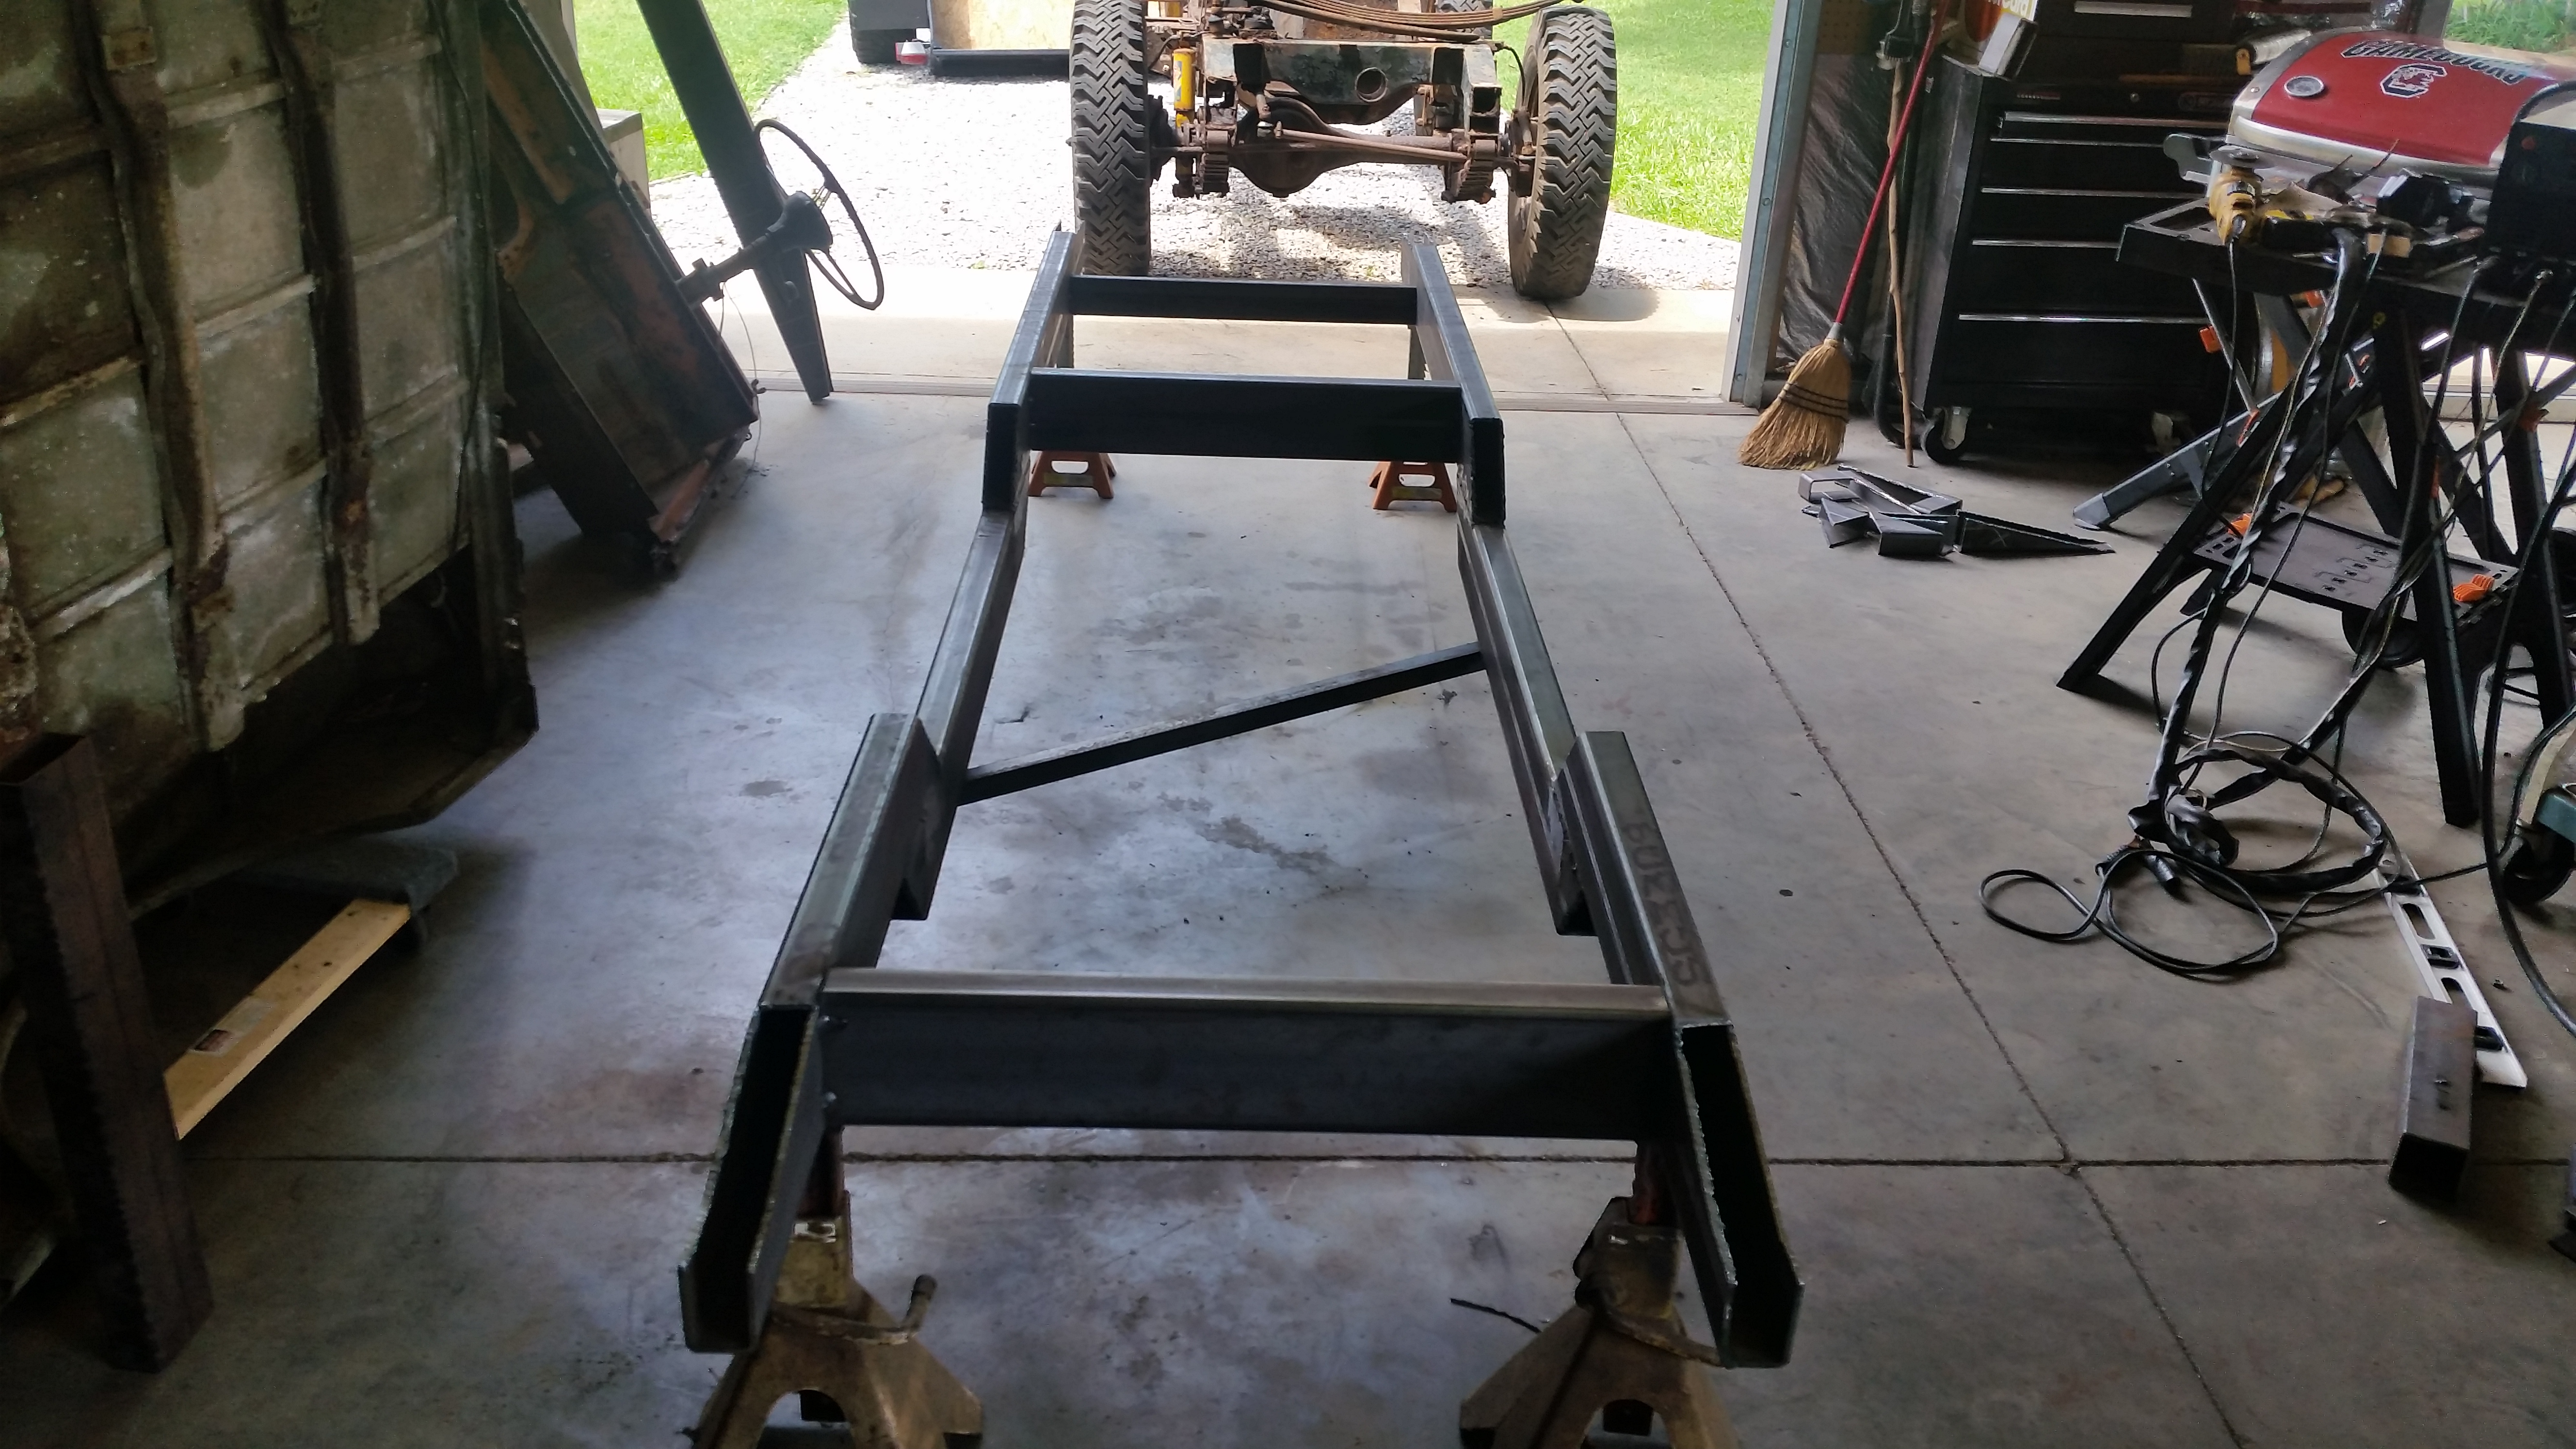
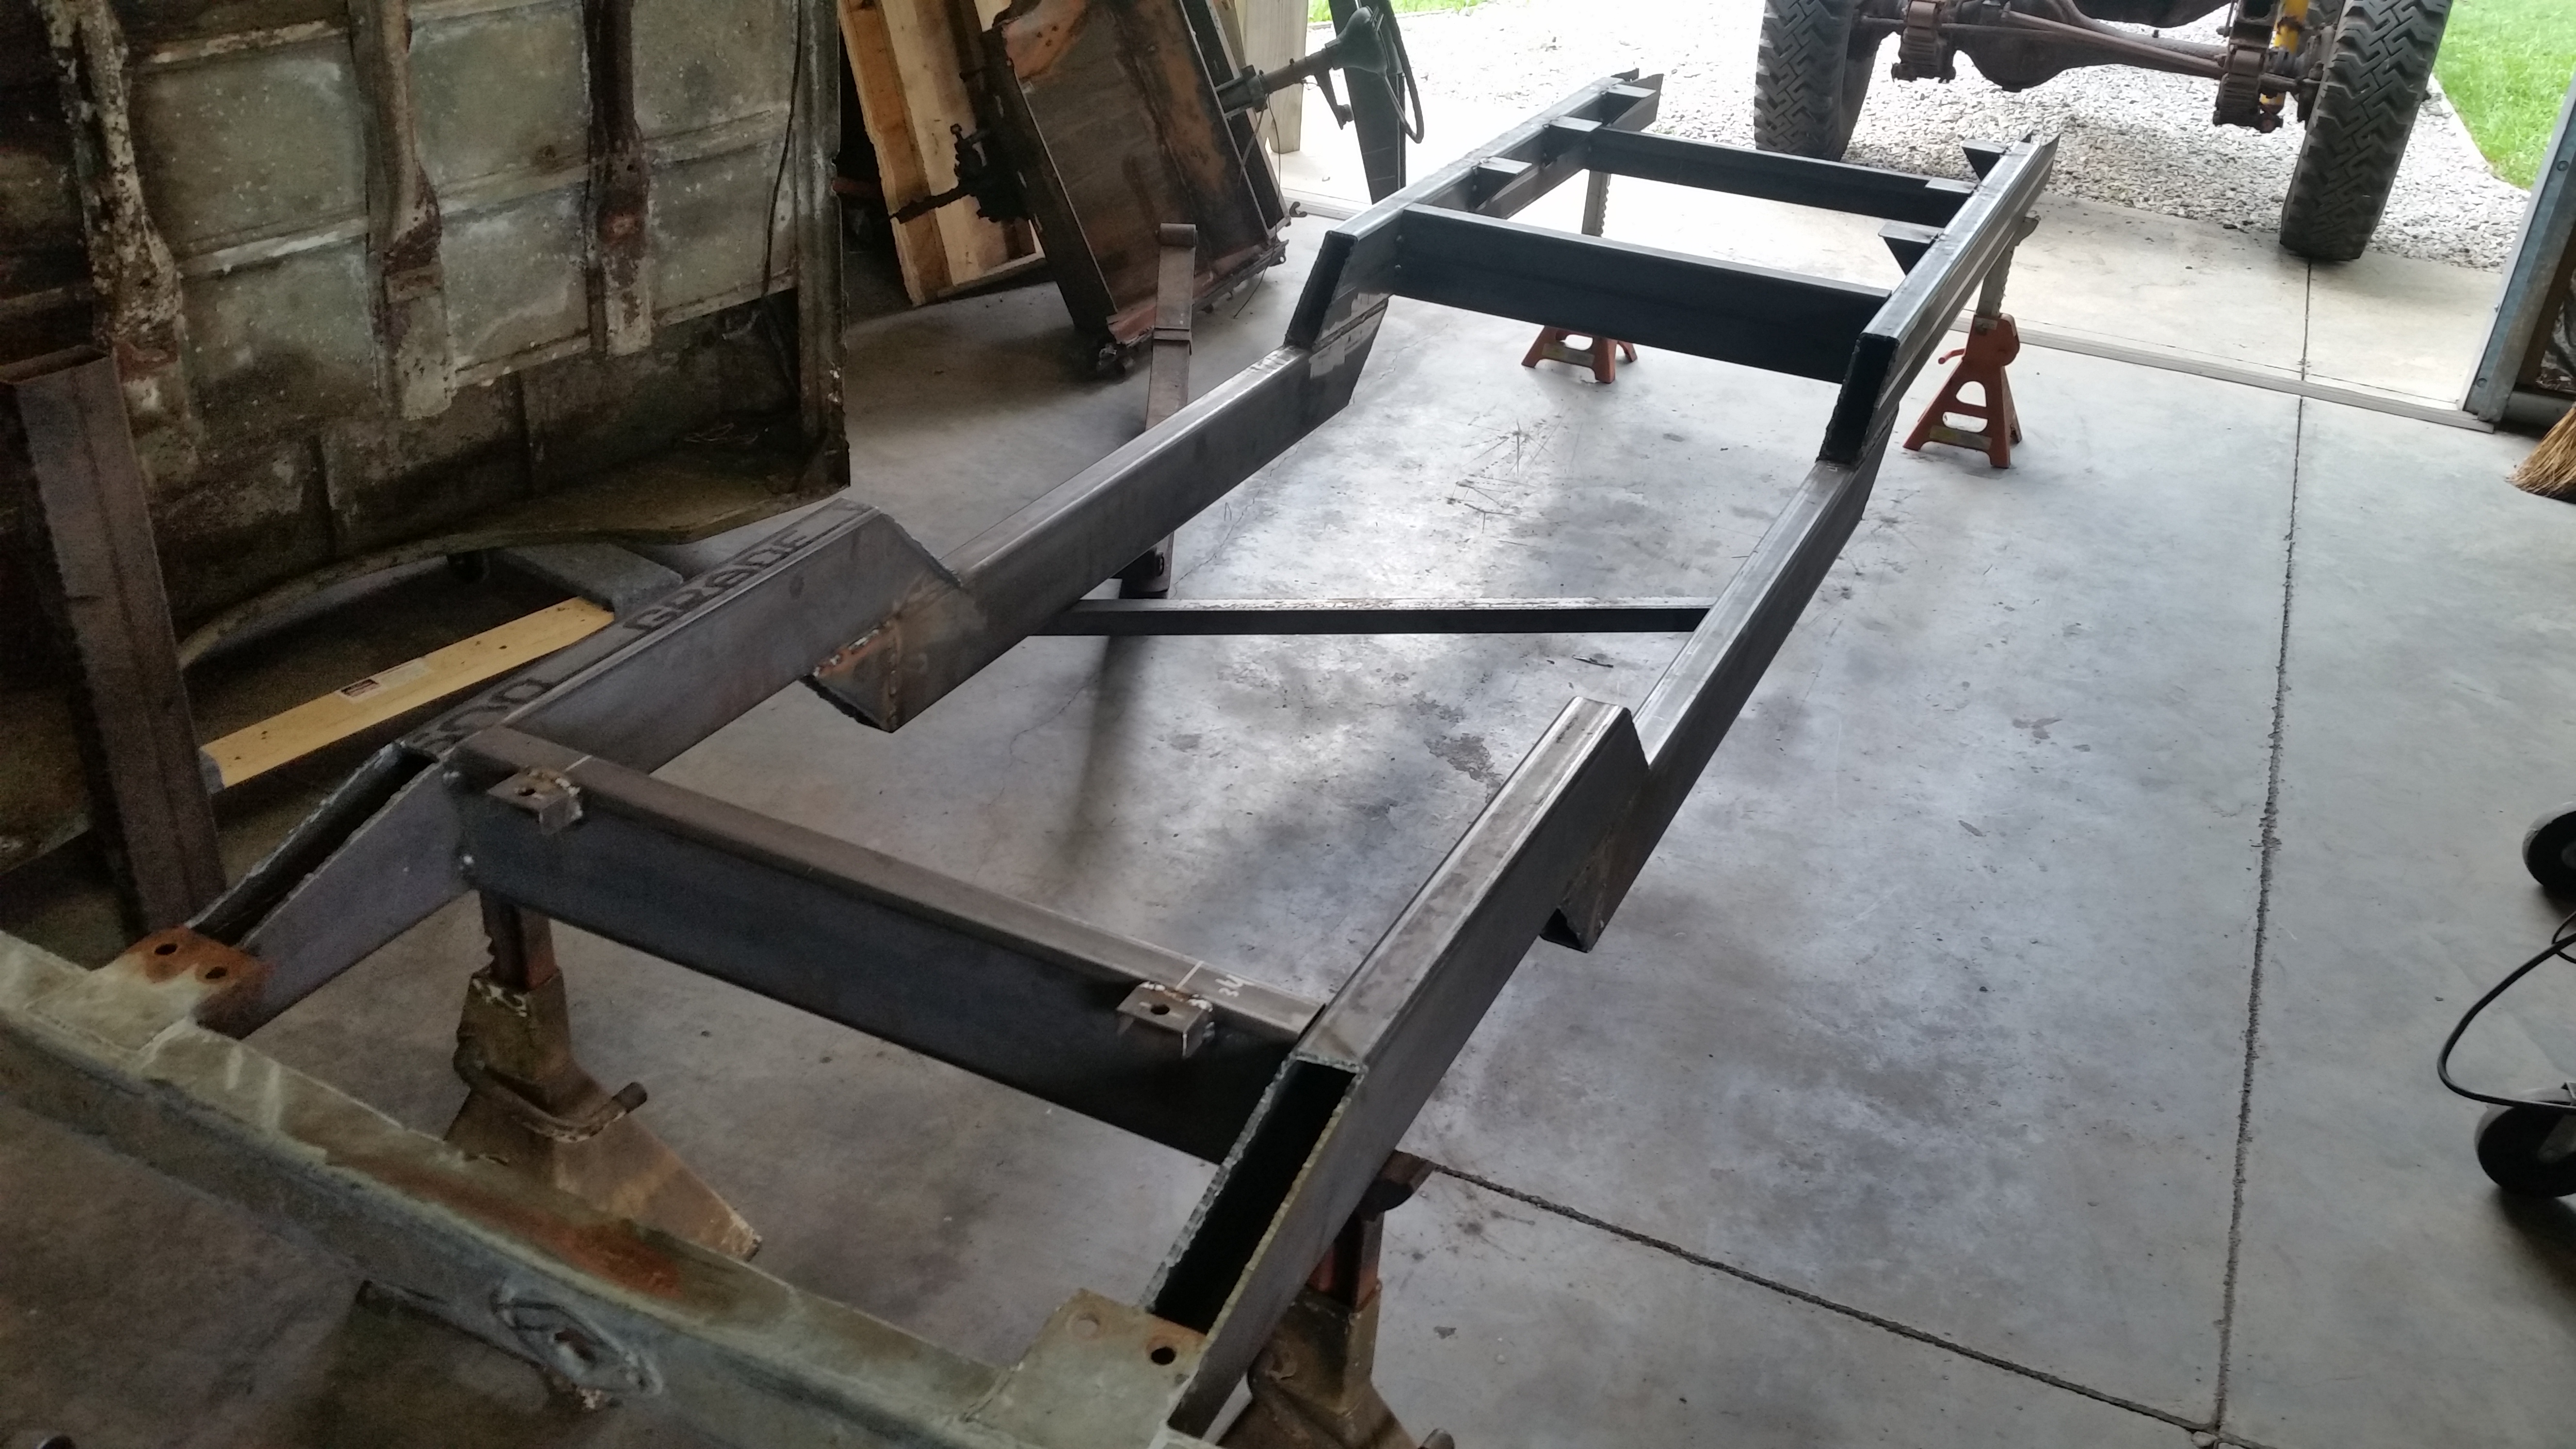
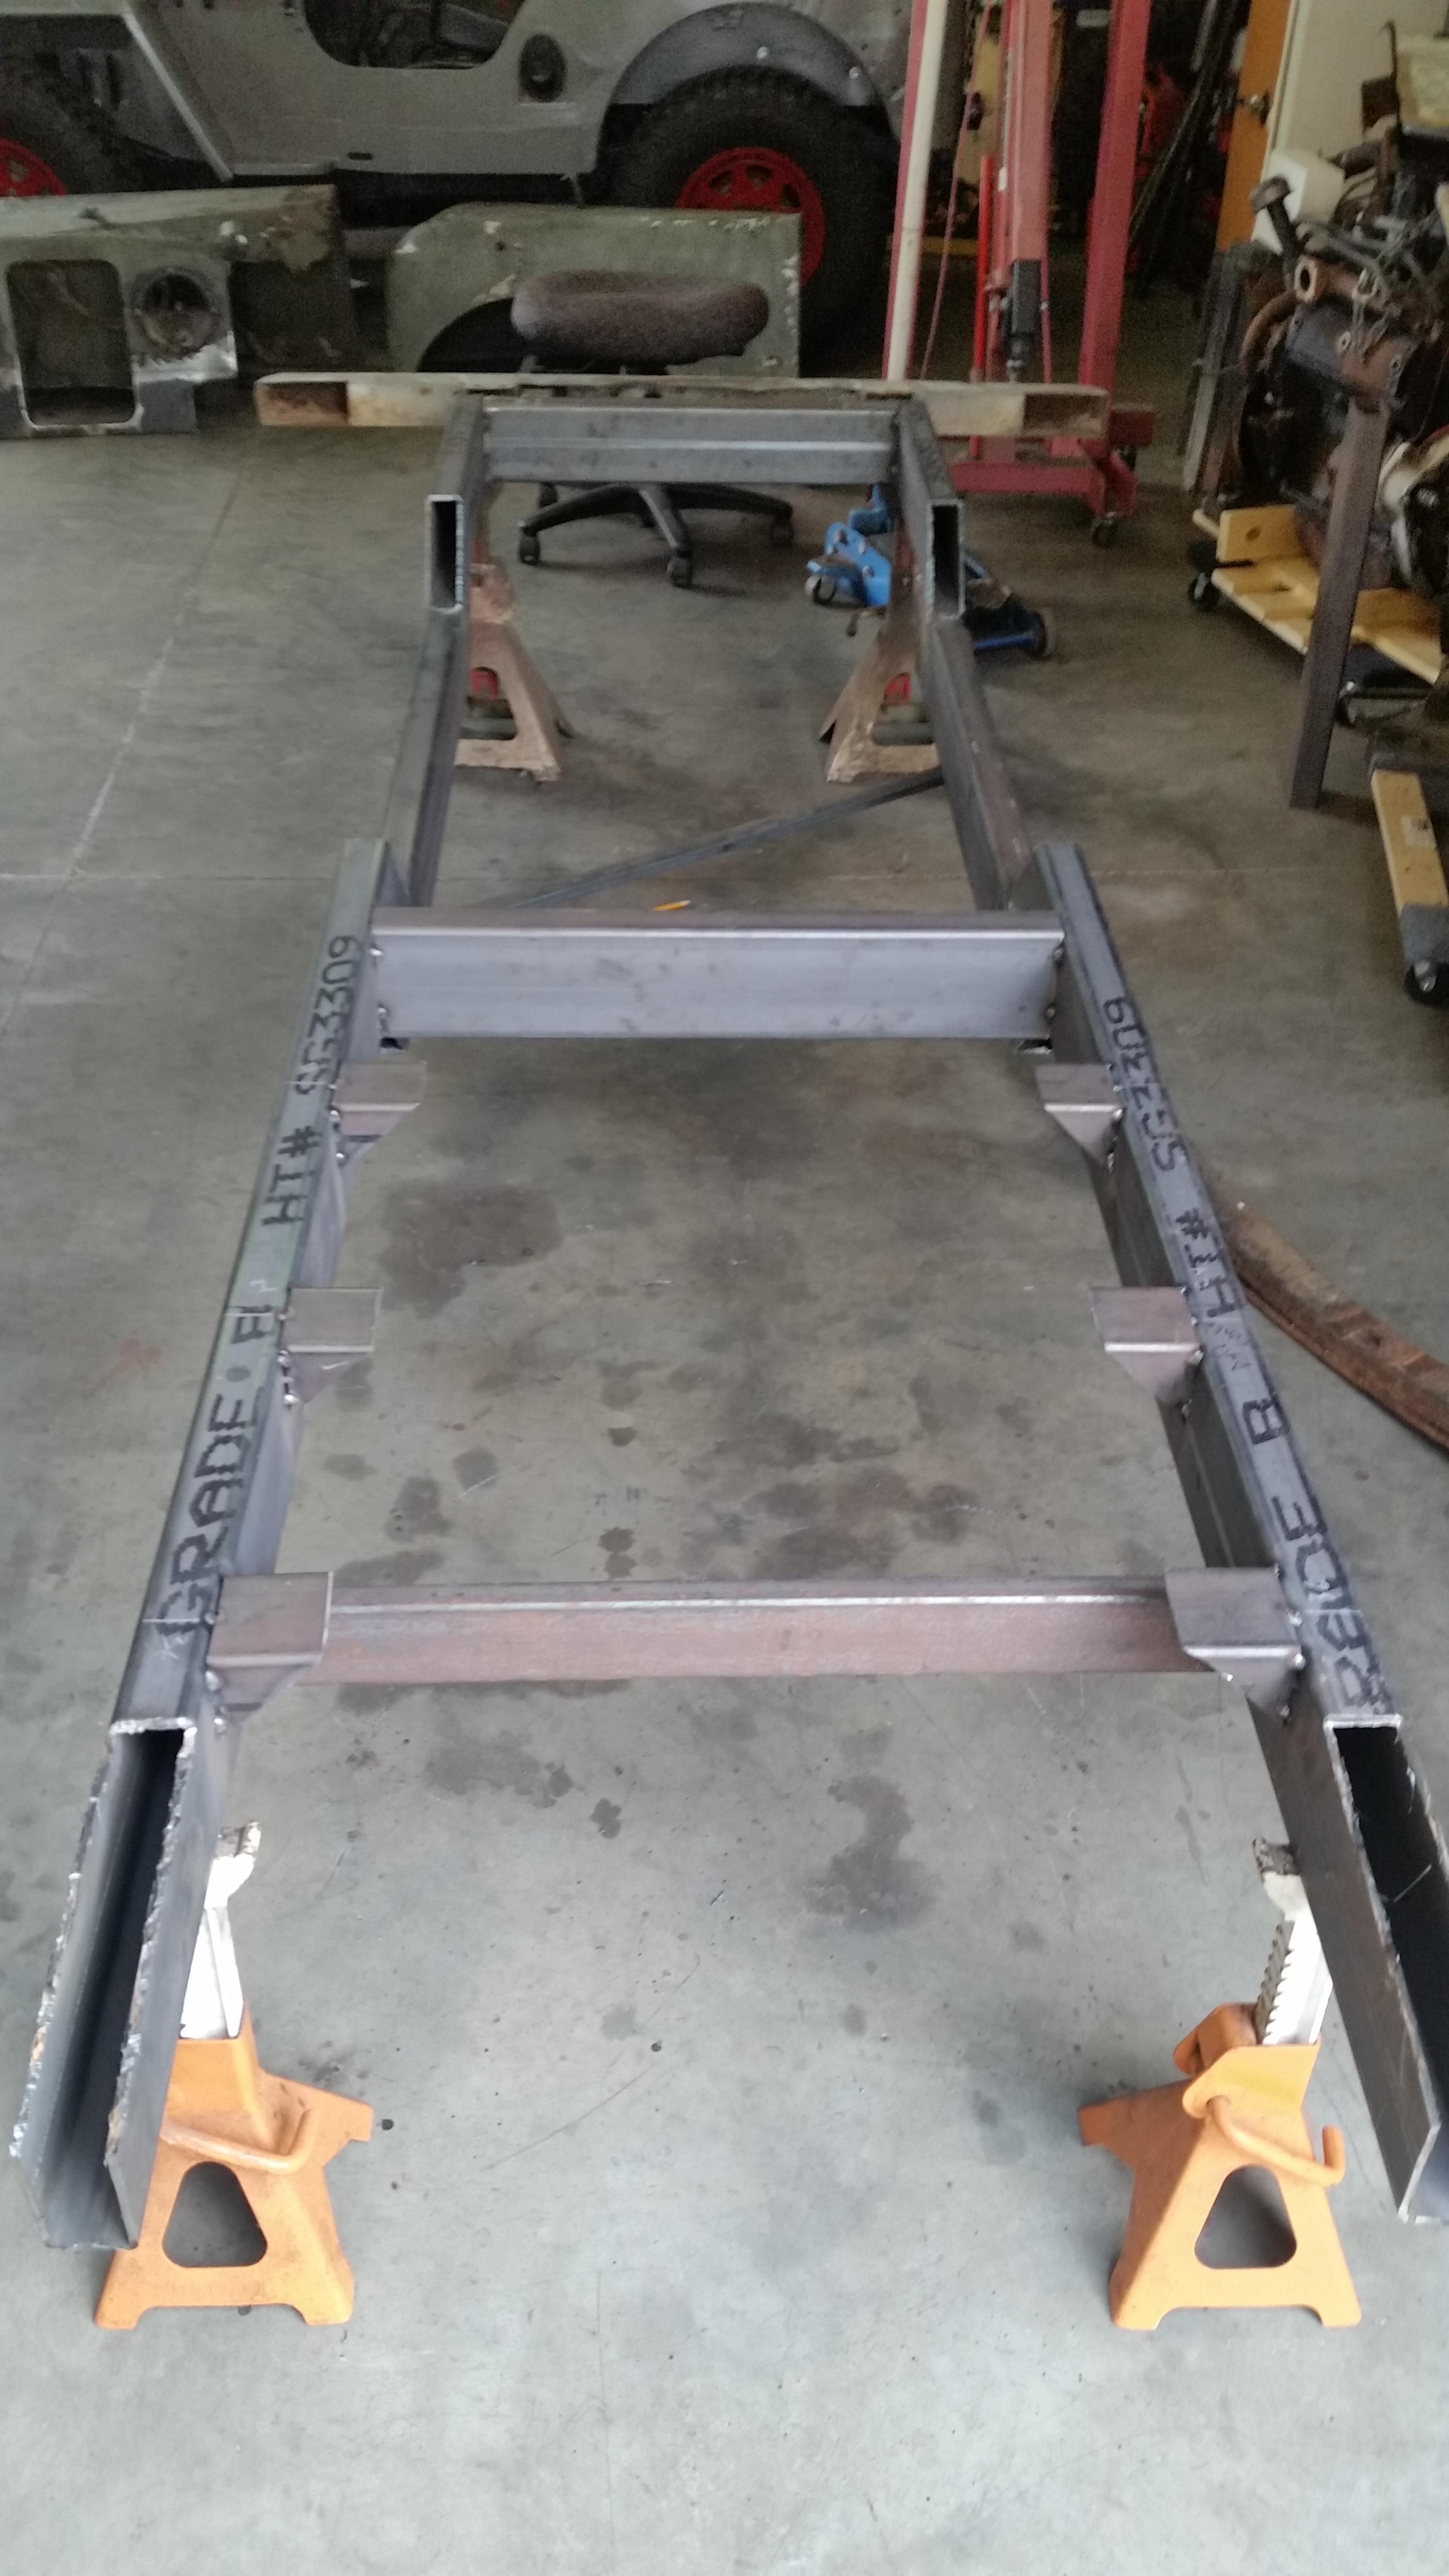
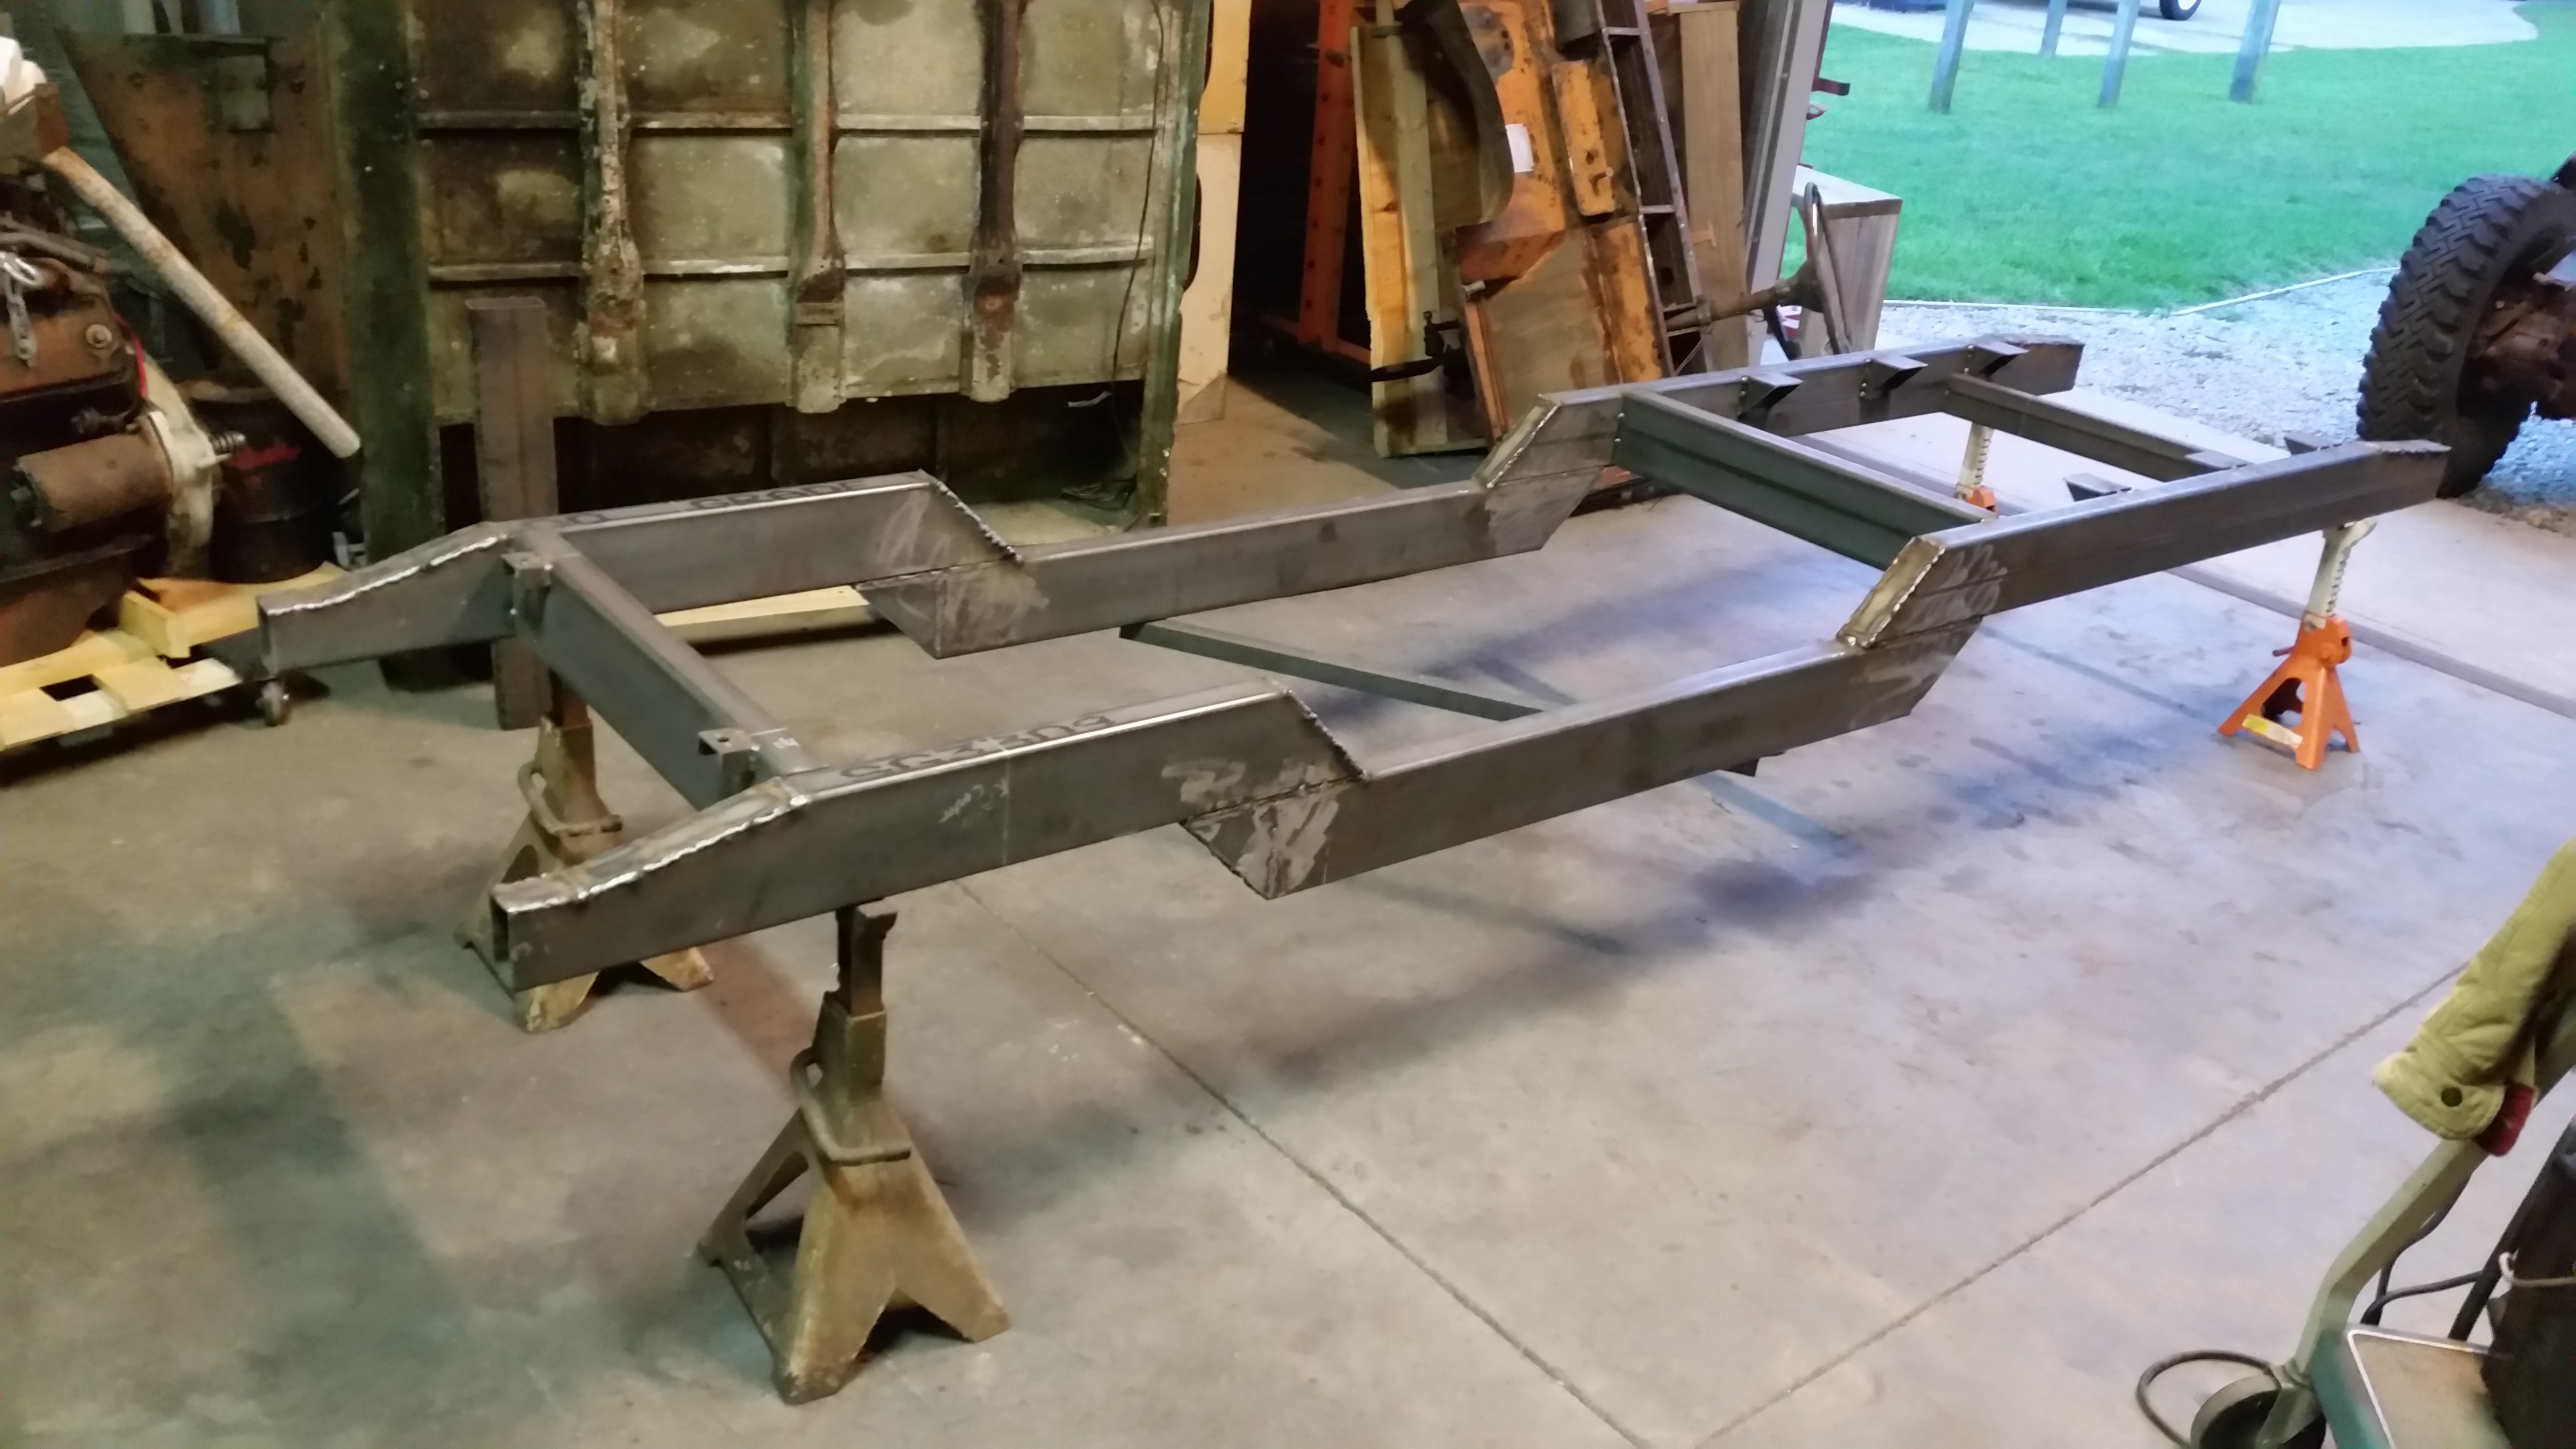
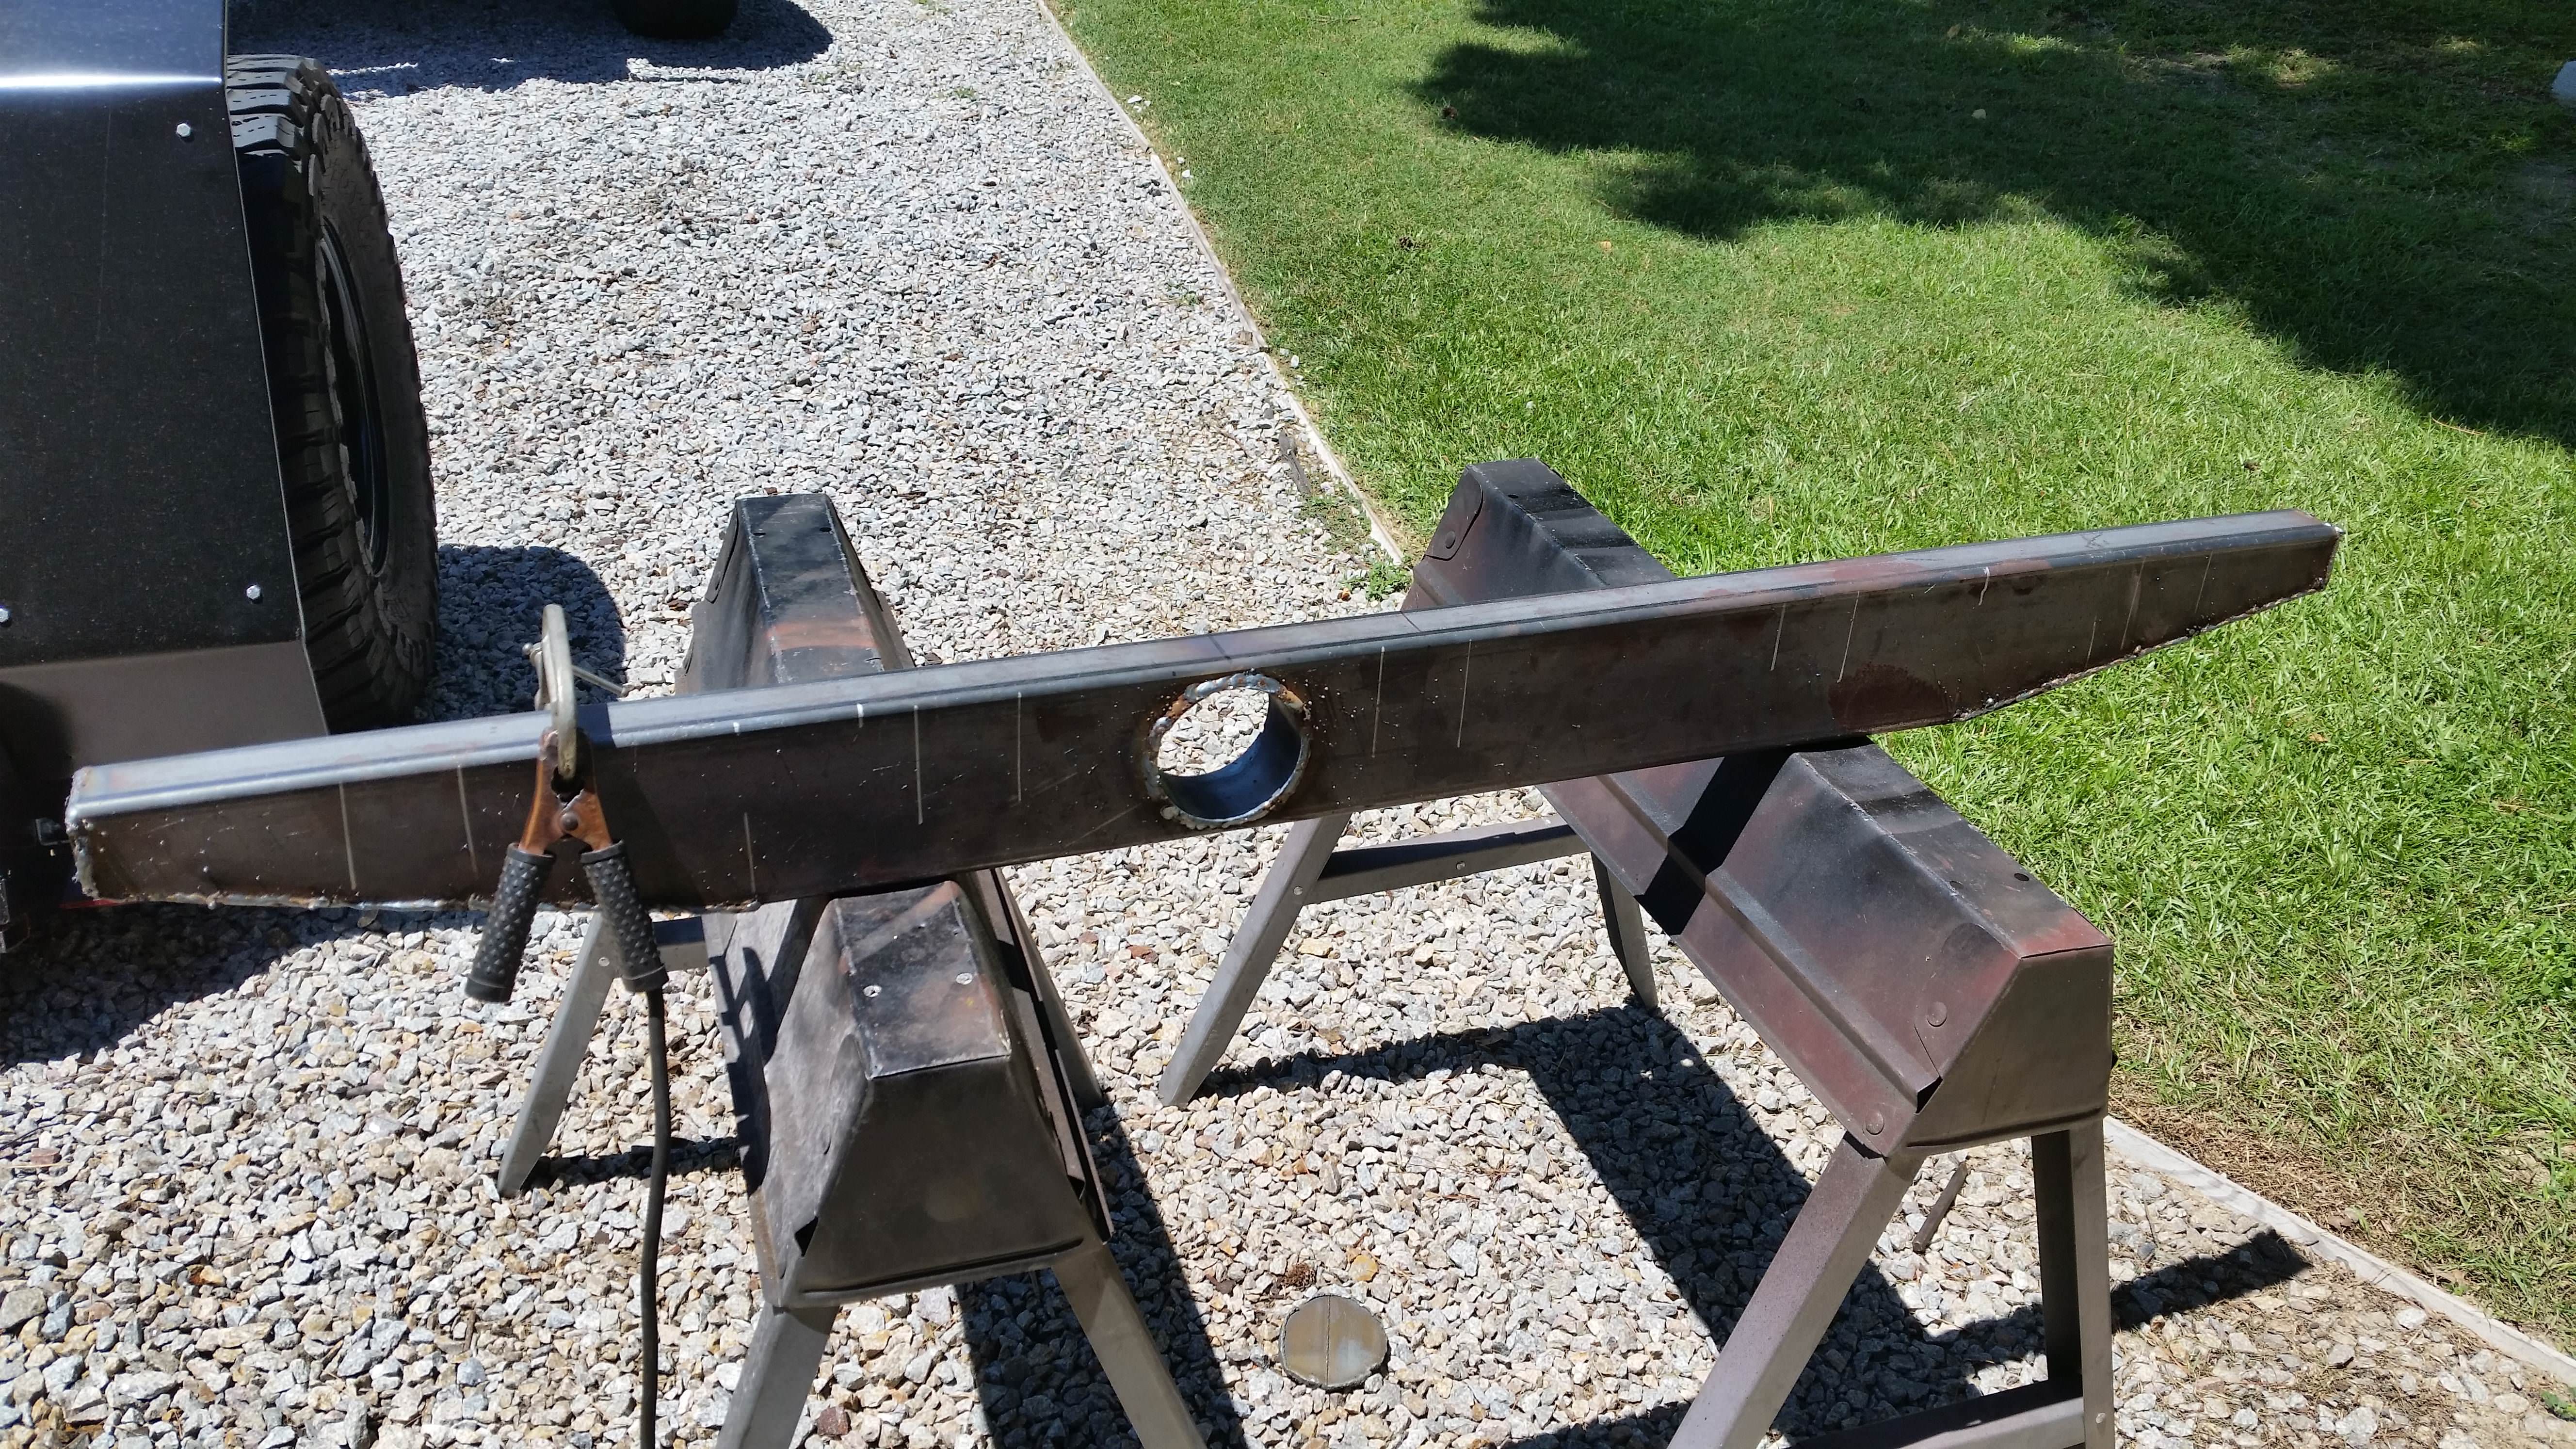
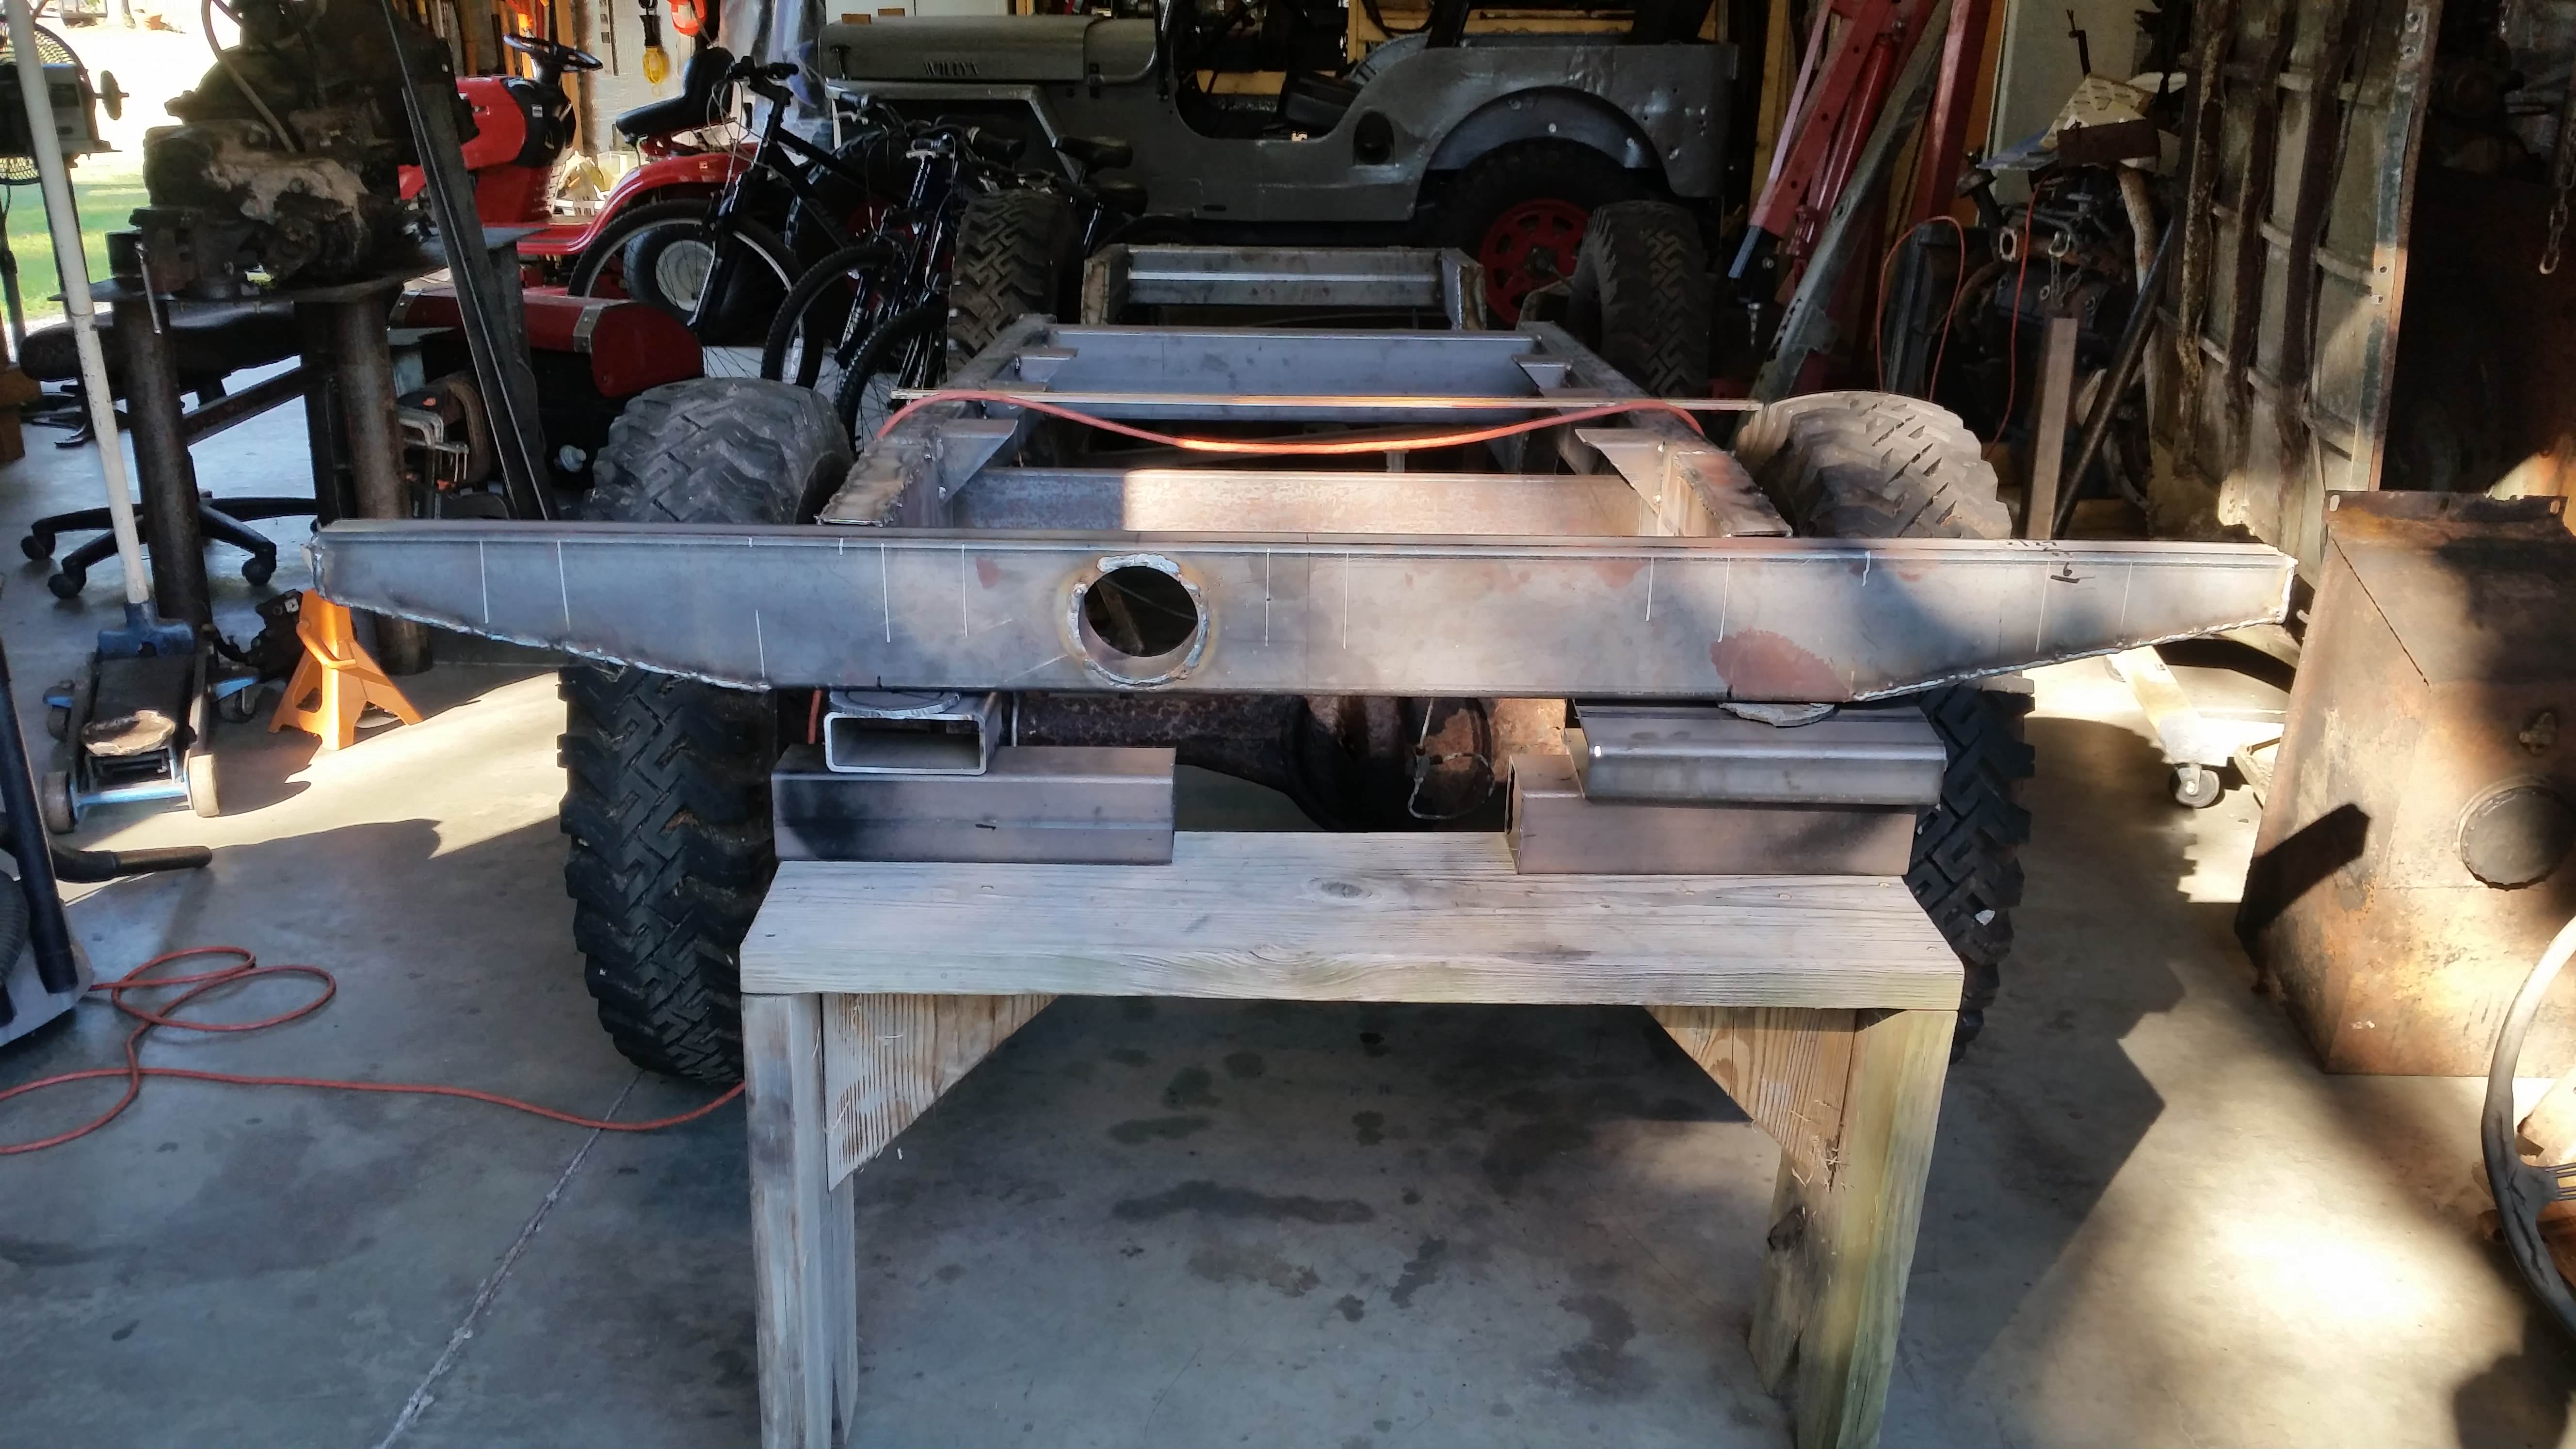
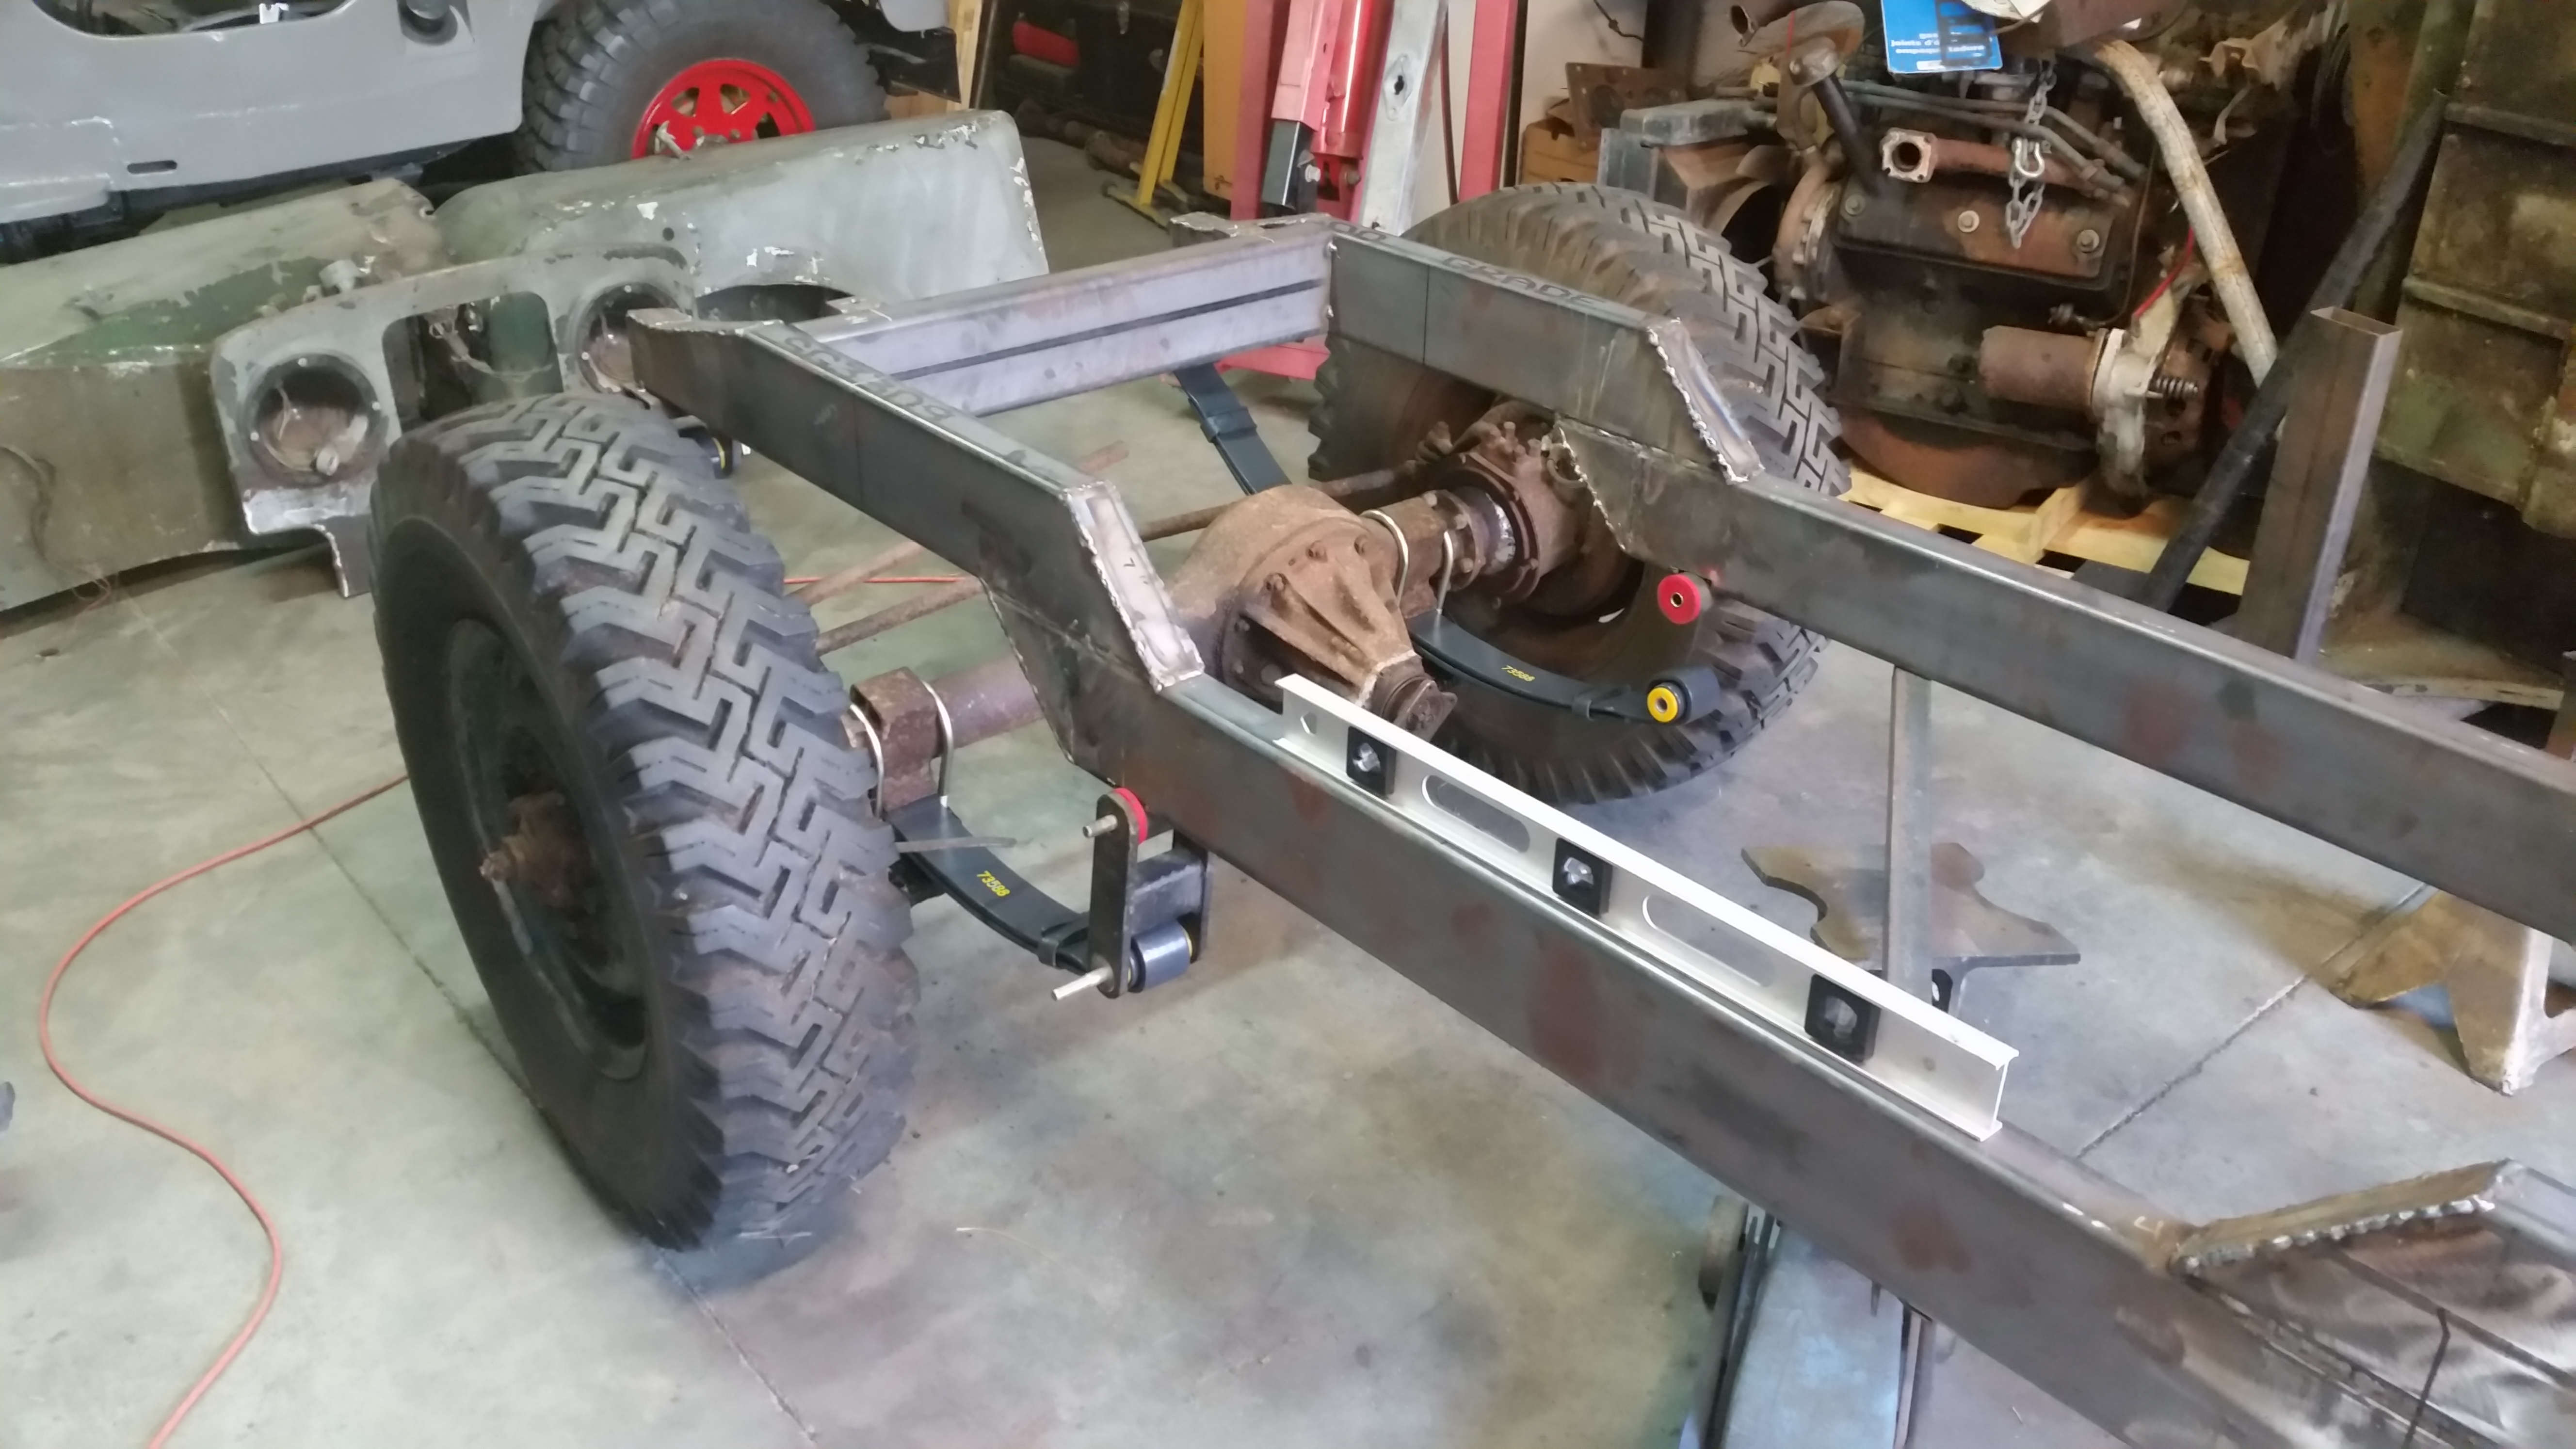
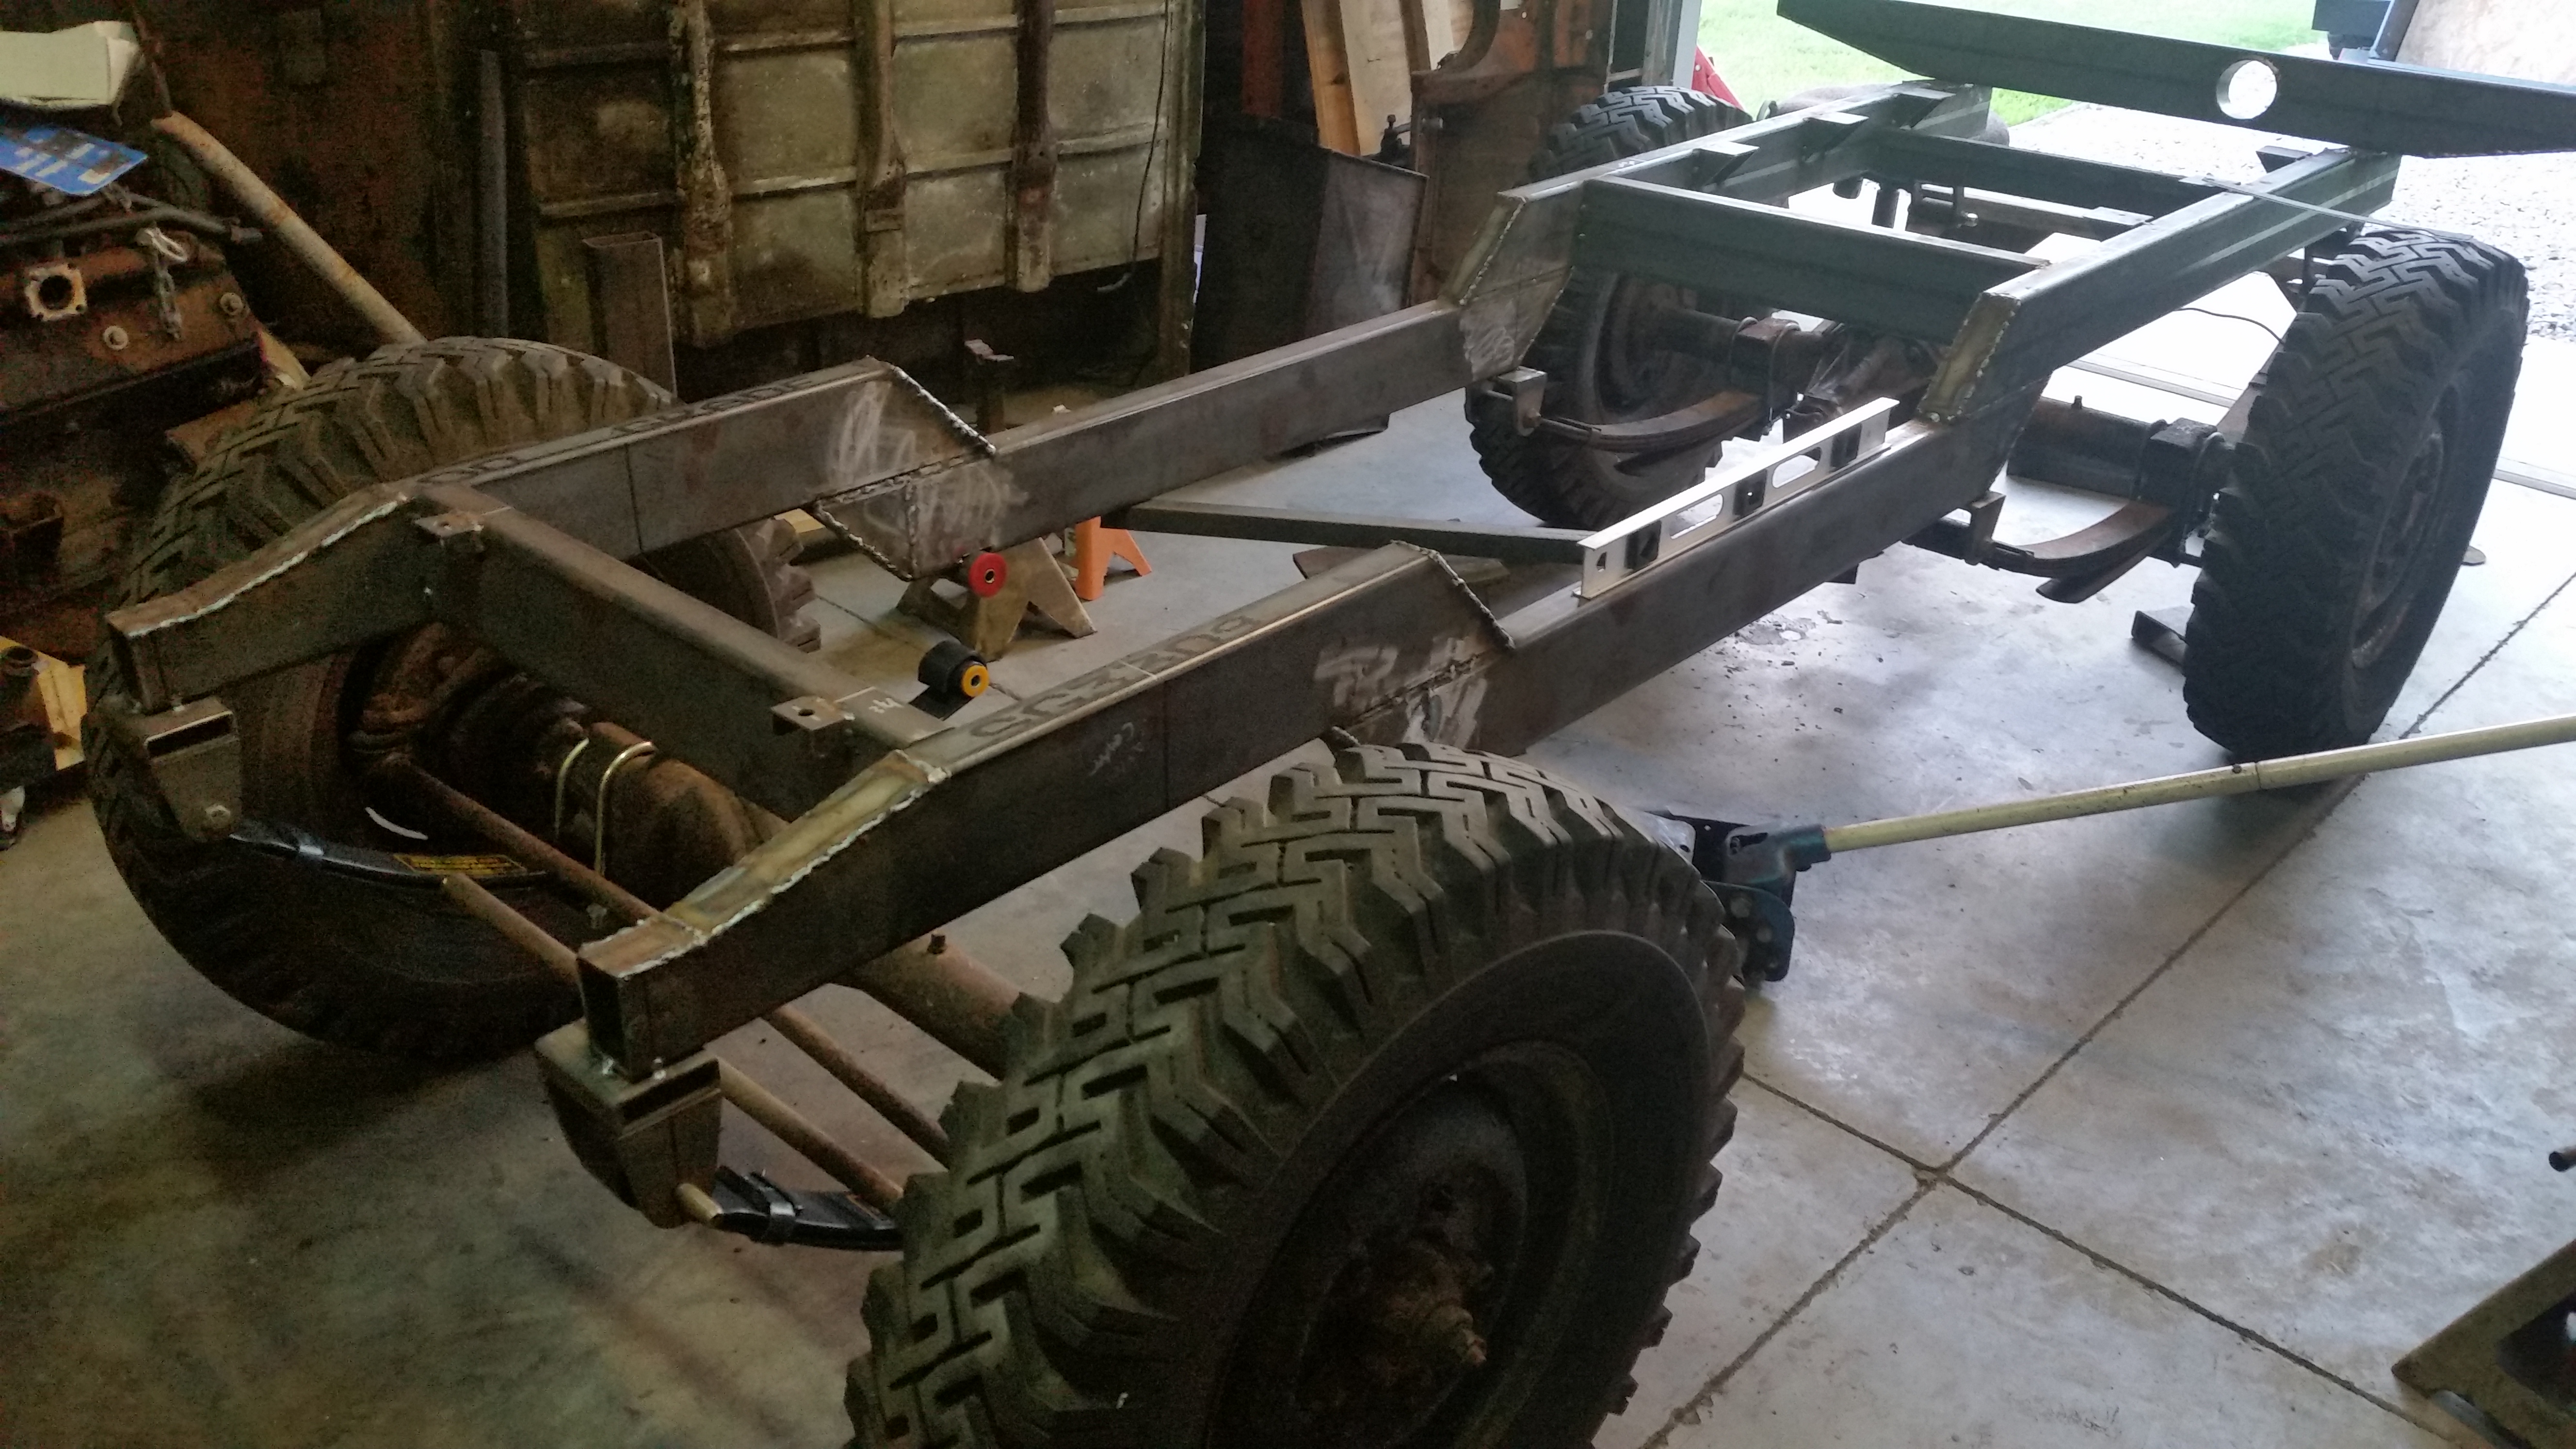
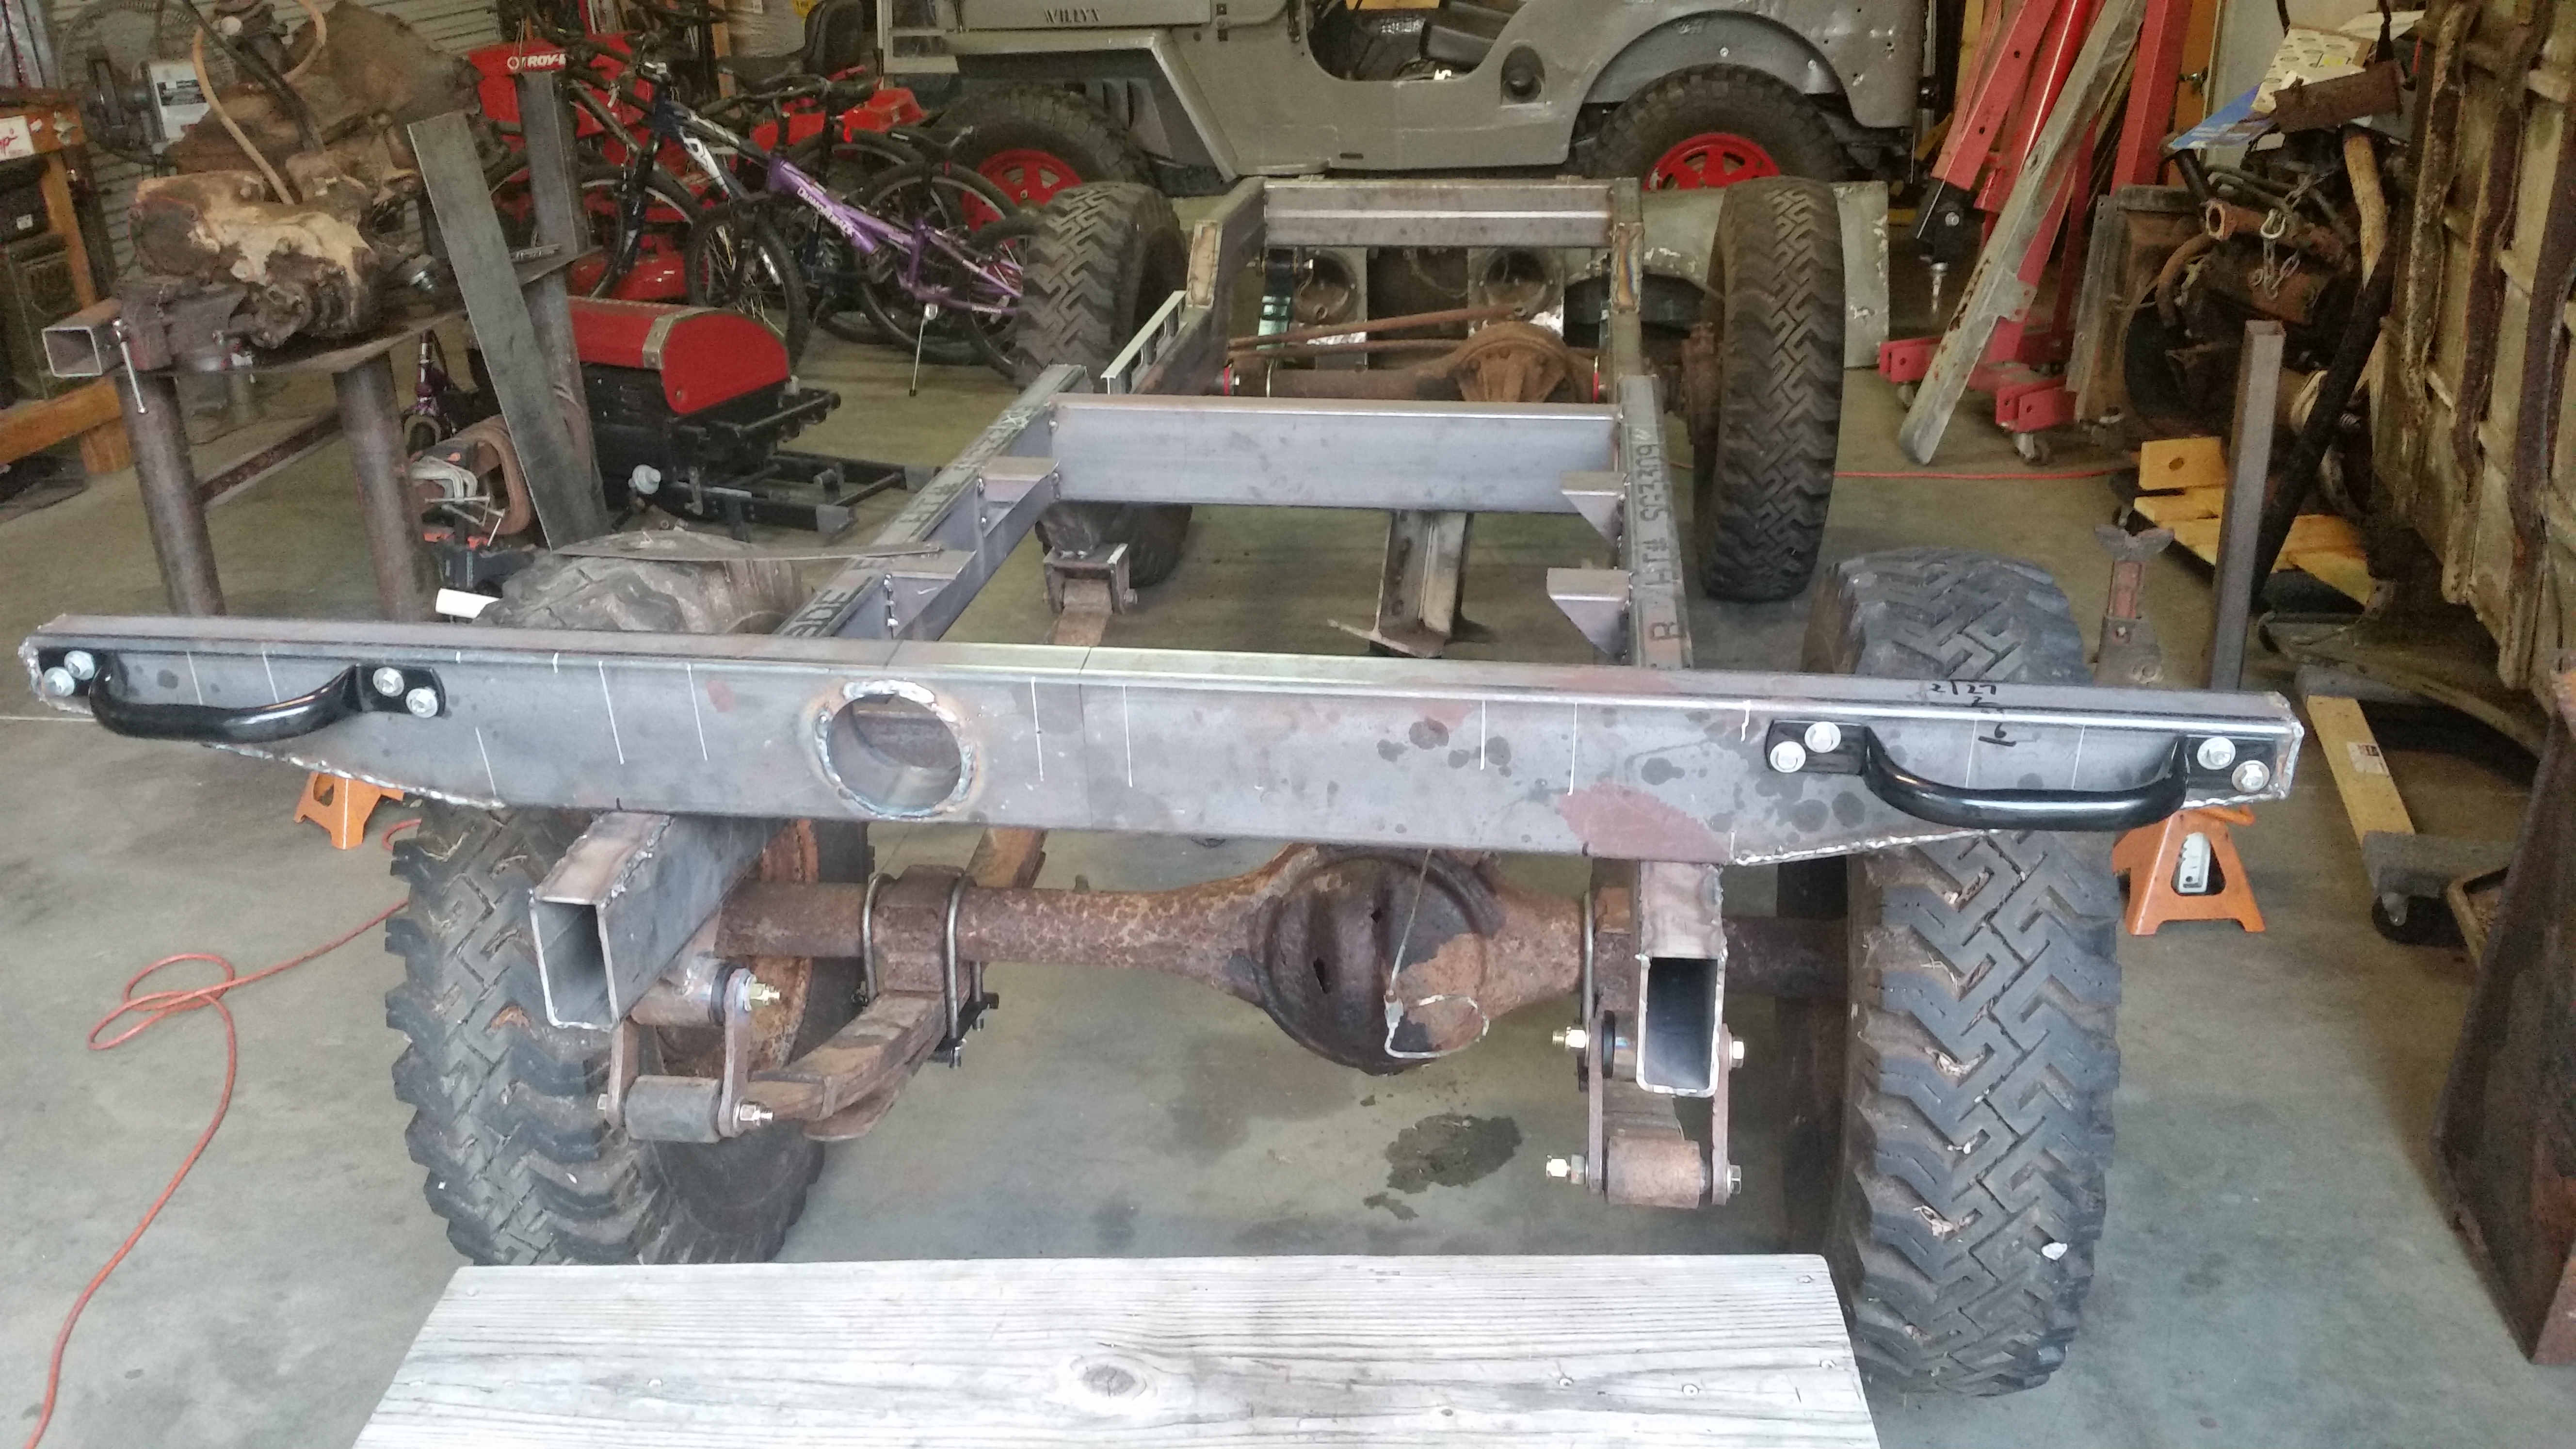
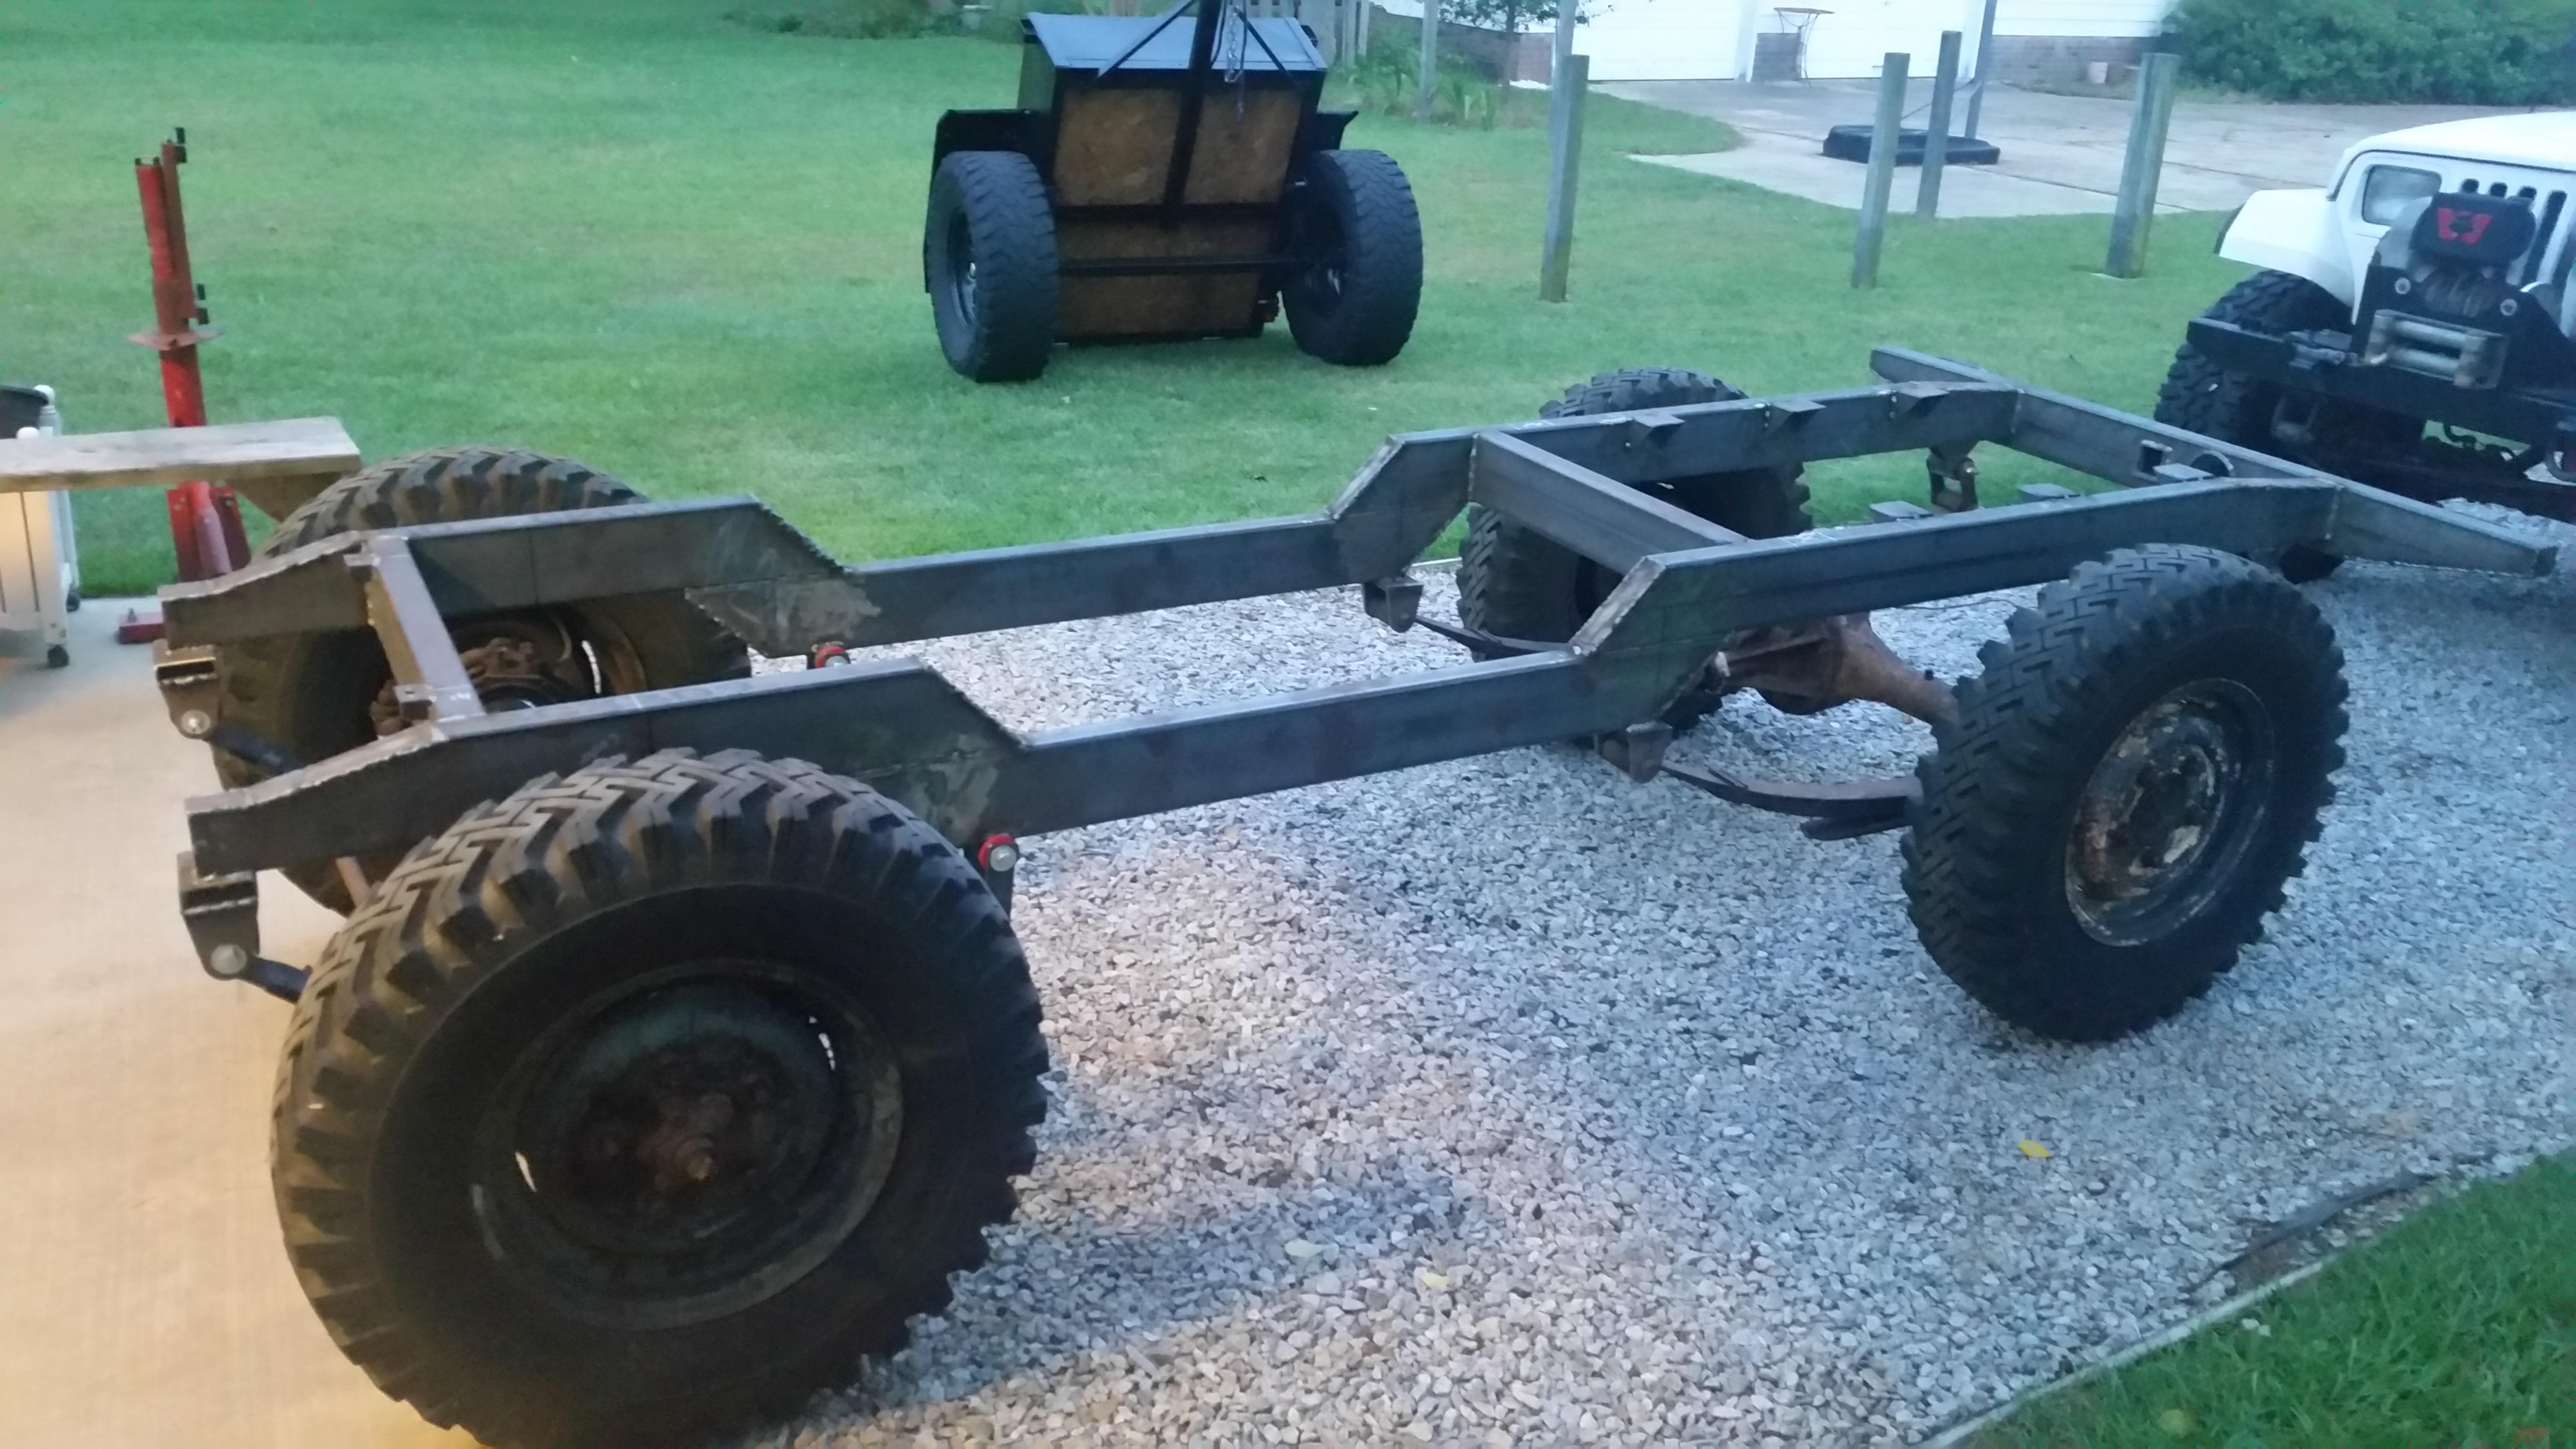
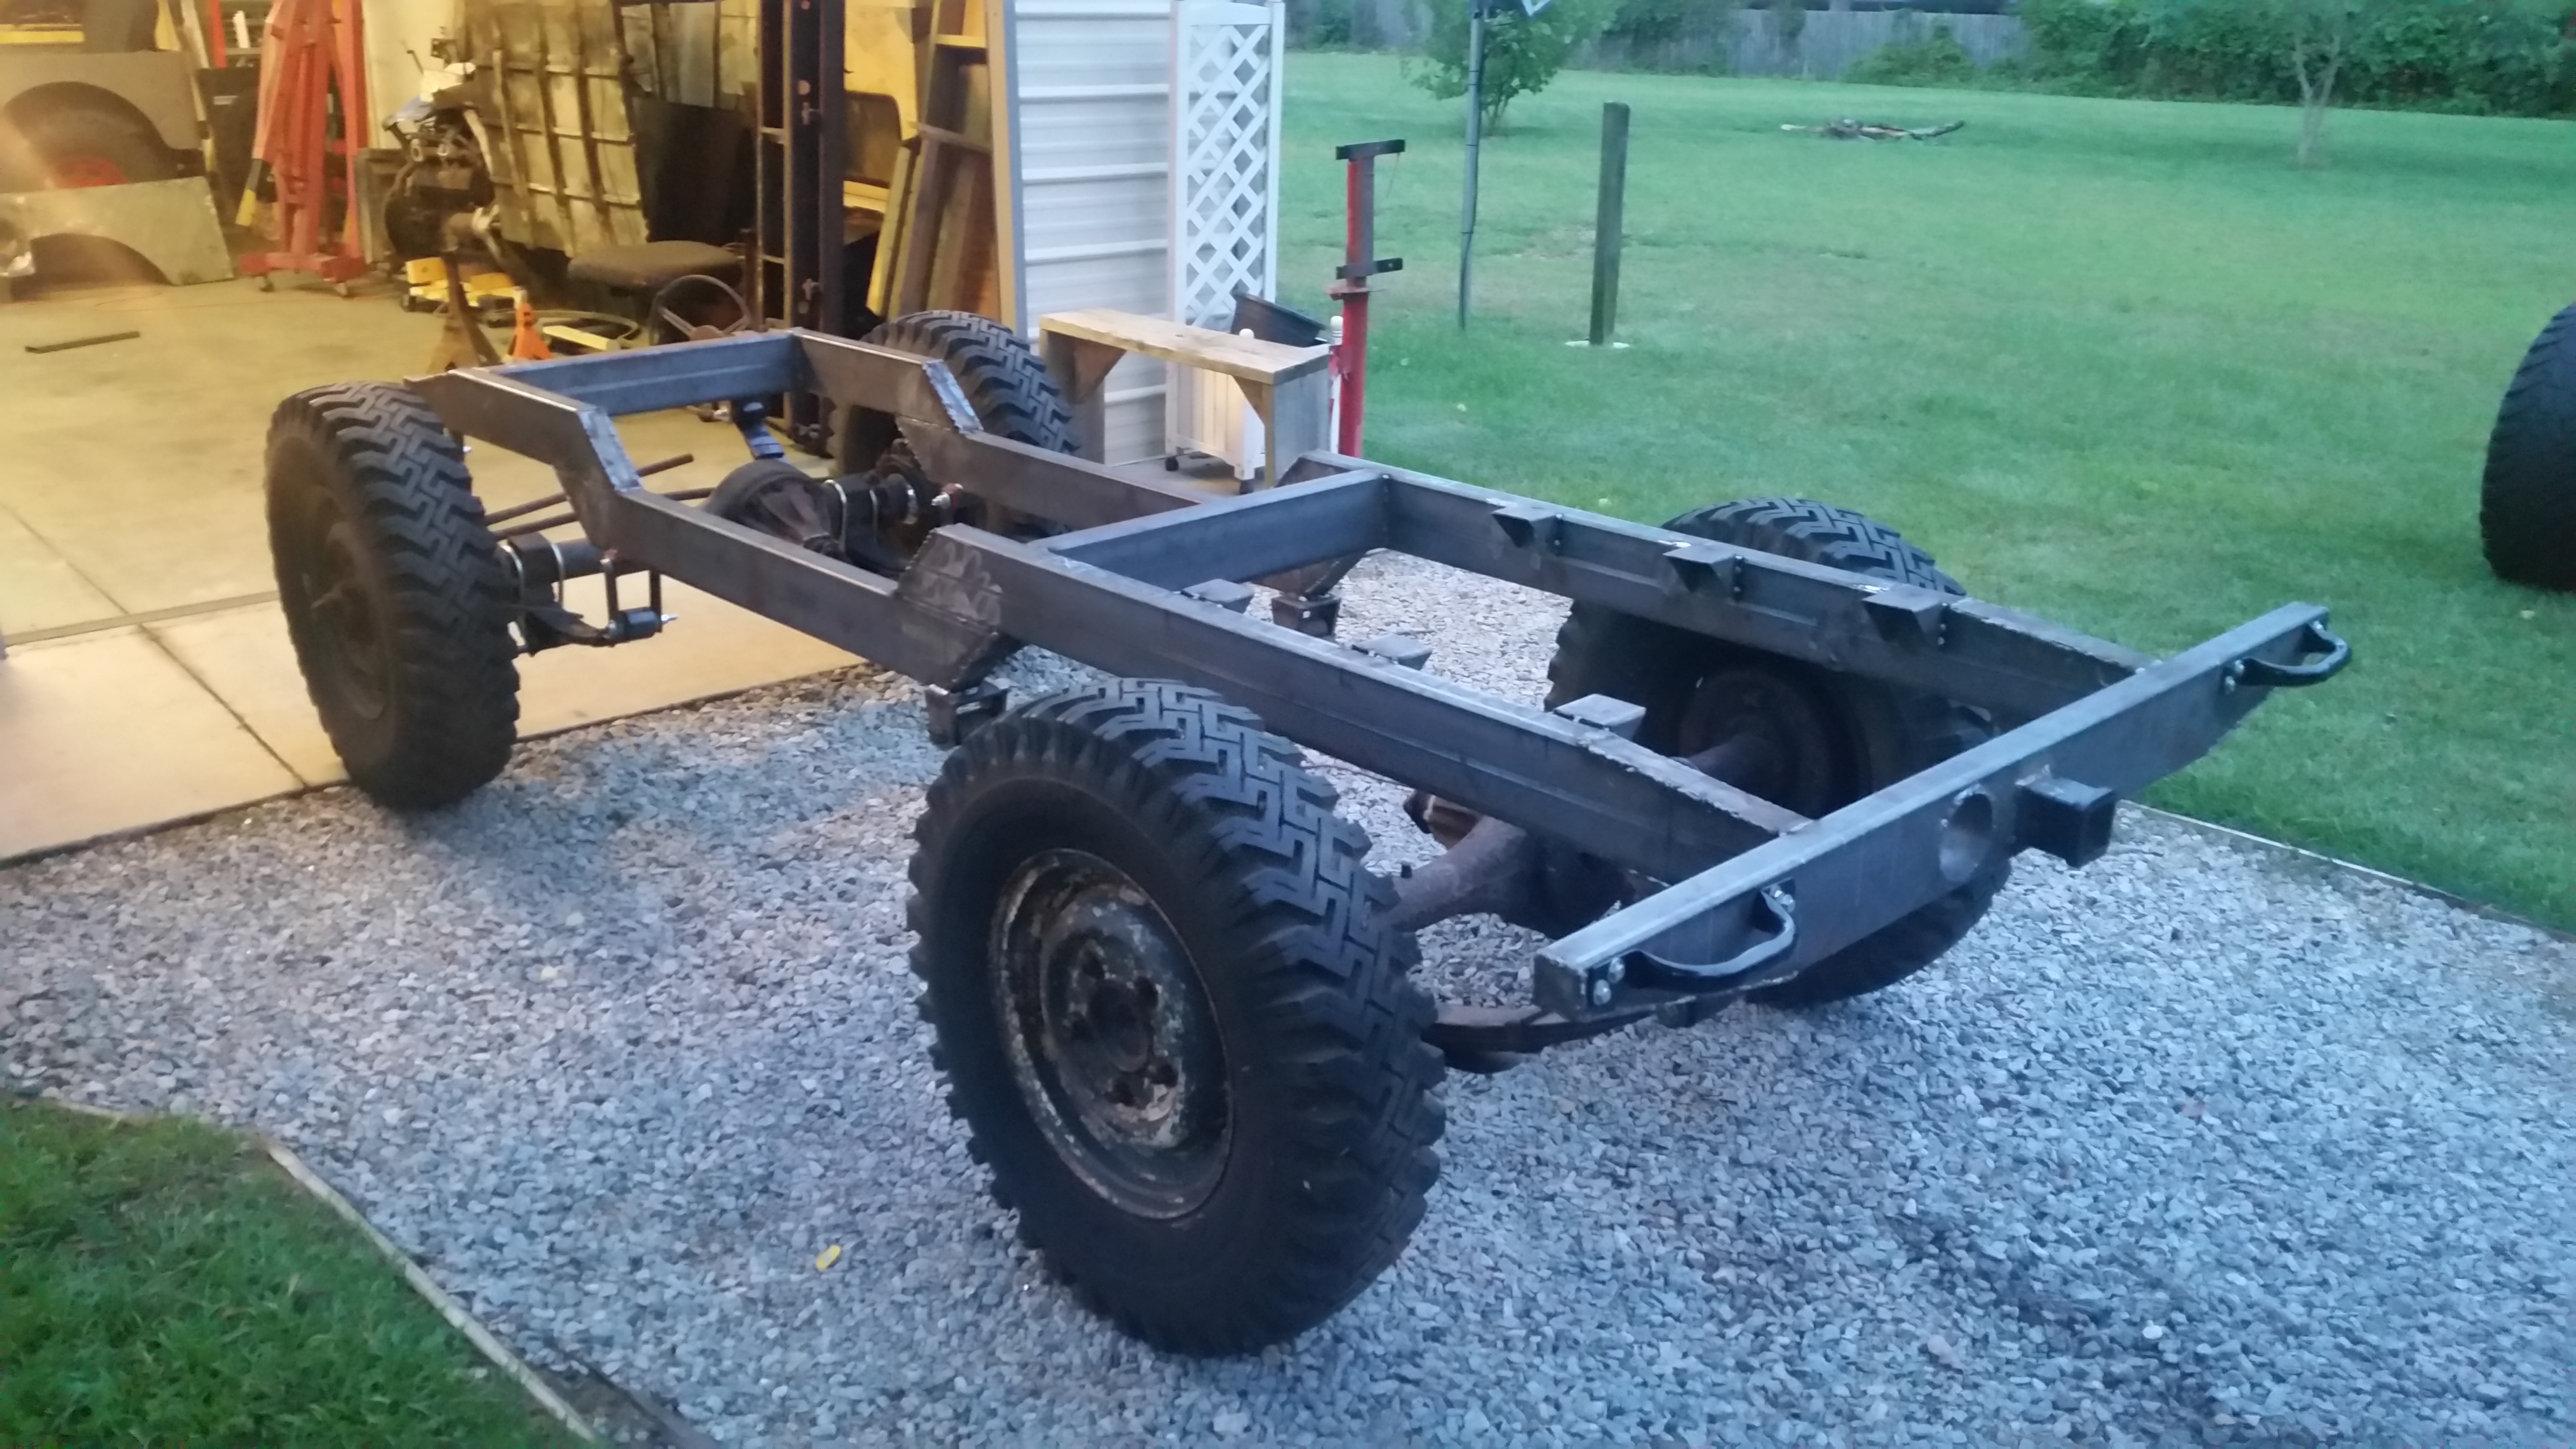
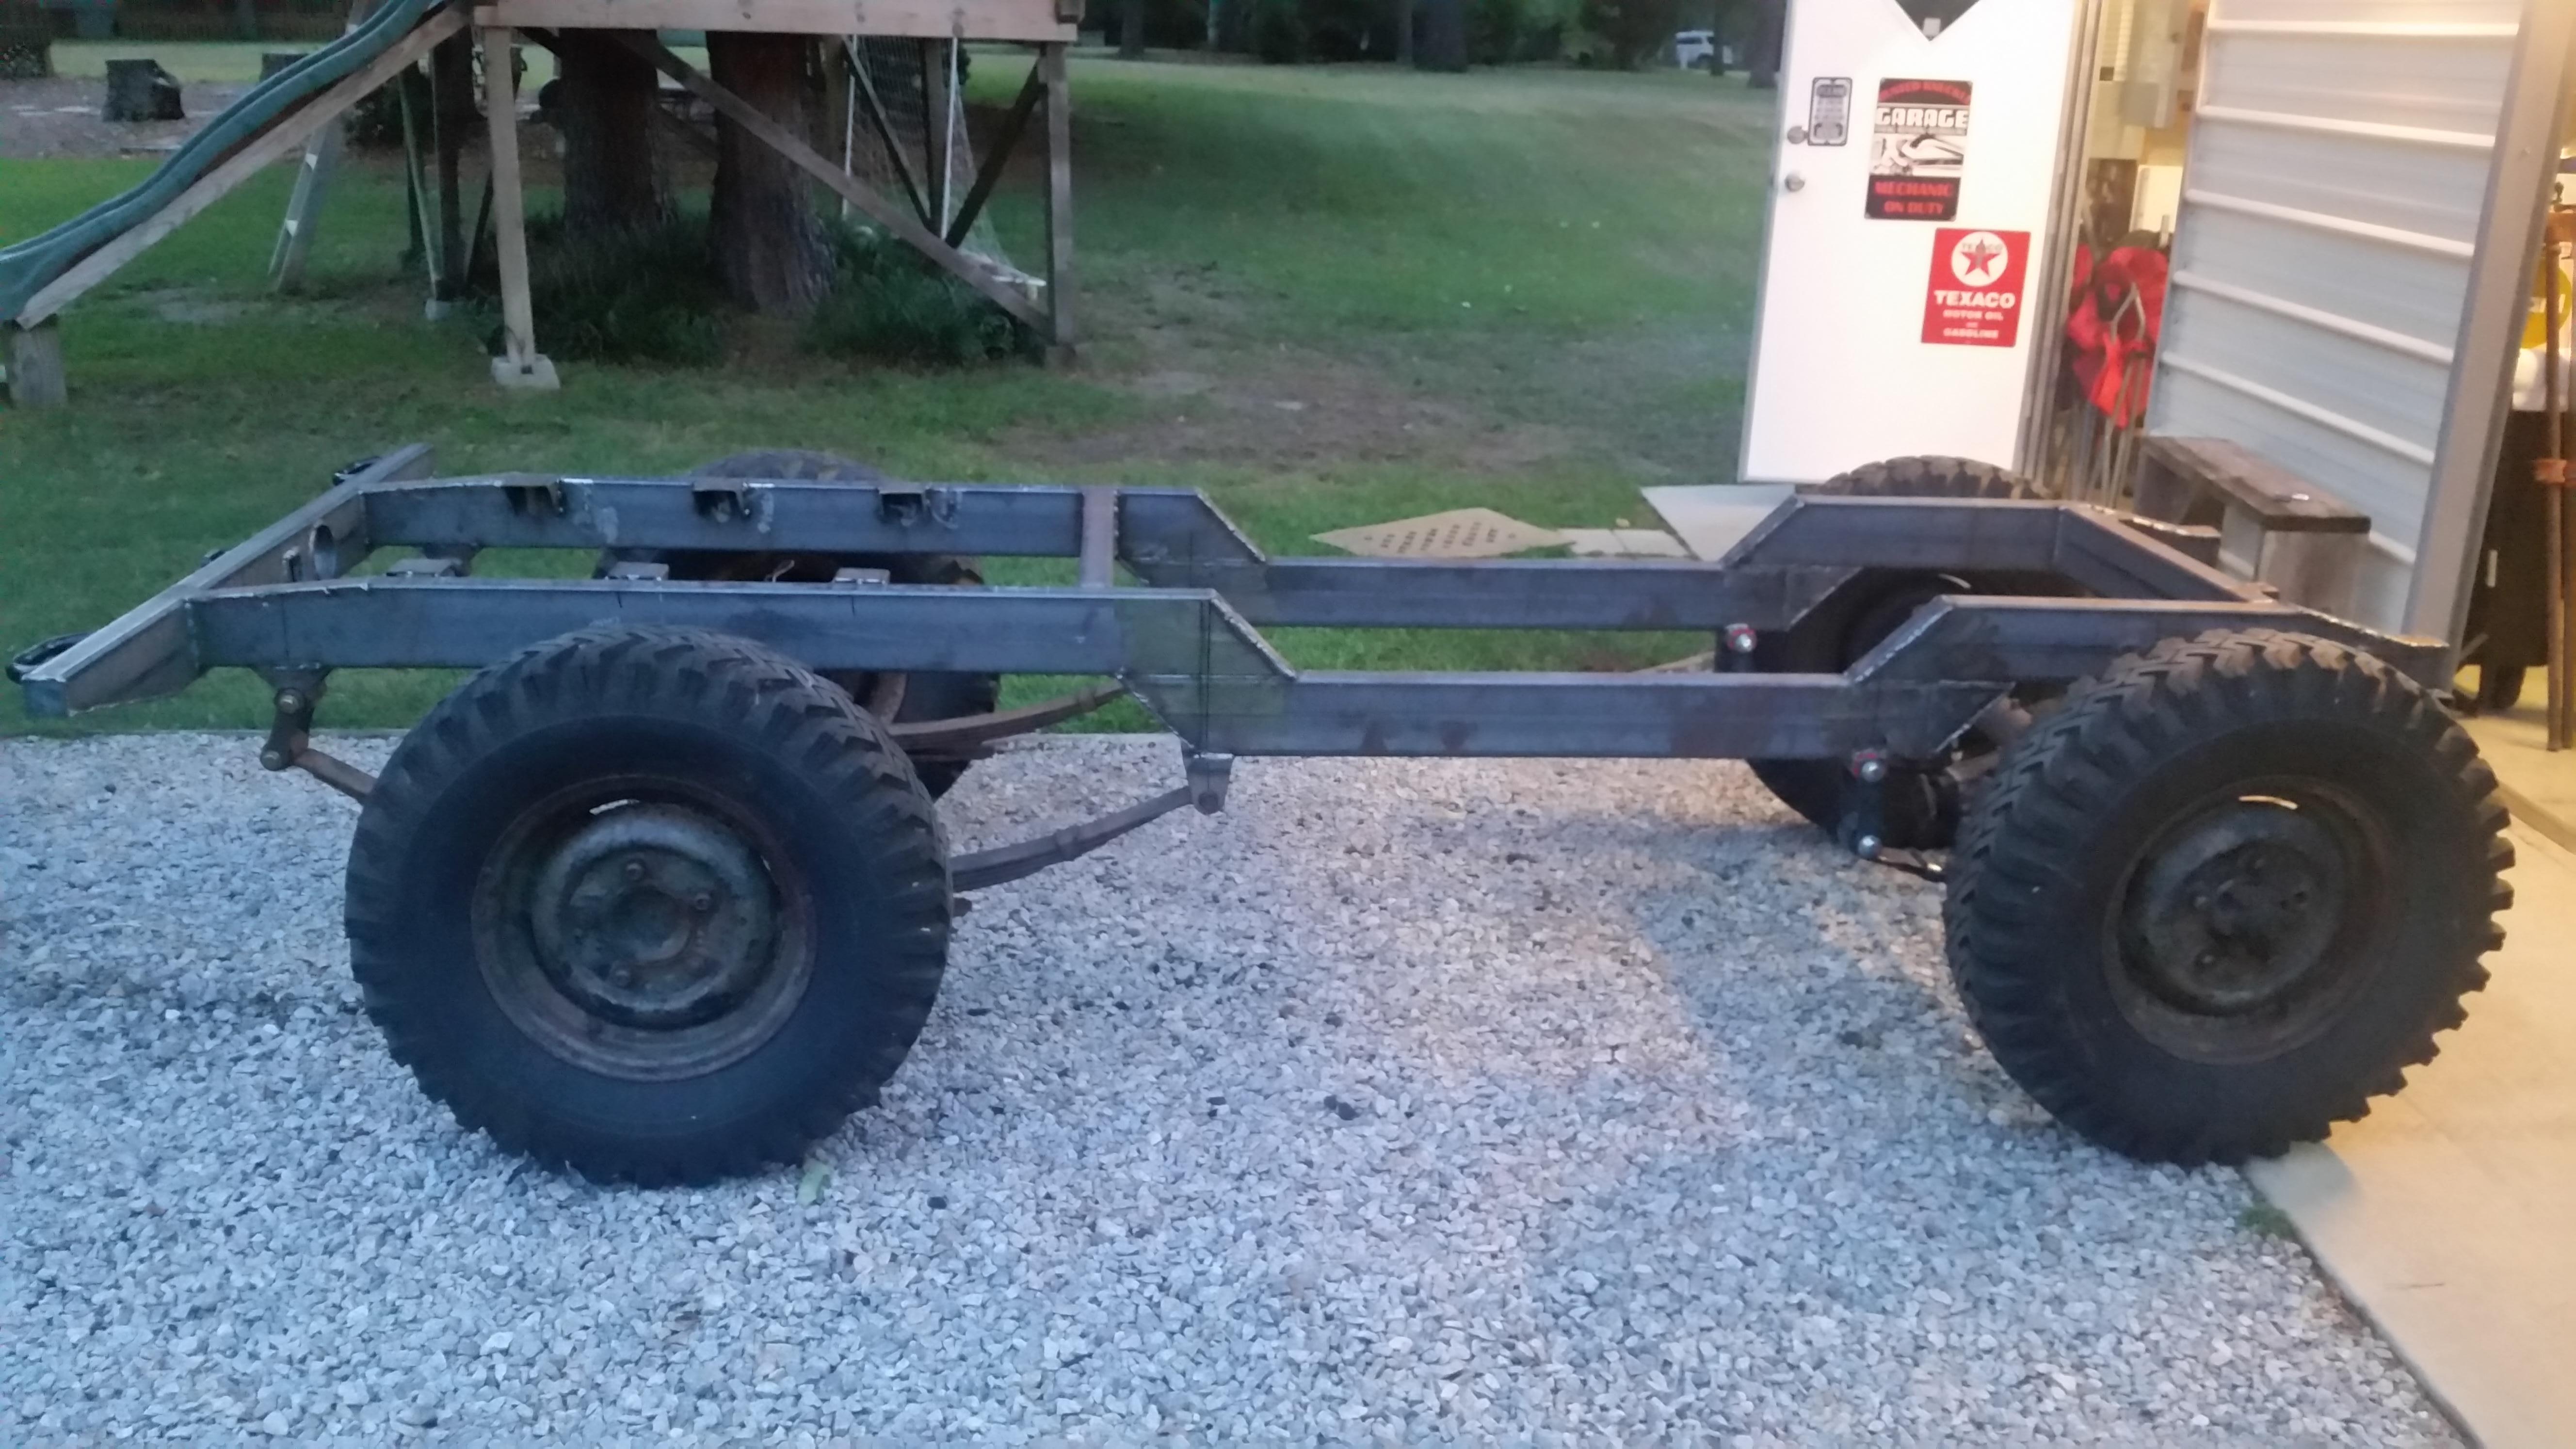
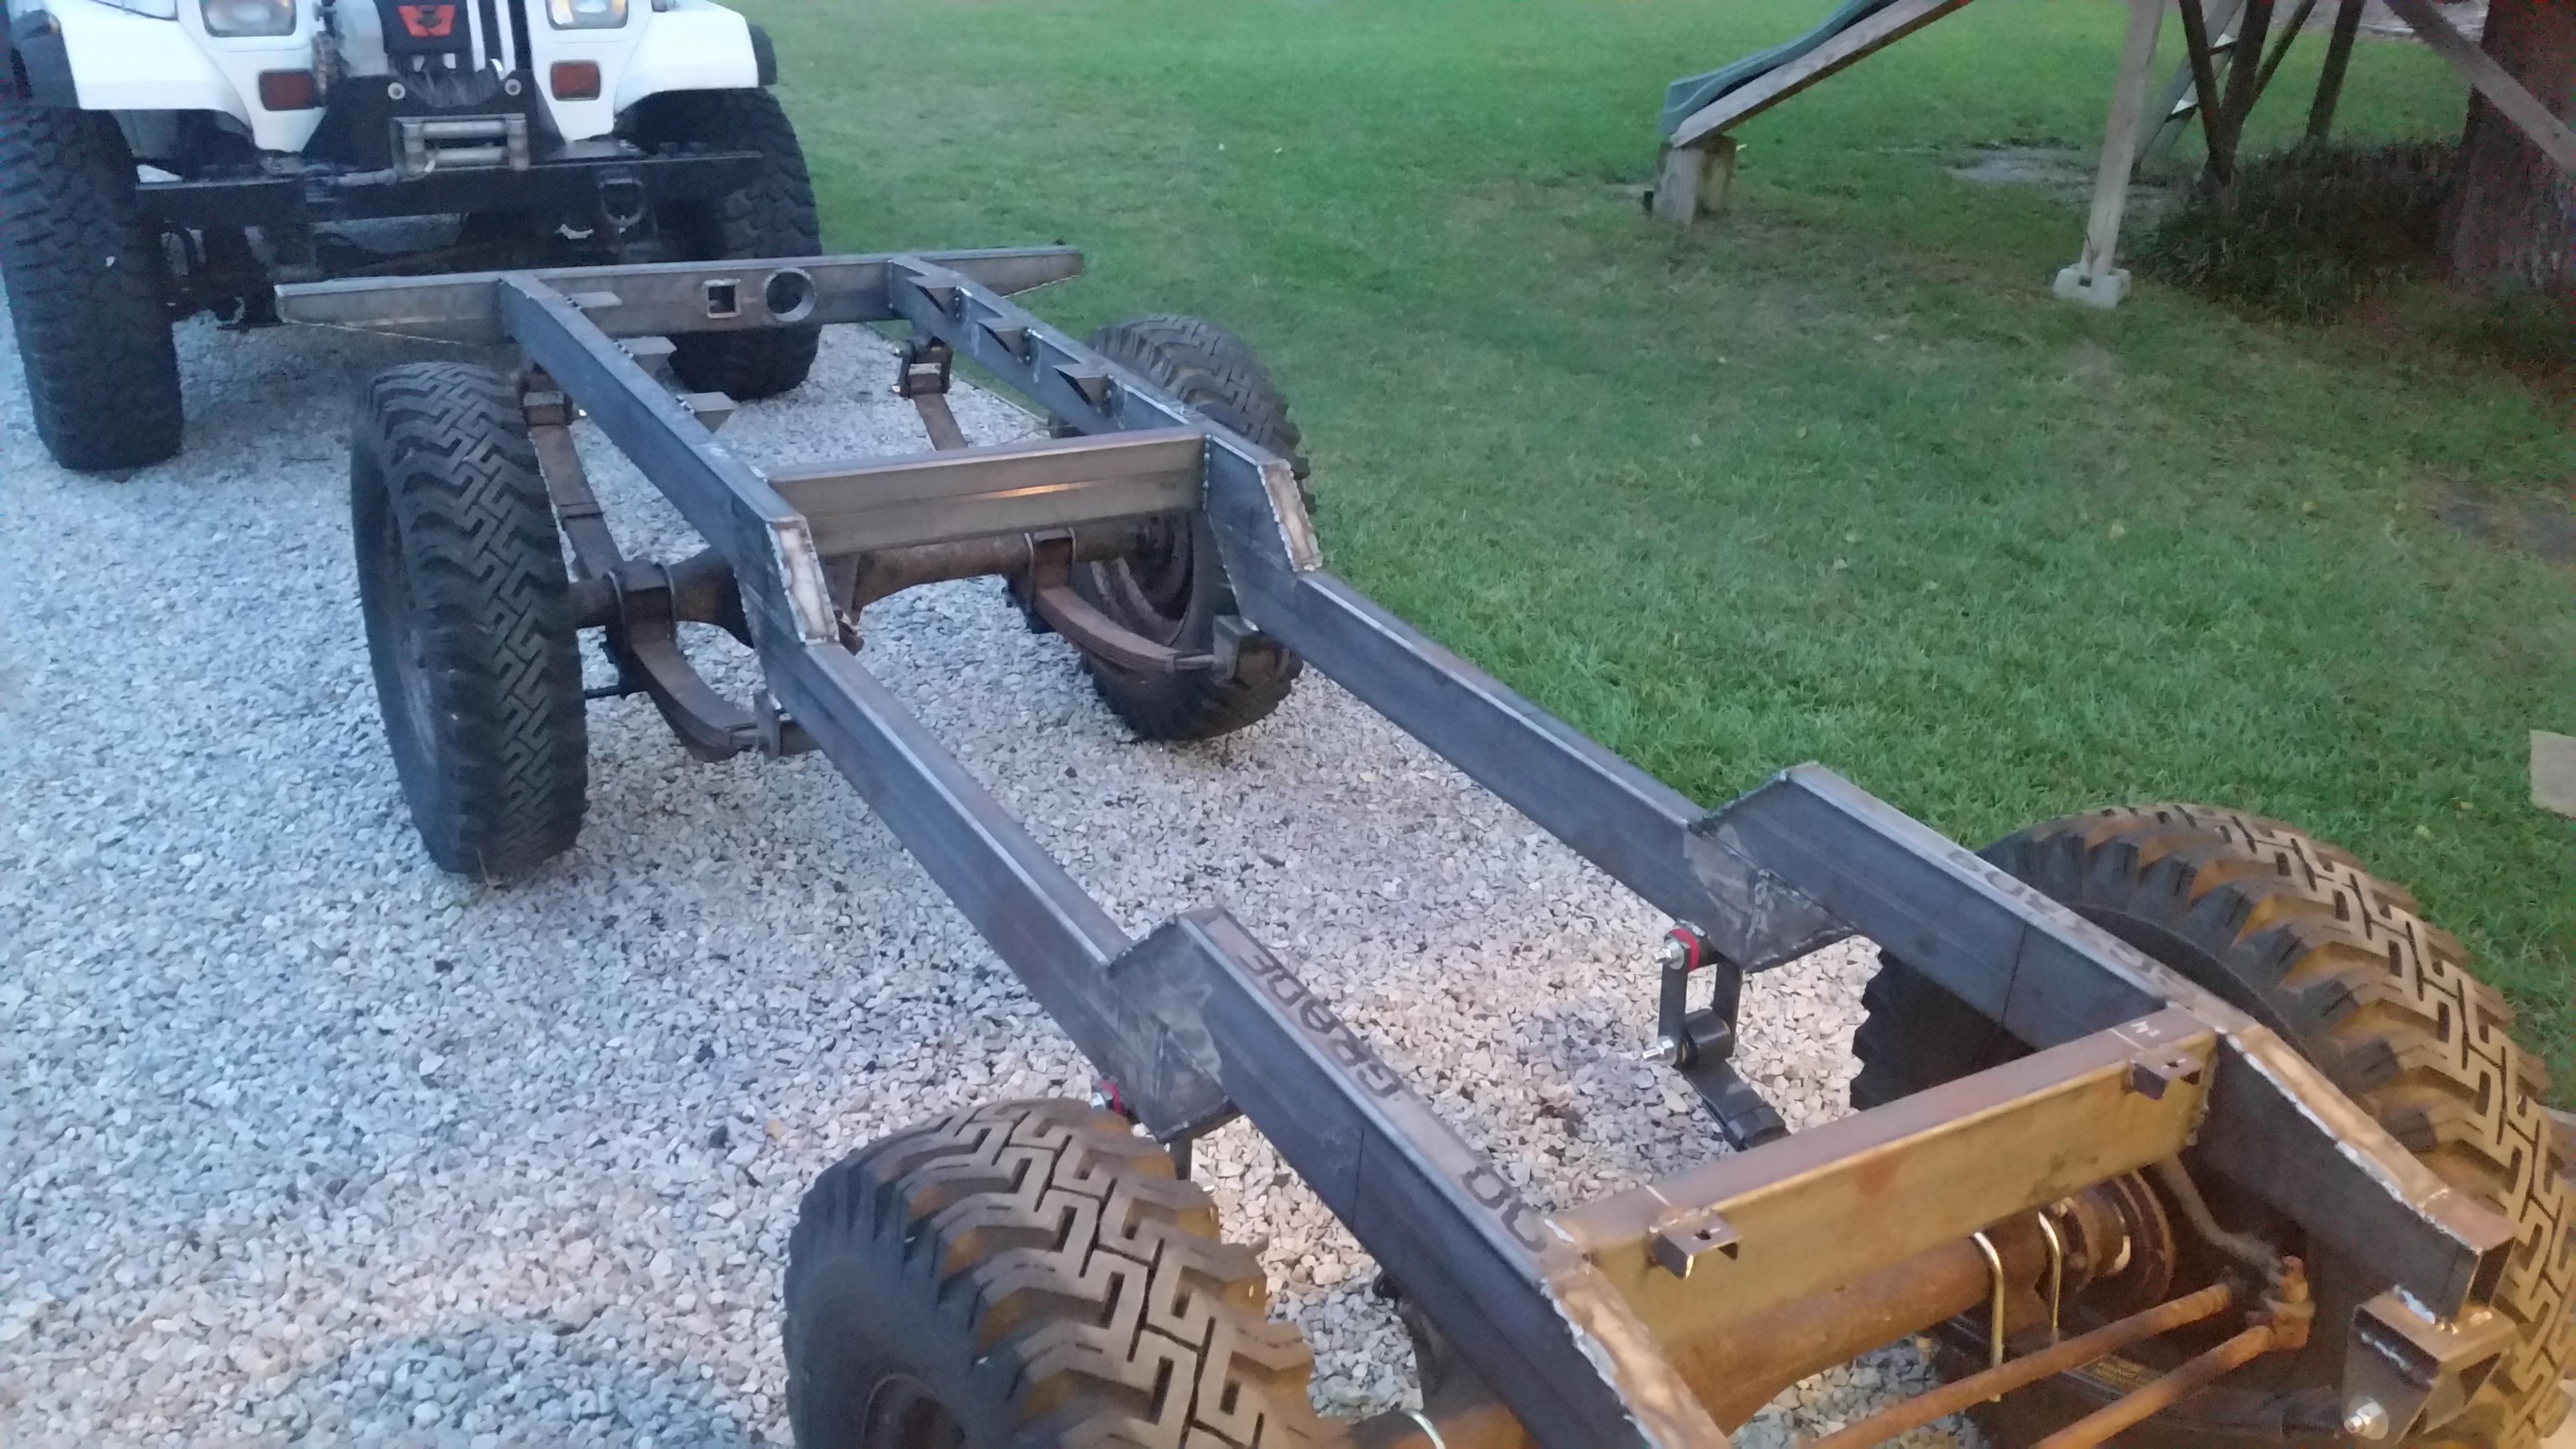
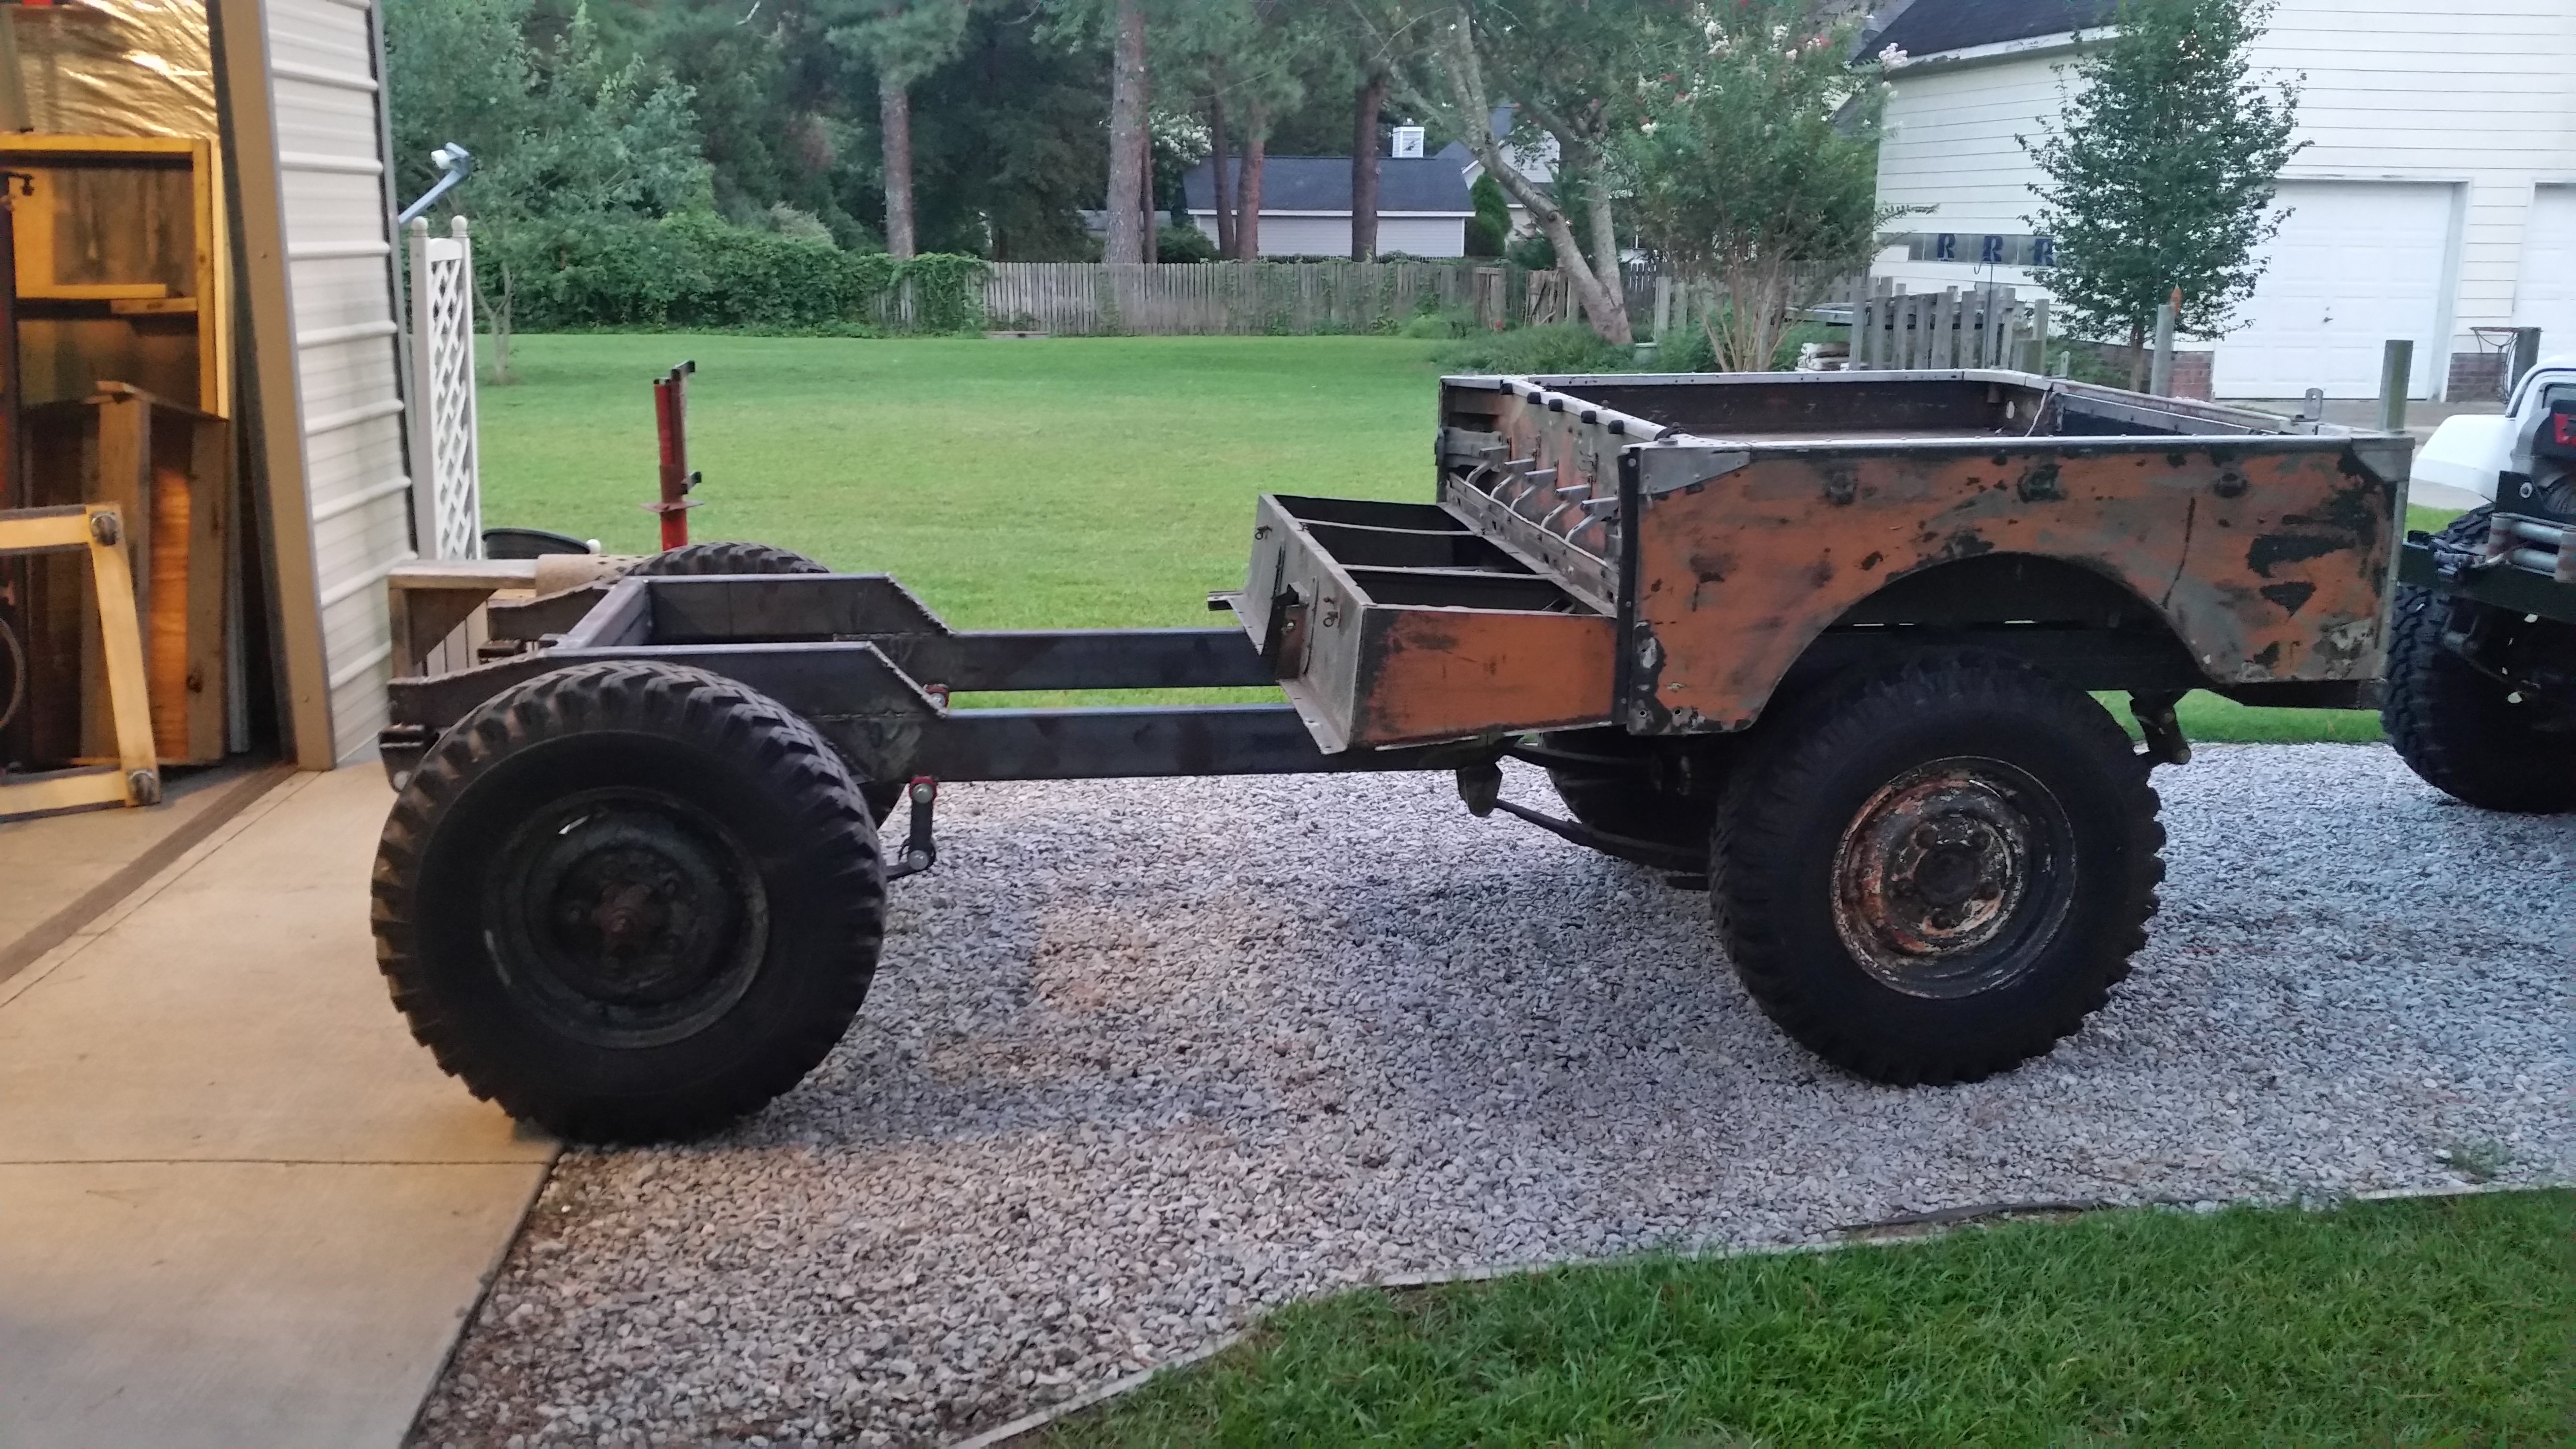
I ordered some 2x5 rectangular tubing to make a new frame, but i had to wait for it to get it and I got started redoing the grill
The tubing came in
A buddy of mine saw this in my old town in Florida
I had him contact the owner and found out it was for sale with a title. I wired down some money and it was mine
I had it shipped up
It is home
It is far from perfect. You know it is when the purchase price was cheaper than the shipping price.
But I knew what I was getting into, these do not pop up very often.
It is a 1958 Series 1 88"
Pretty much all stock and relatively unhacked. The frame is ROTTED and the rear axle actaully had rot holes in the housing.
I think it was driven under the atlantic from England over to the states. It is right hand drive.
I pulled it apart
I ordered some 2x5 rectangular tubing to make a new frame, but i had to wait for it to get it and I got started redoing the grill
The tubing came in
")


 . I hadn't decided if I want to modify a cj frame or build a new one from scratch but seeing yours has made up my mind. Right now I'm thinking a jeep 4.0/ax15/? drive train. My axles seem to be in good shape but I'm sure parts will be a bear if I were to use them and need anything. I'm still a year out from a build since I don't have a shop yet so I hope to learn all I can from your mishaps in the meantime!