Land Rover Series 1

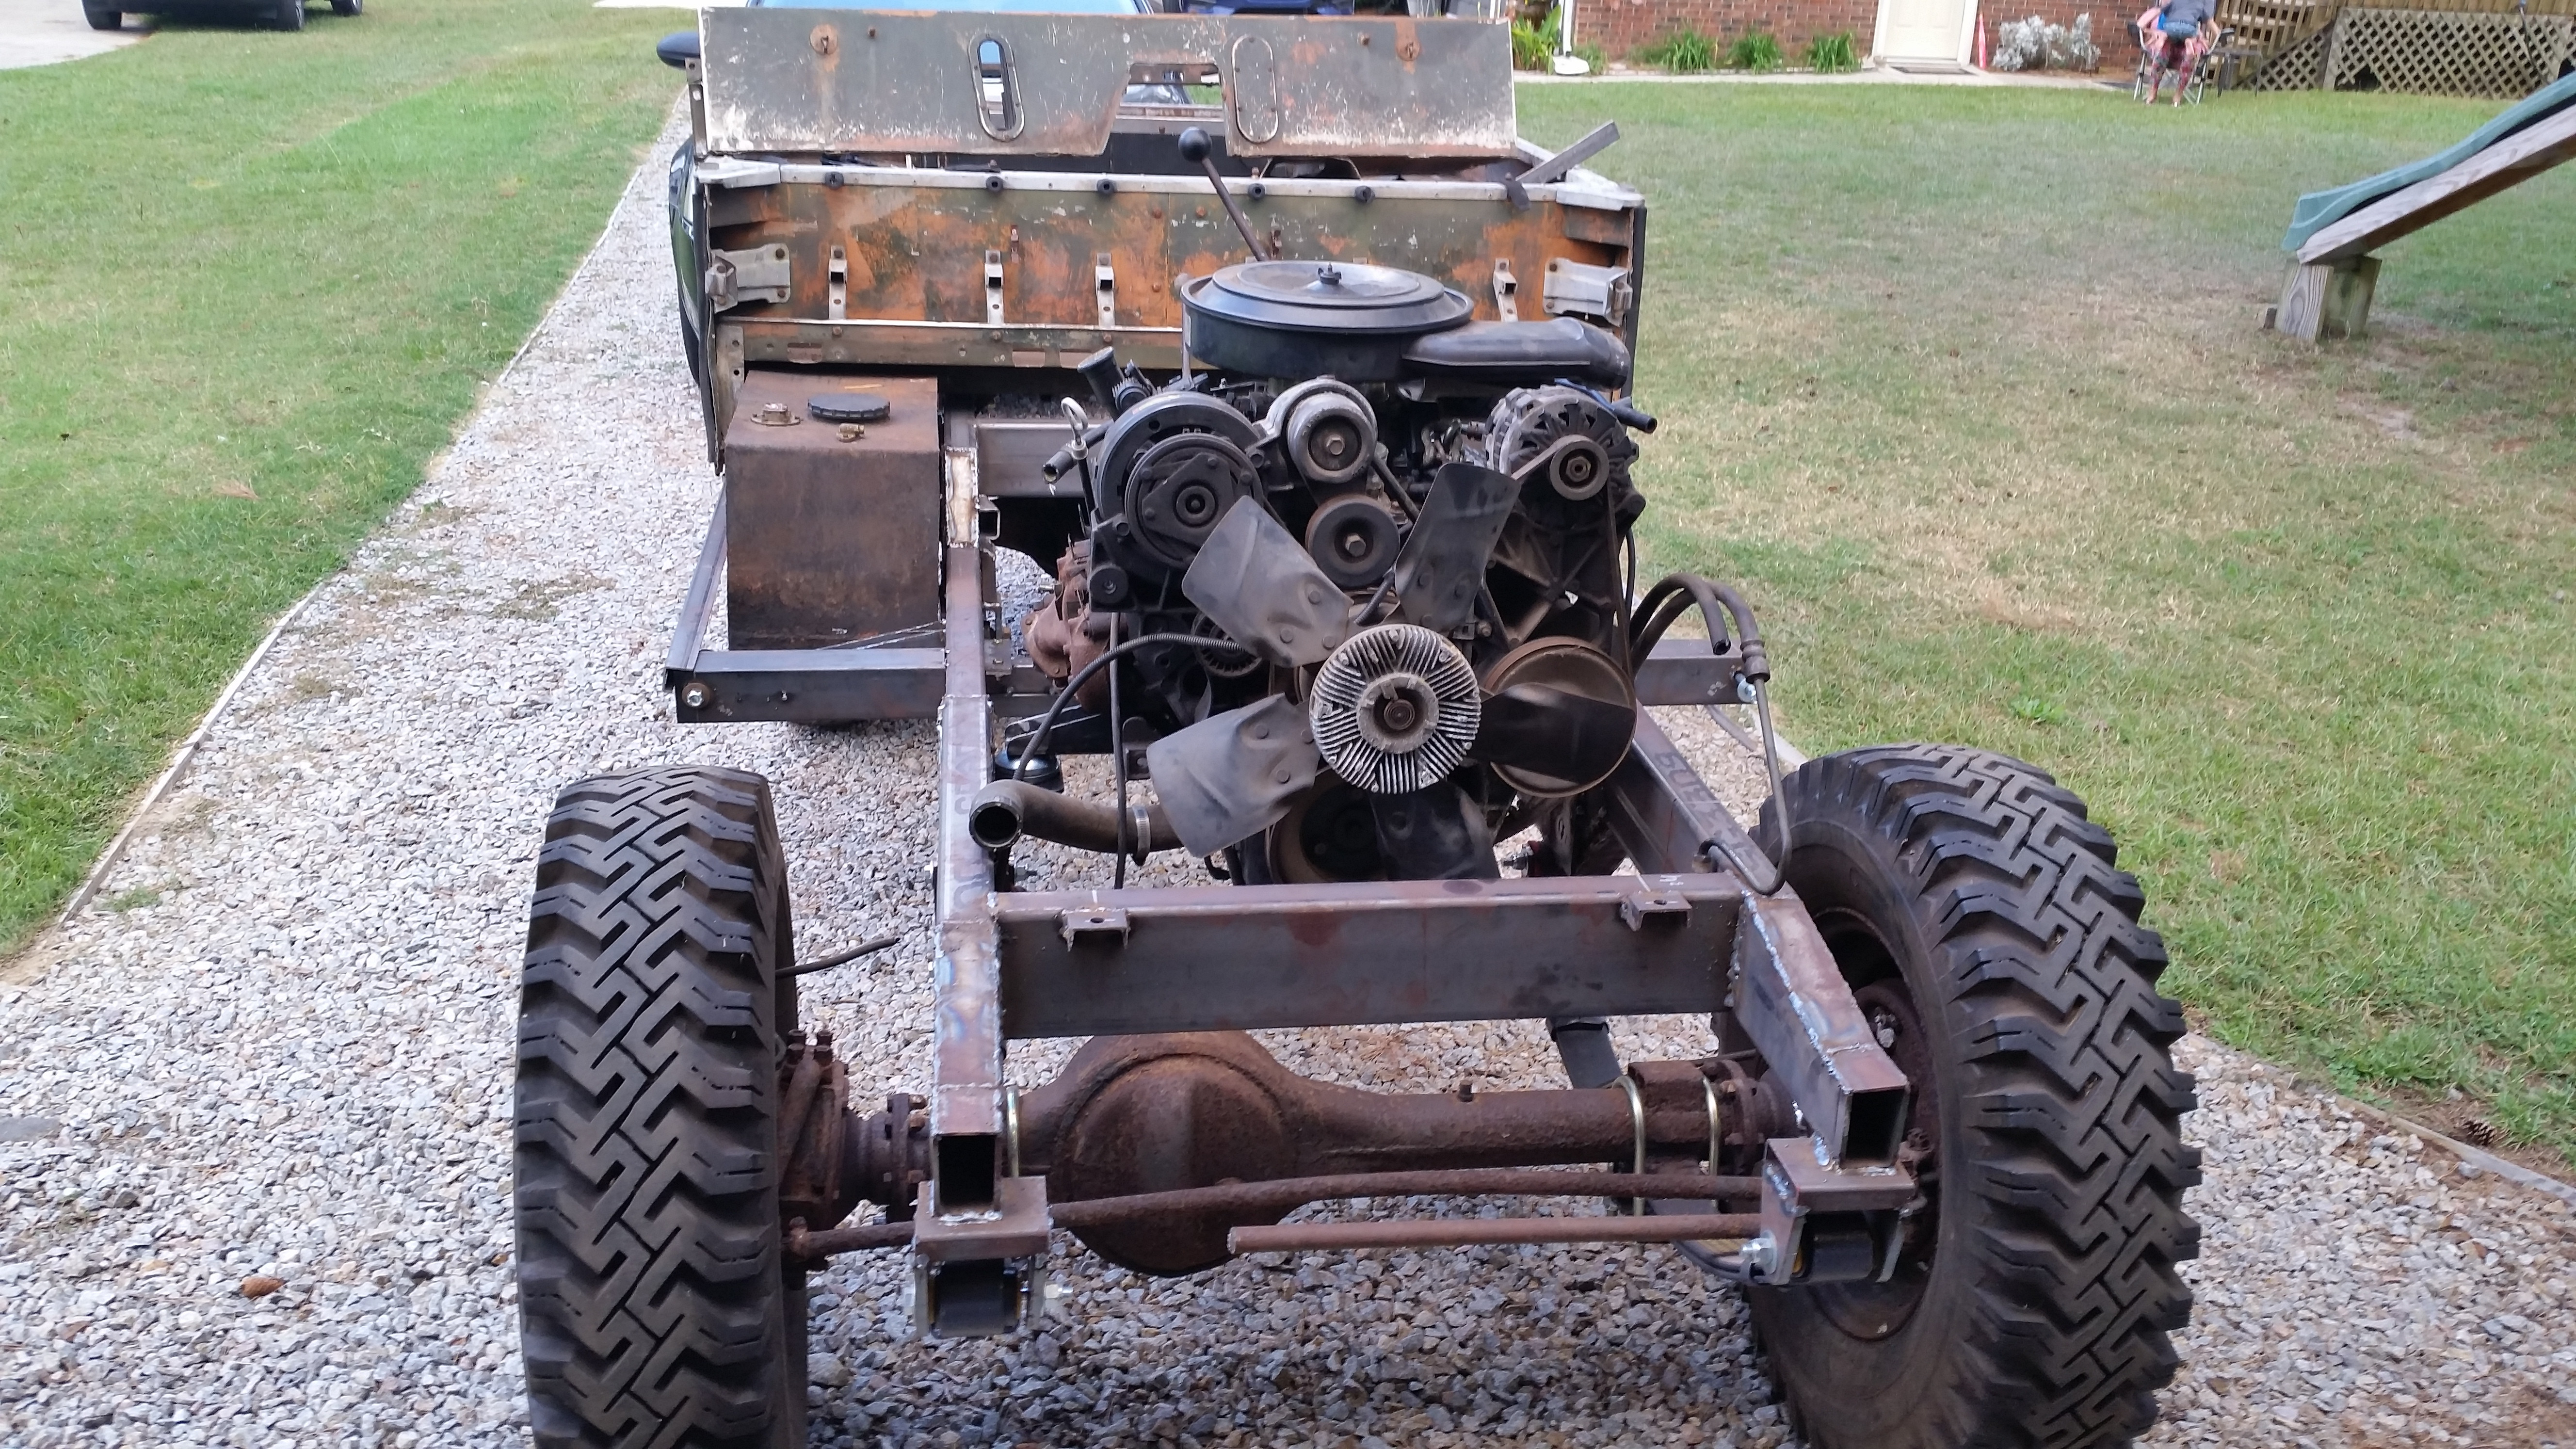
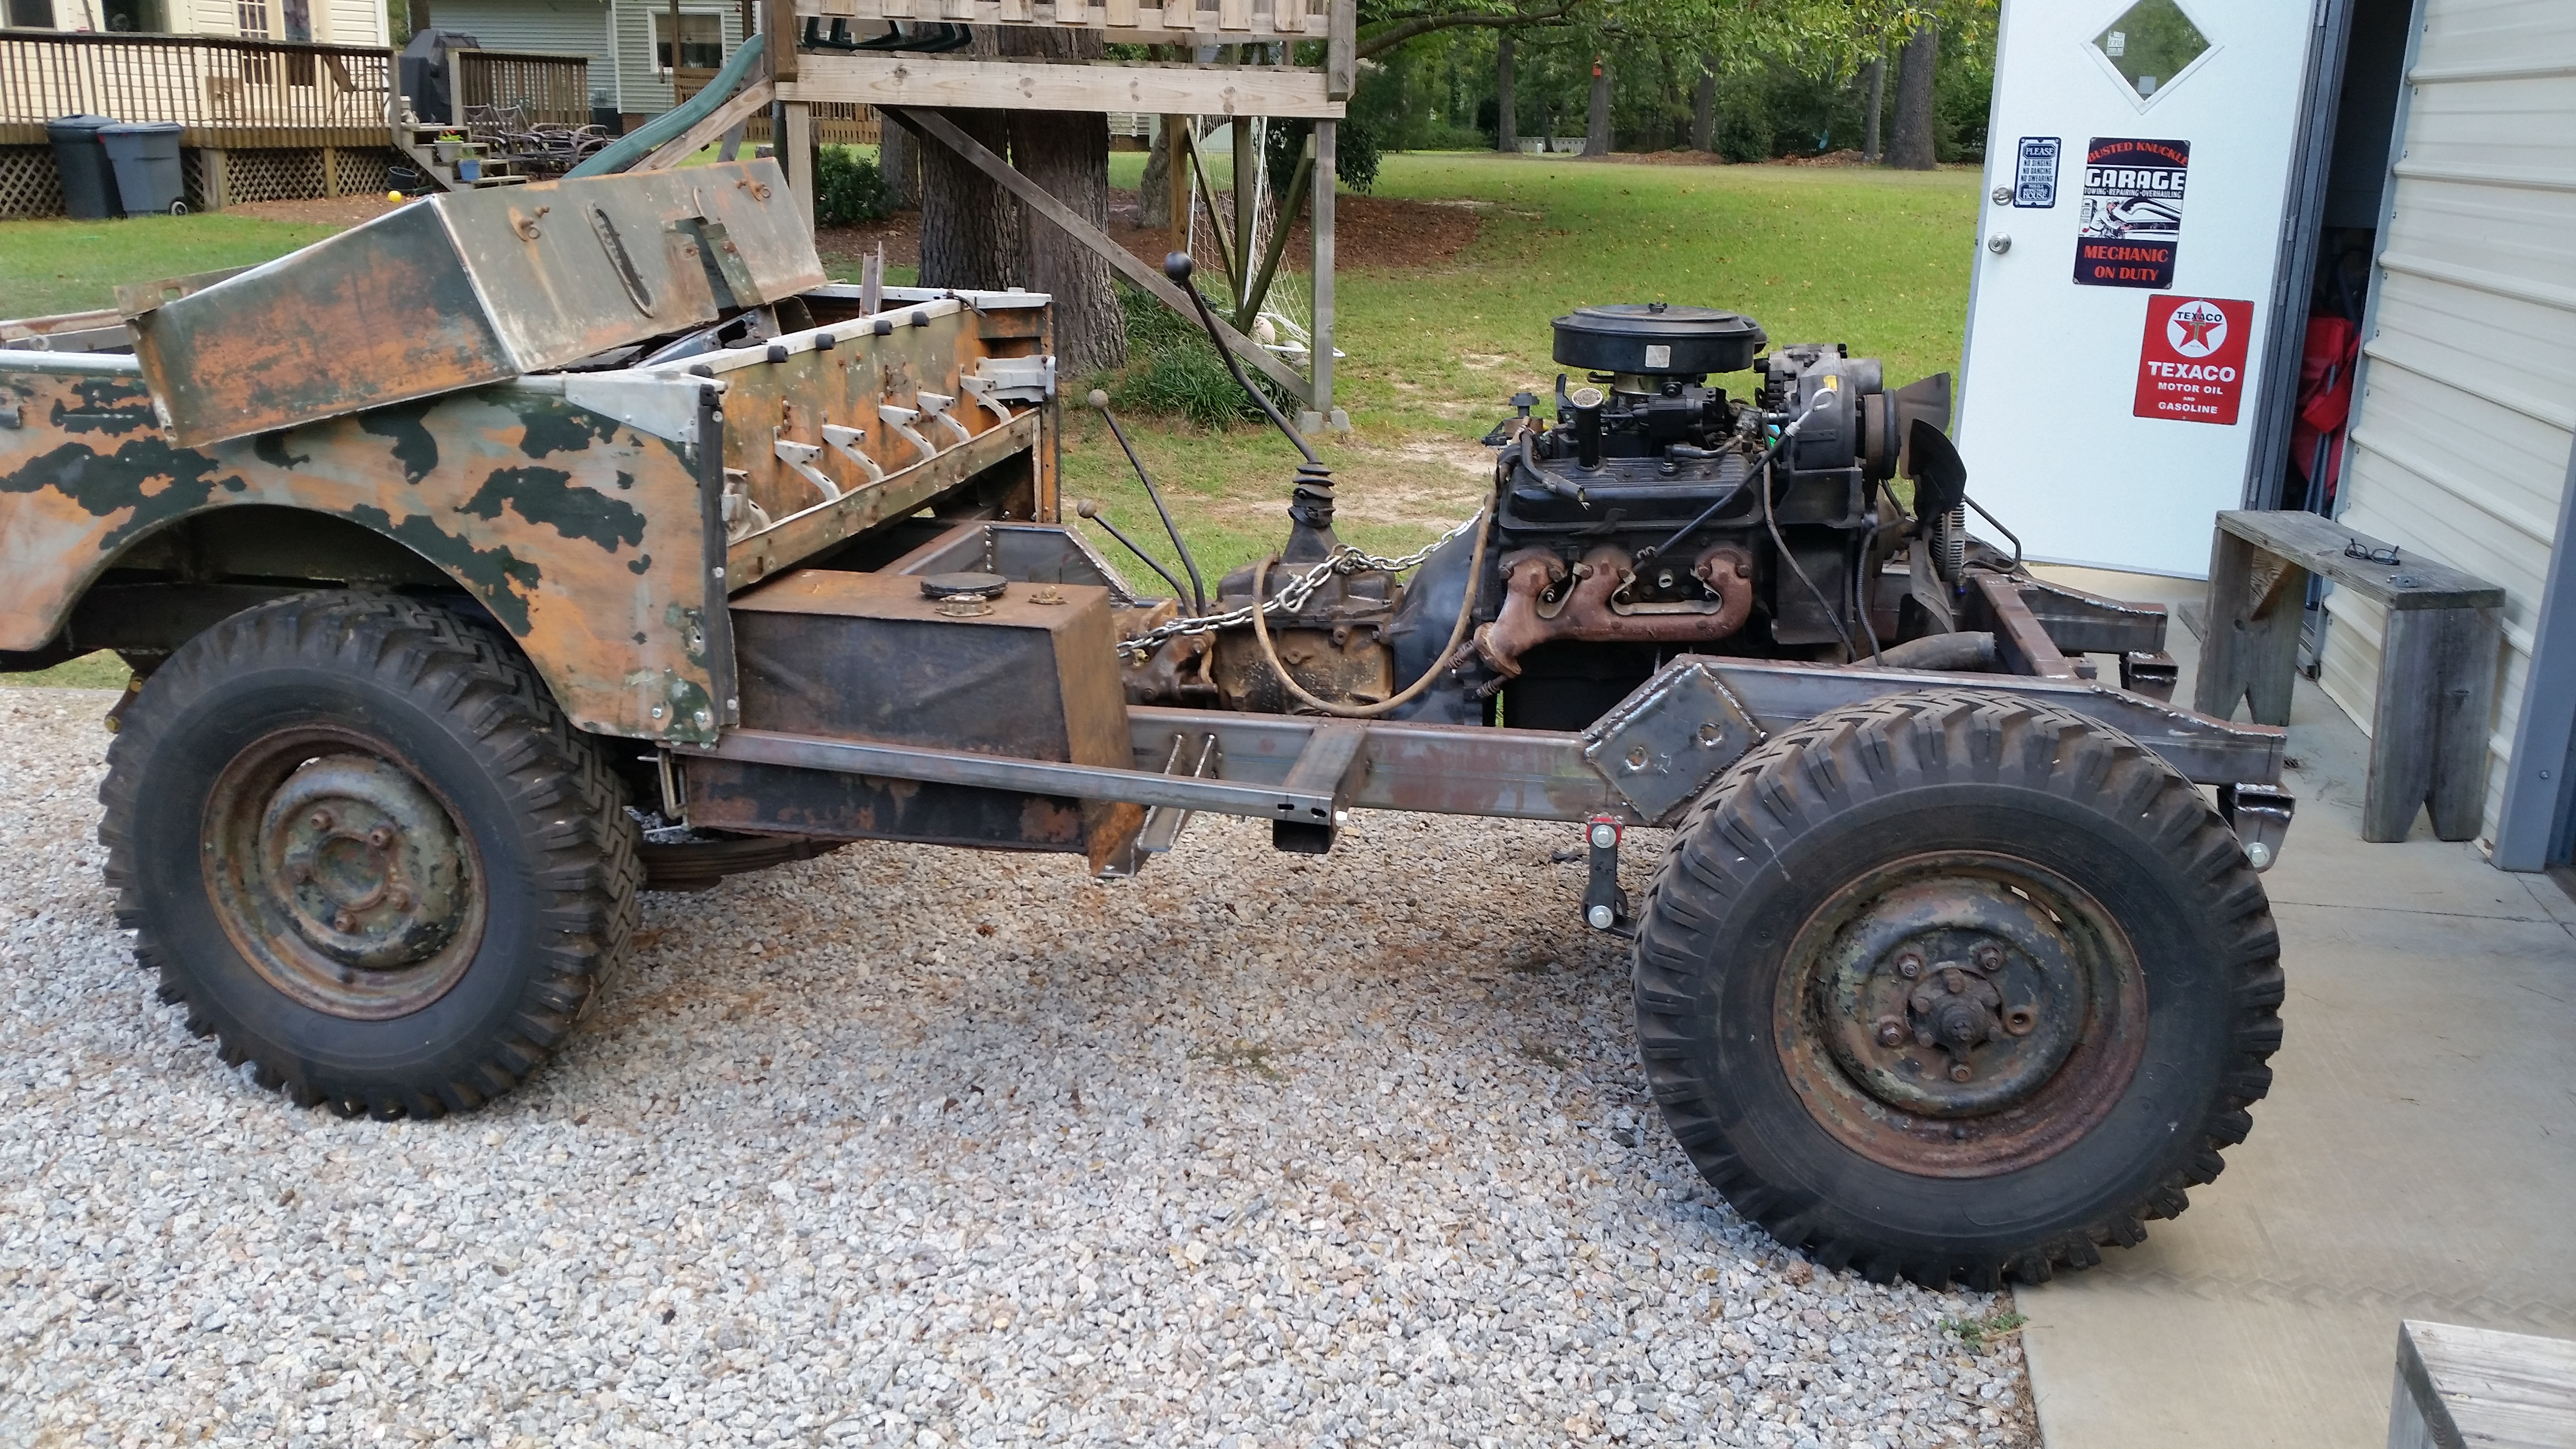
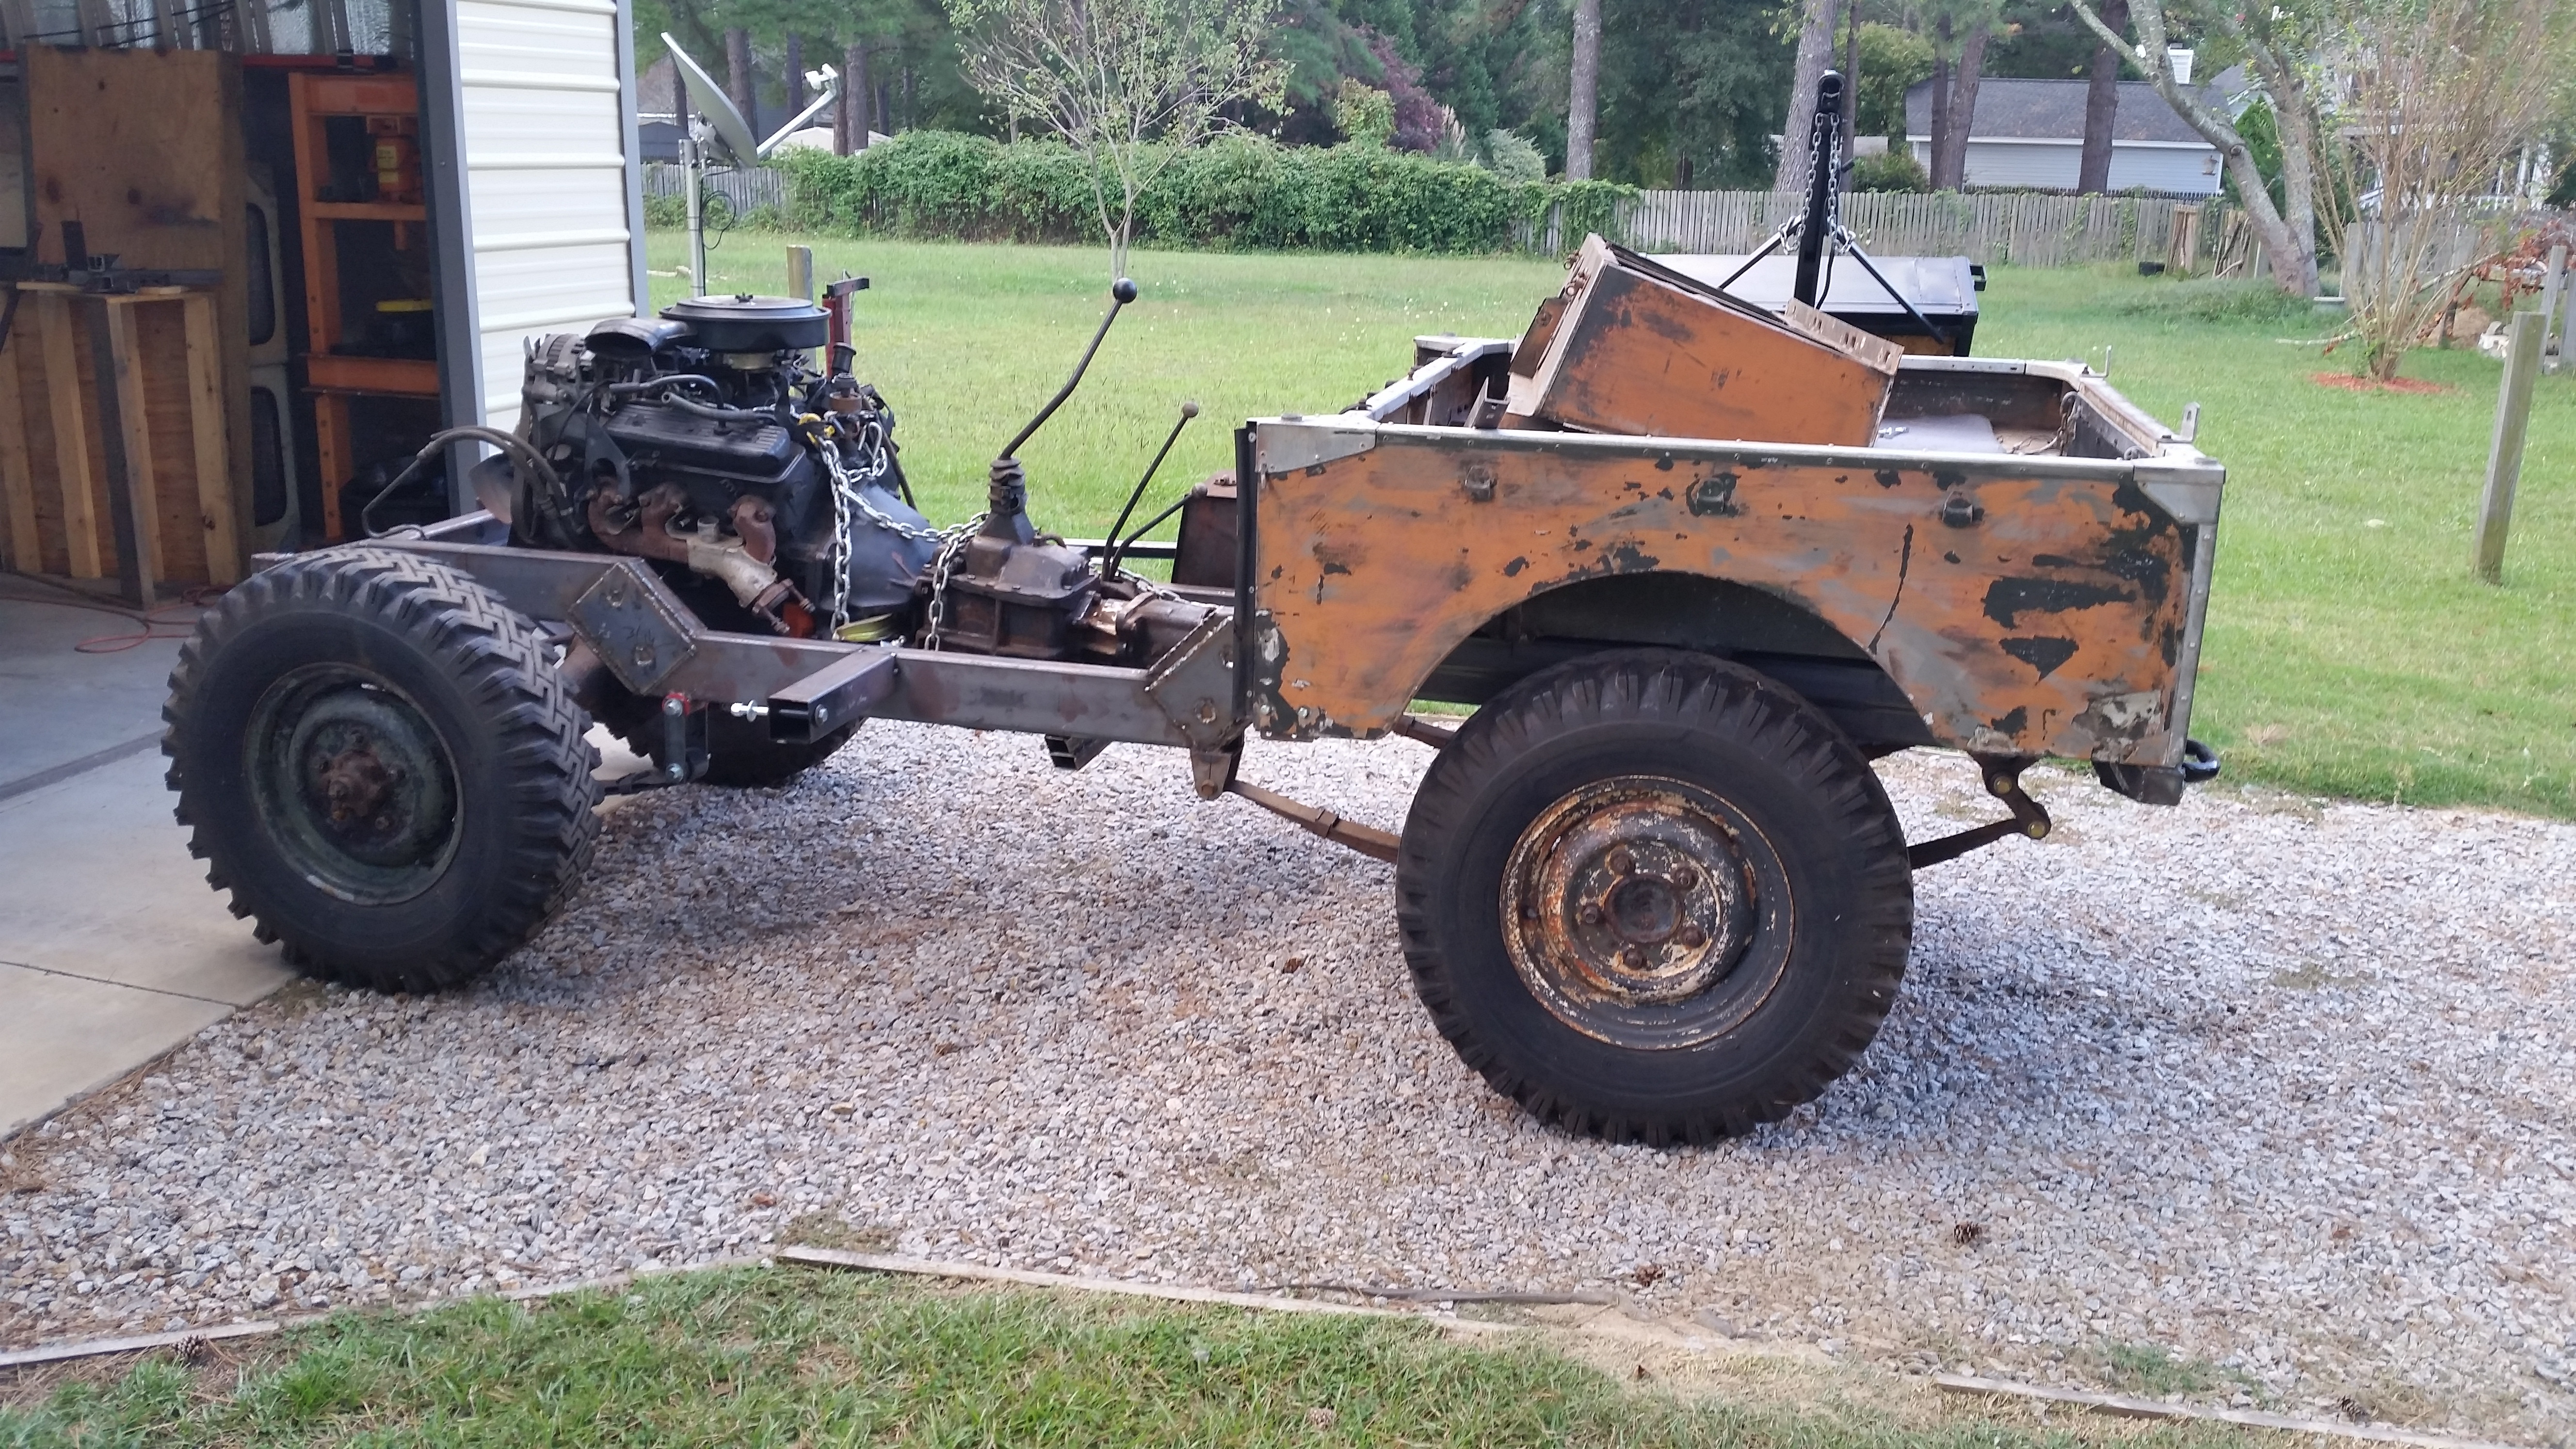
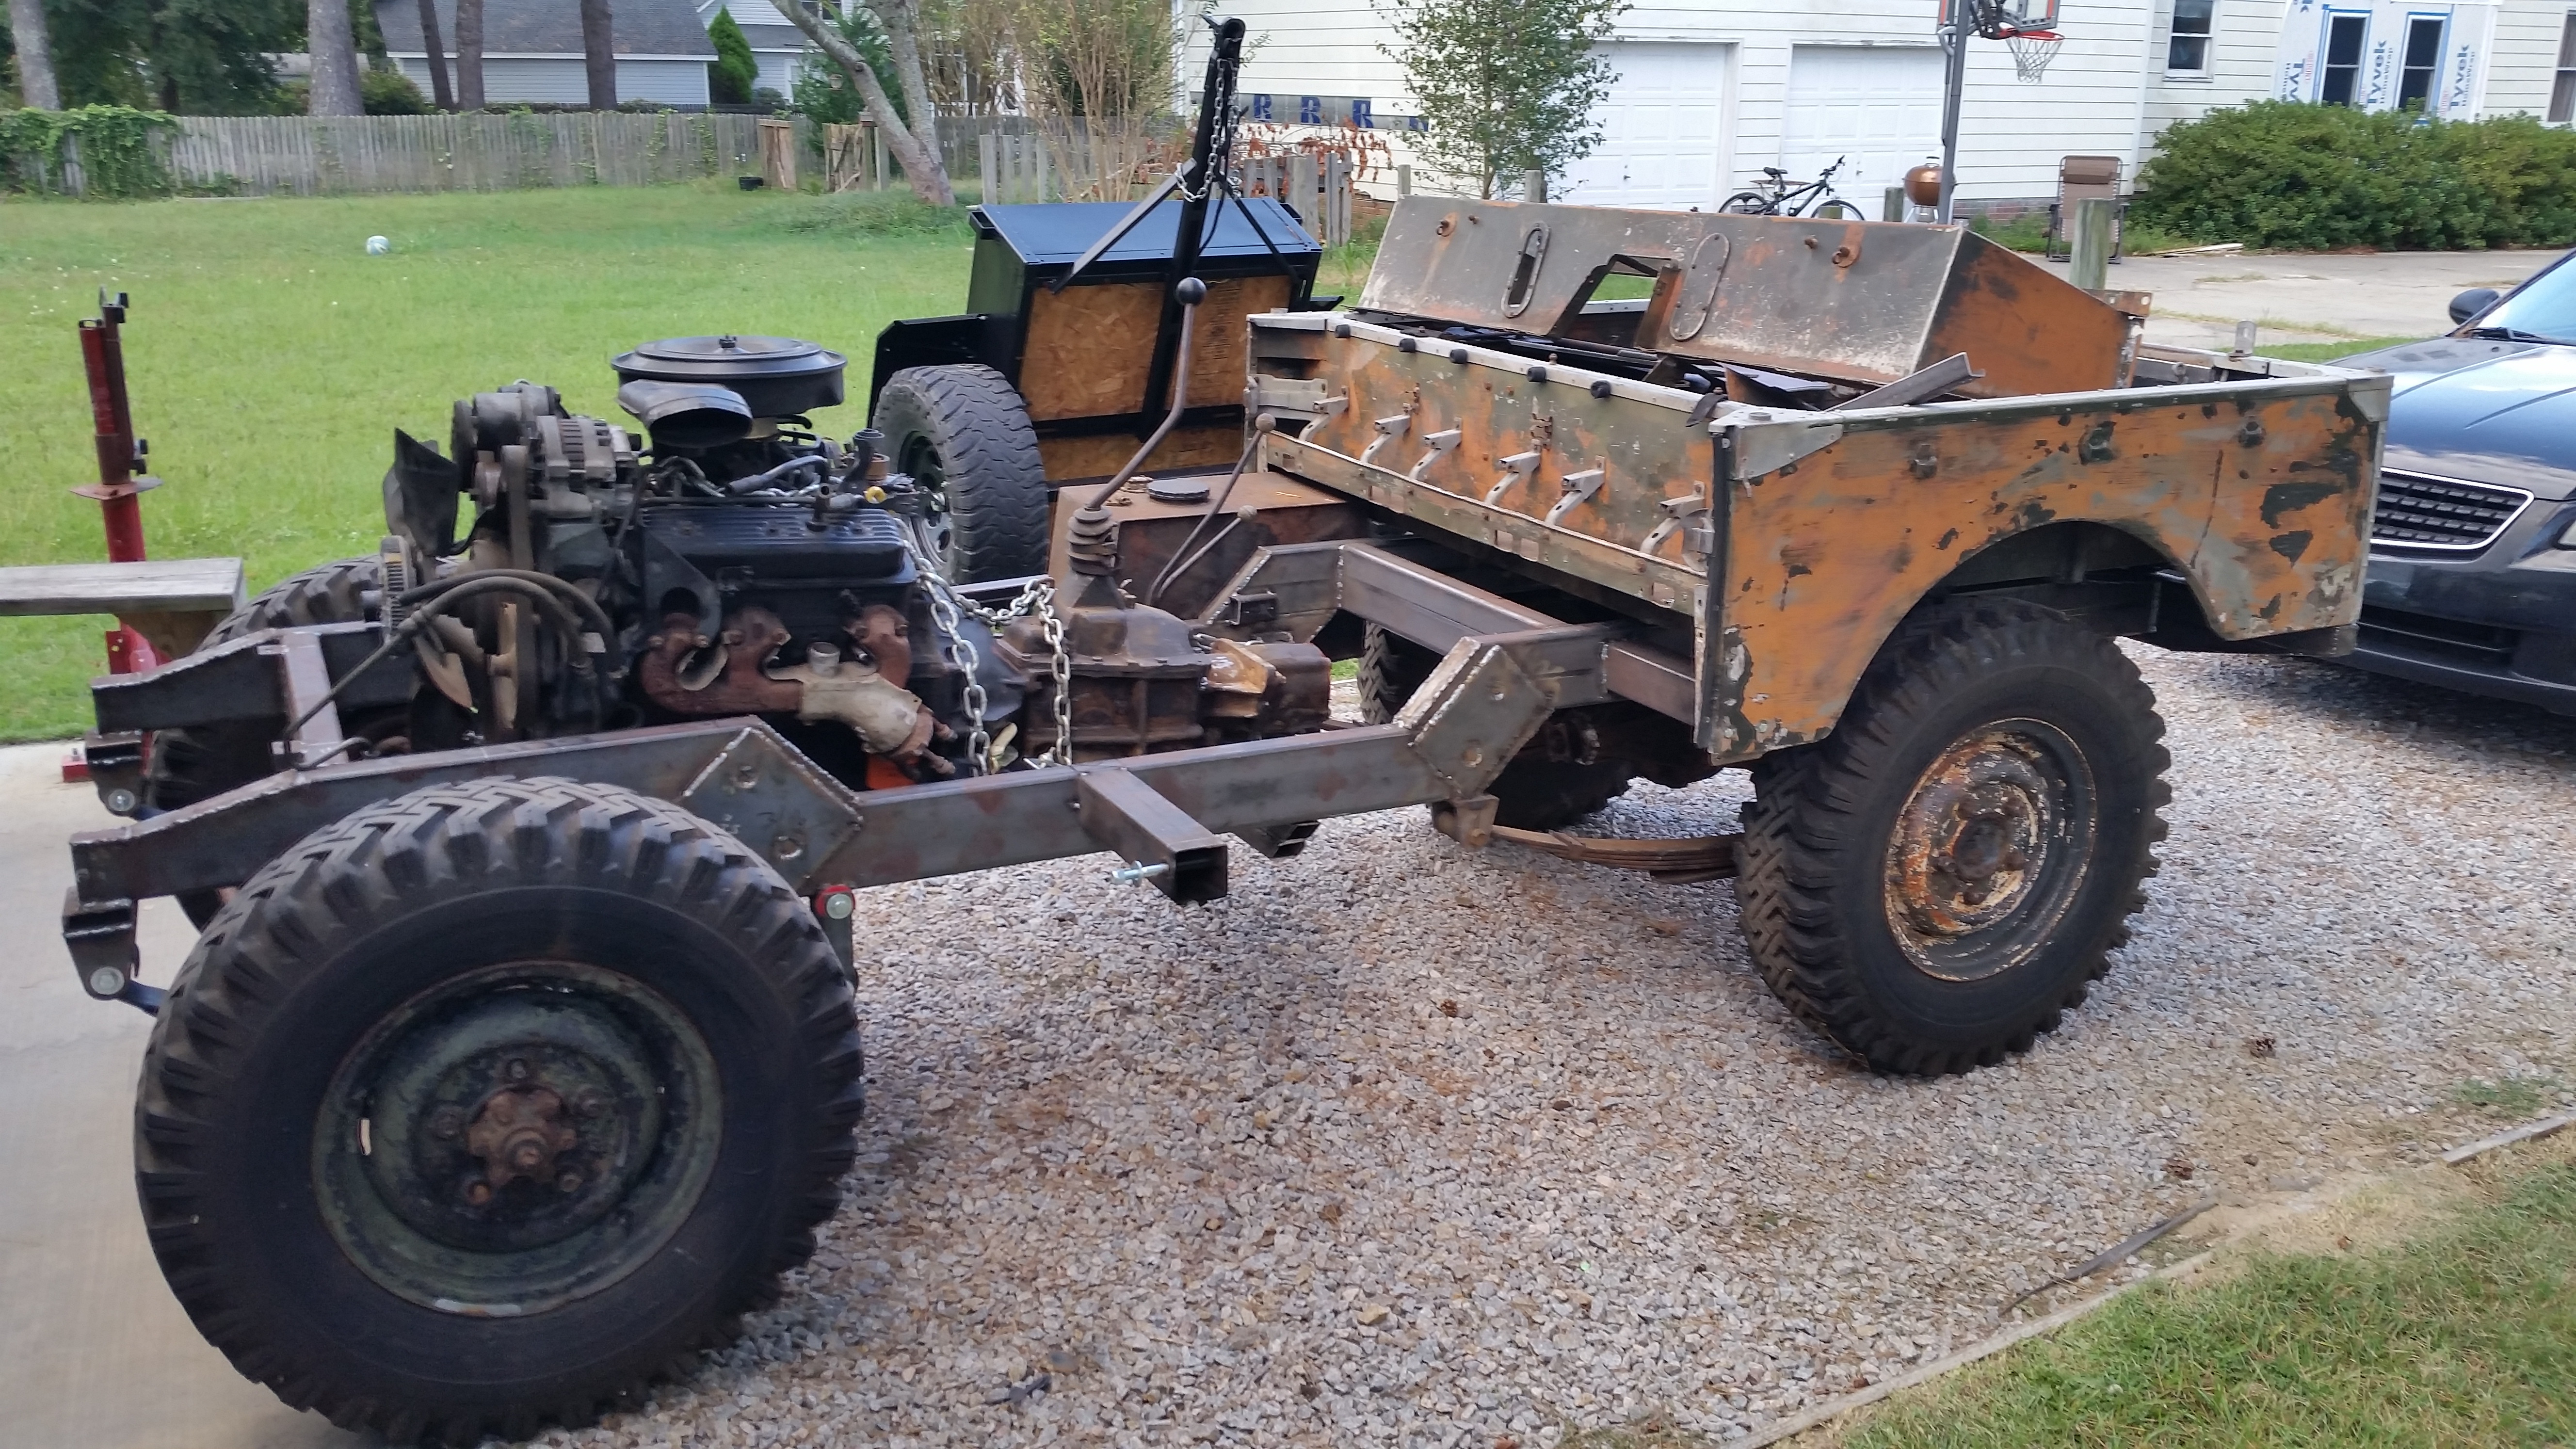
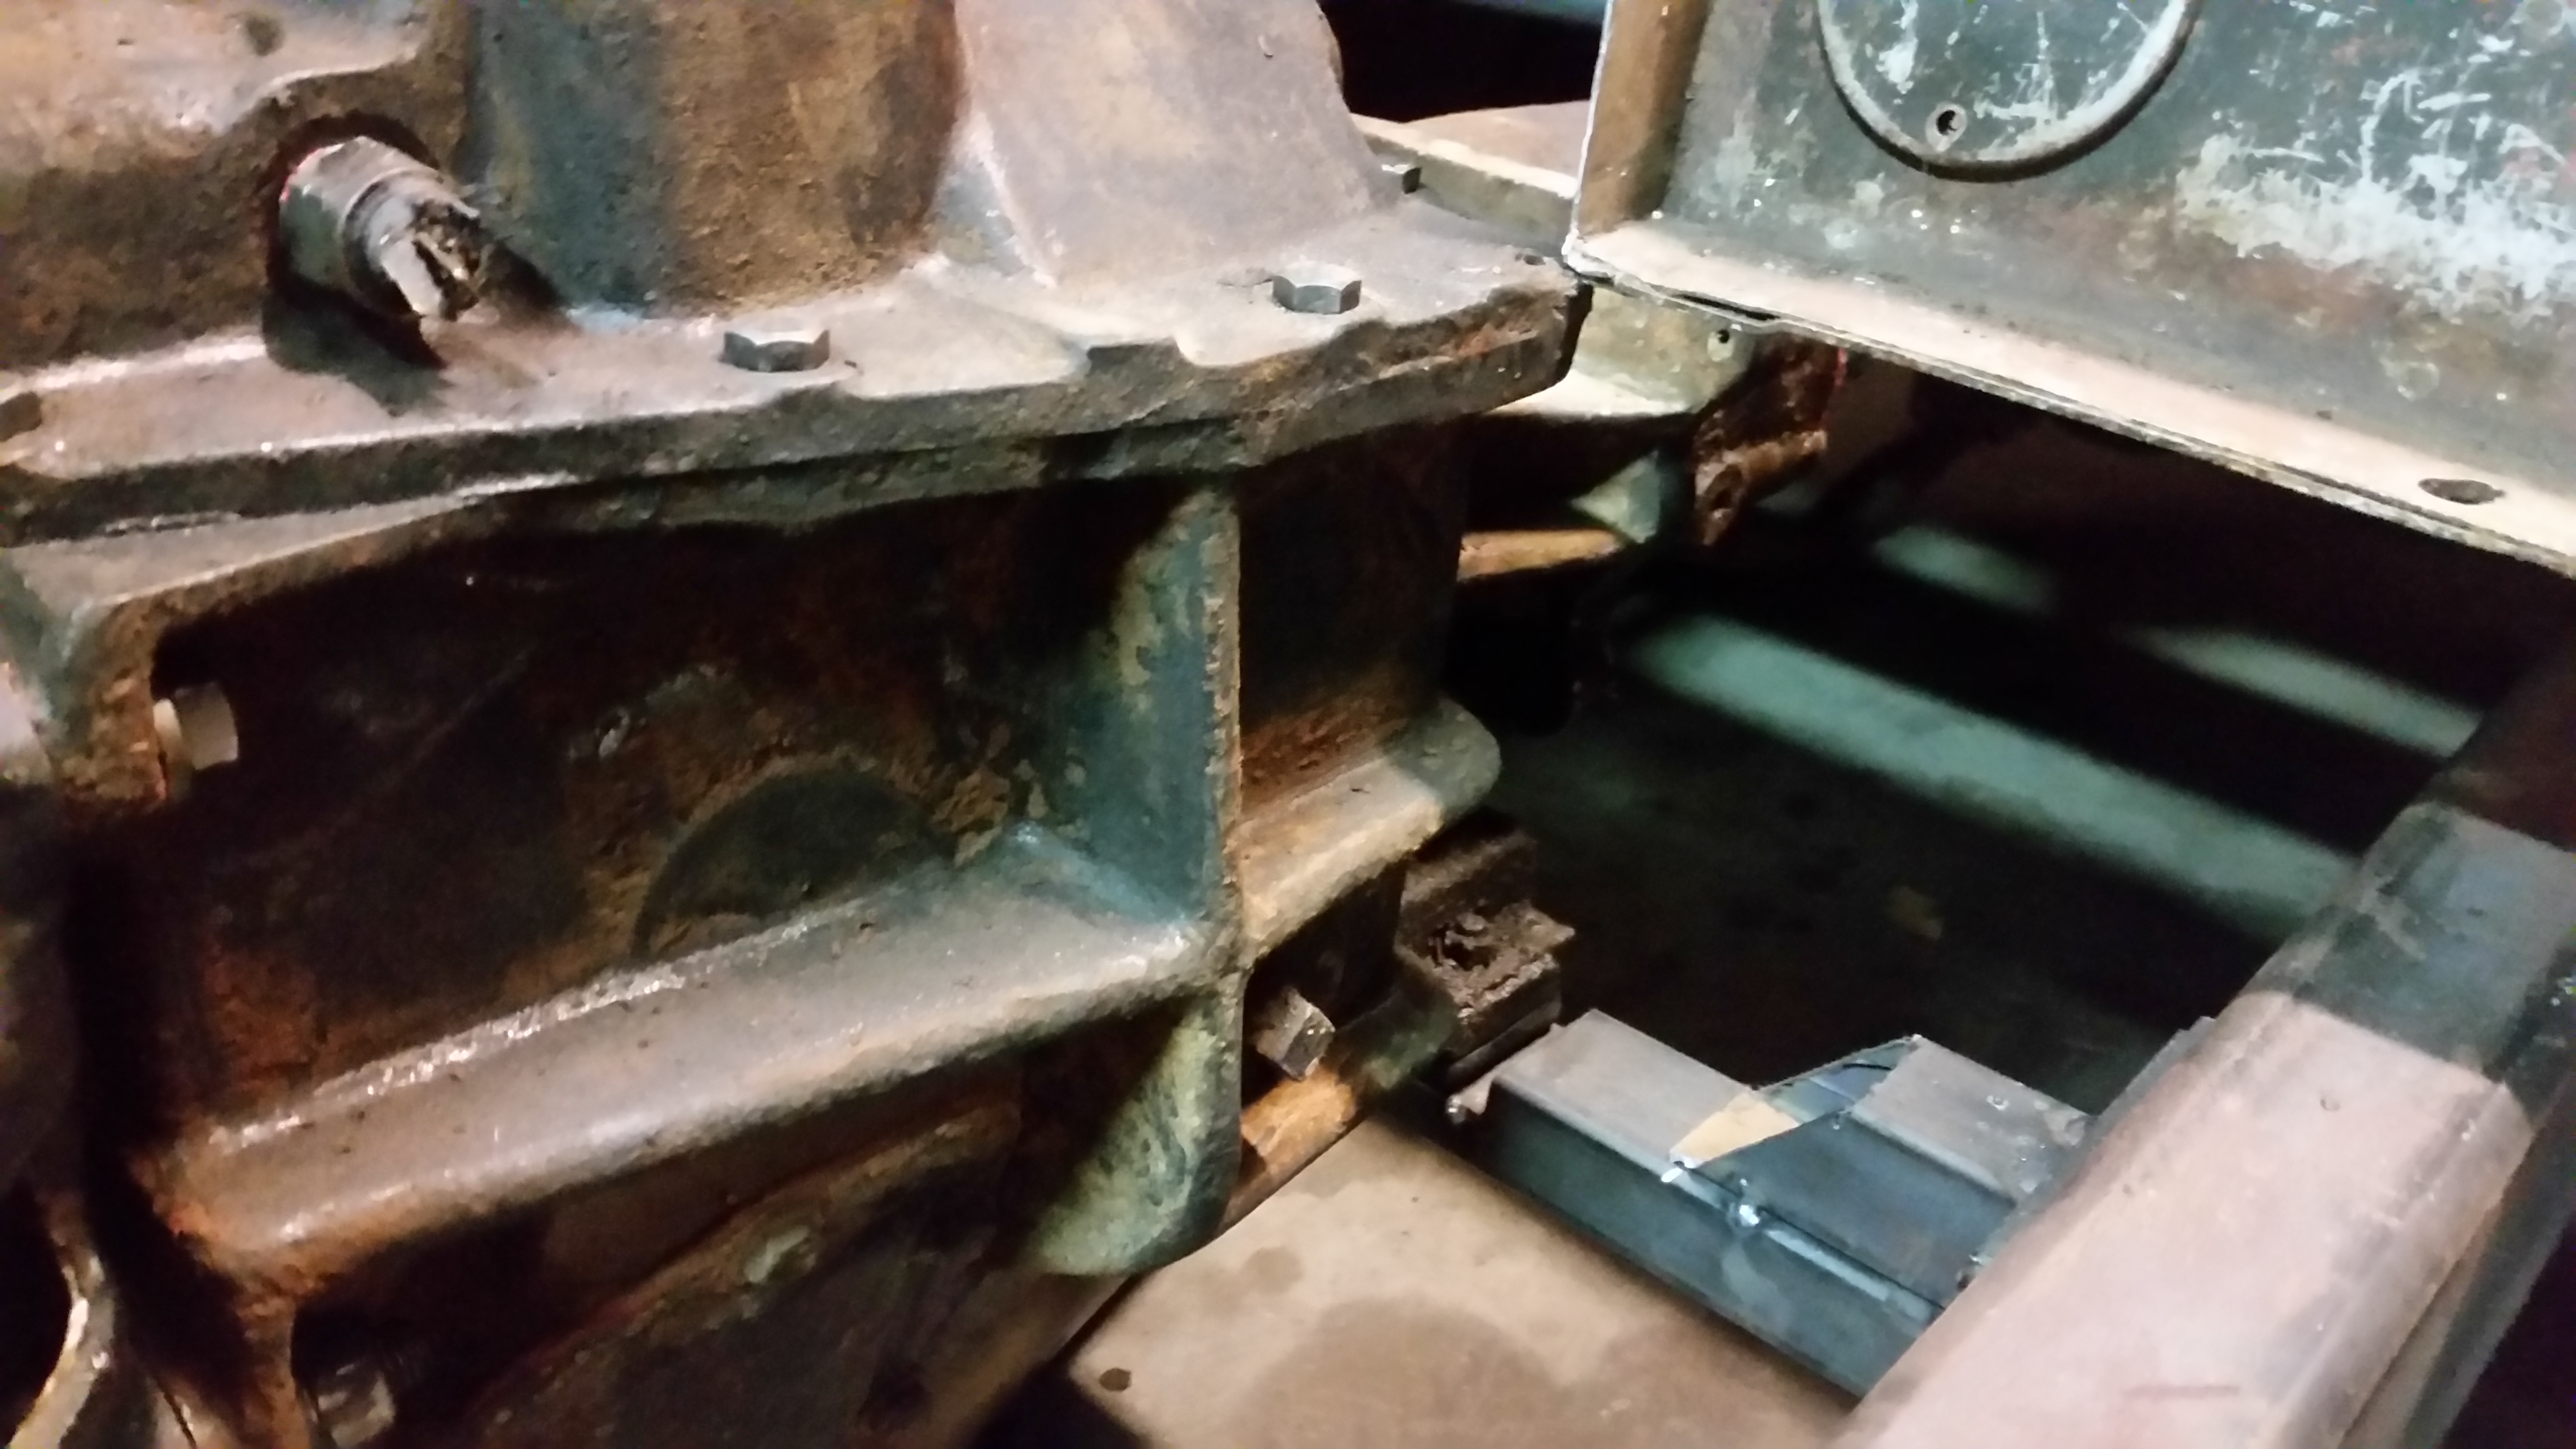
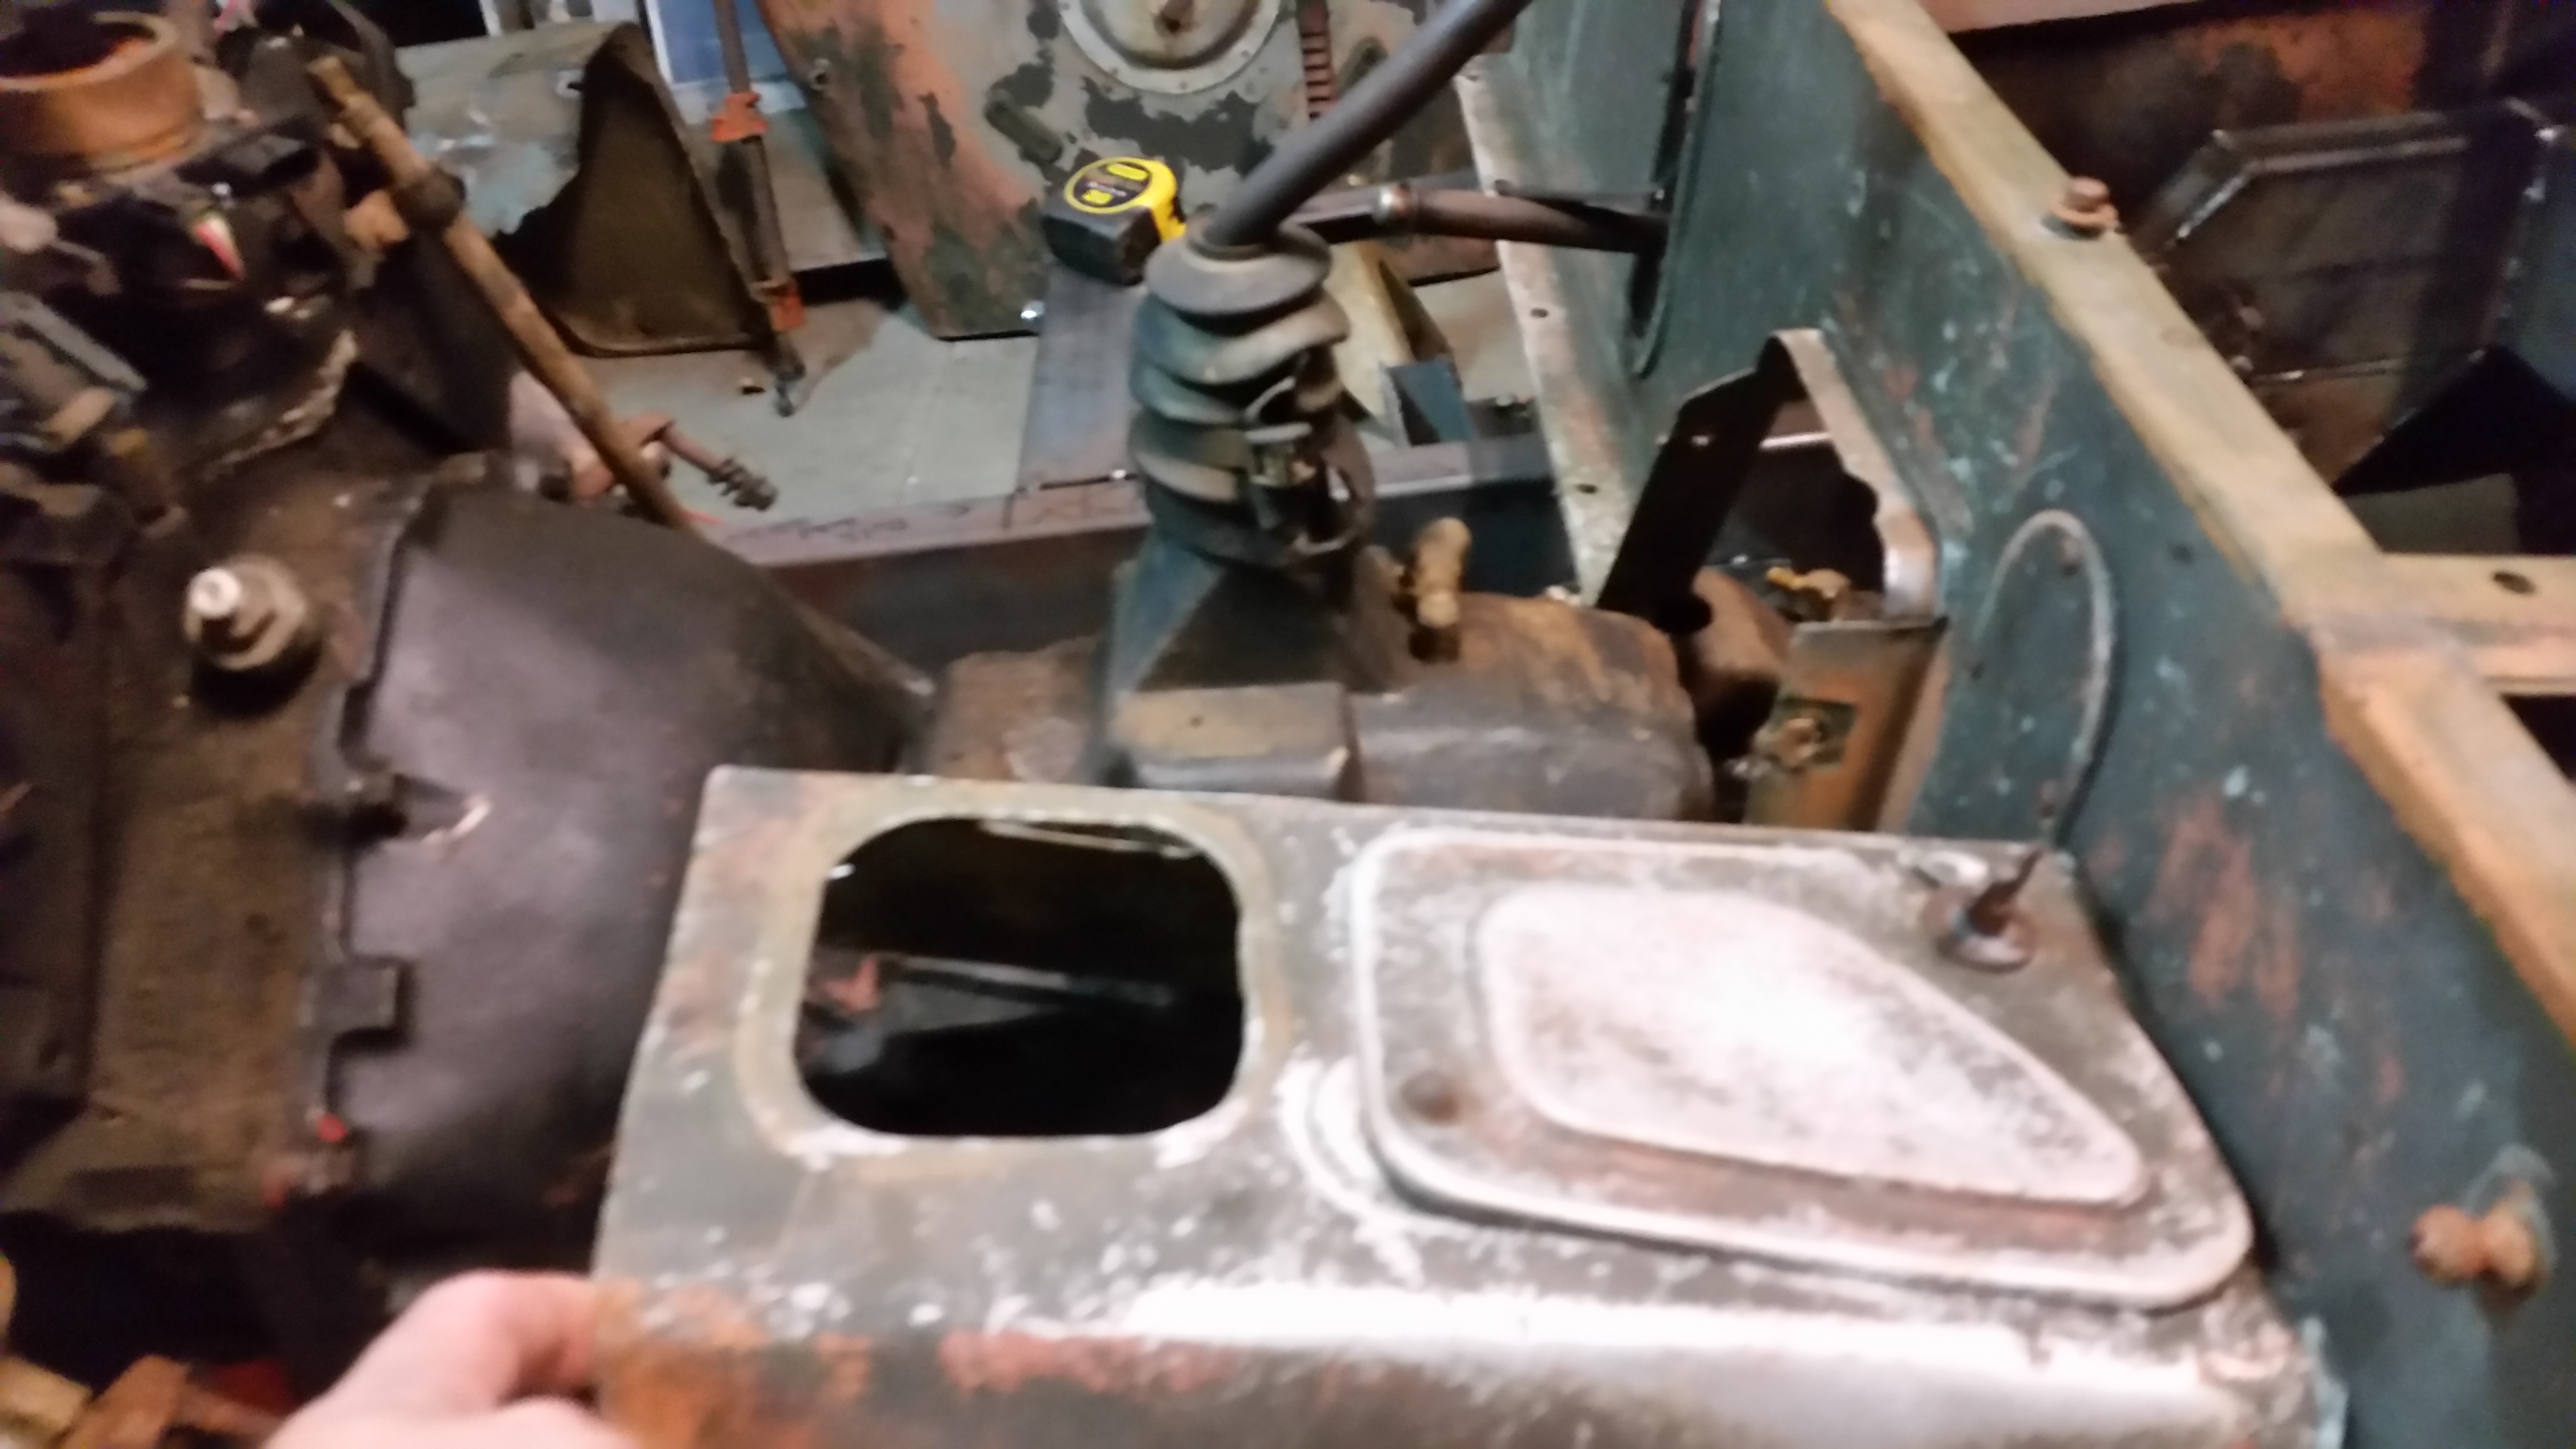
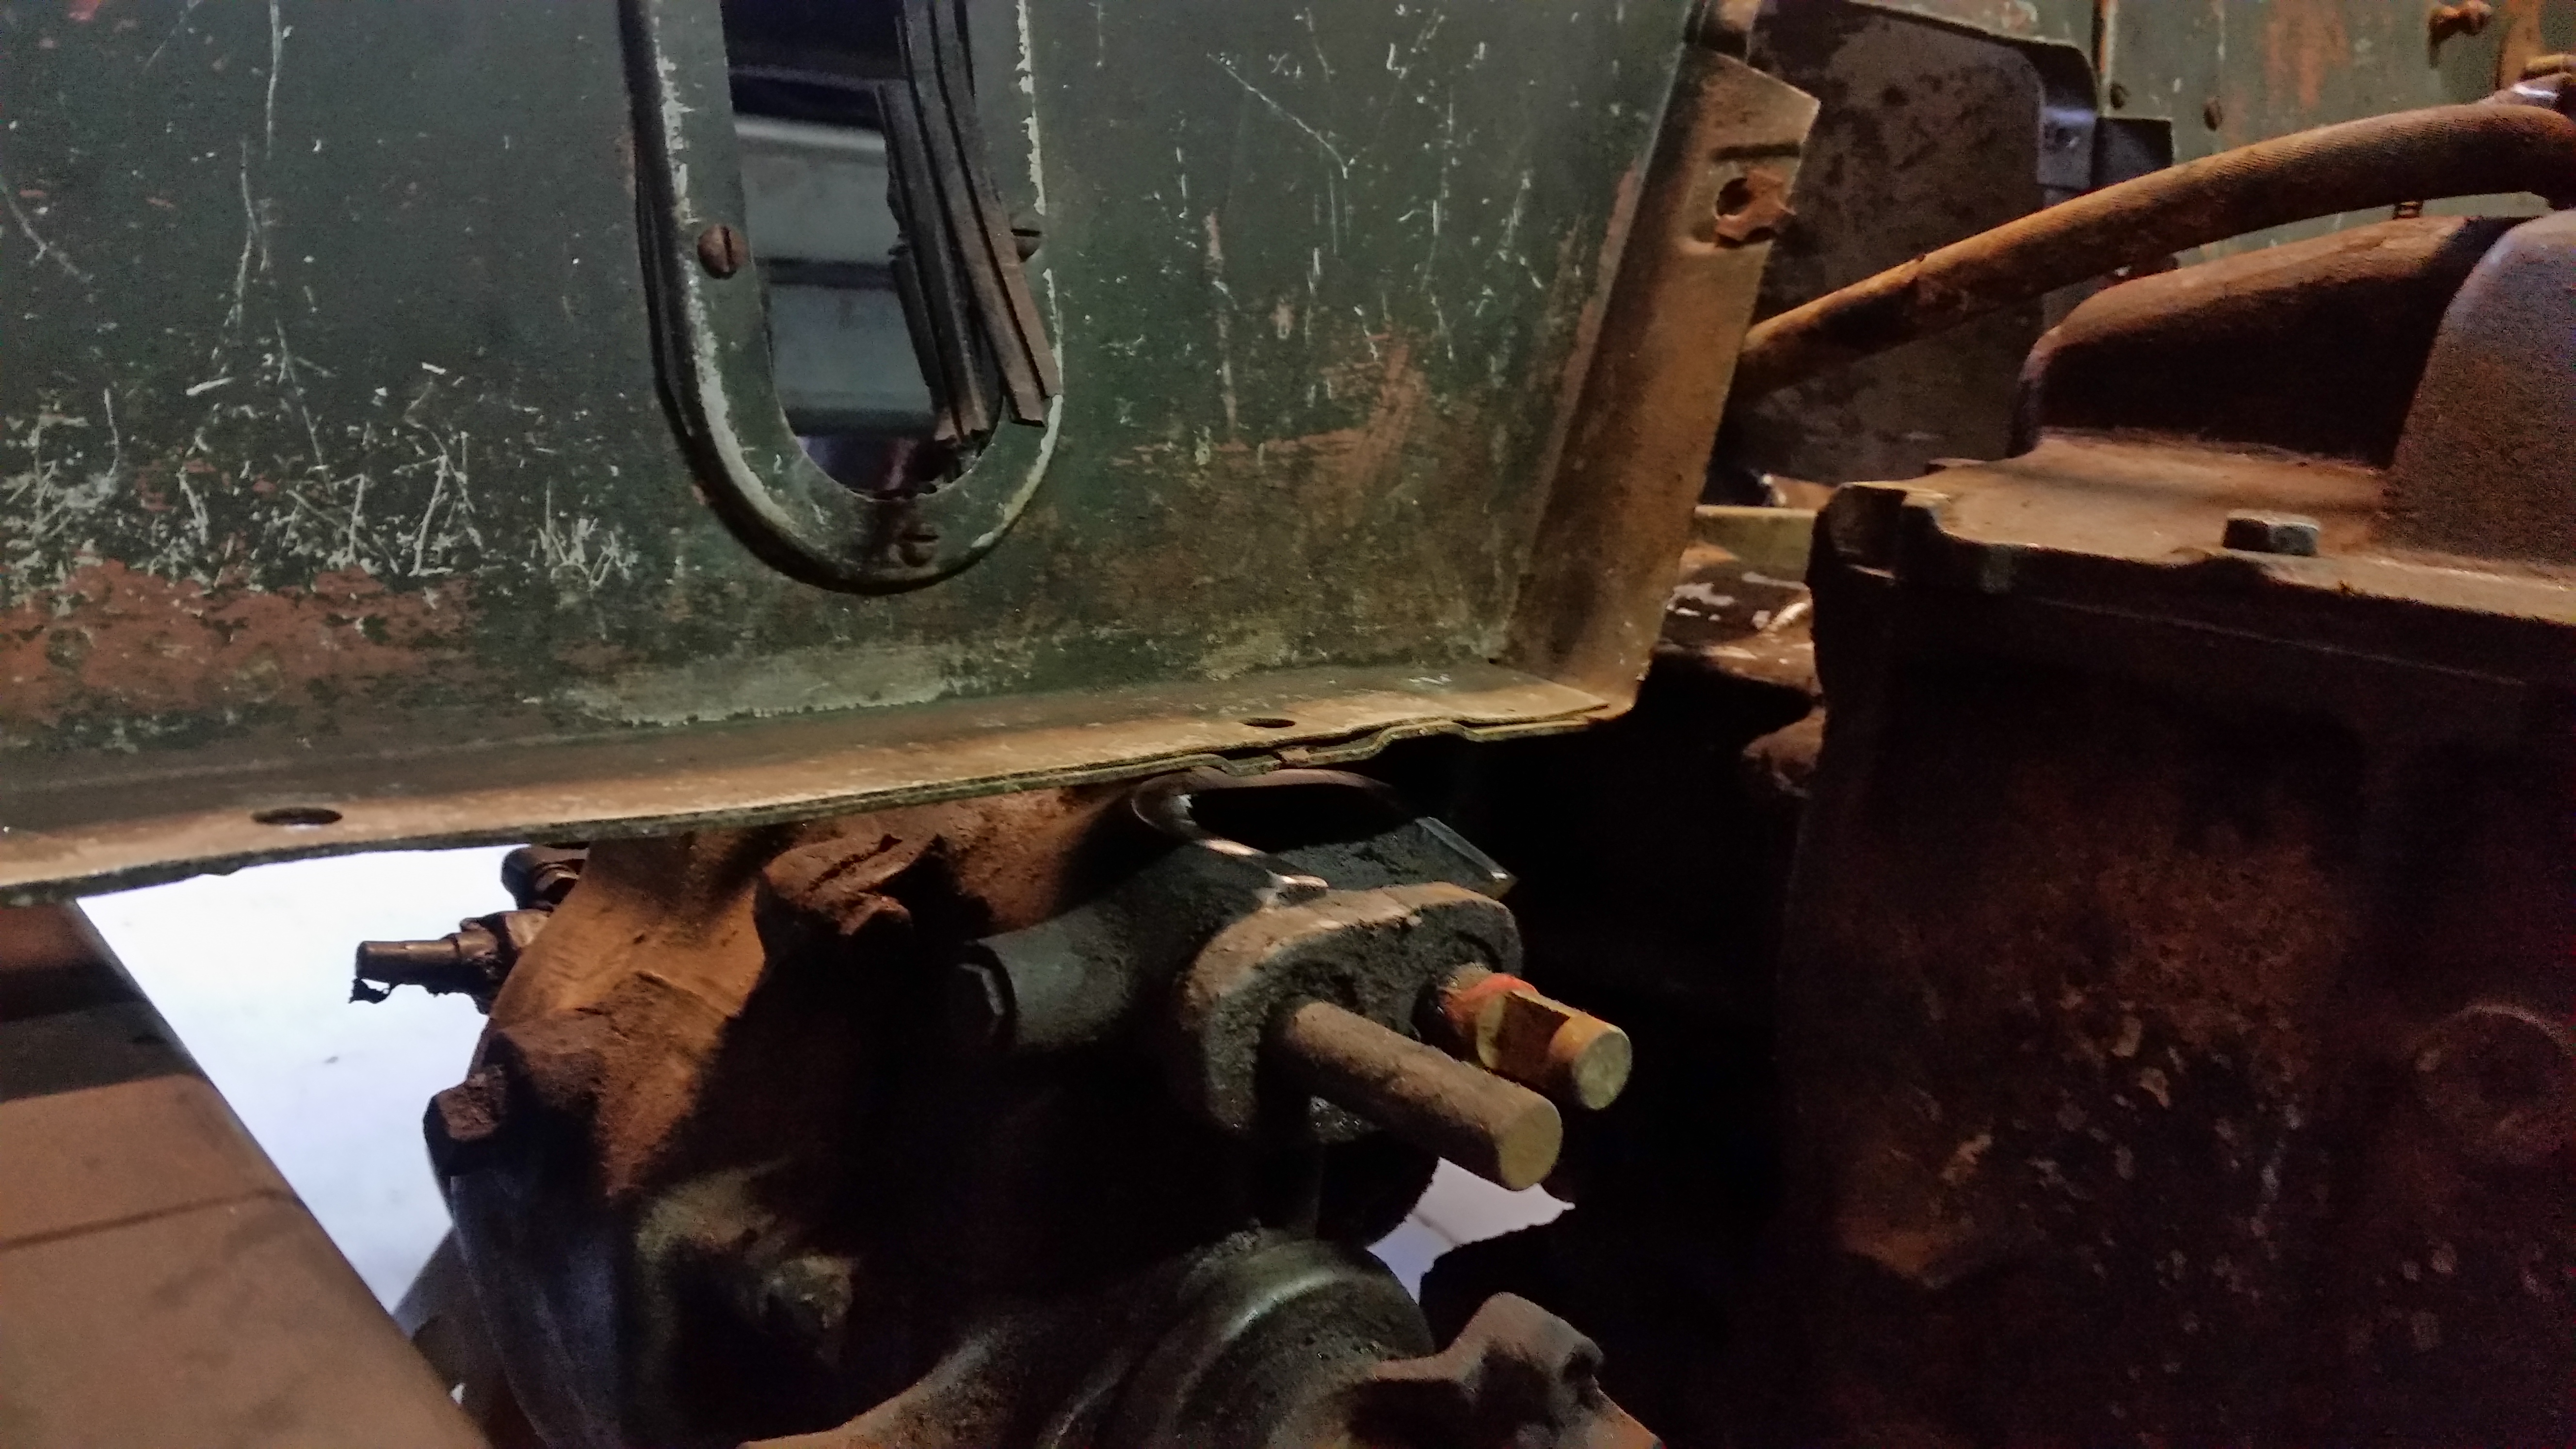
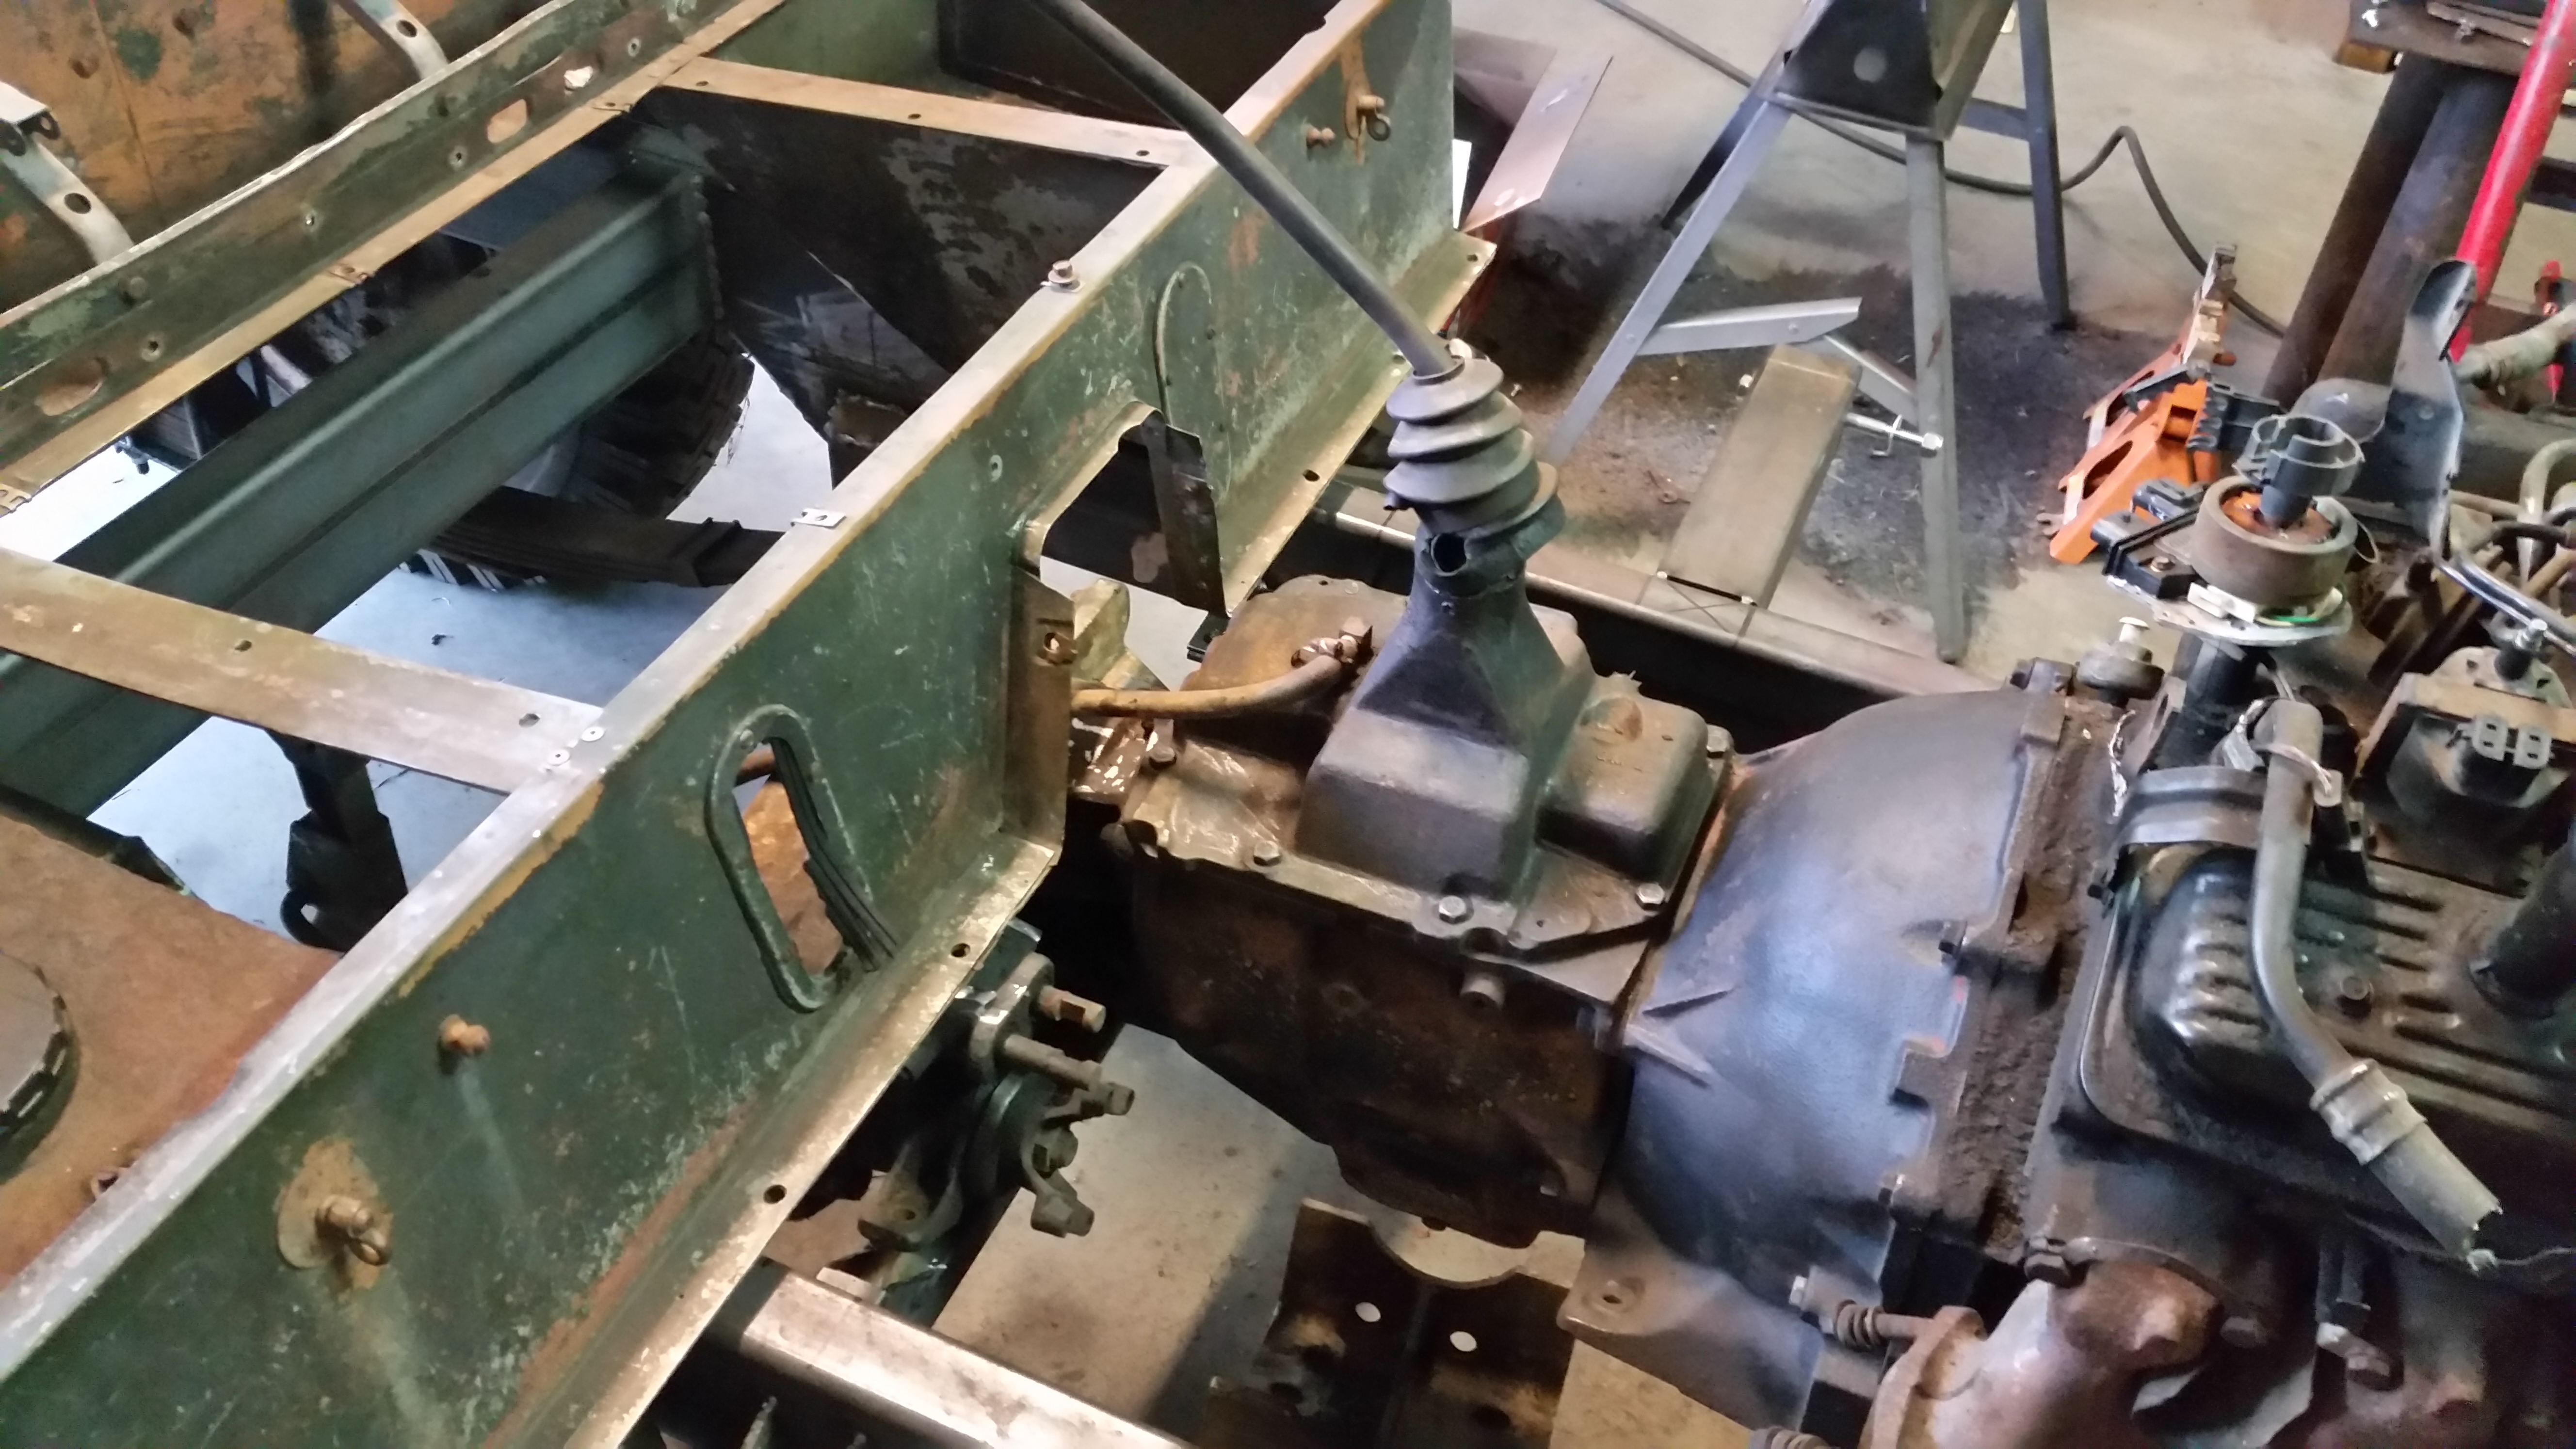
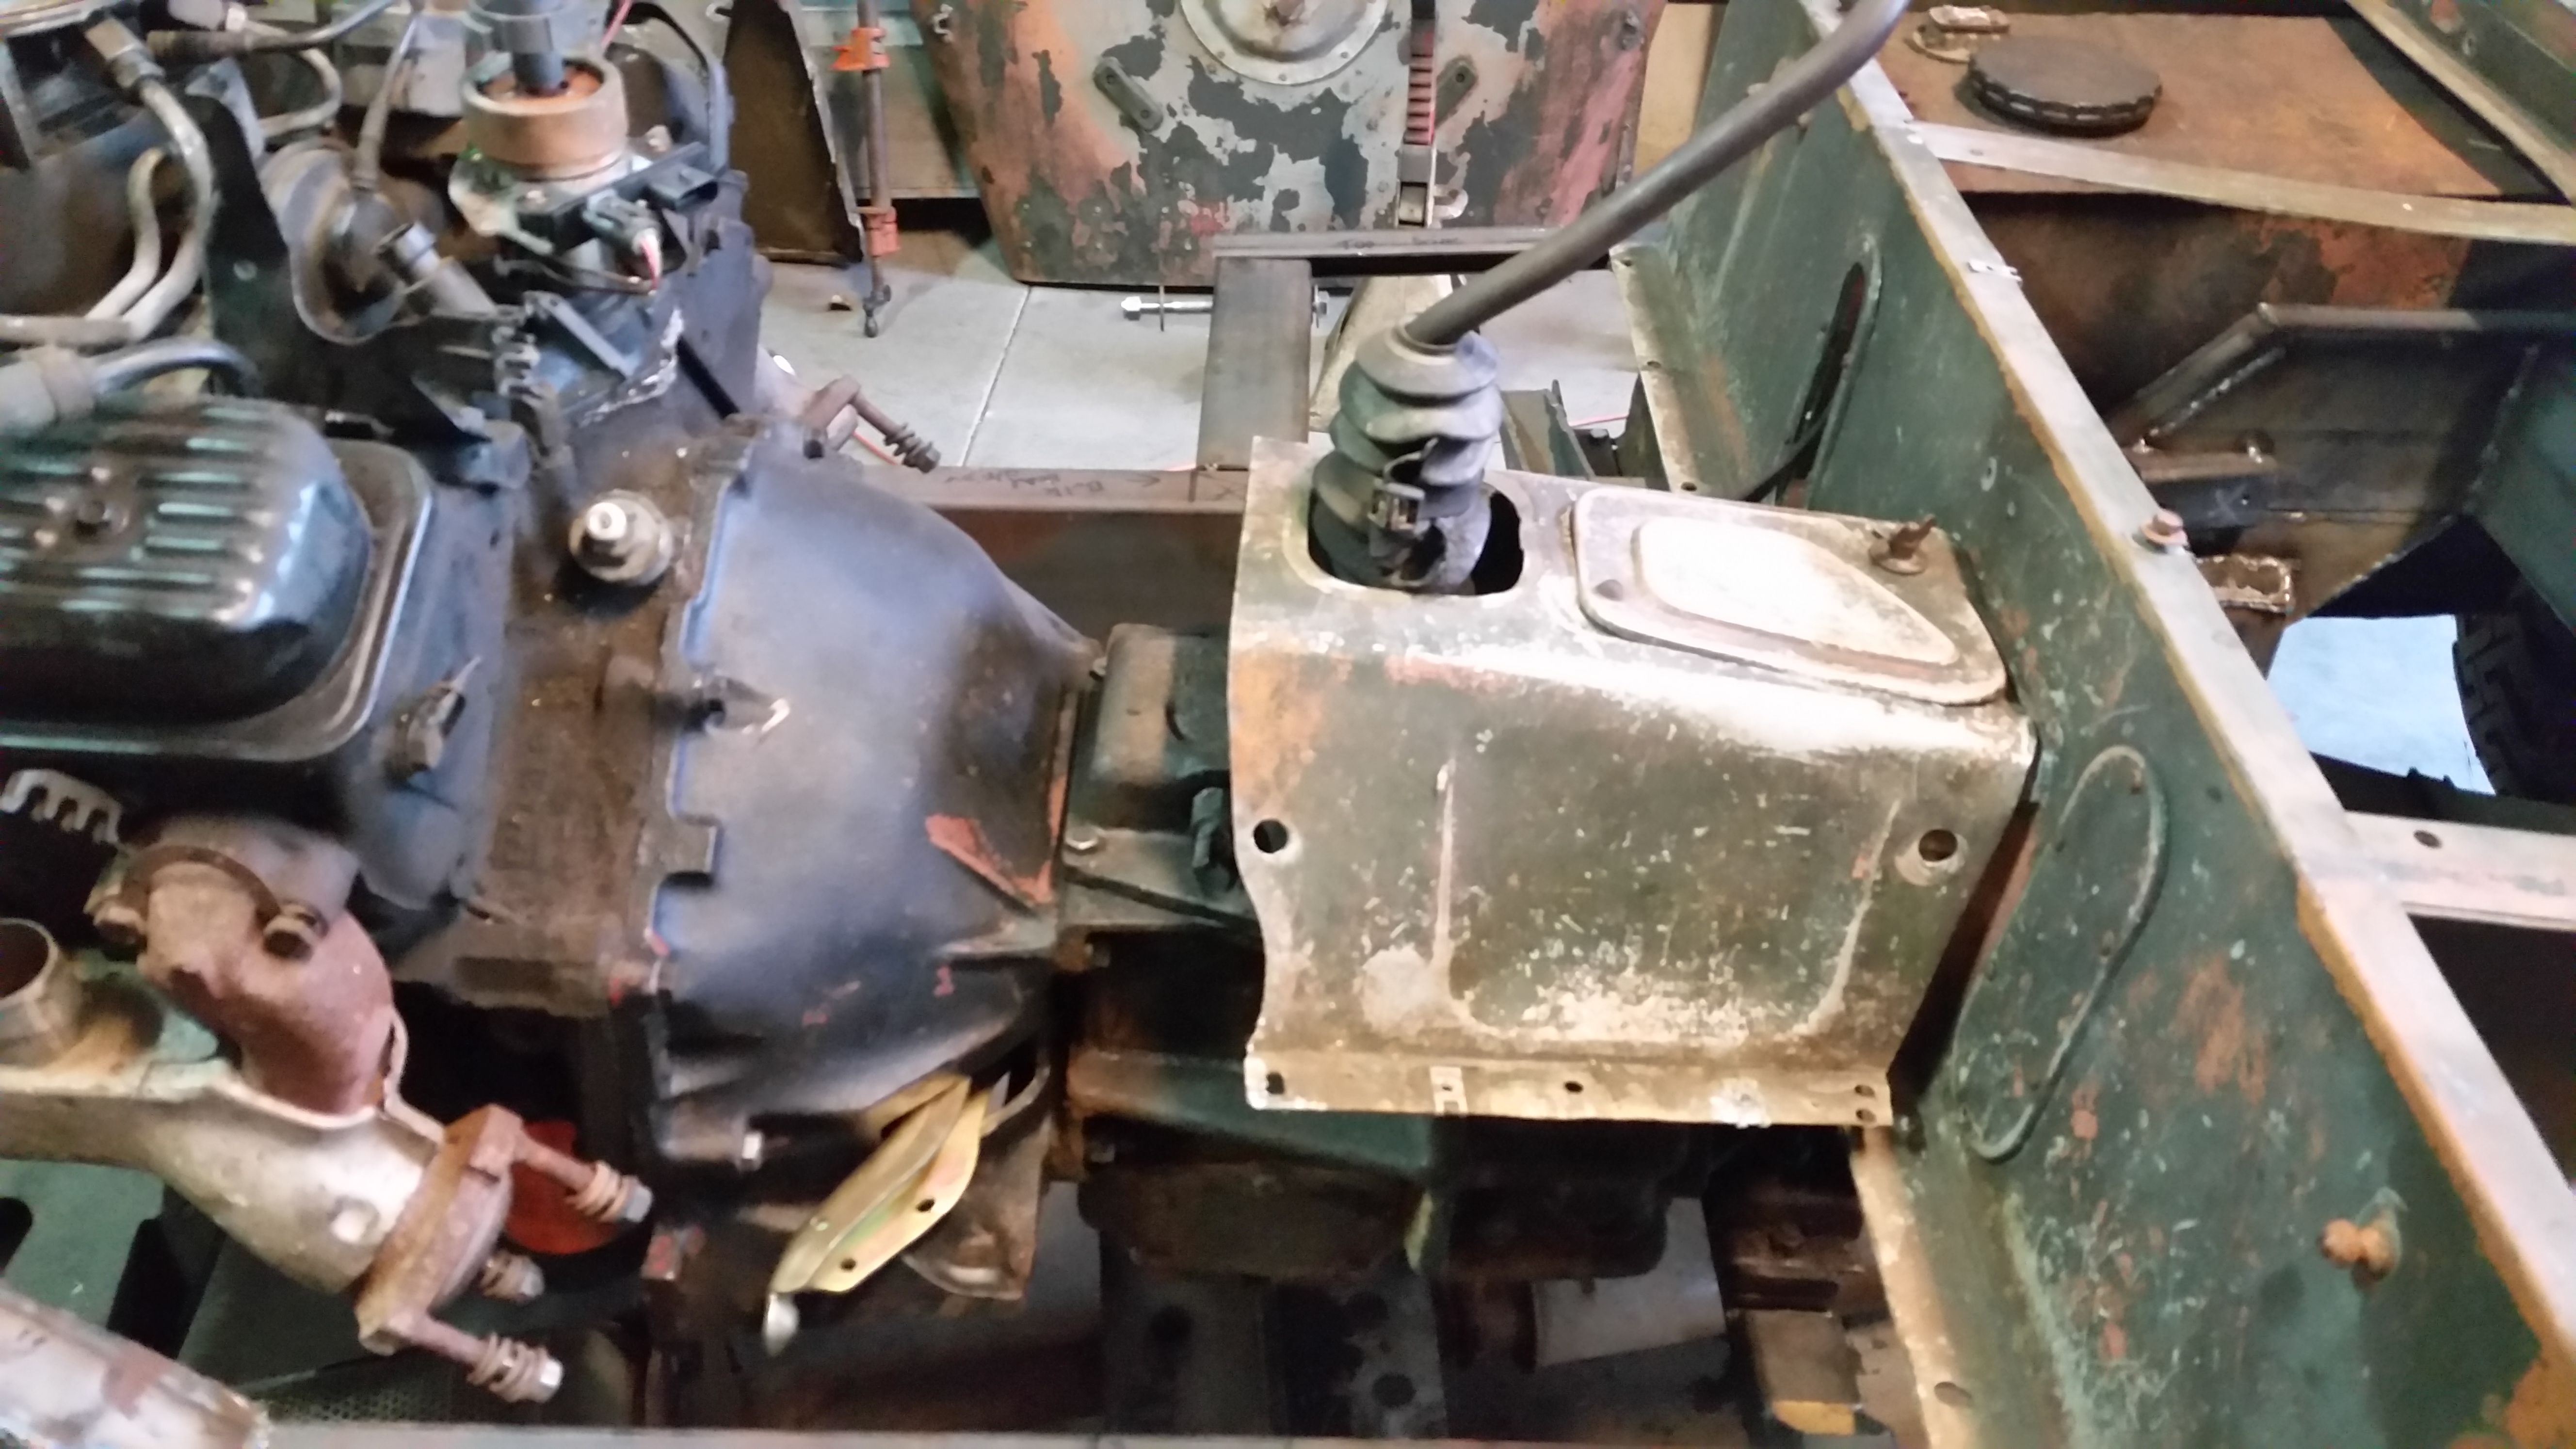
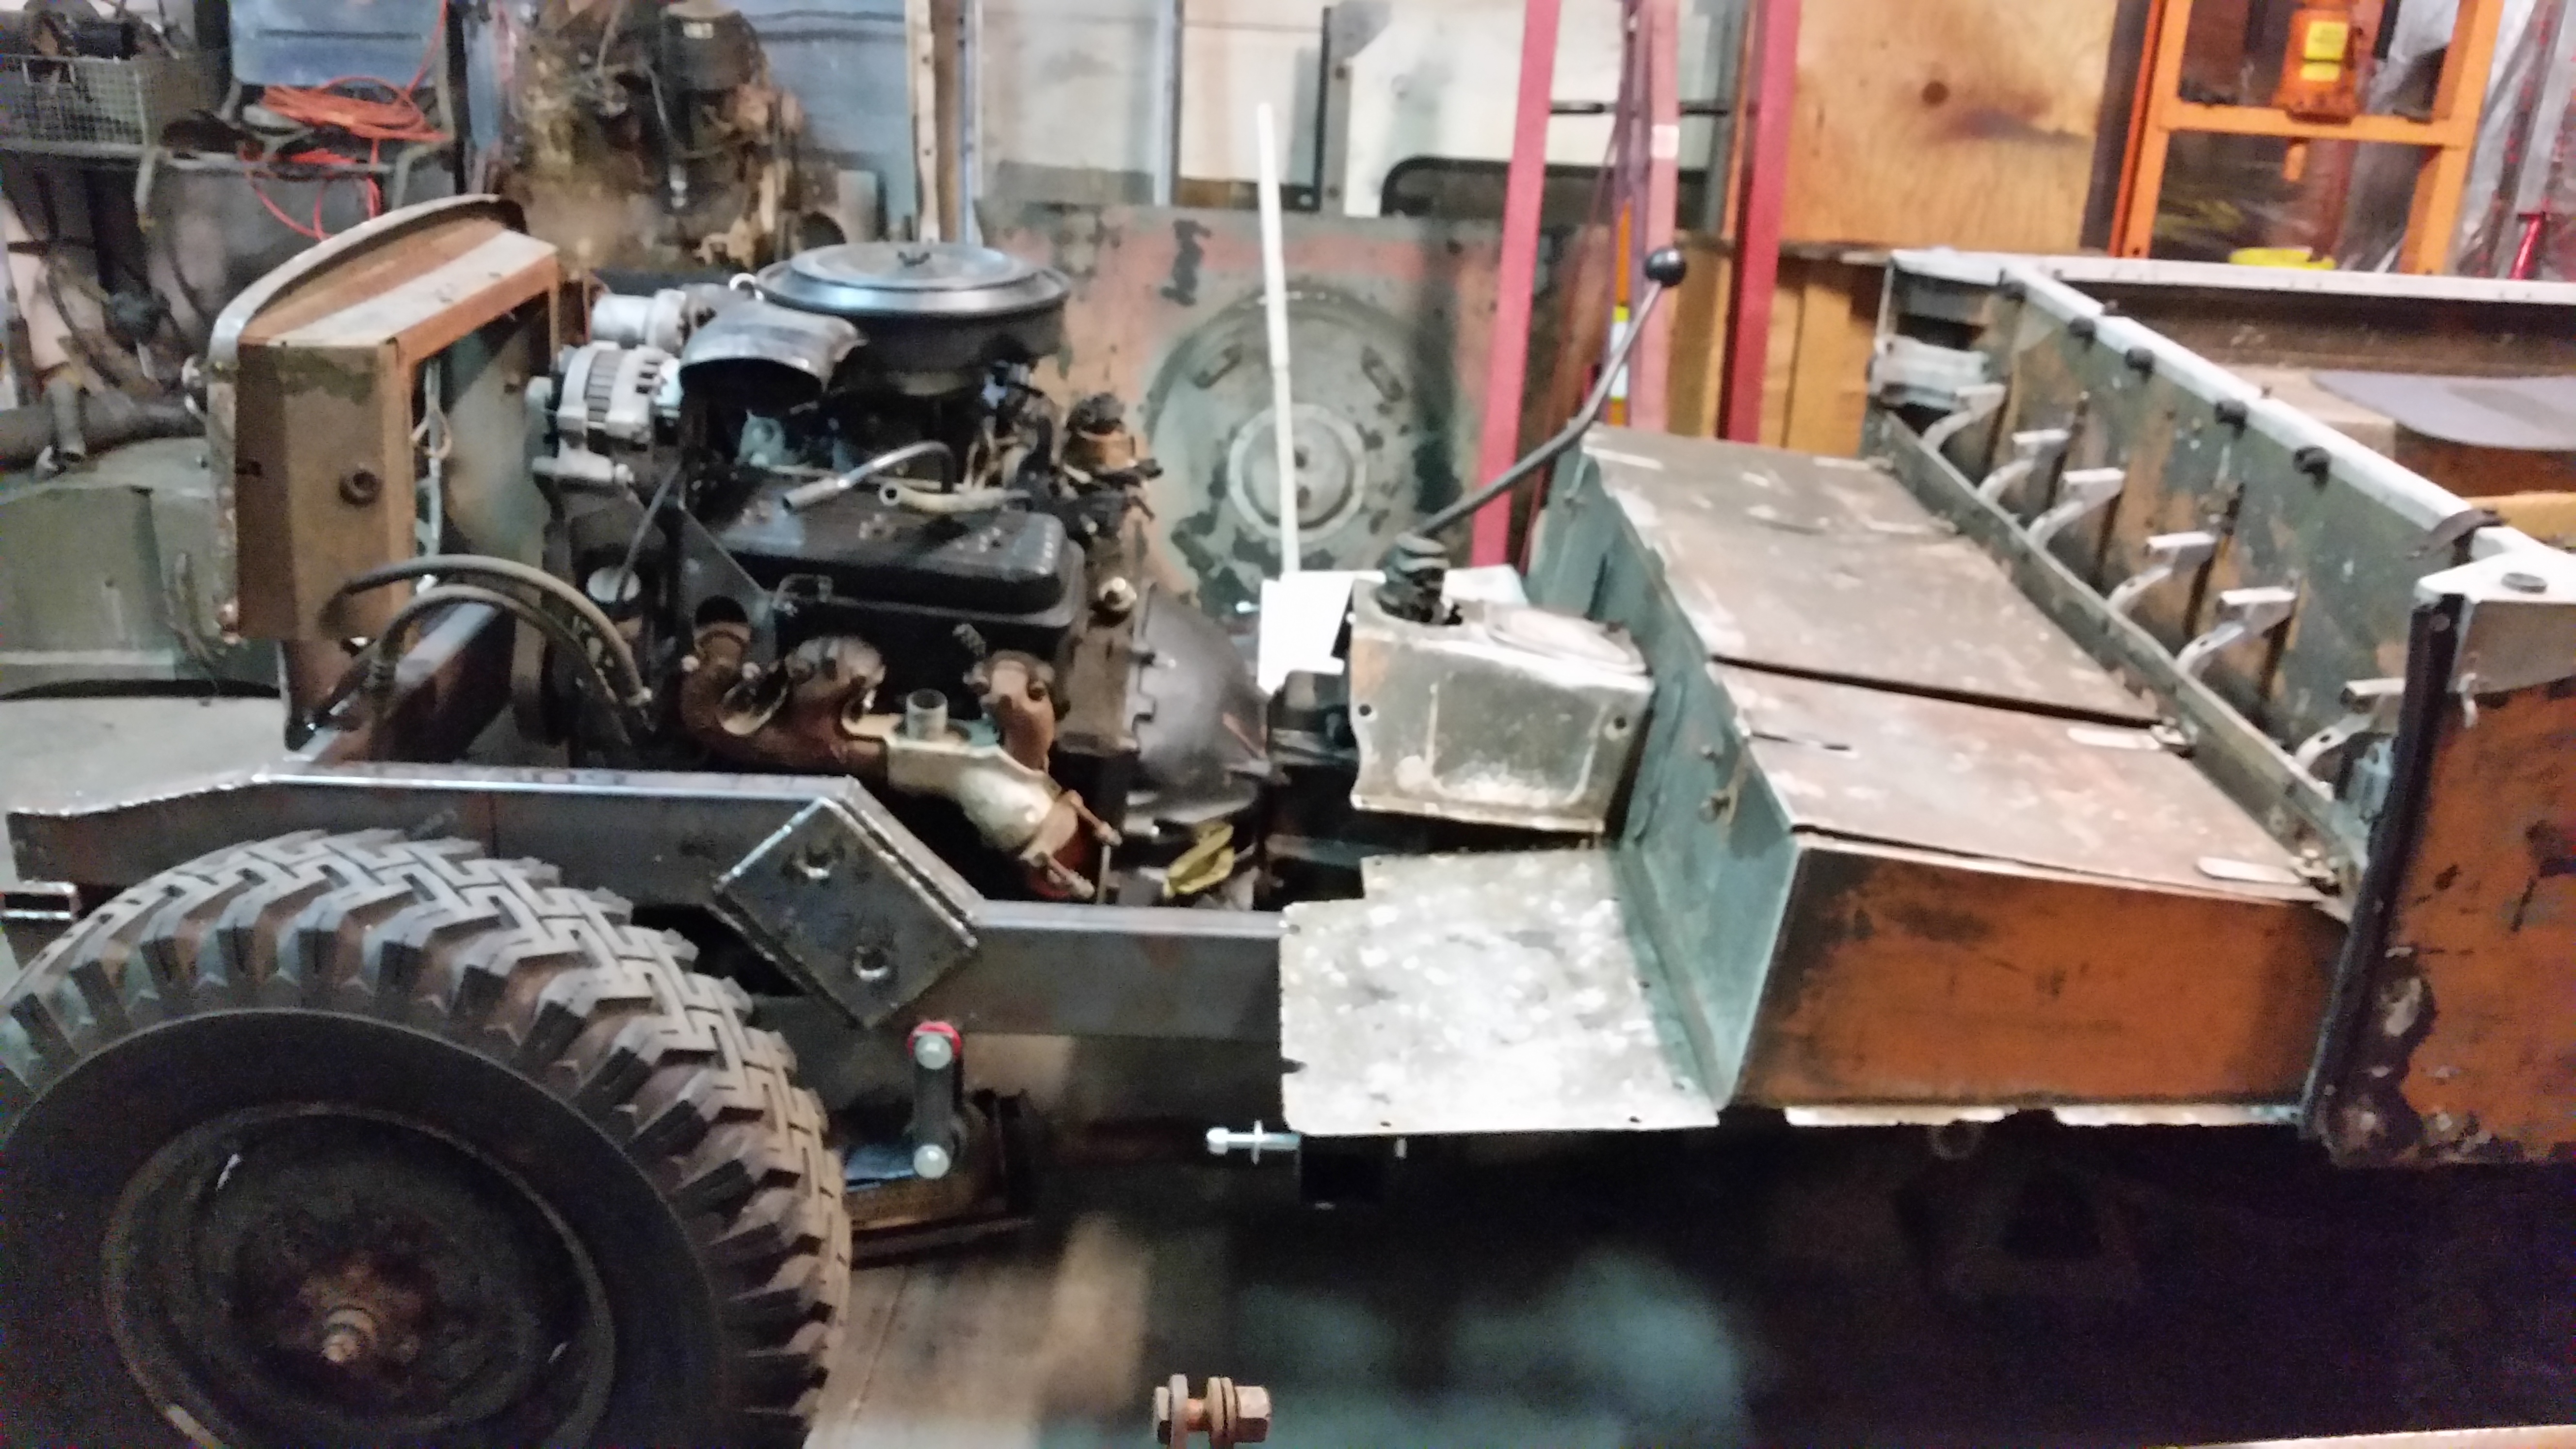
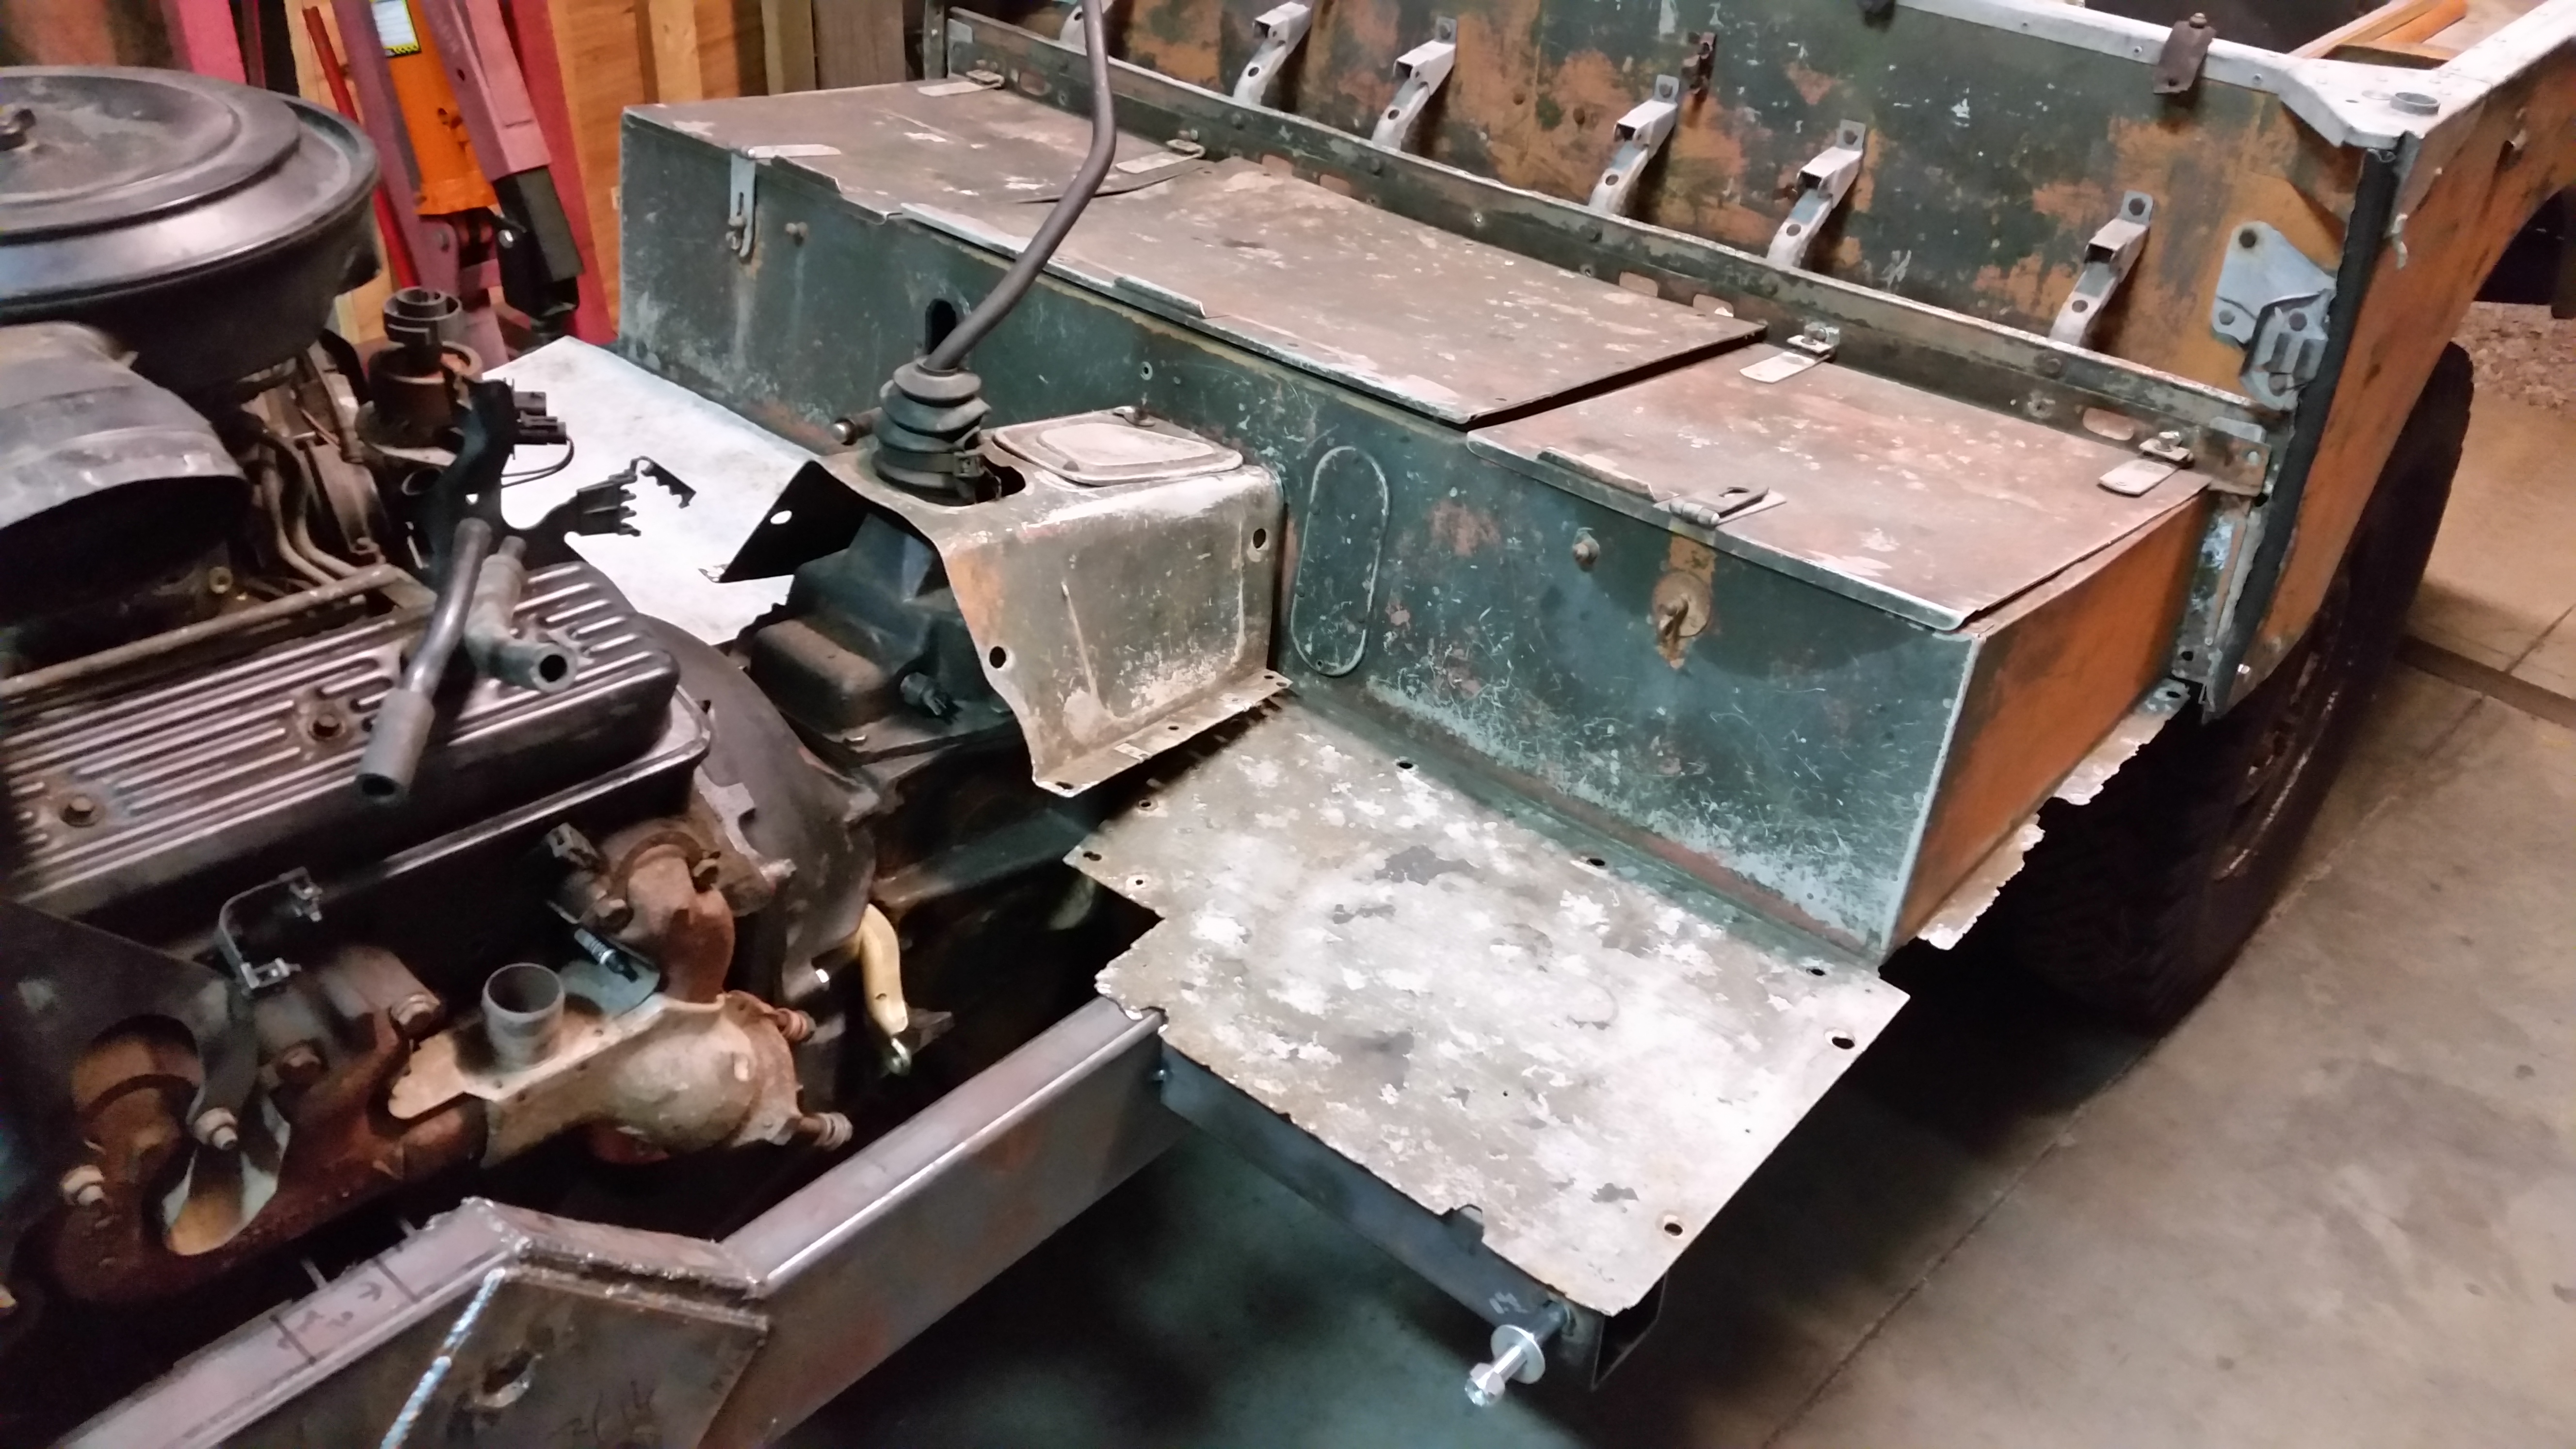
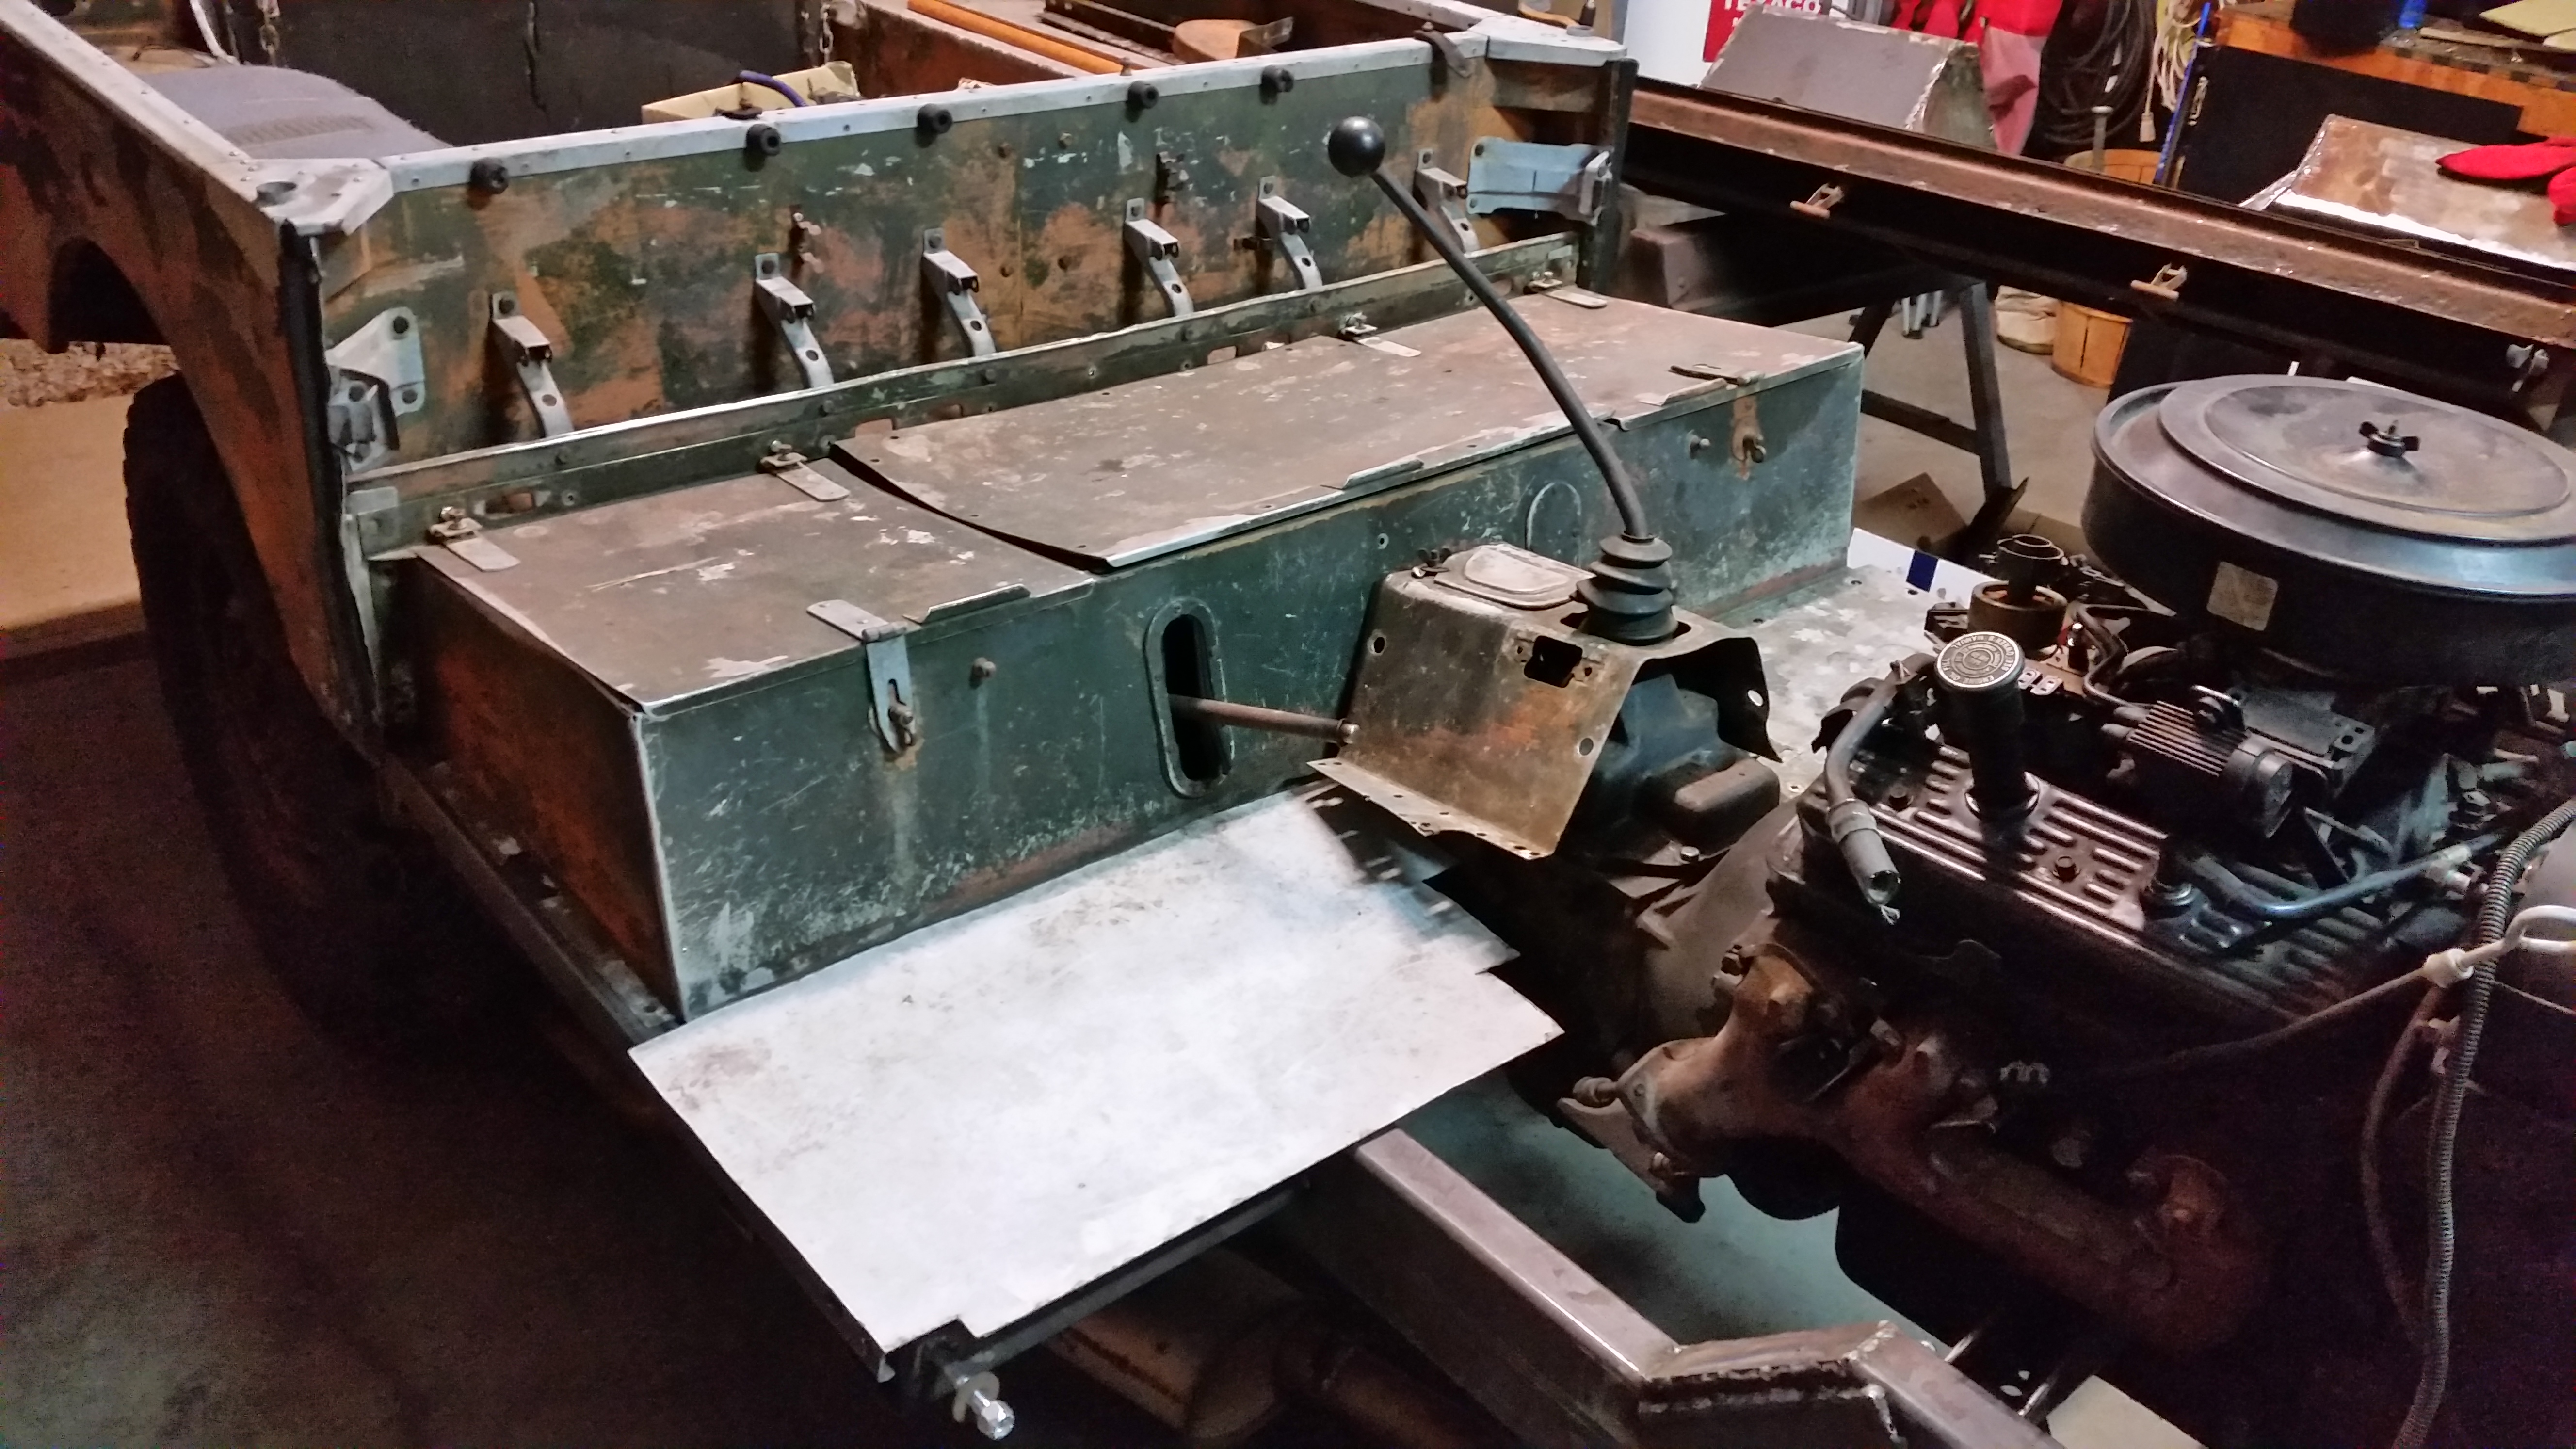
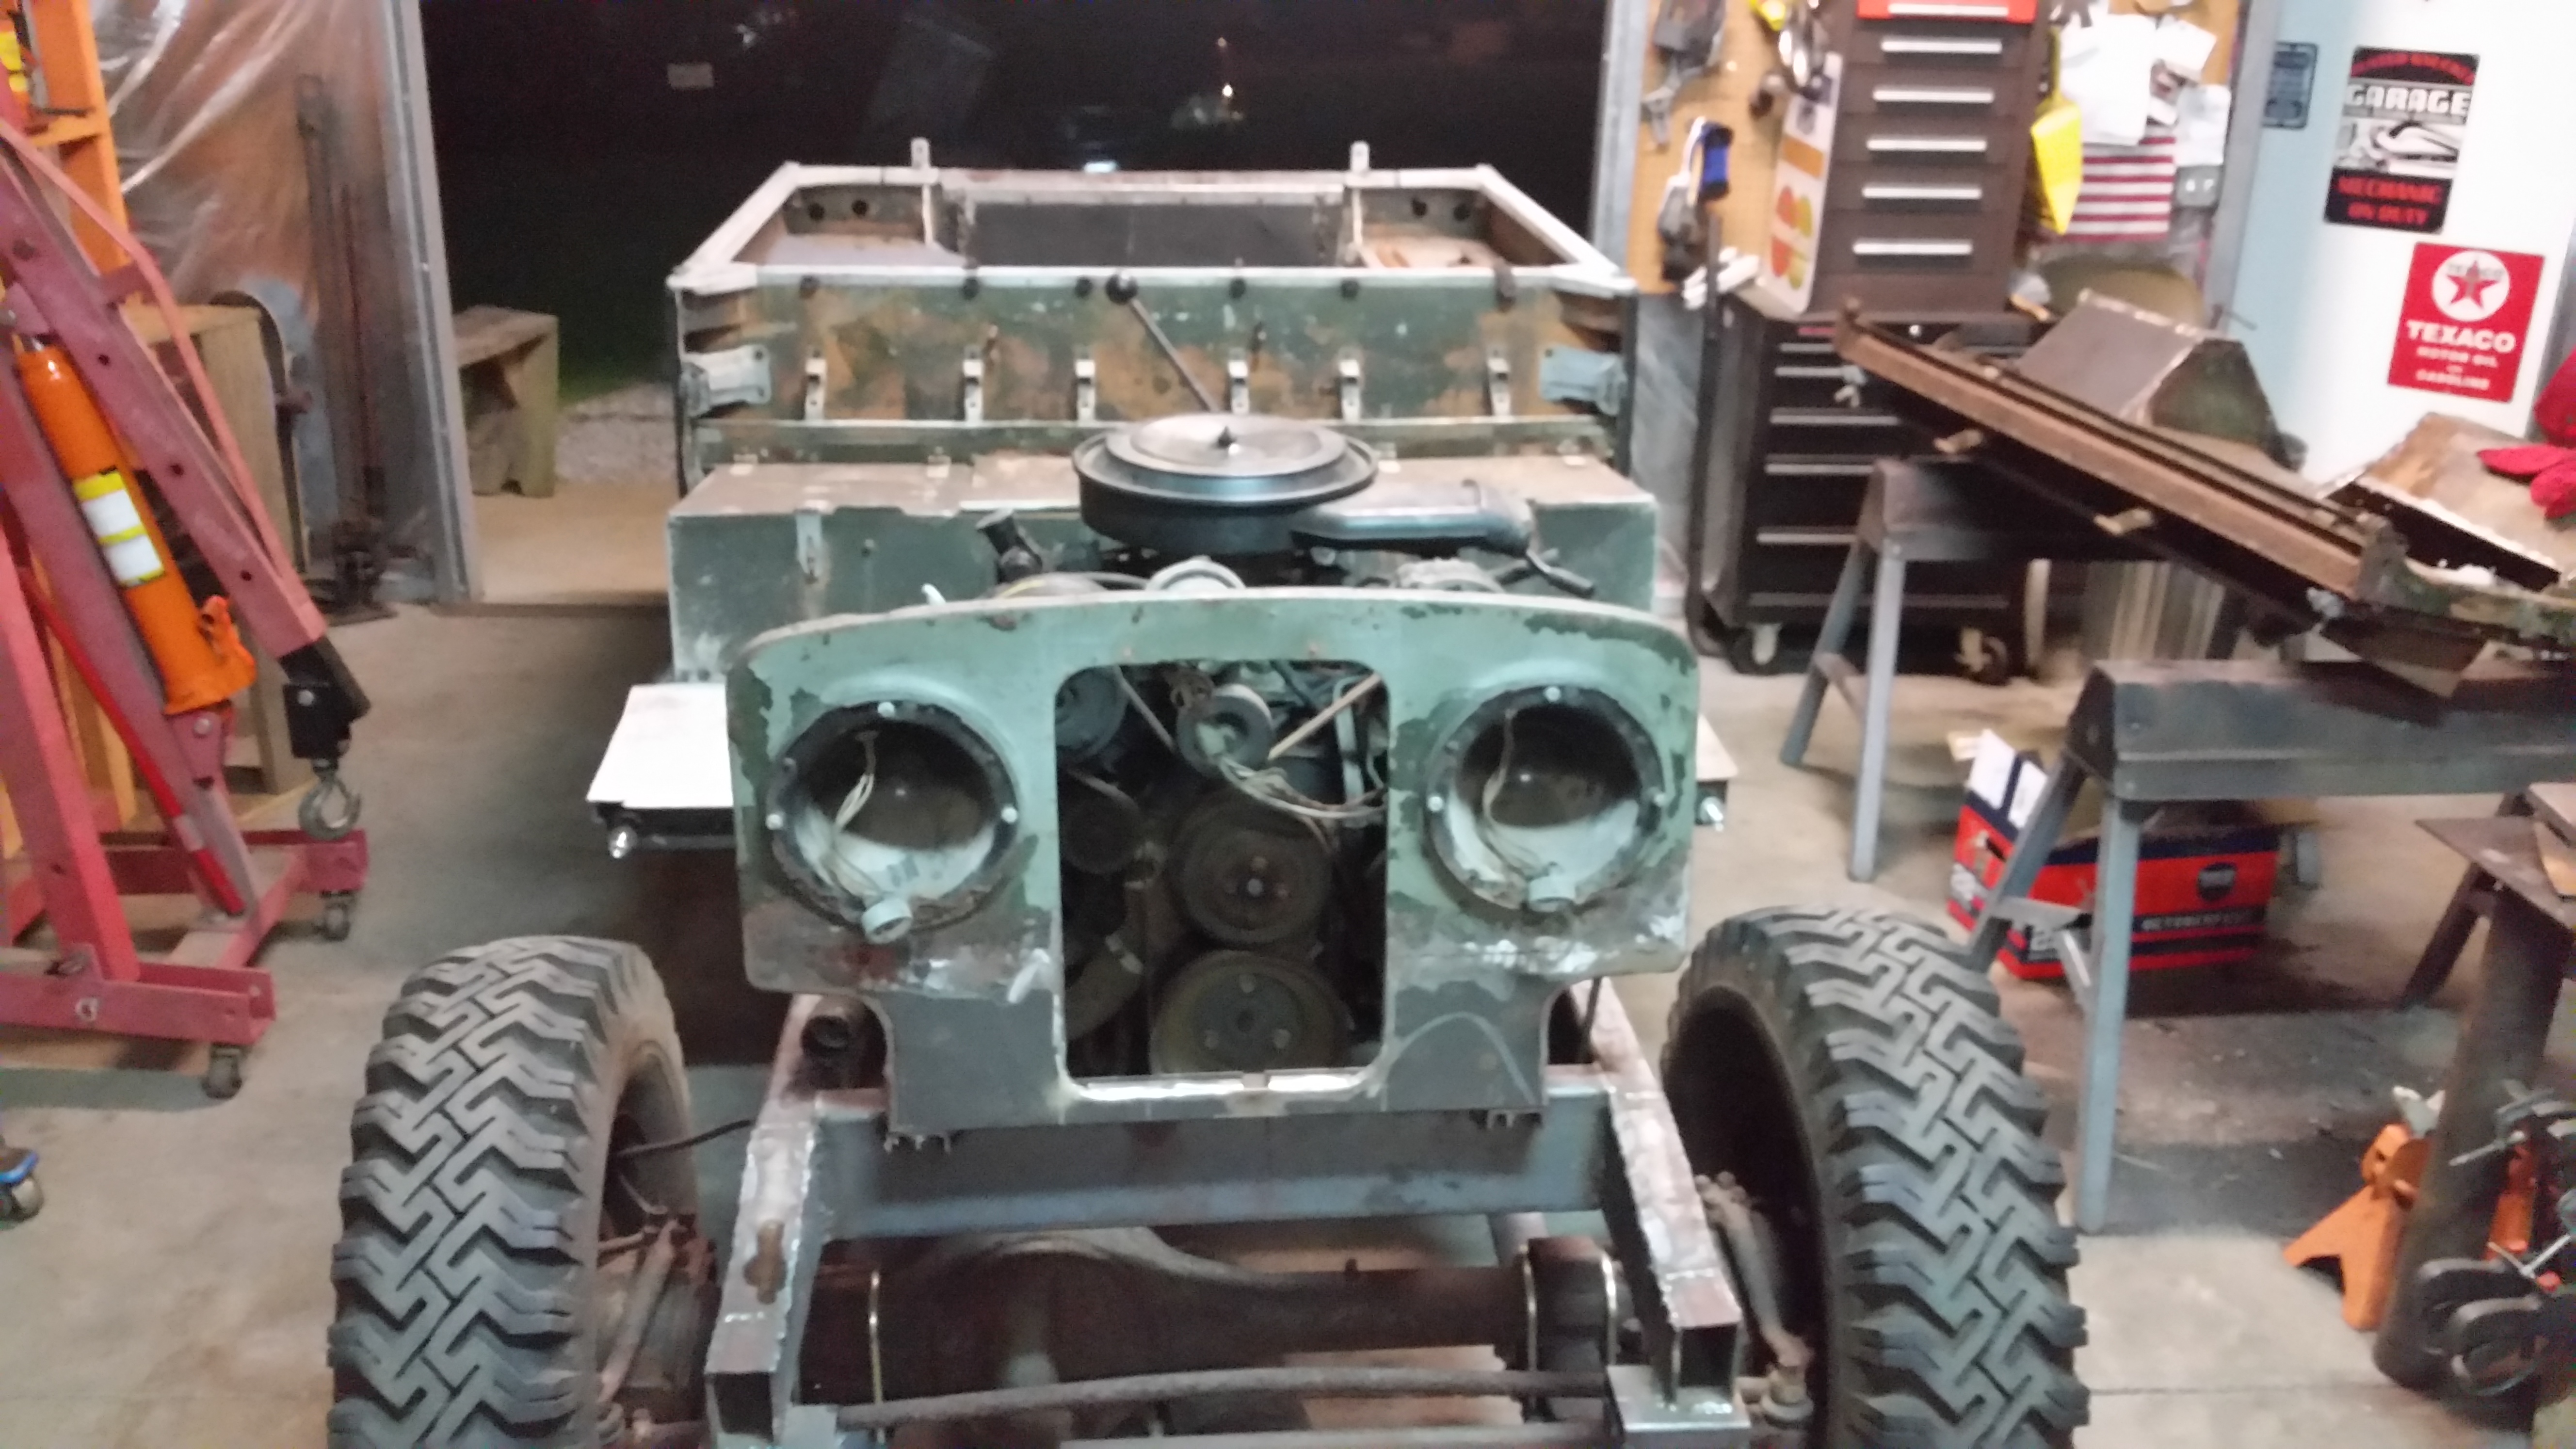
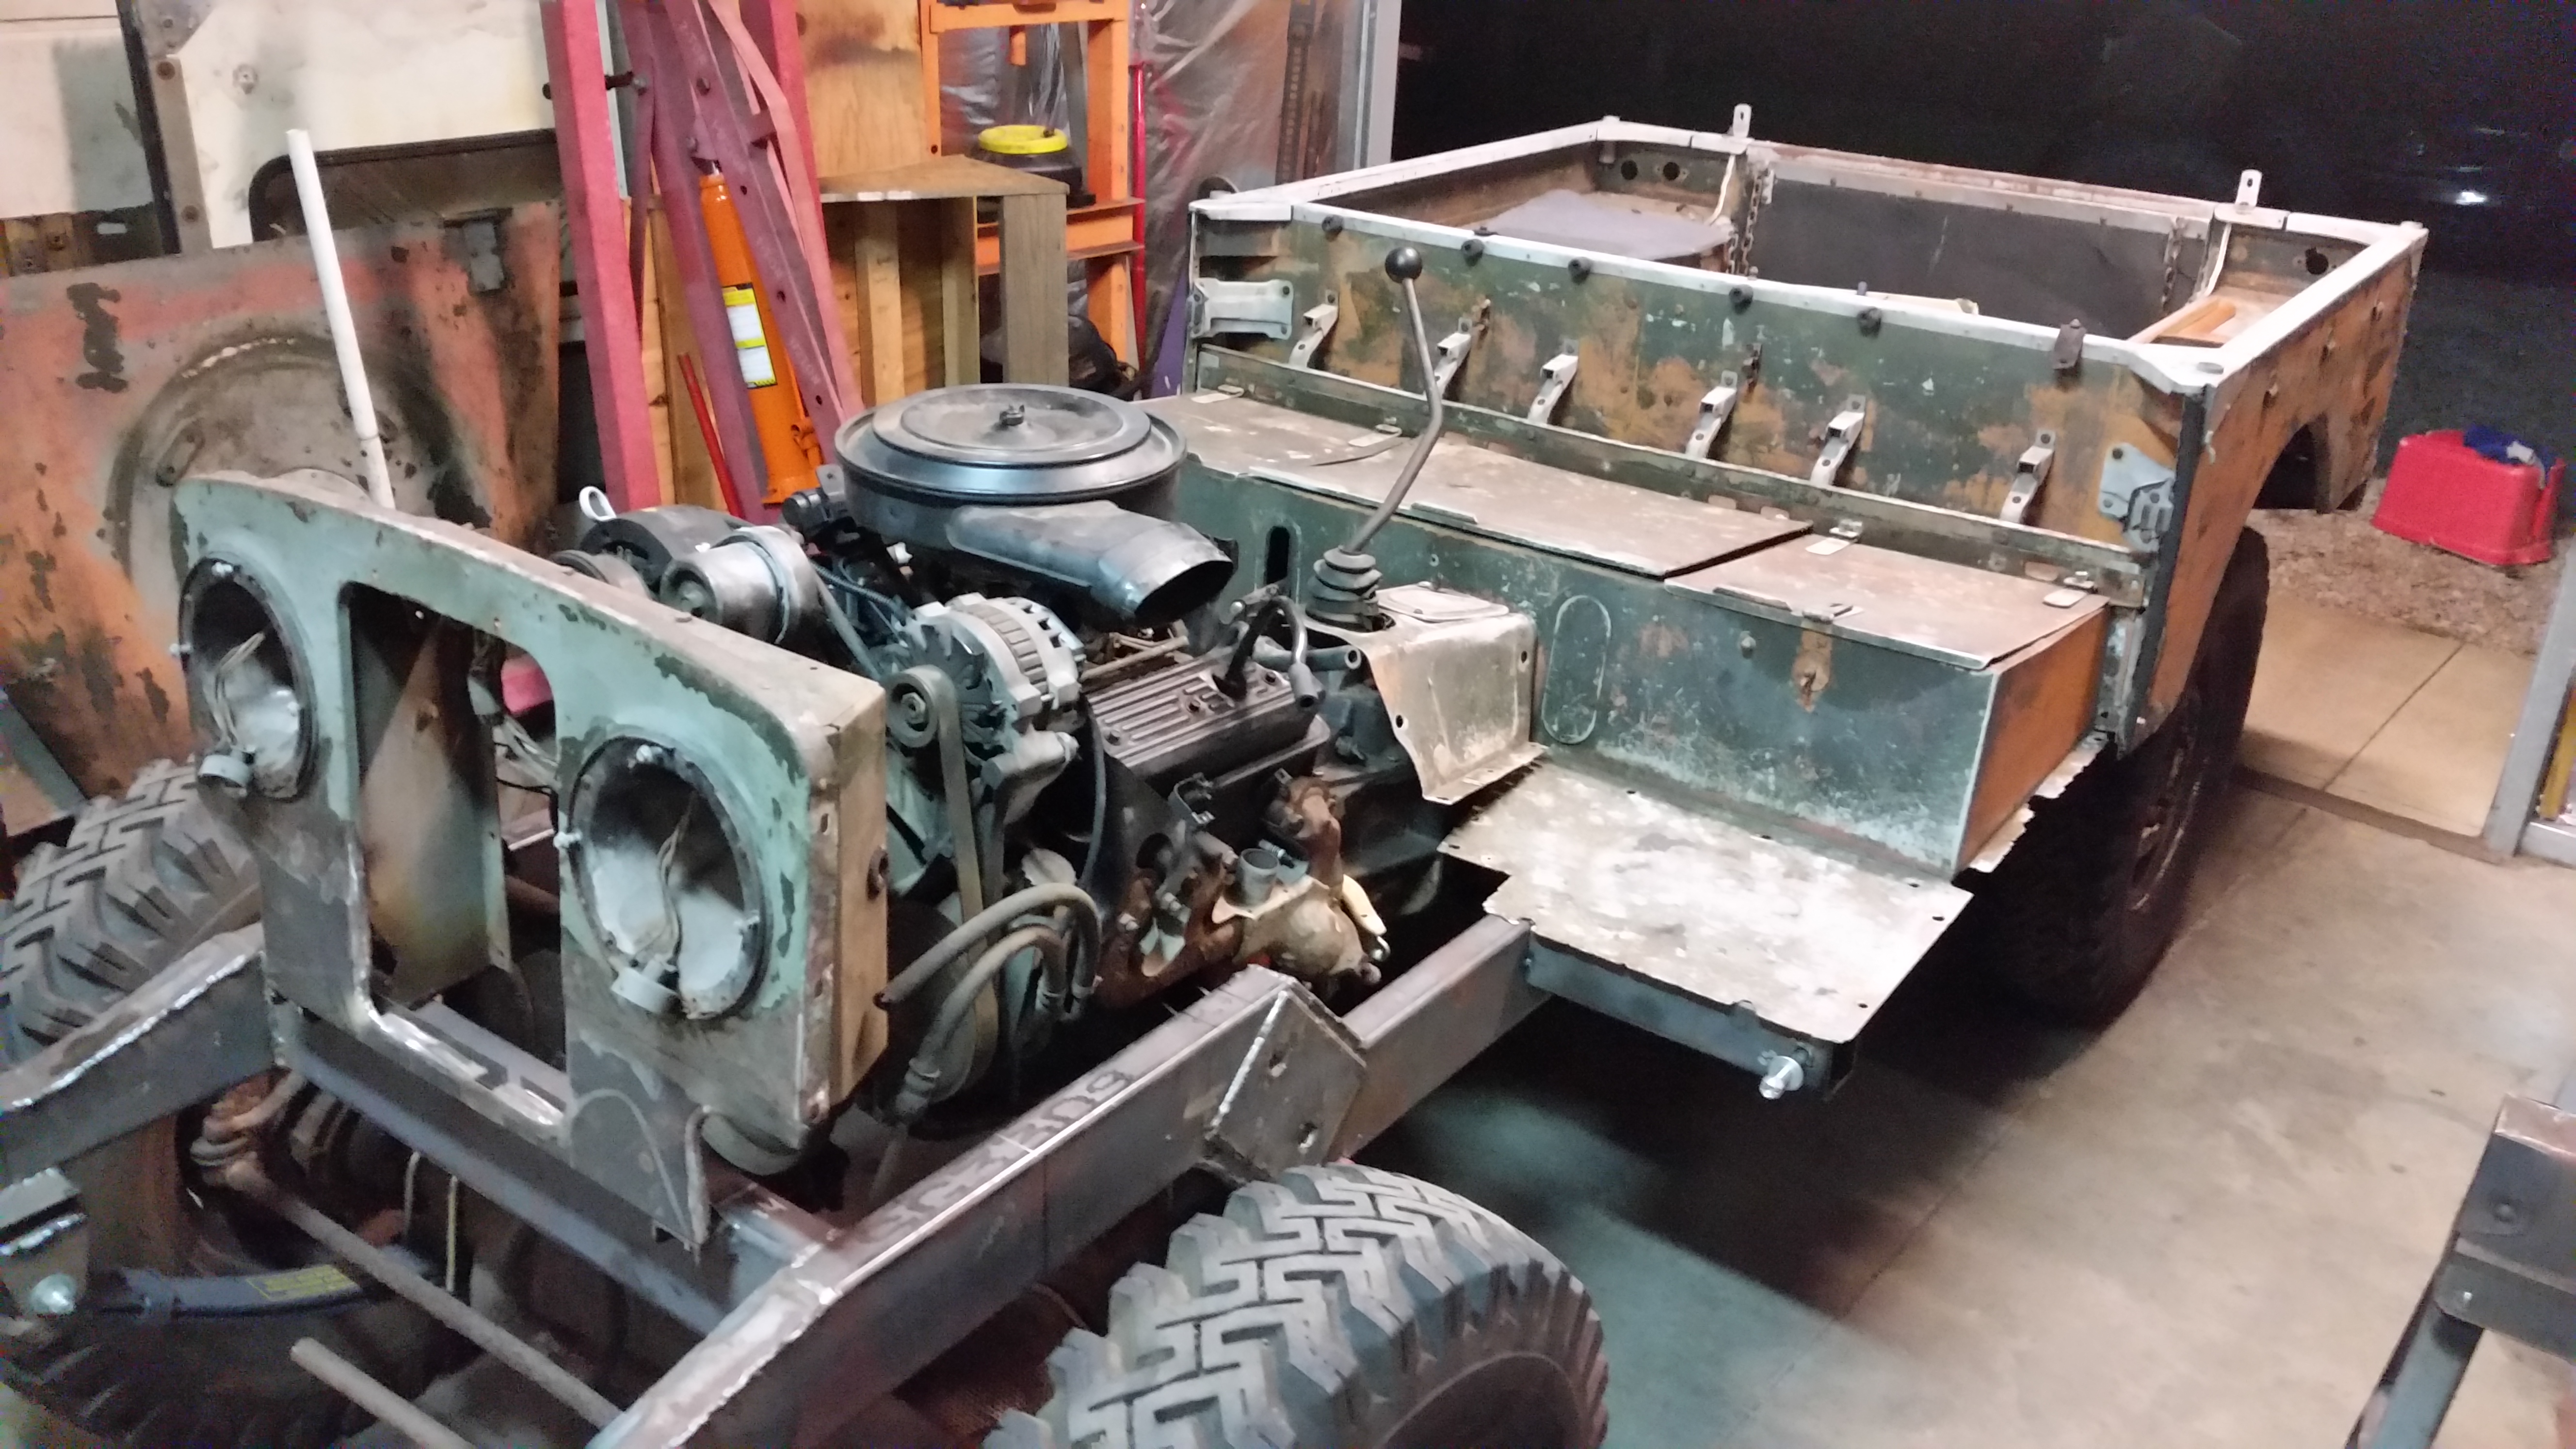
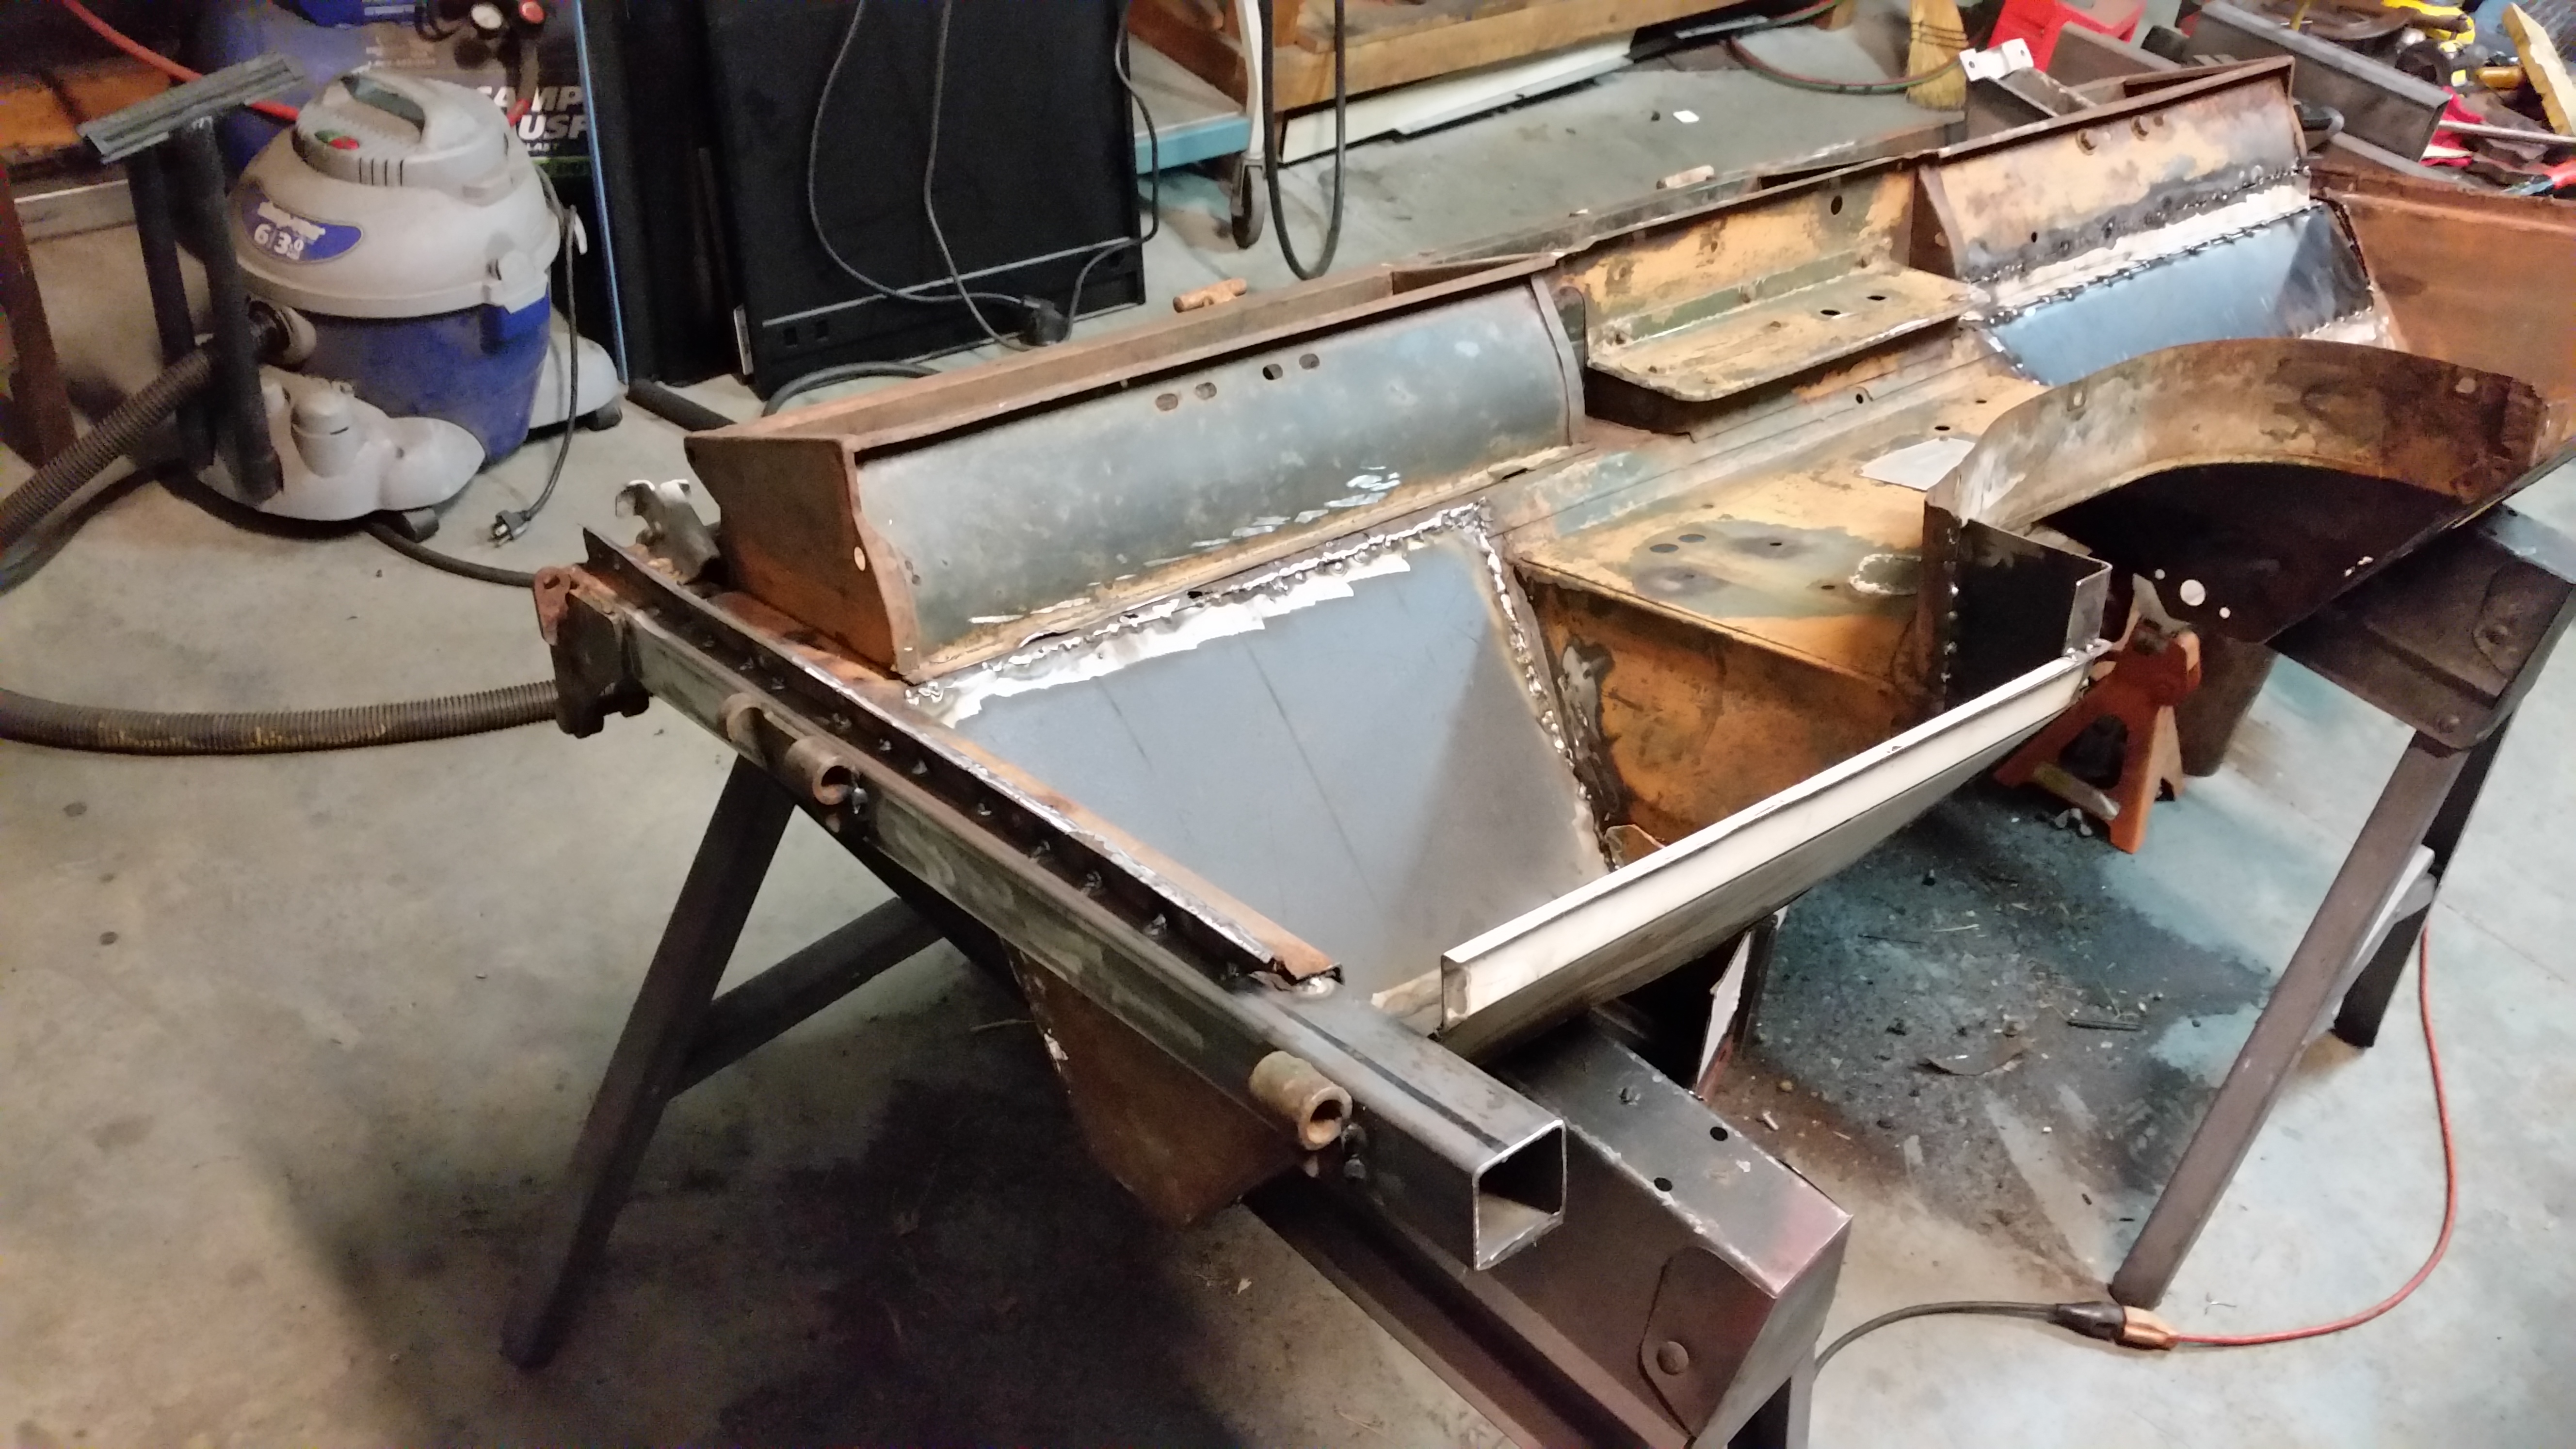
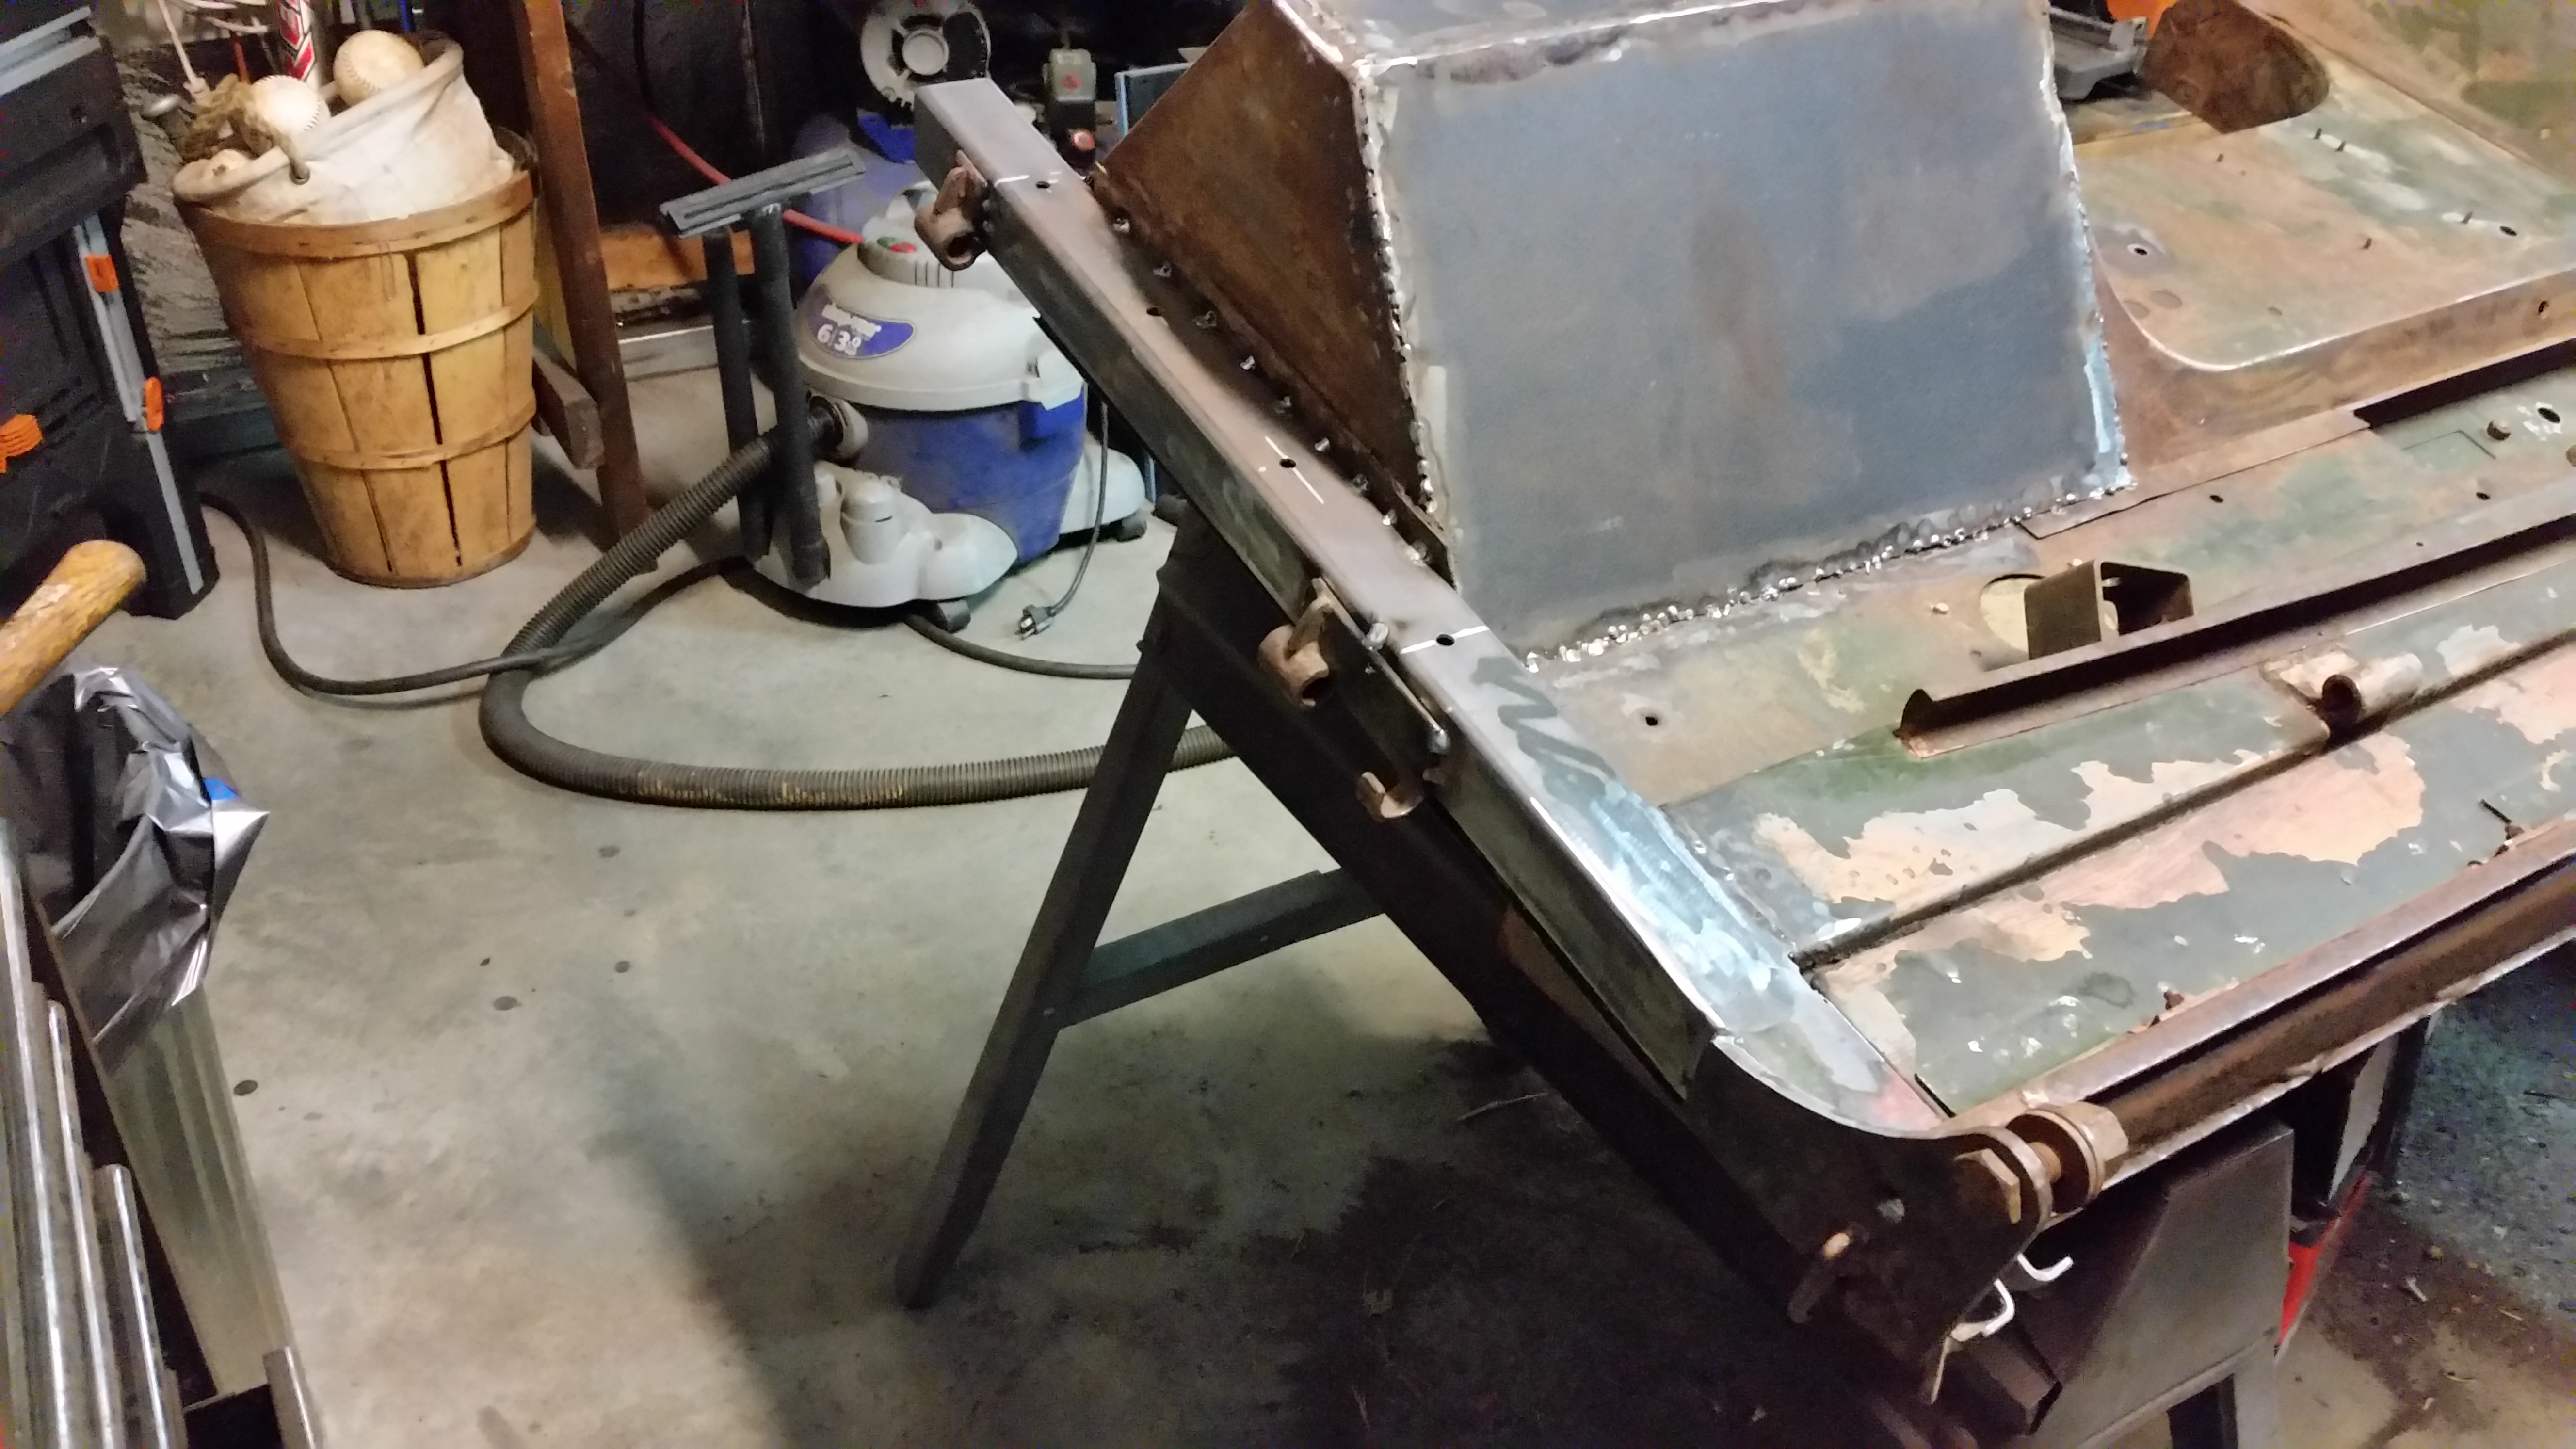
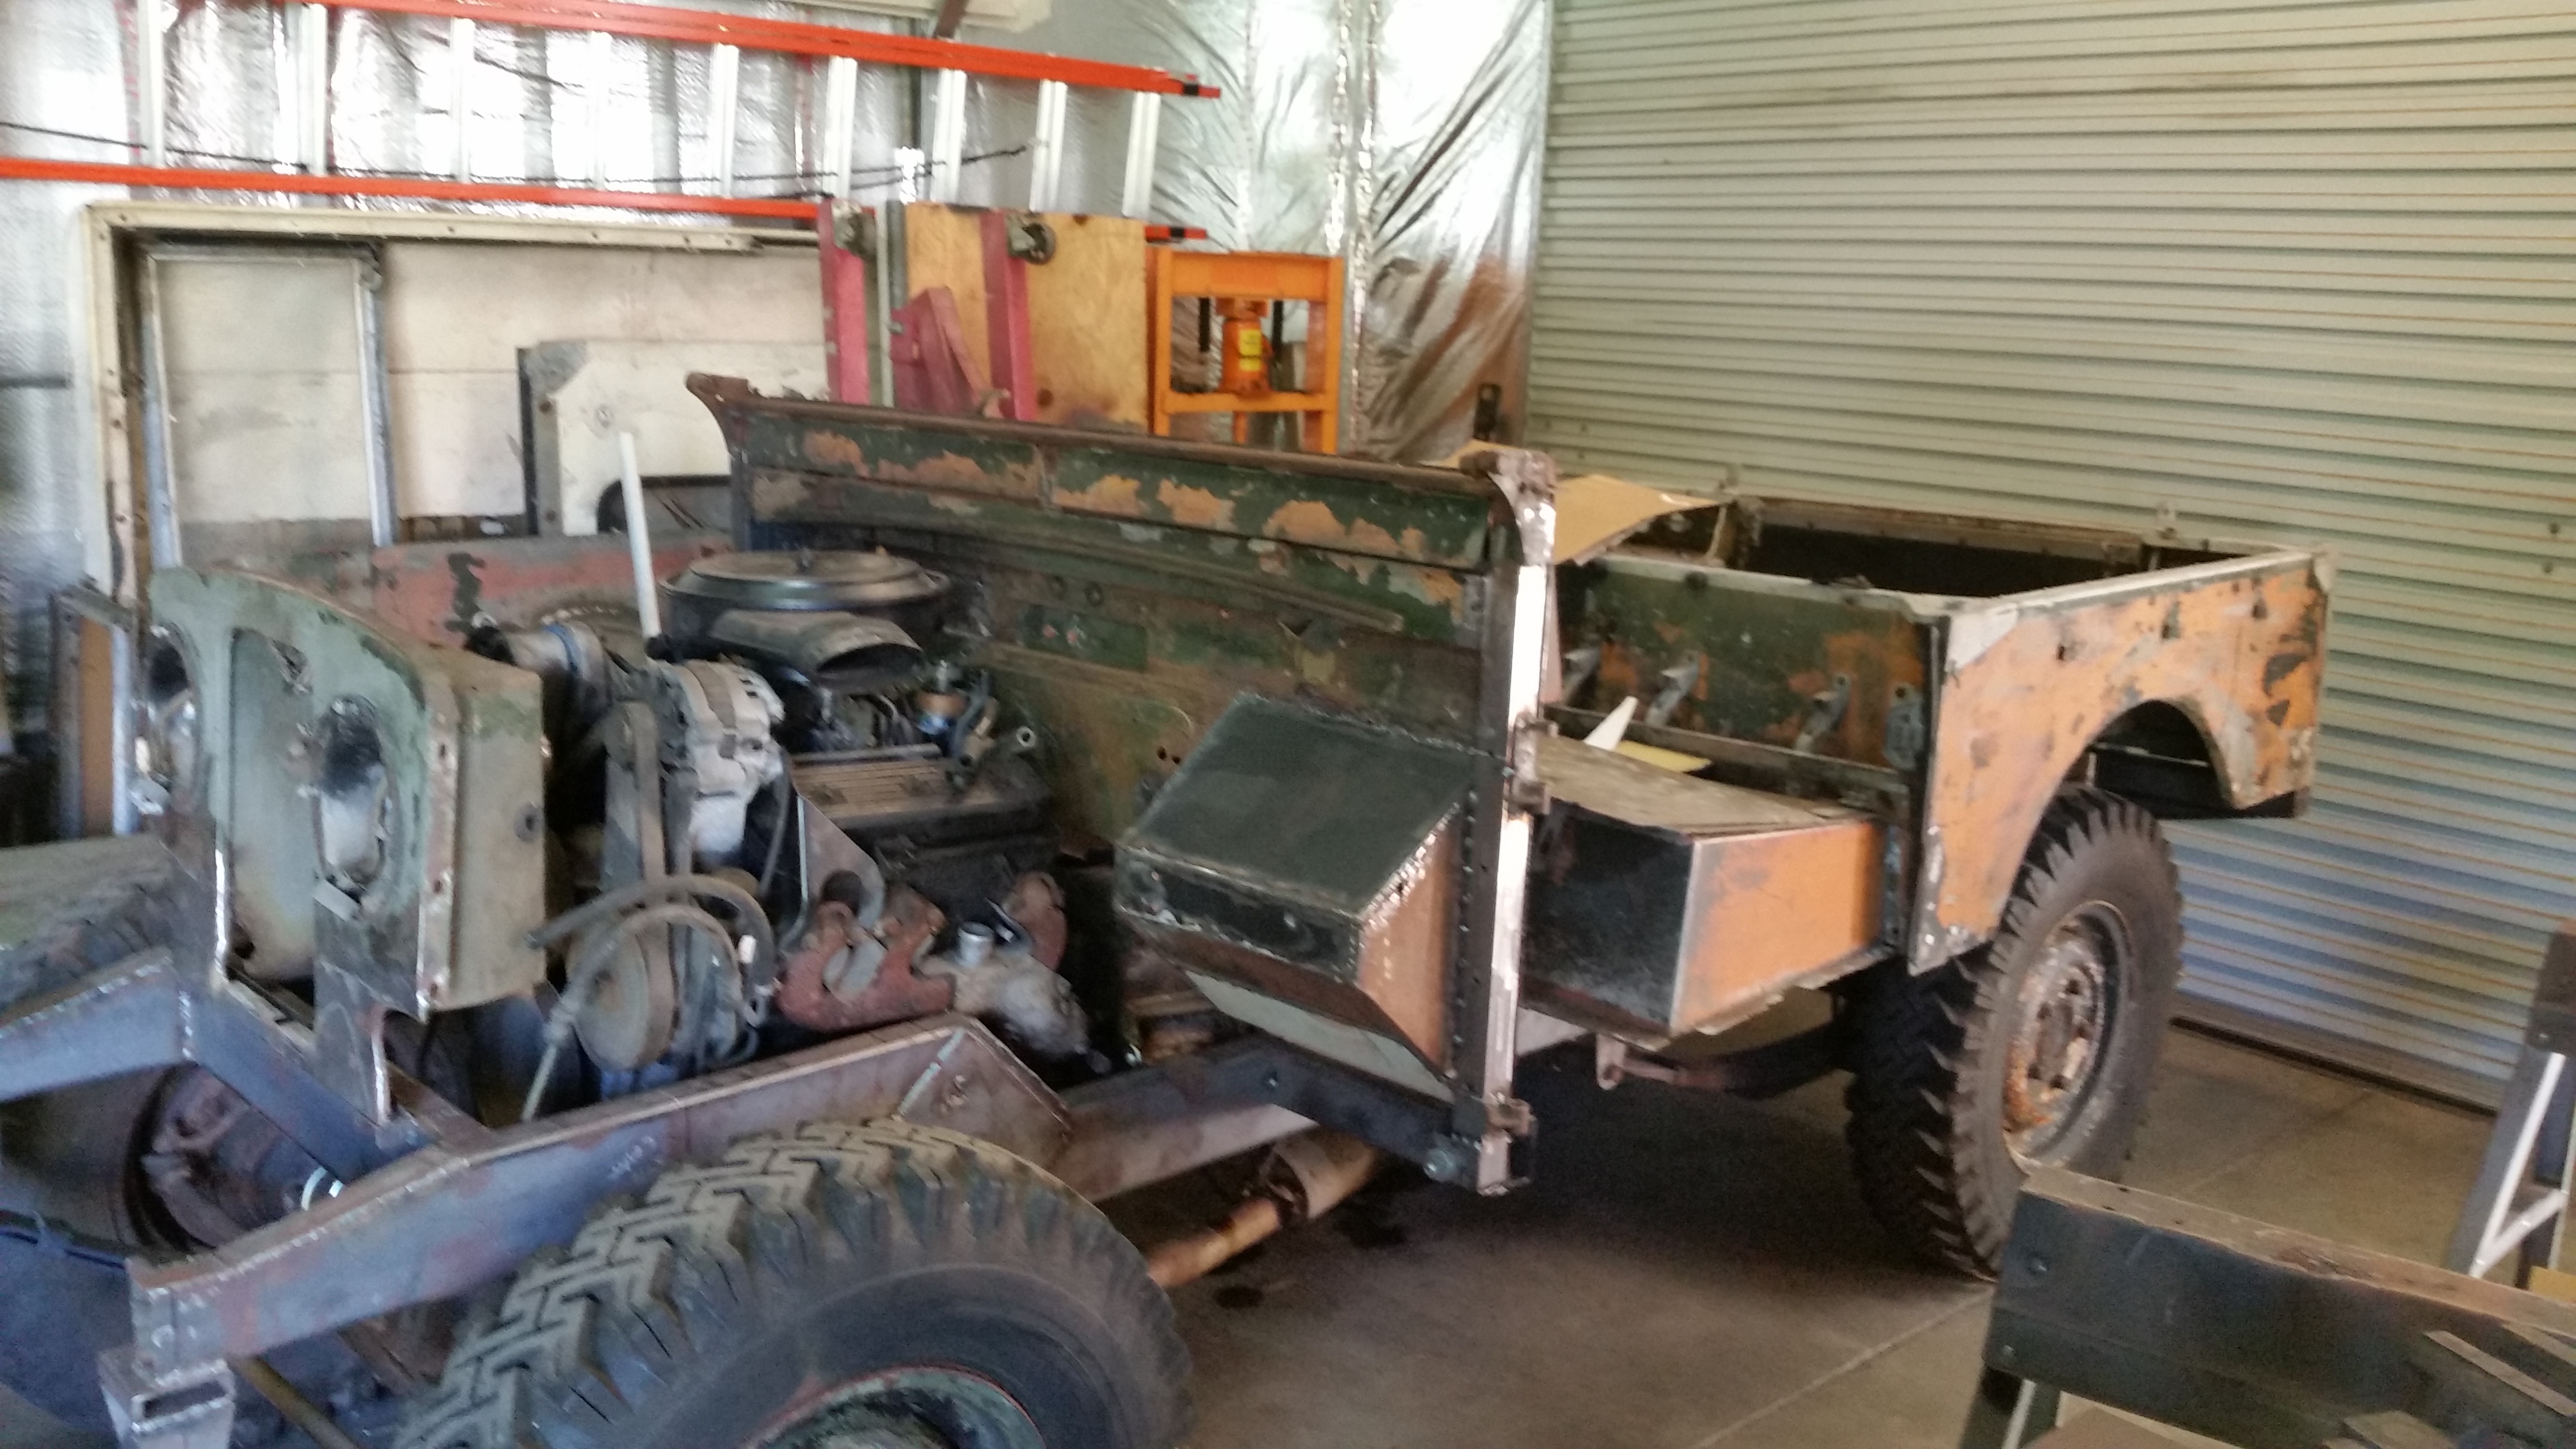
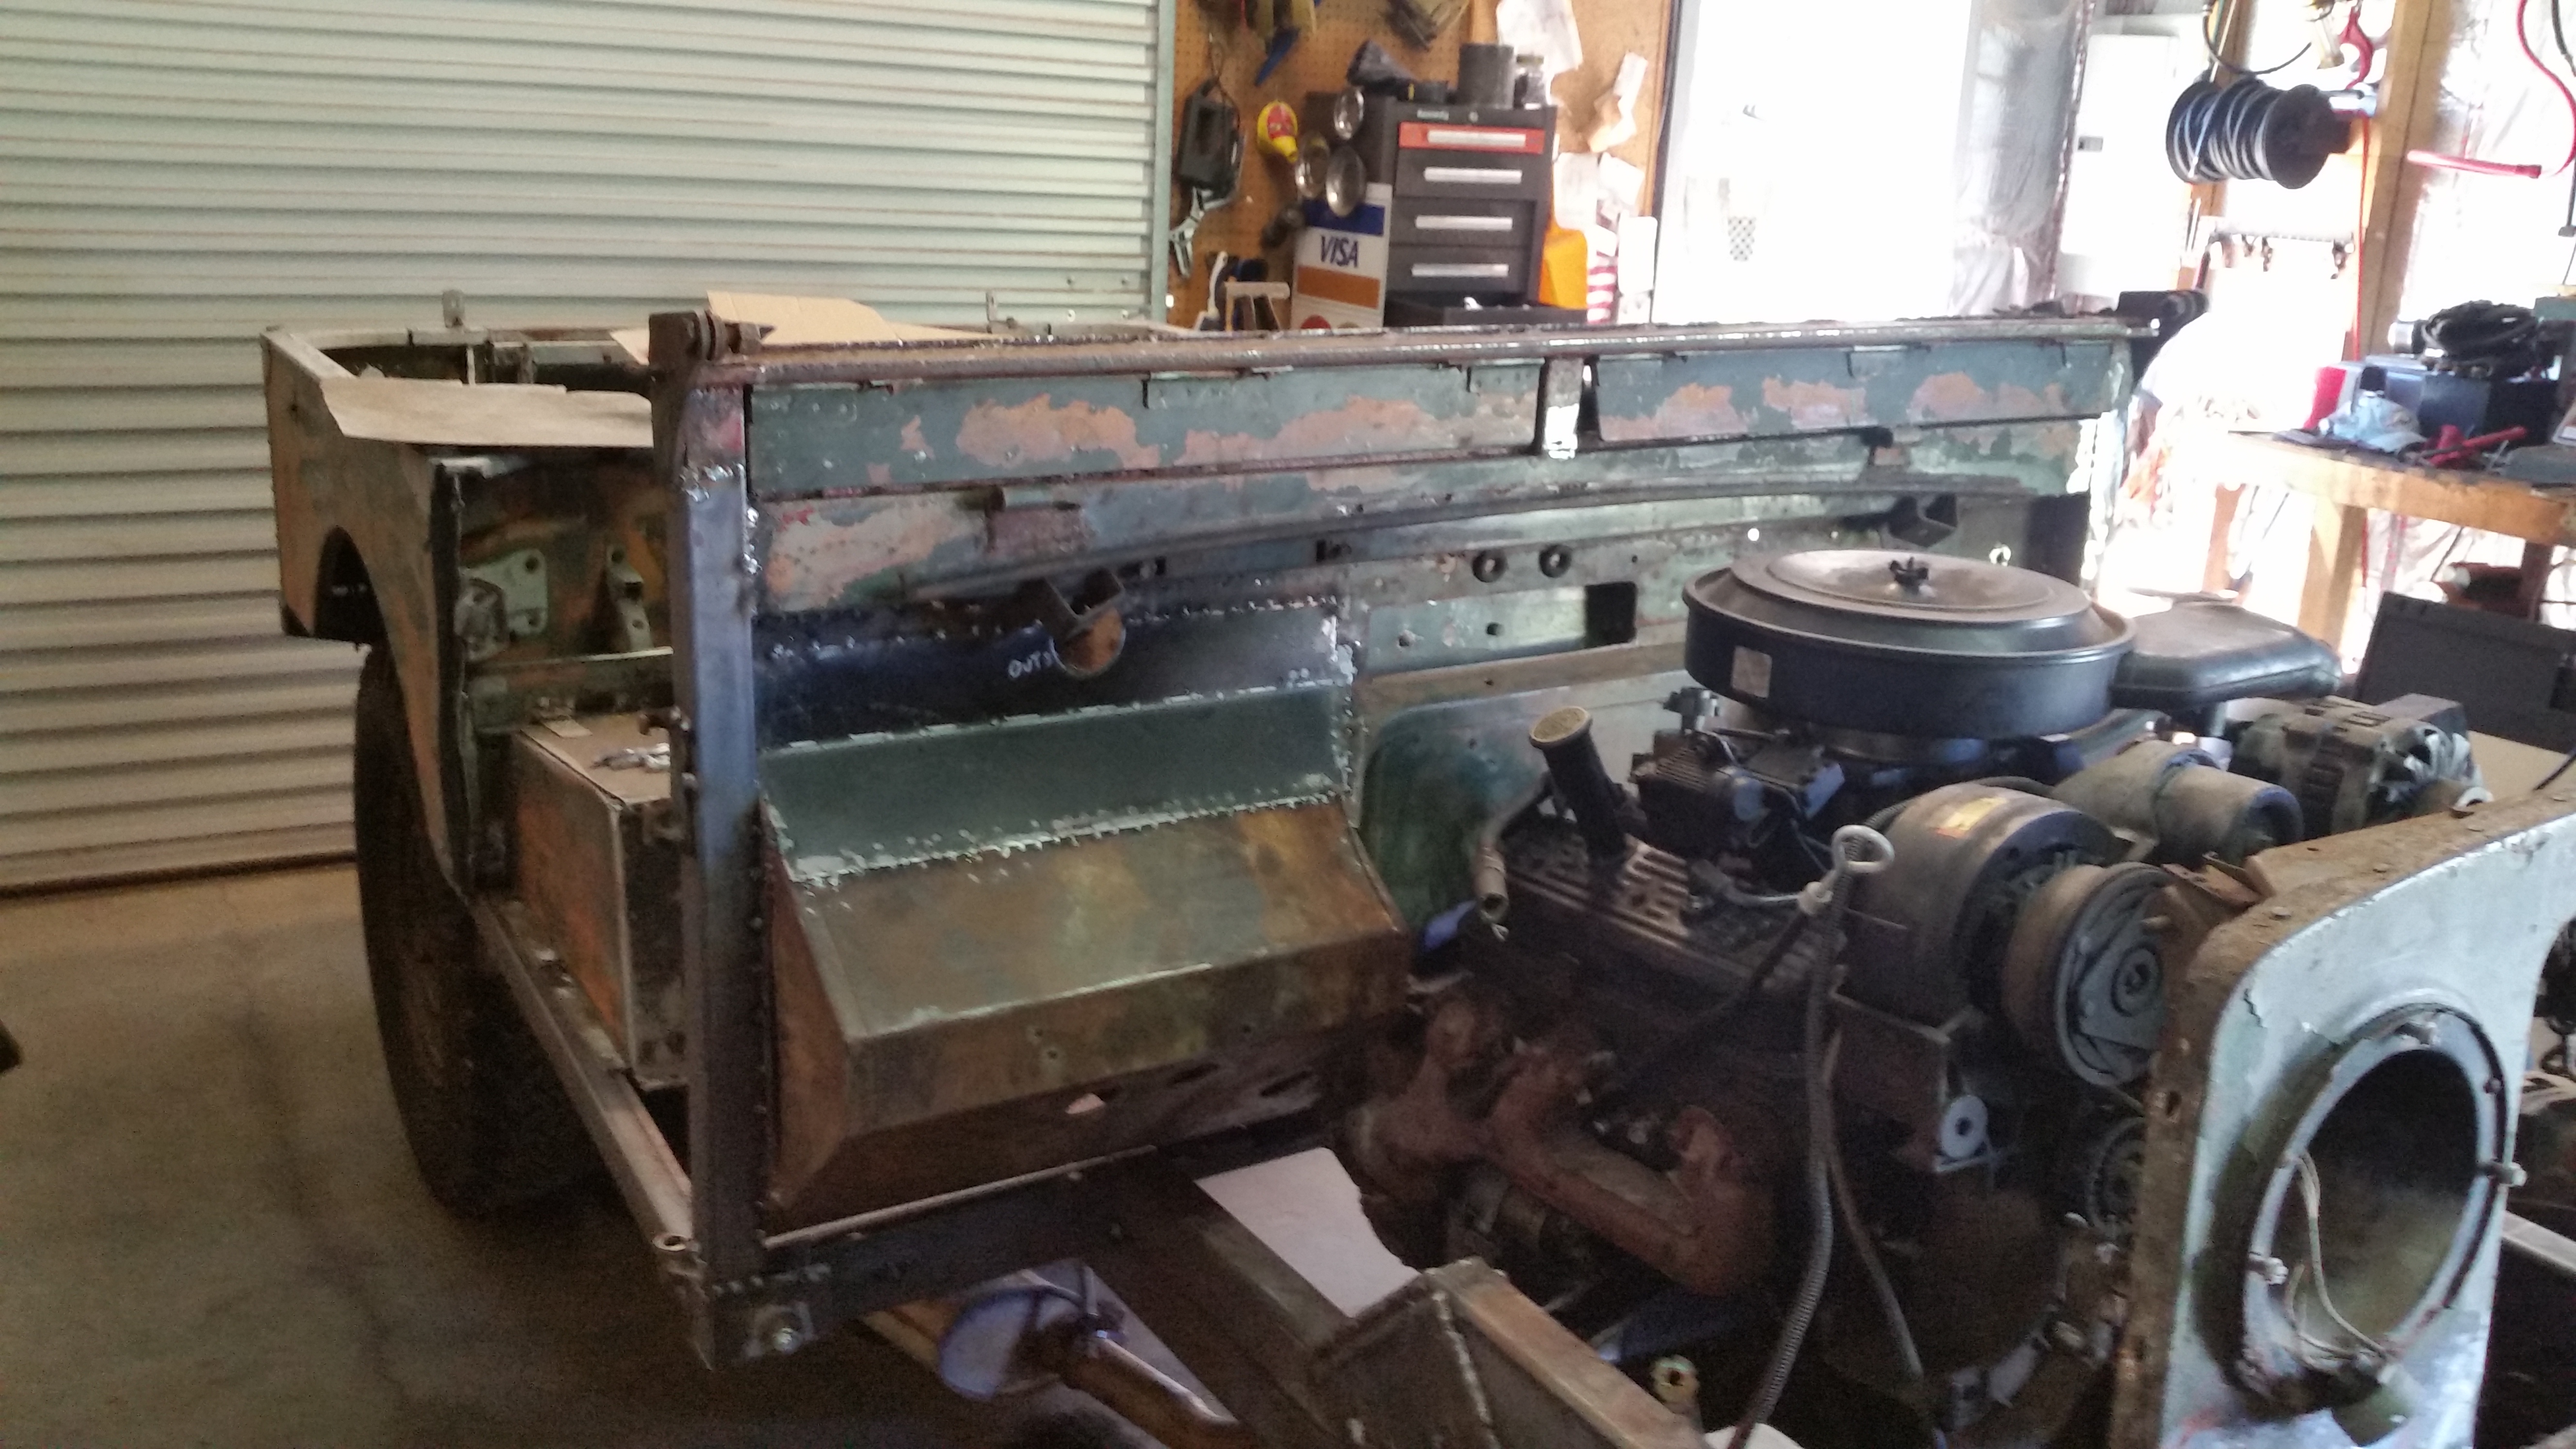
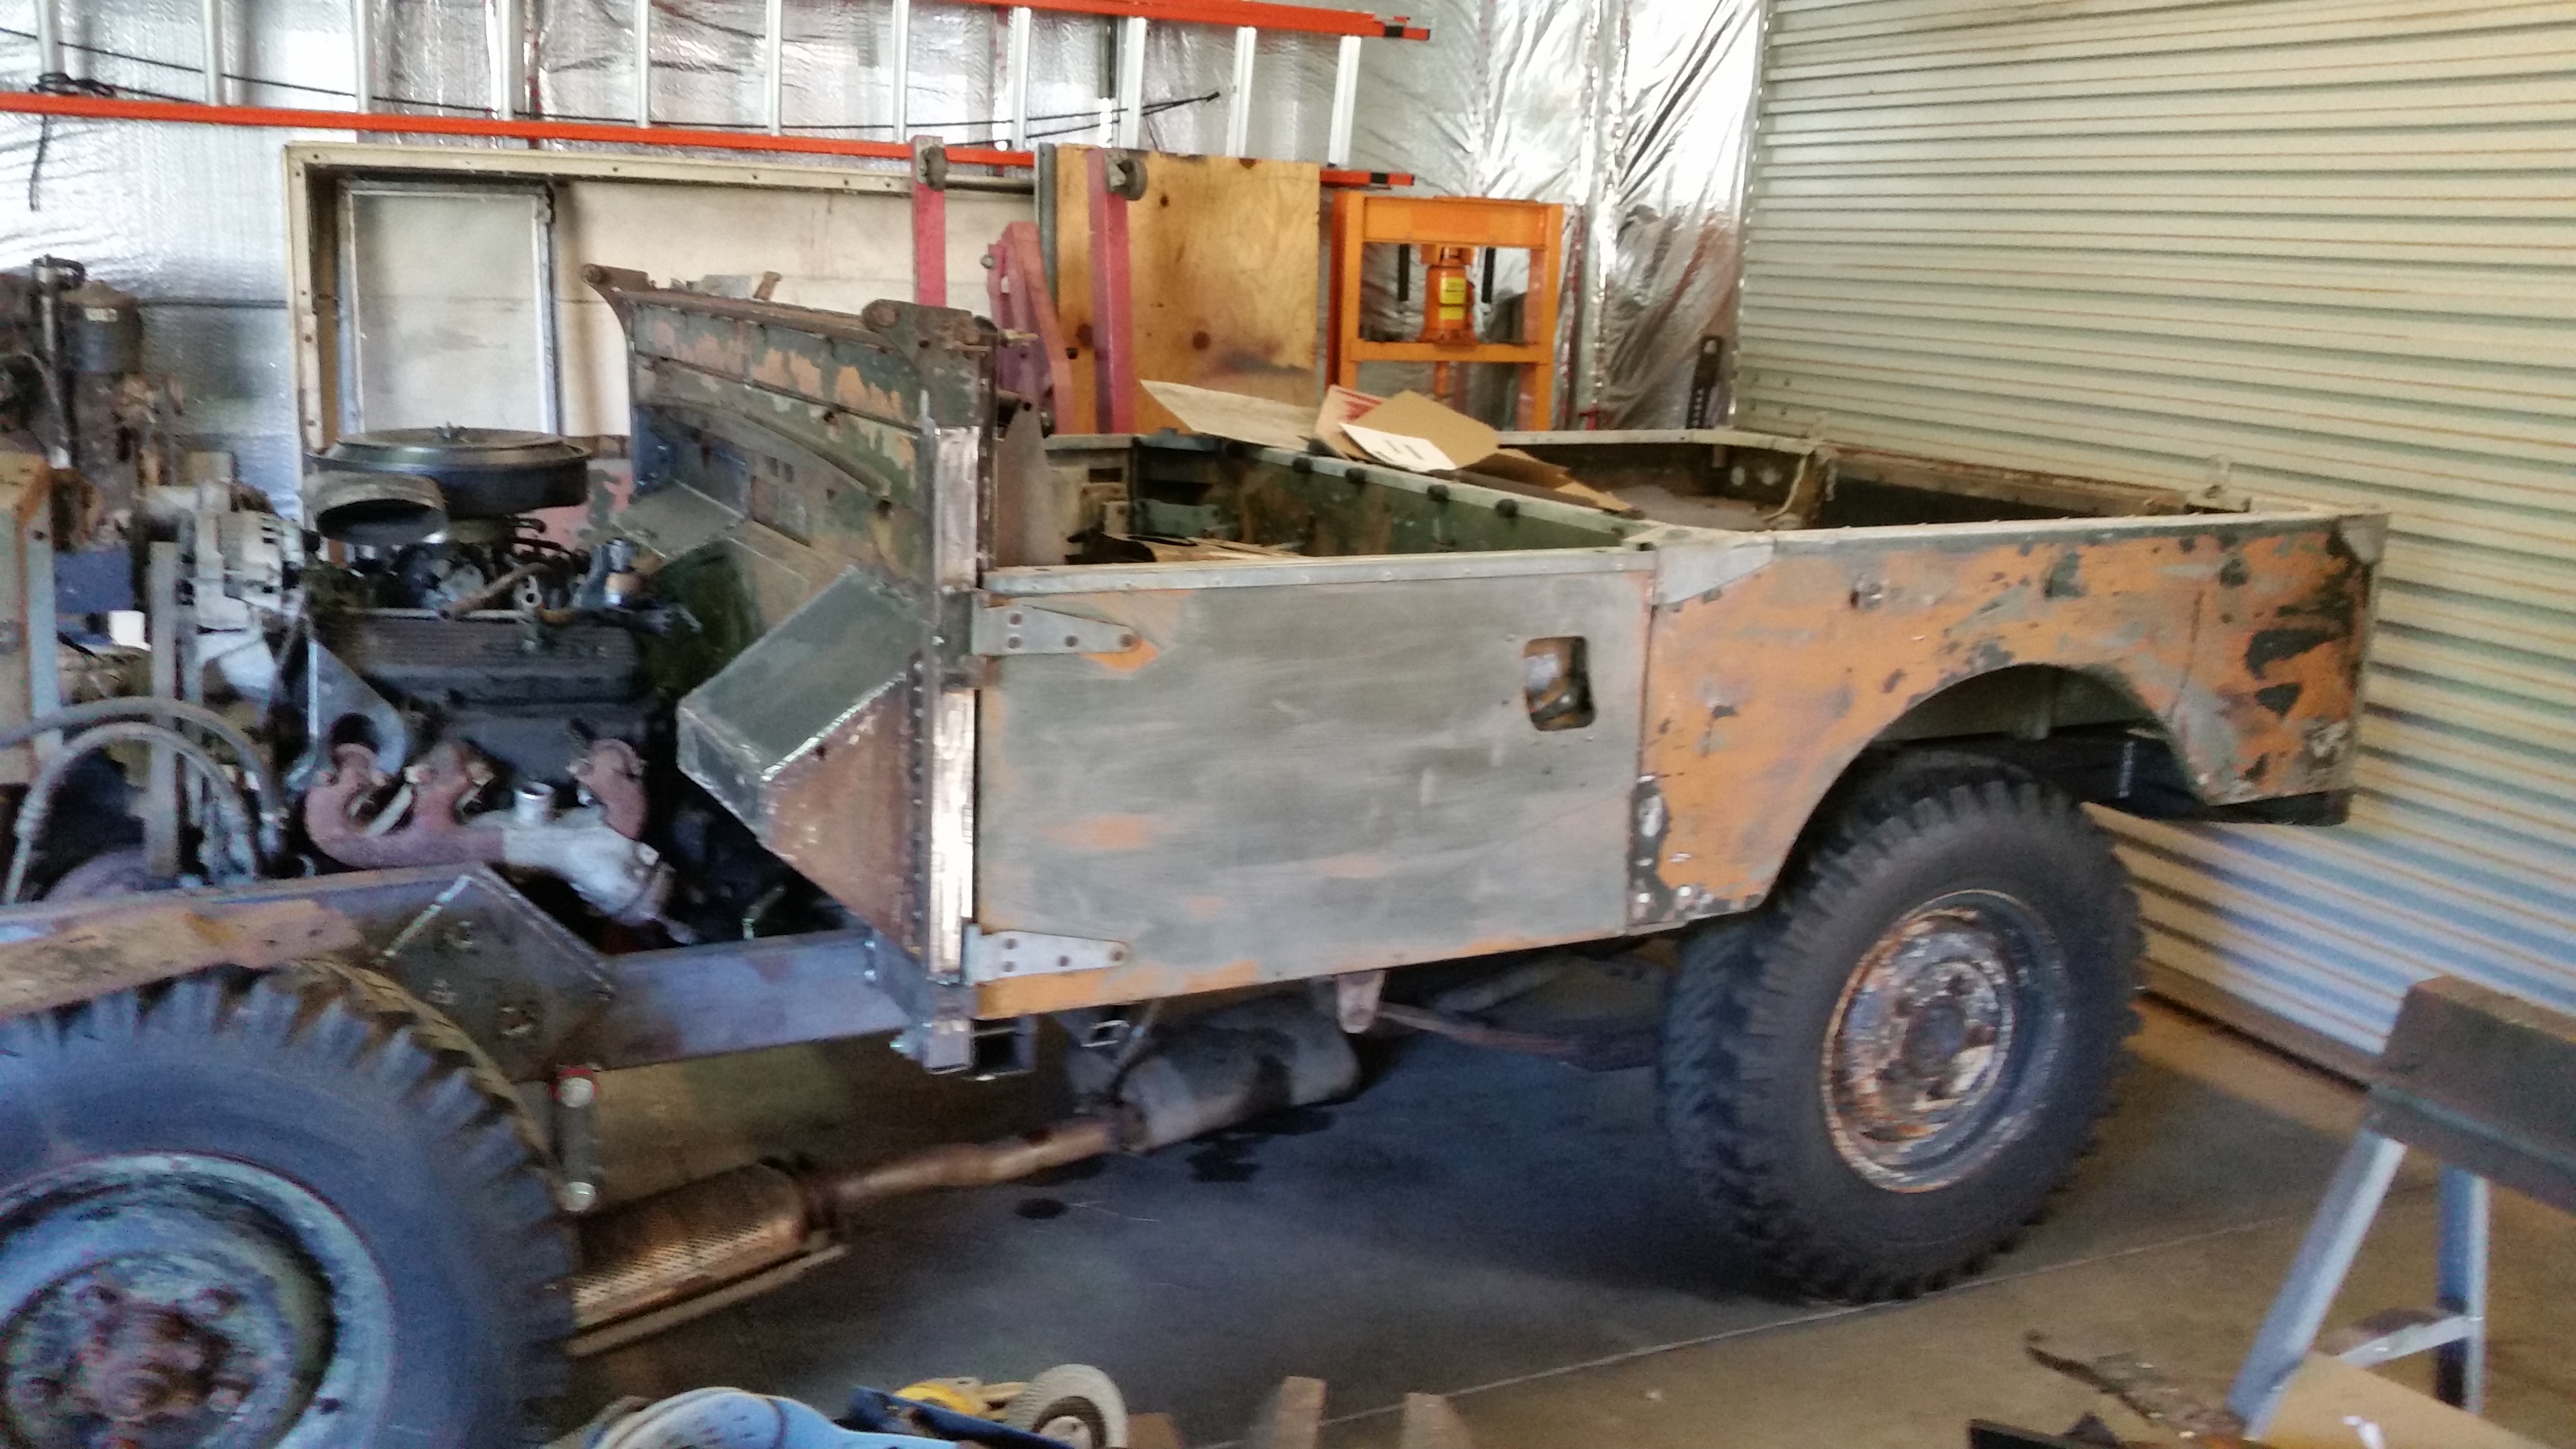
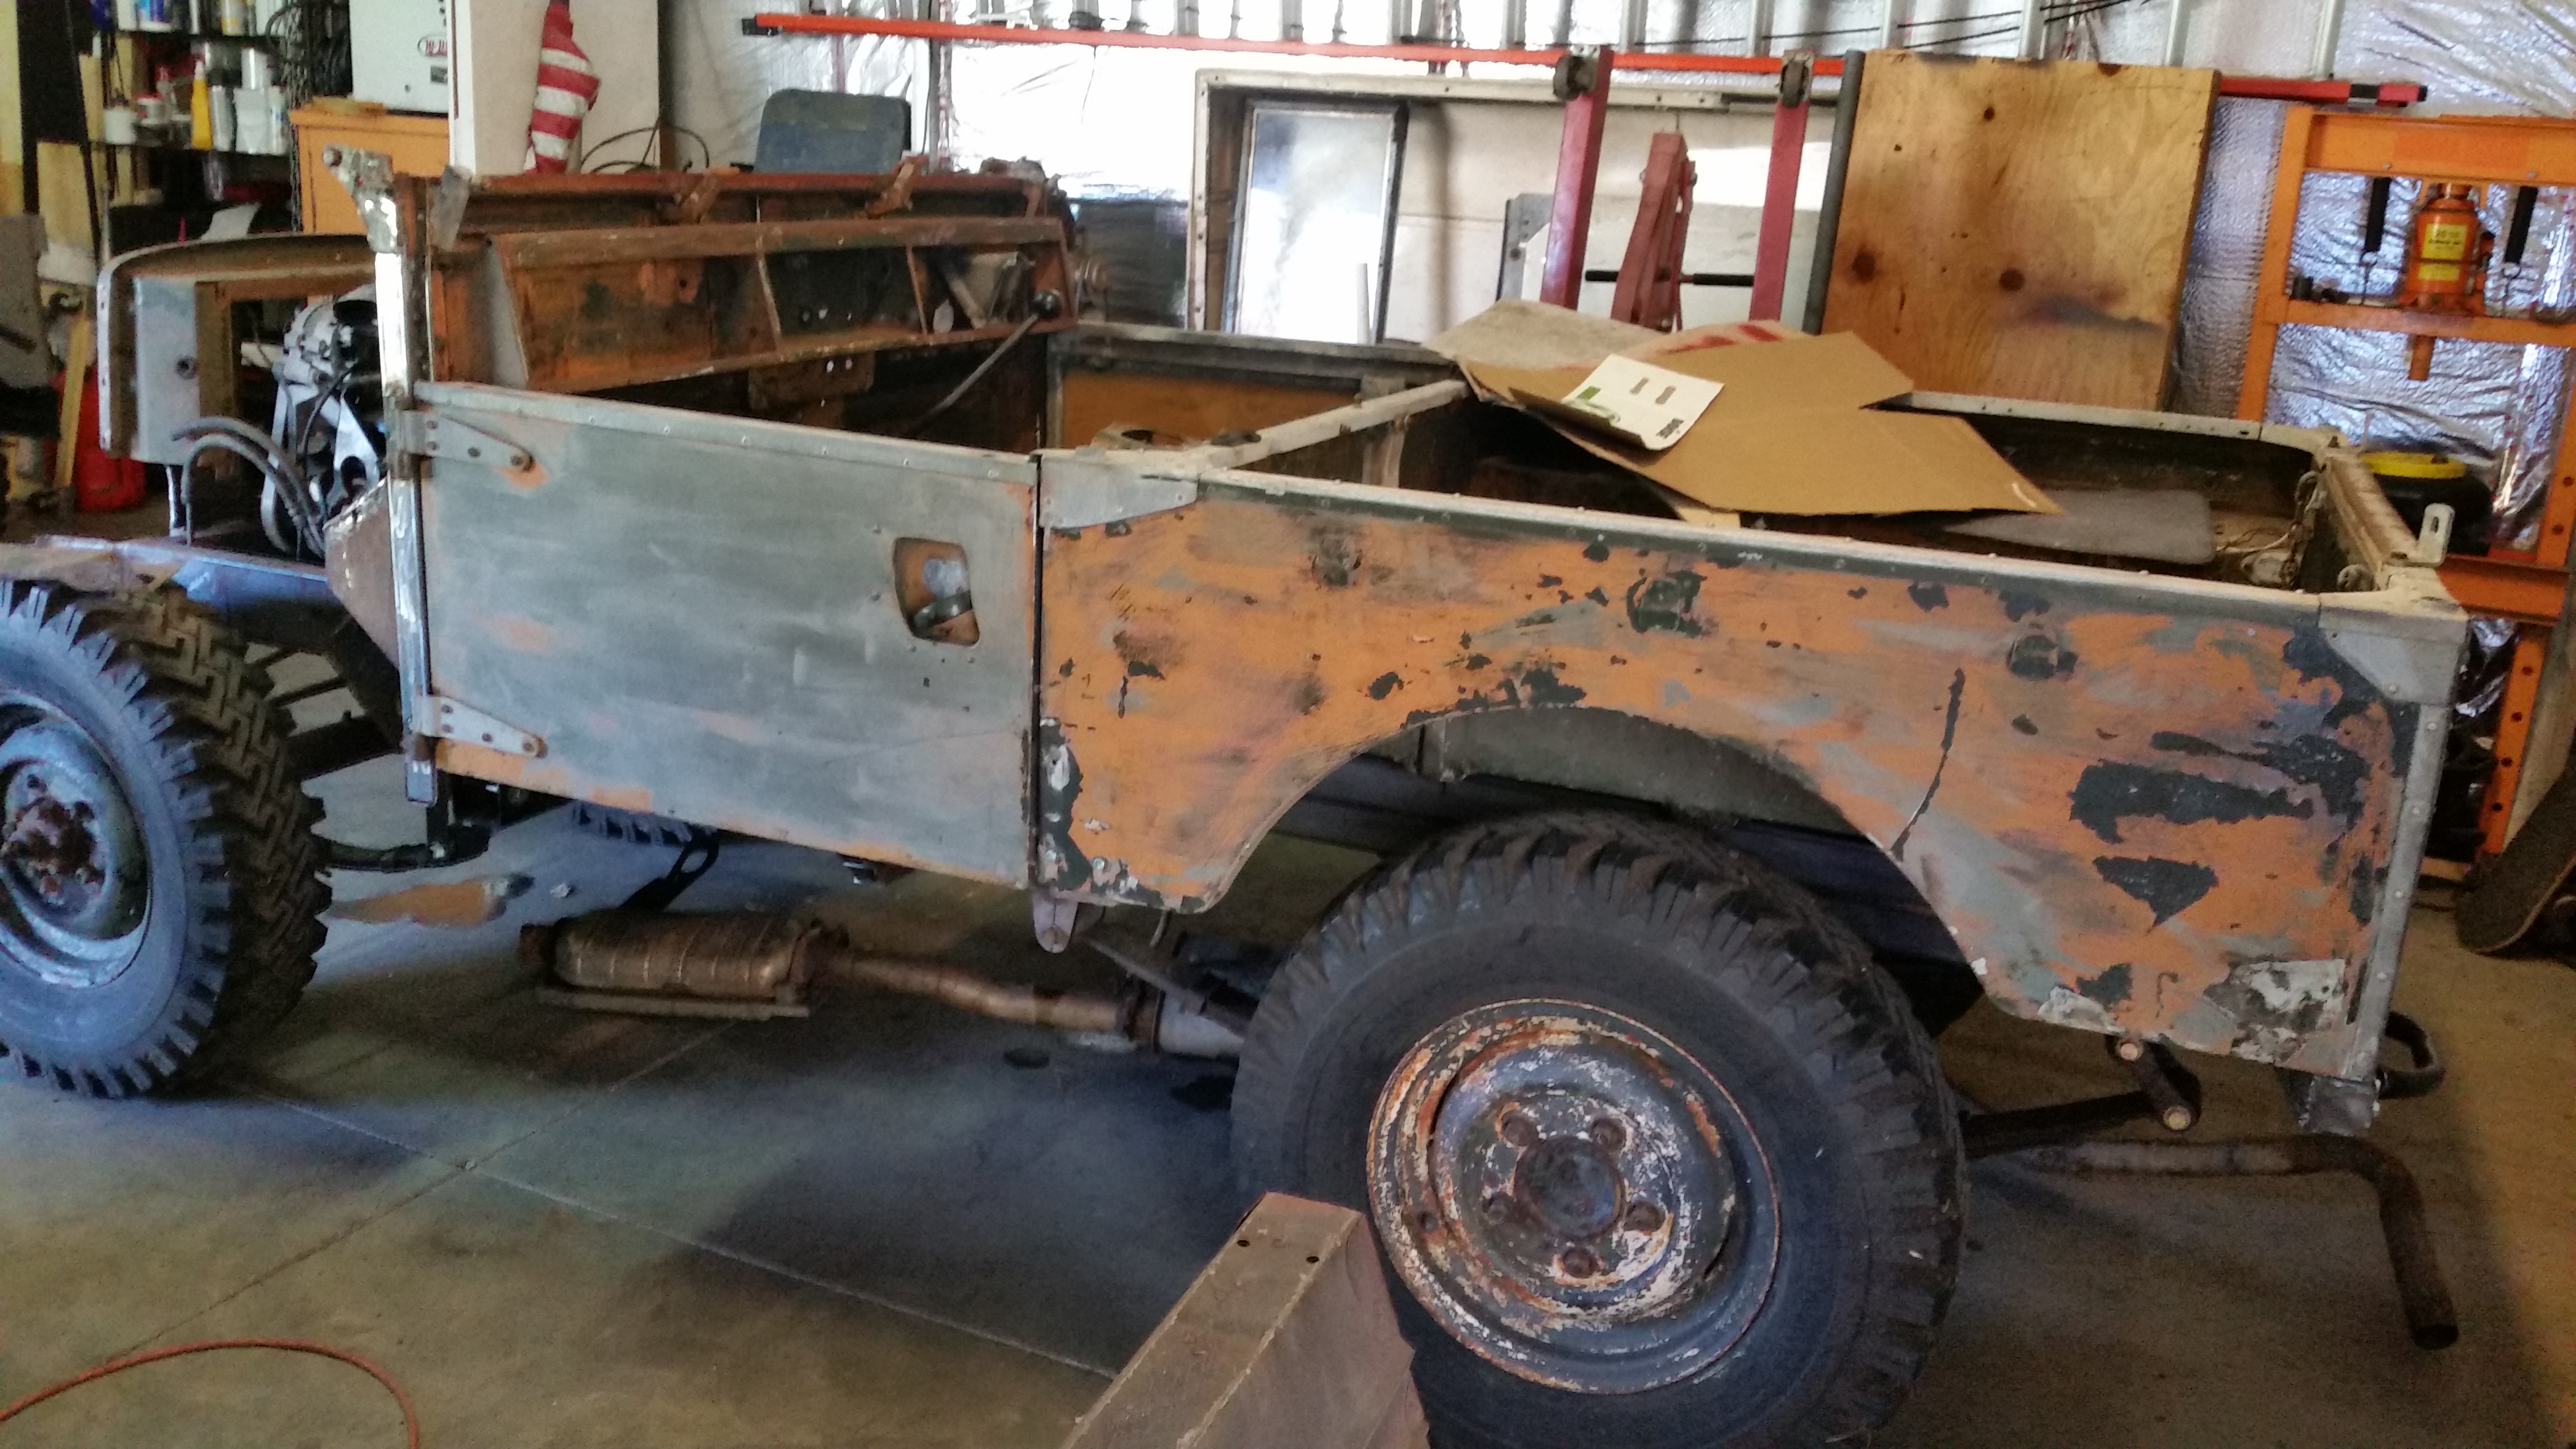
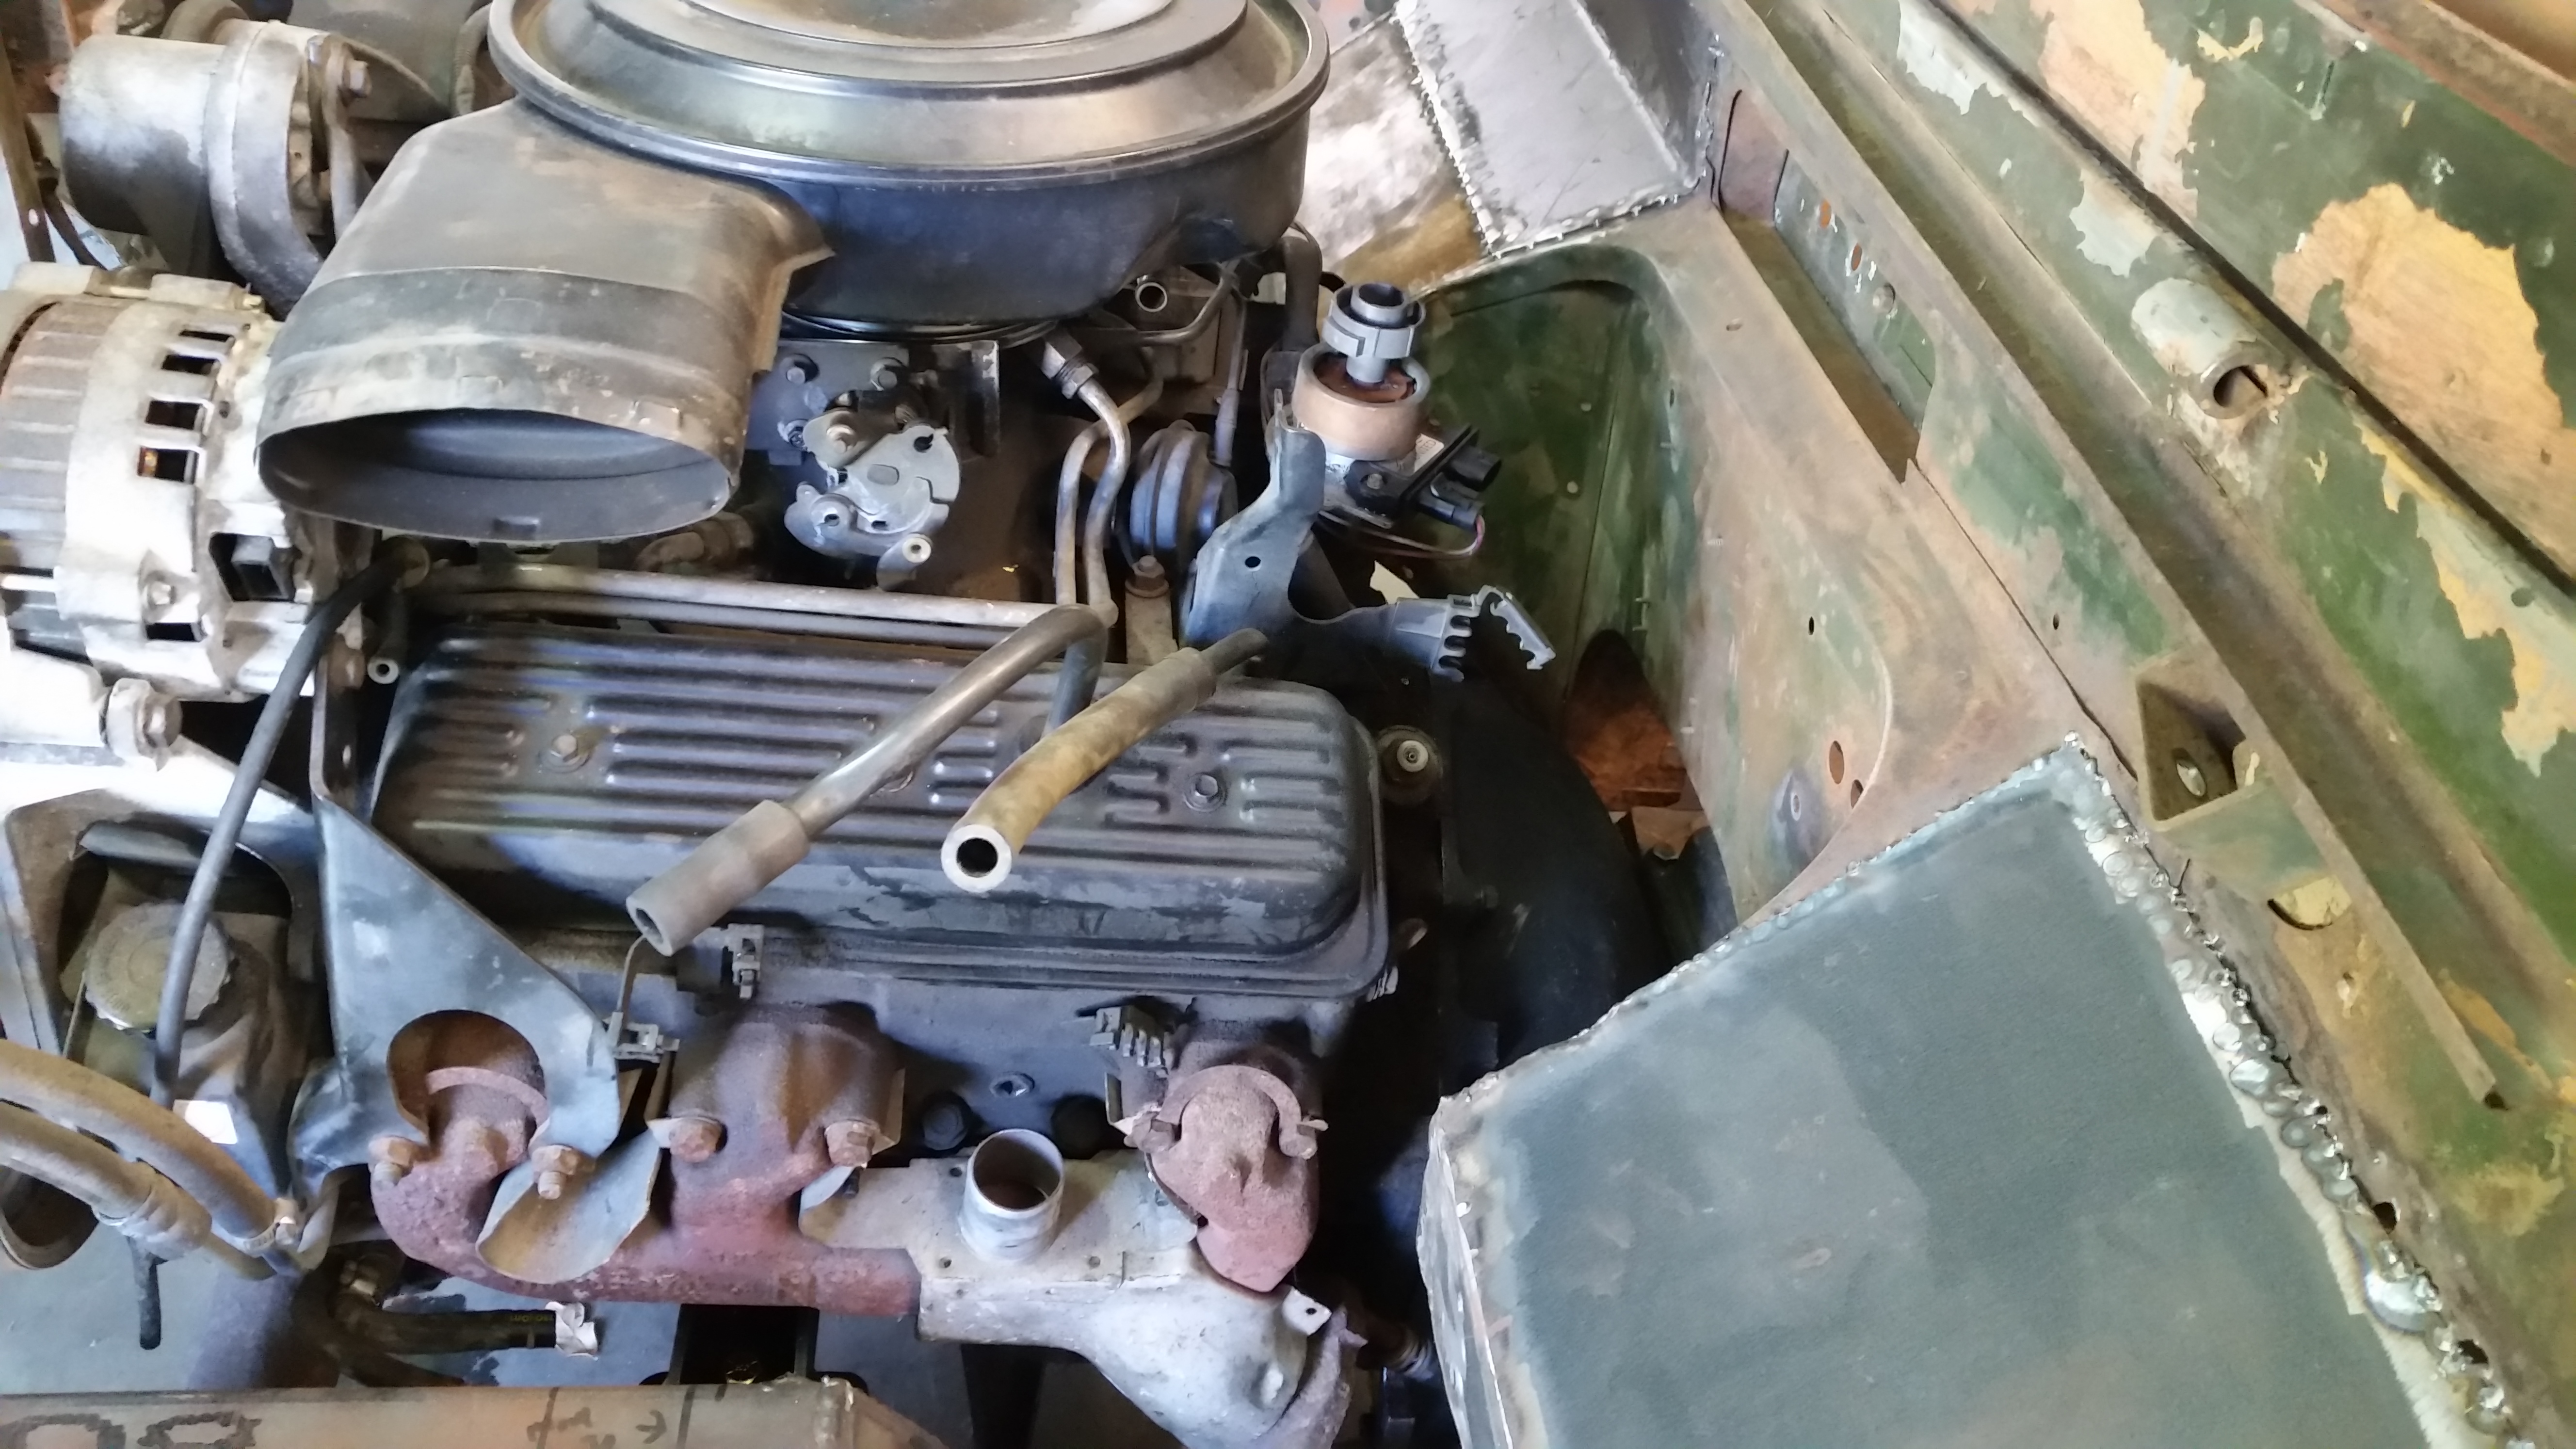
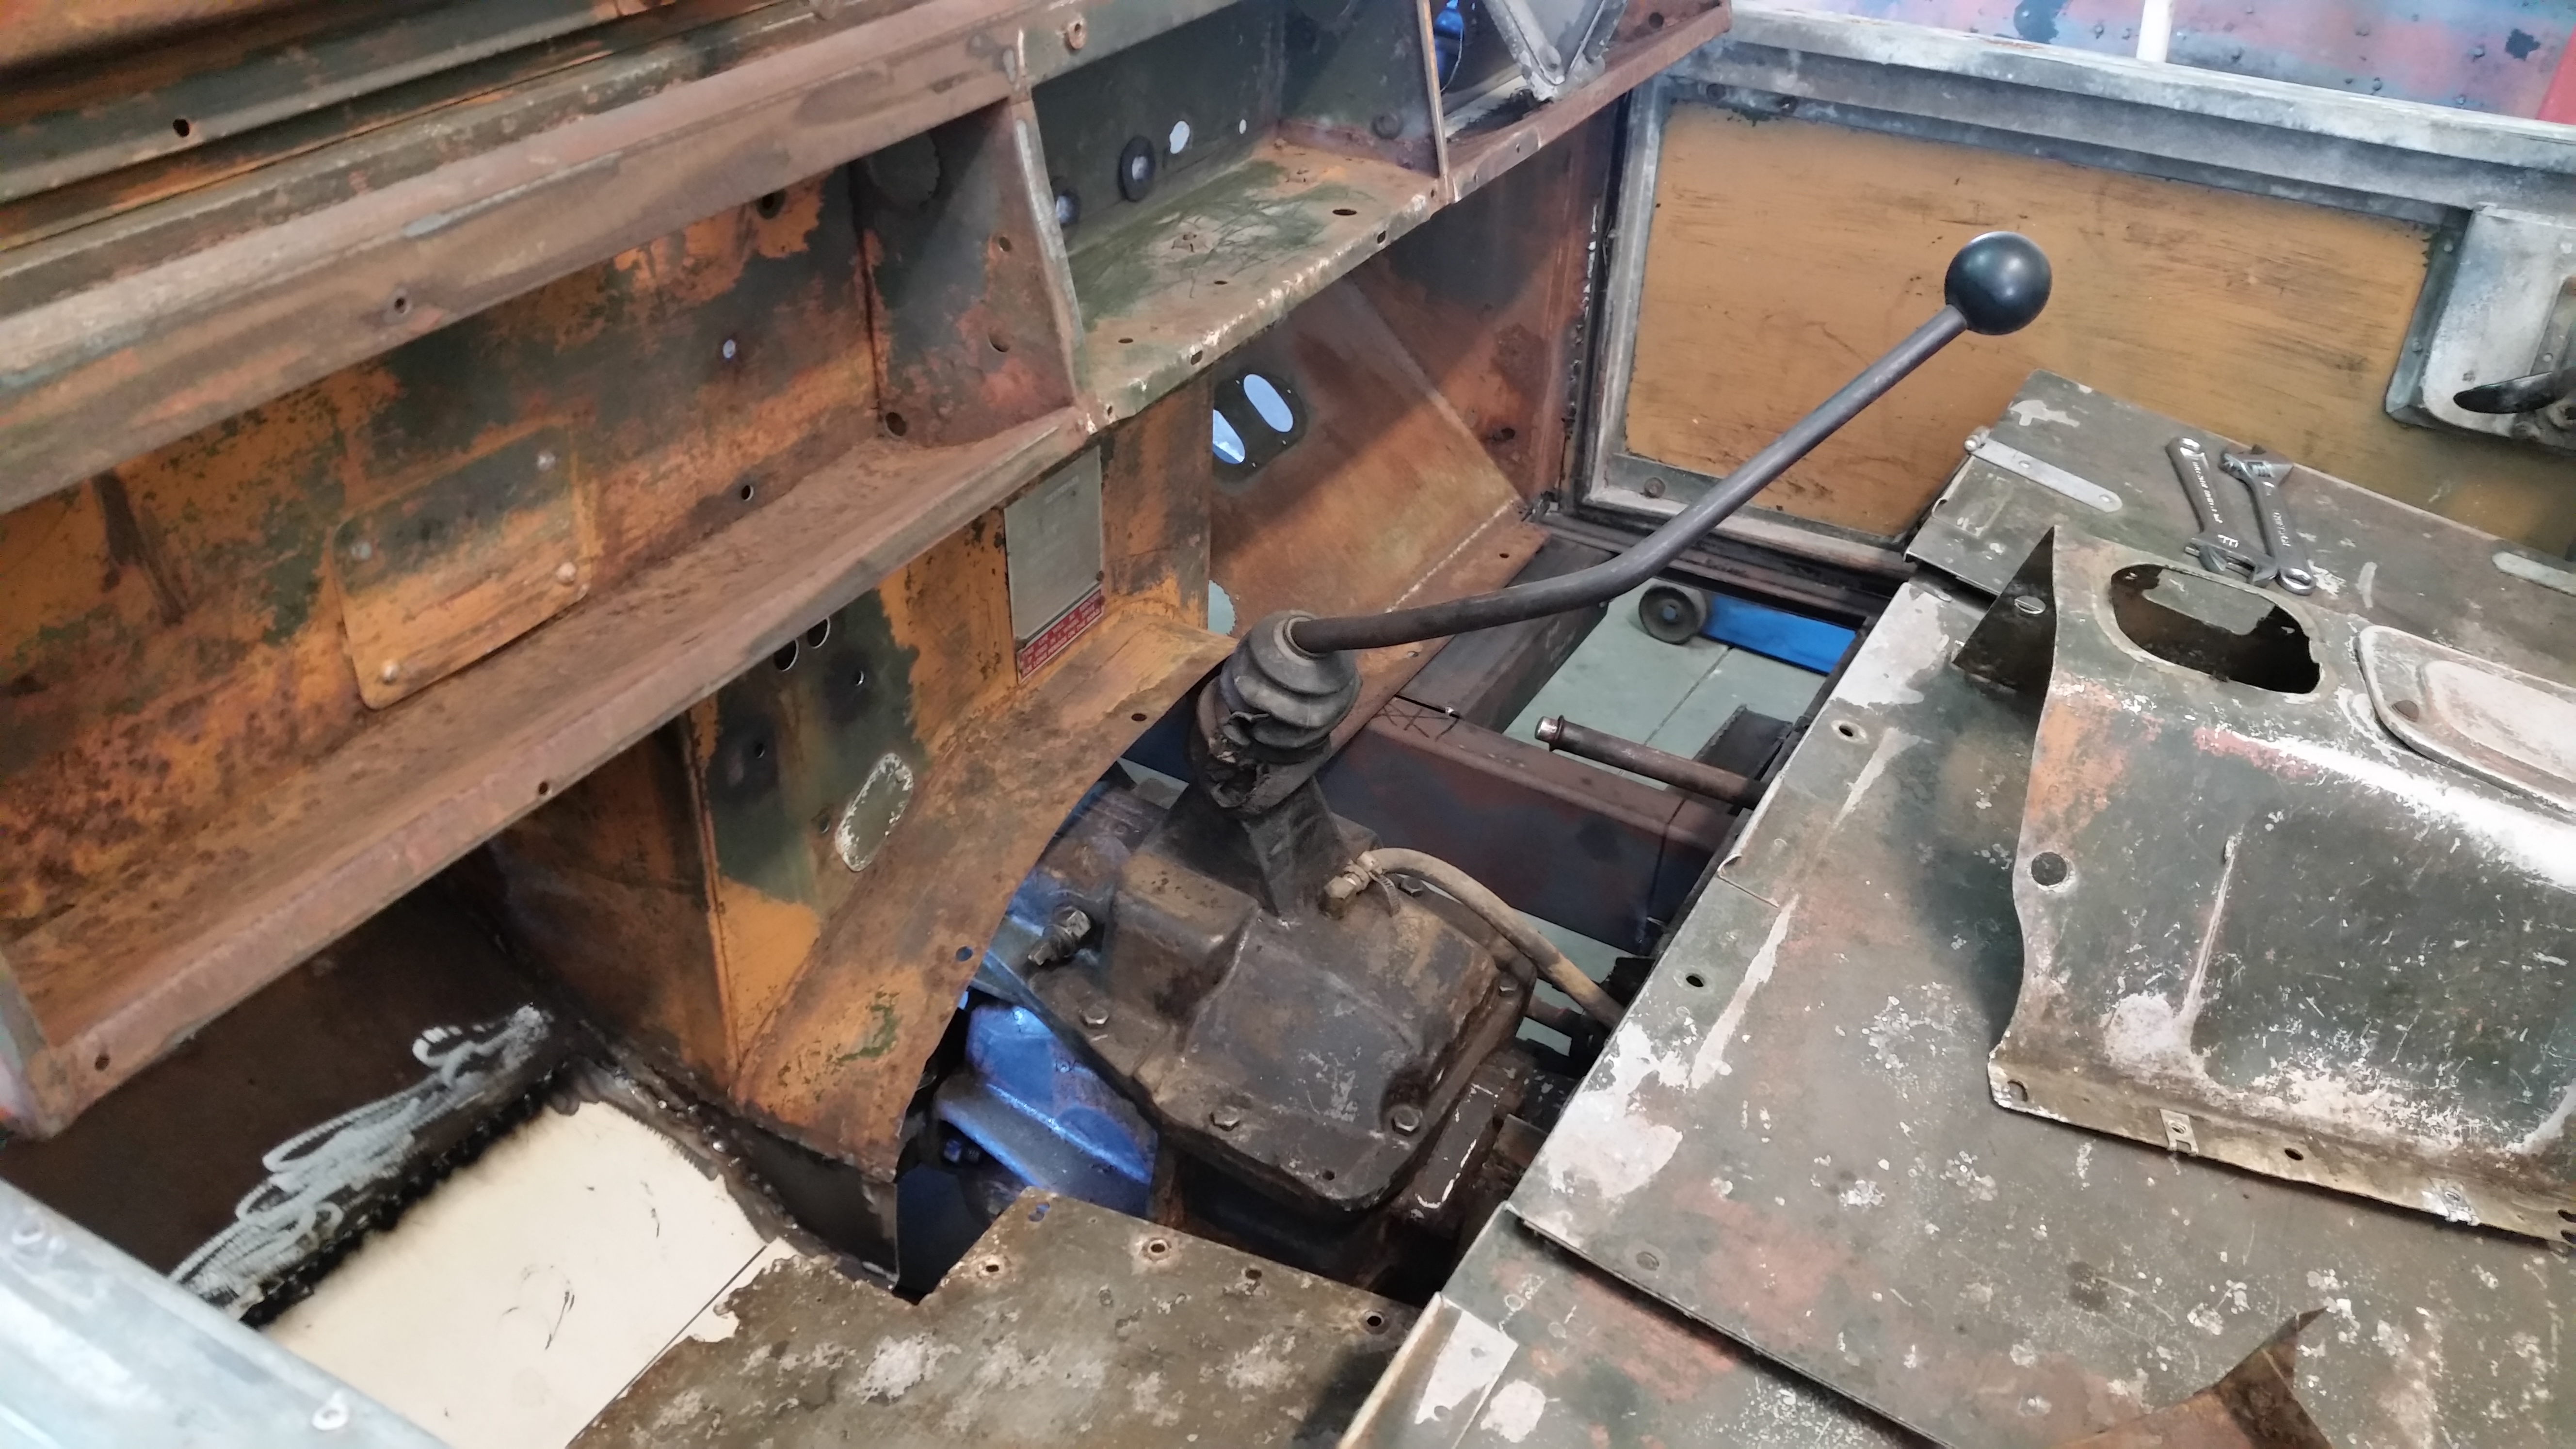
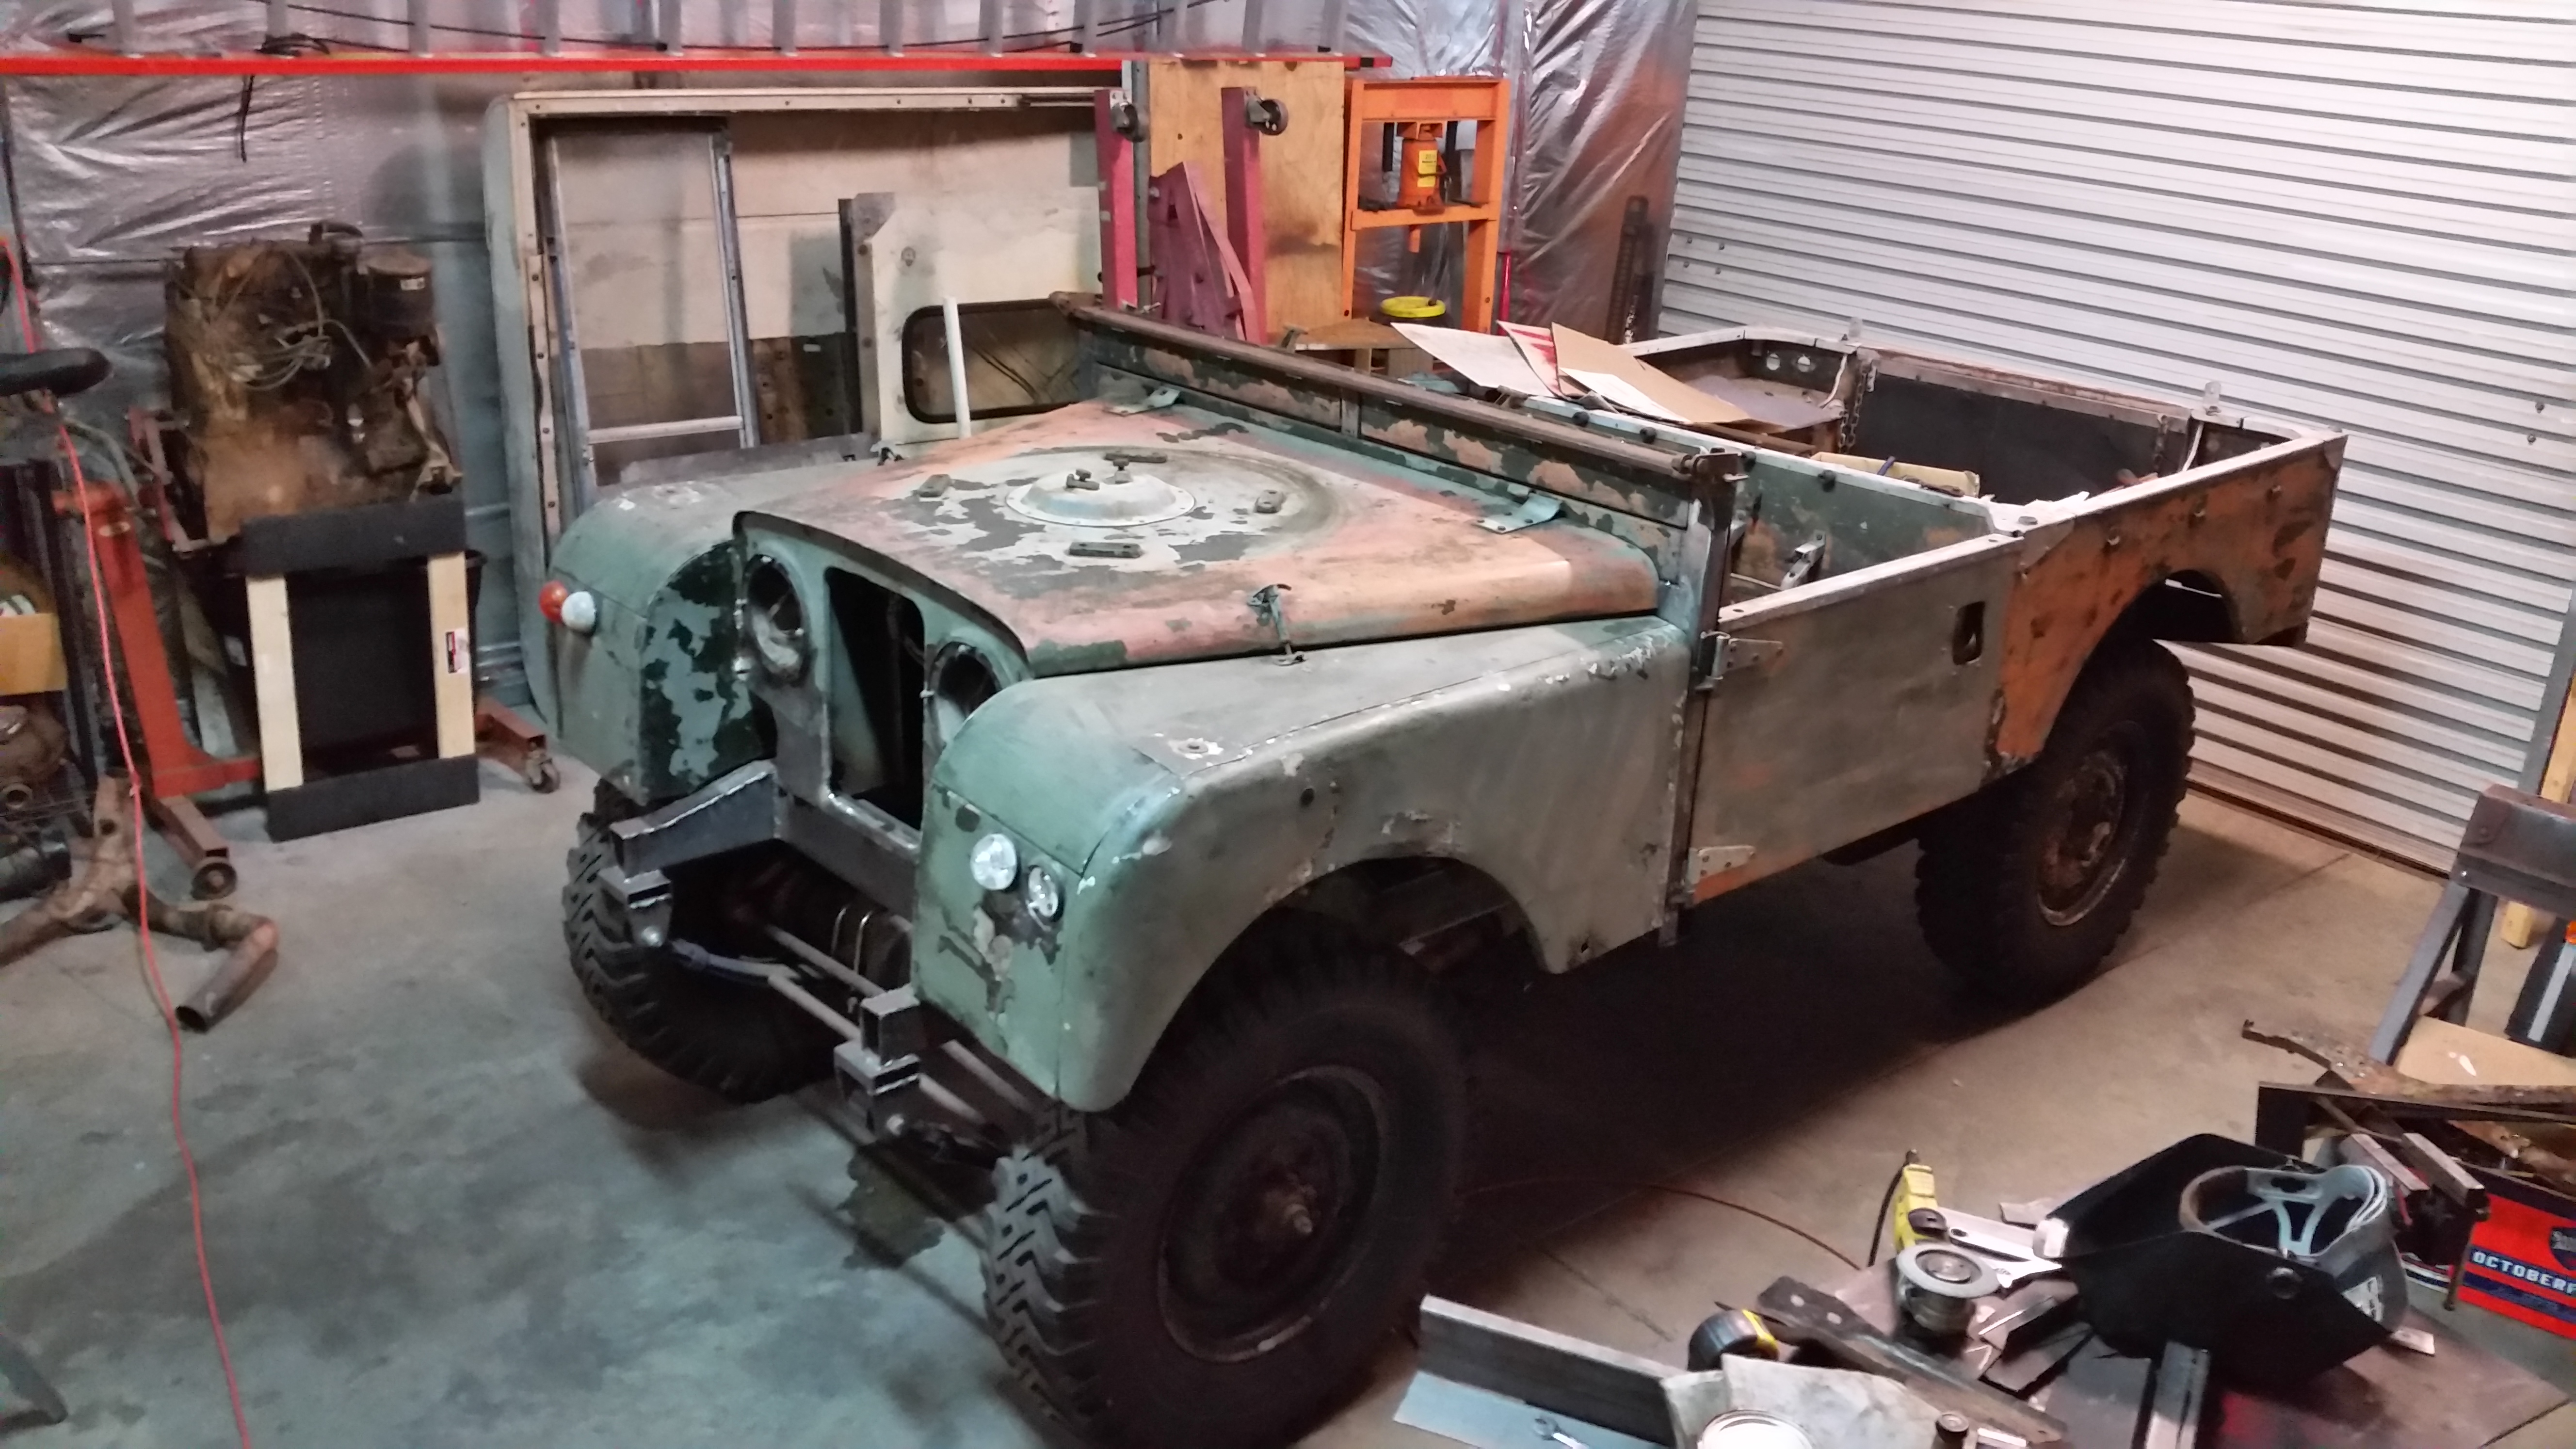
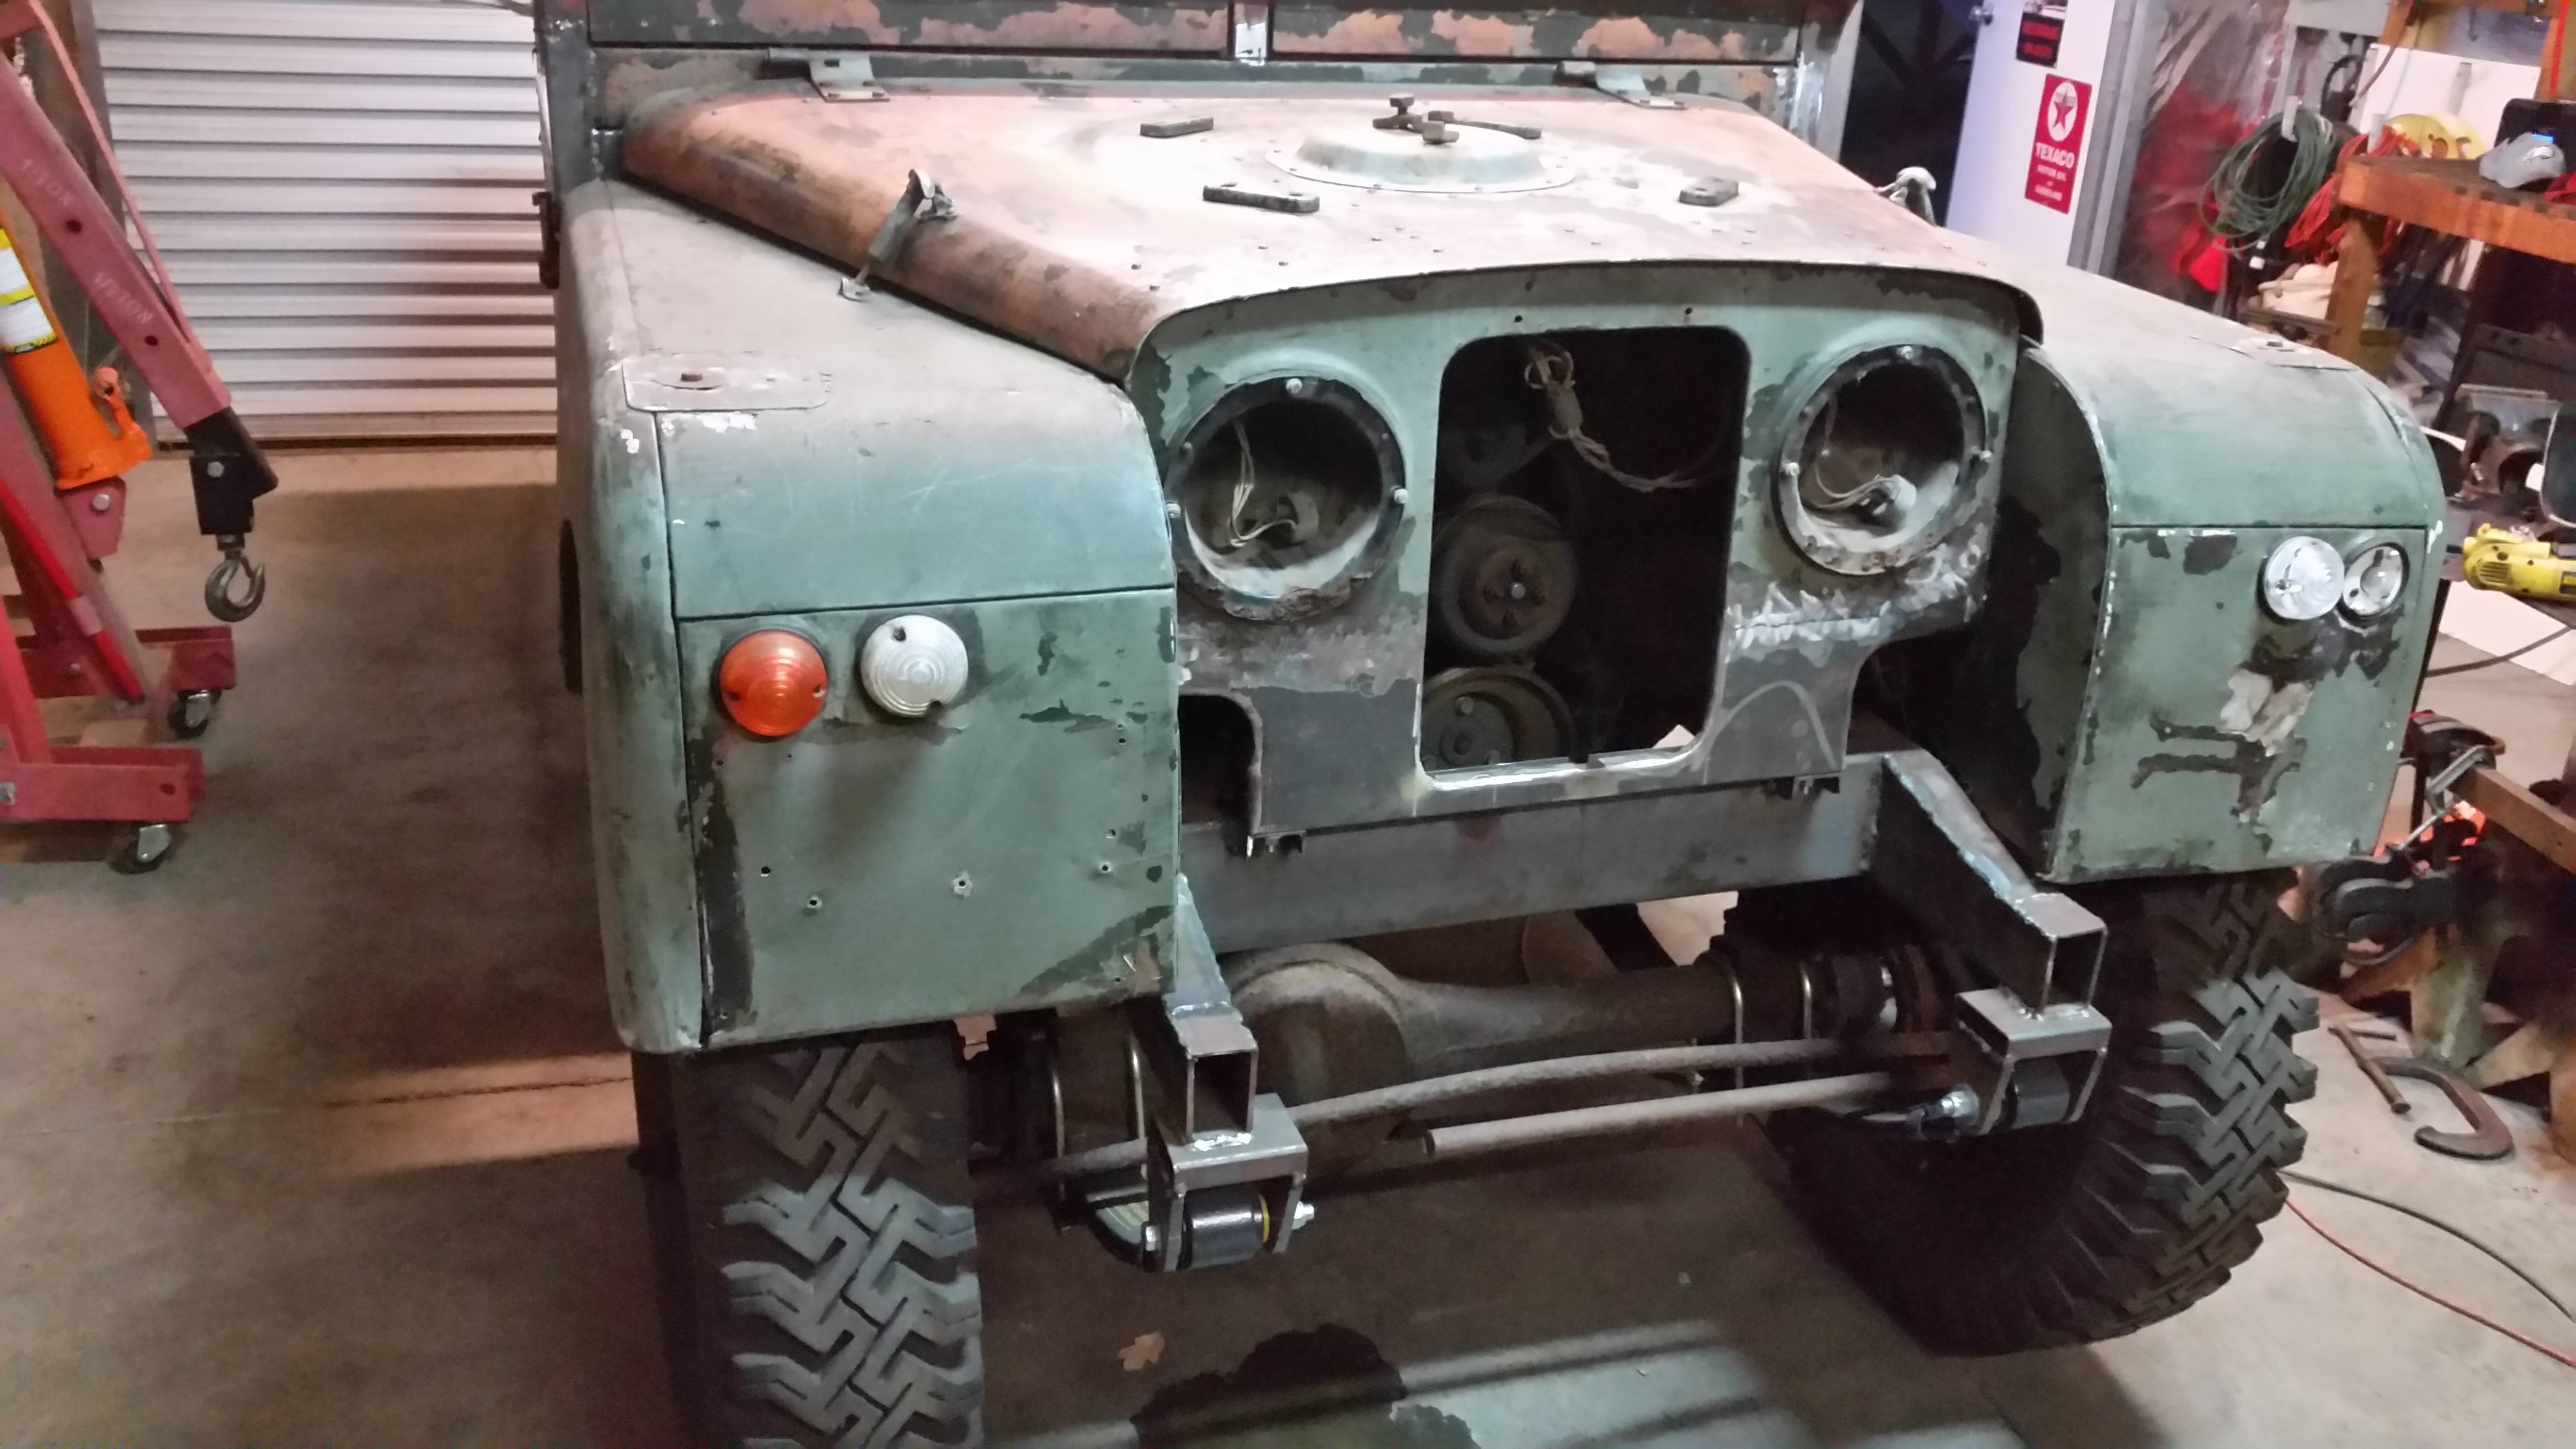
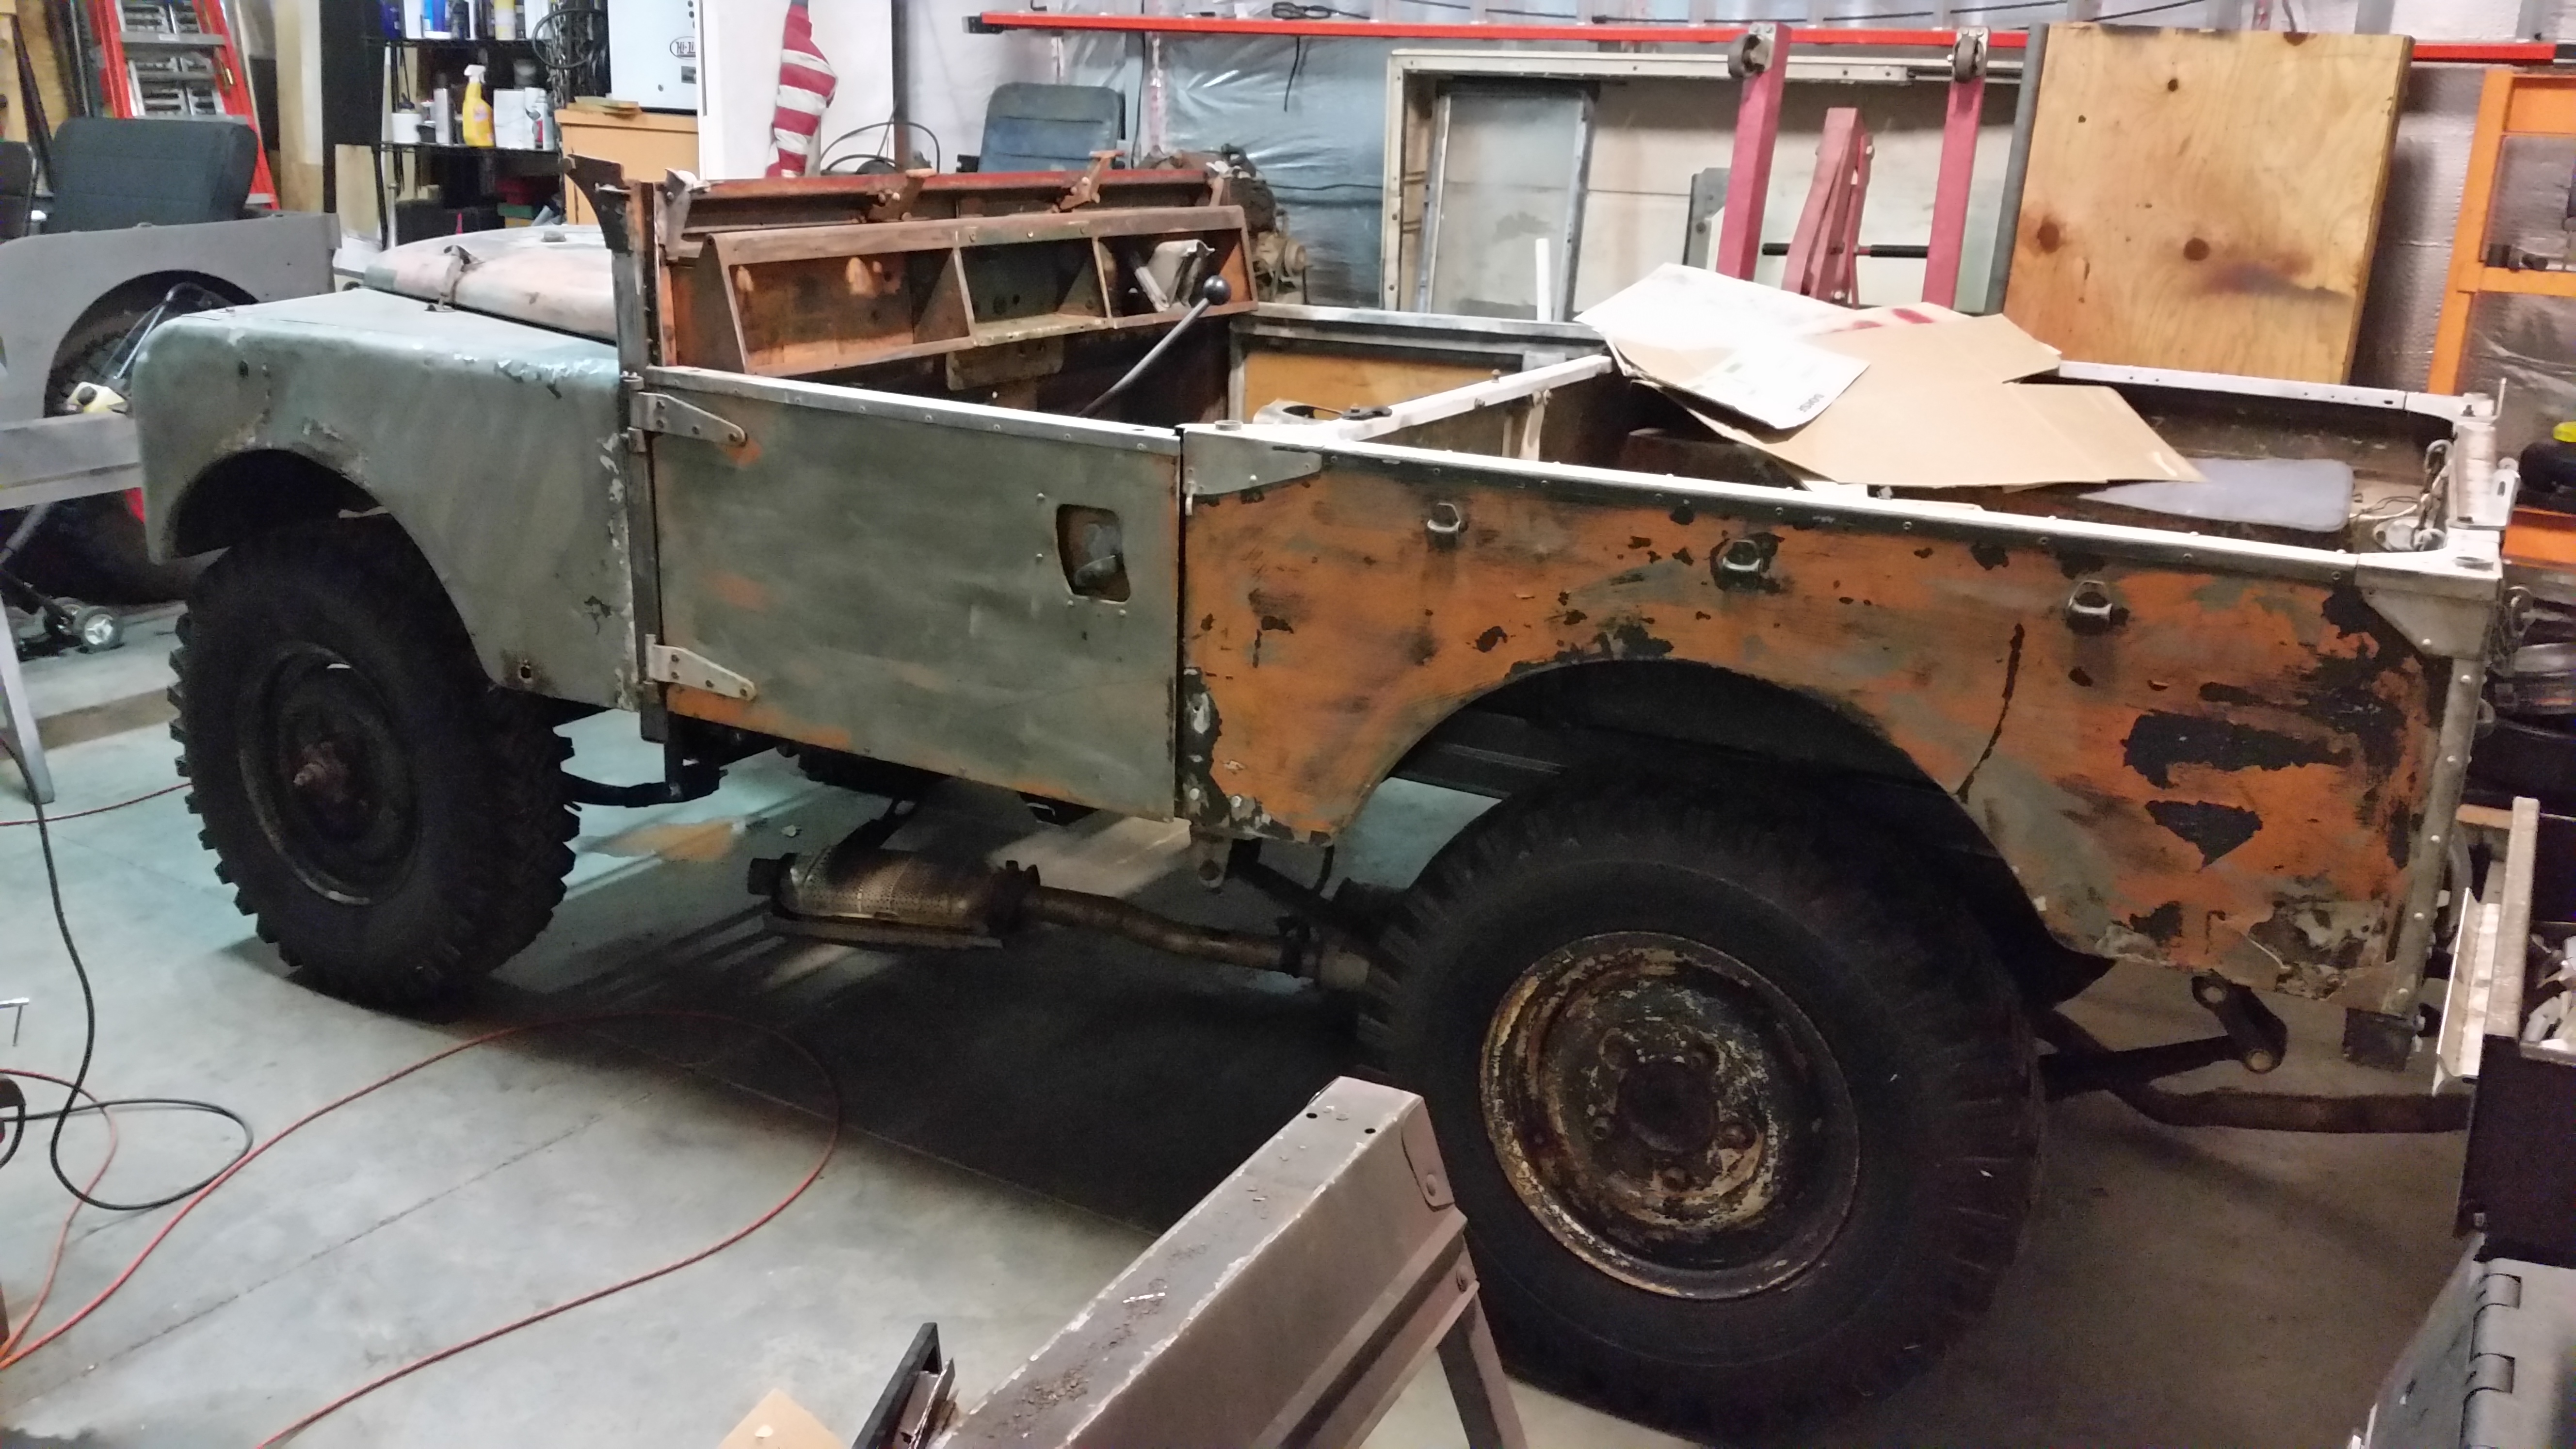
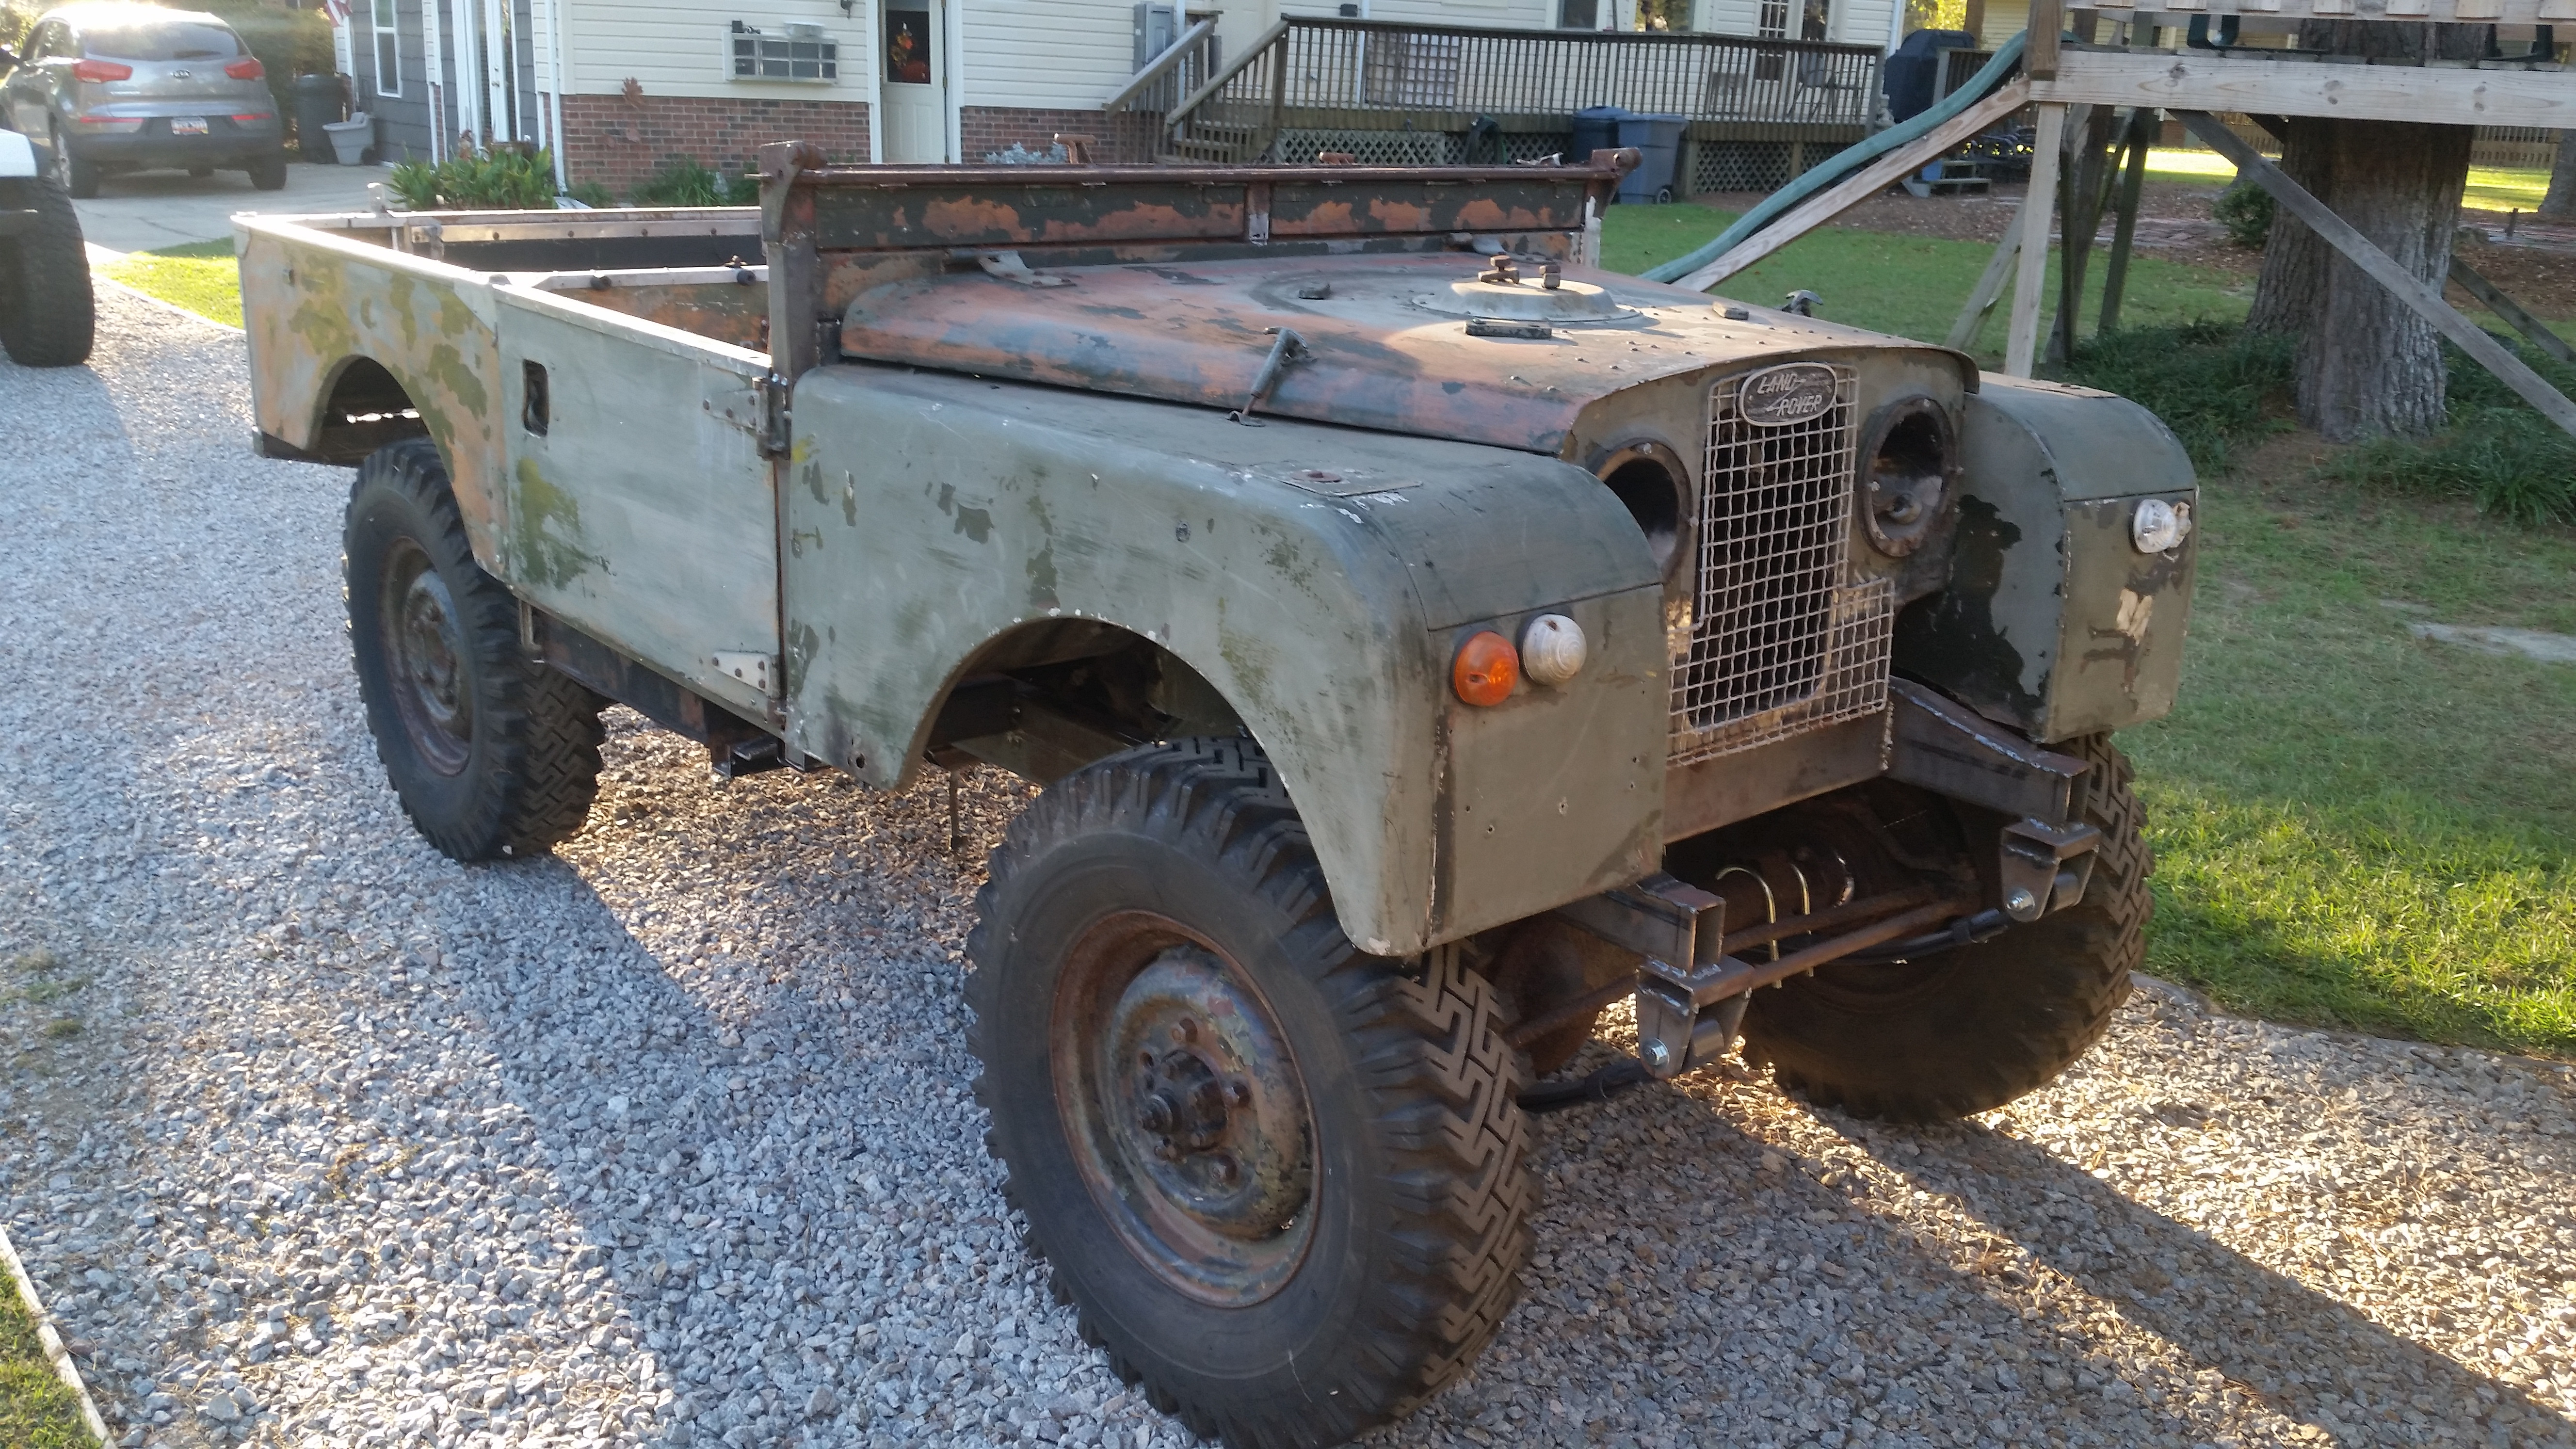
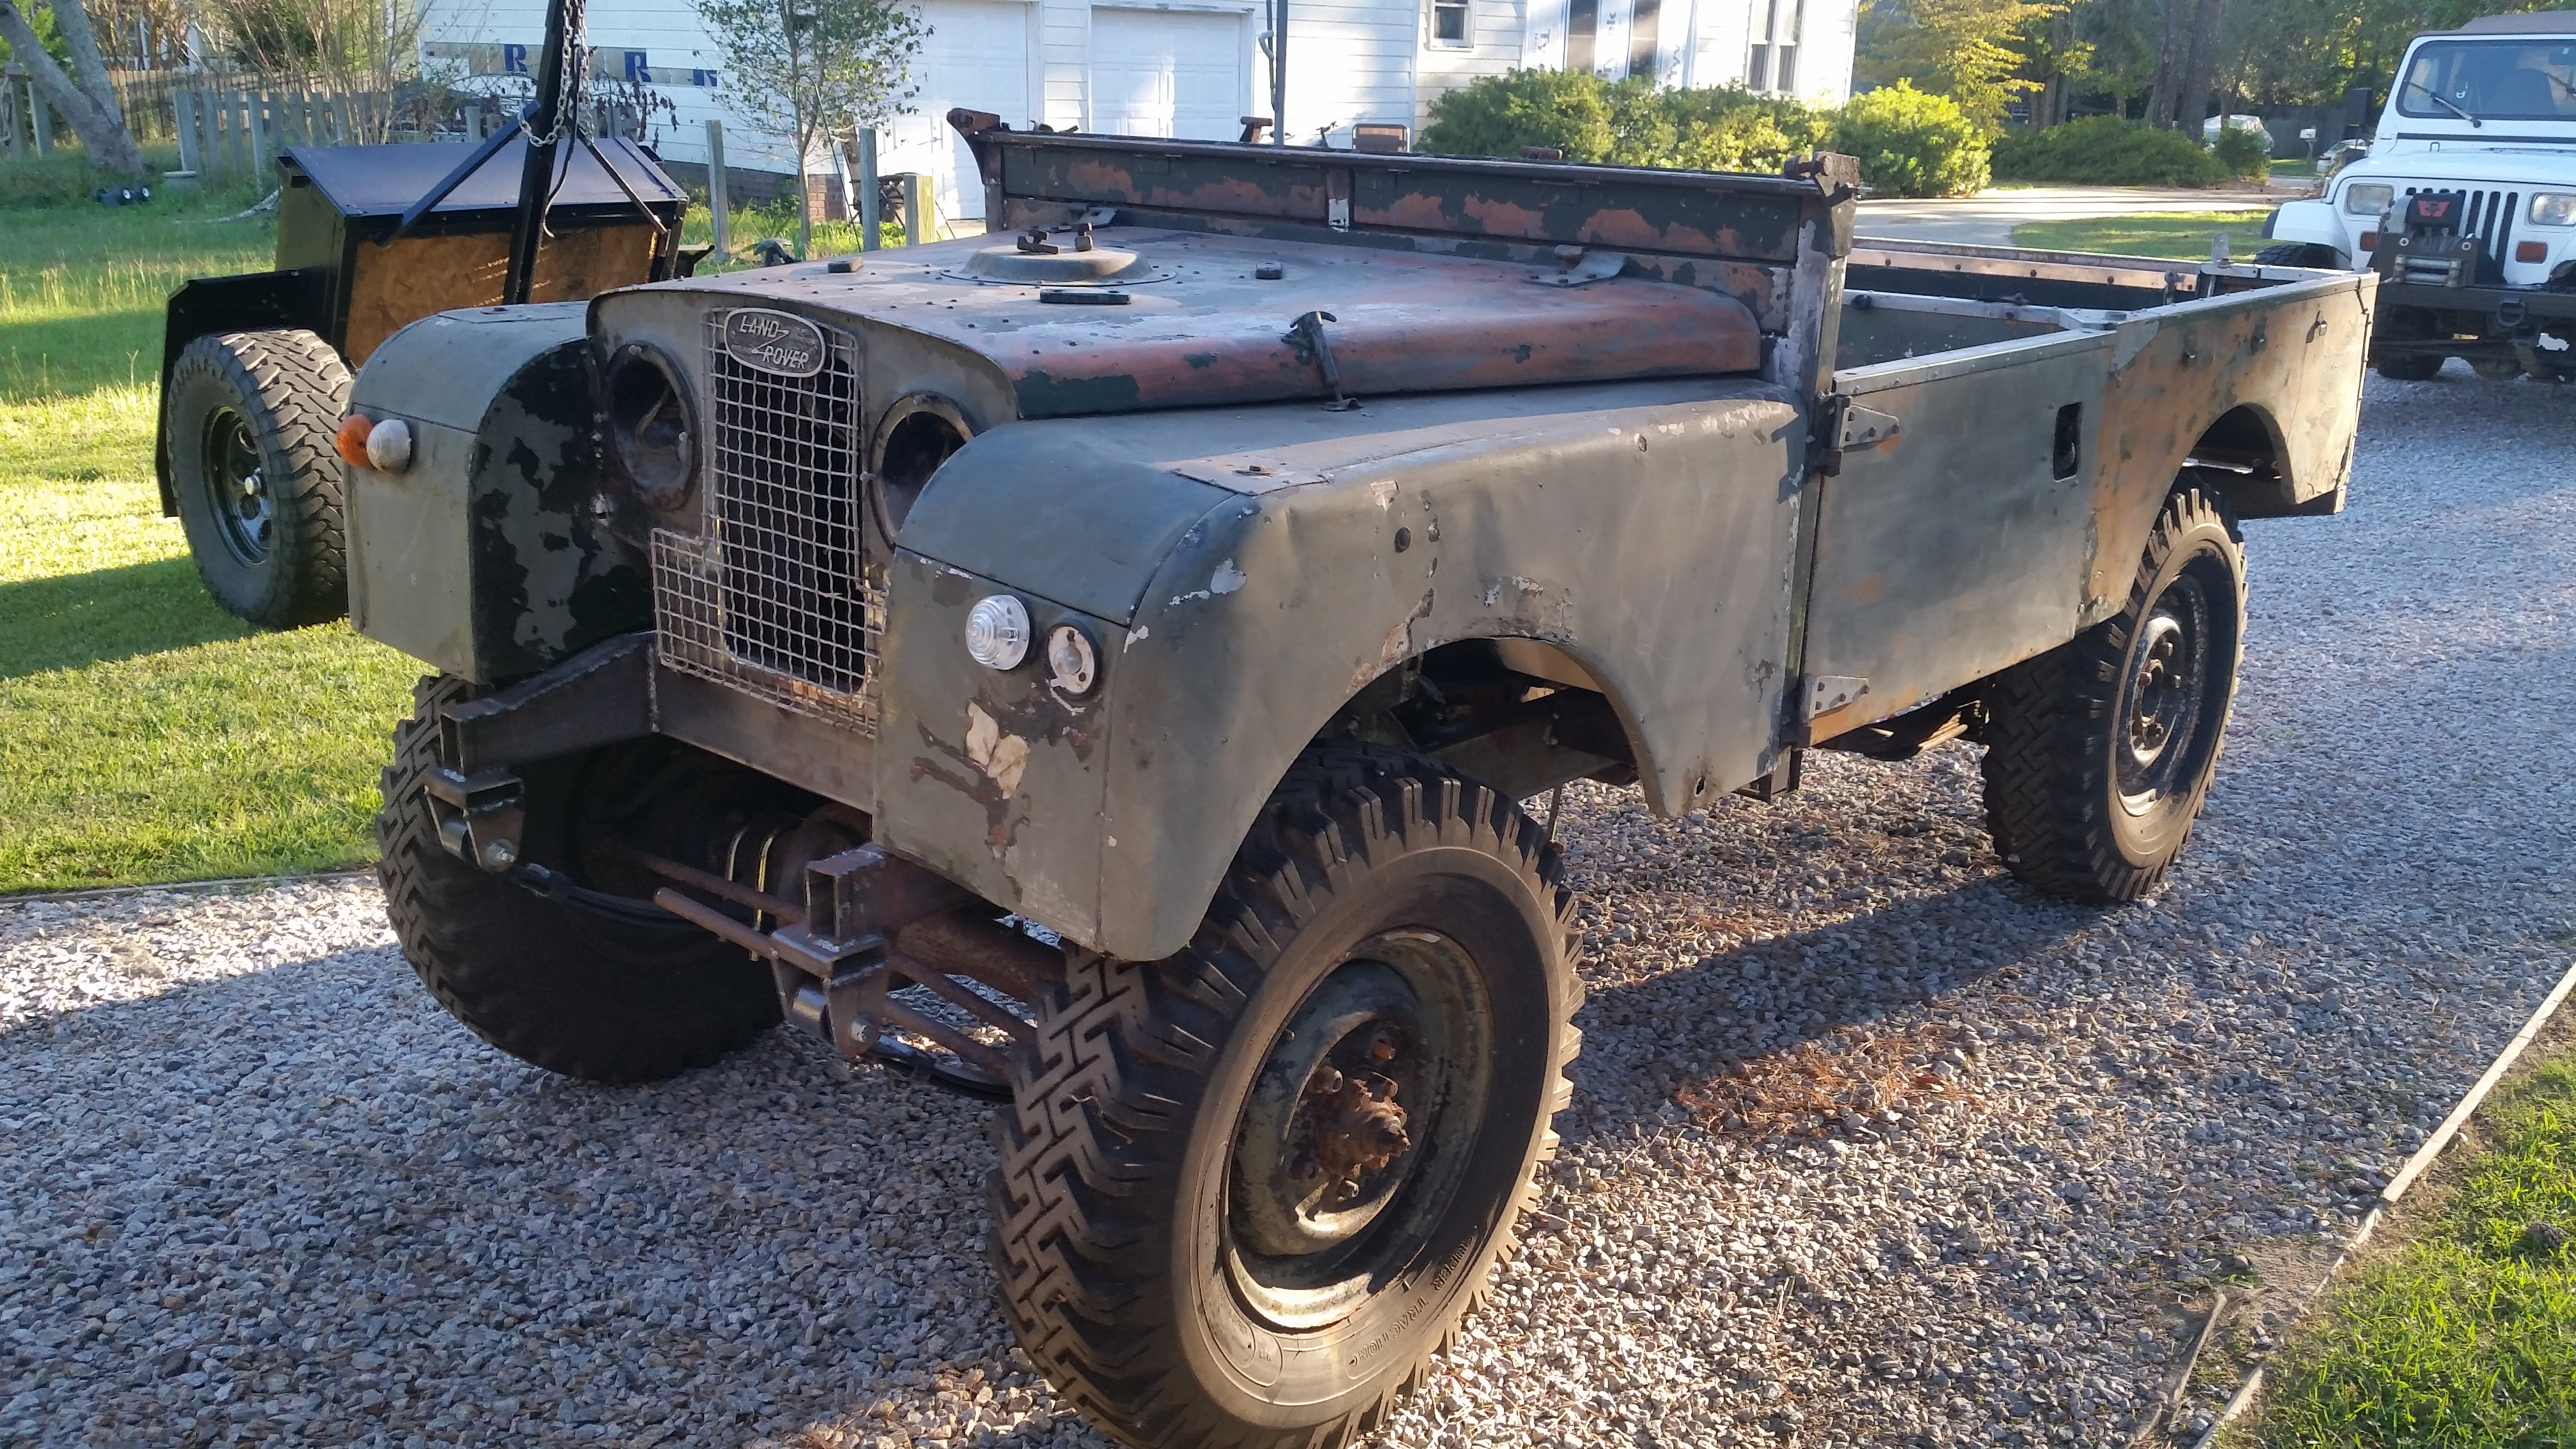
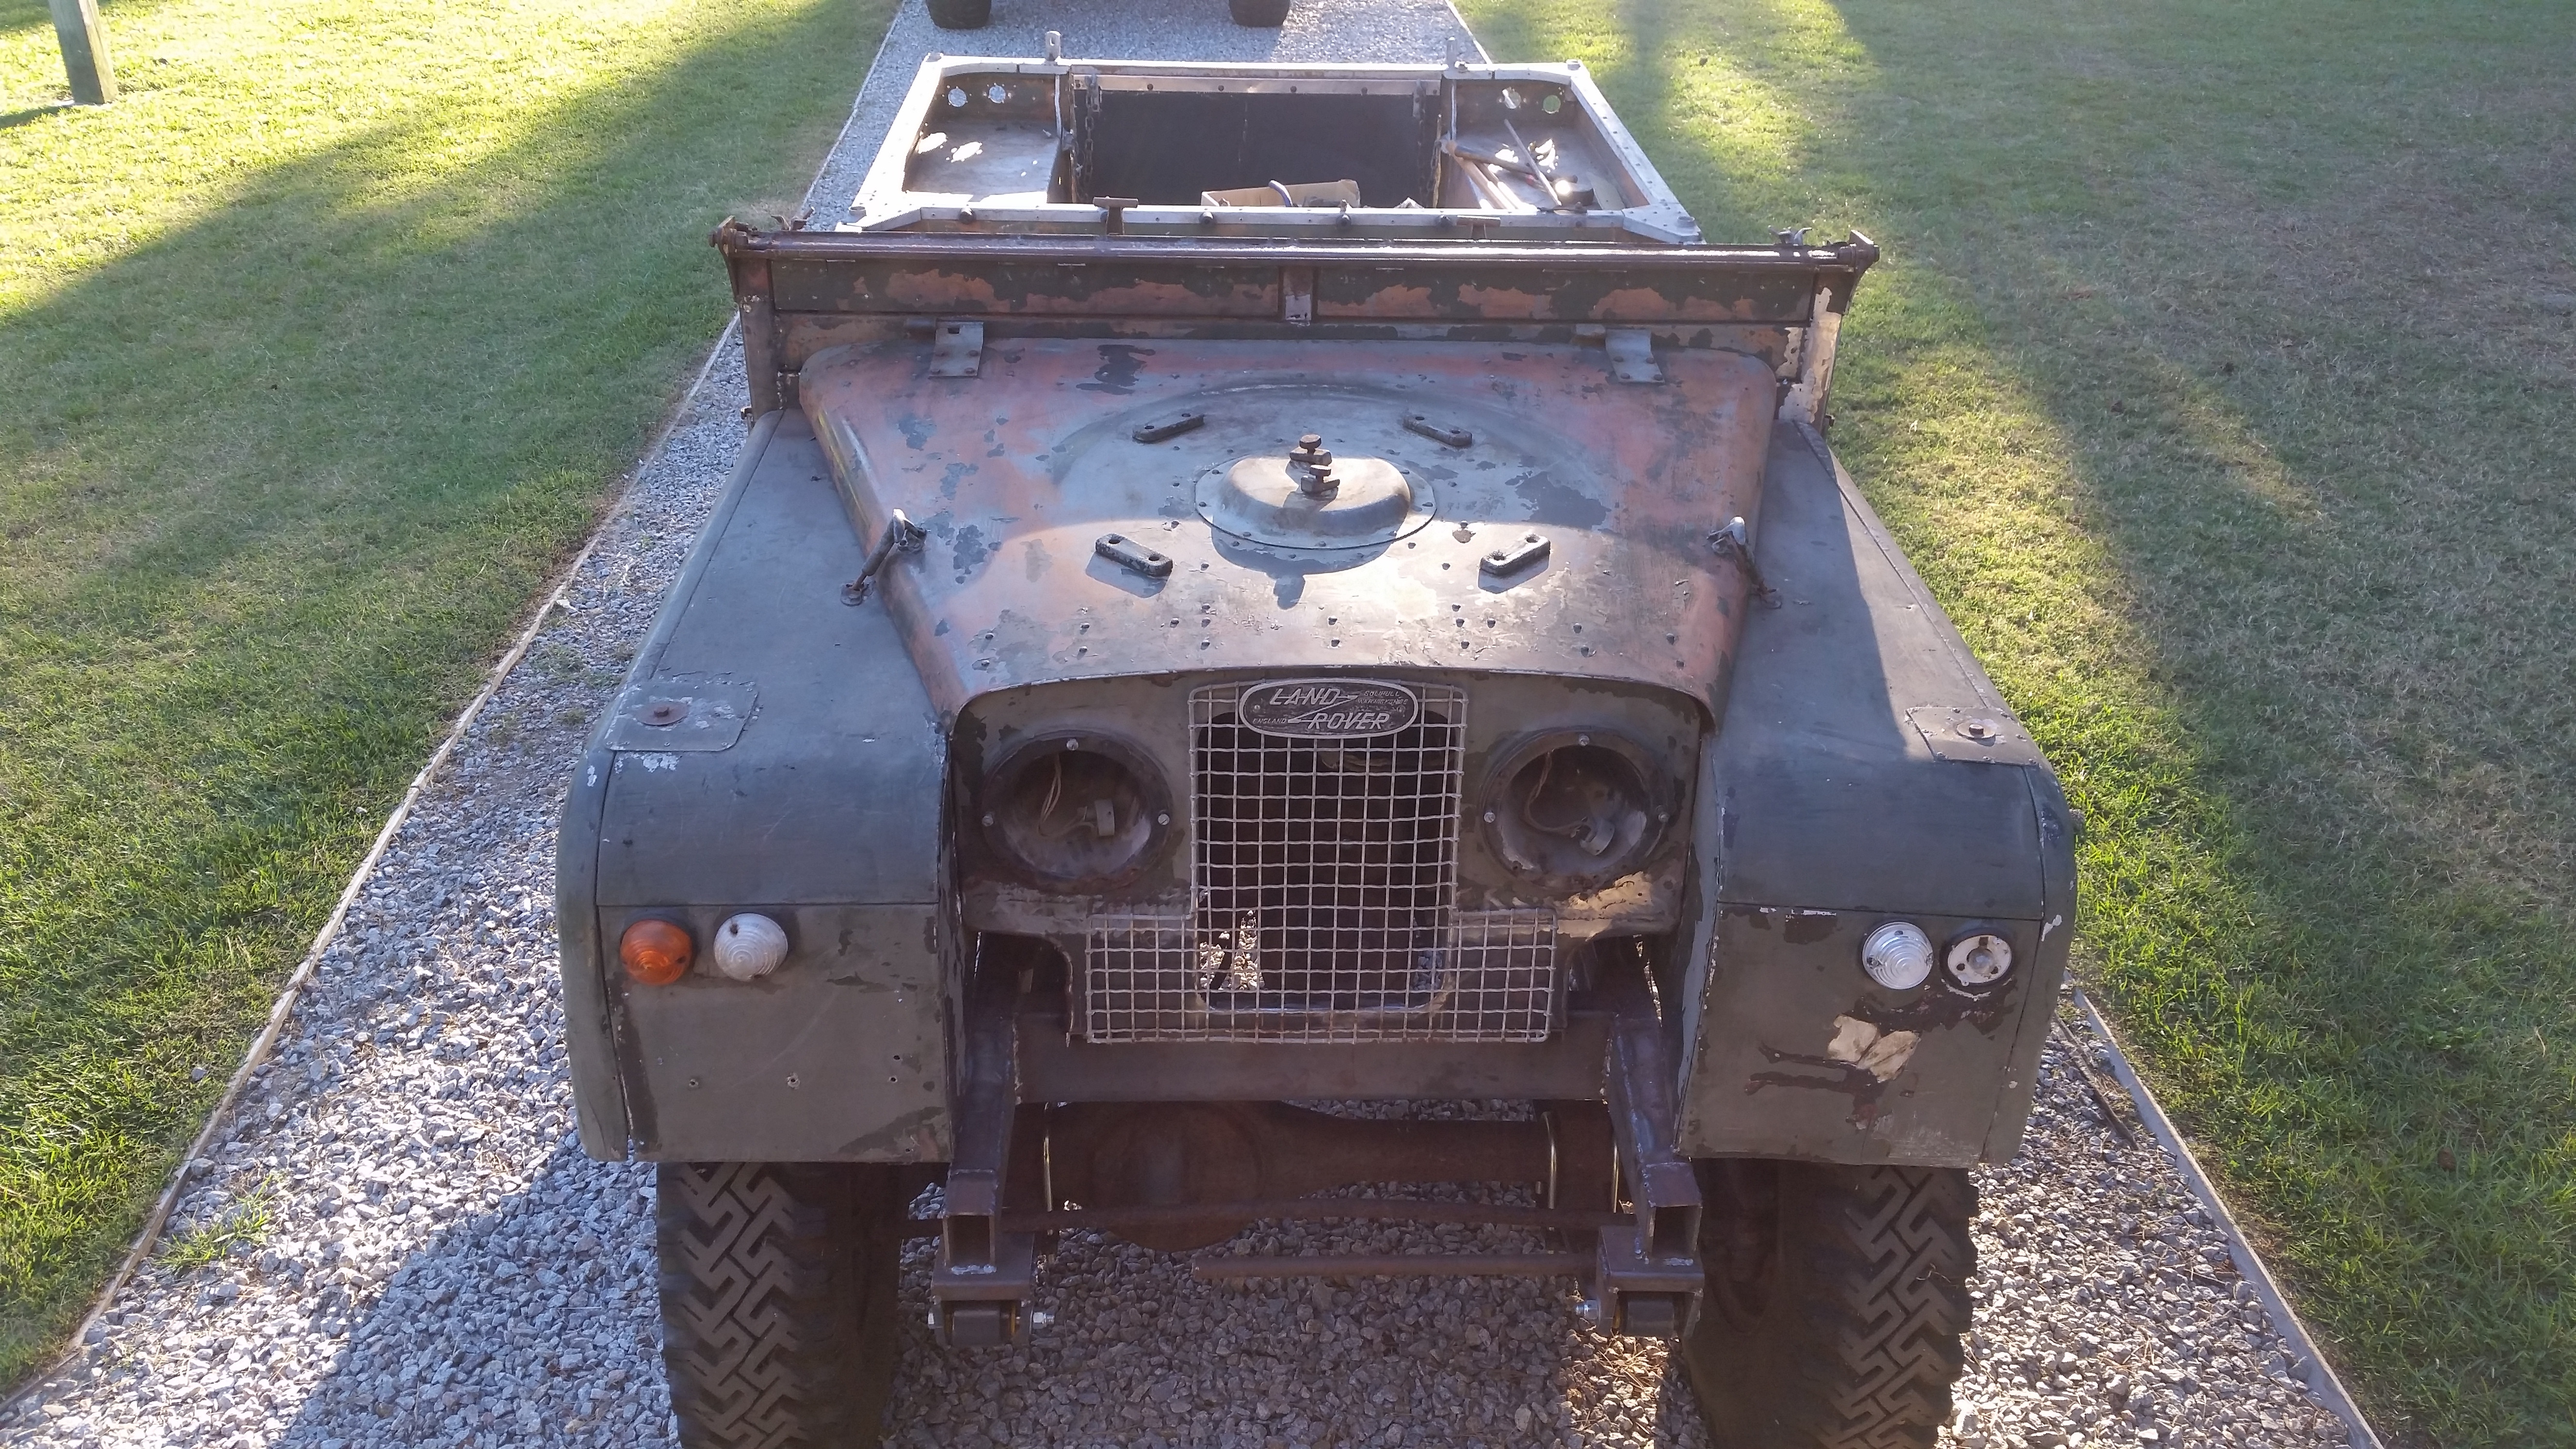
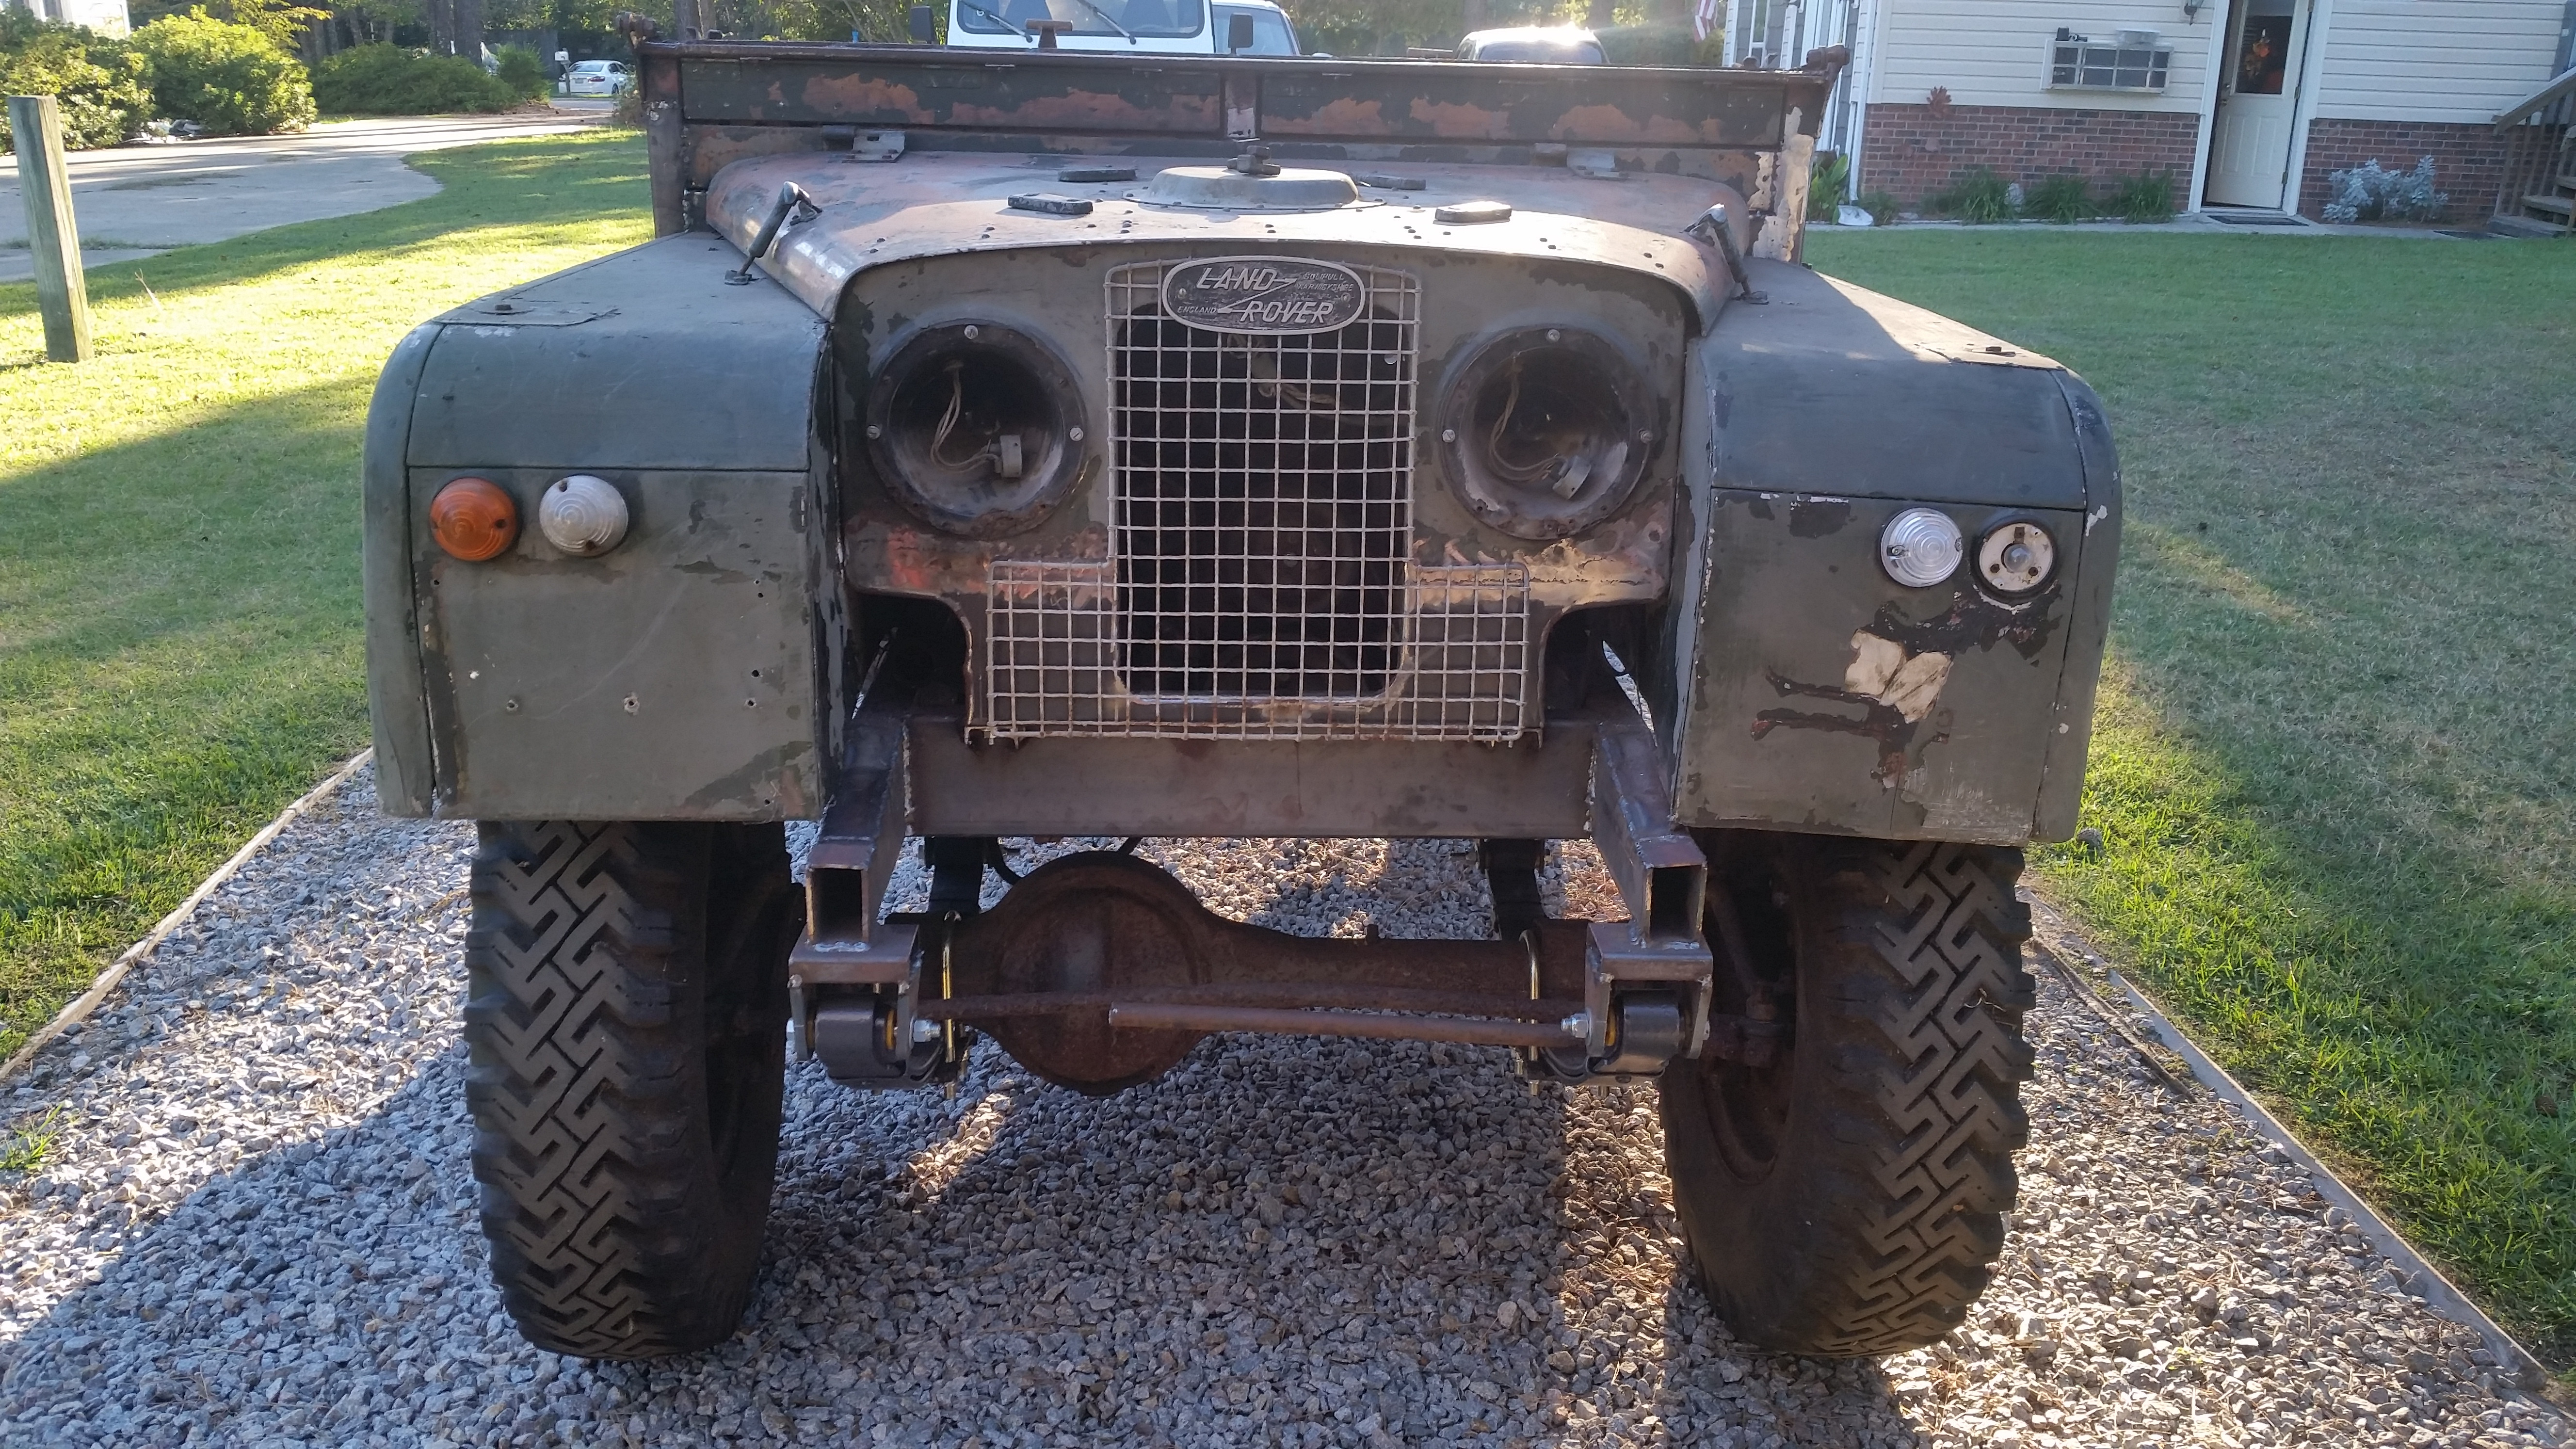
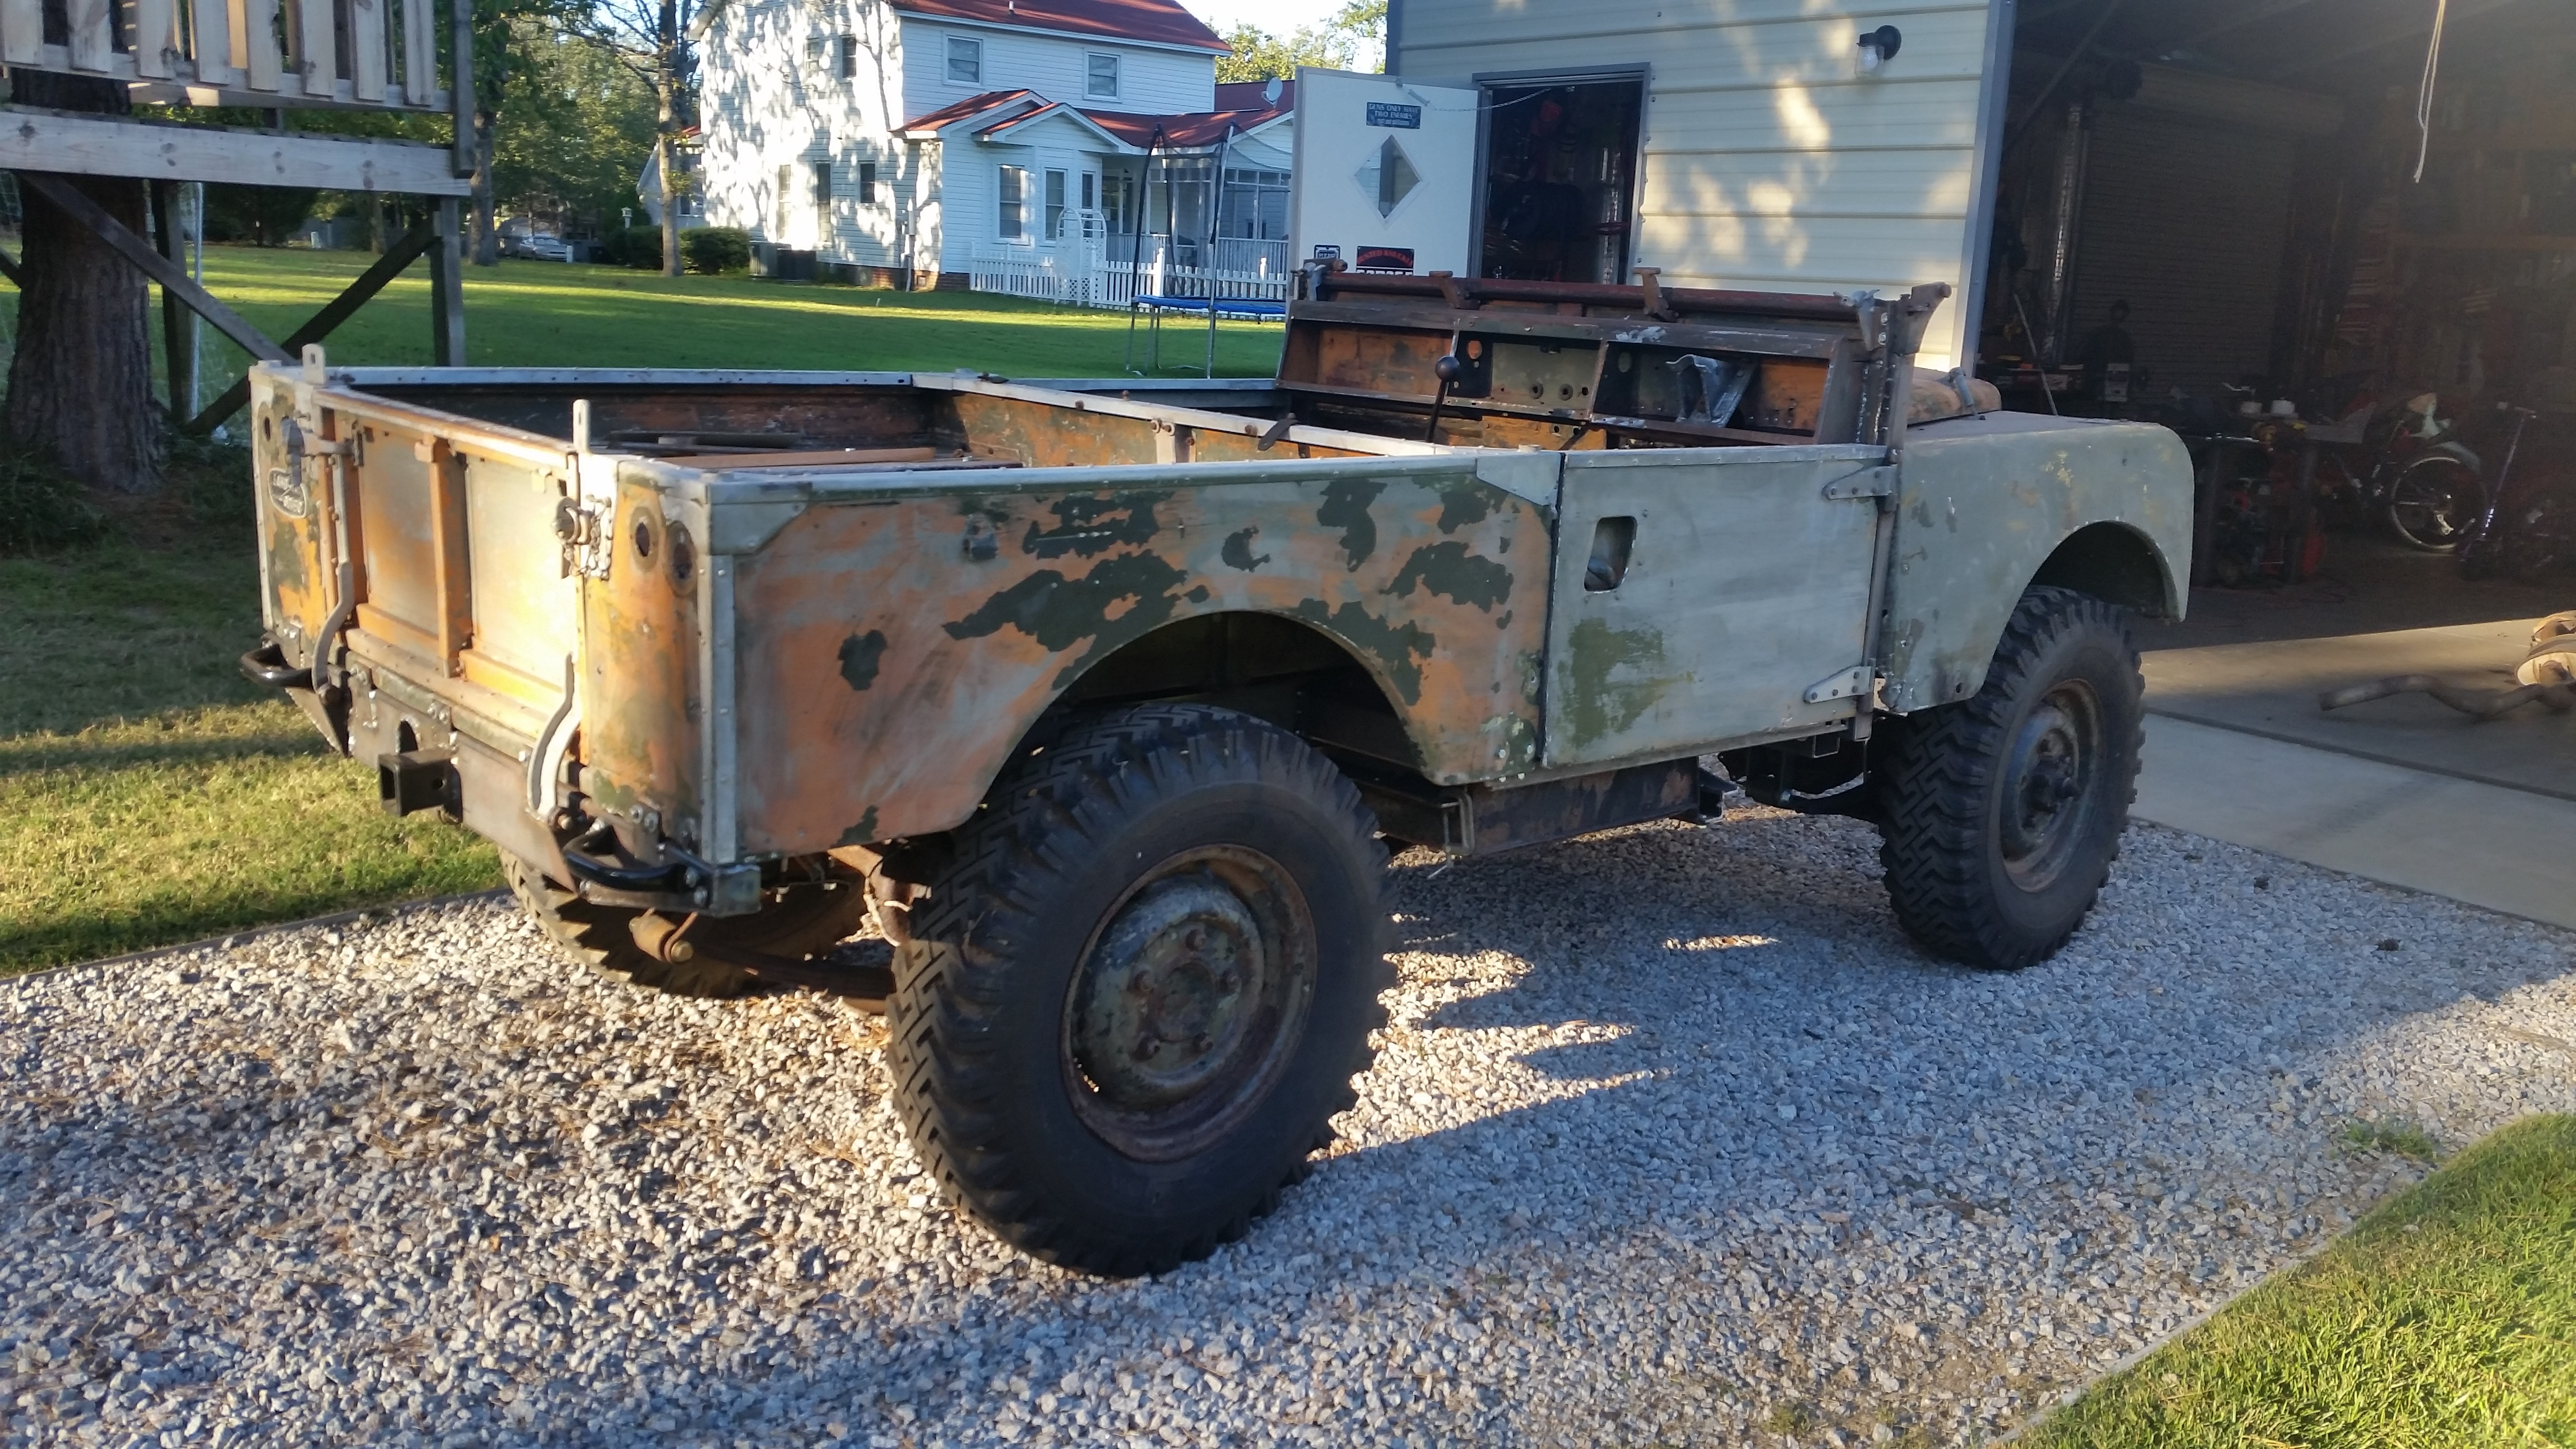
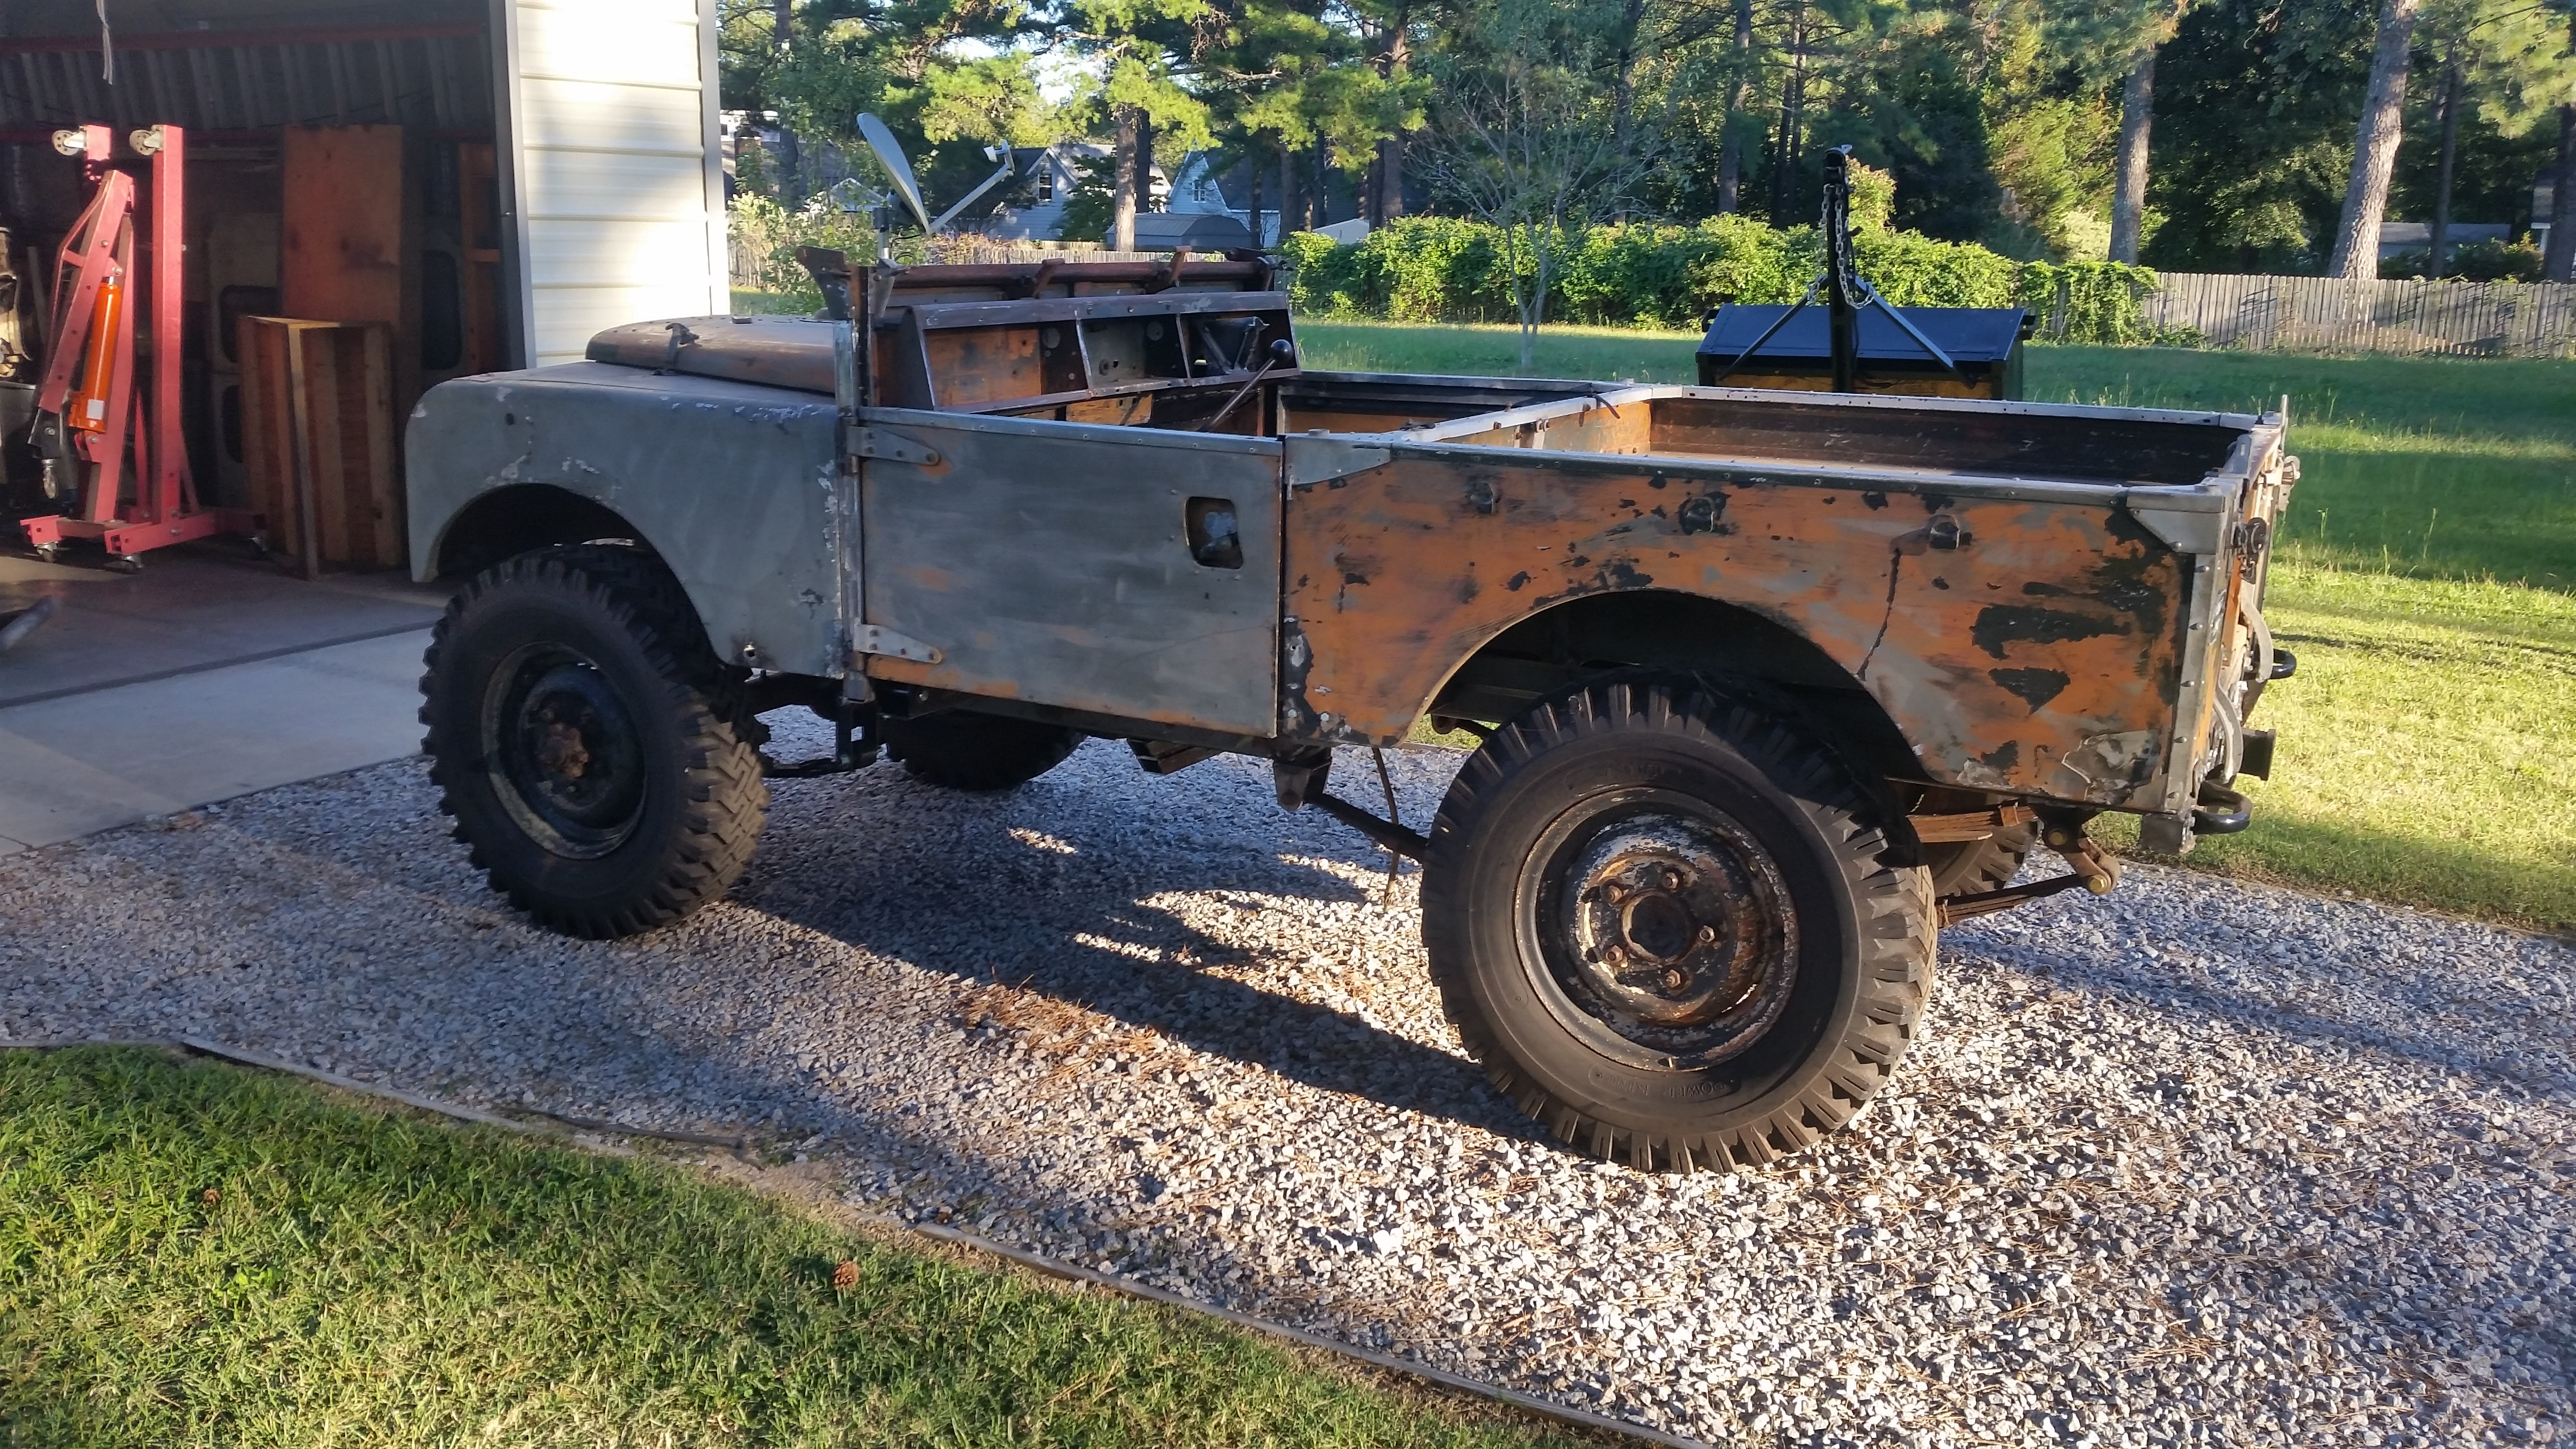
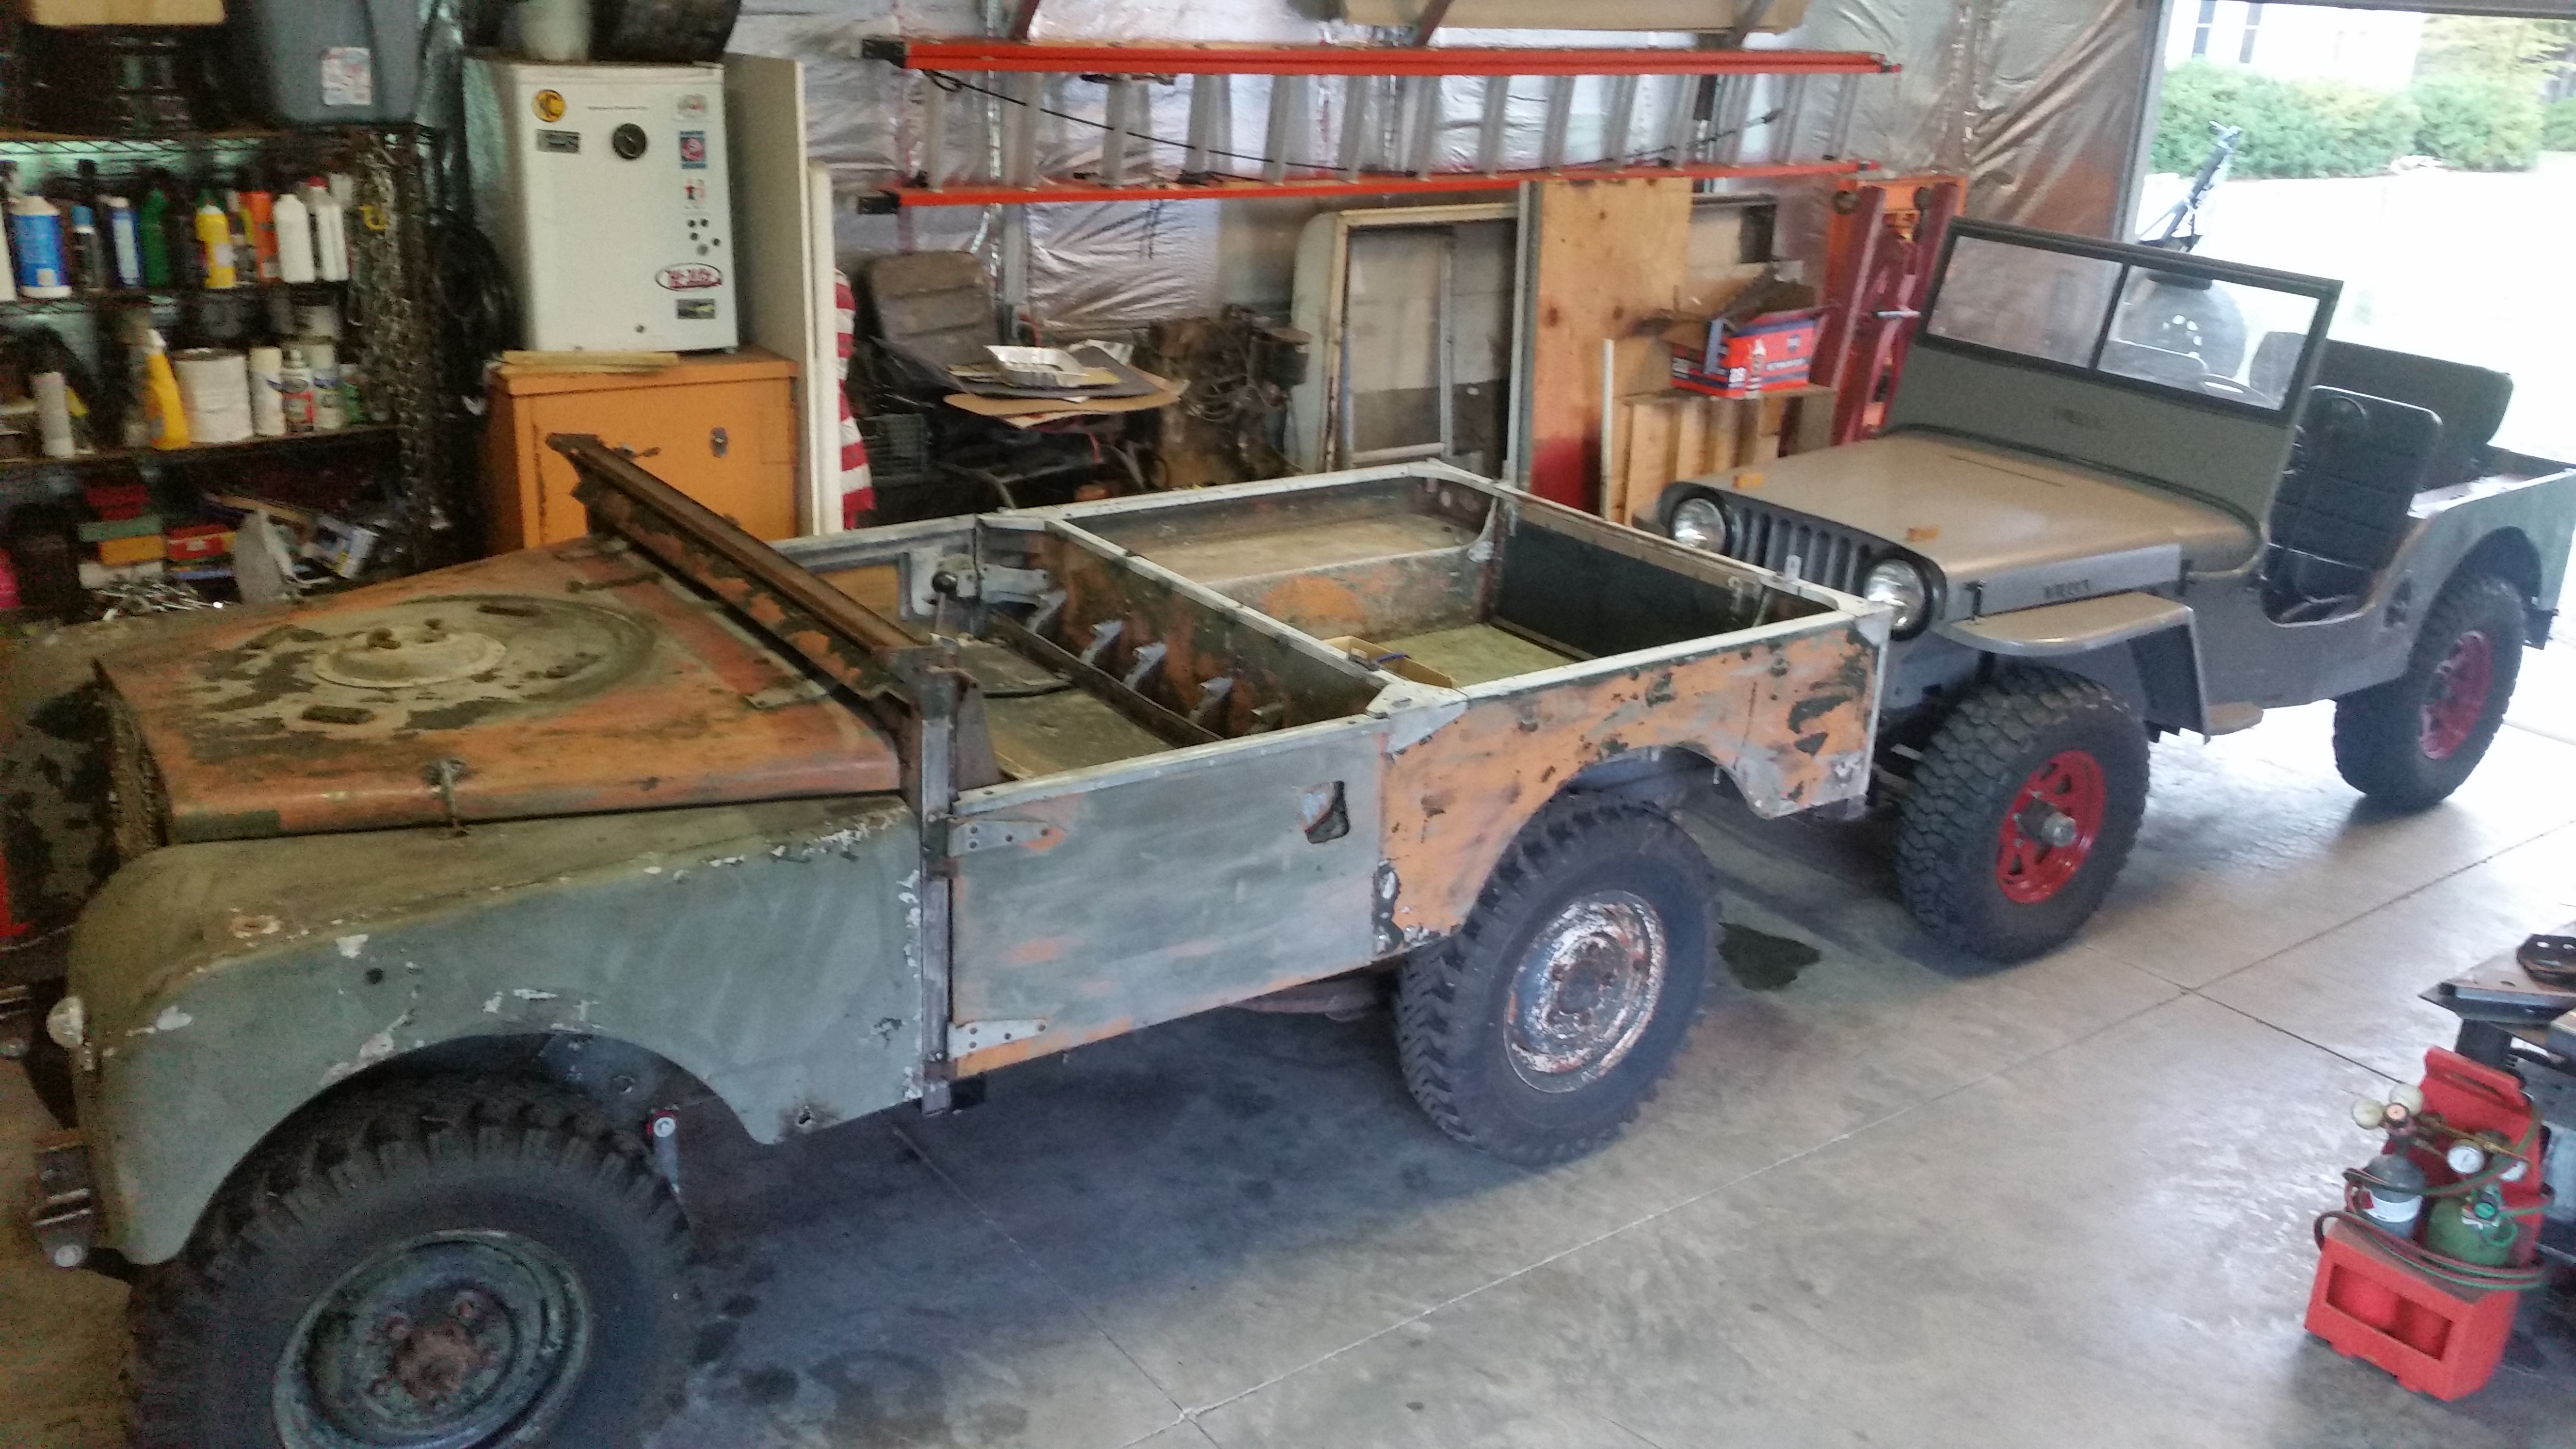
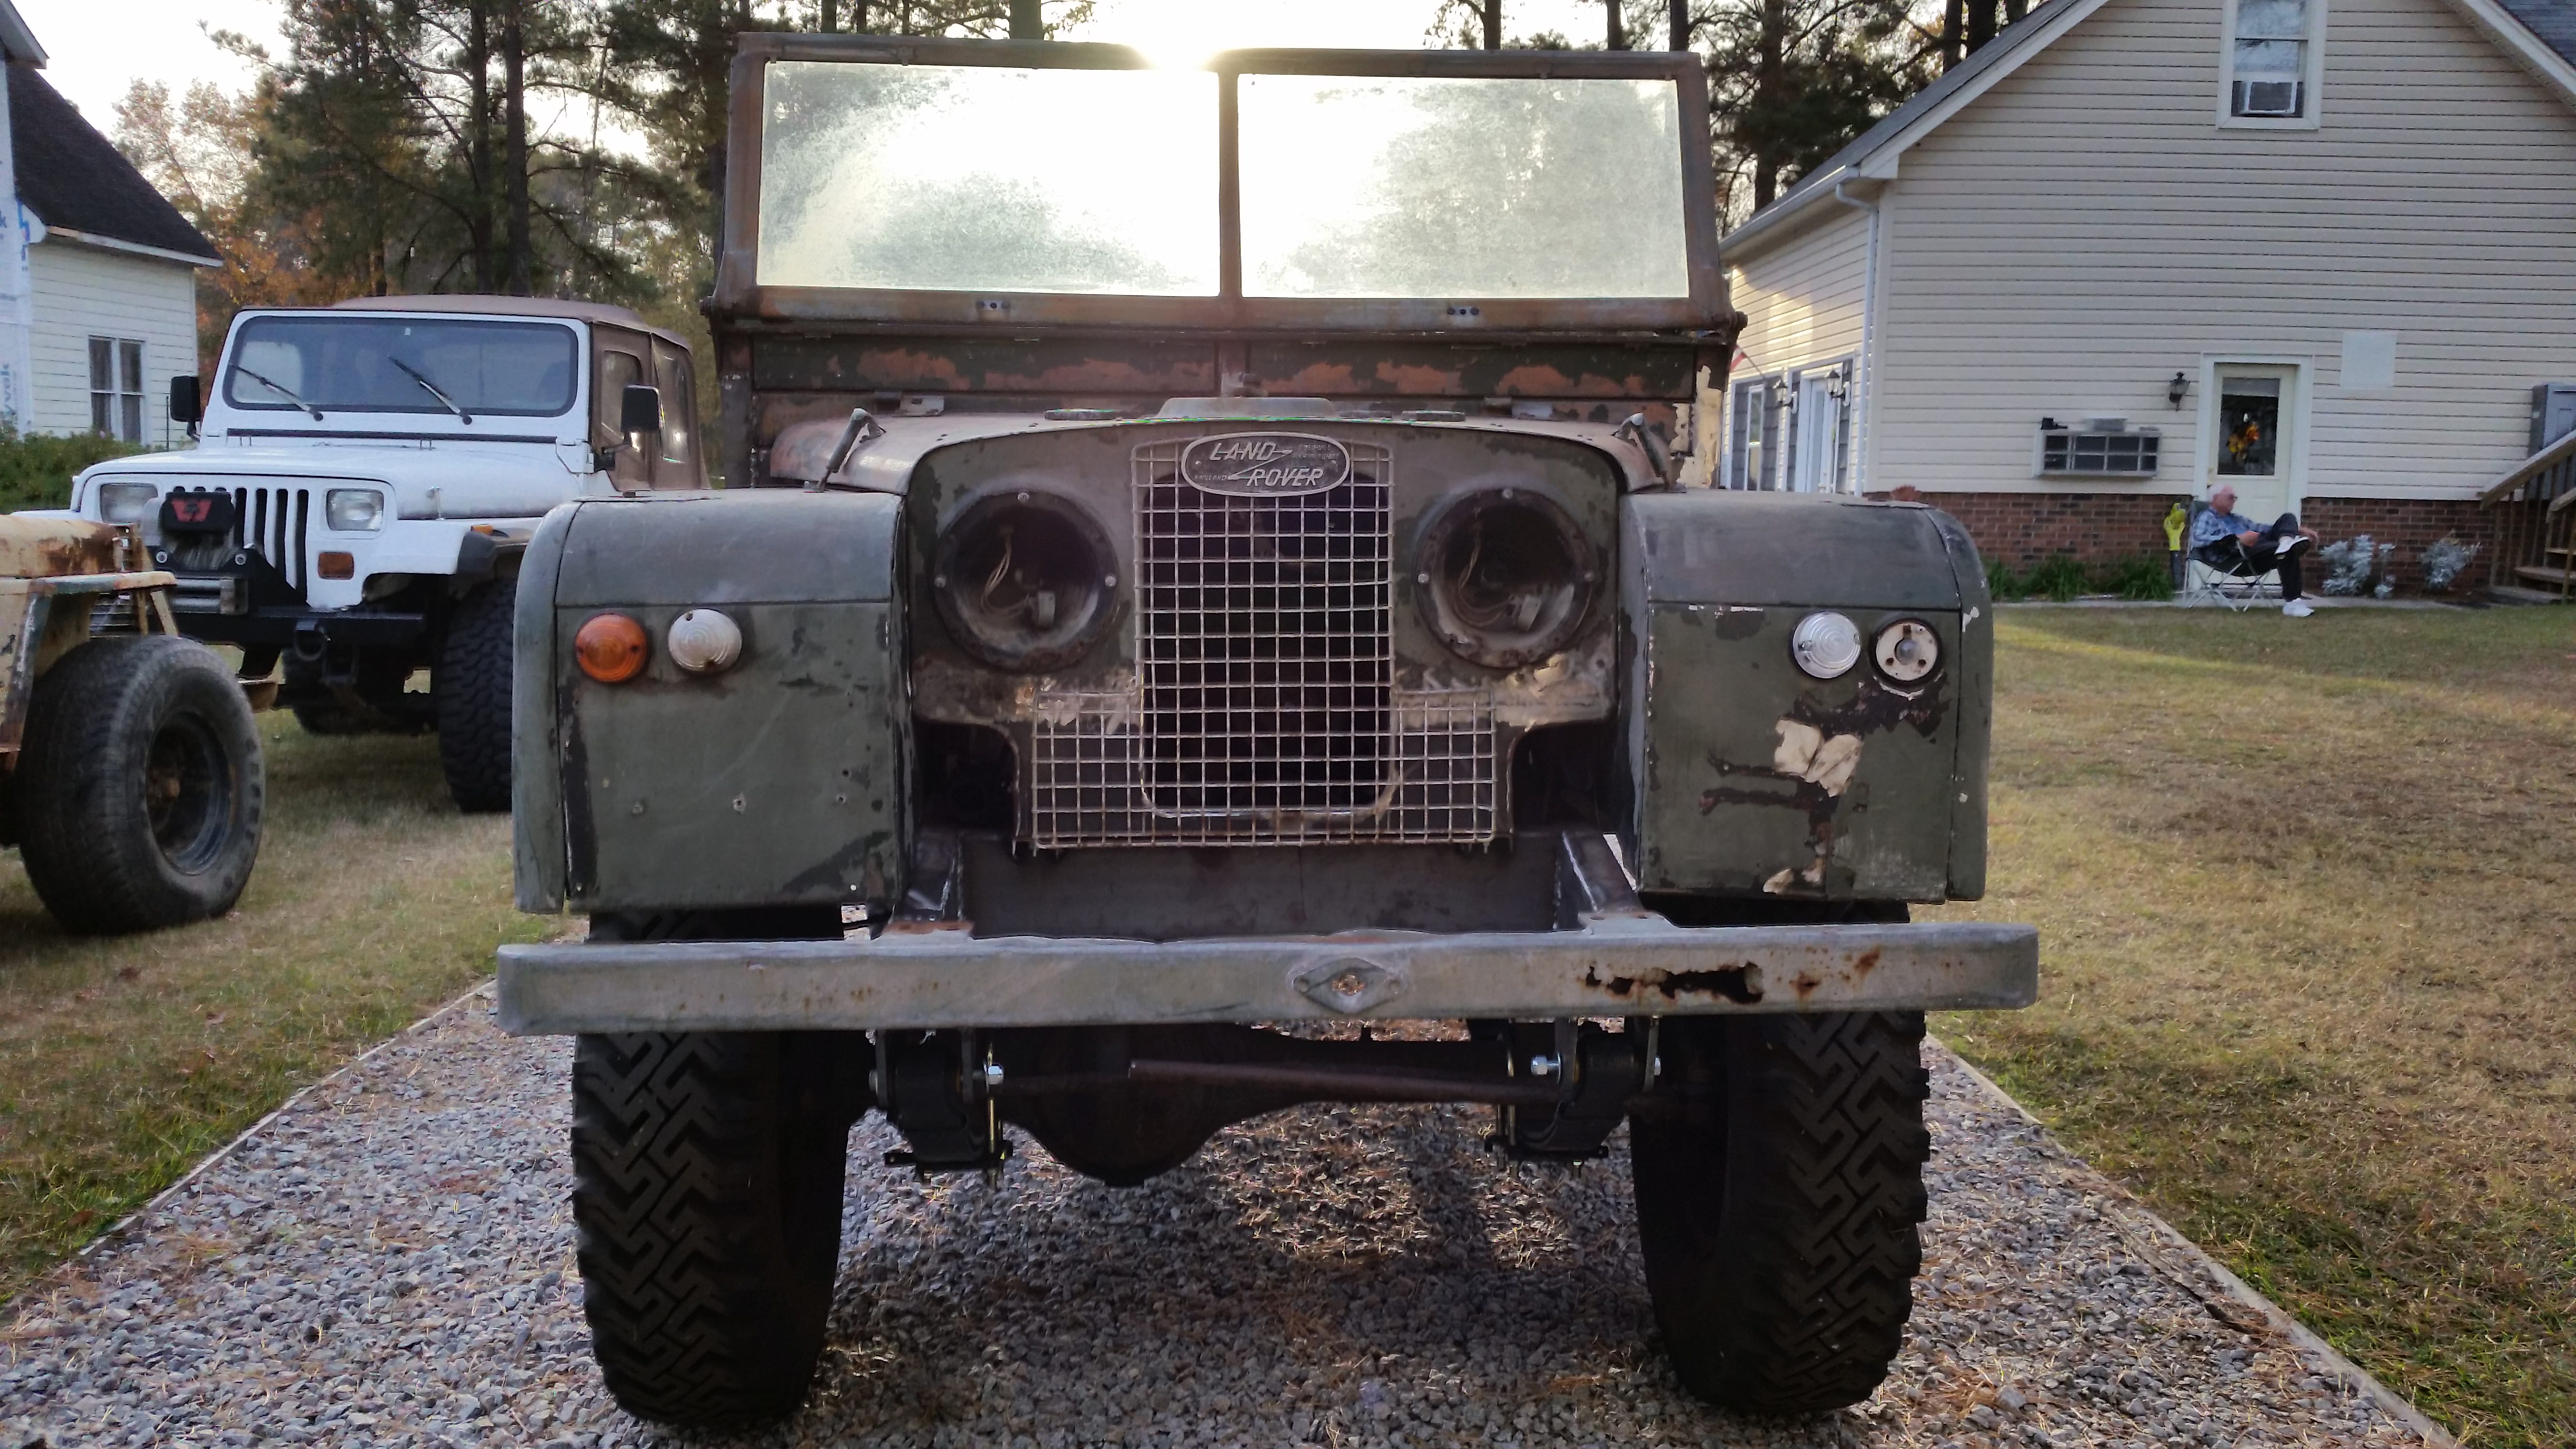
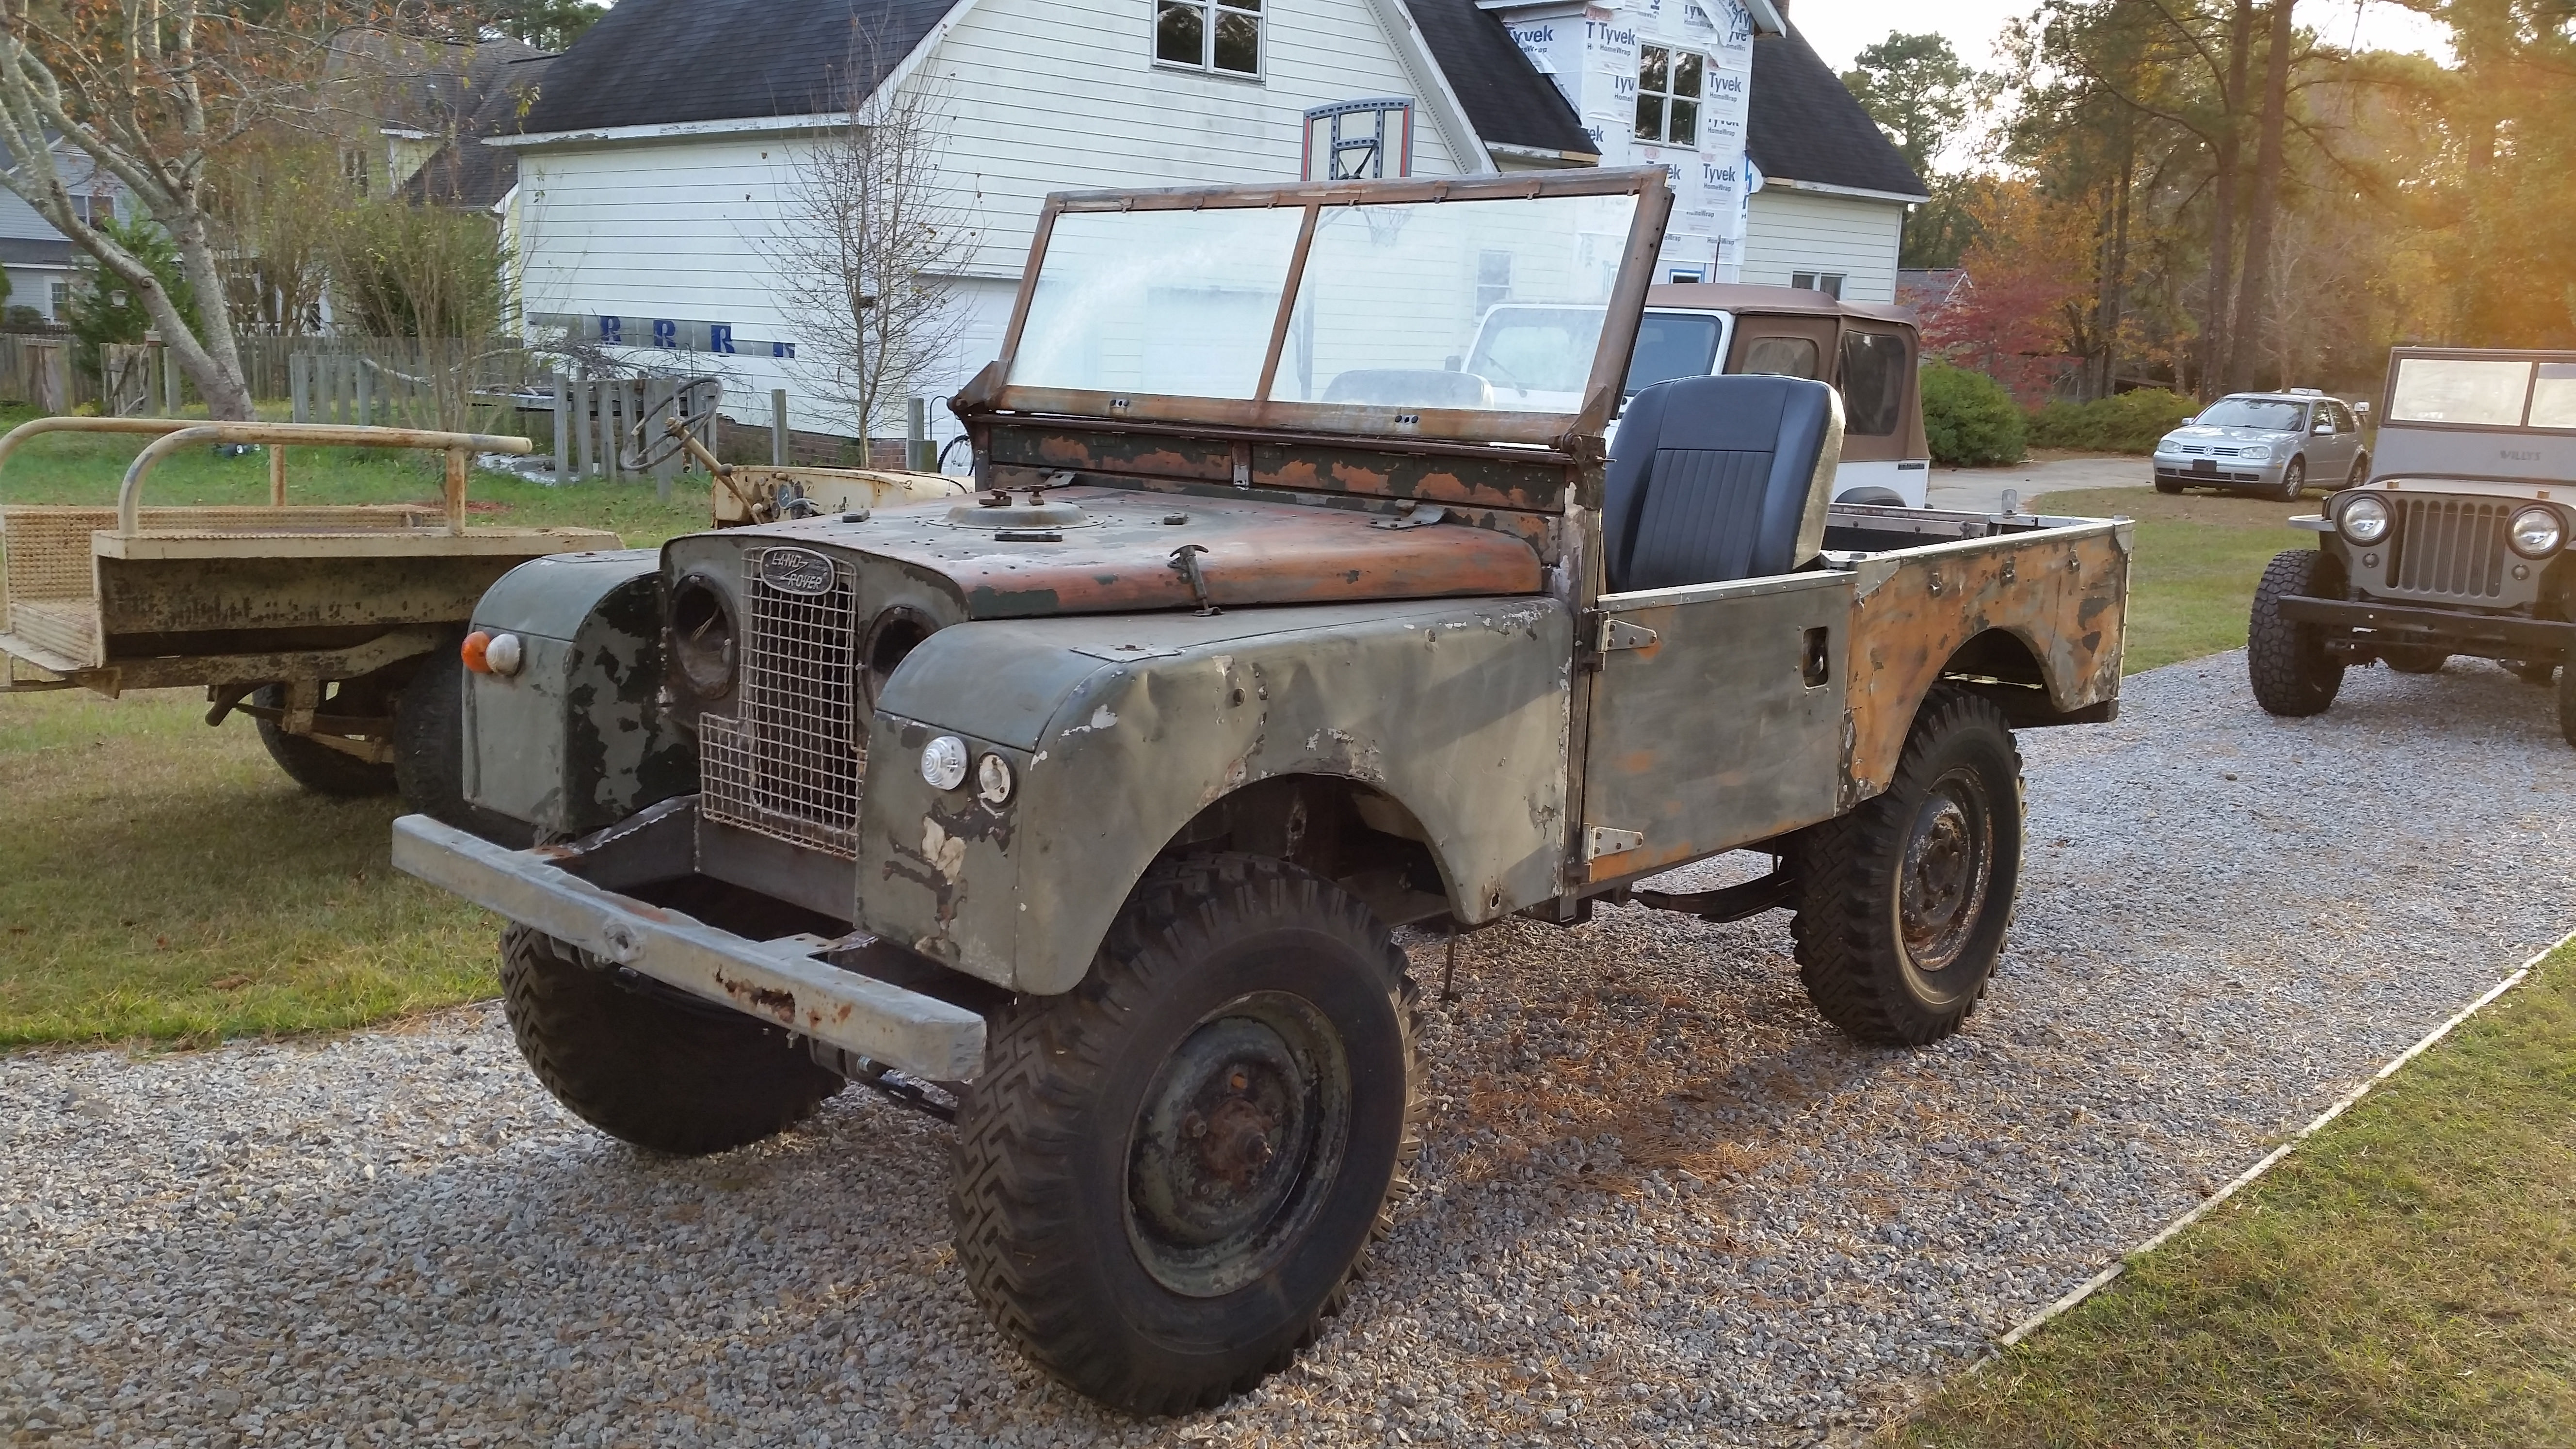
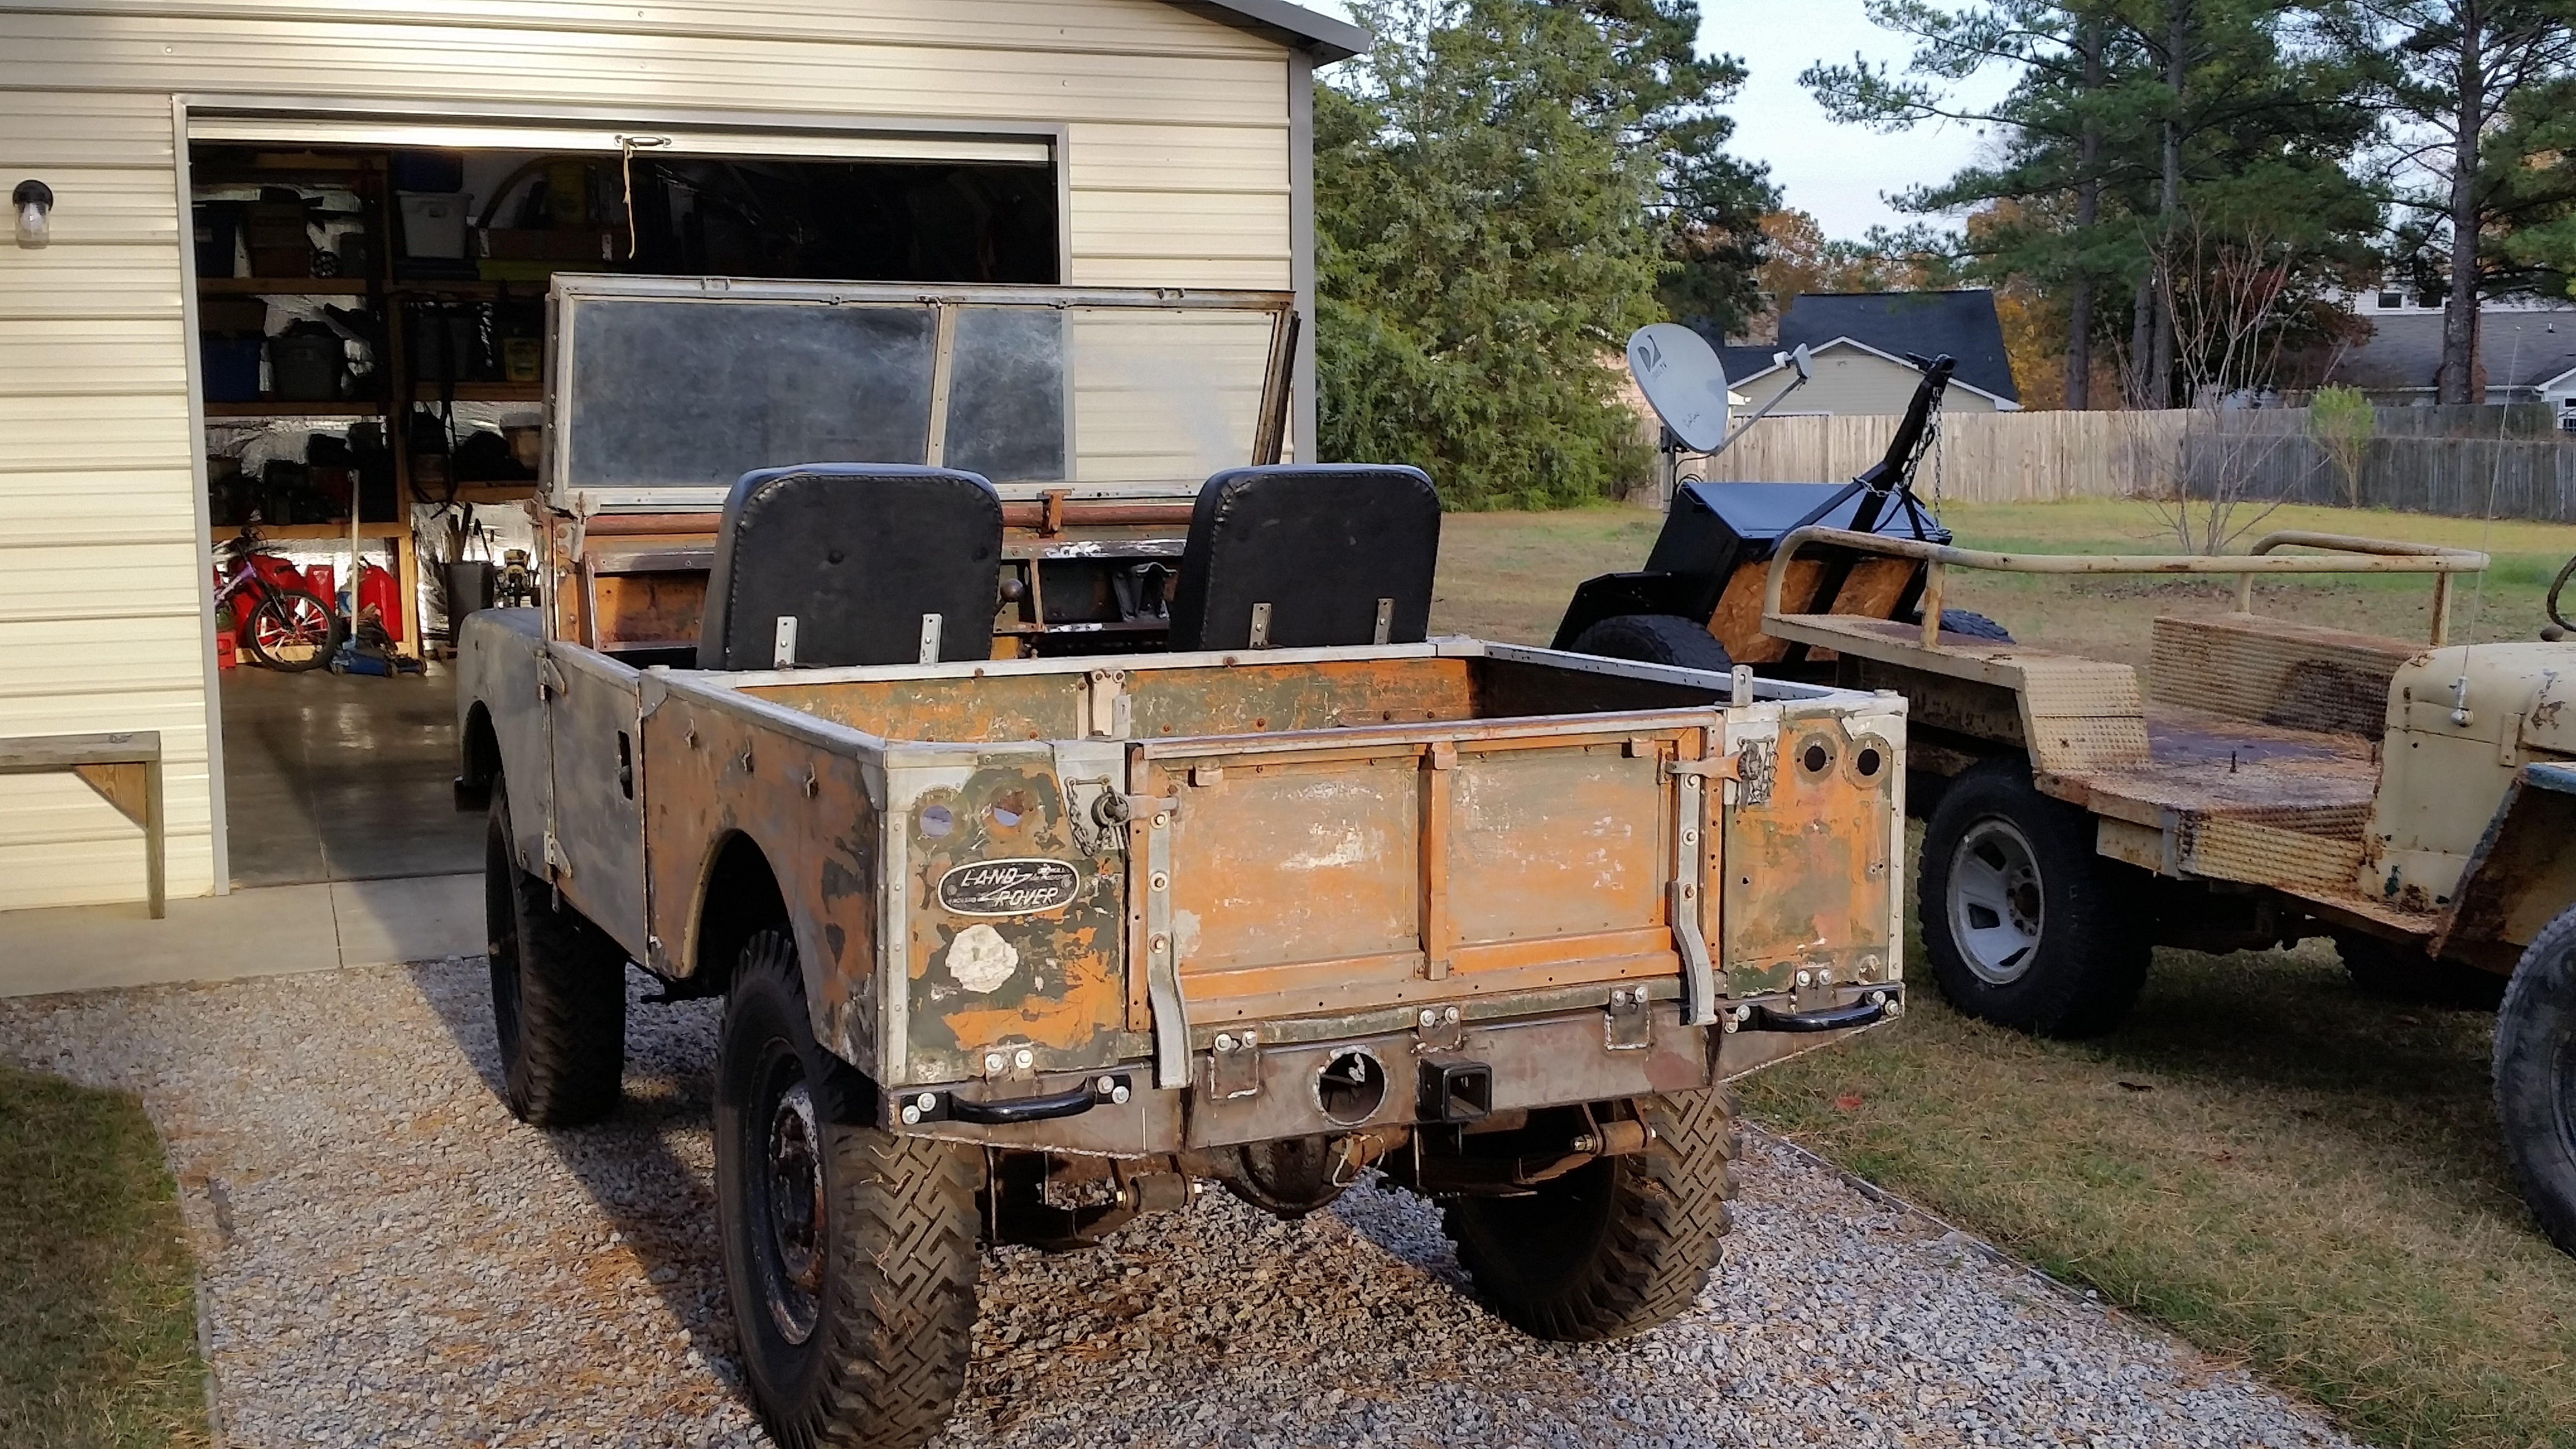
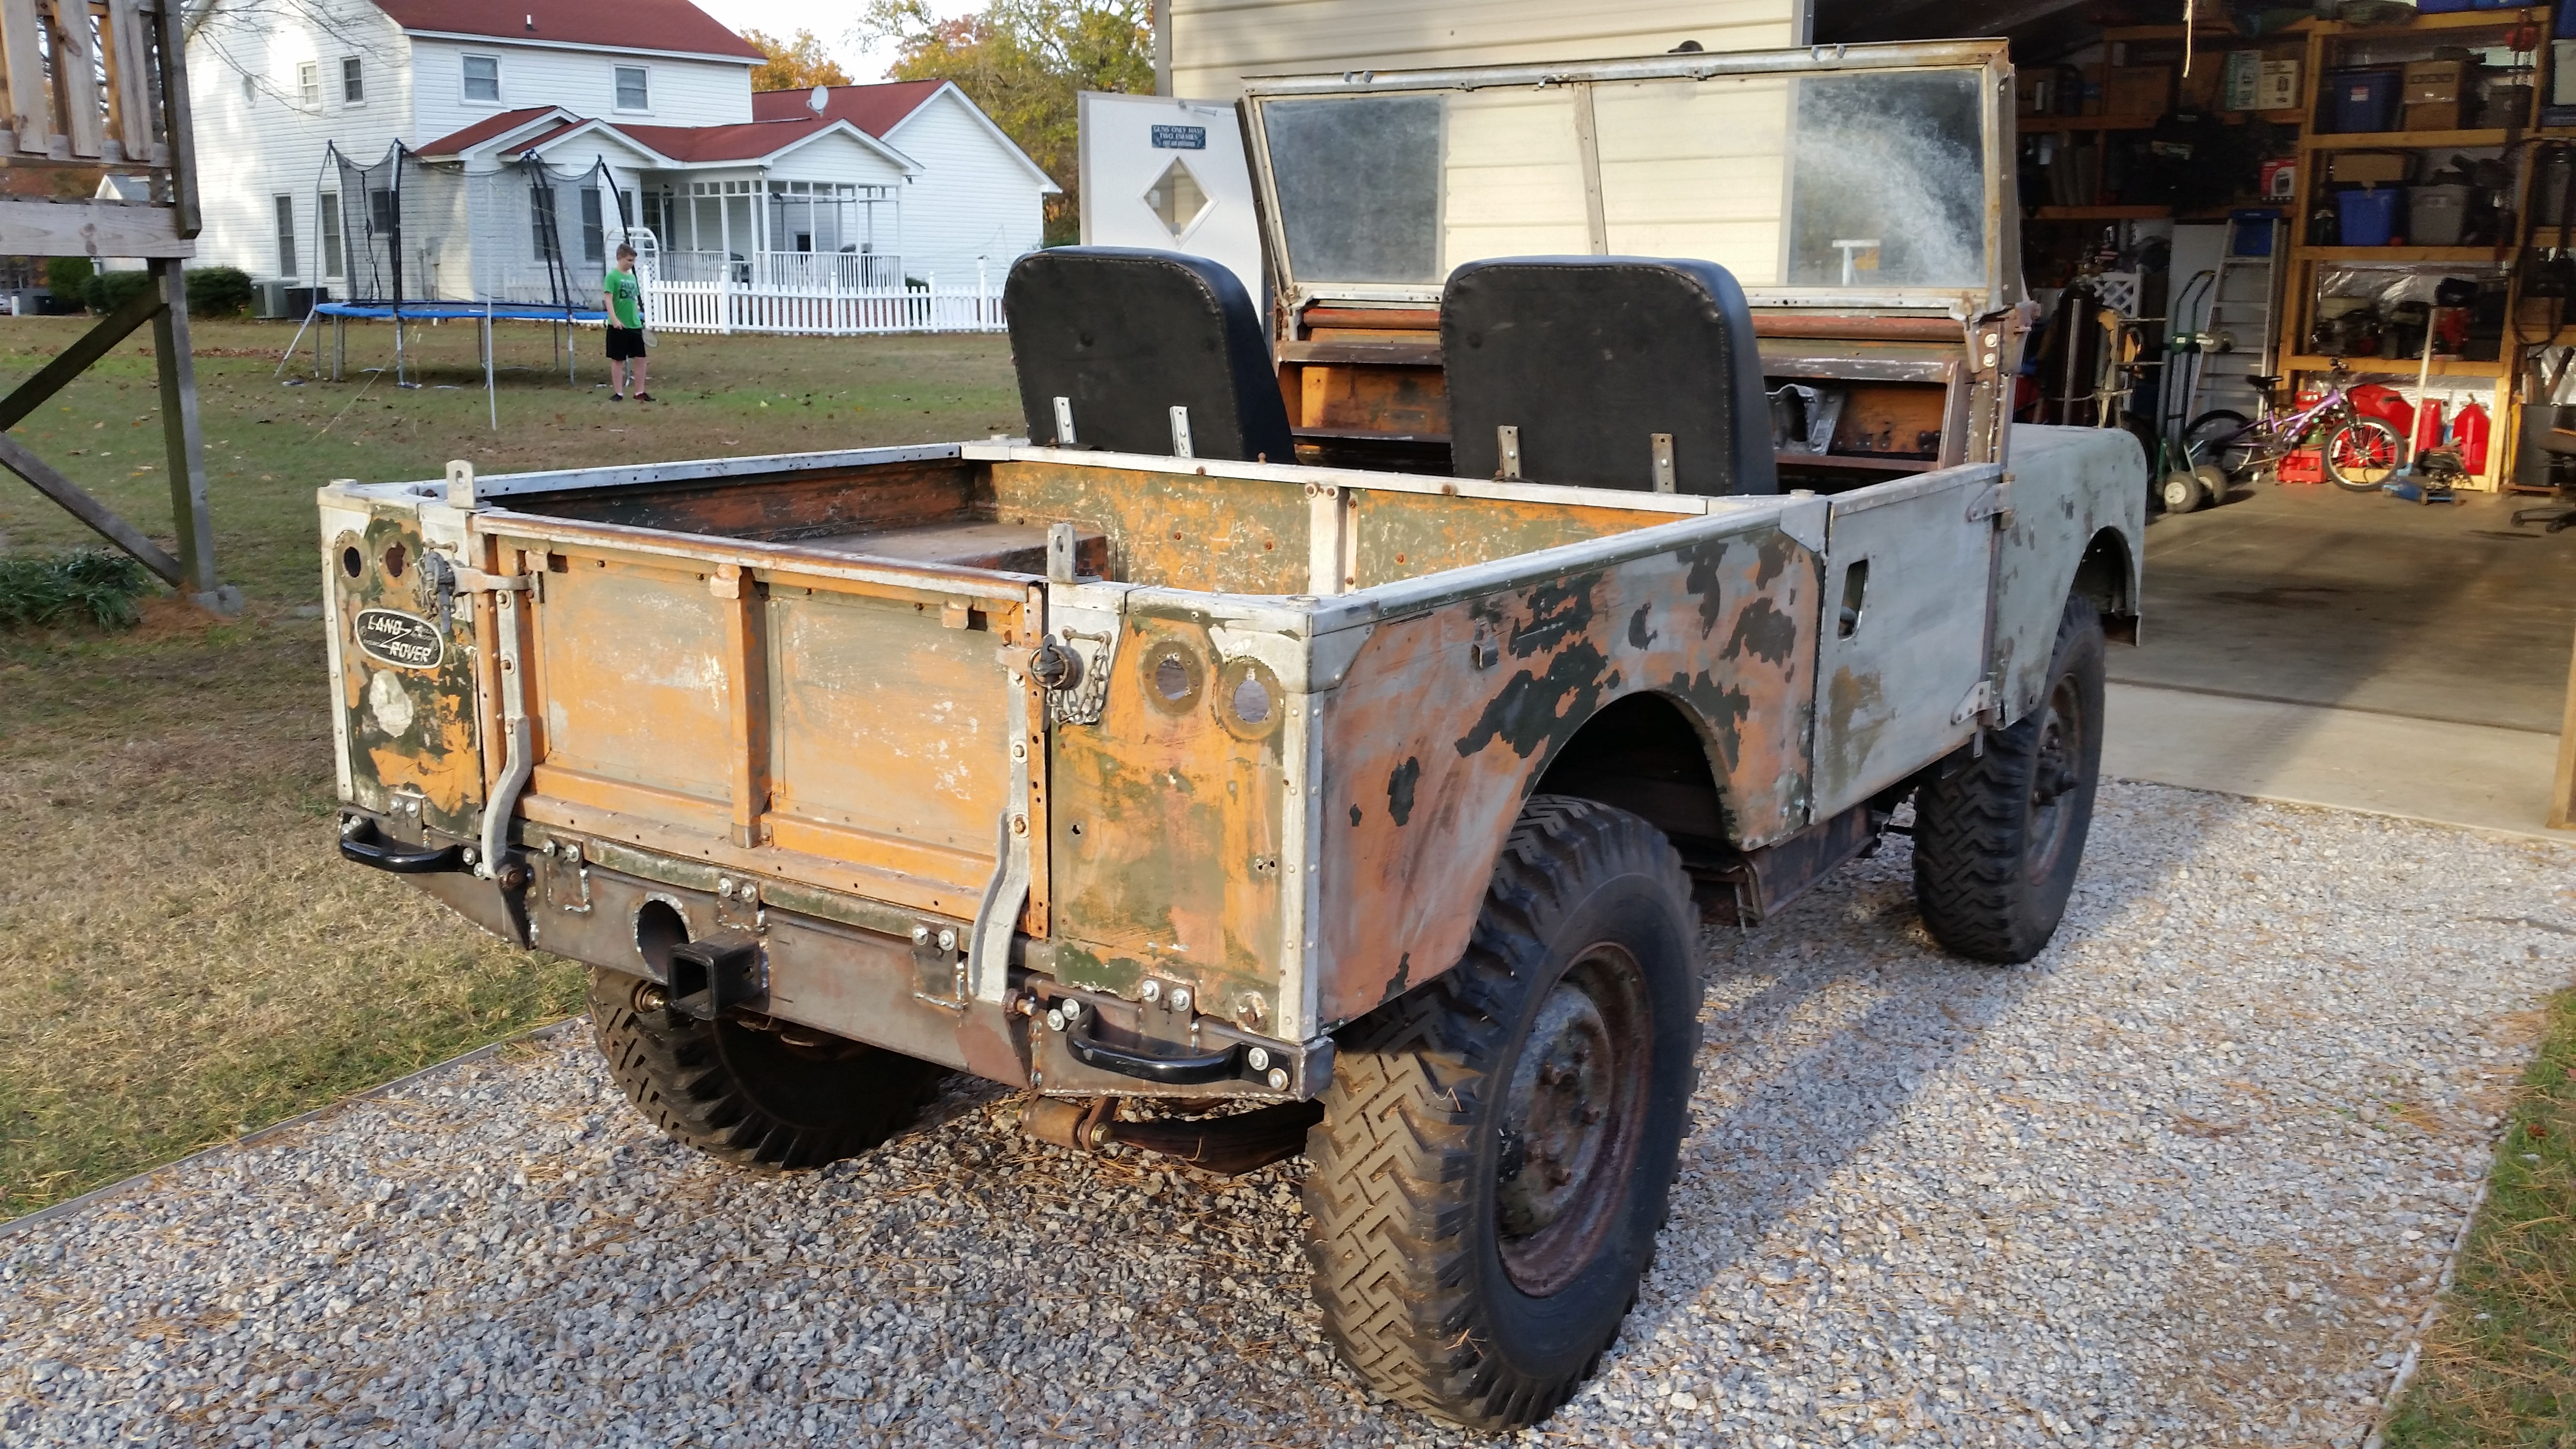
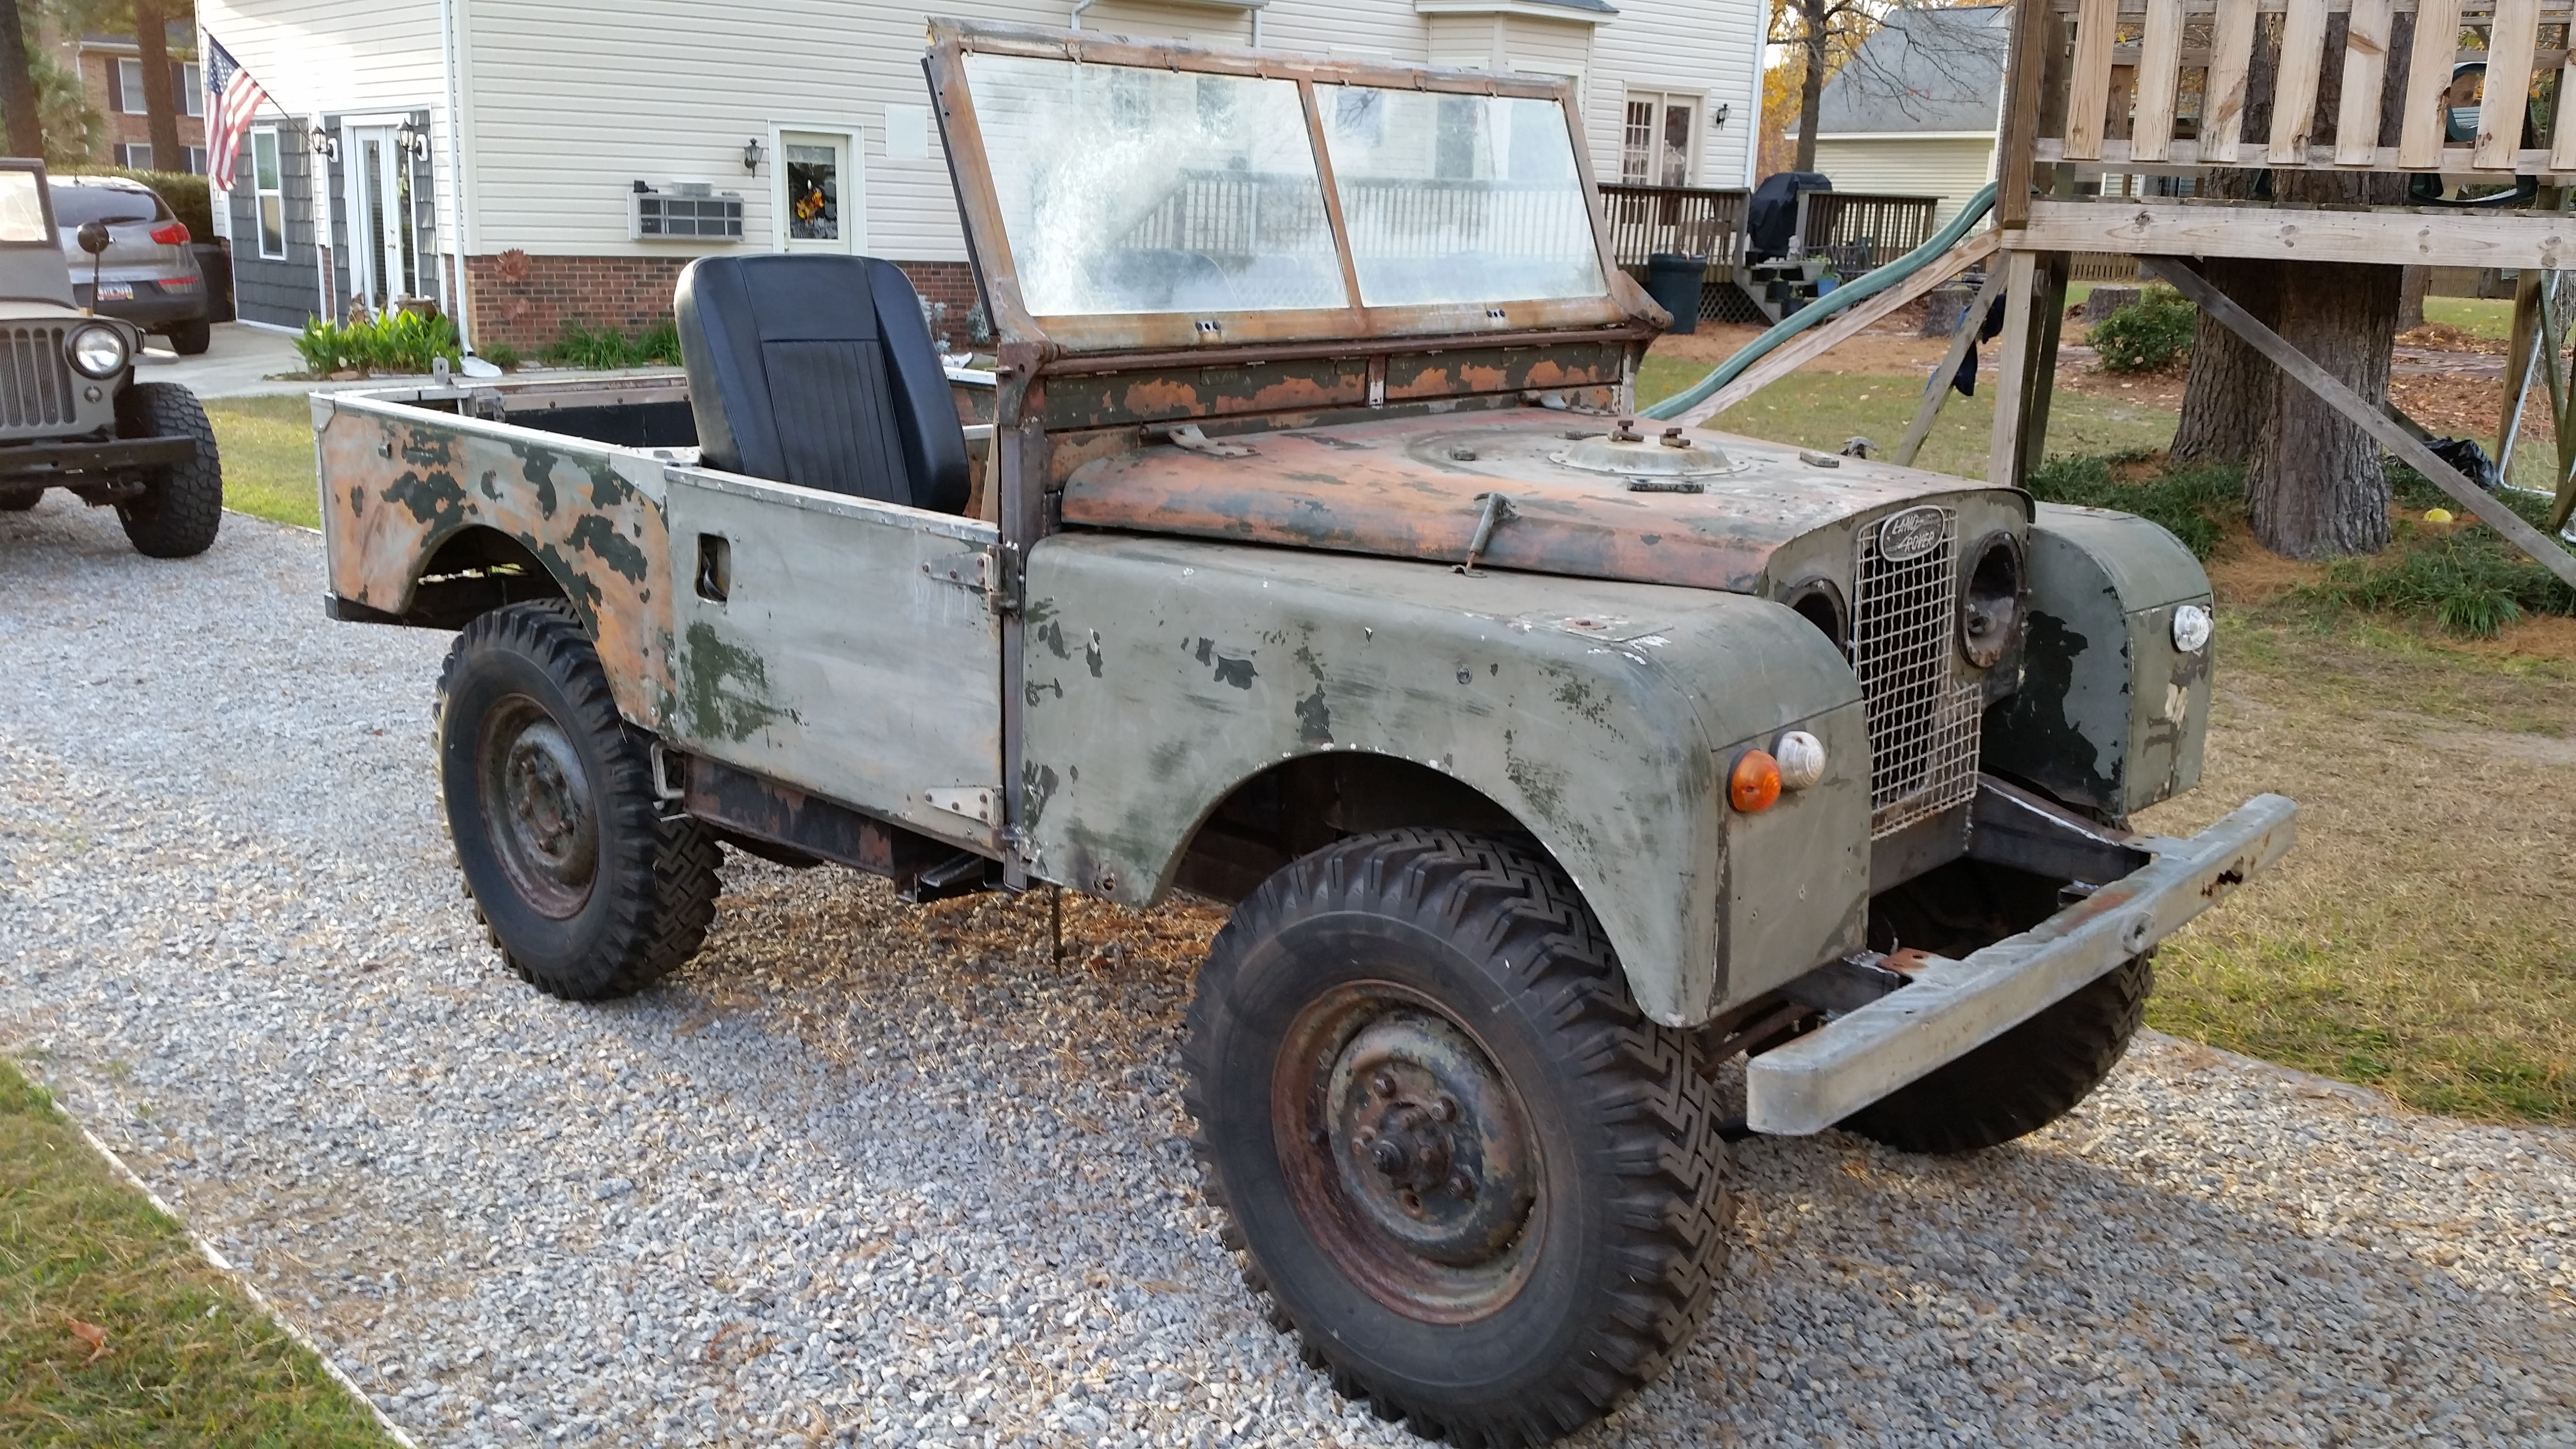
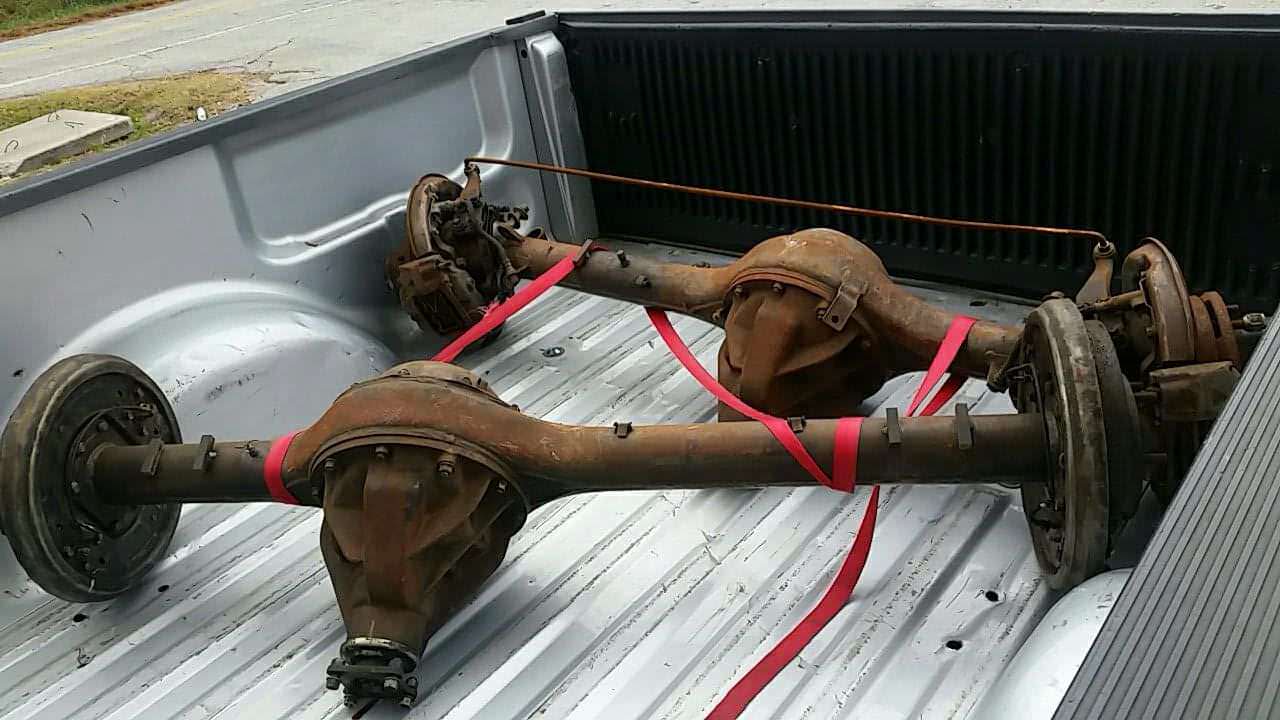
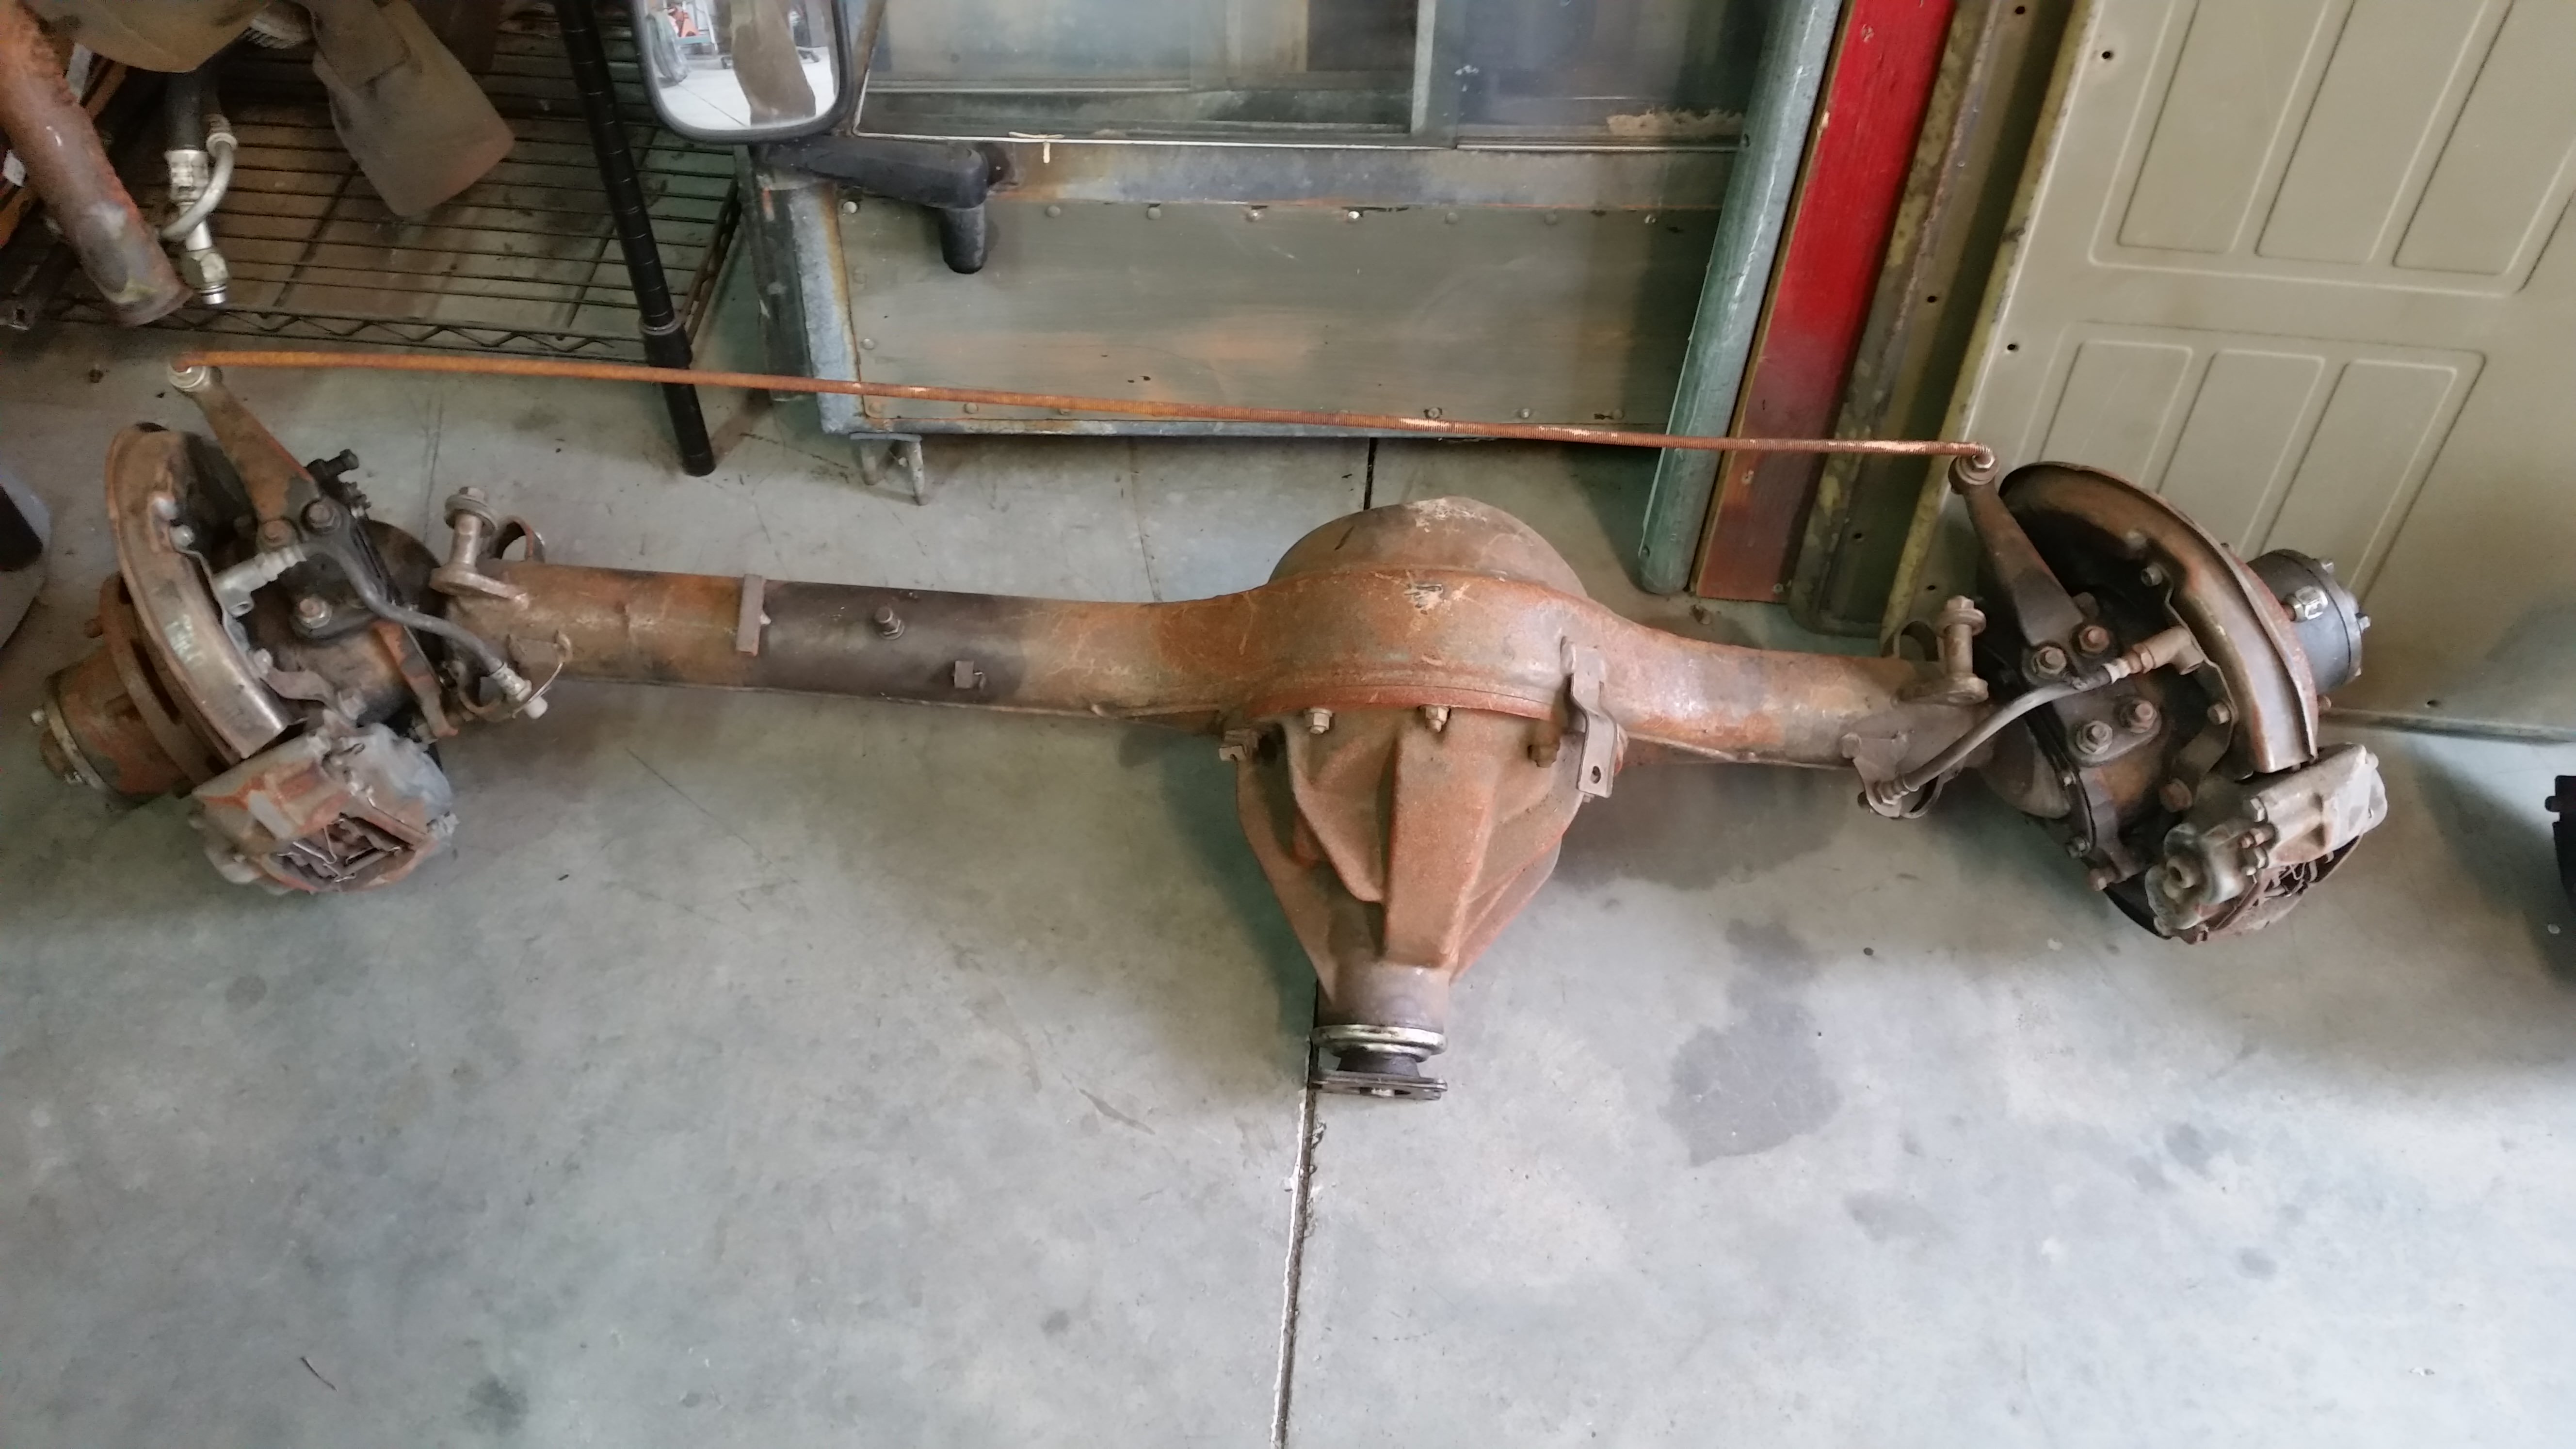
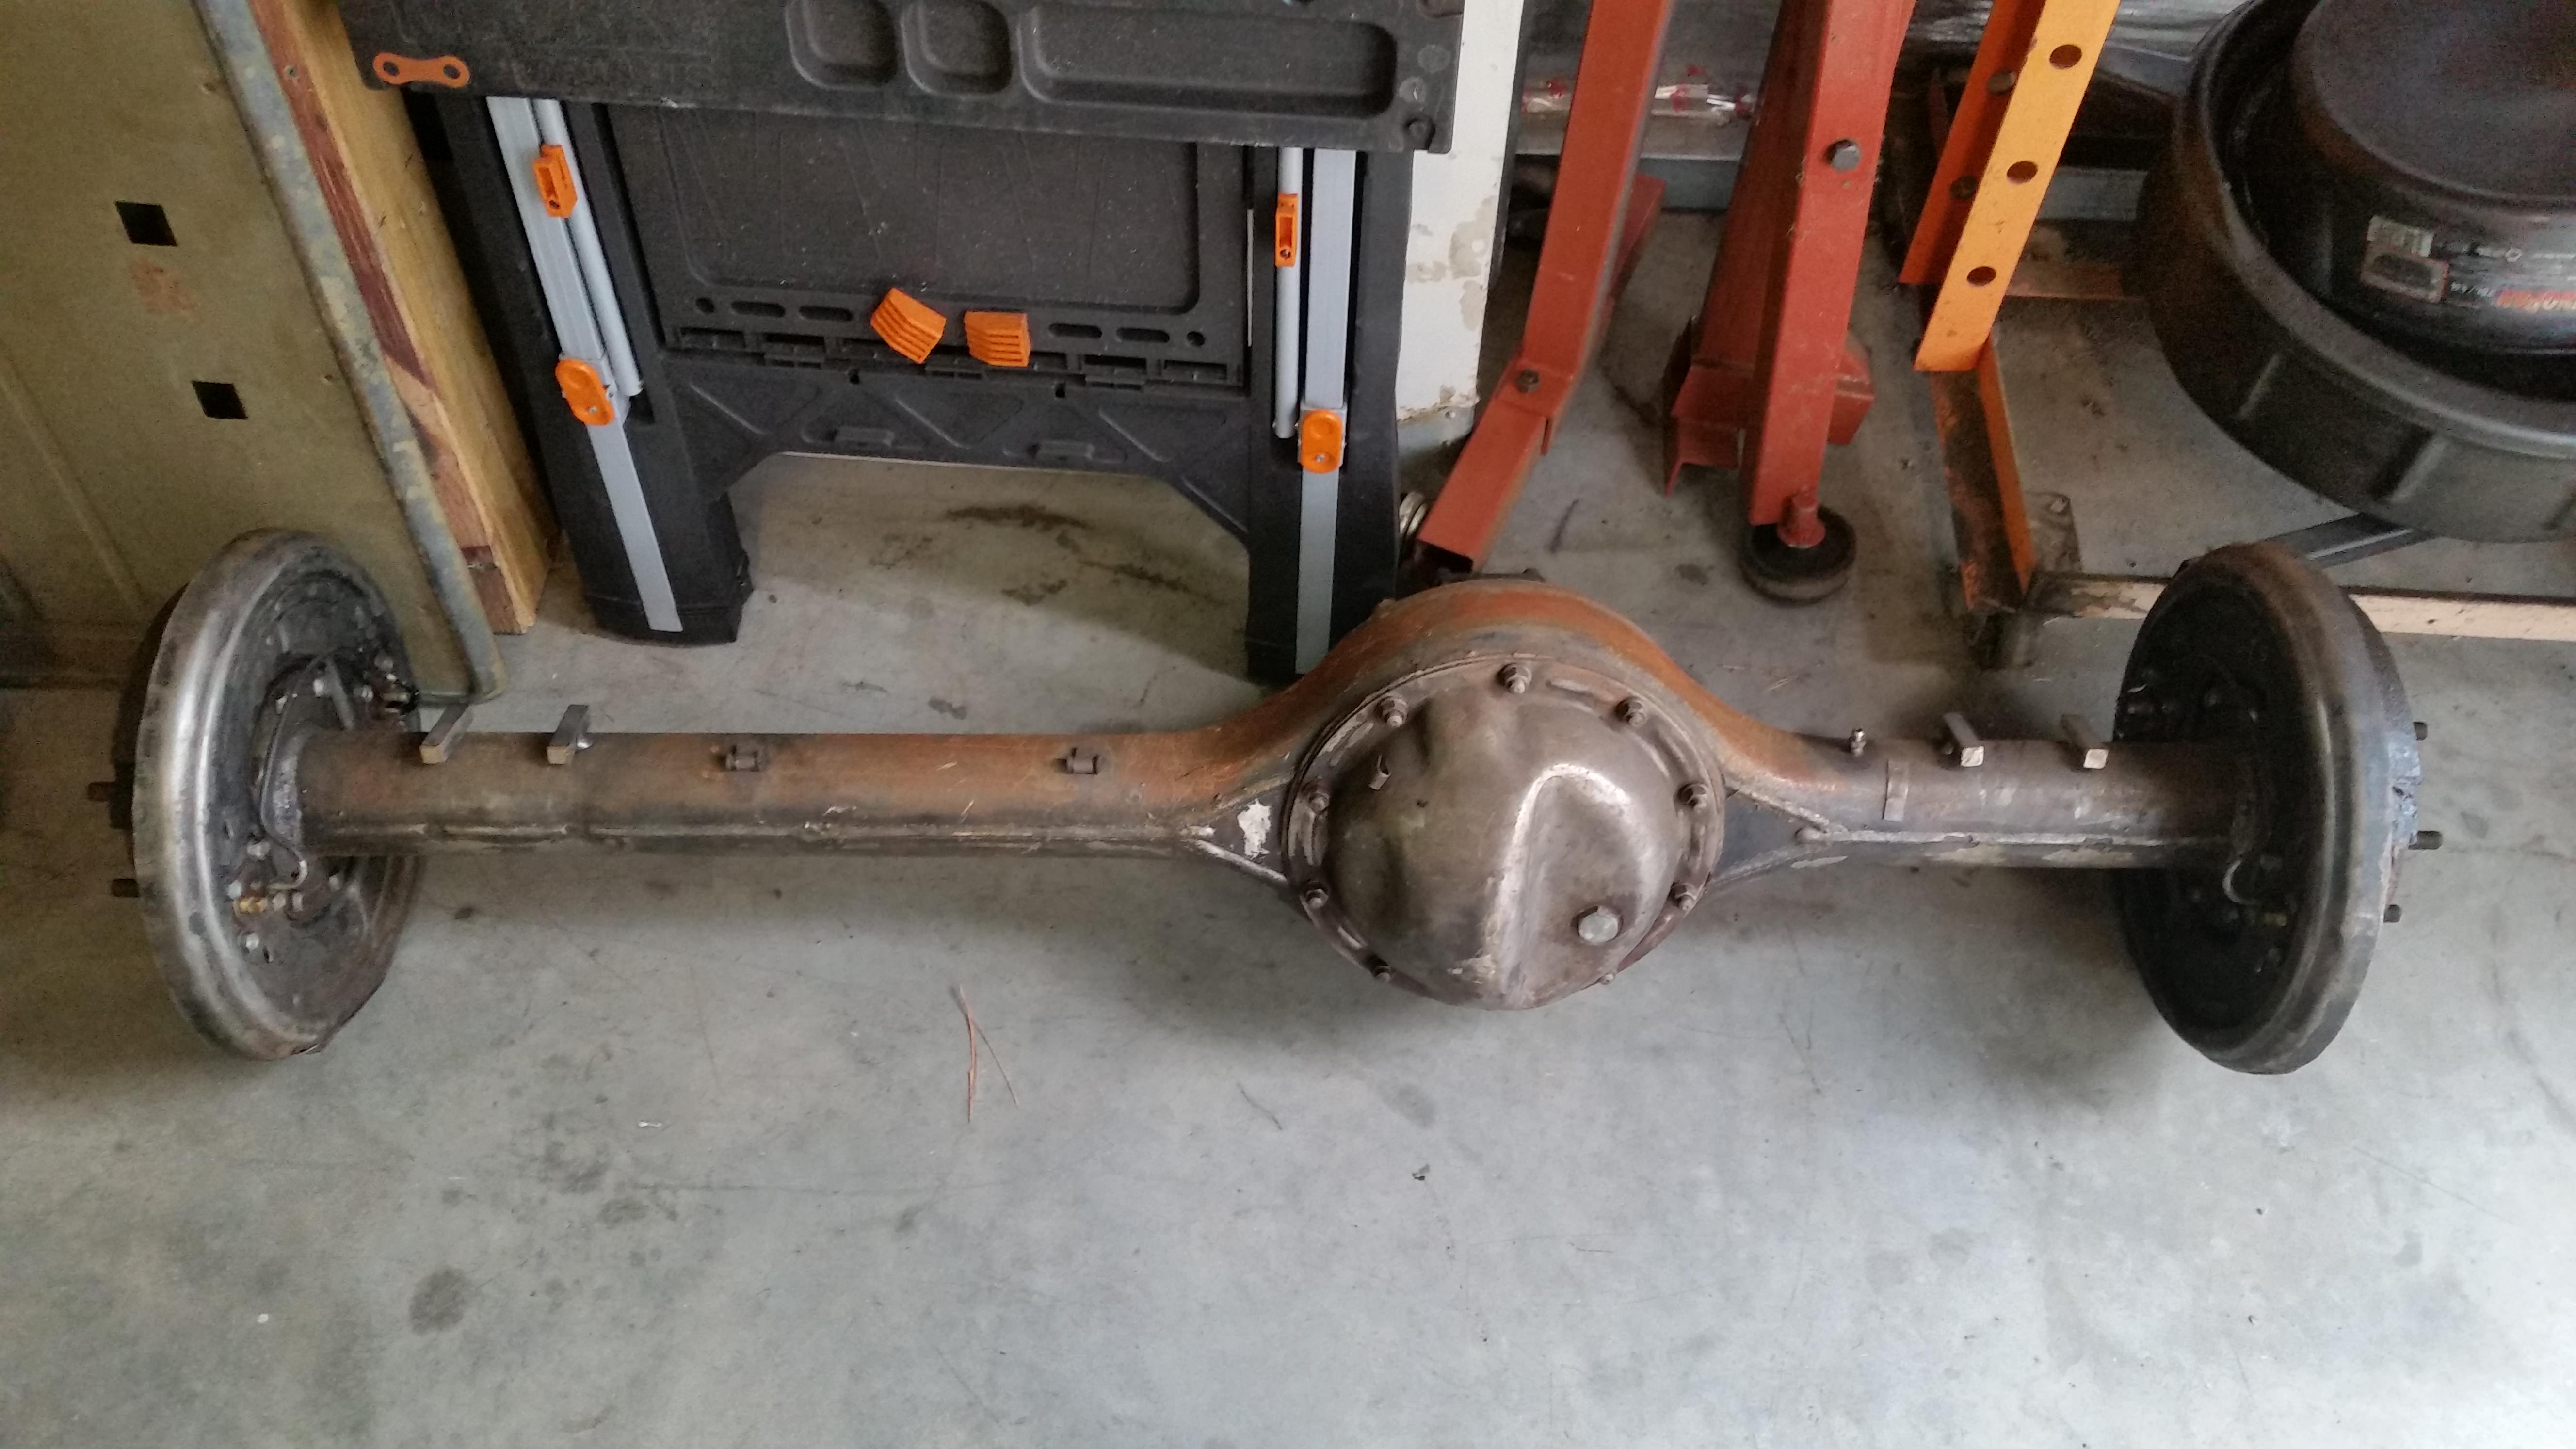
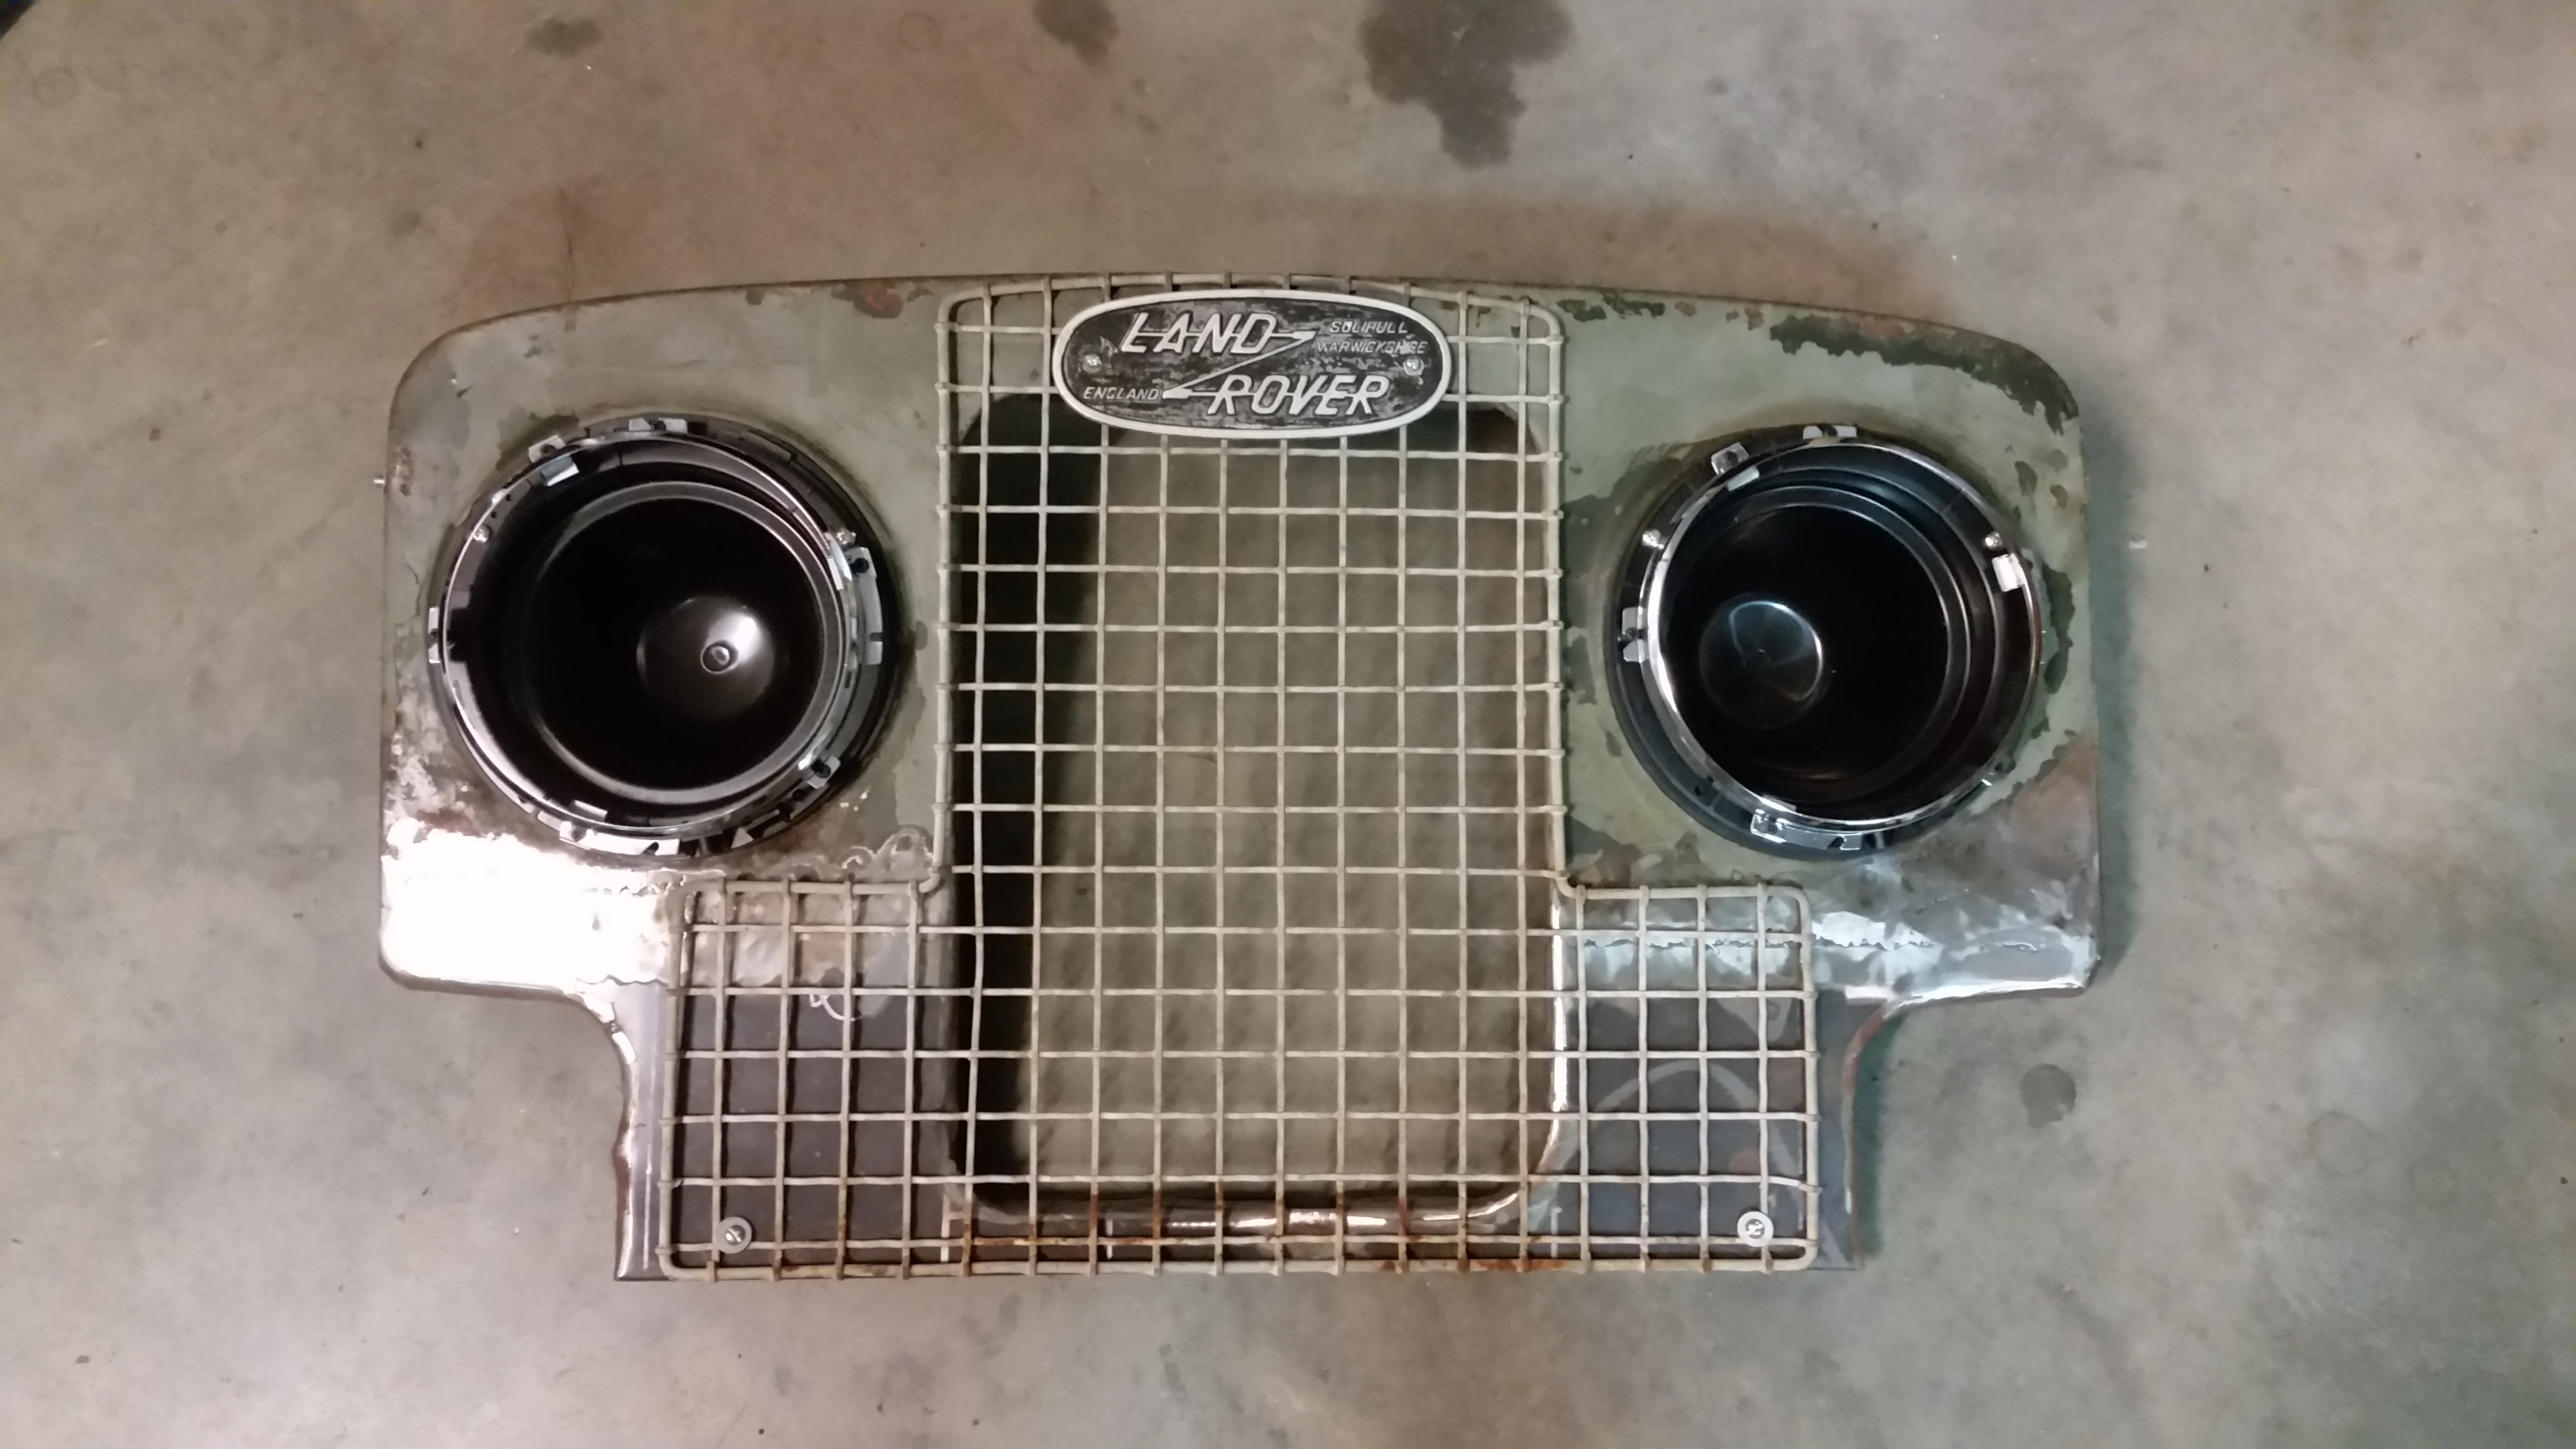
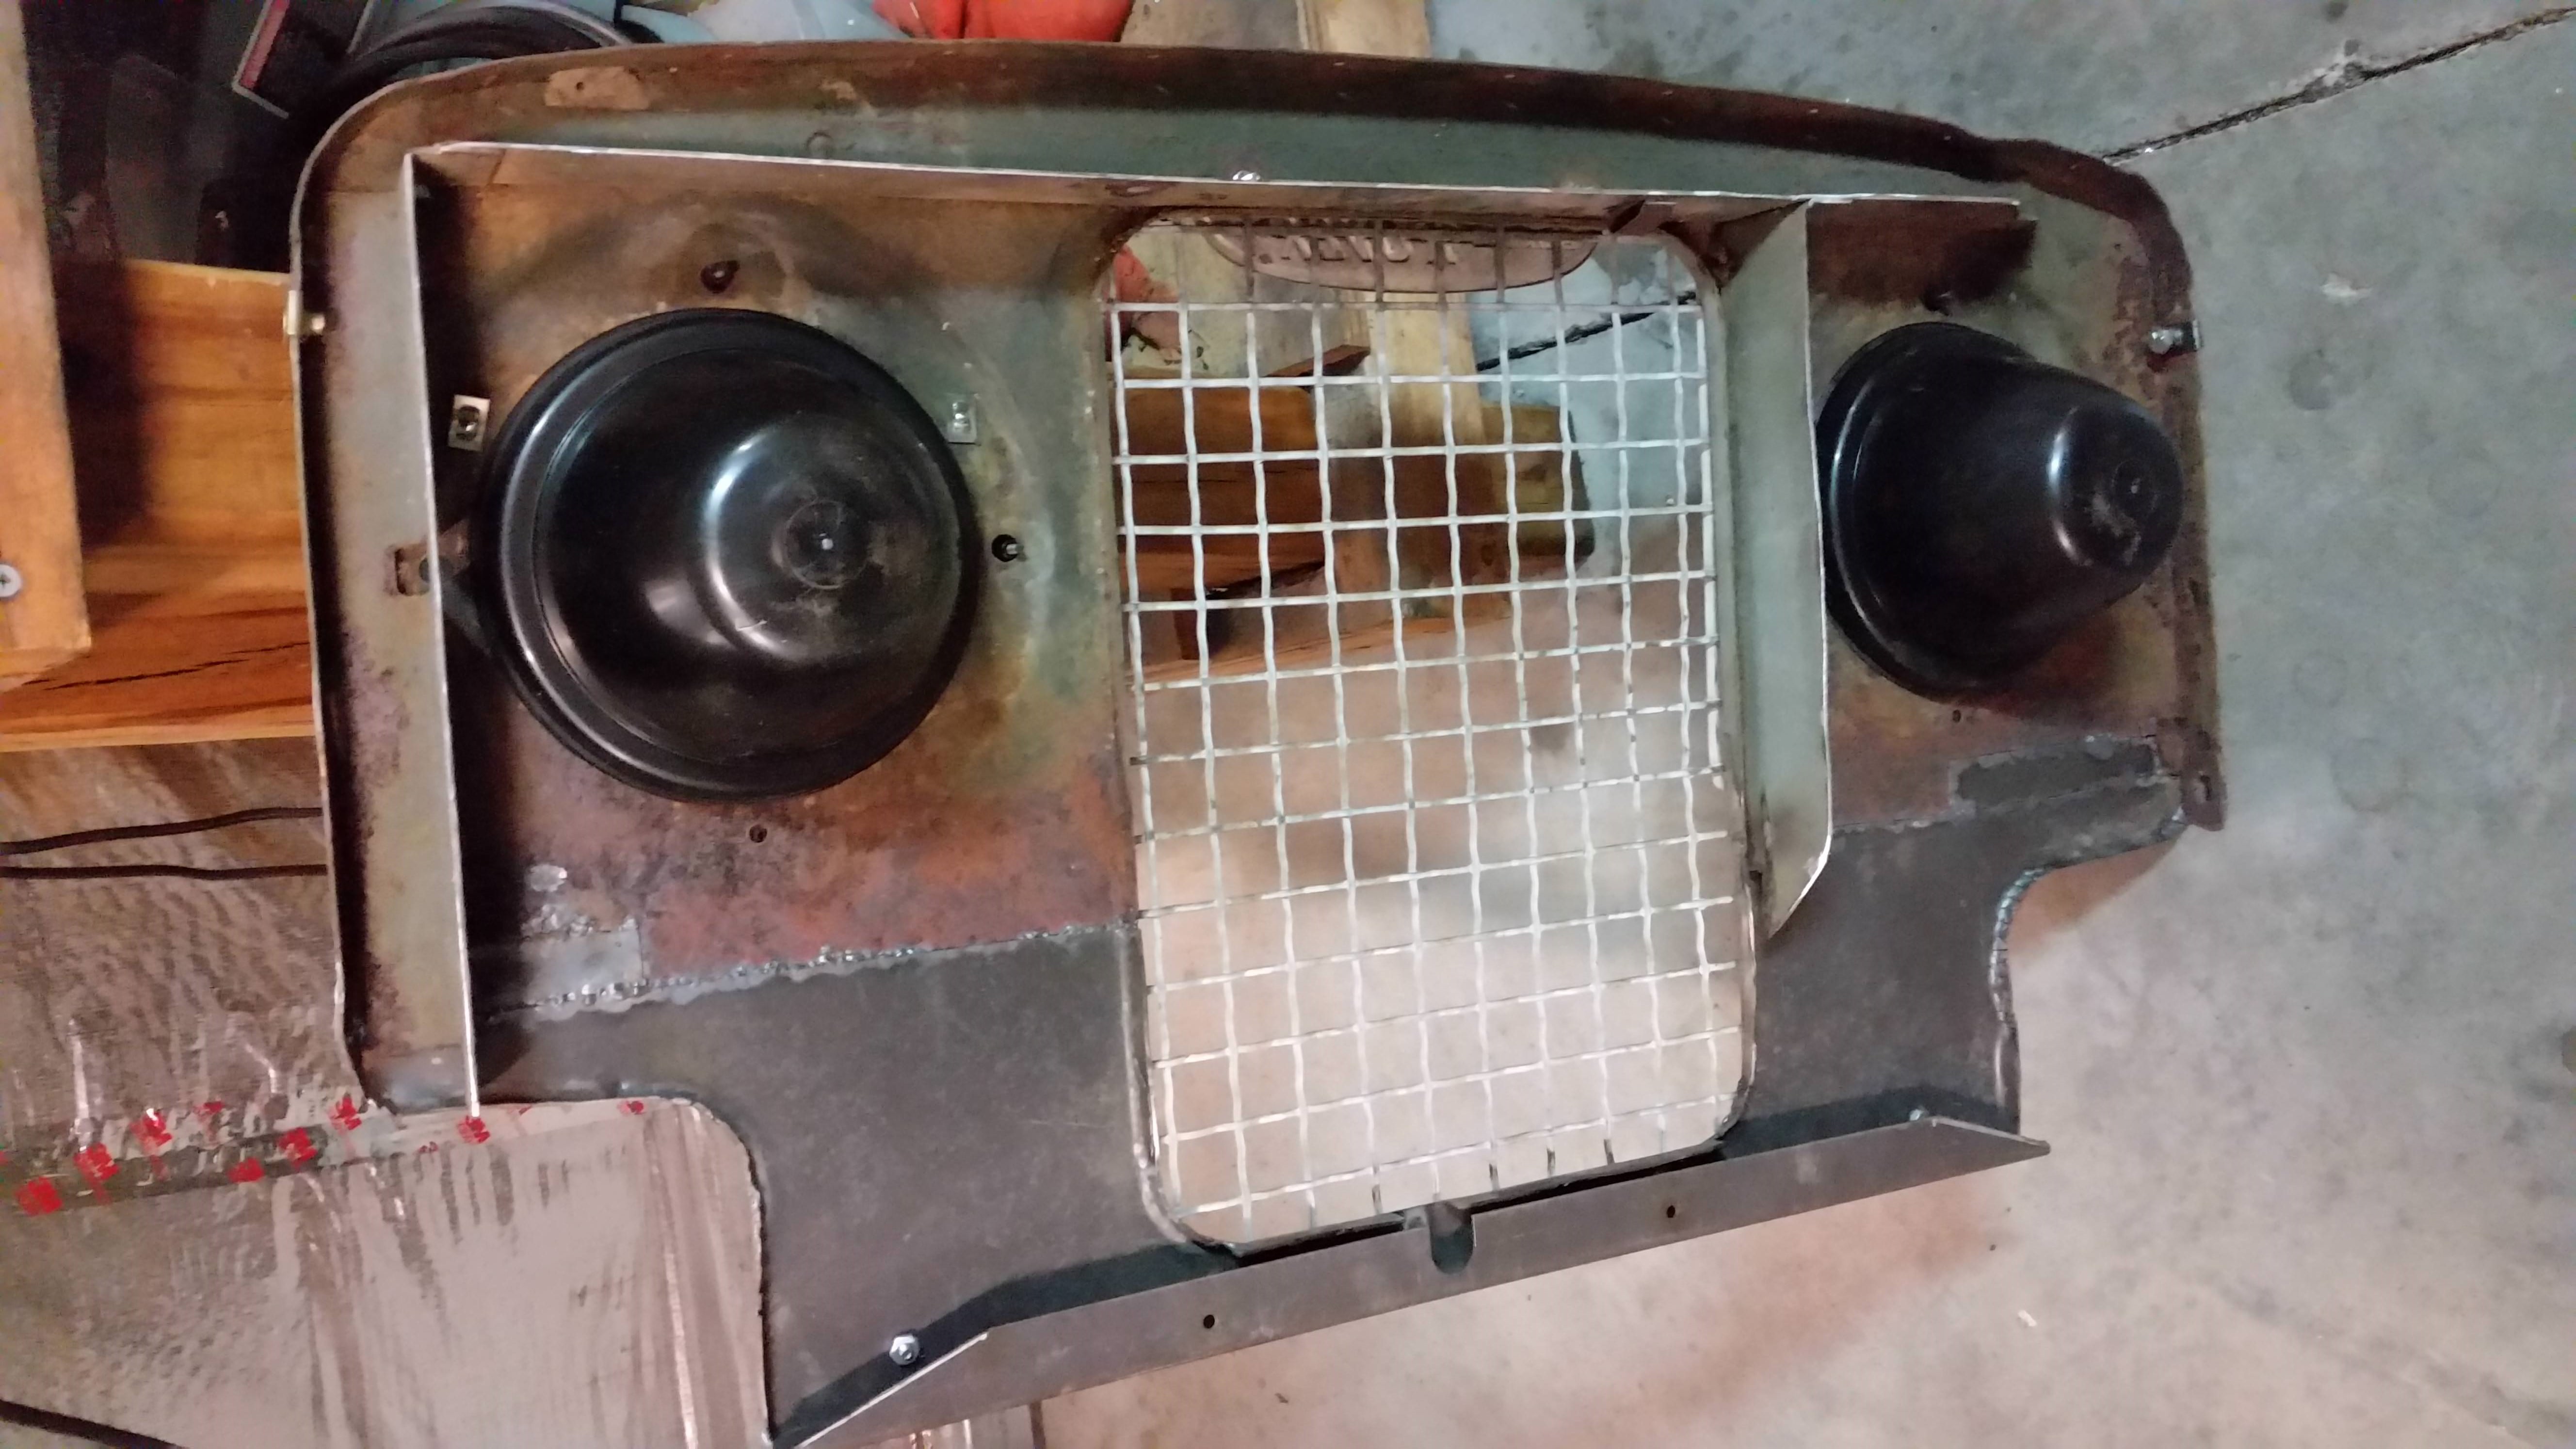
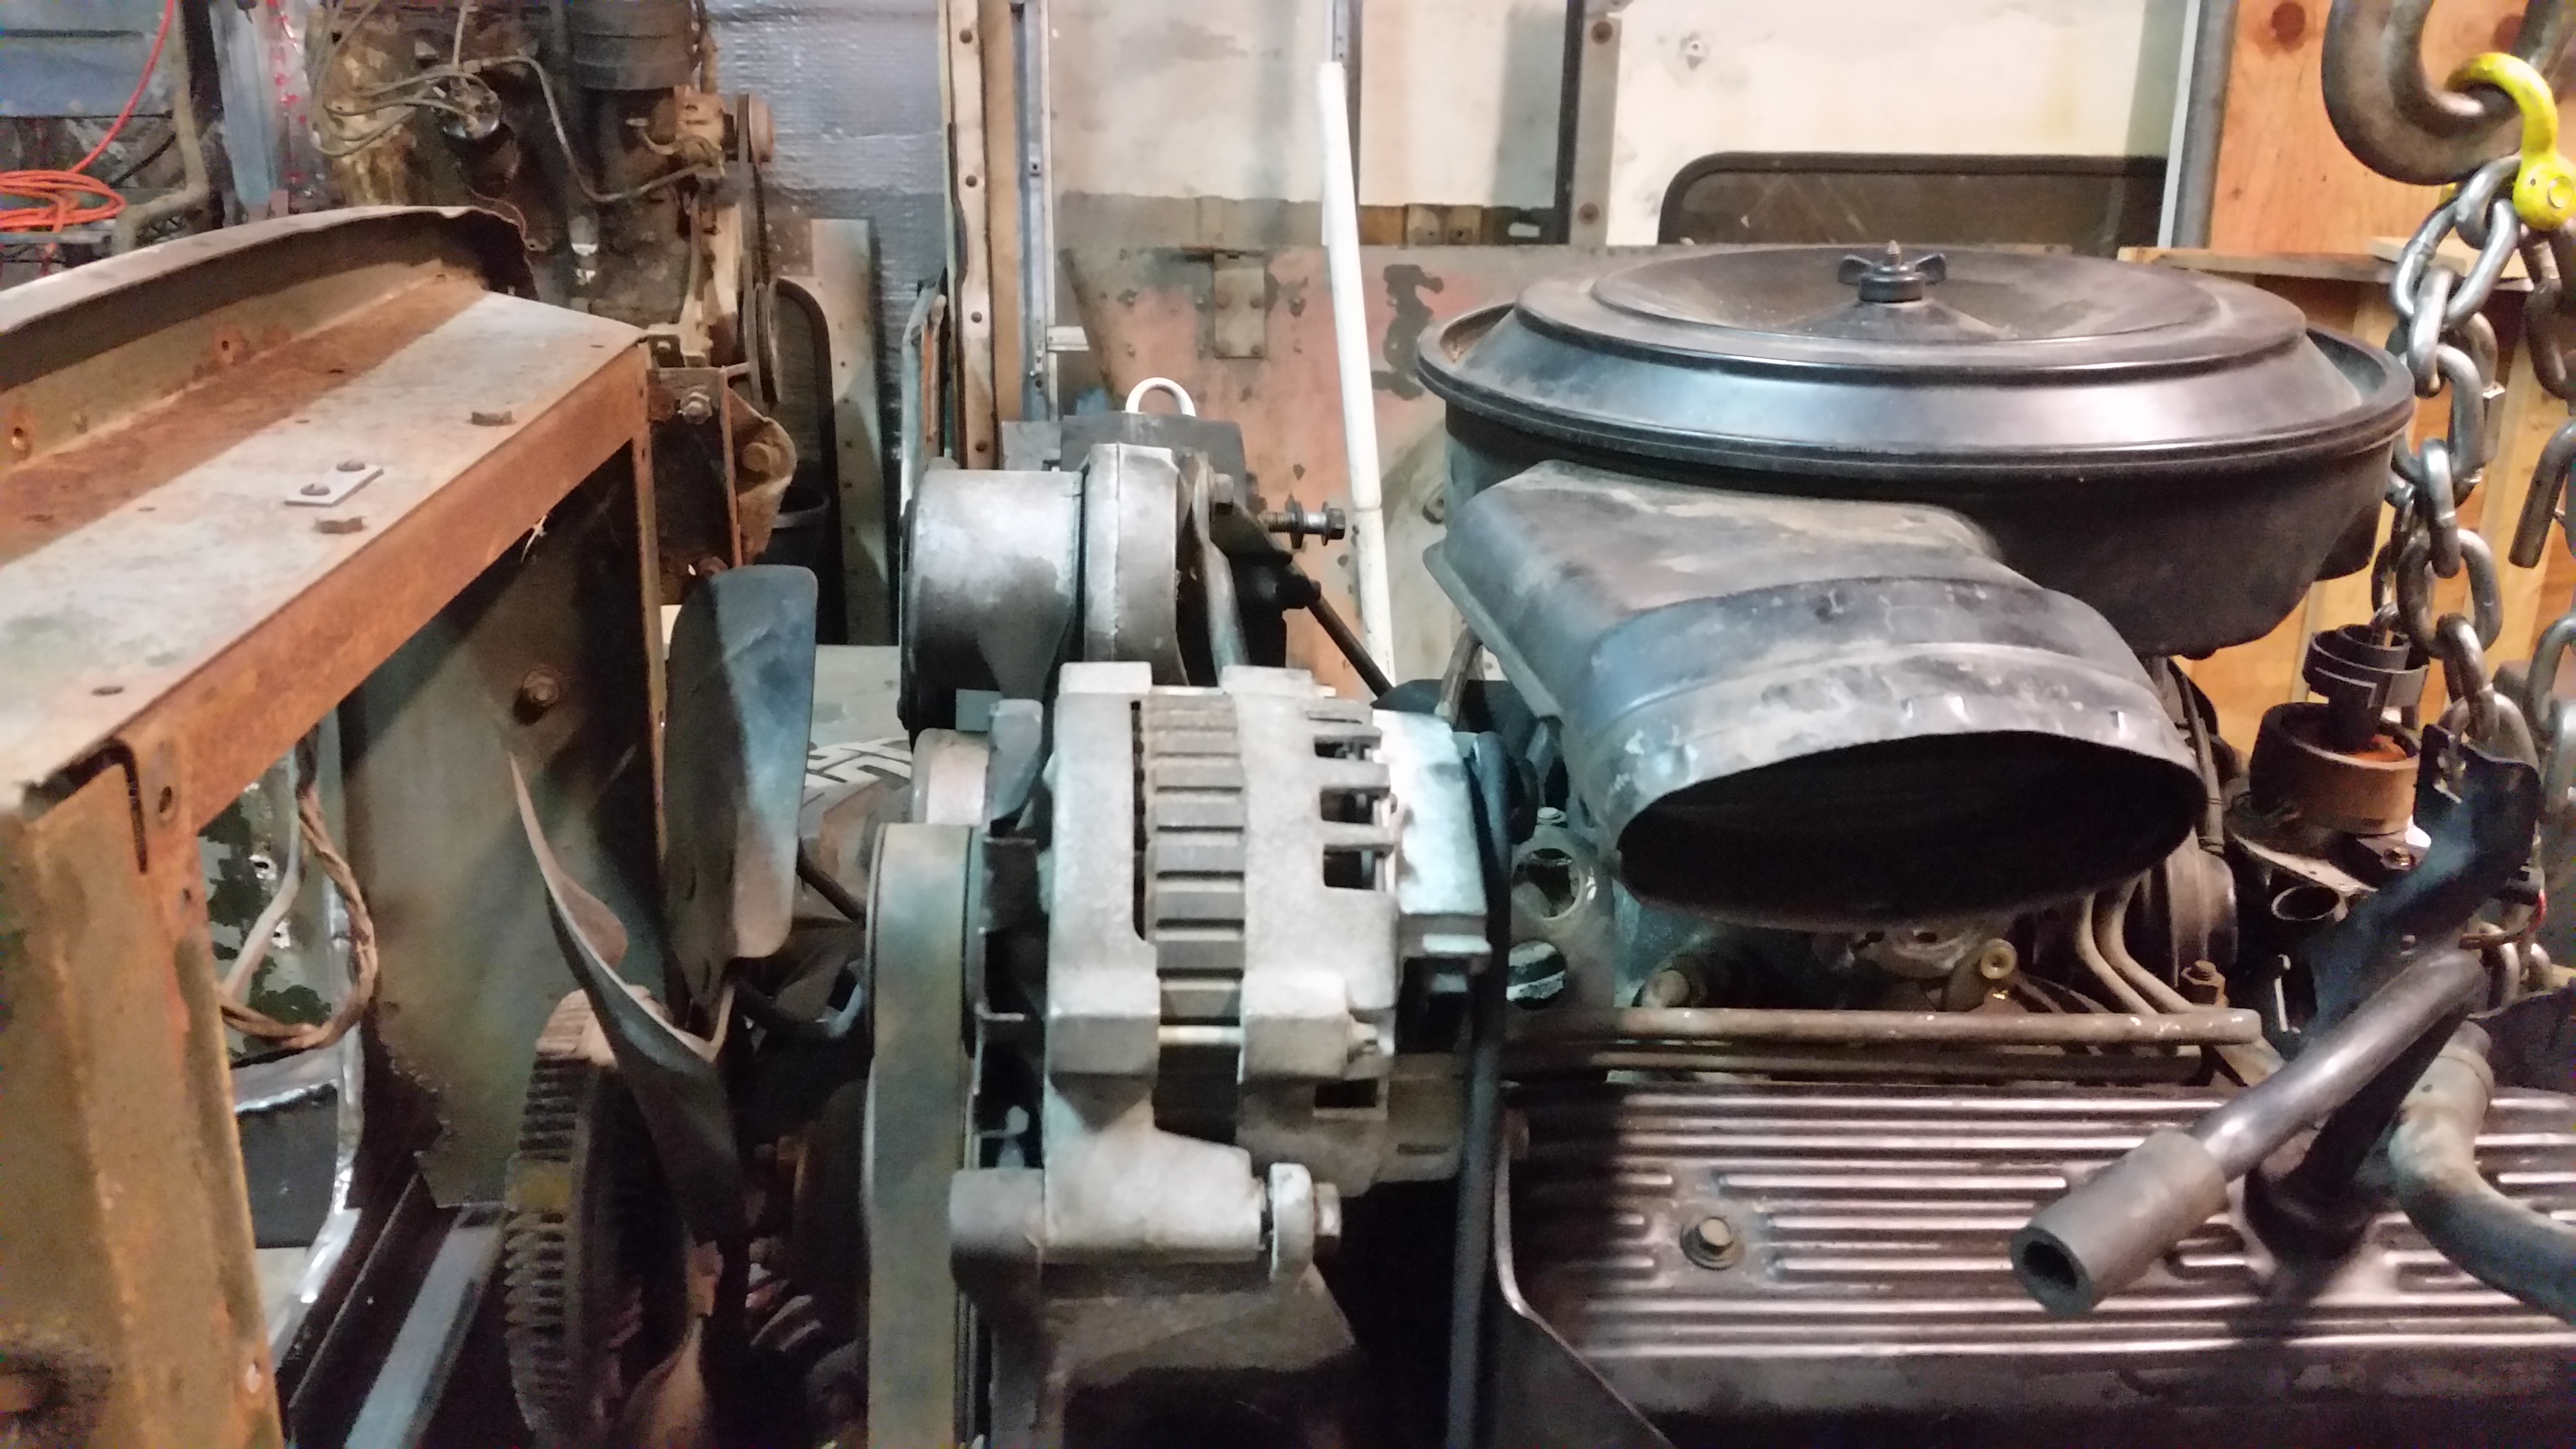
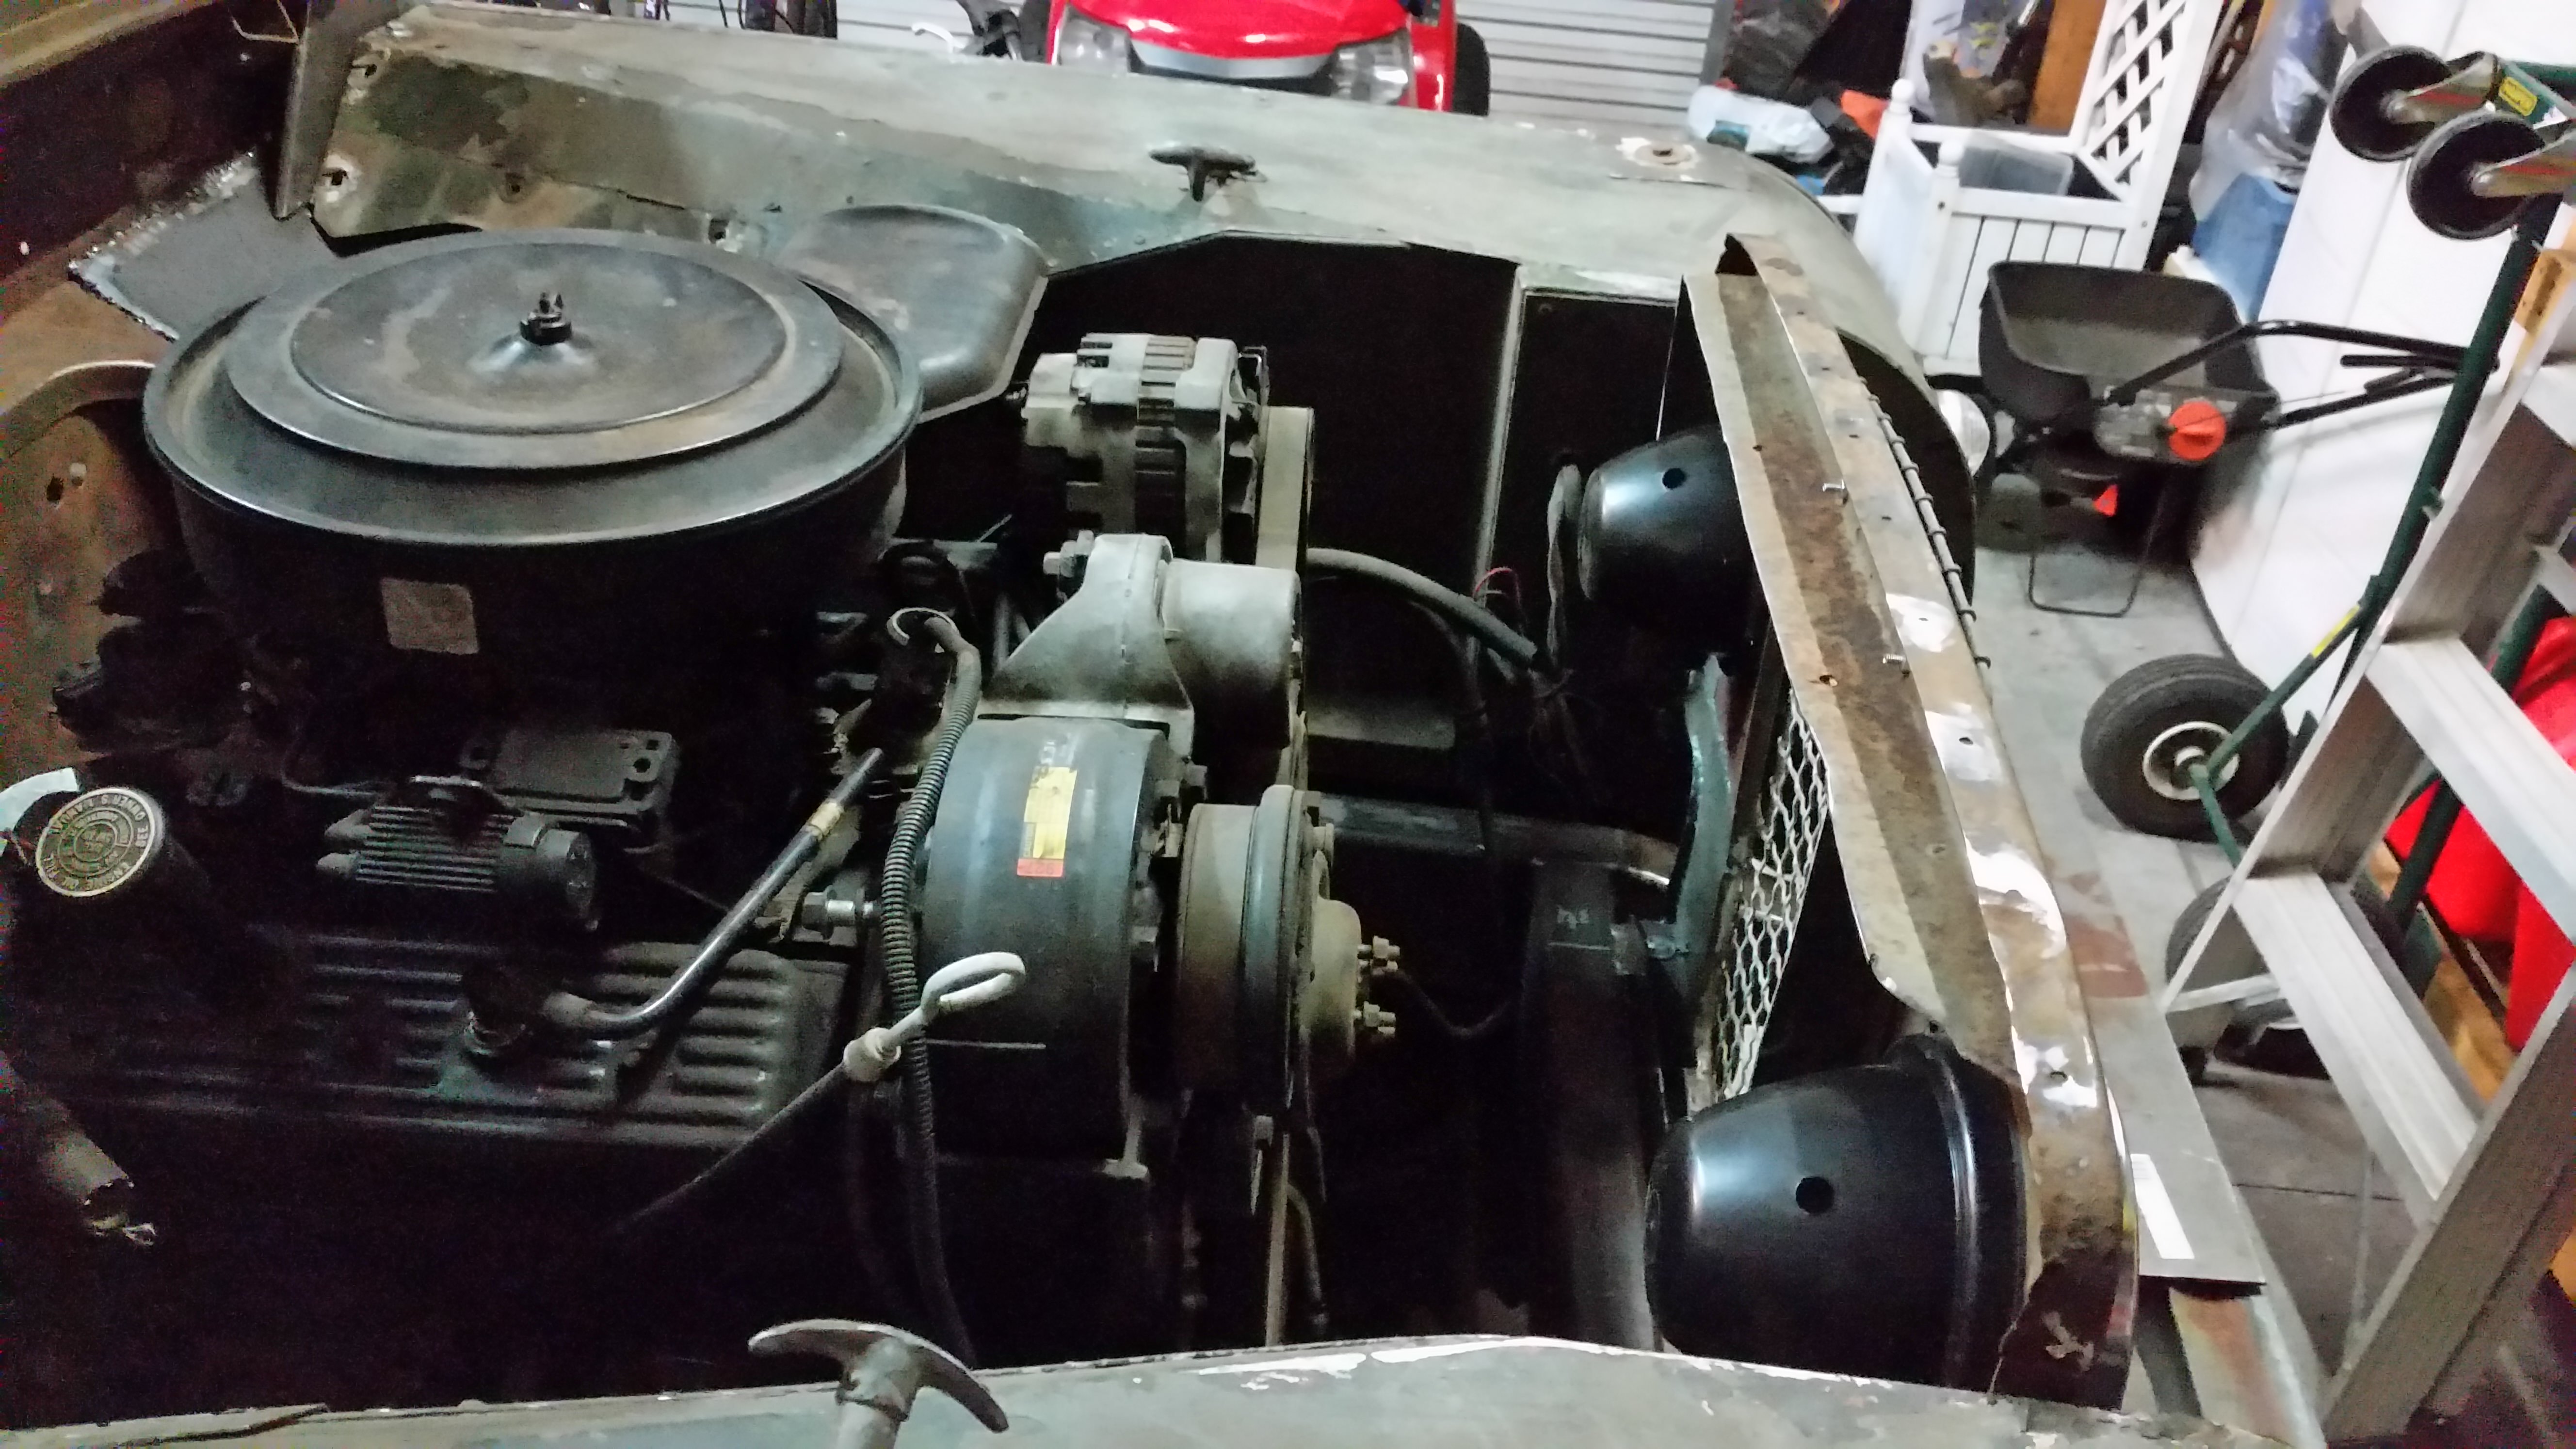
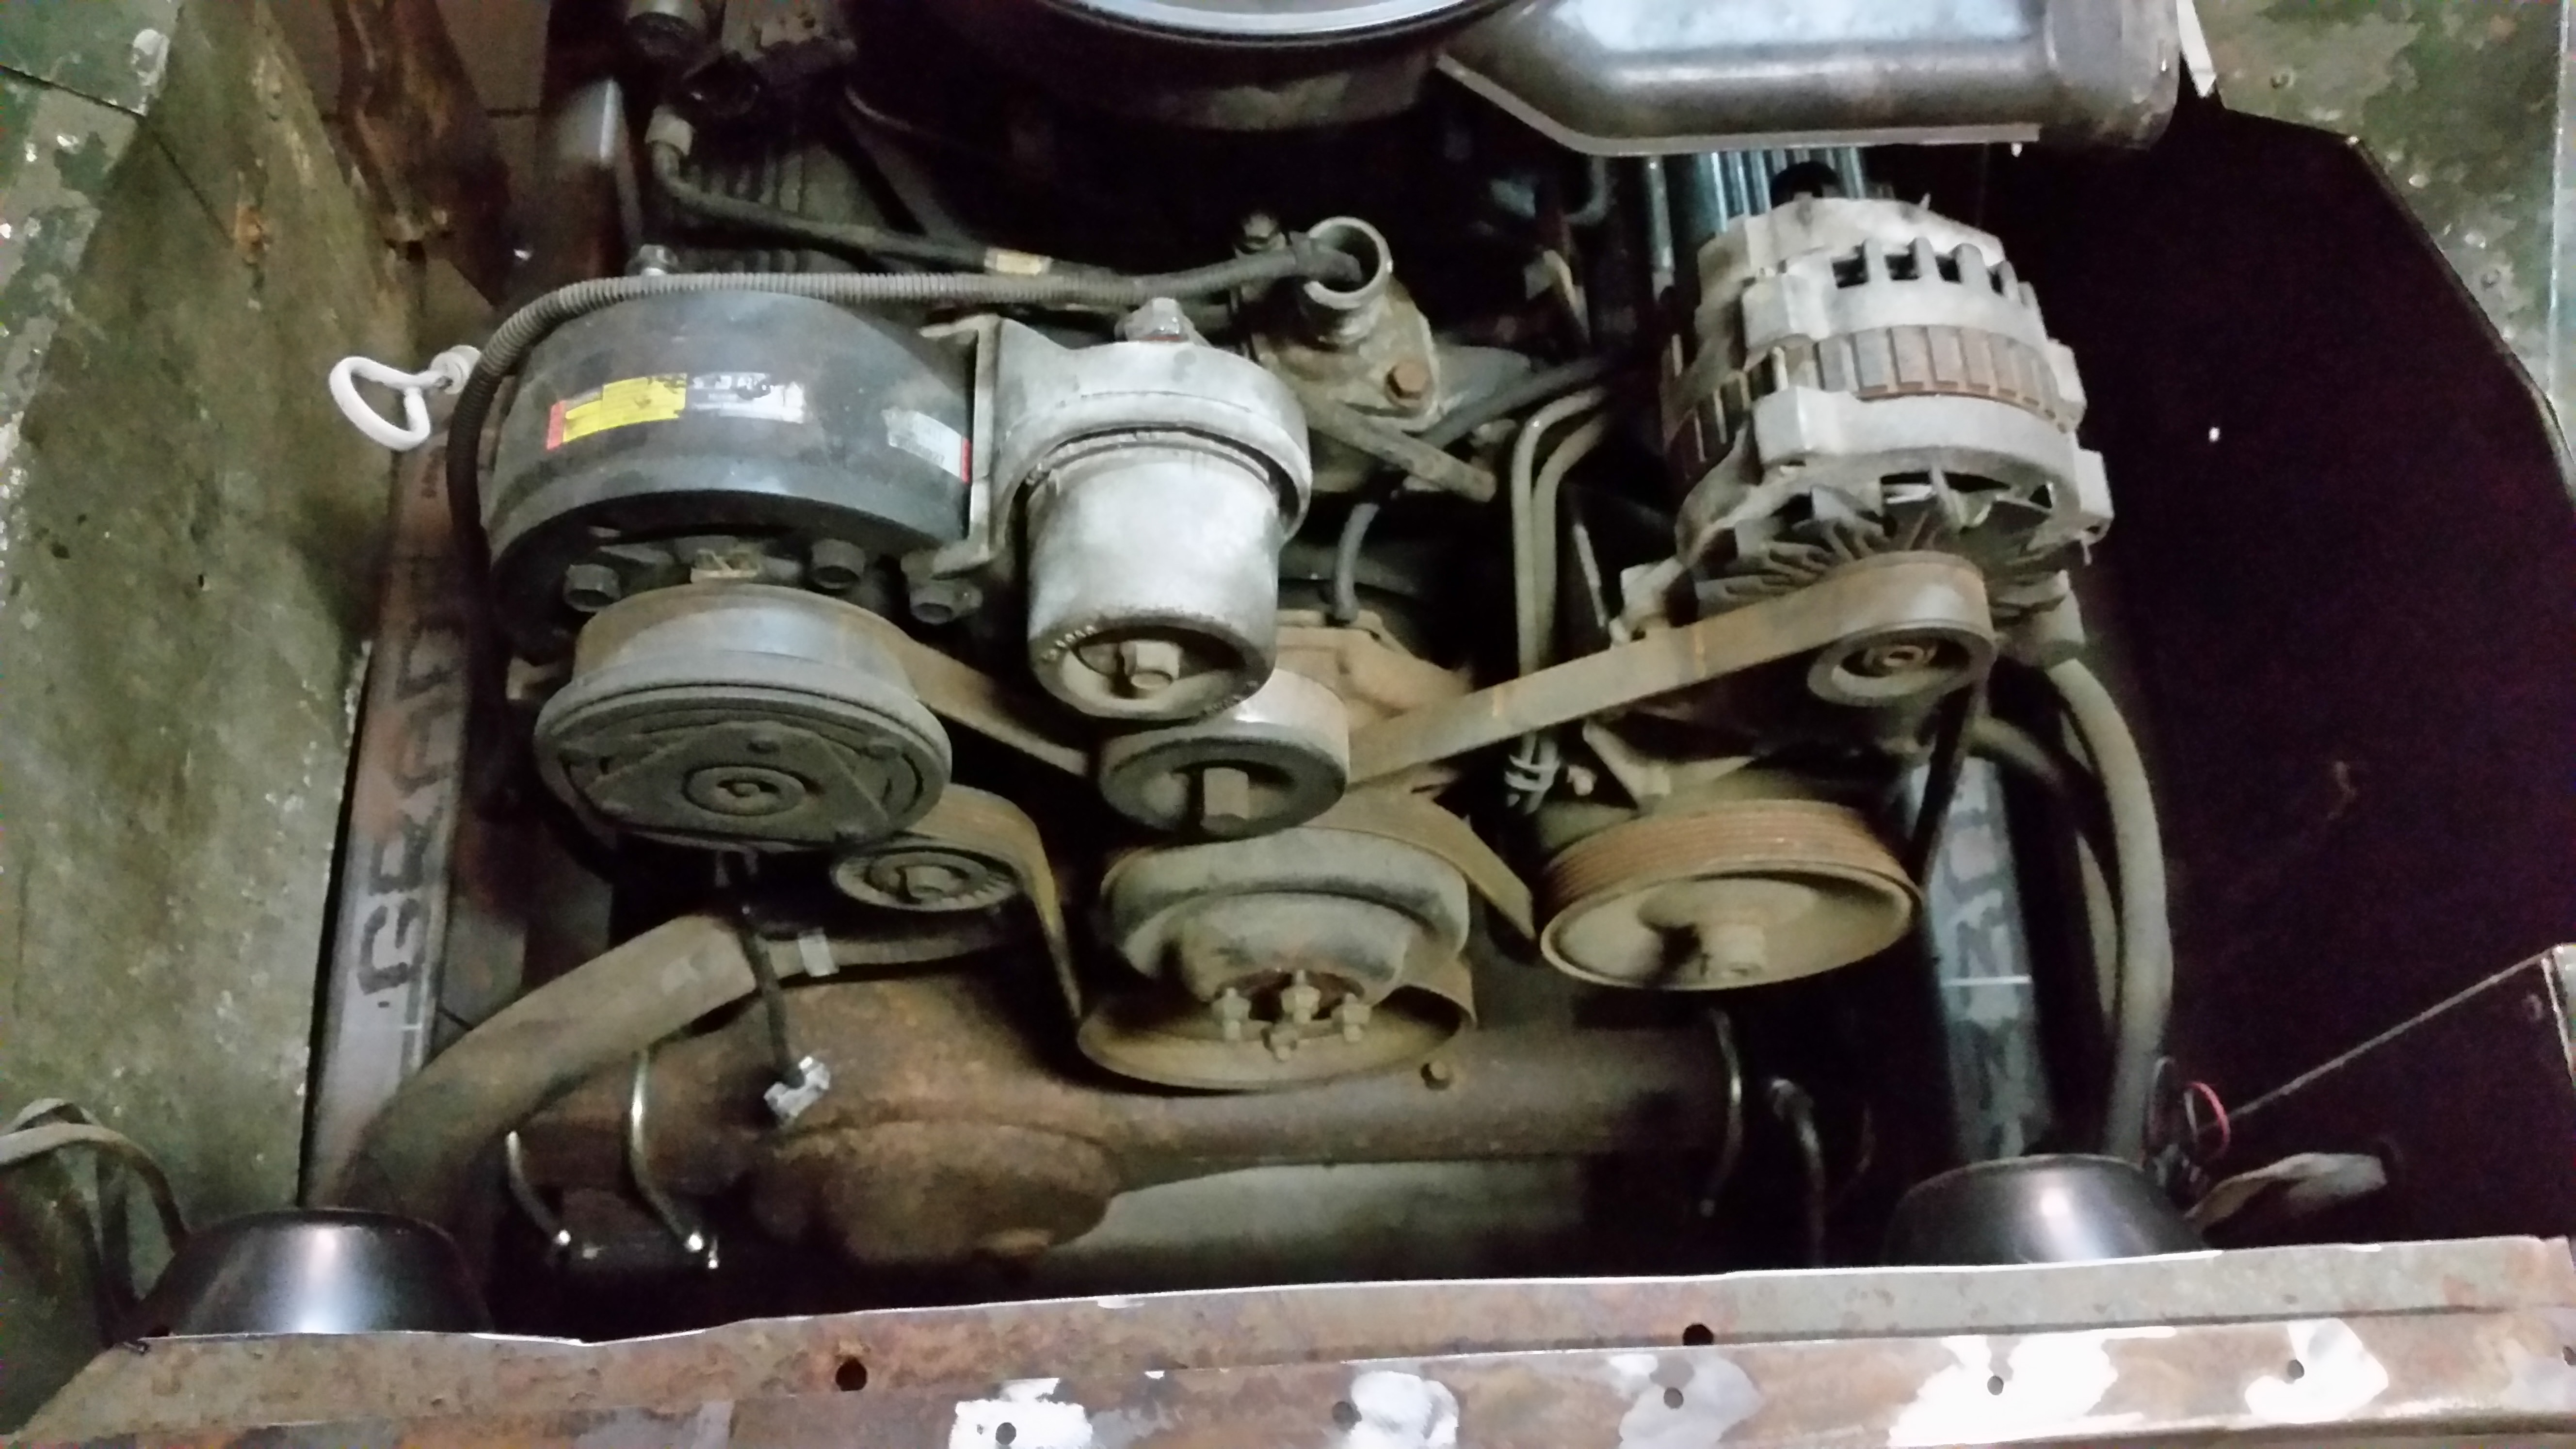
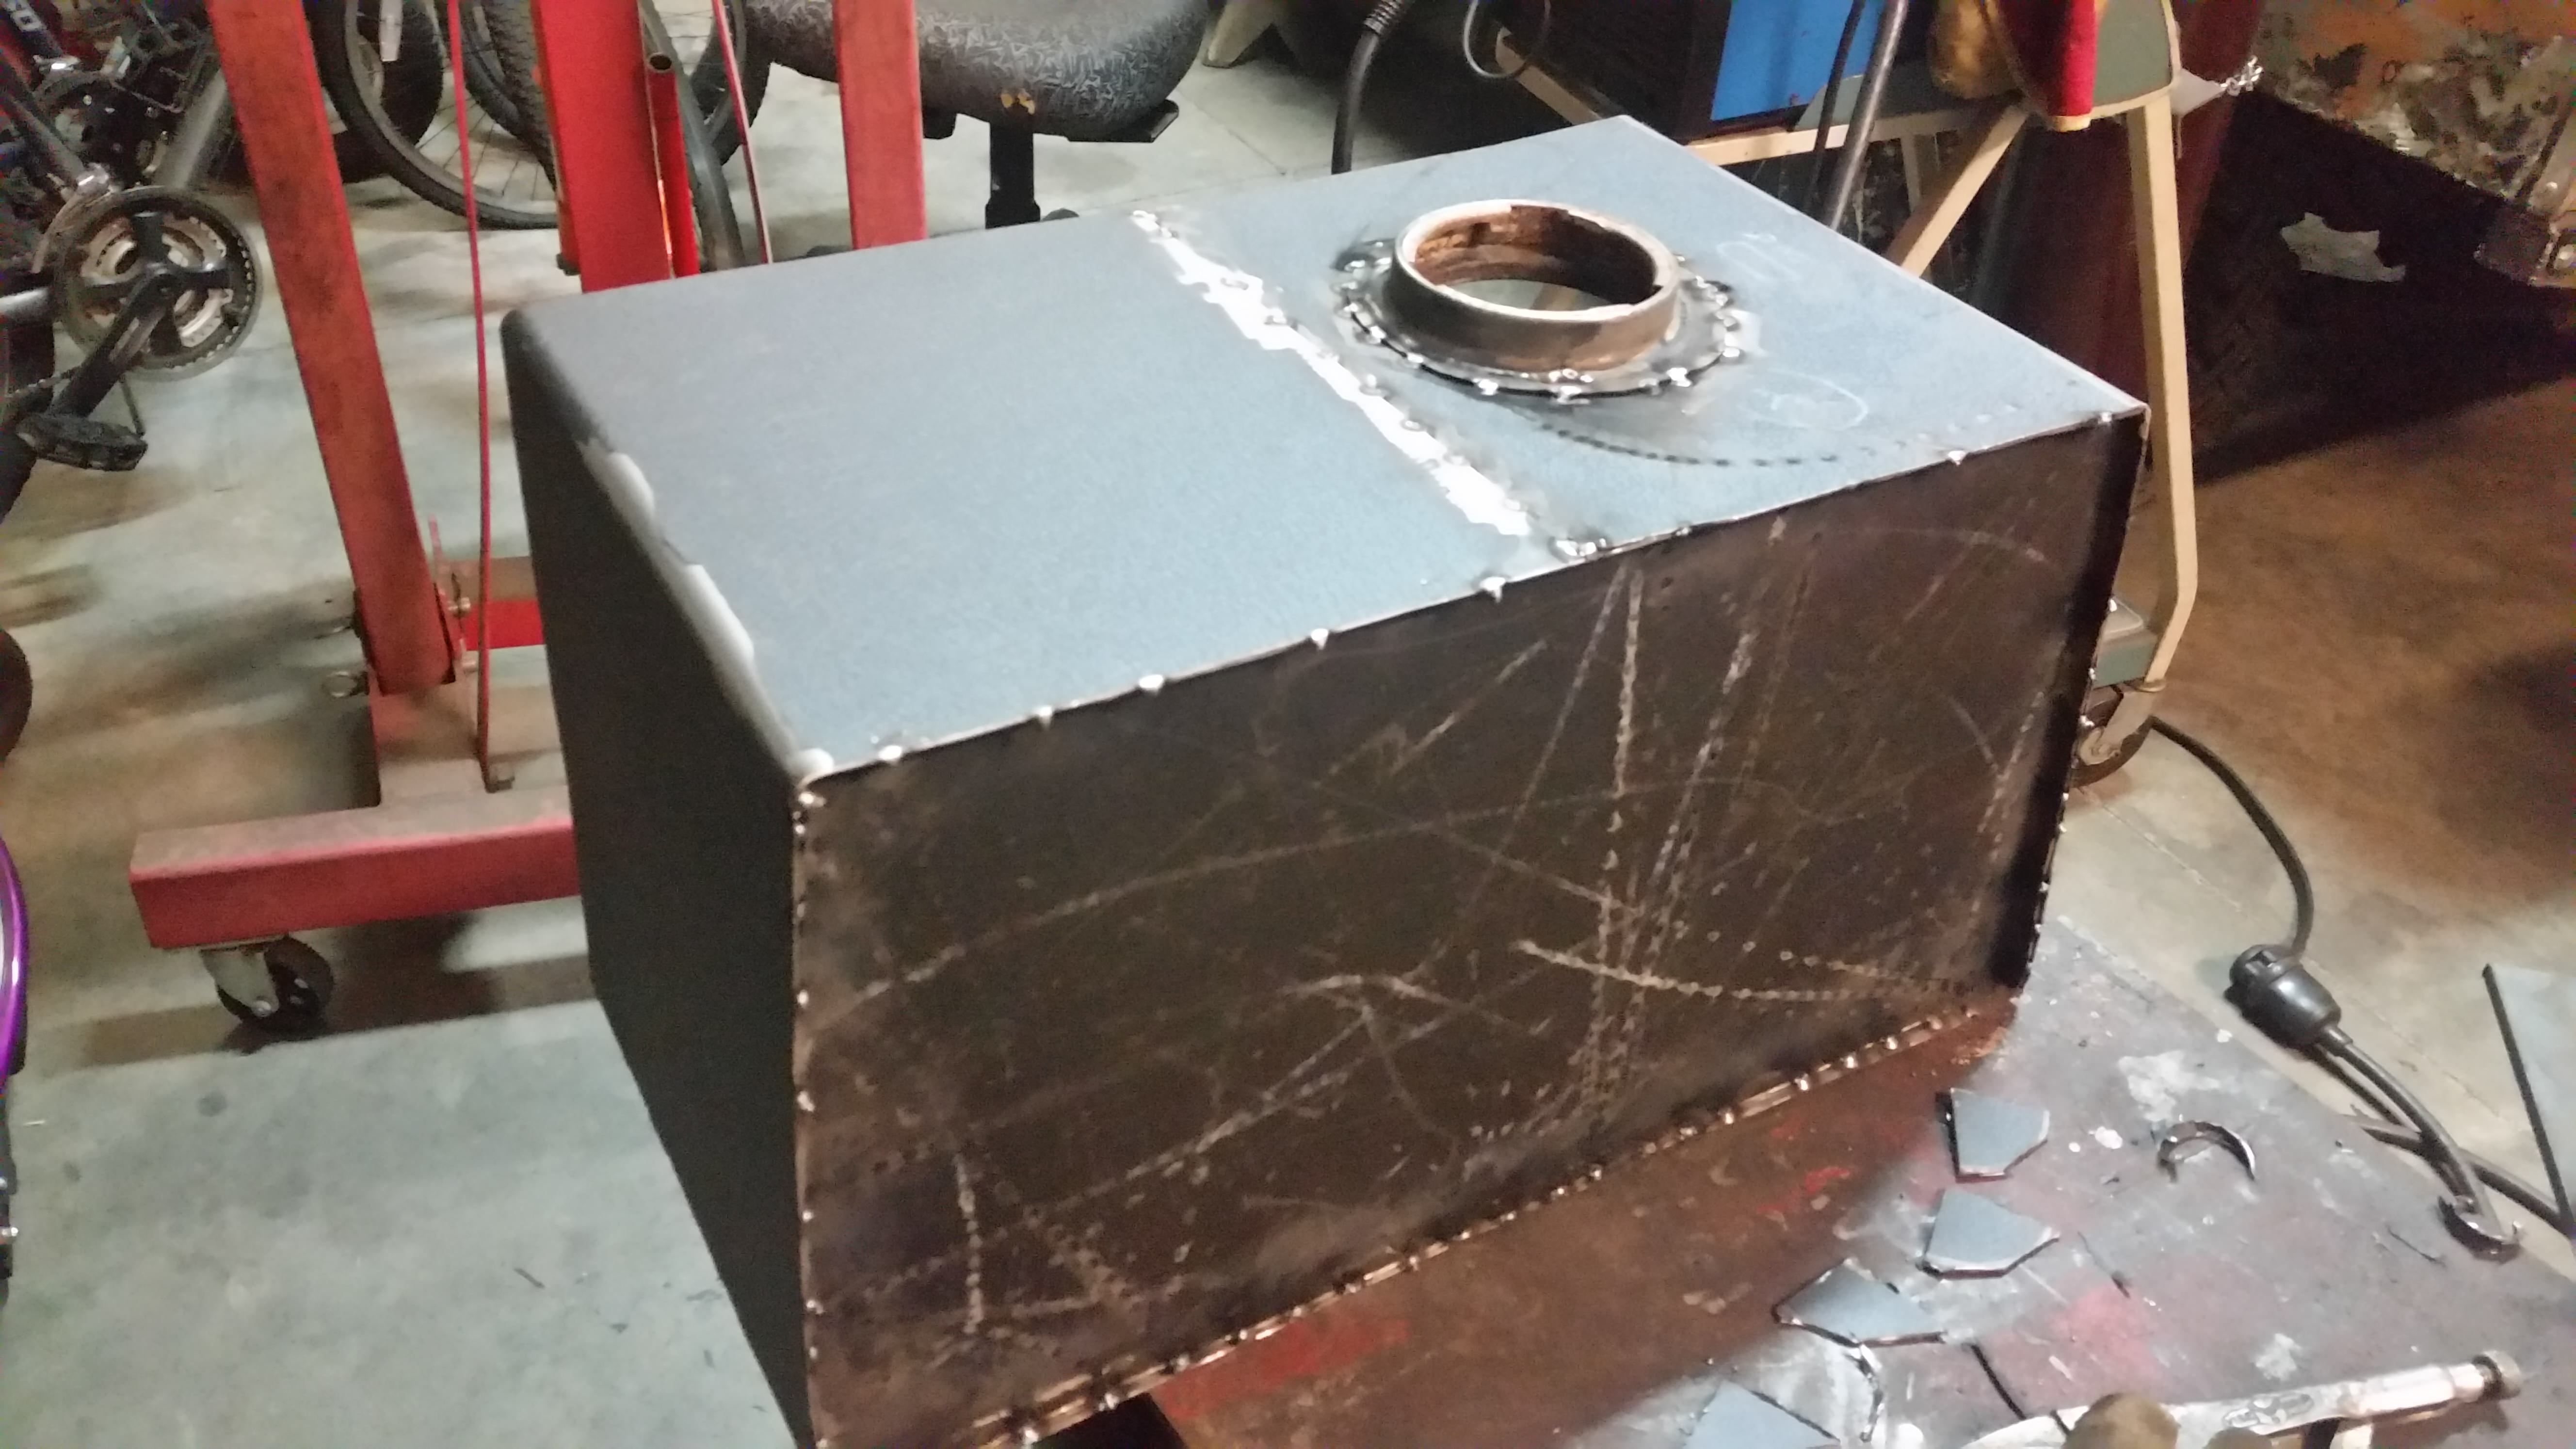
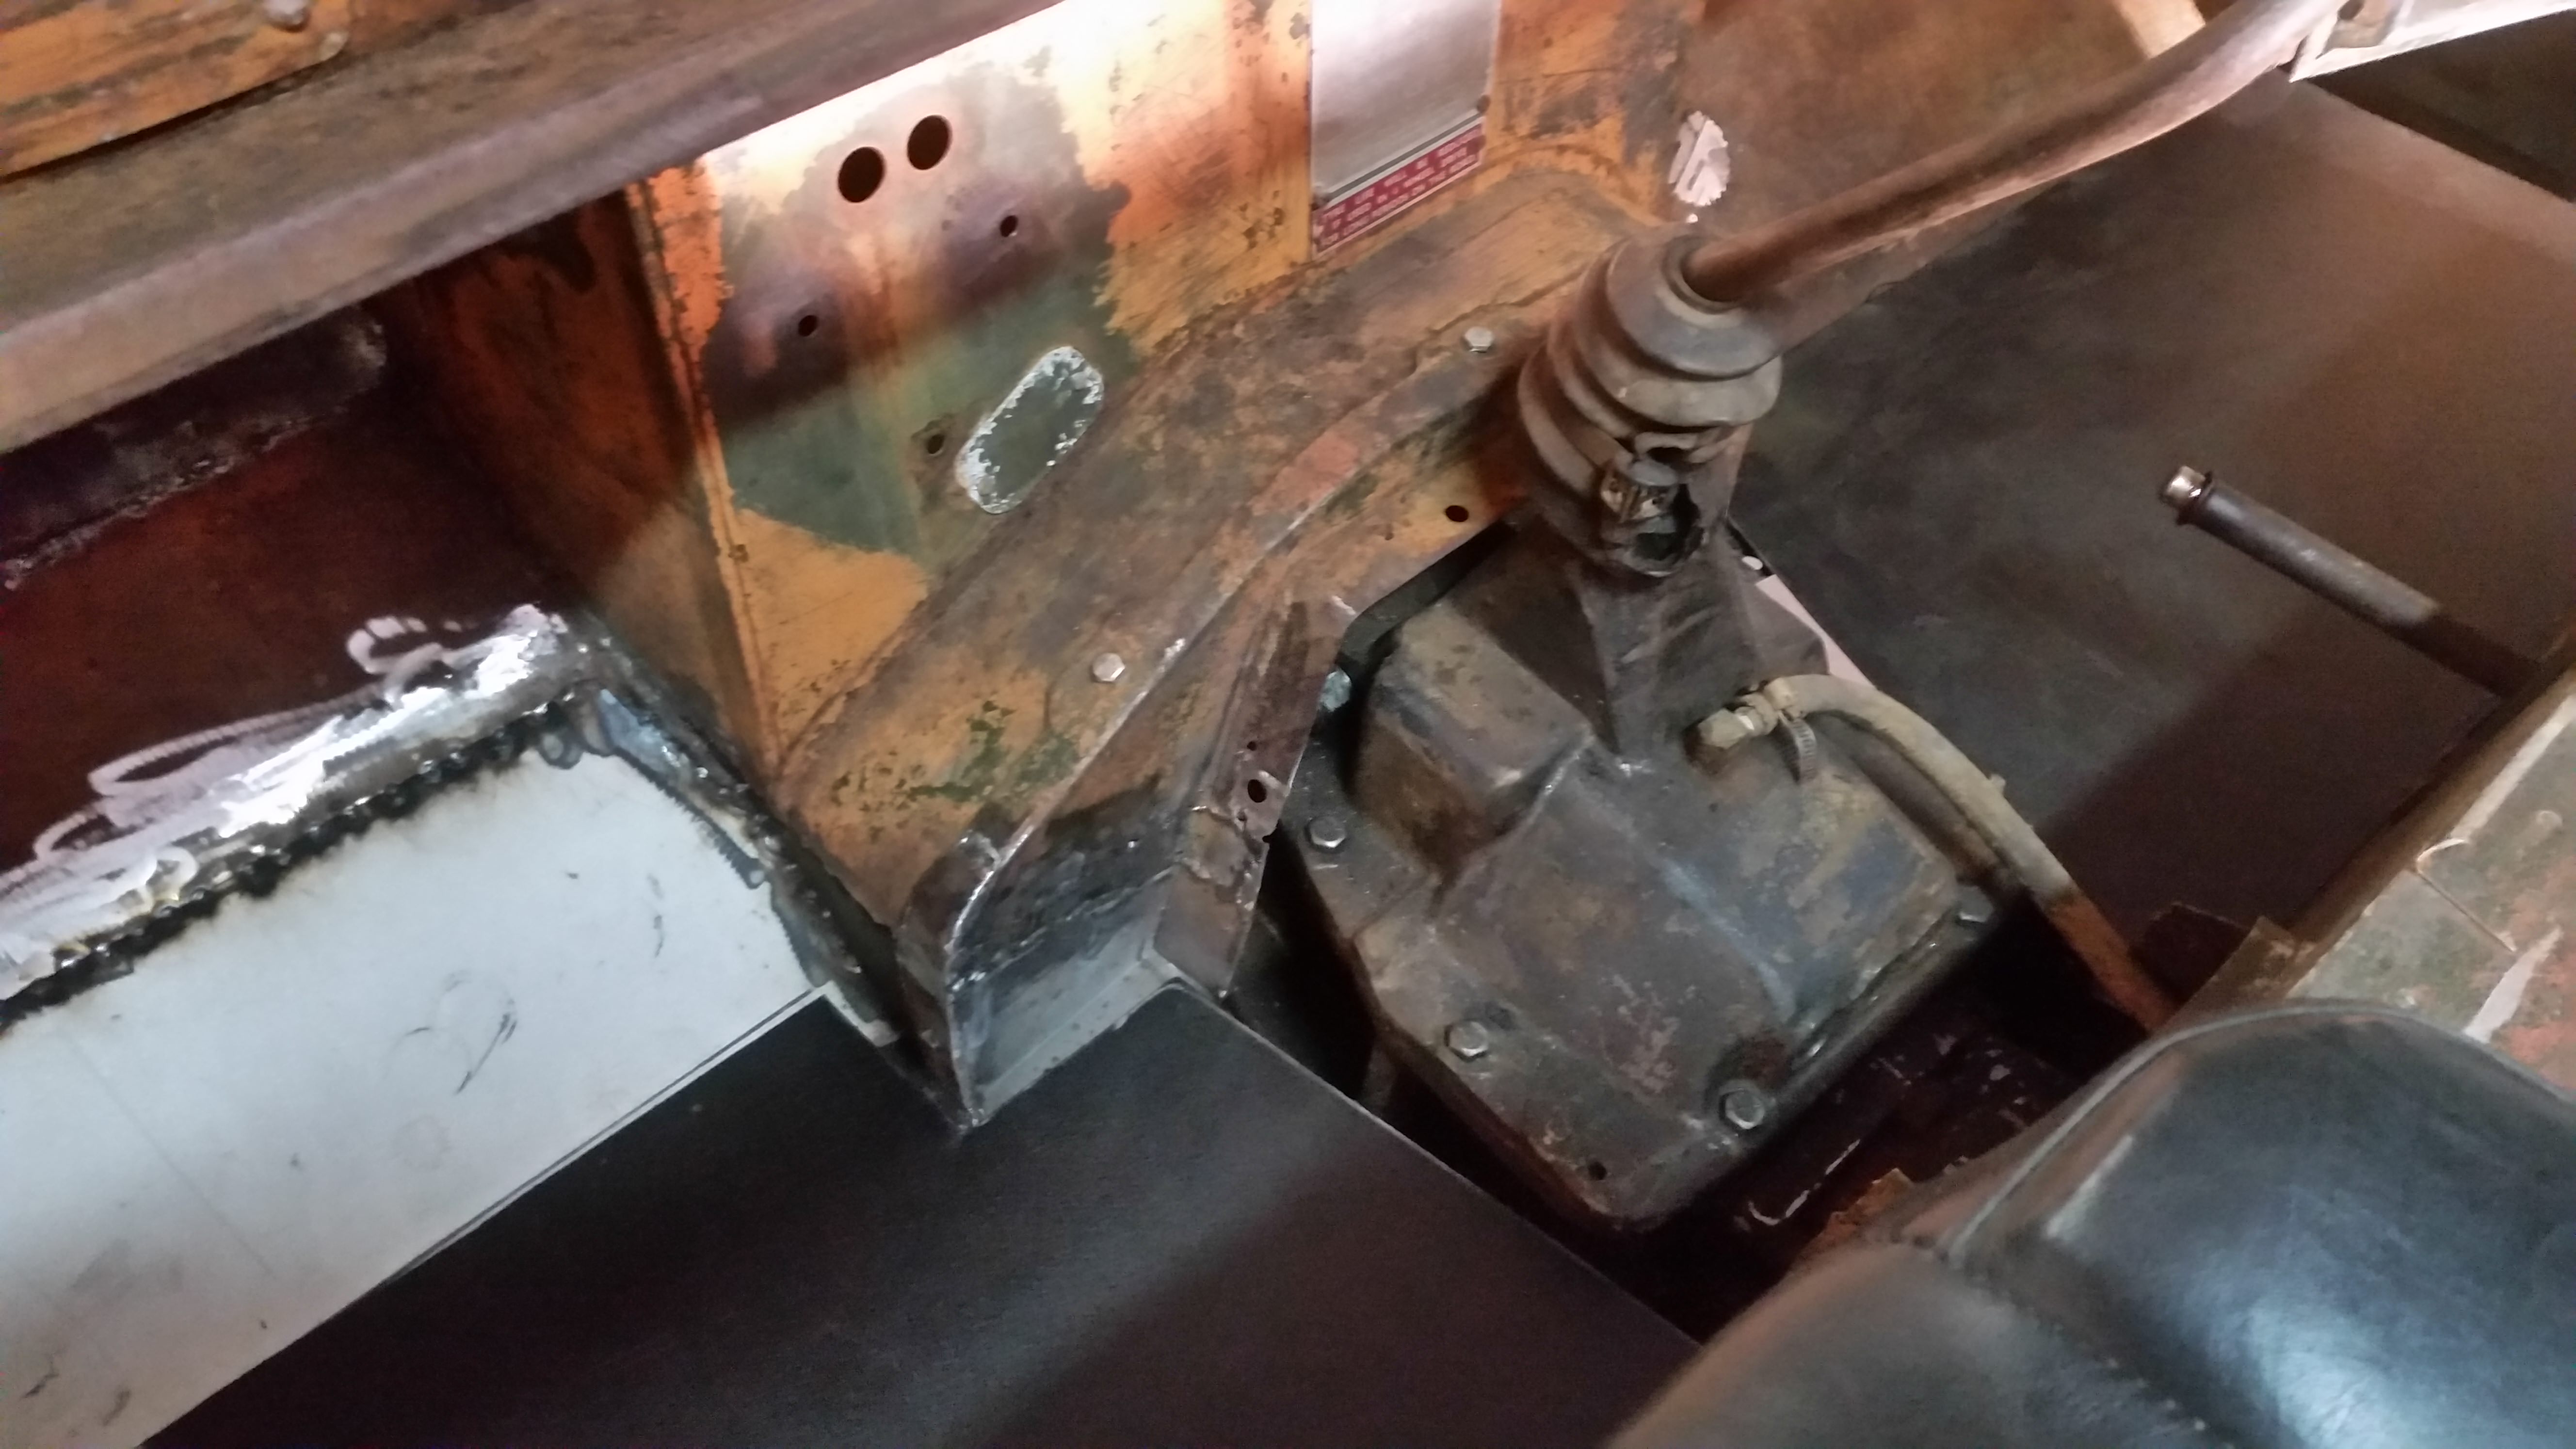
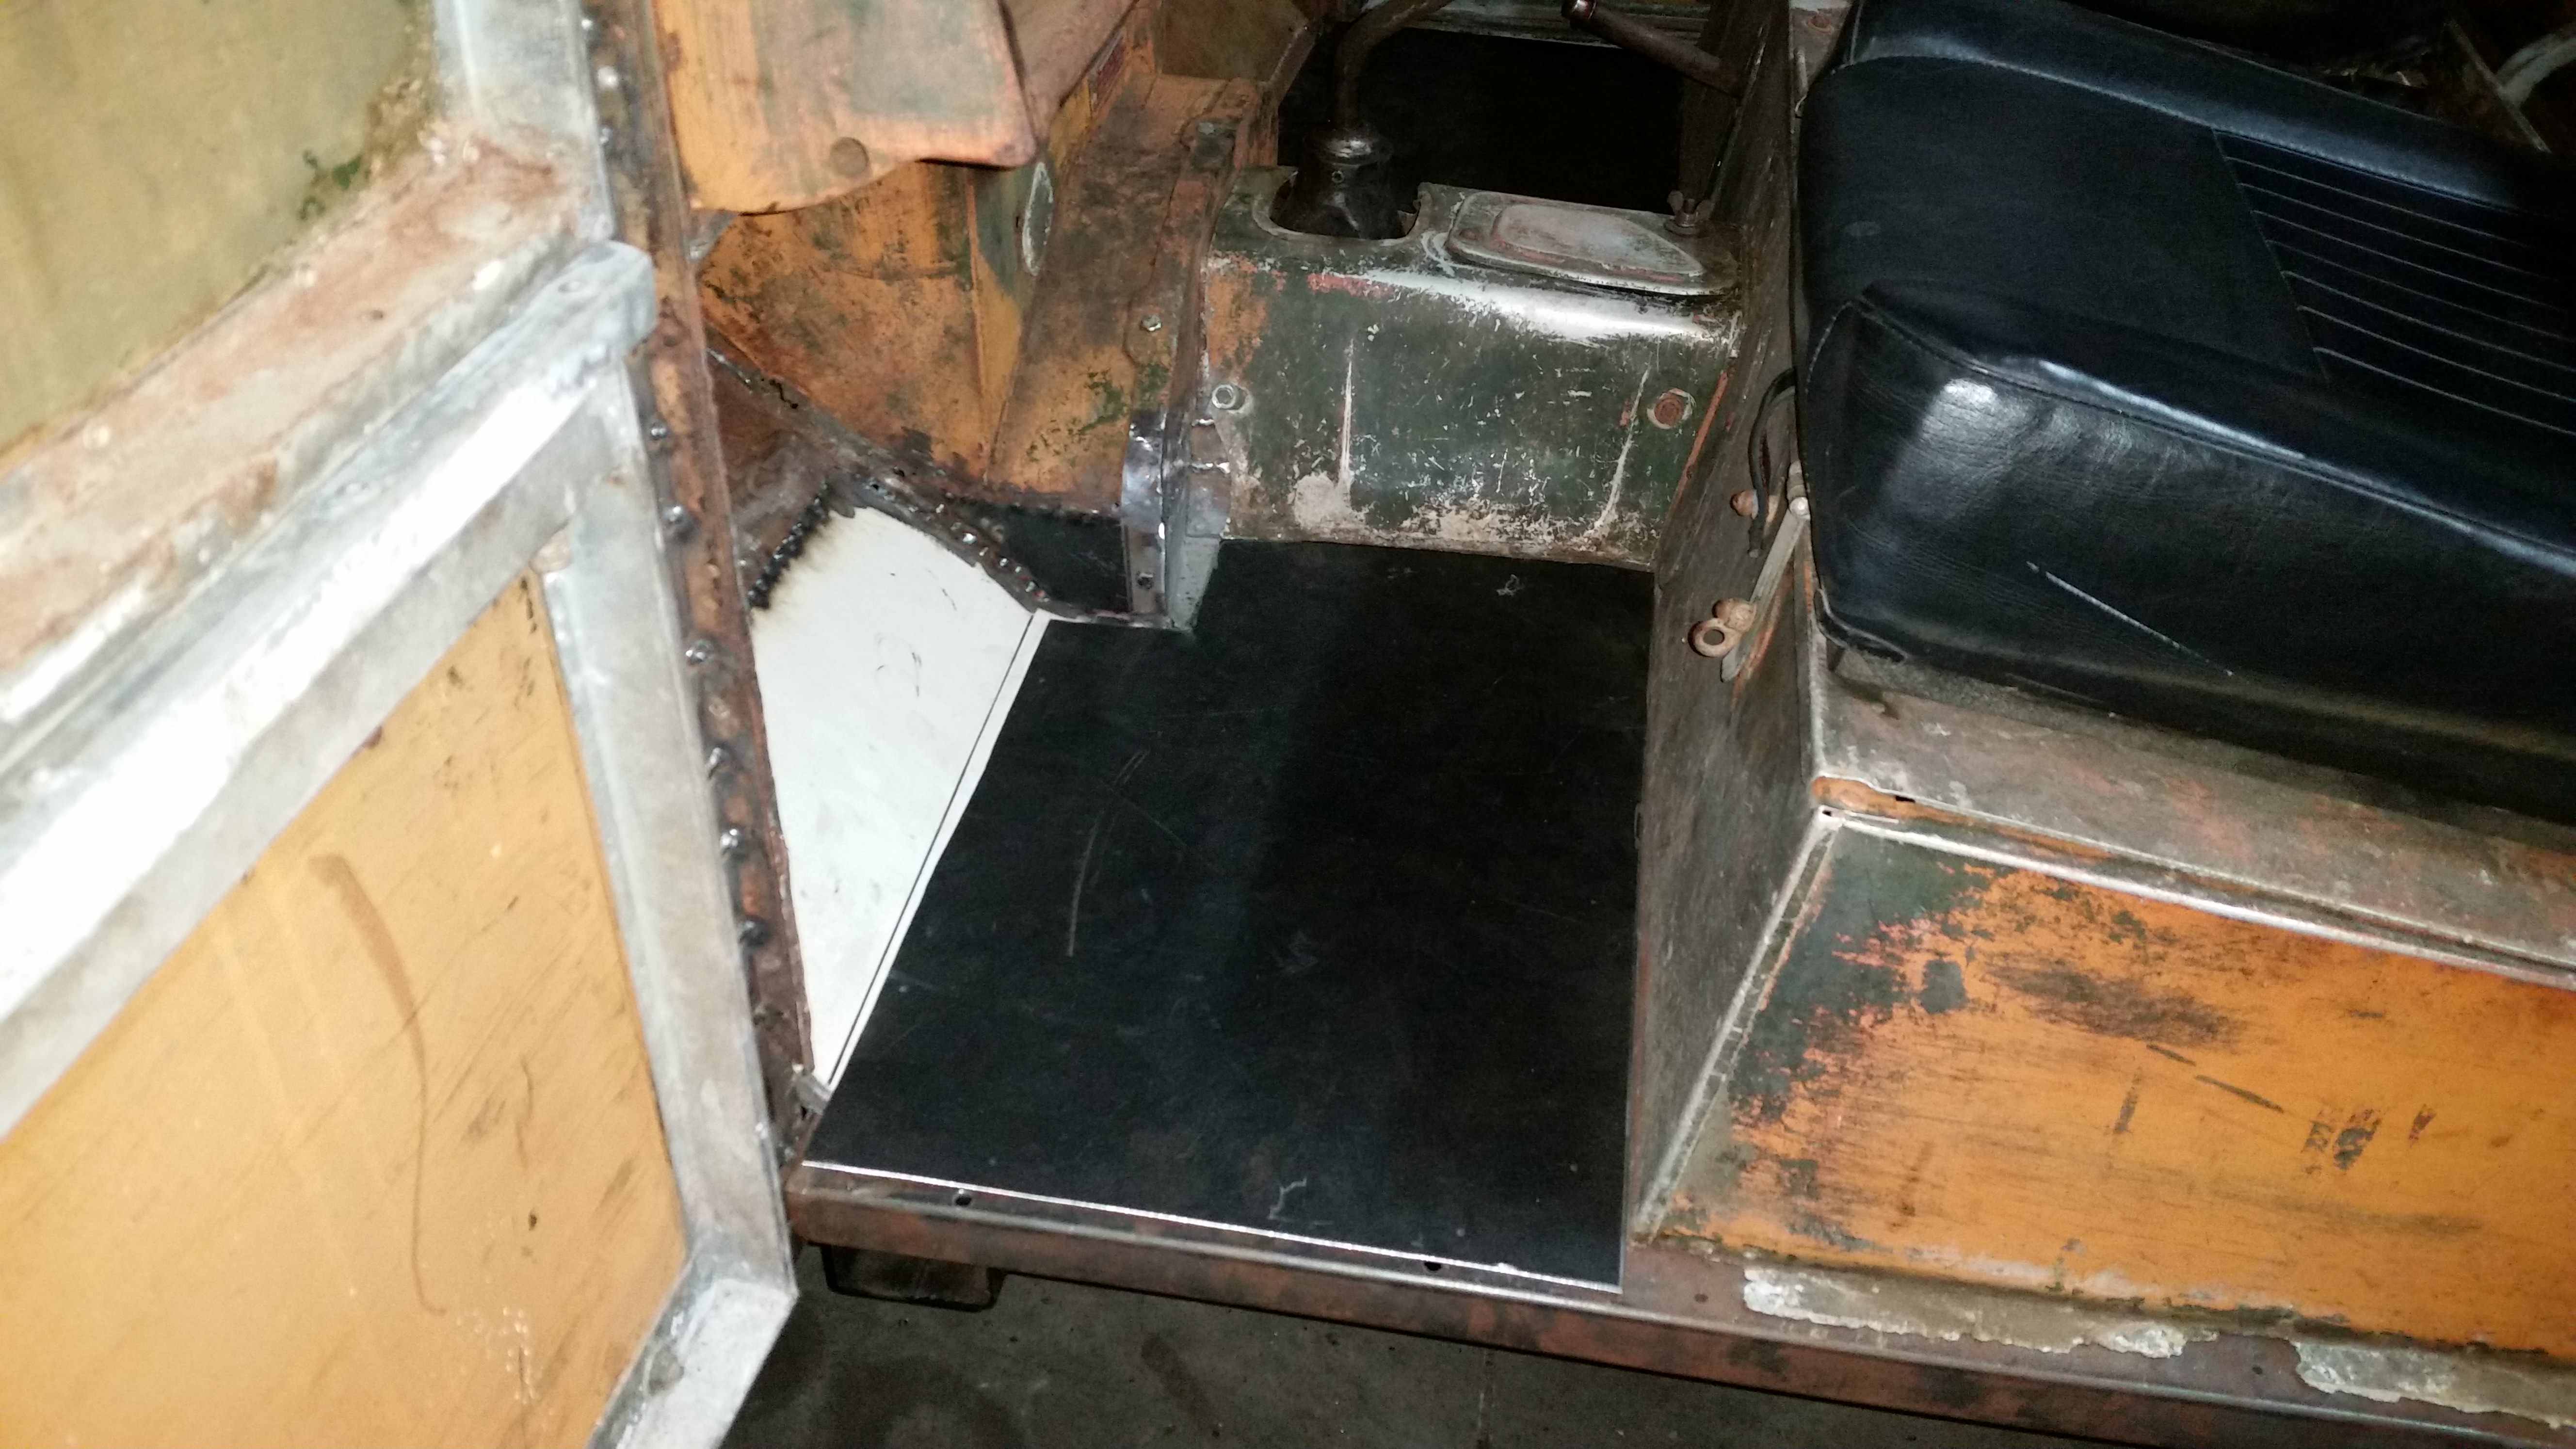
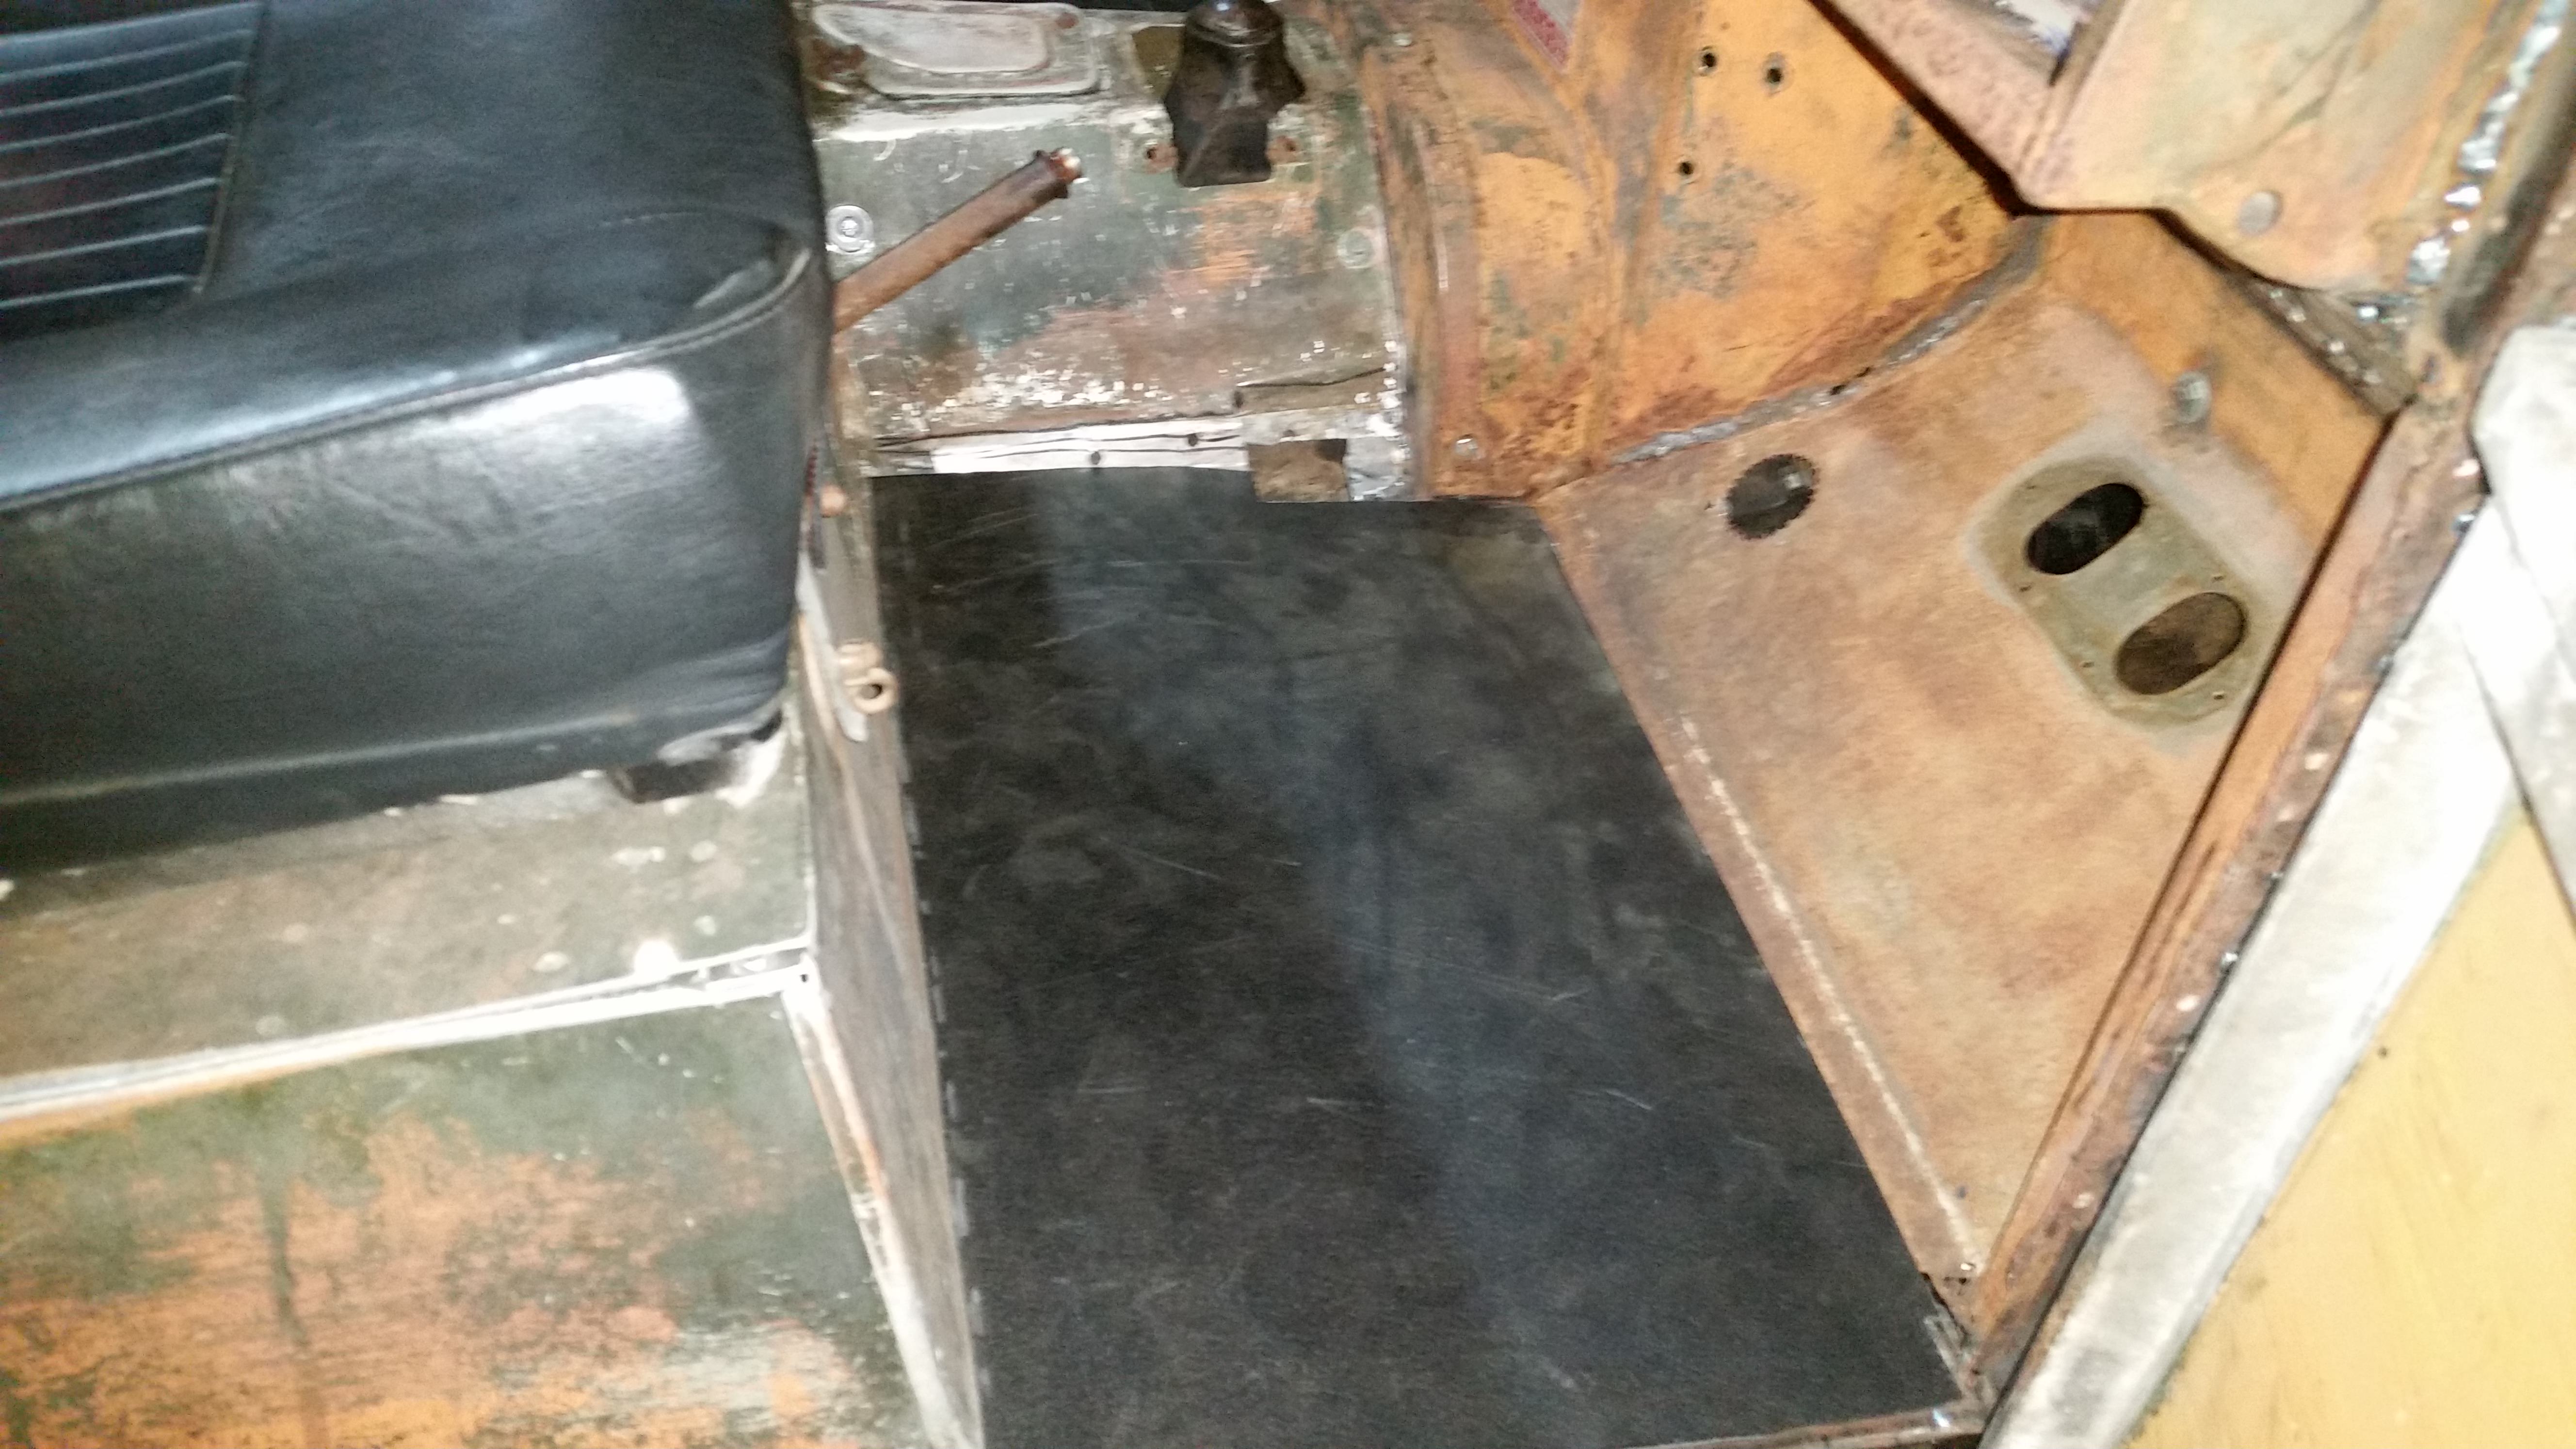
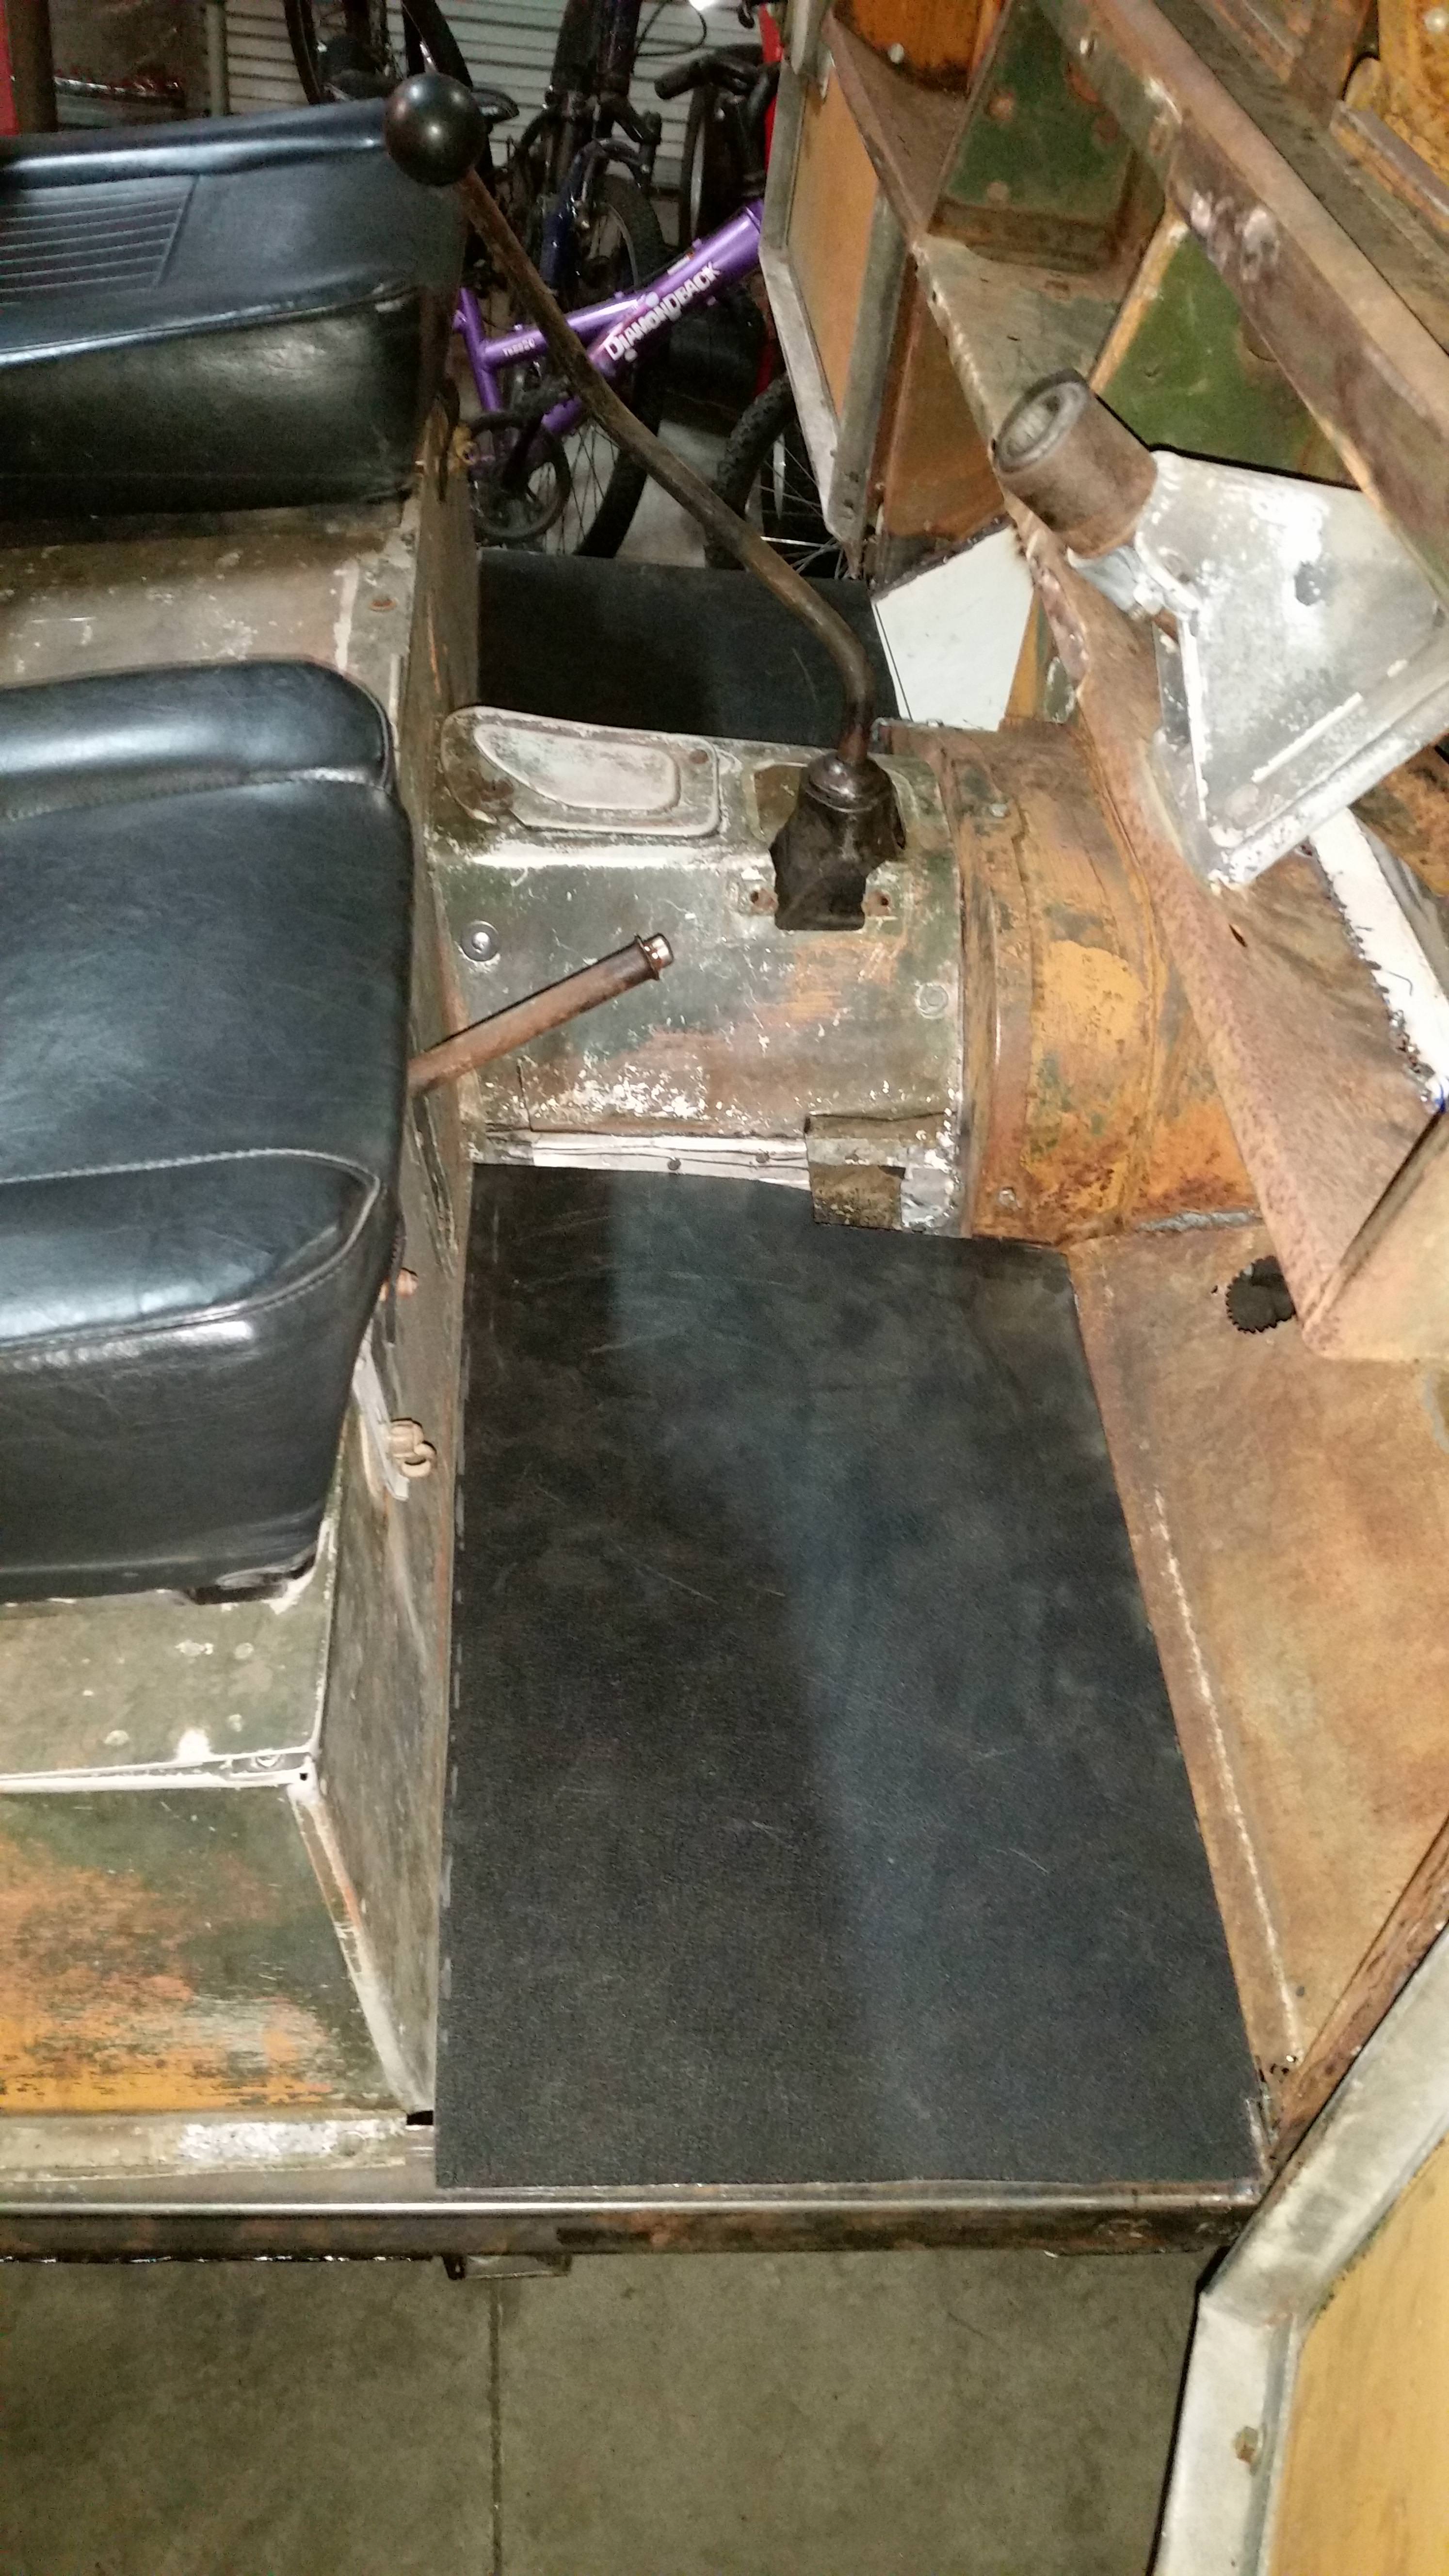
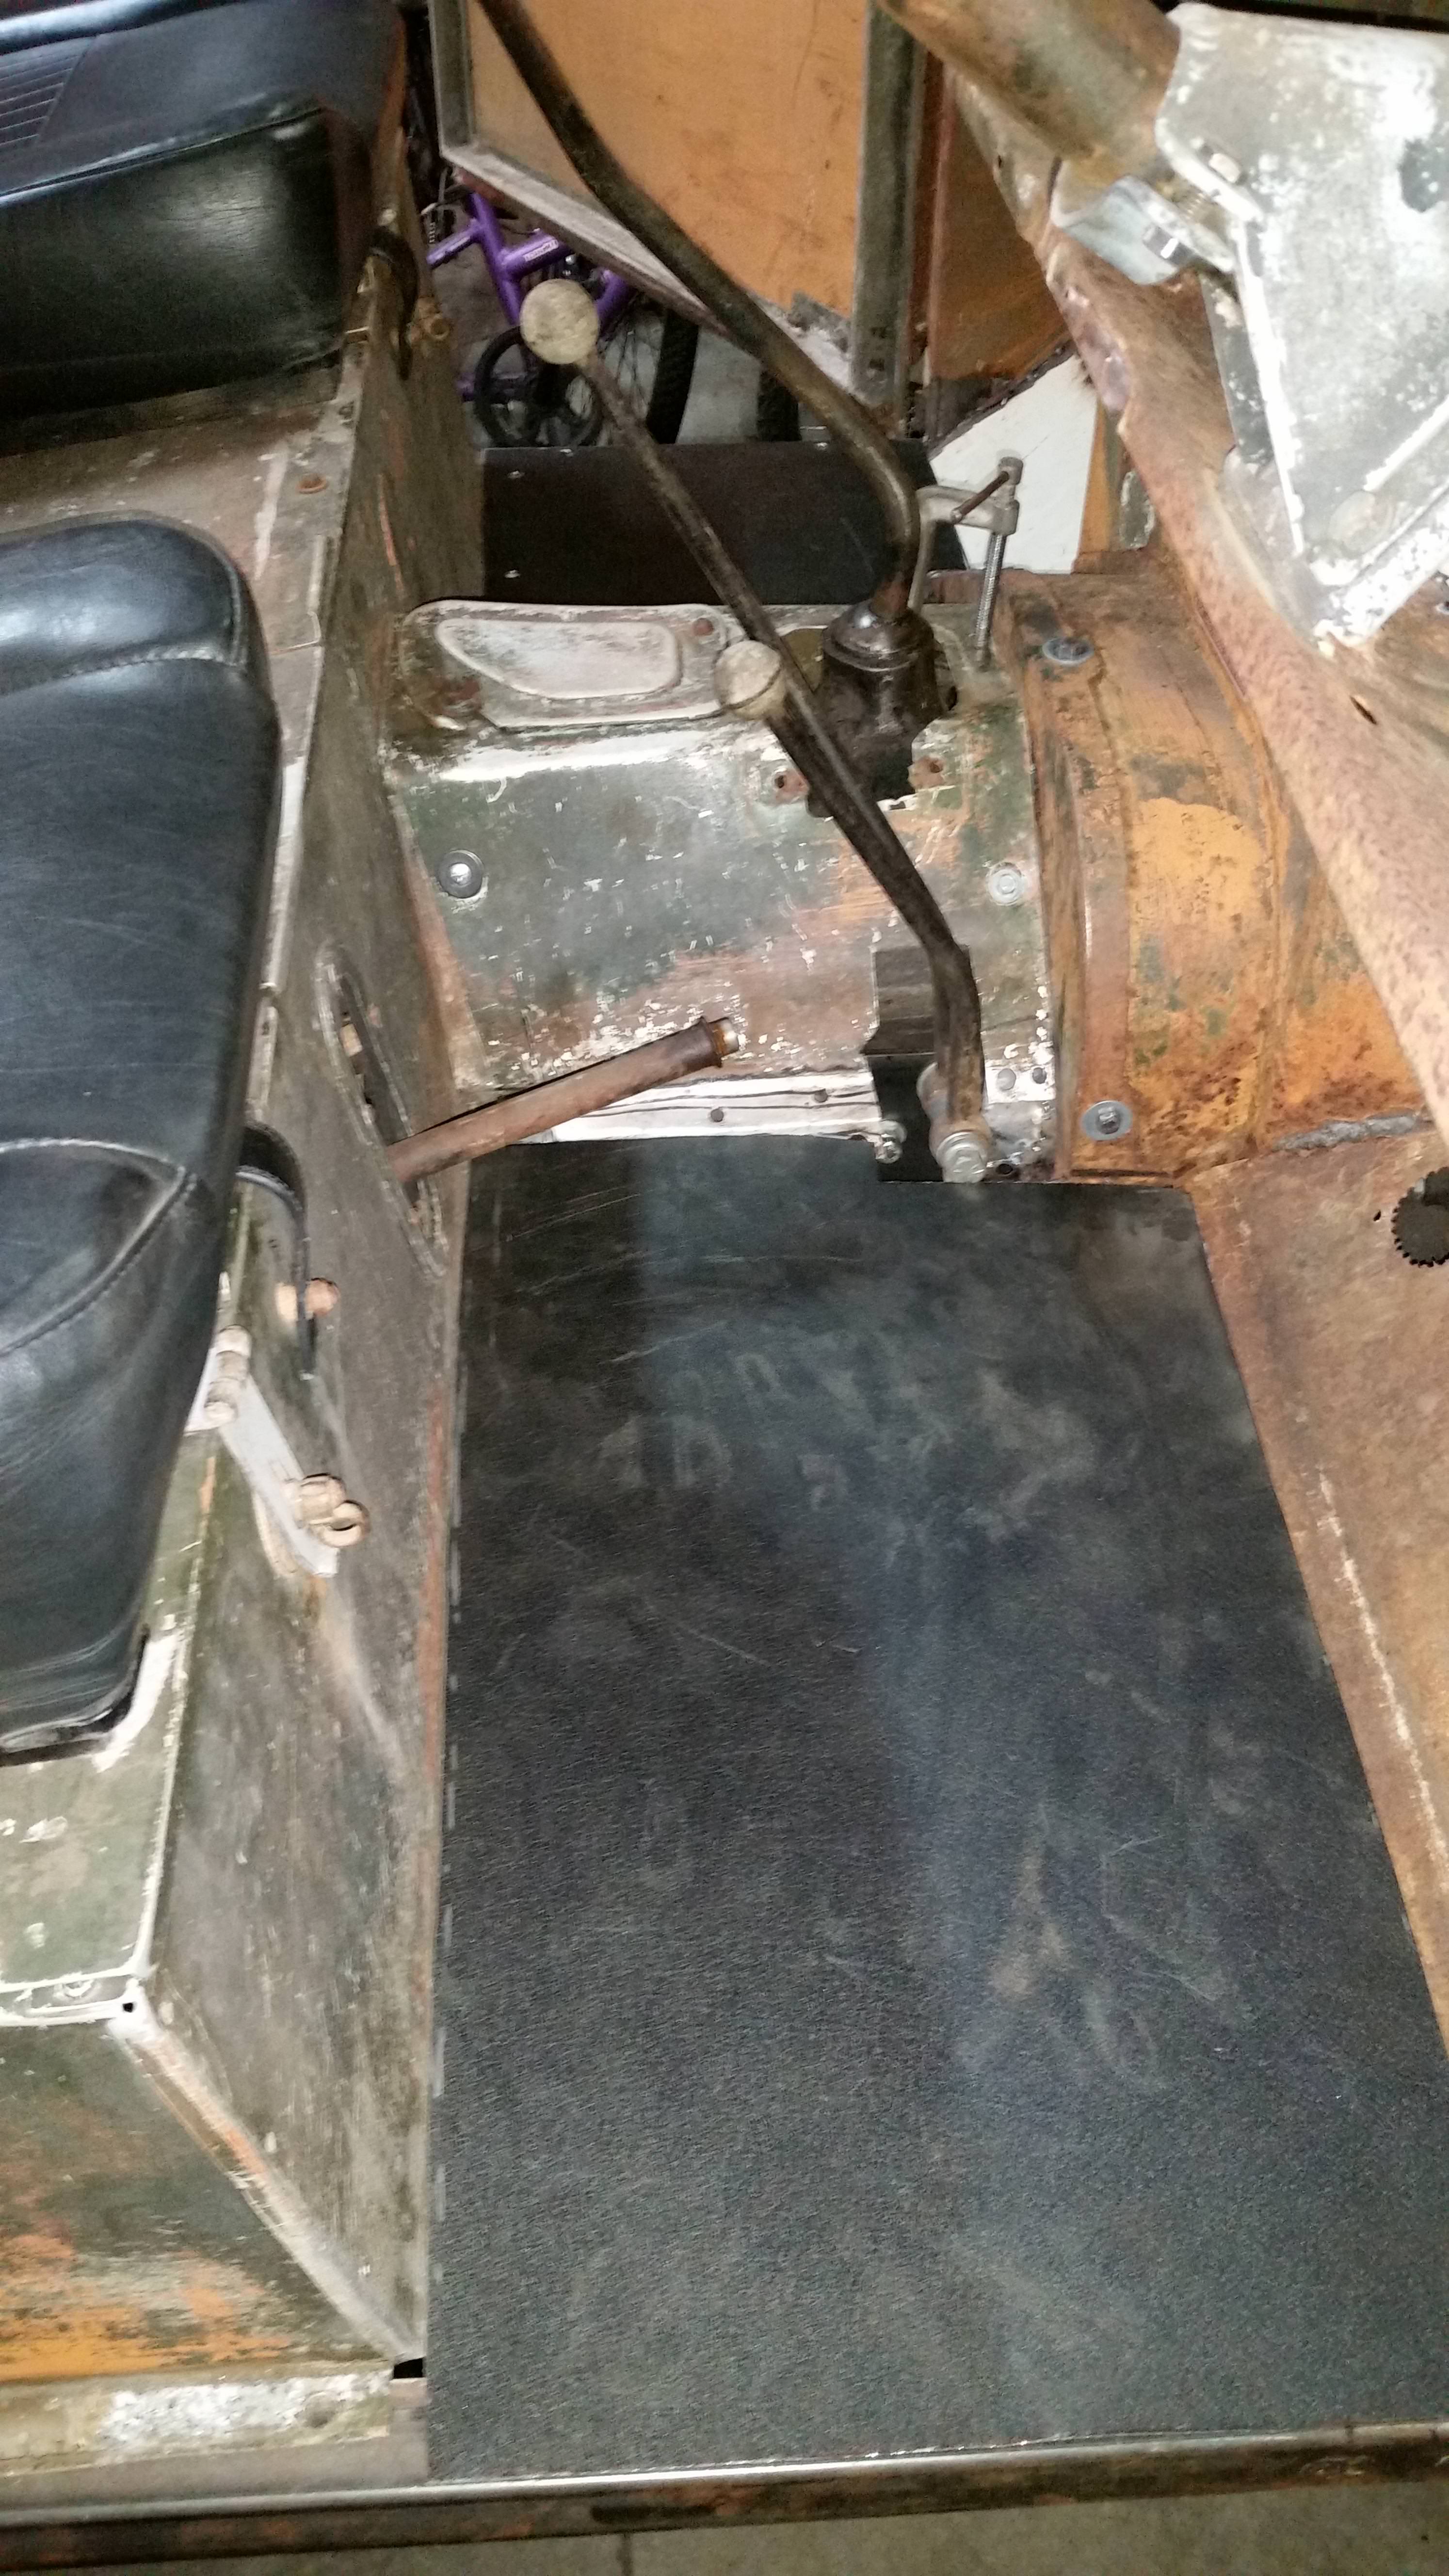
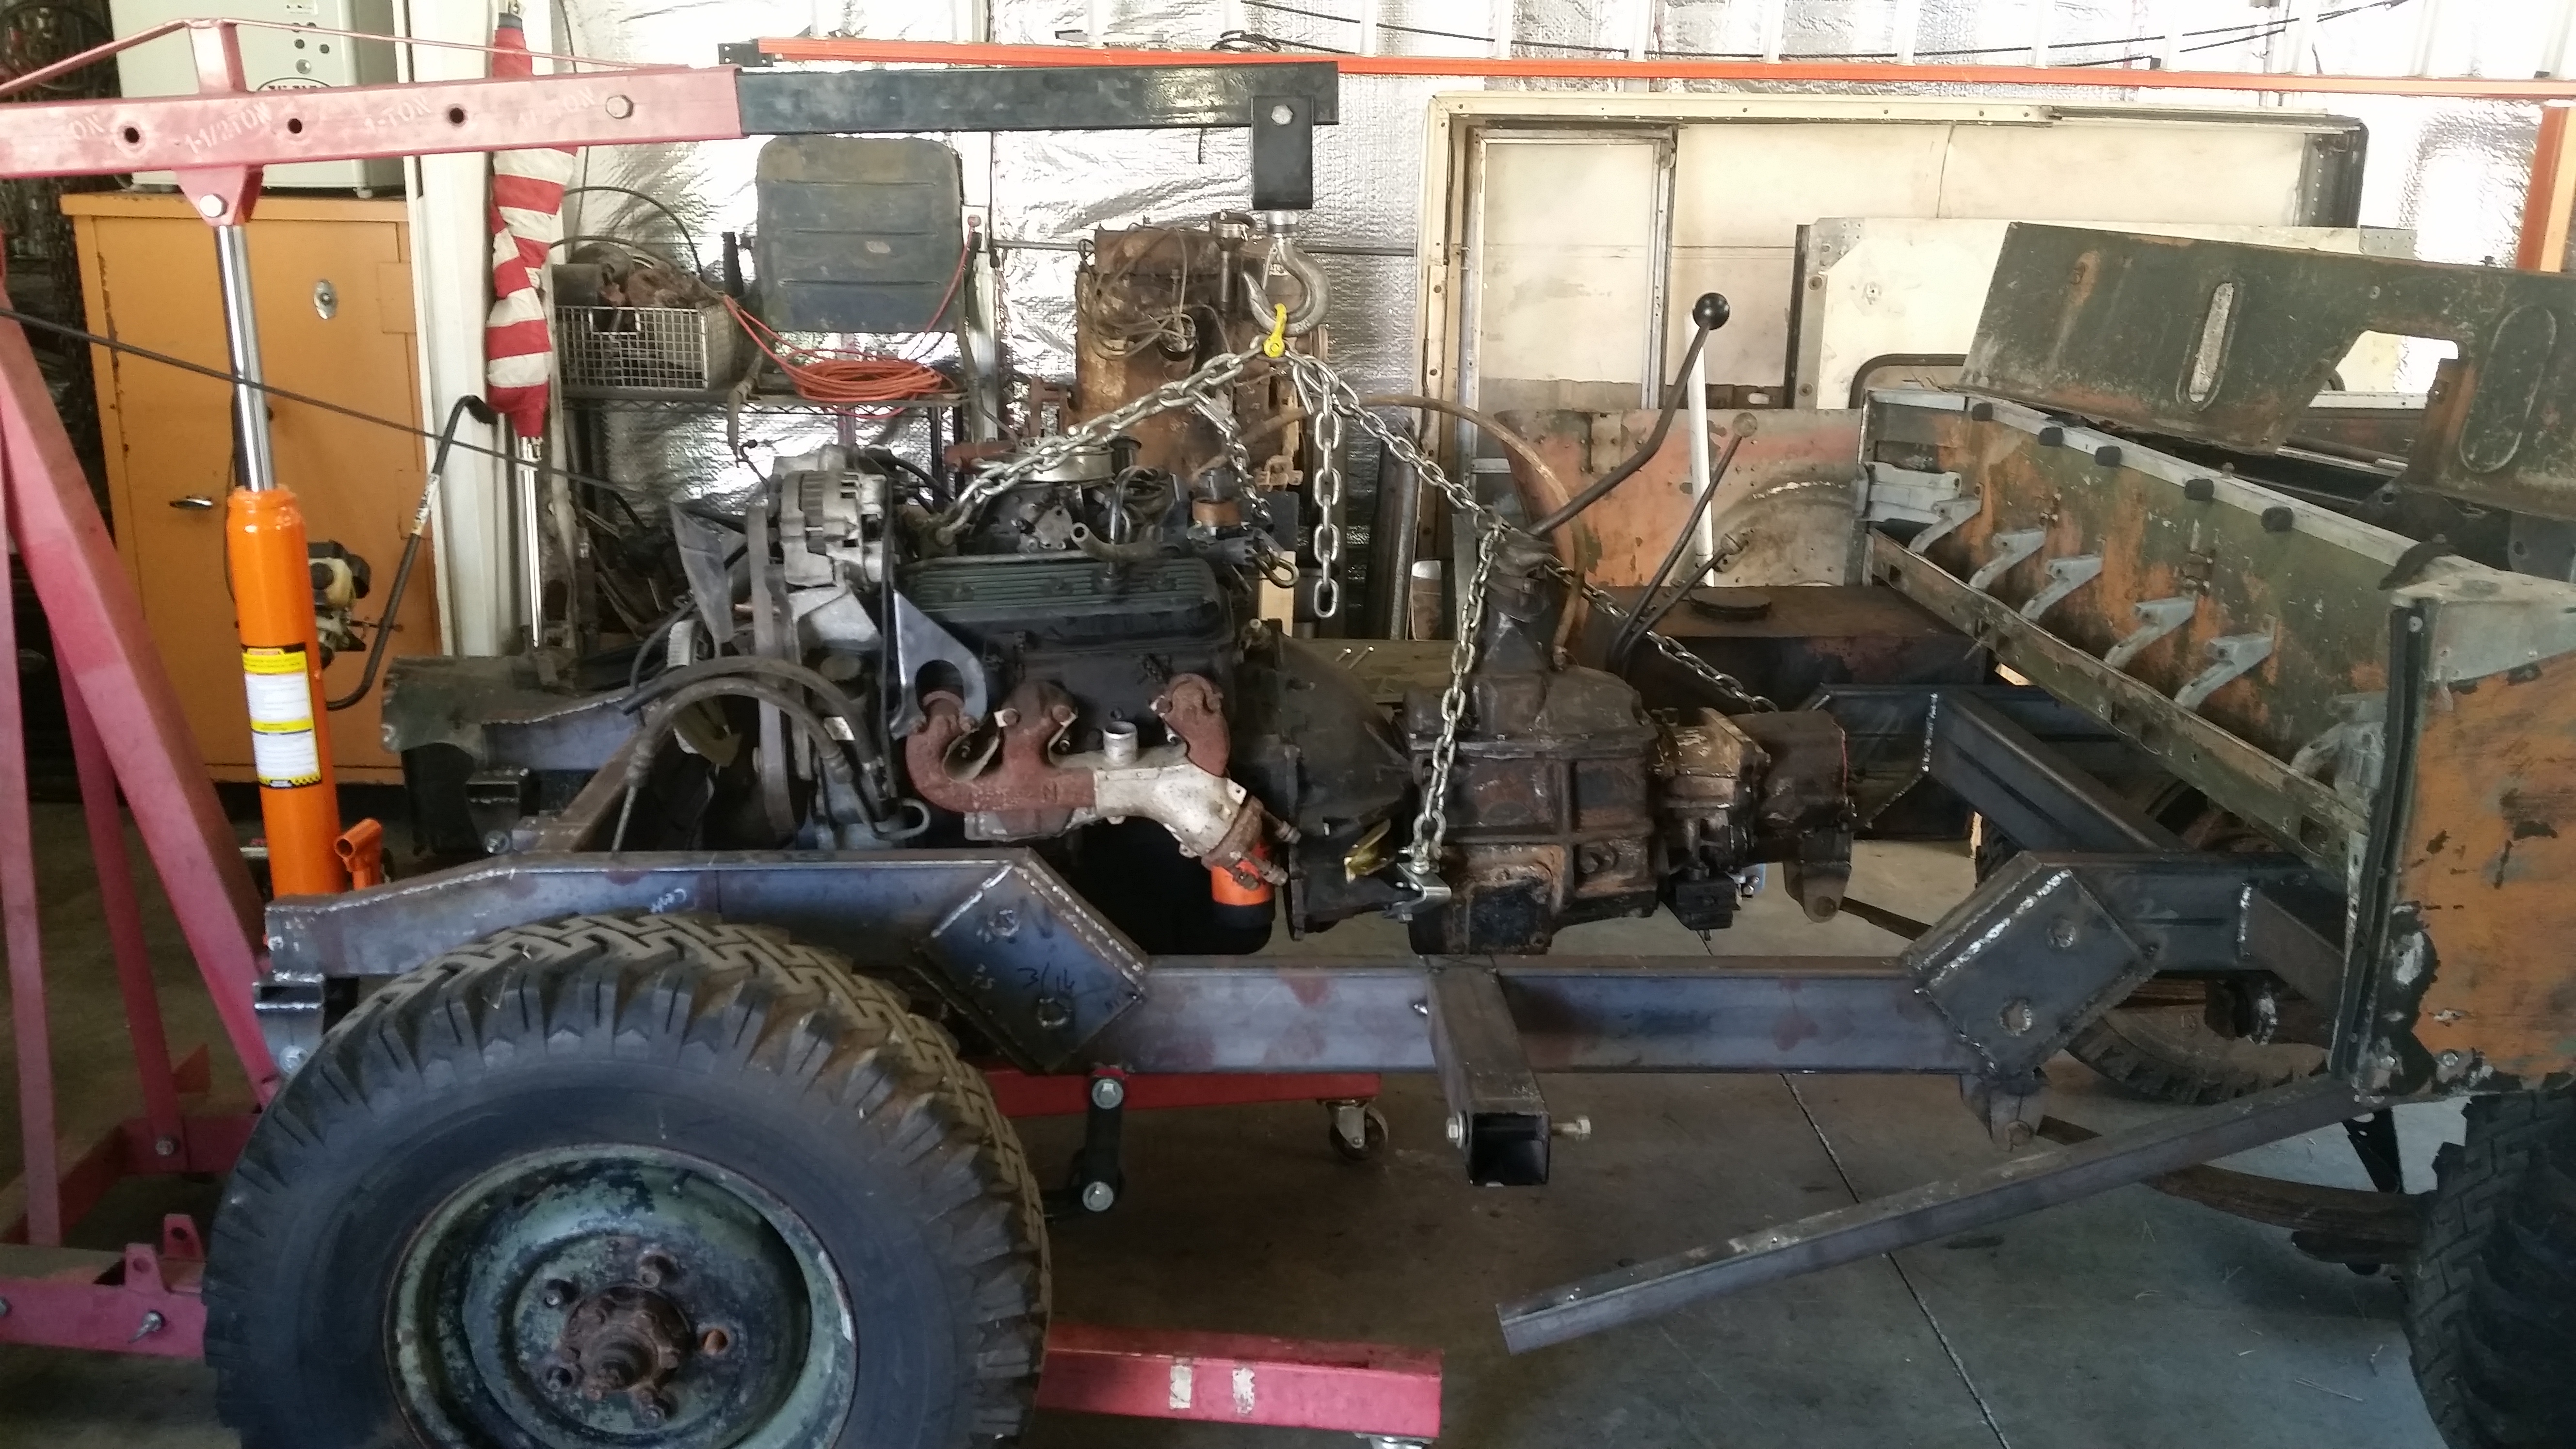
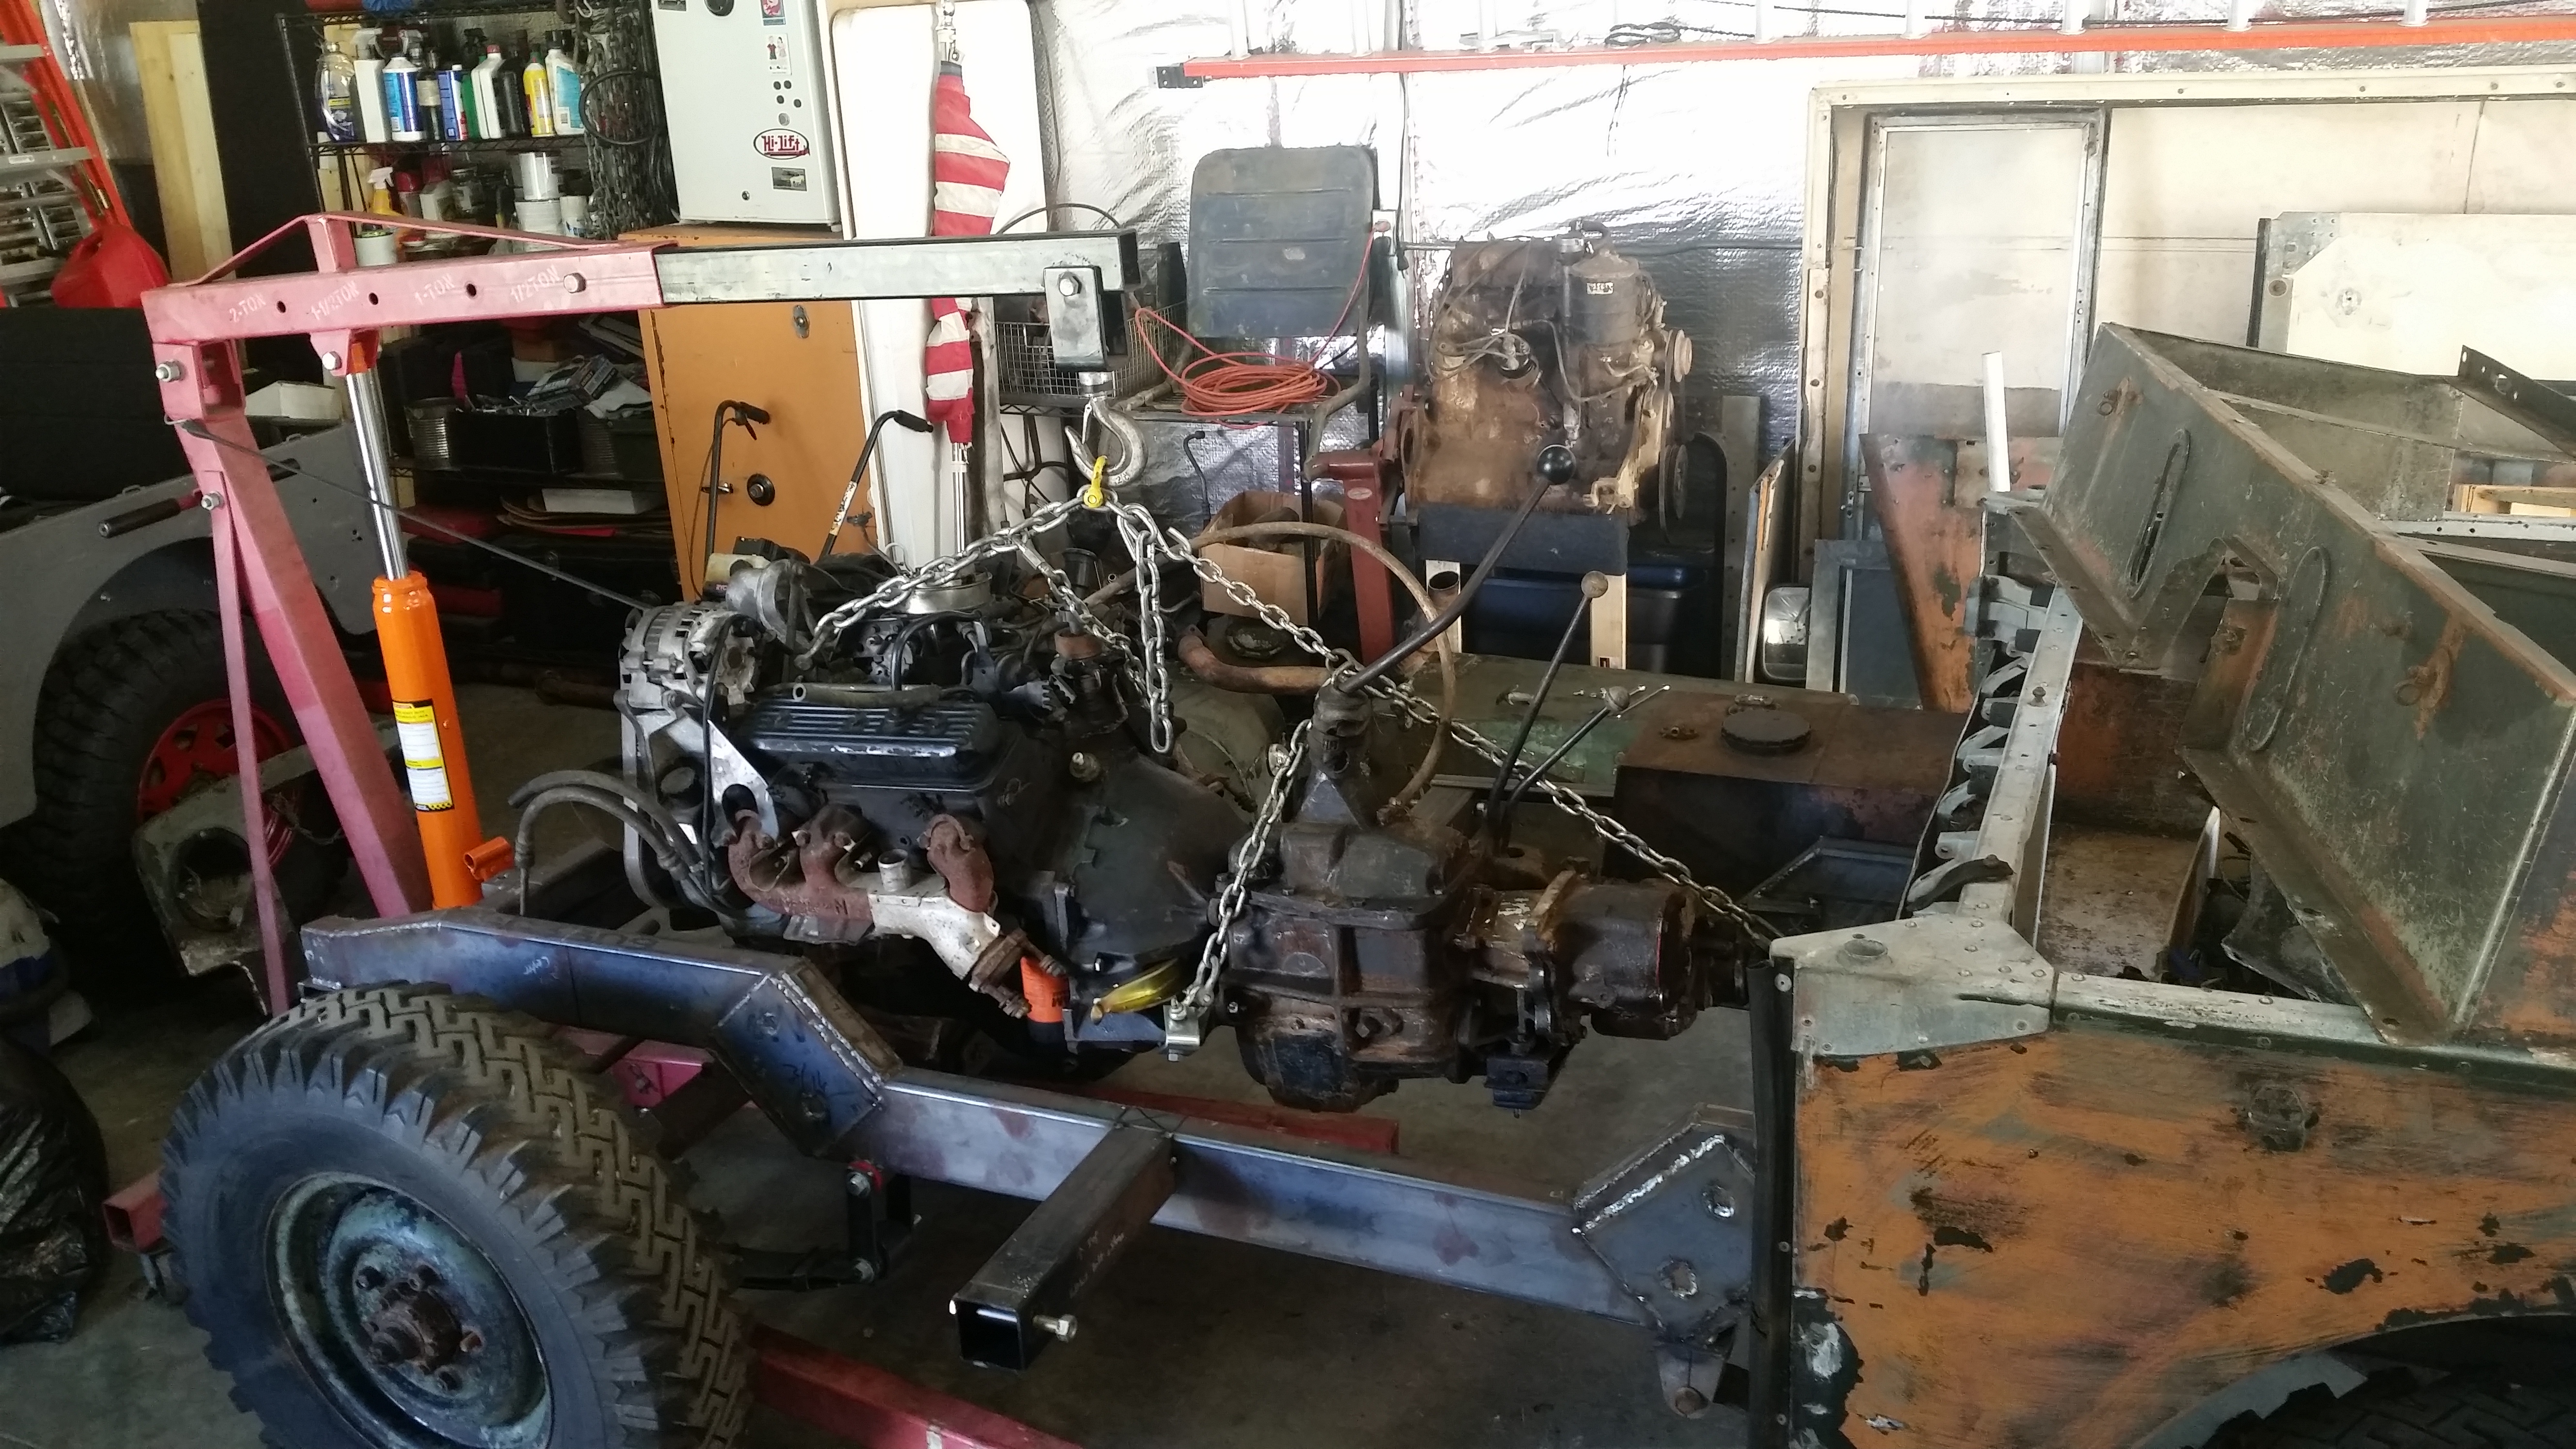
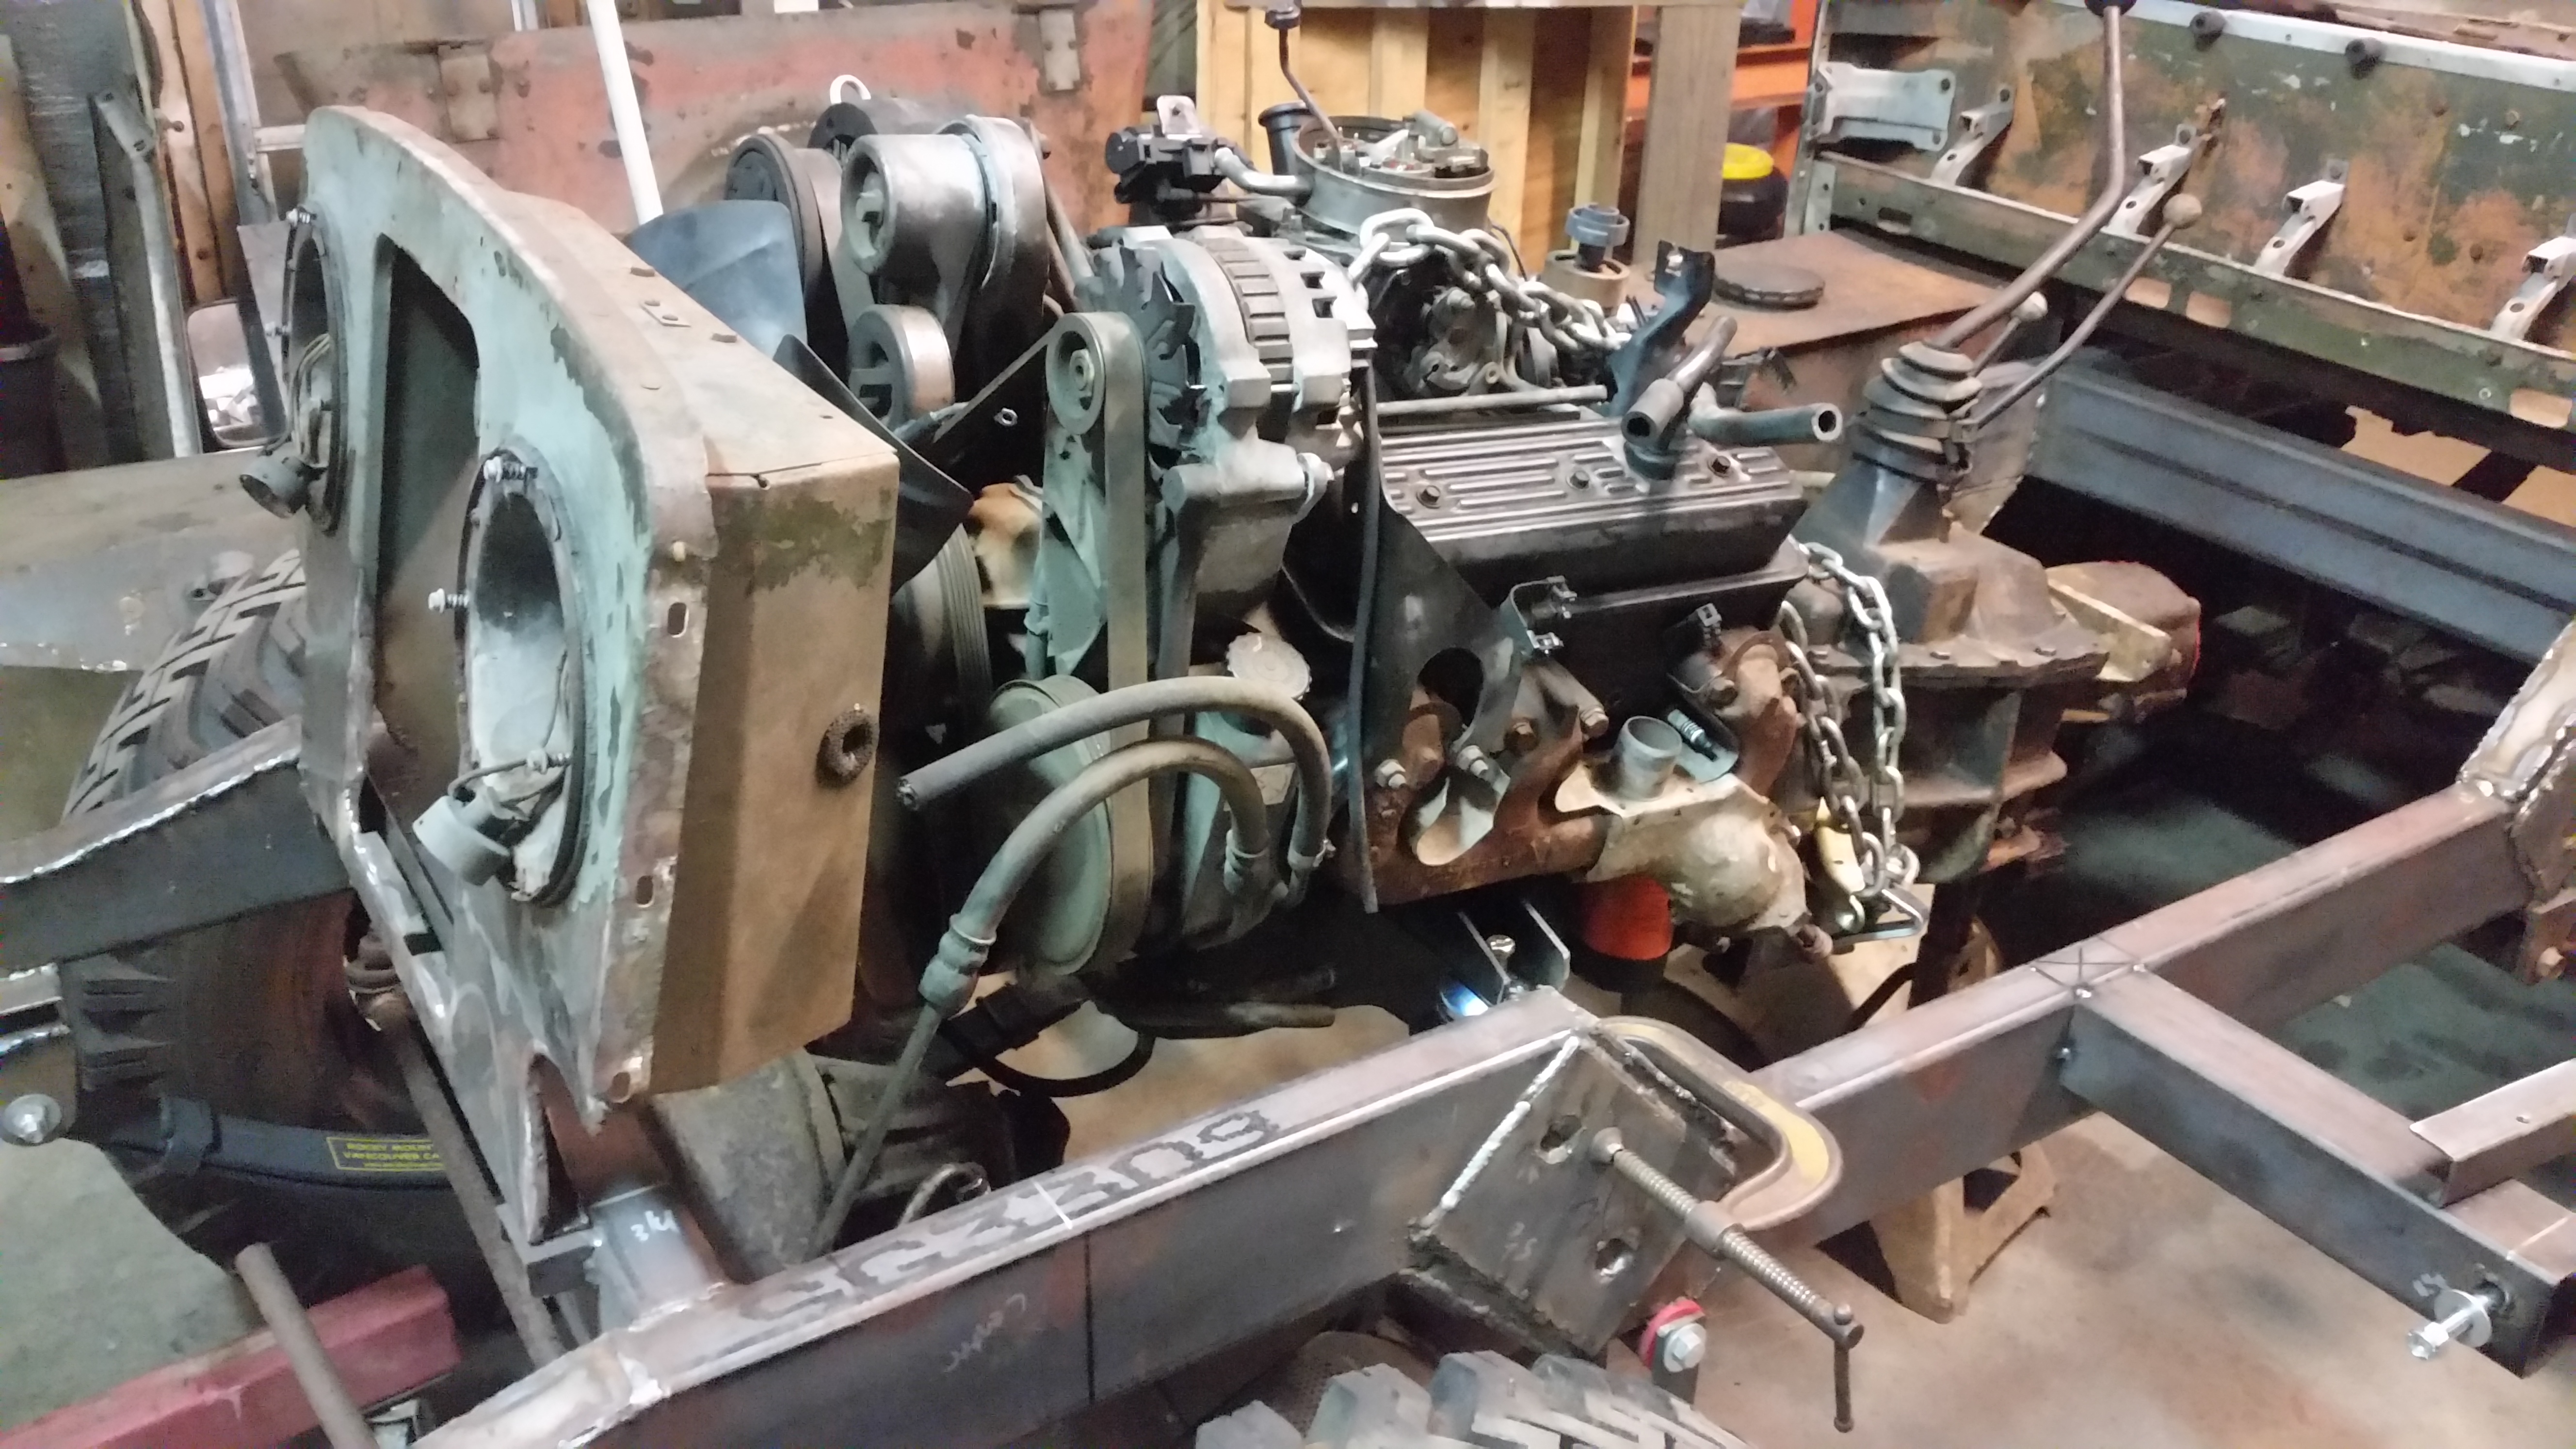
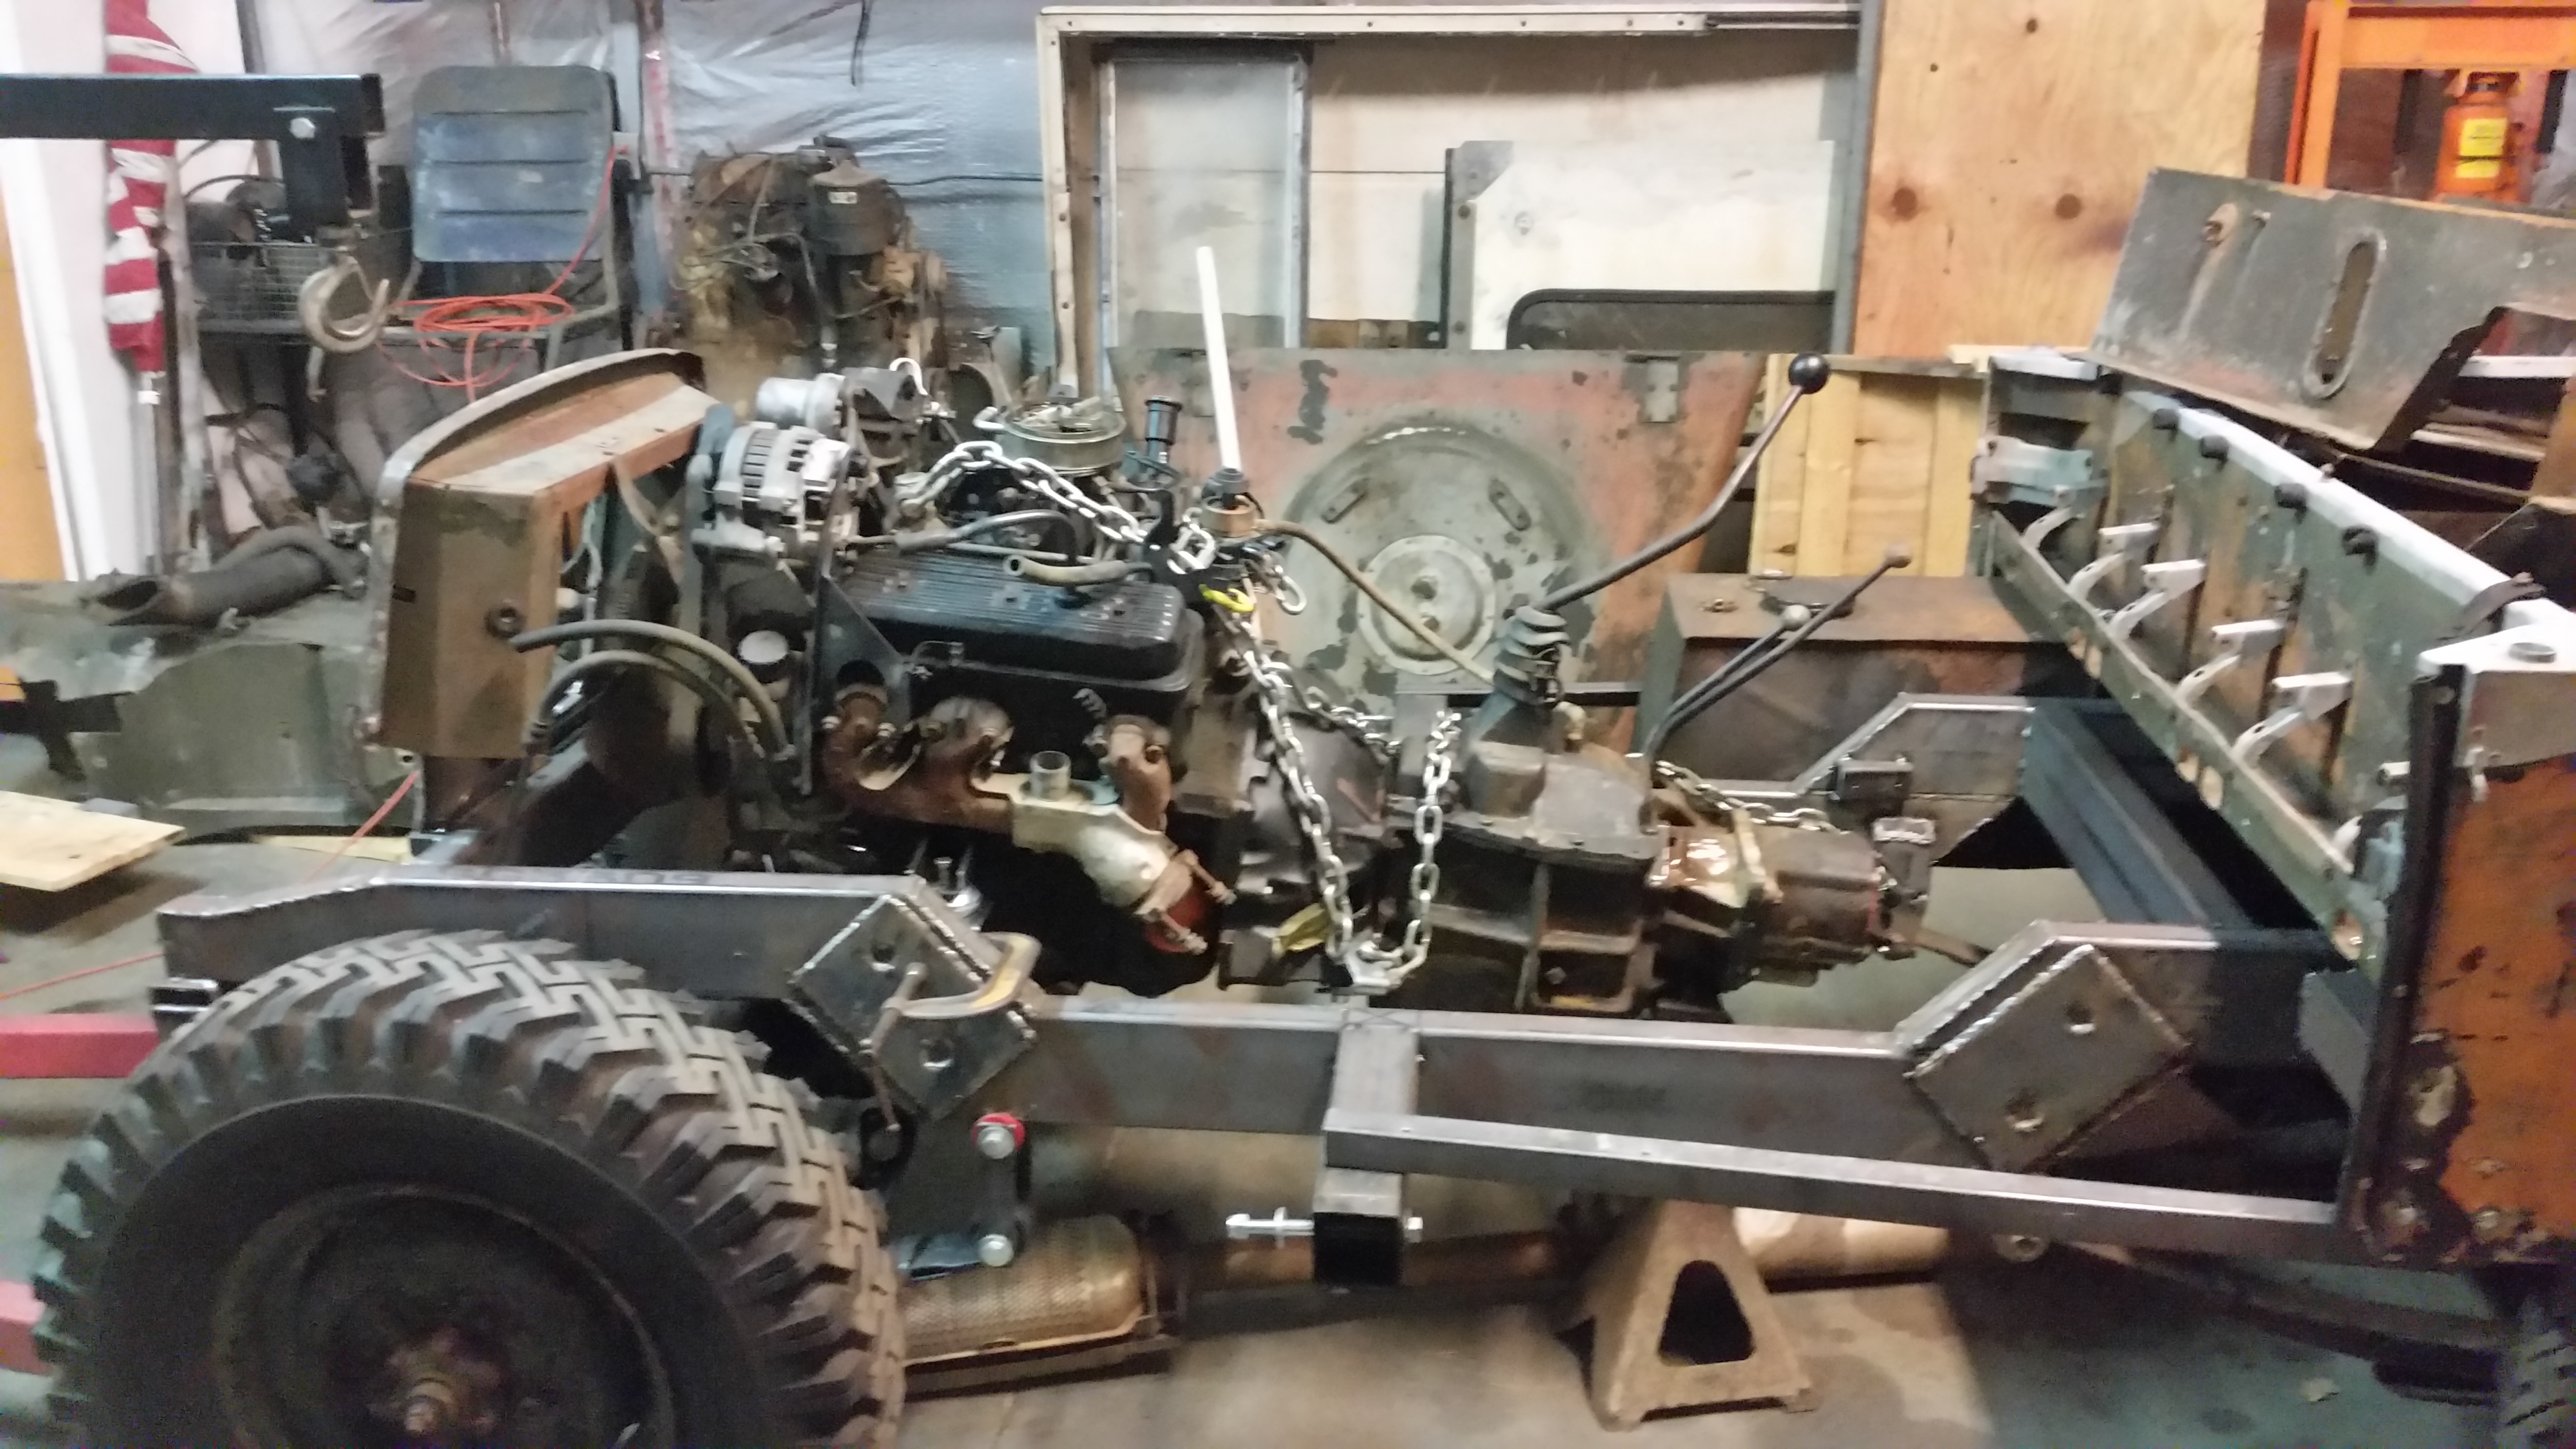
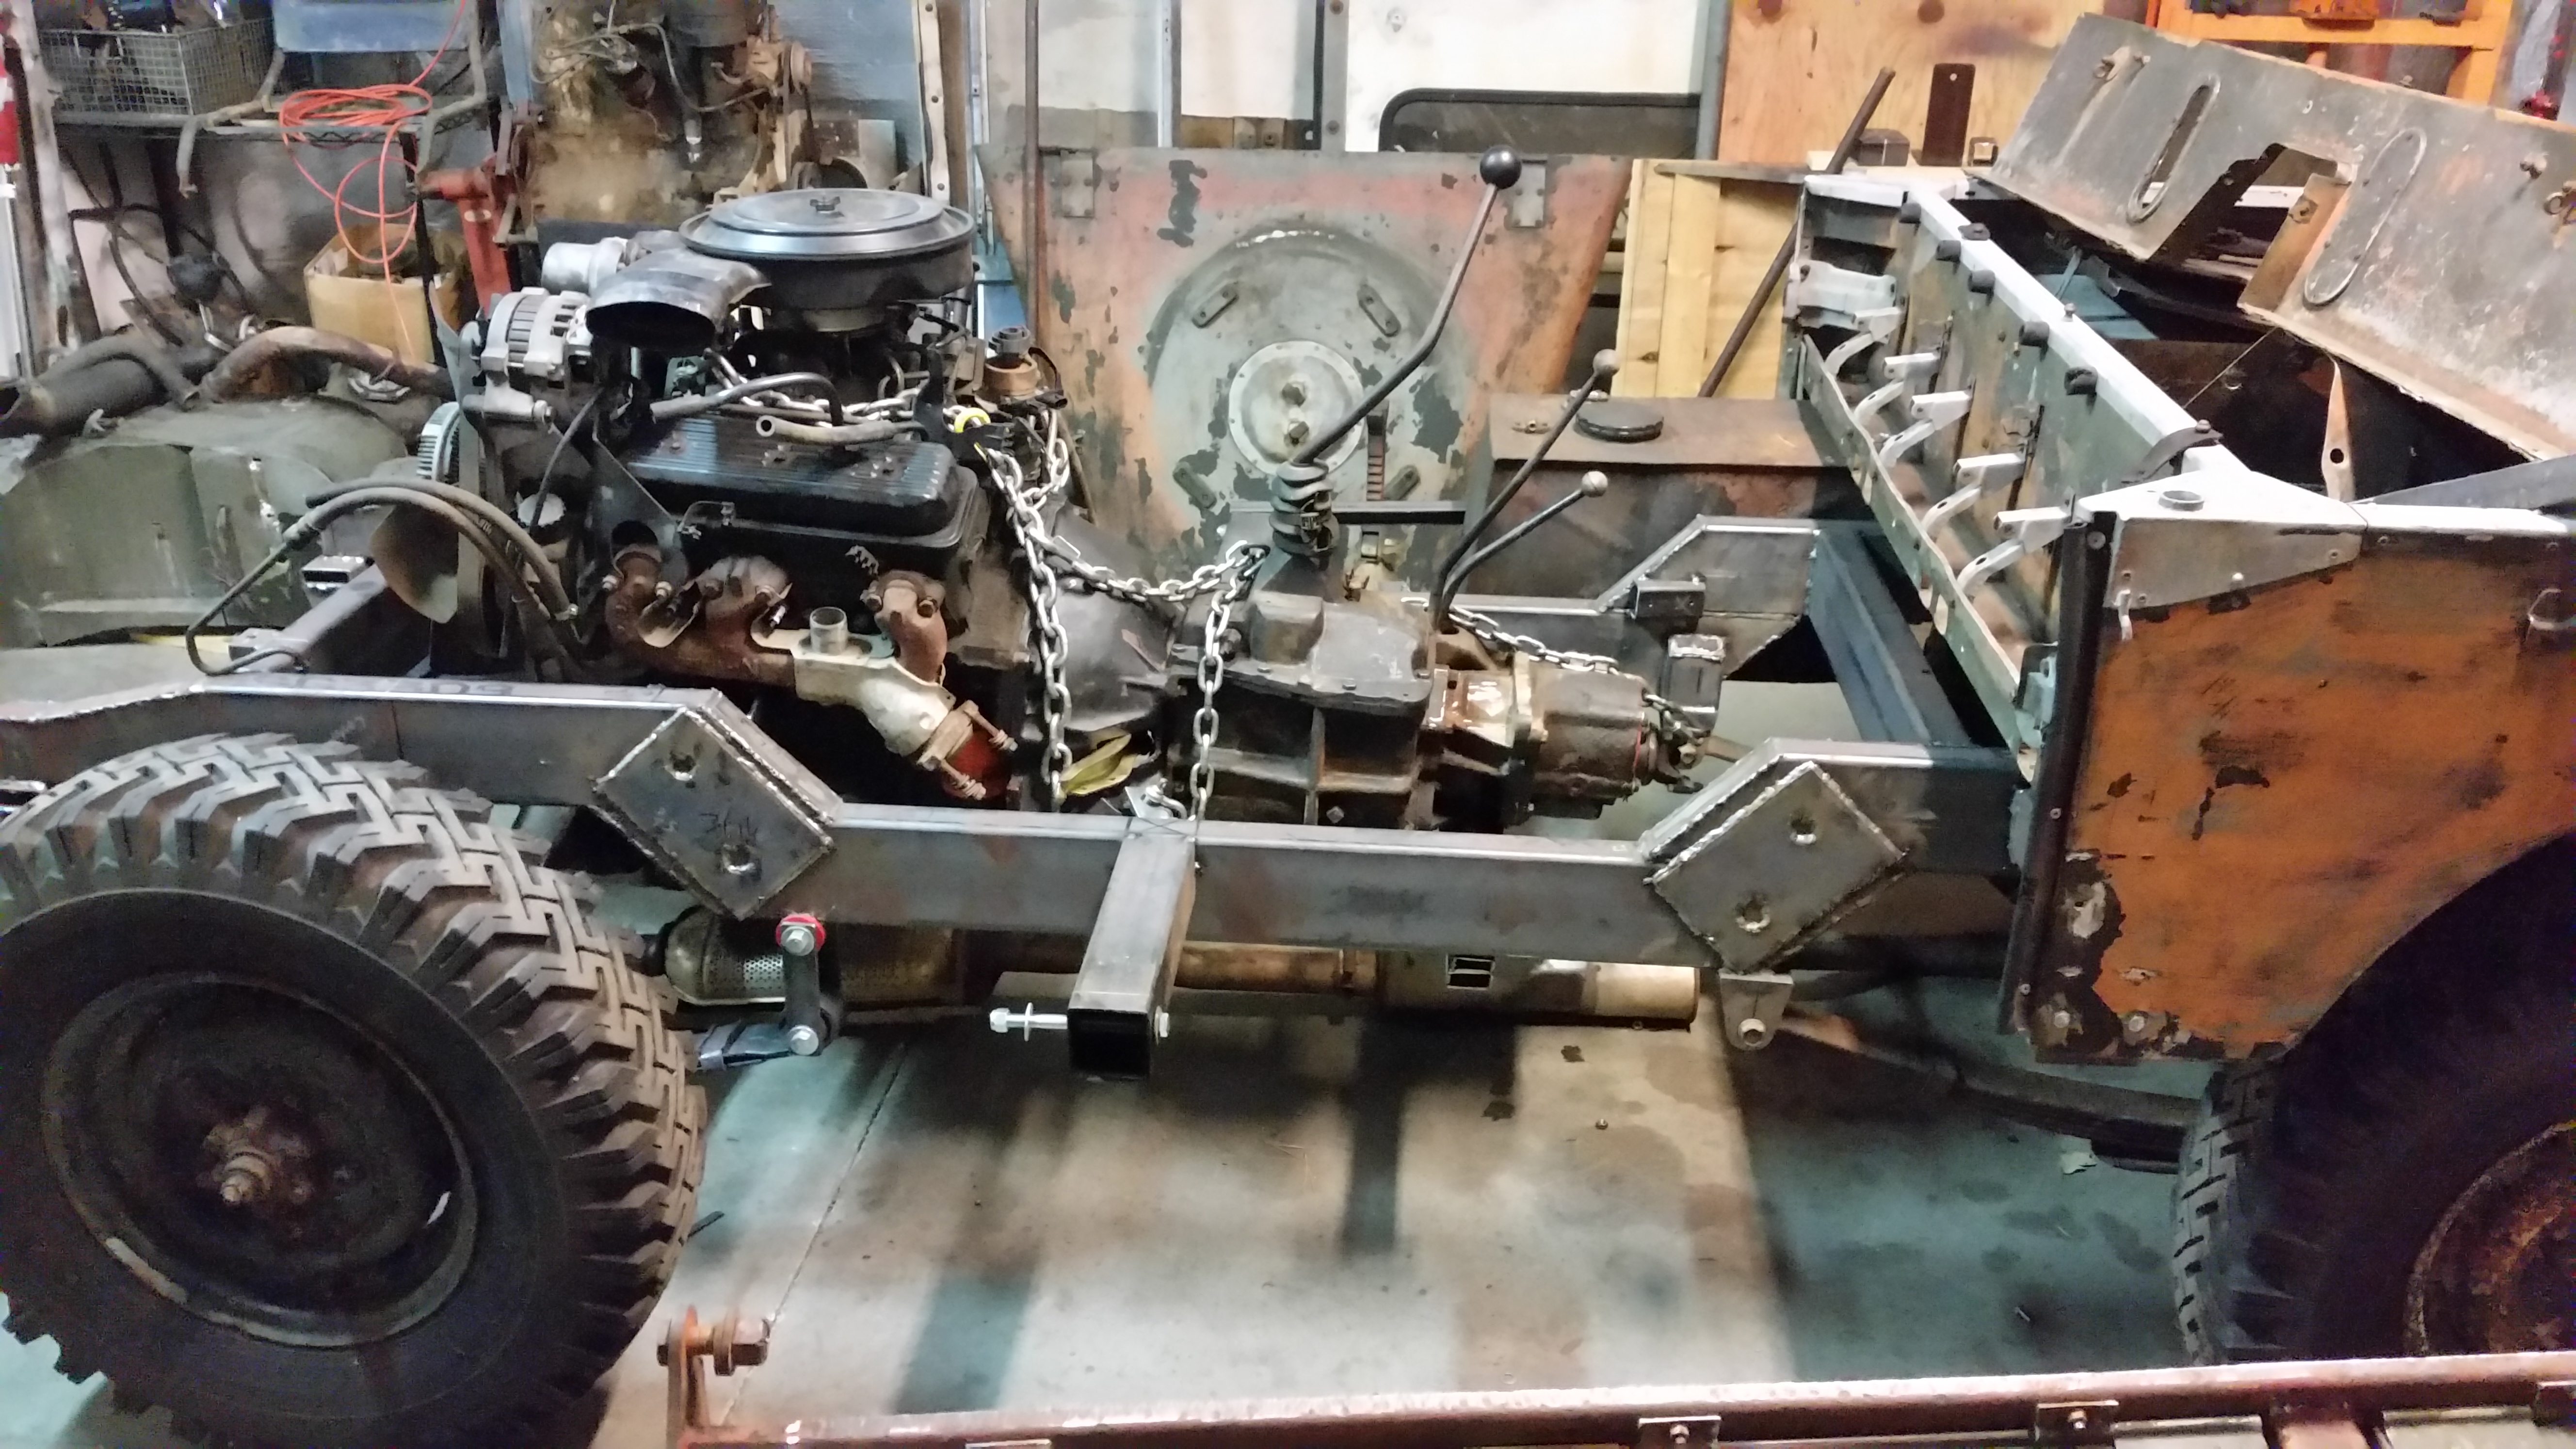
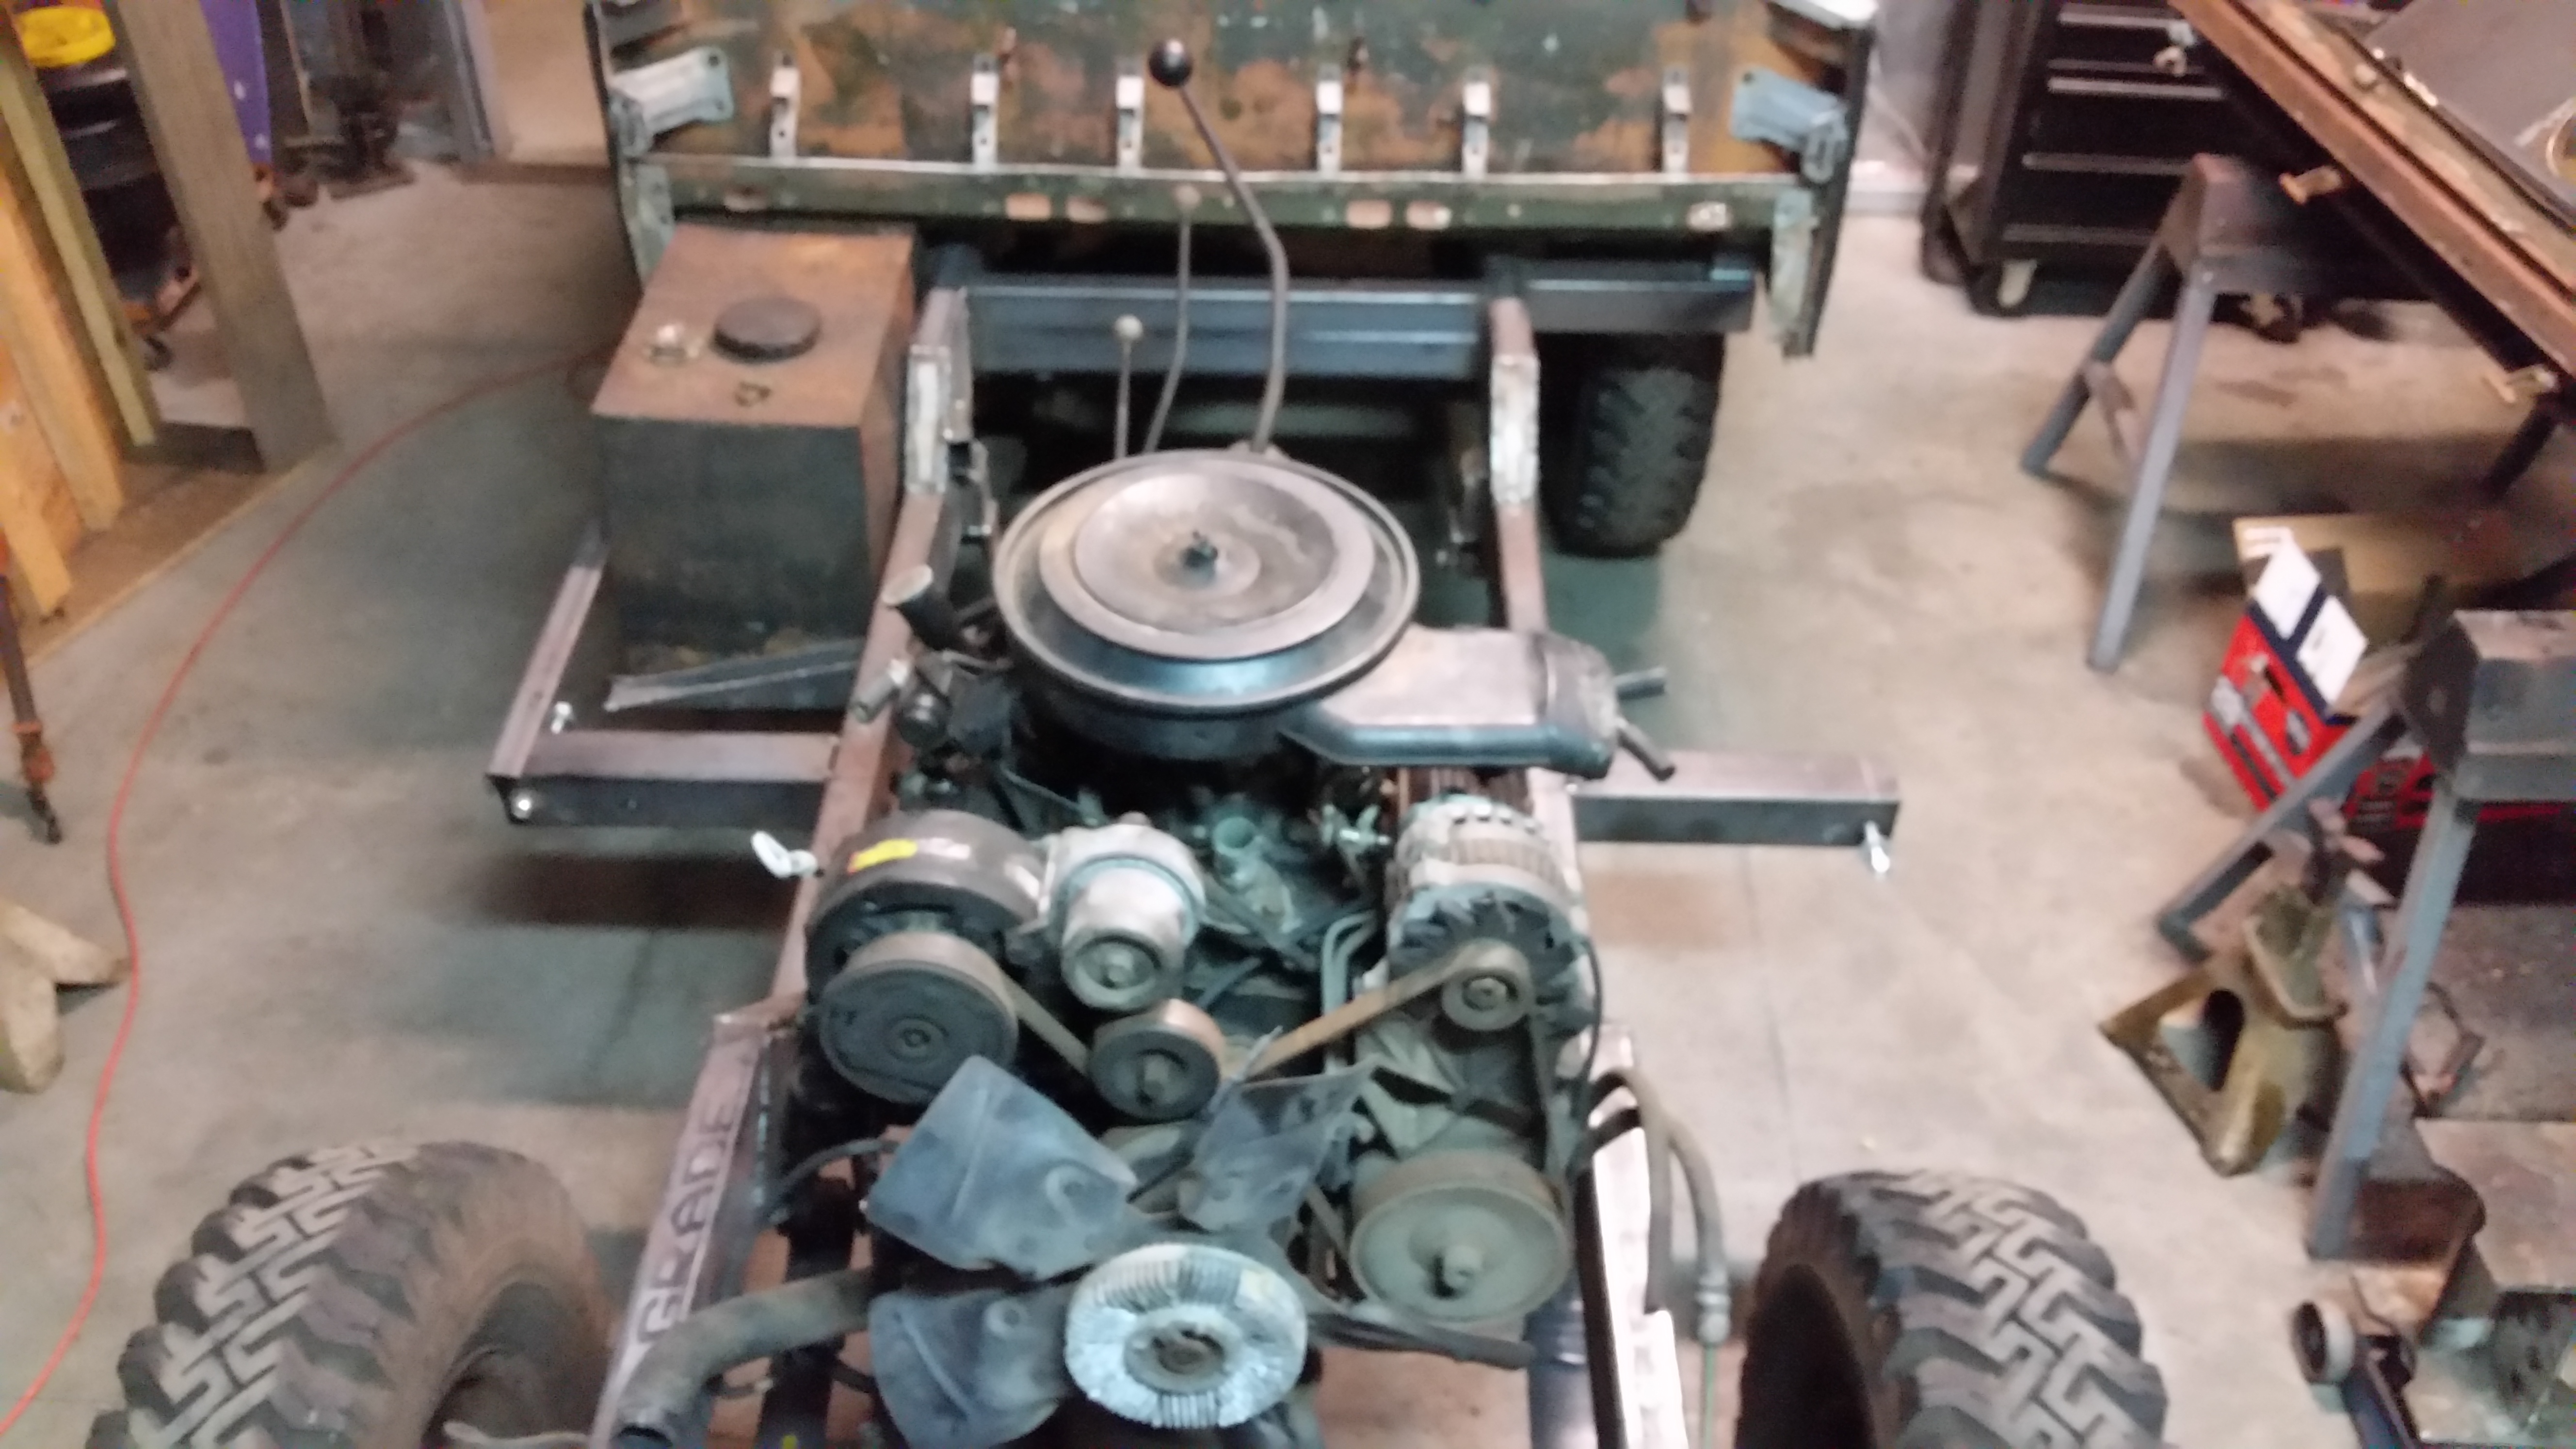
Well i put the hoist to work today and just placed the engine and gear boxes in the frame to do some rough measurements and see what I am dealing with. I will have to play the rear driveshaft game. Original rear shaft is 24 inches, i can get that with this combo. I might have to trim the grill more and run an electric fan but I am not opposed to that. This week i will get to making a crossmember to help mock it up and see what i have to make motor mounts. It does fit nice between the rails, Exhaust looks like it will clear pretty good.
Y4XEWFP.jpg

iPHuL0r.jpg


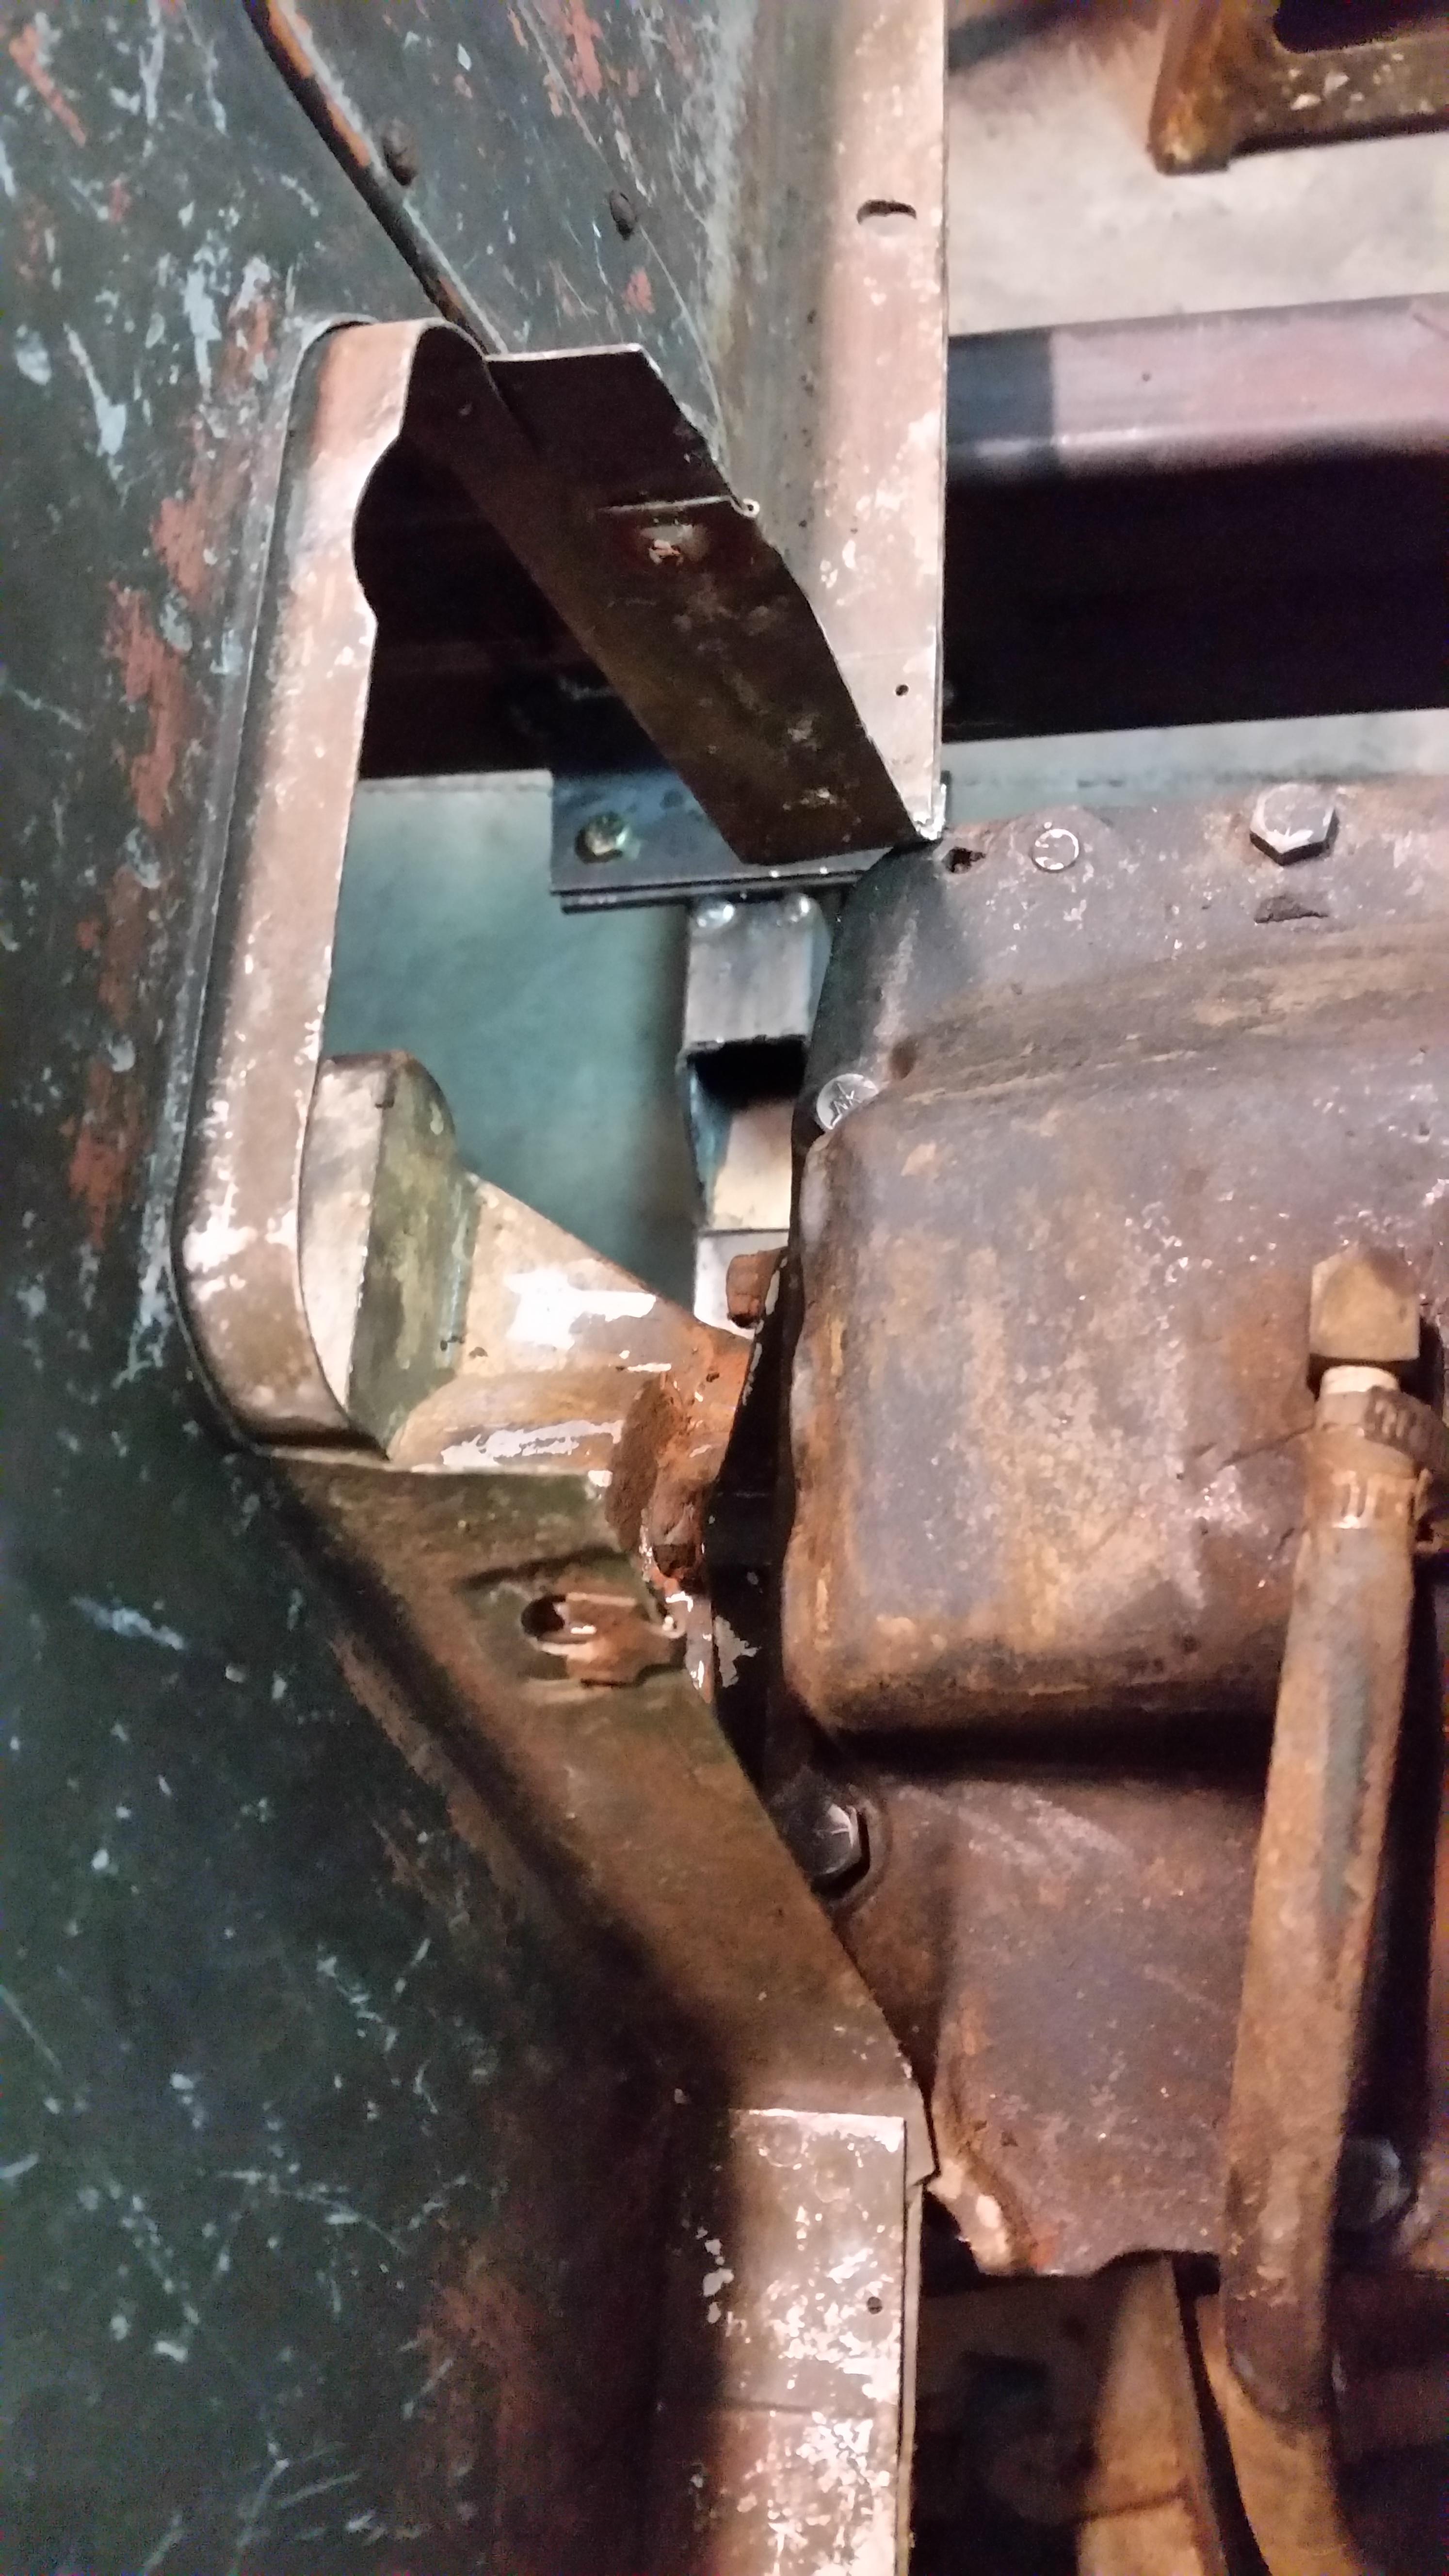
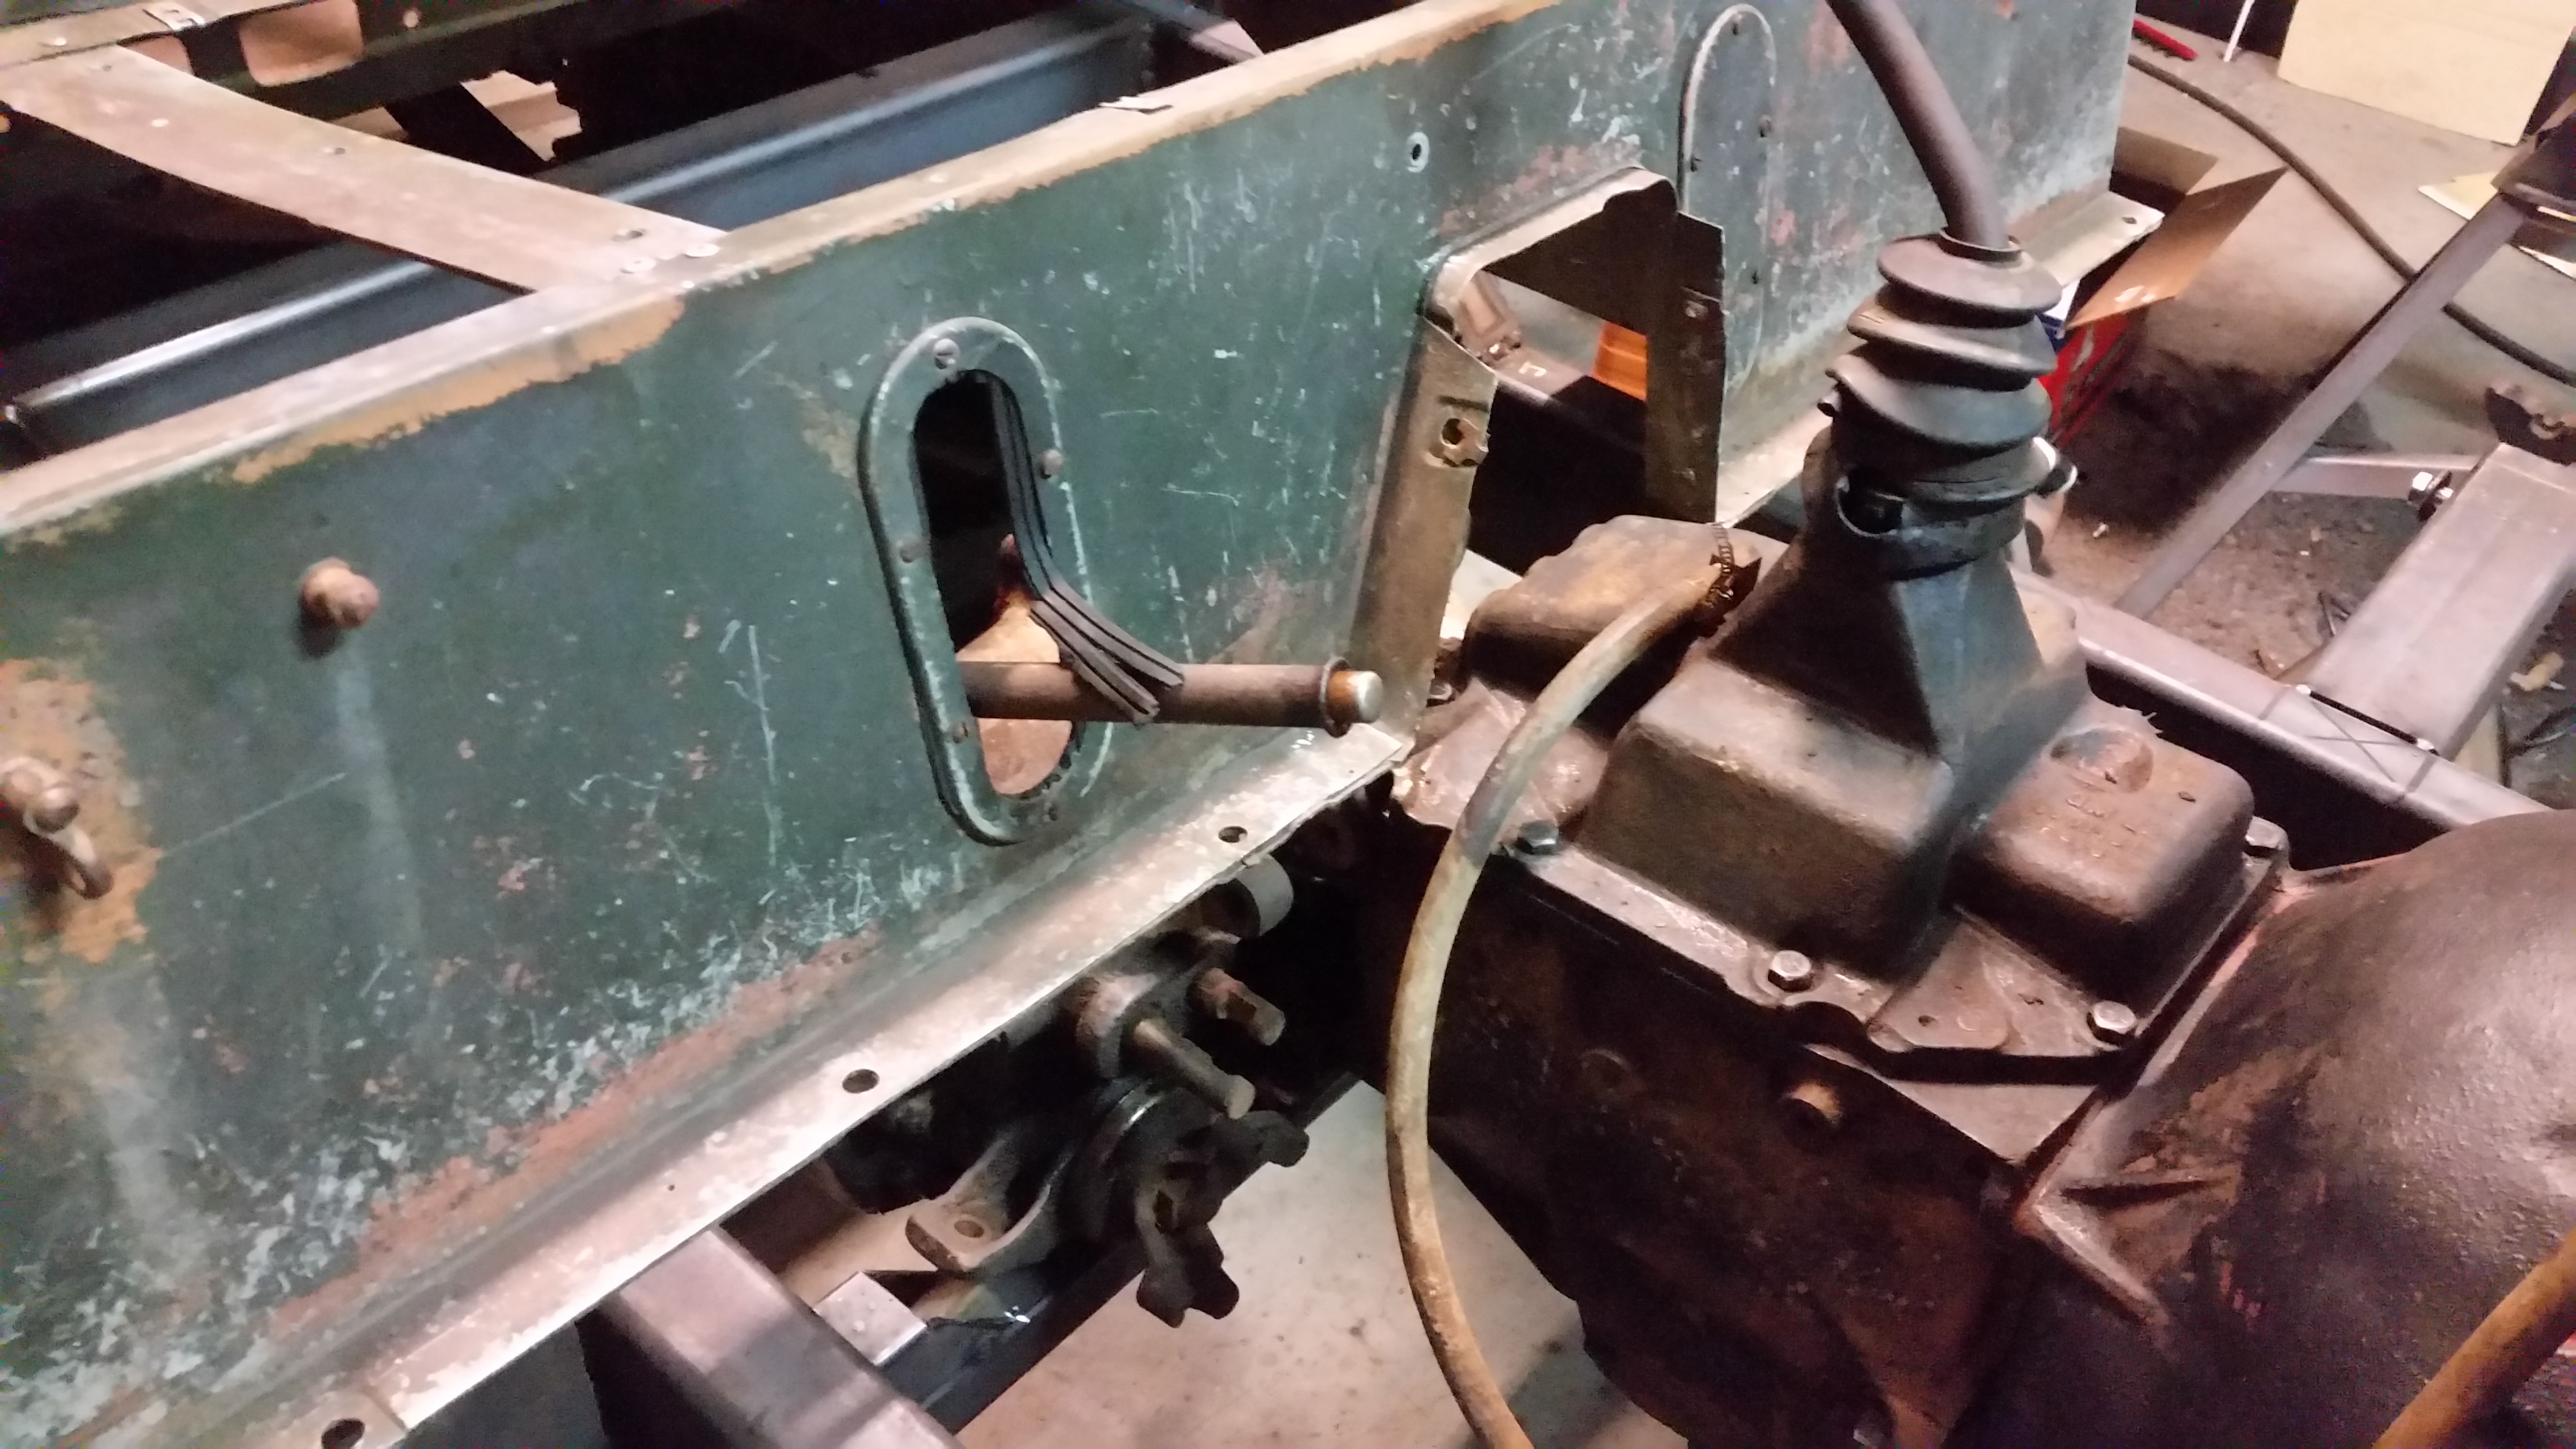
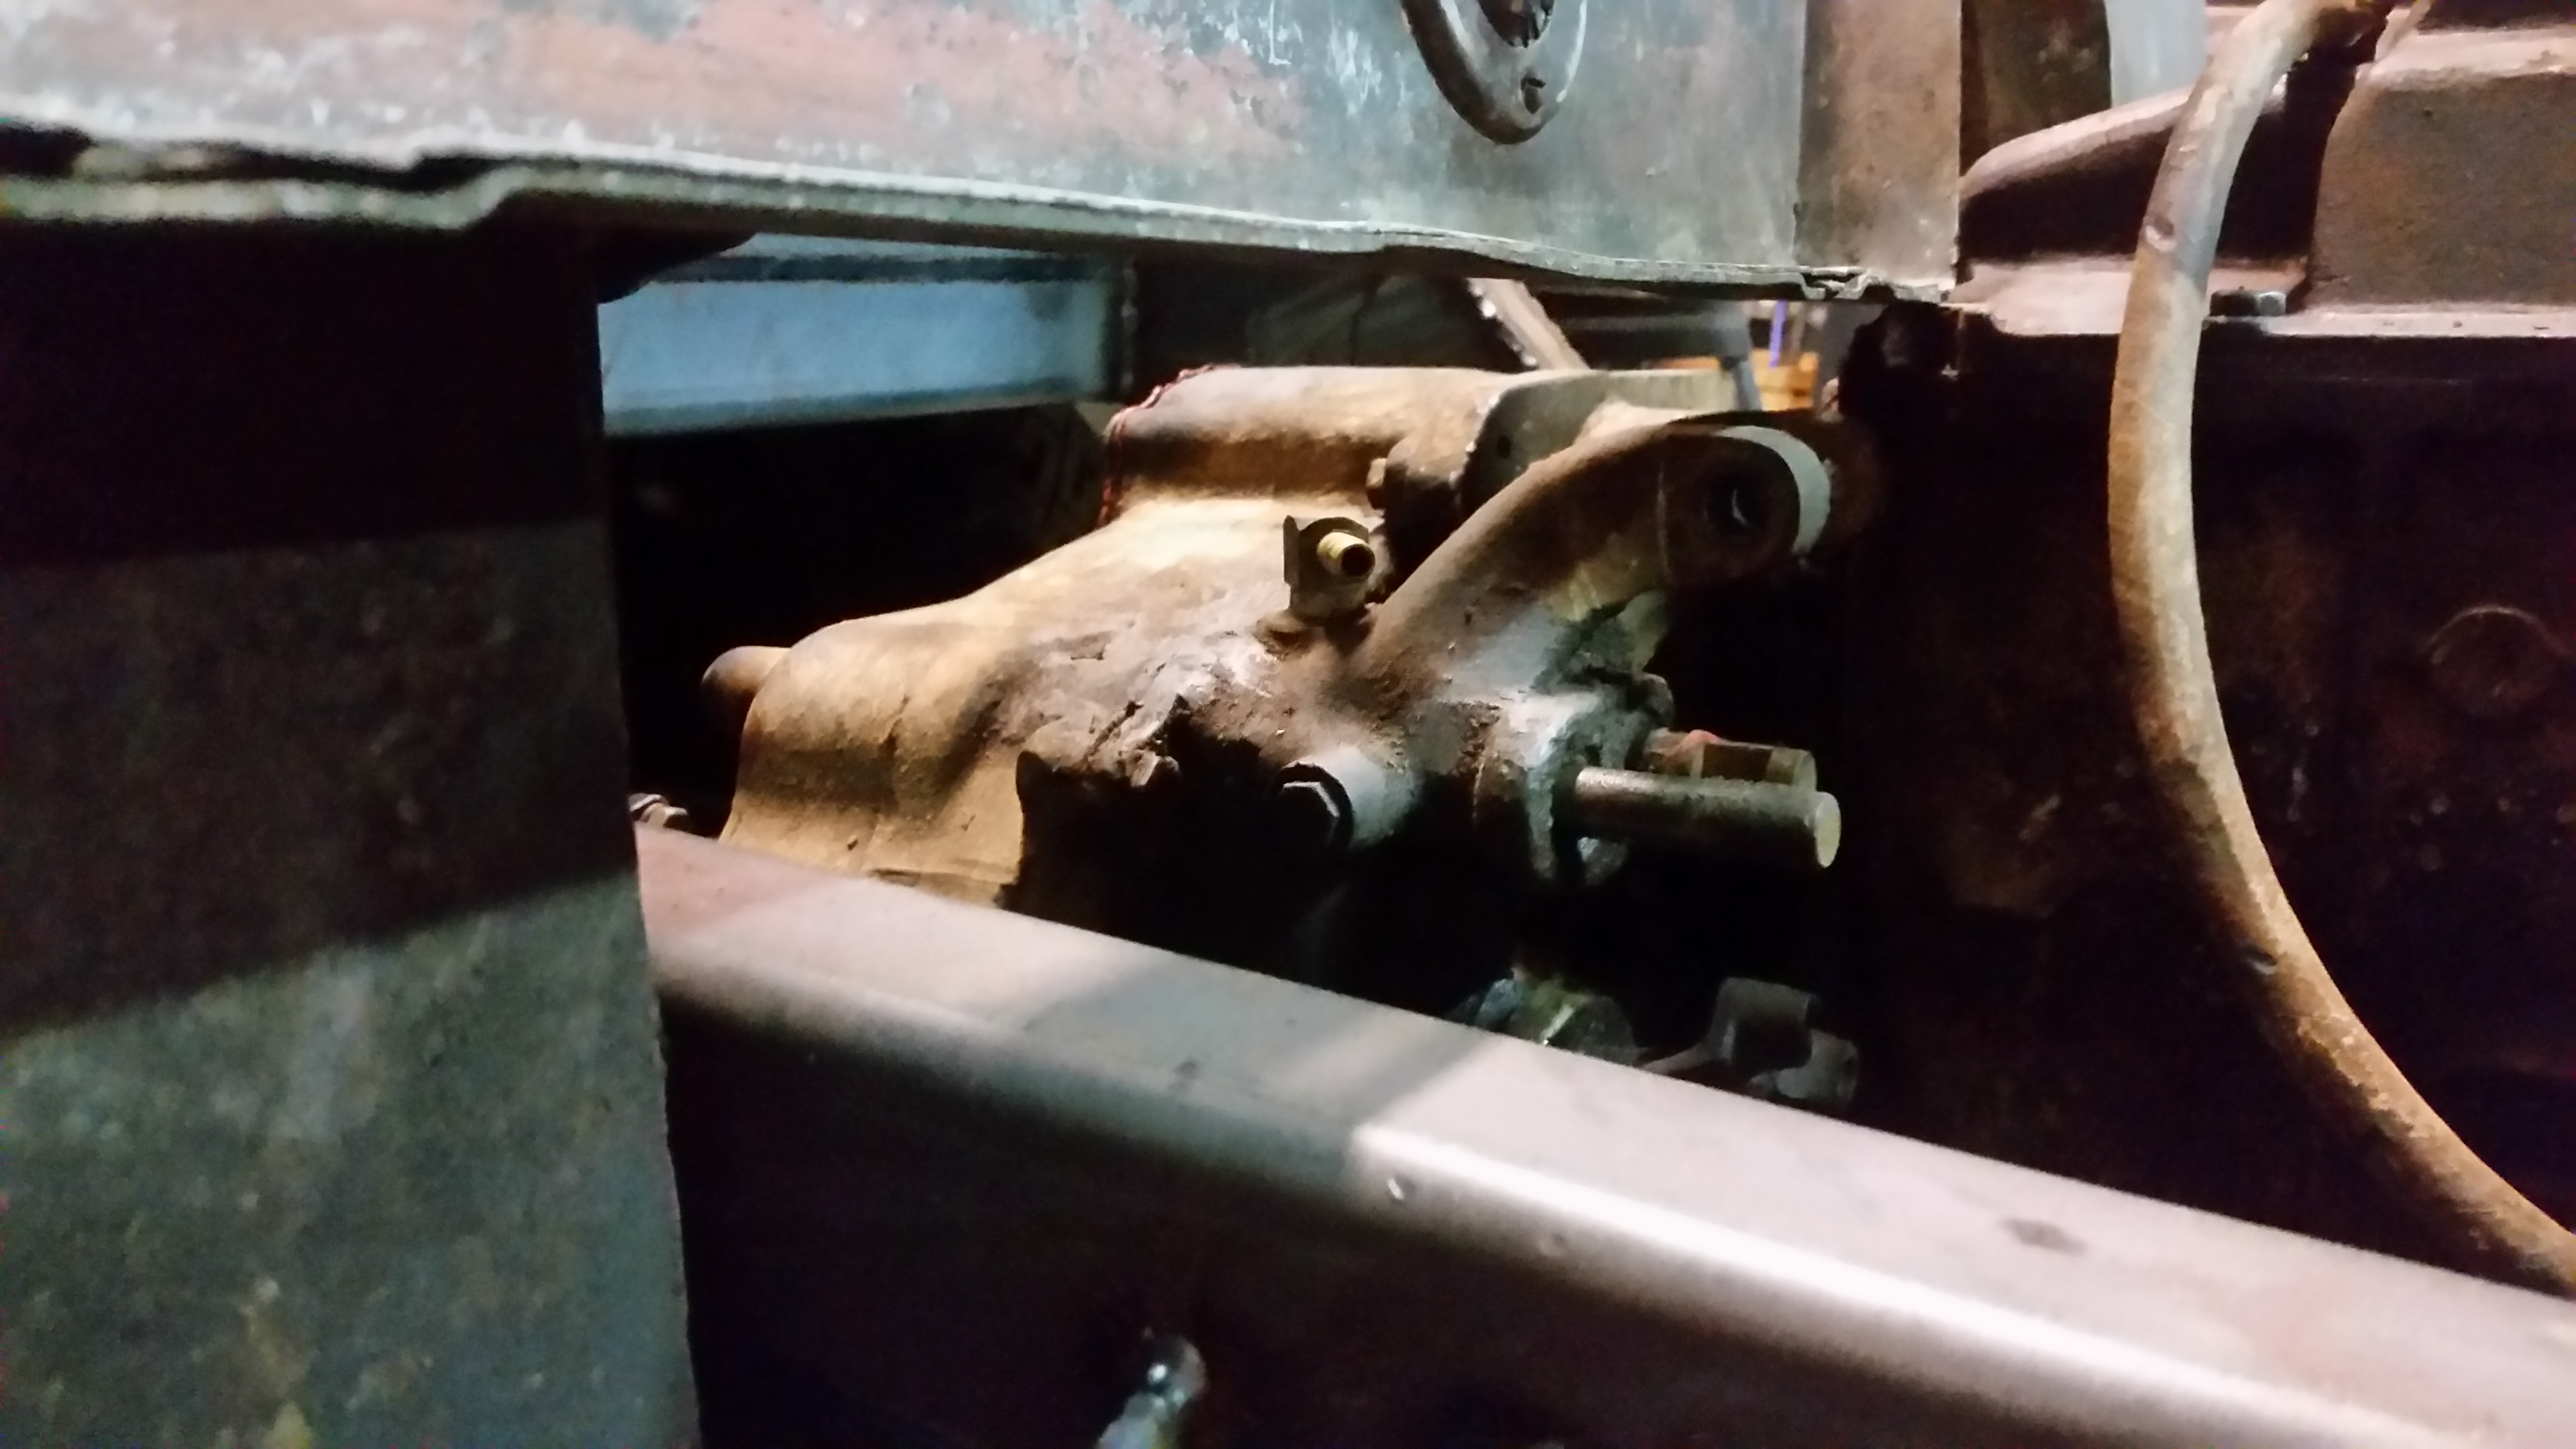
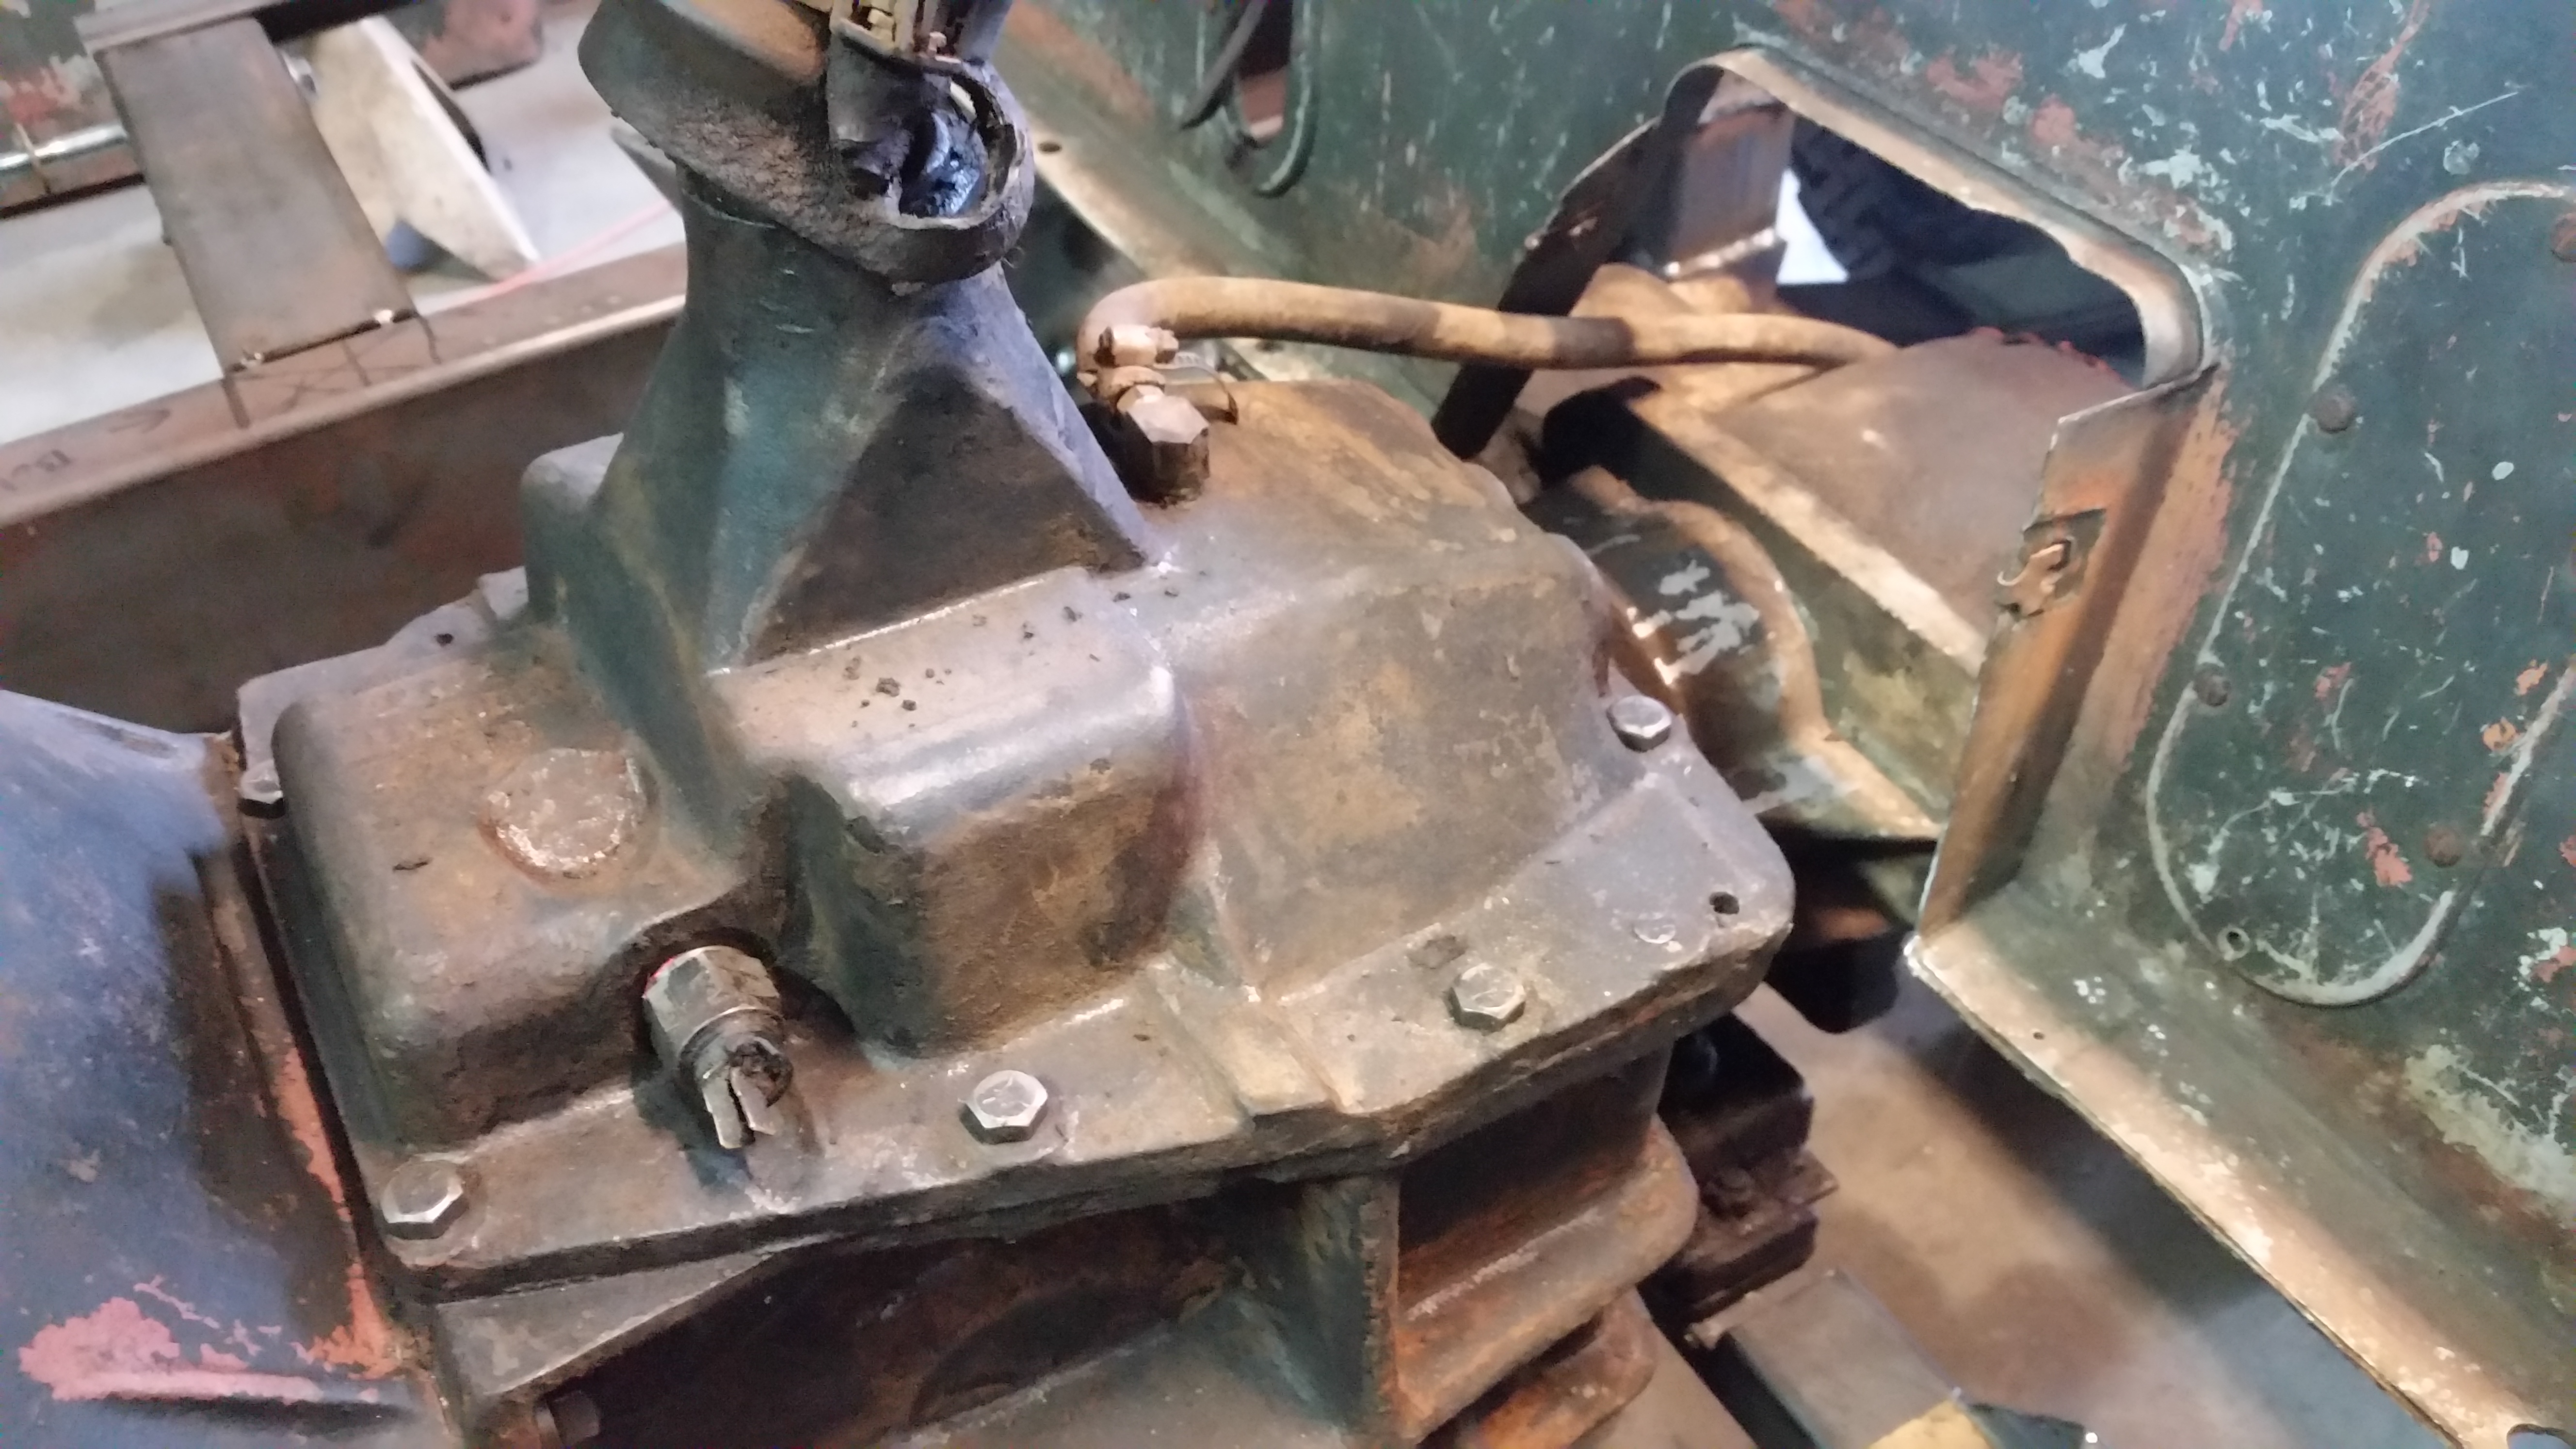
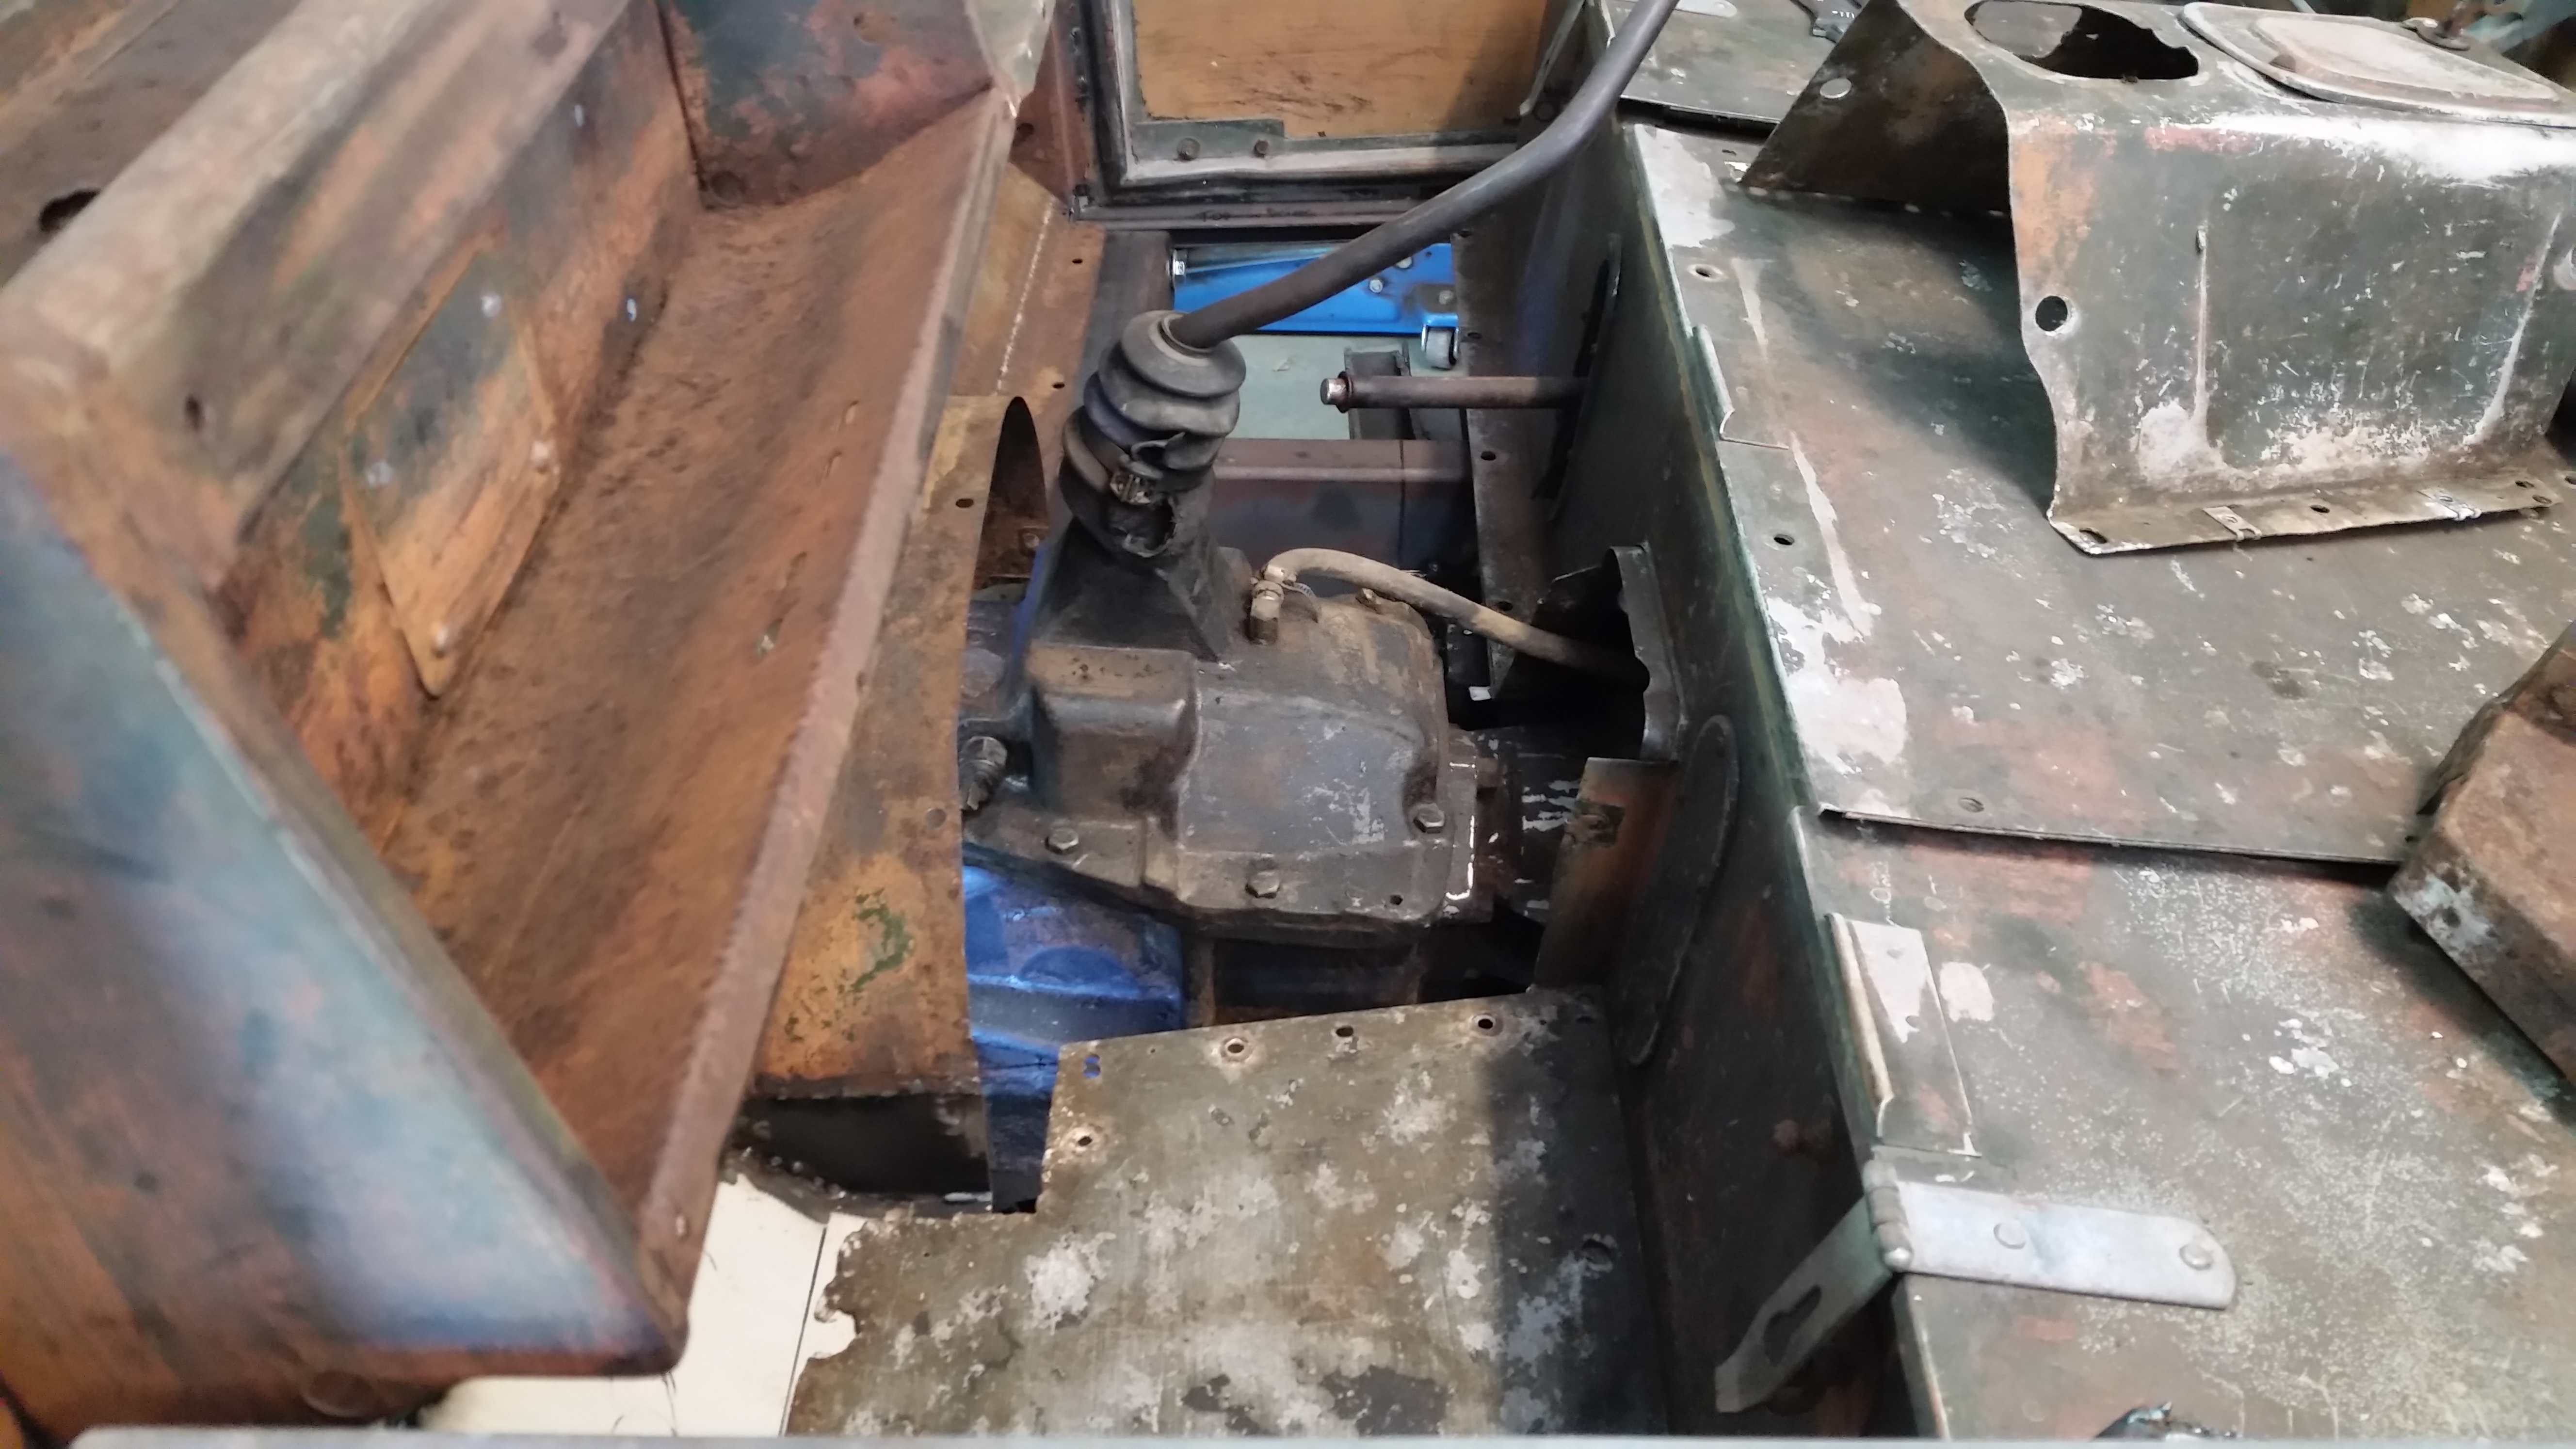
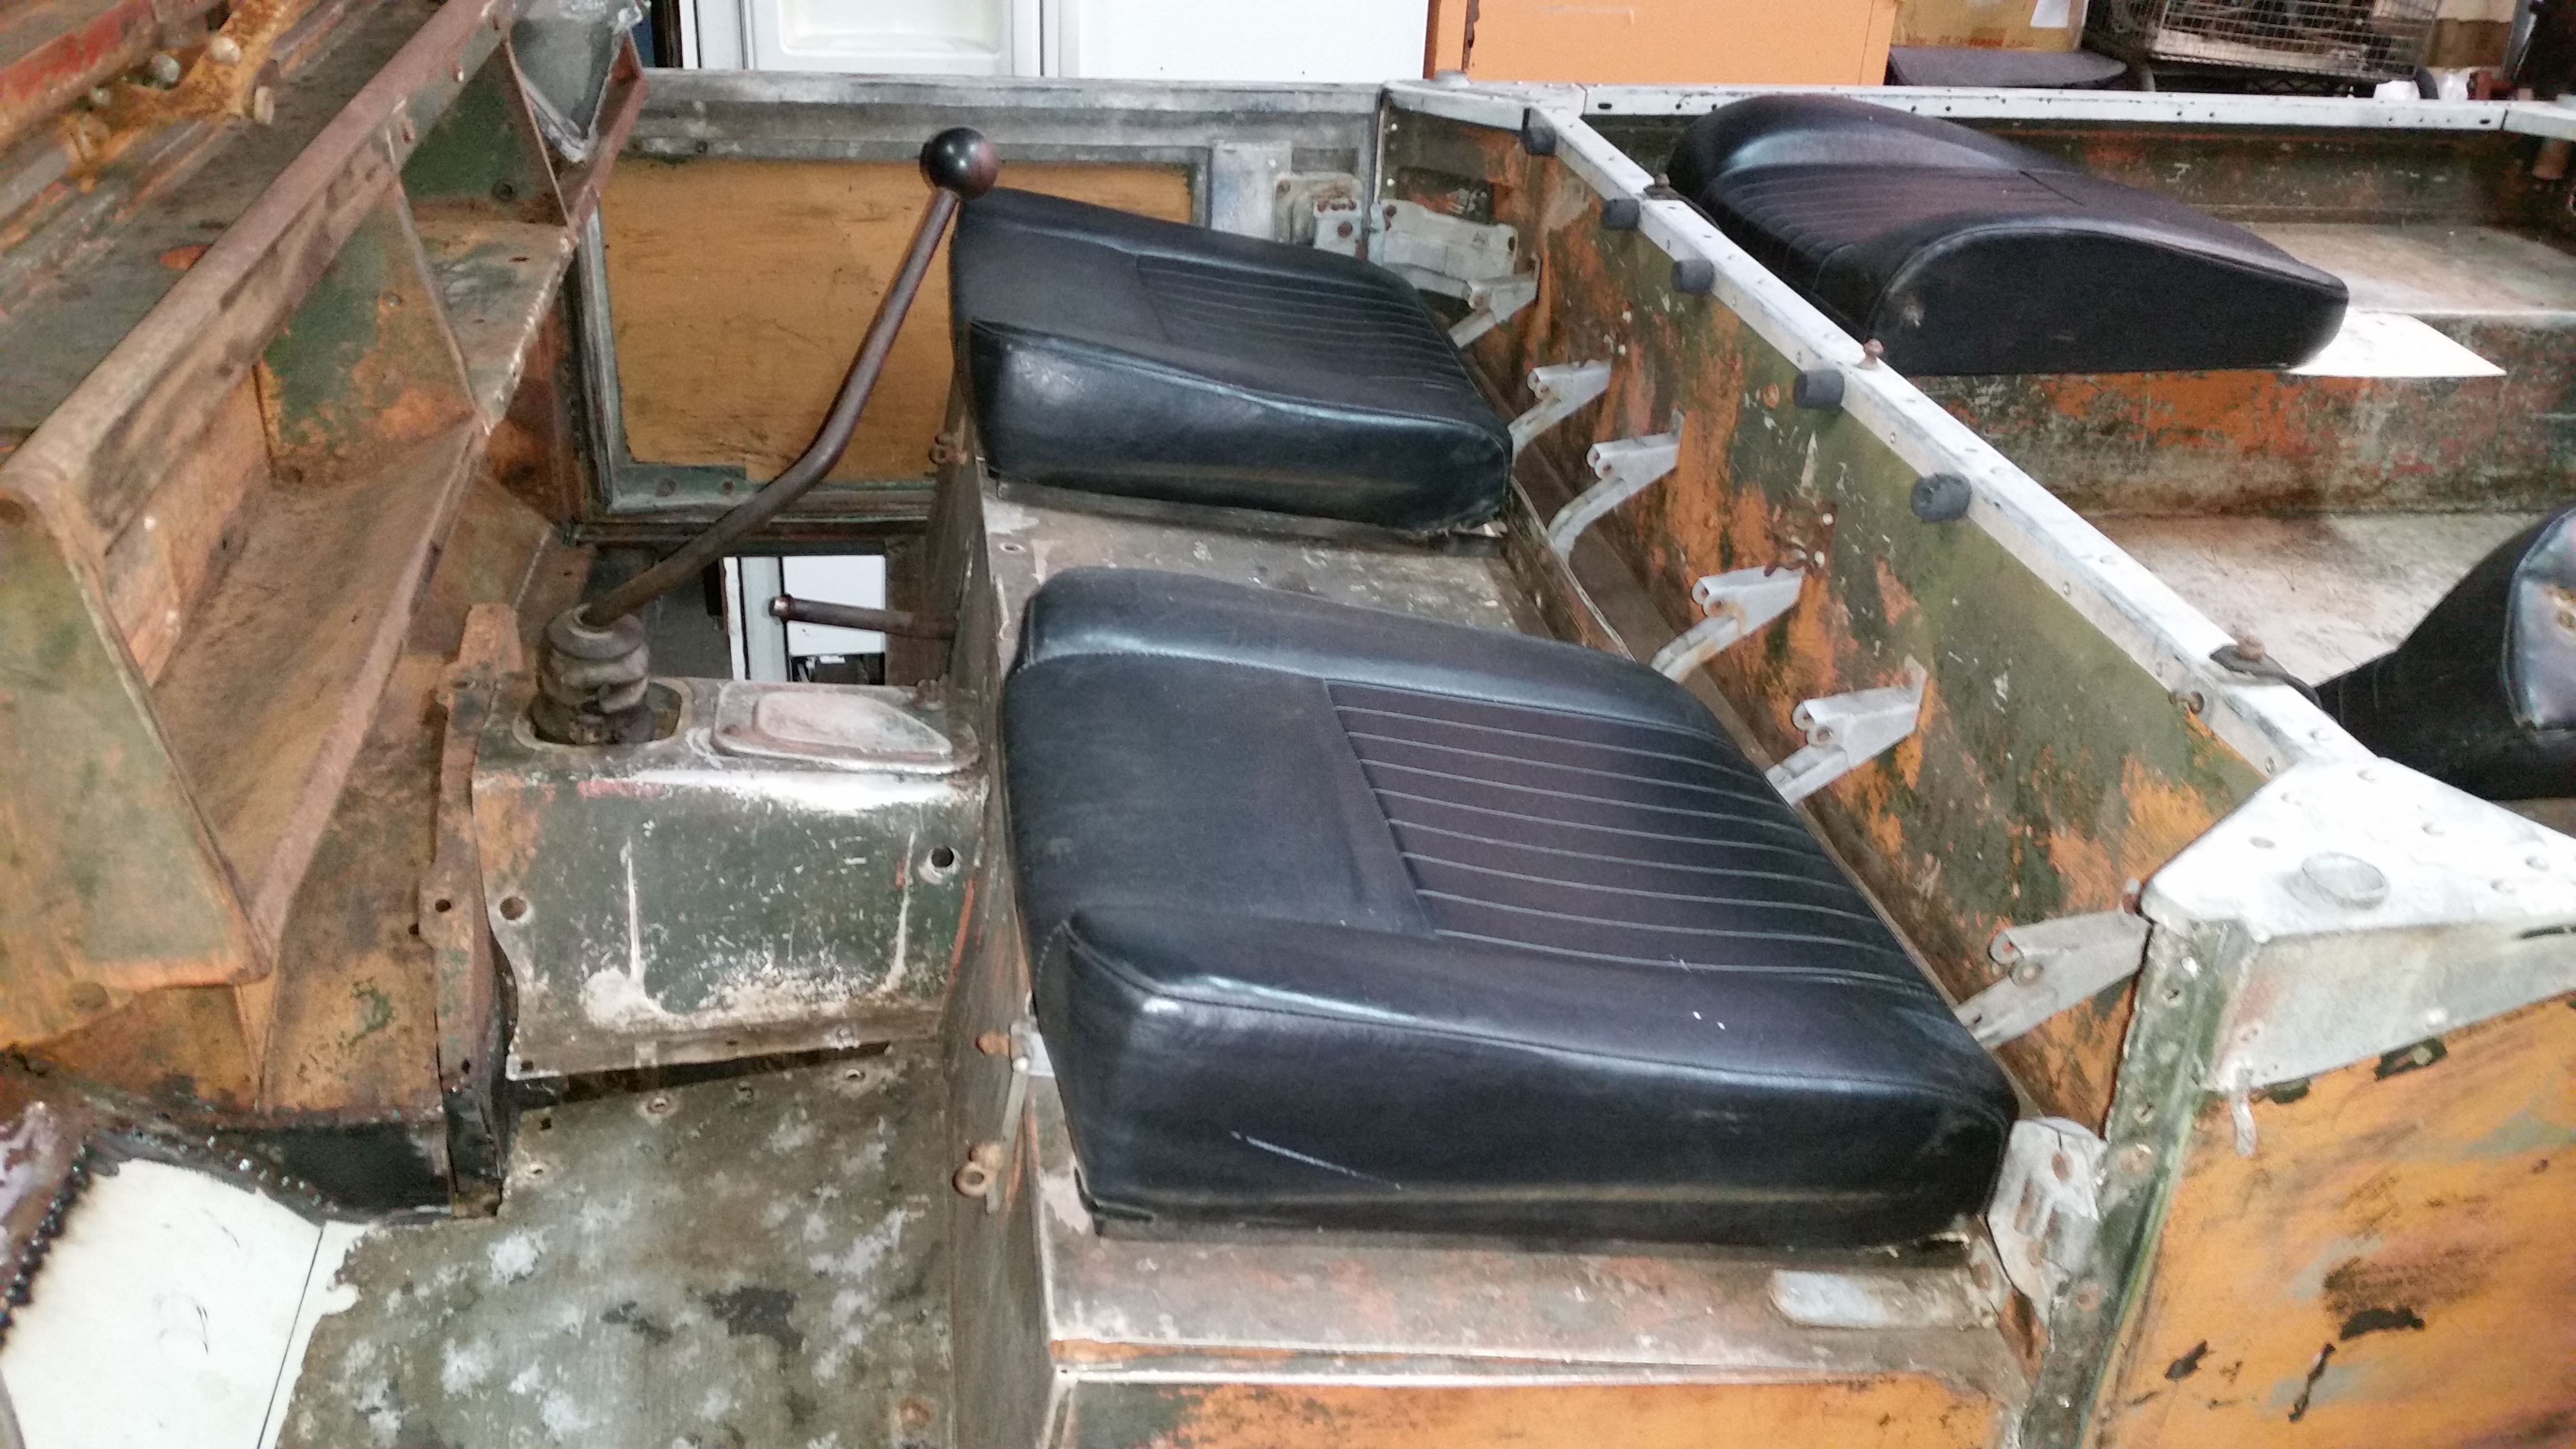
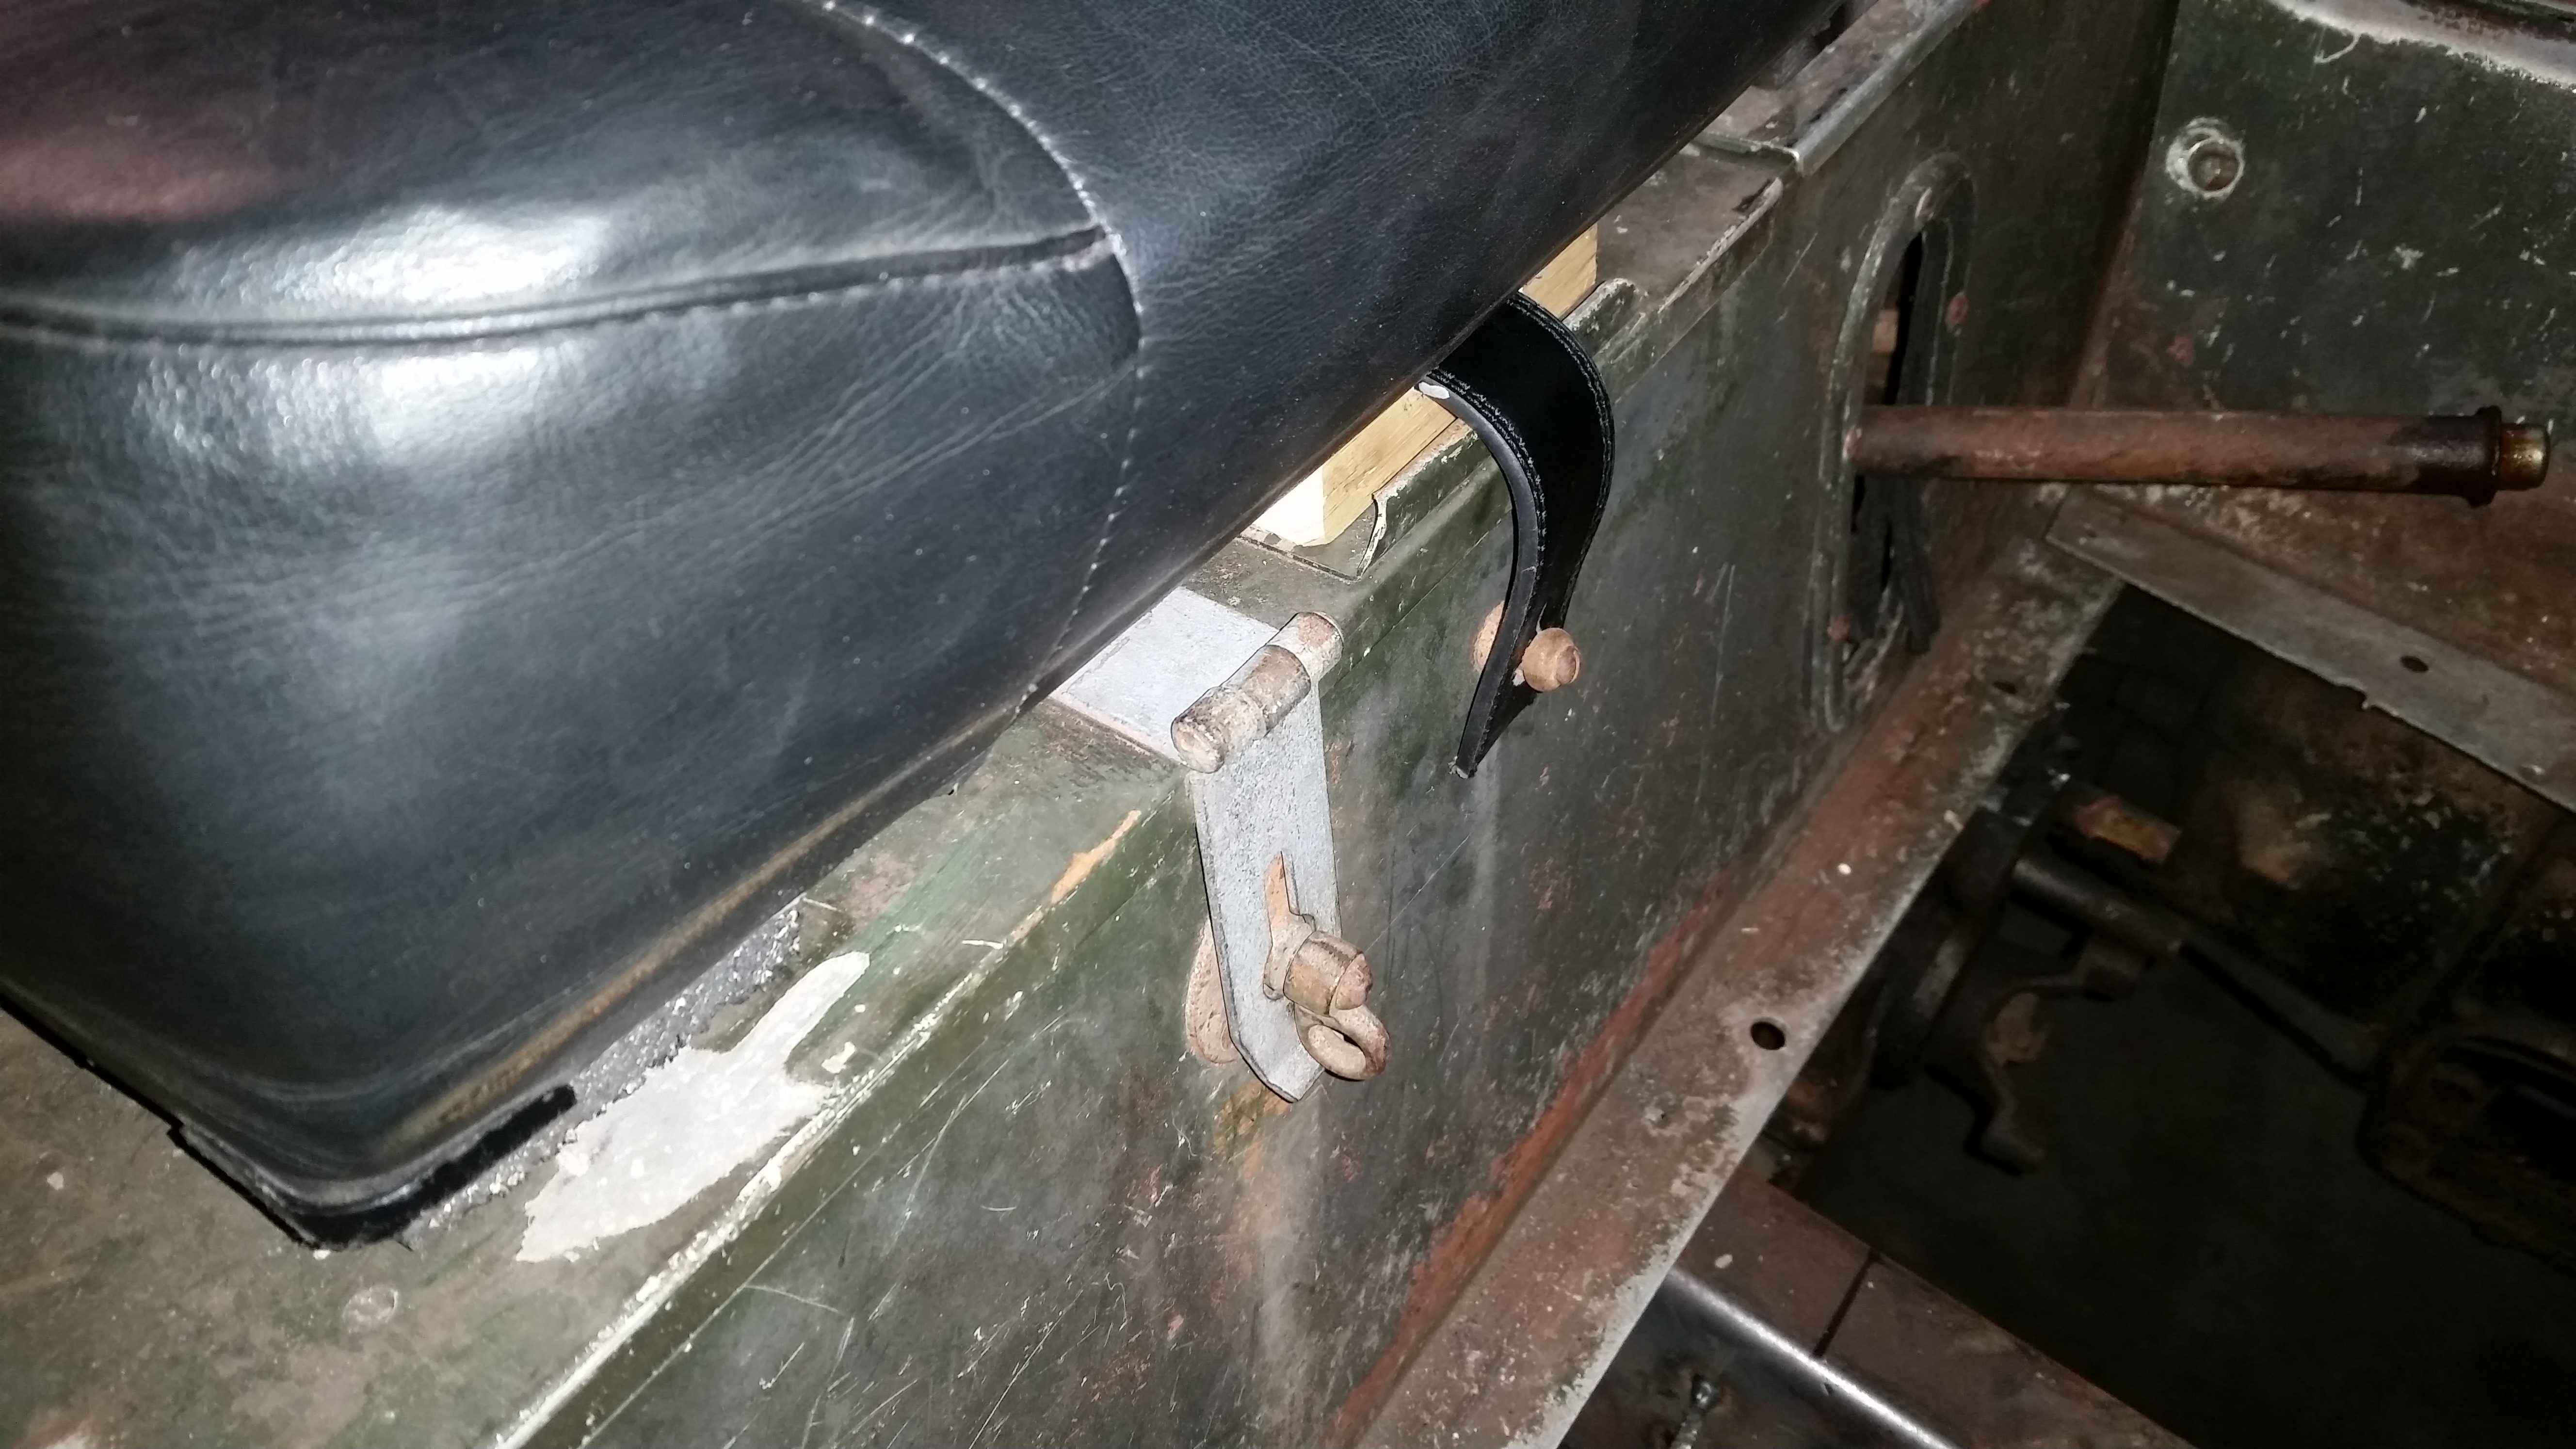
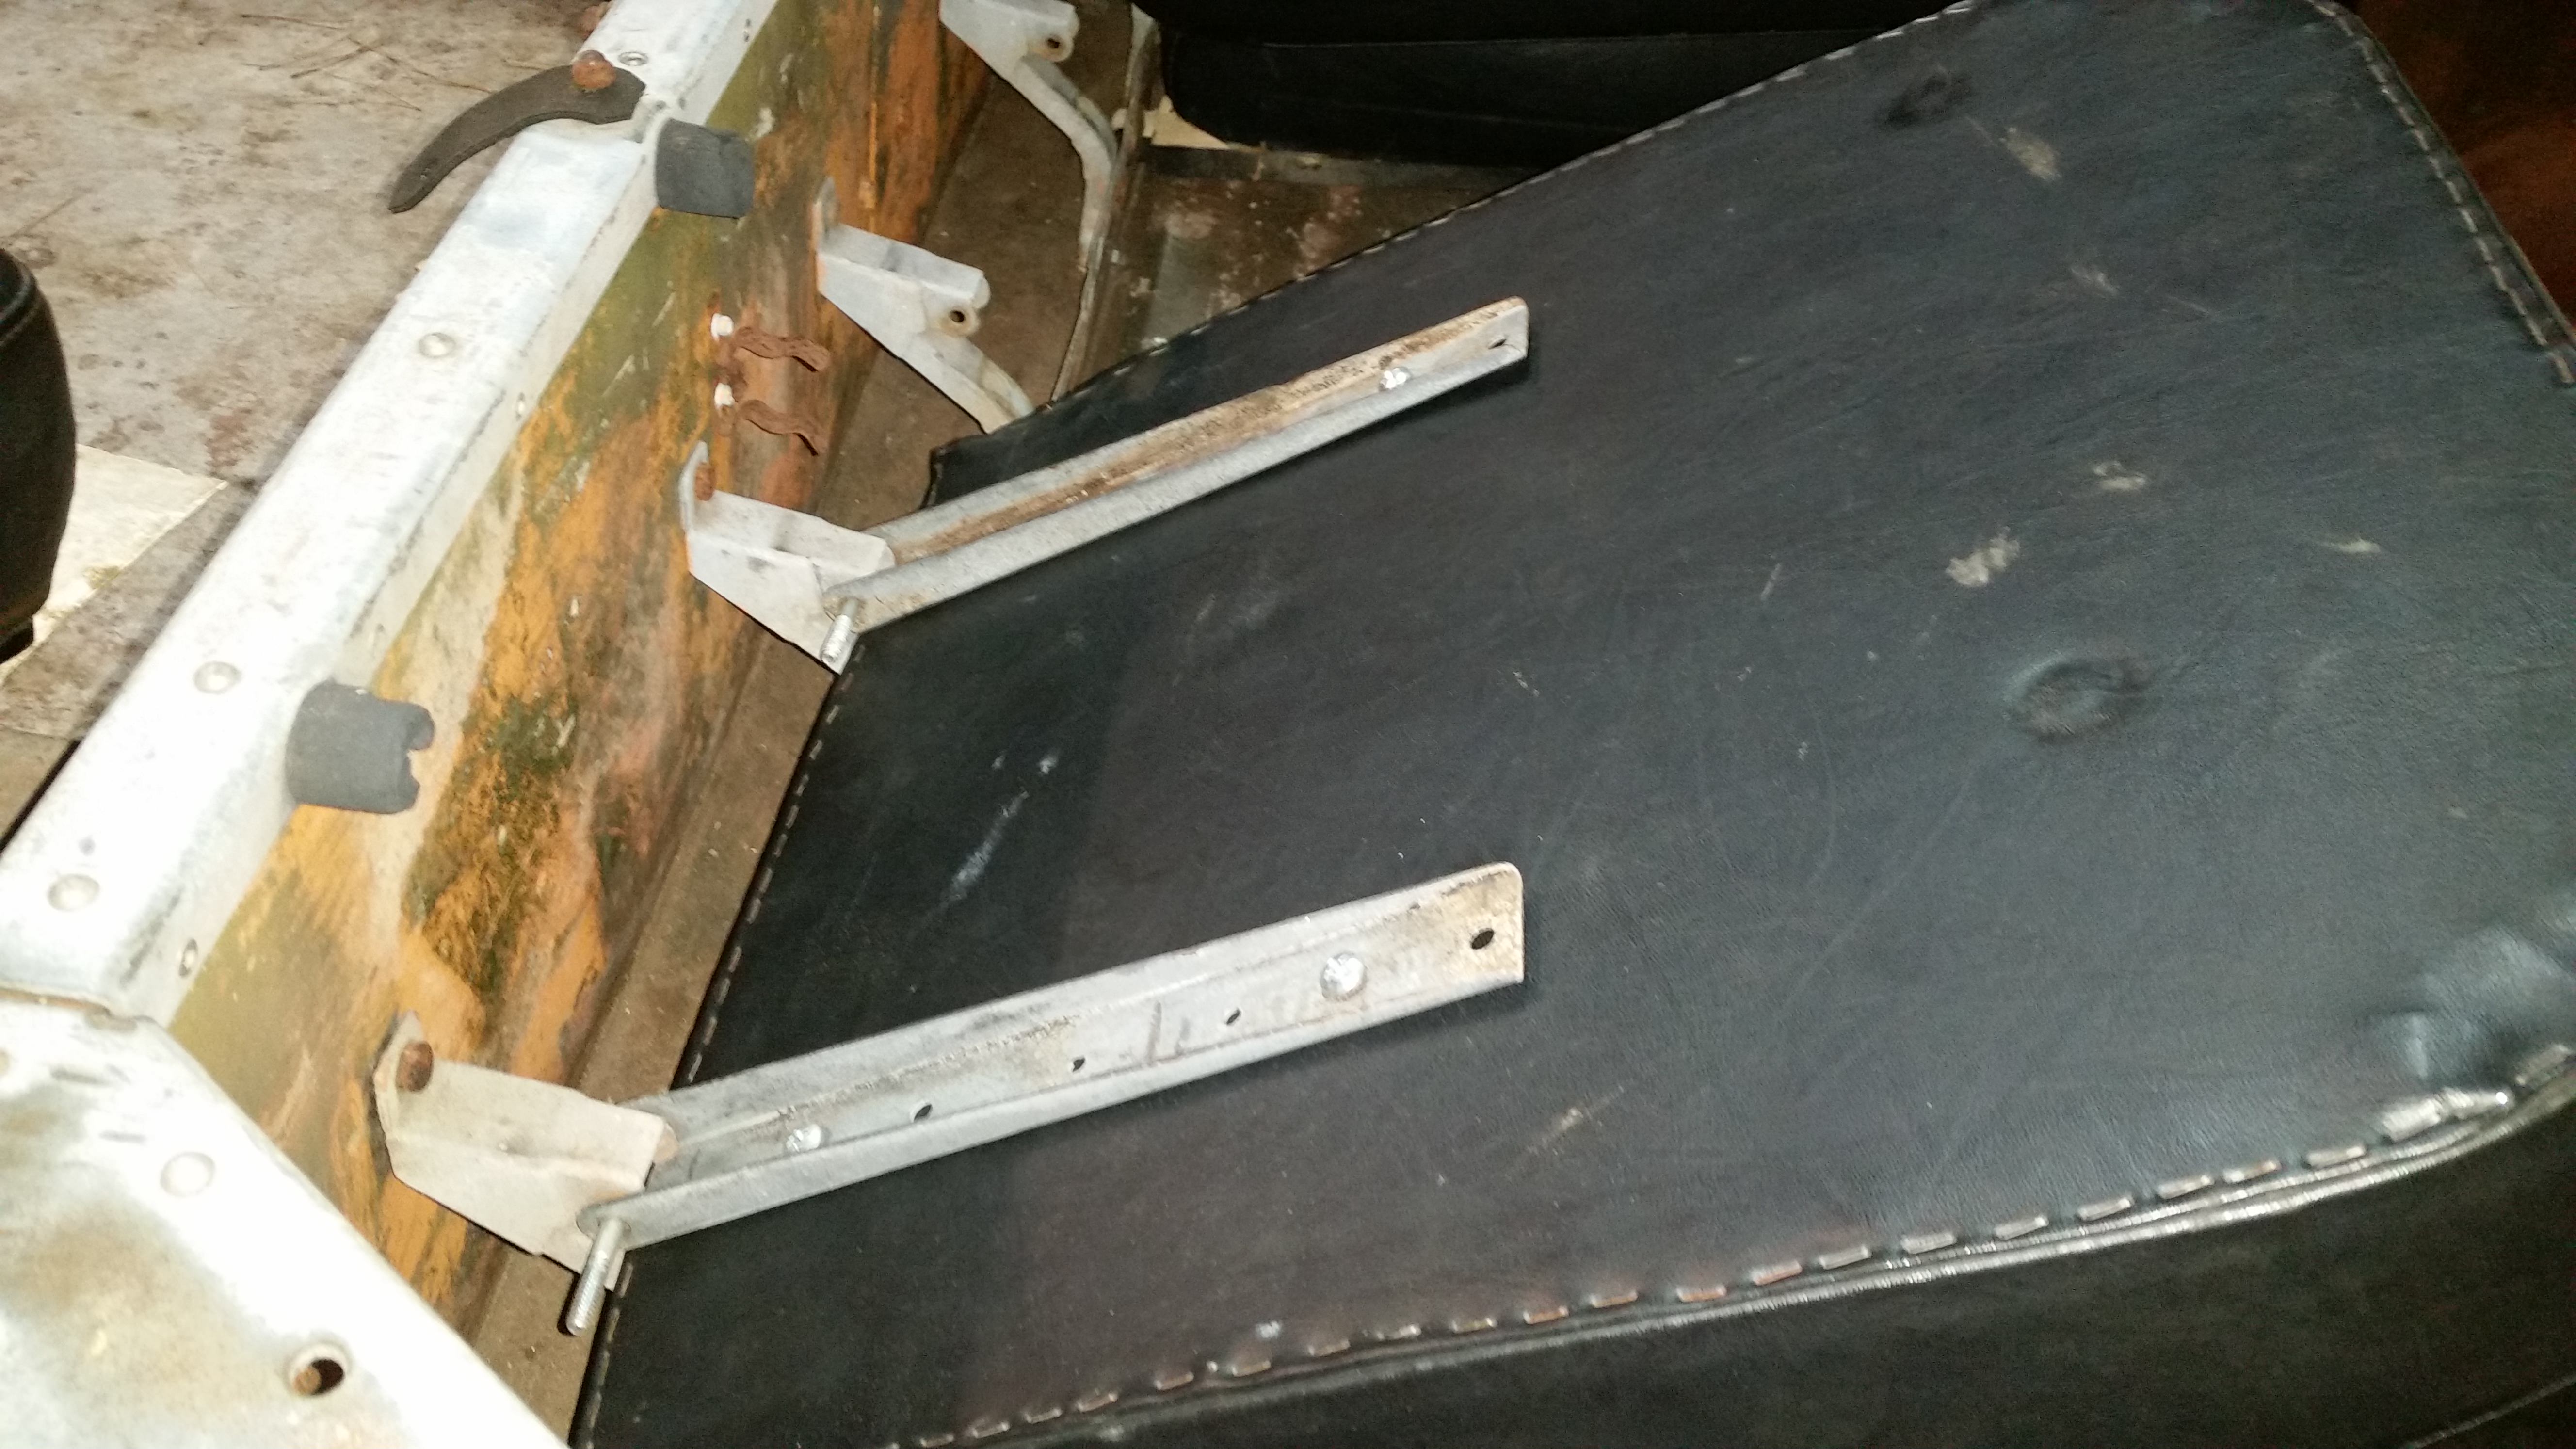
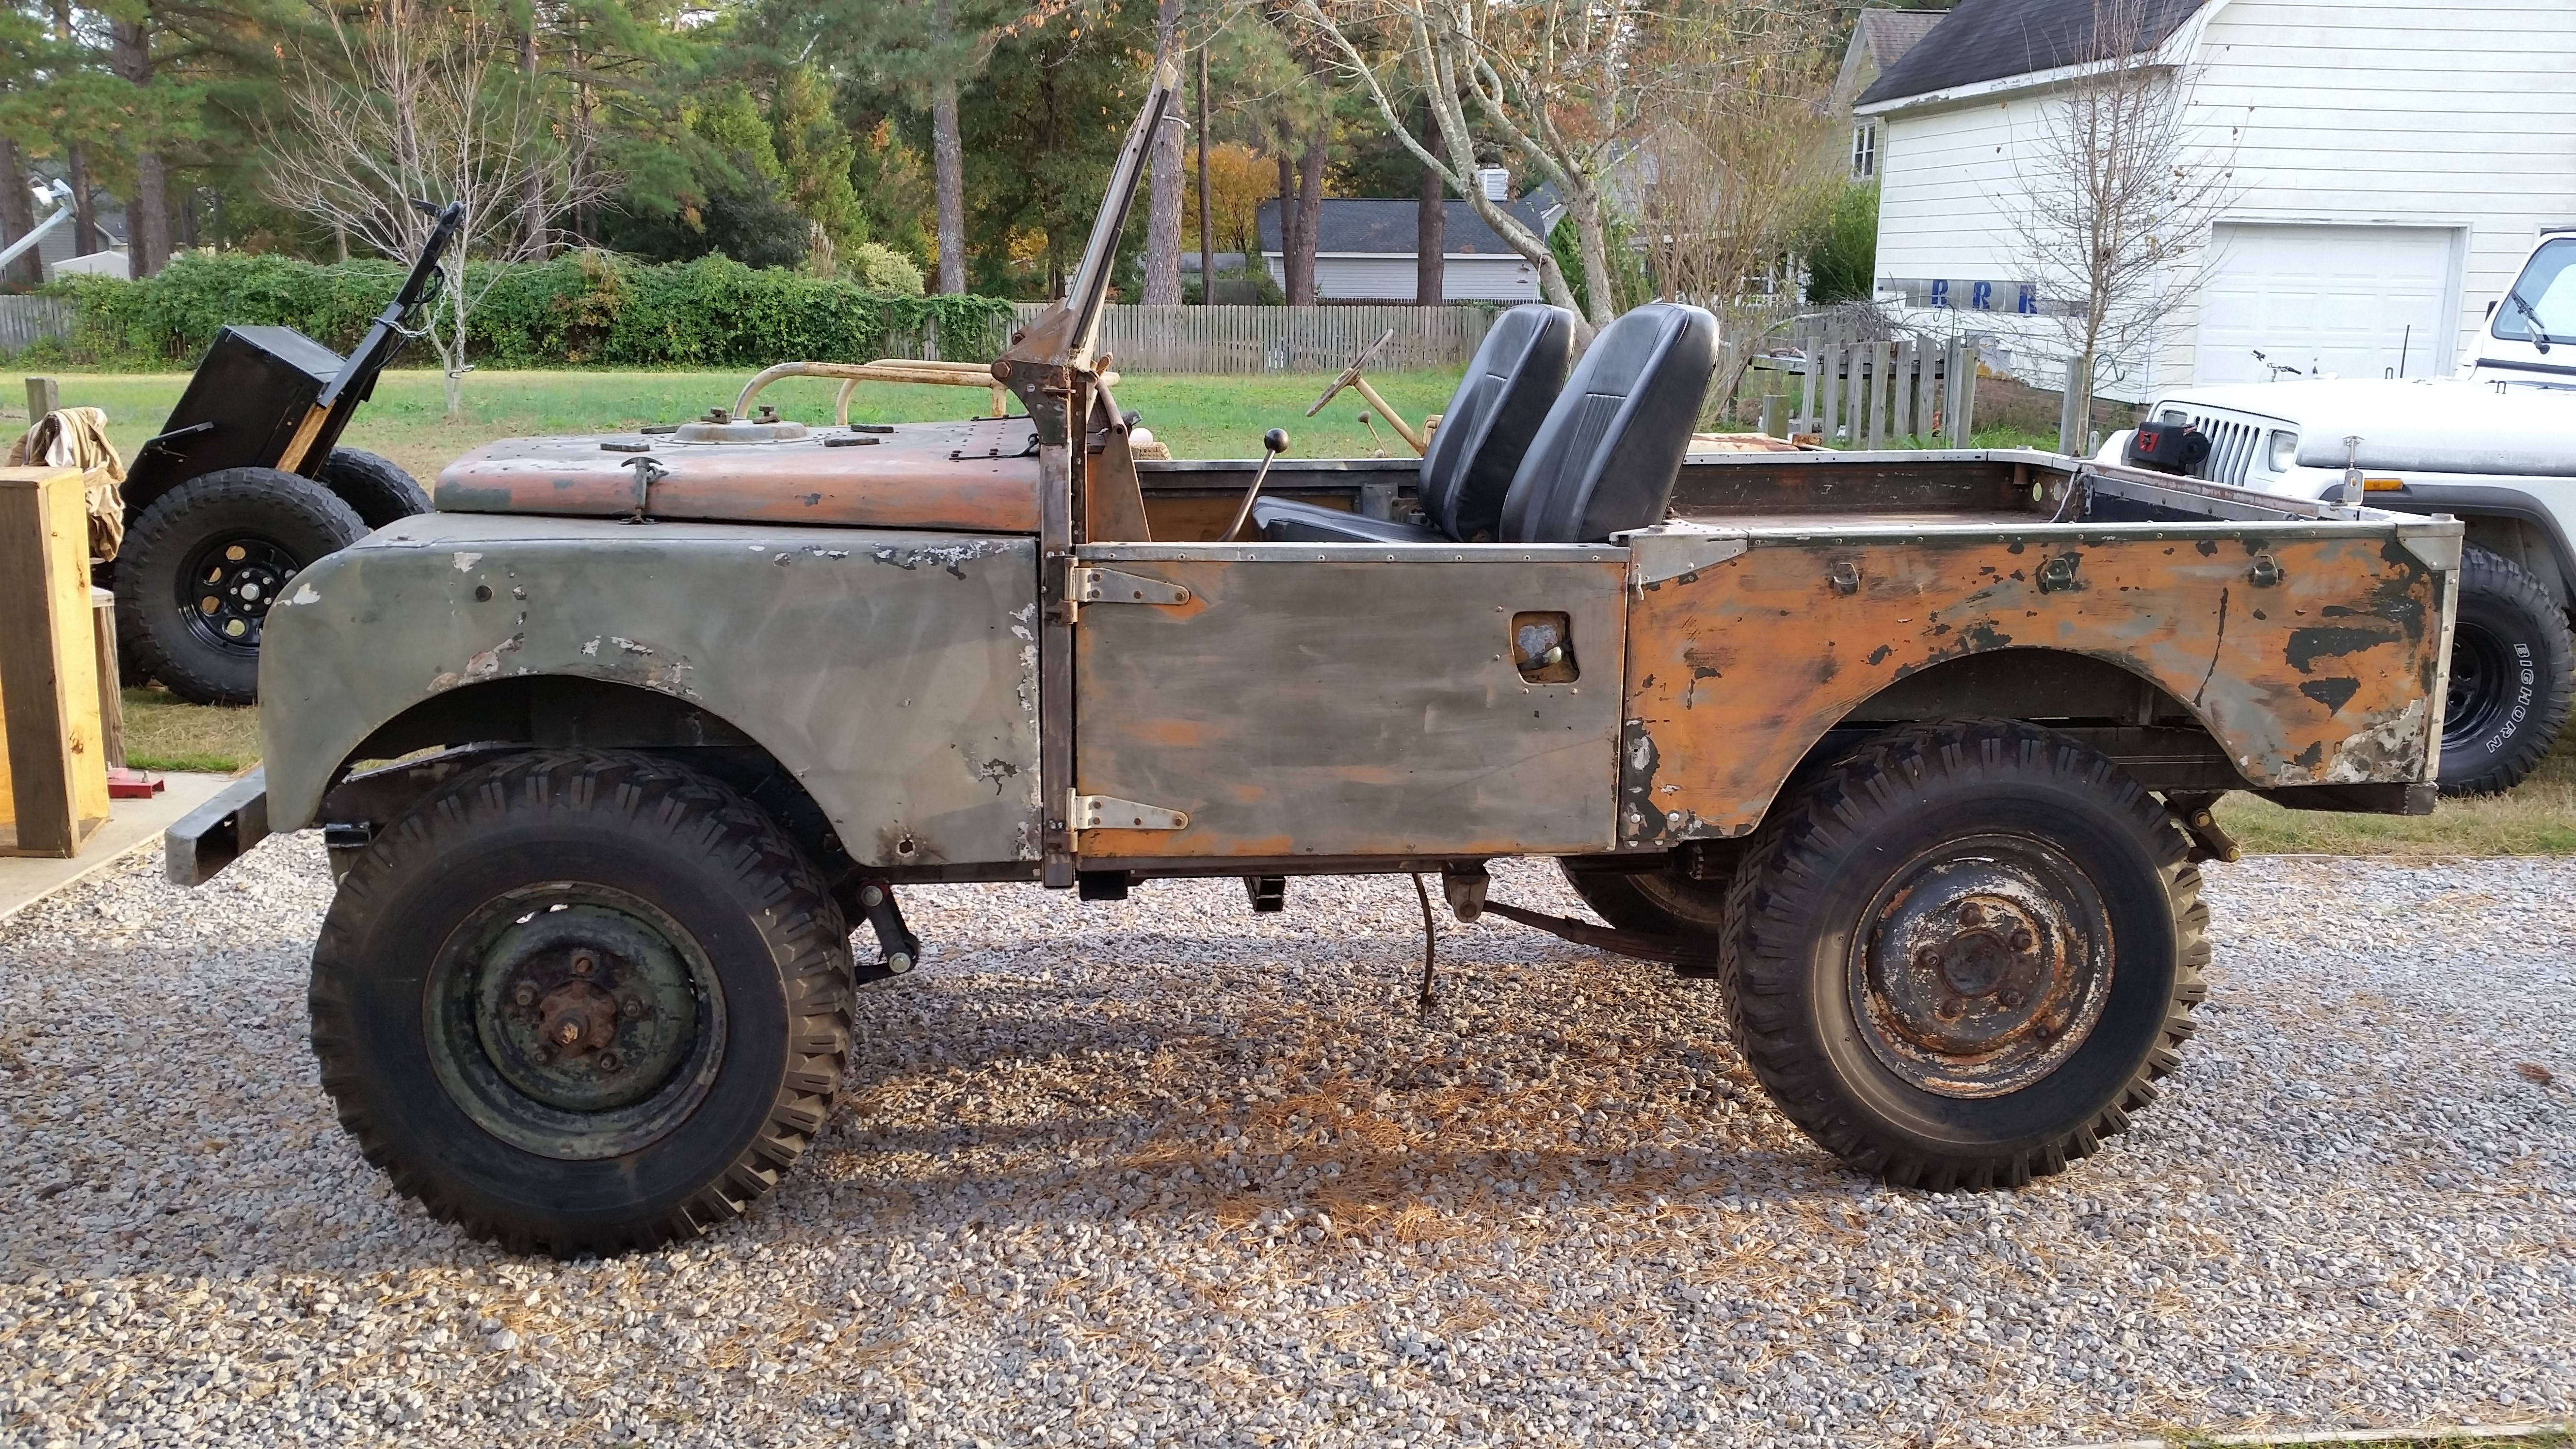
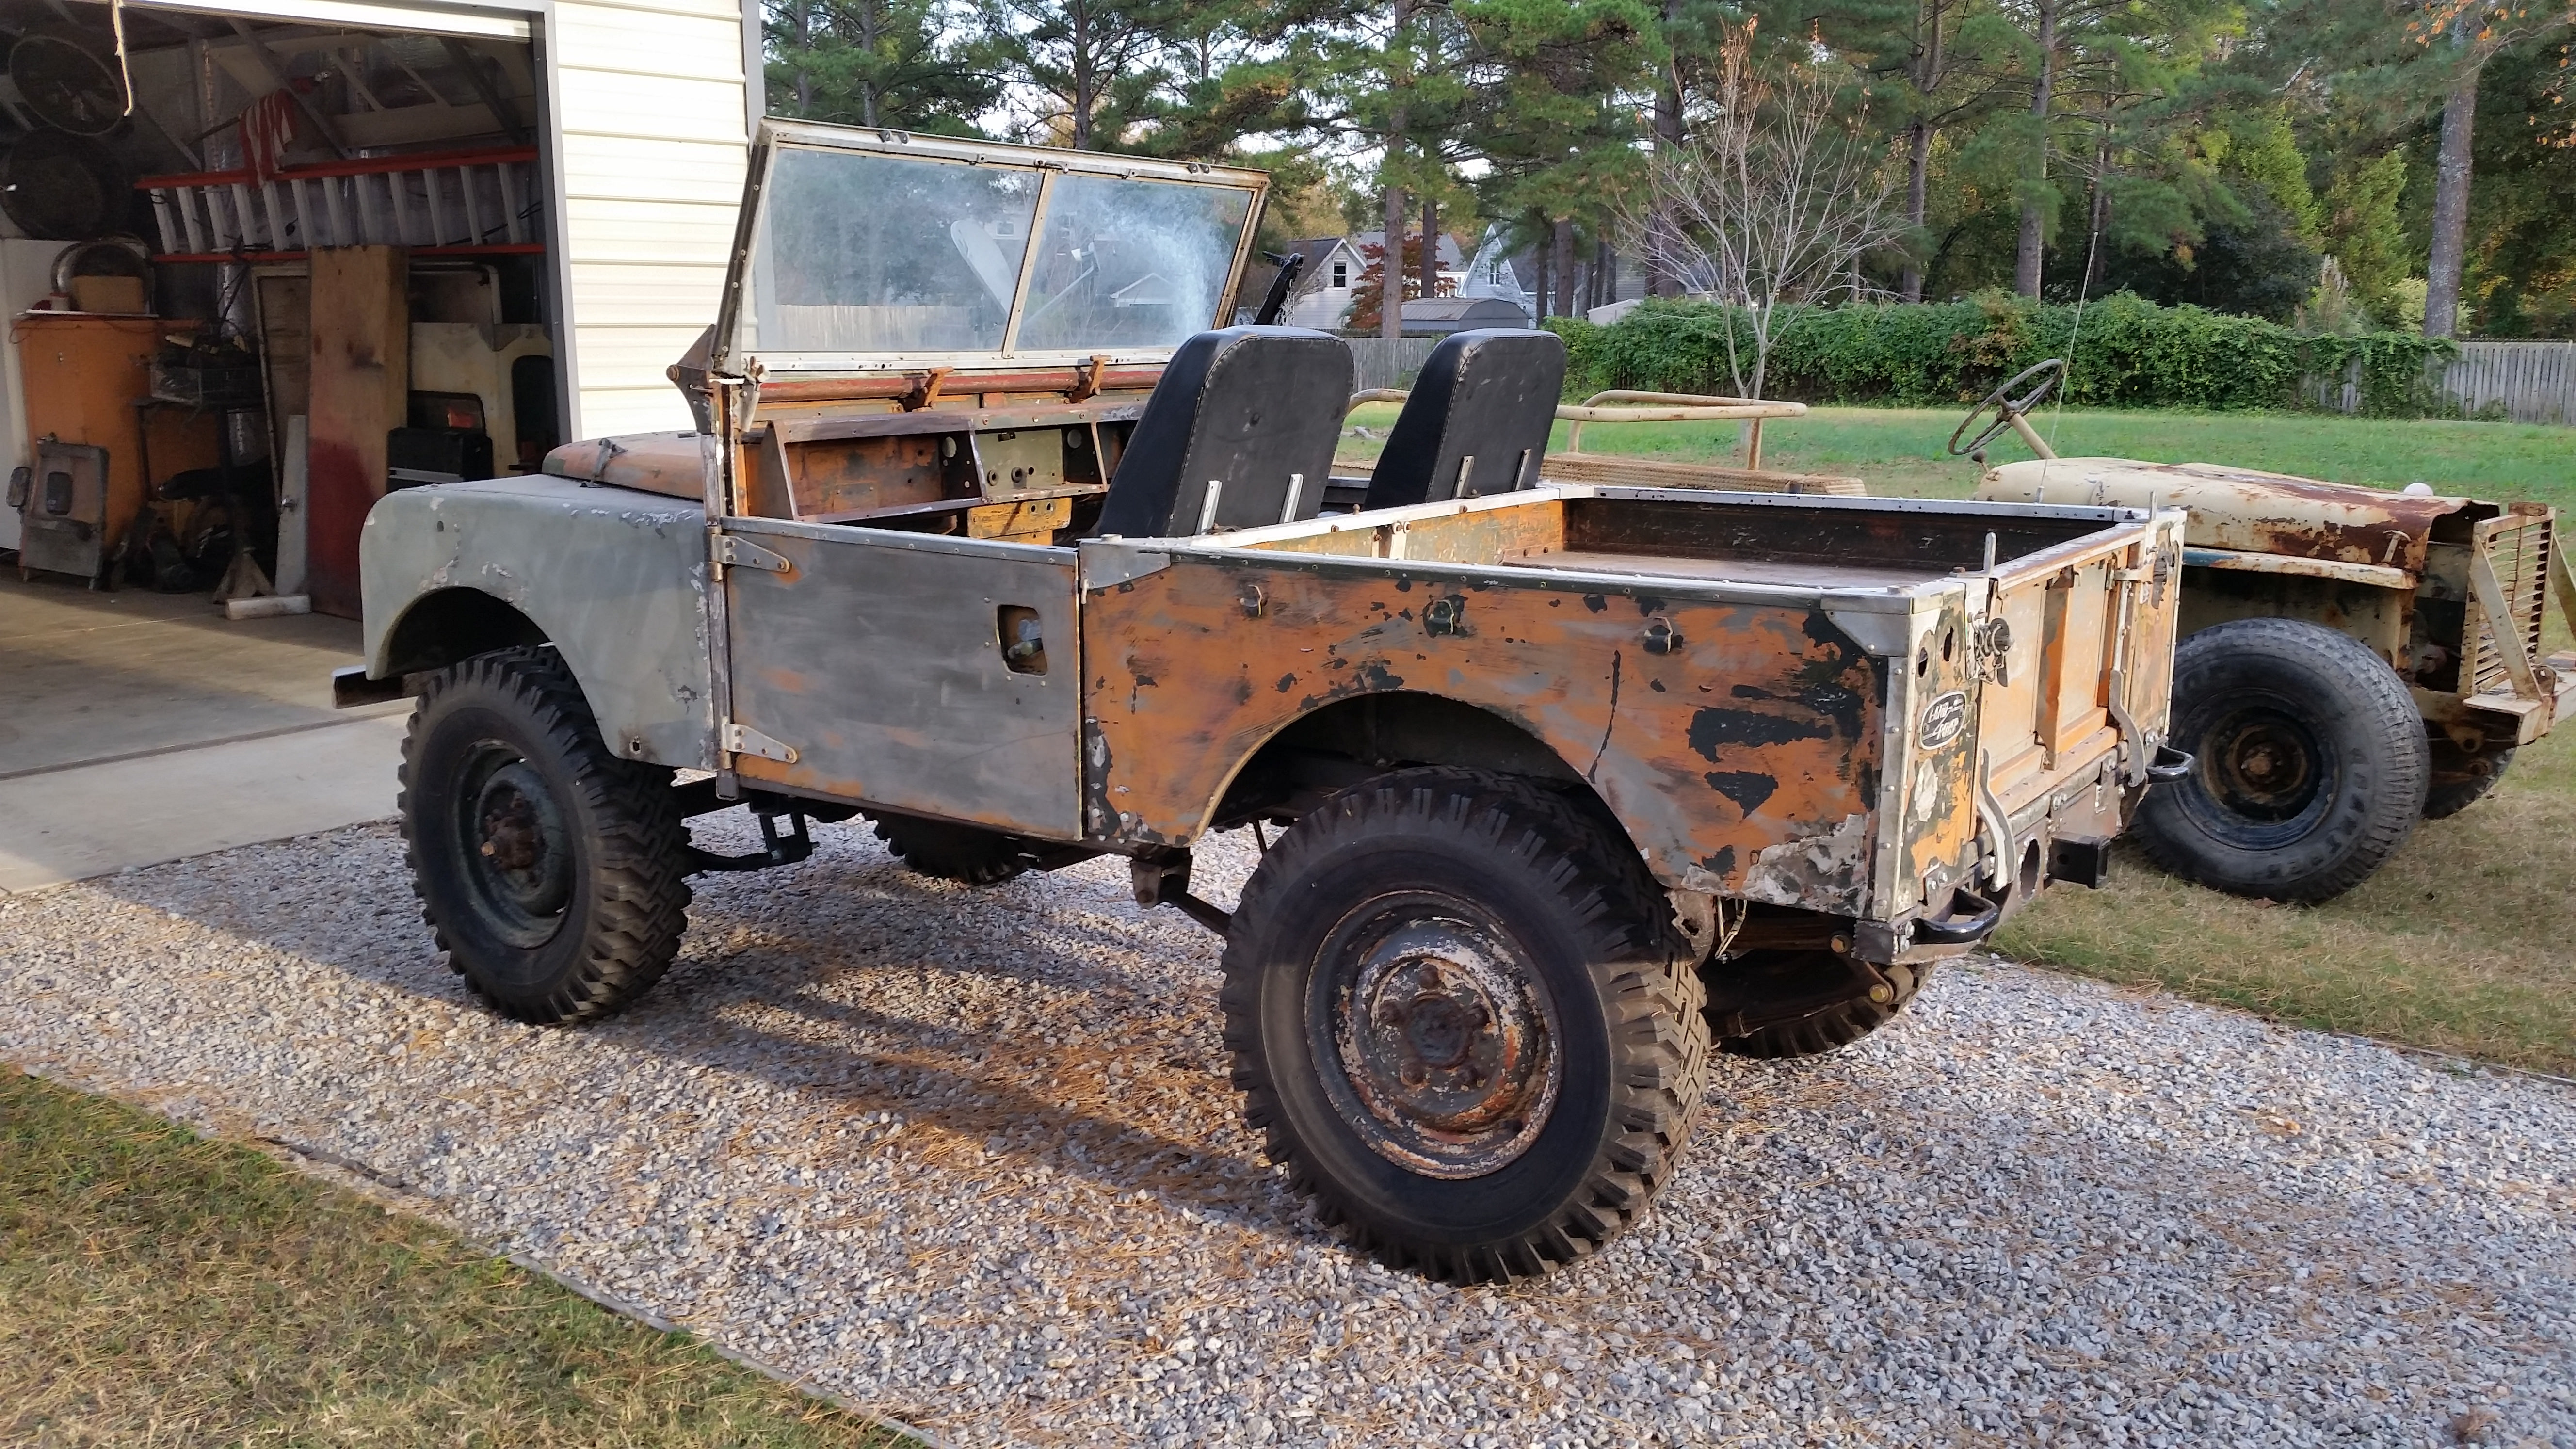
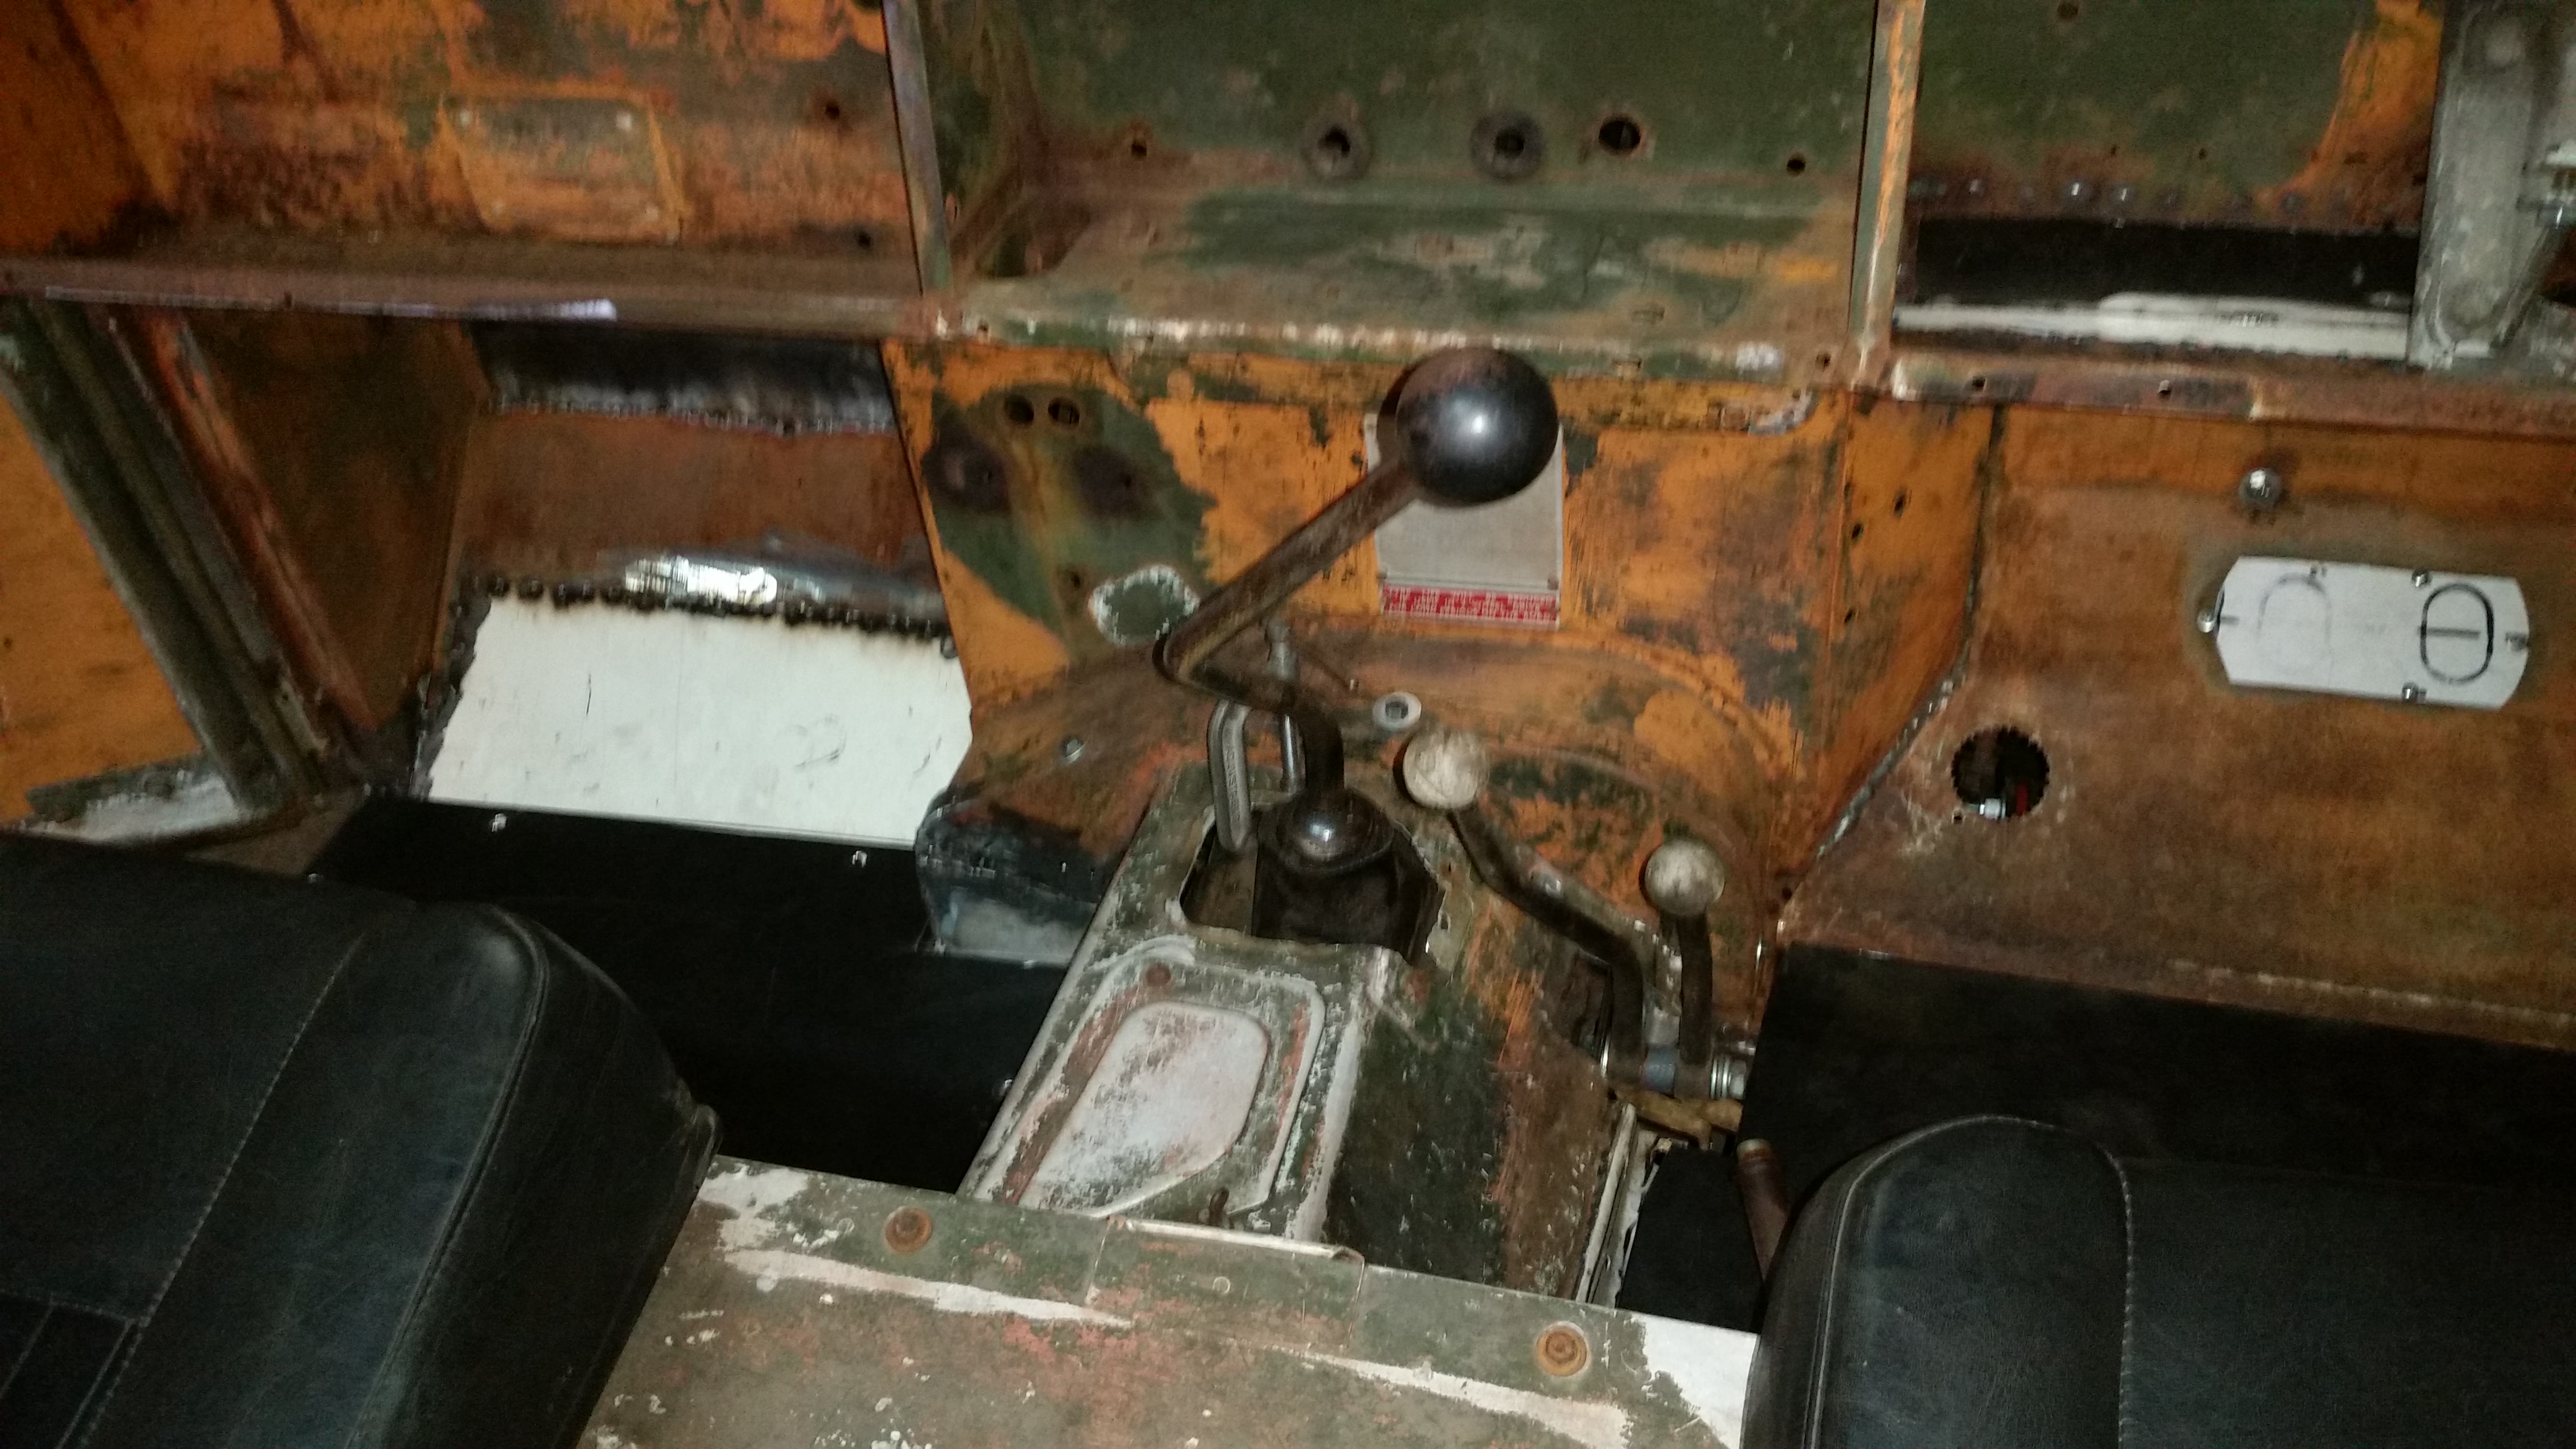
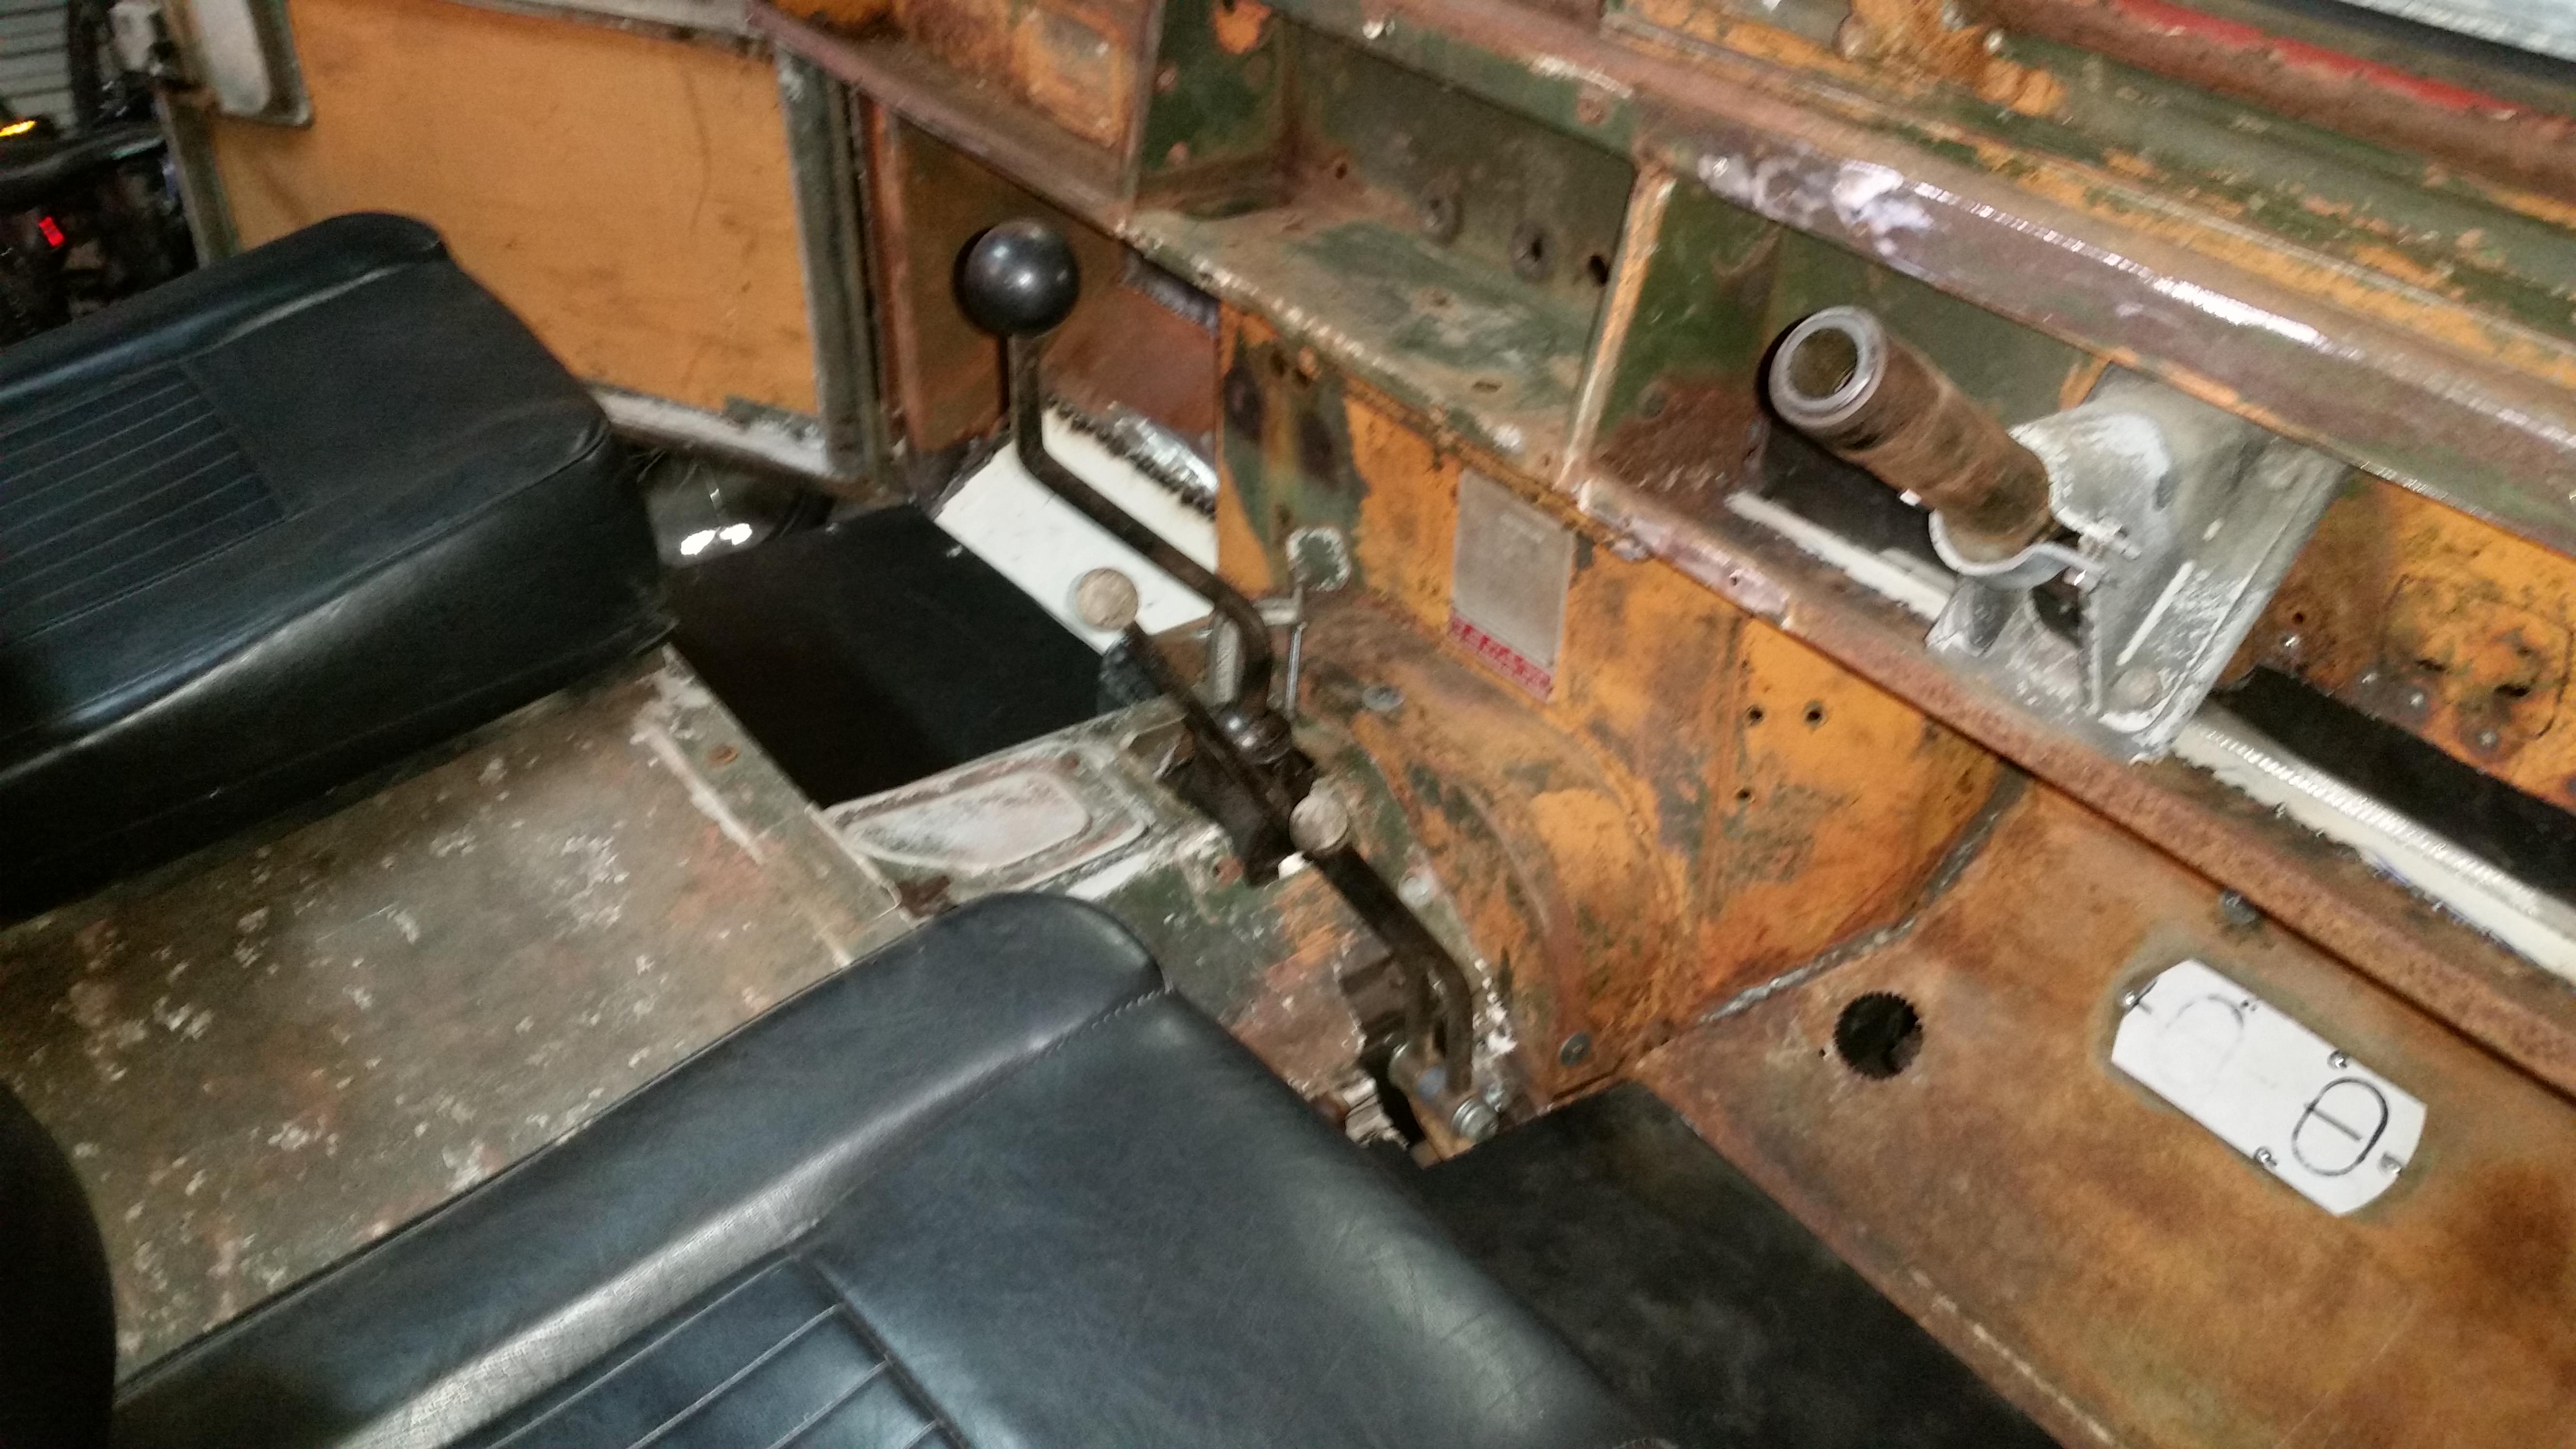
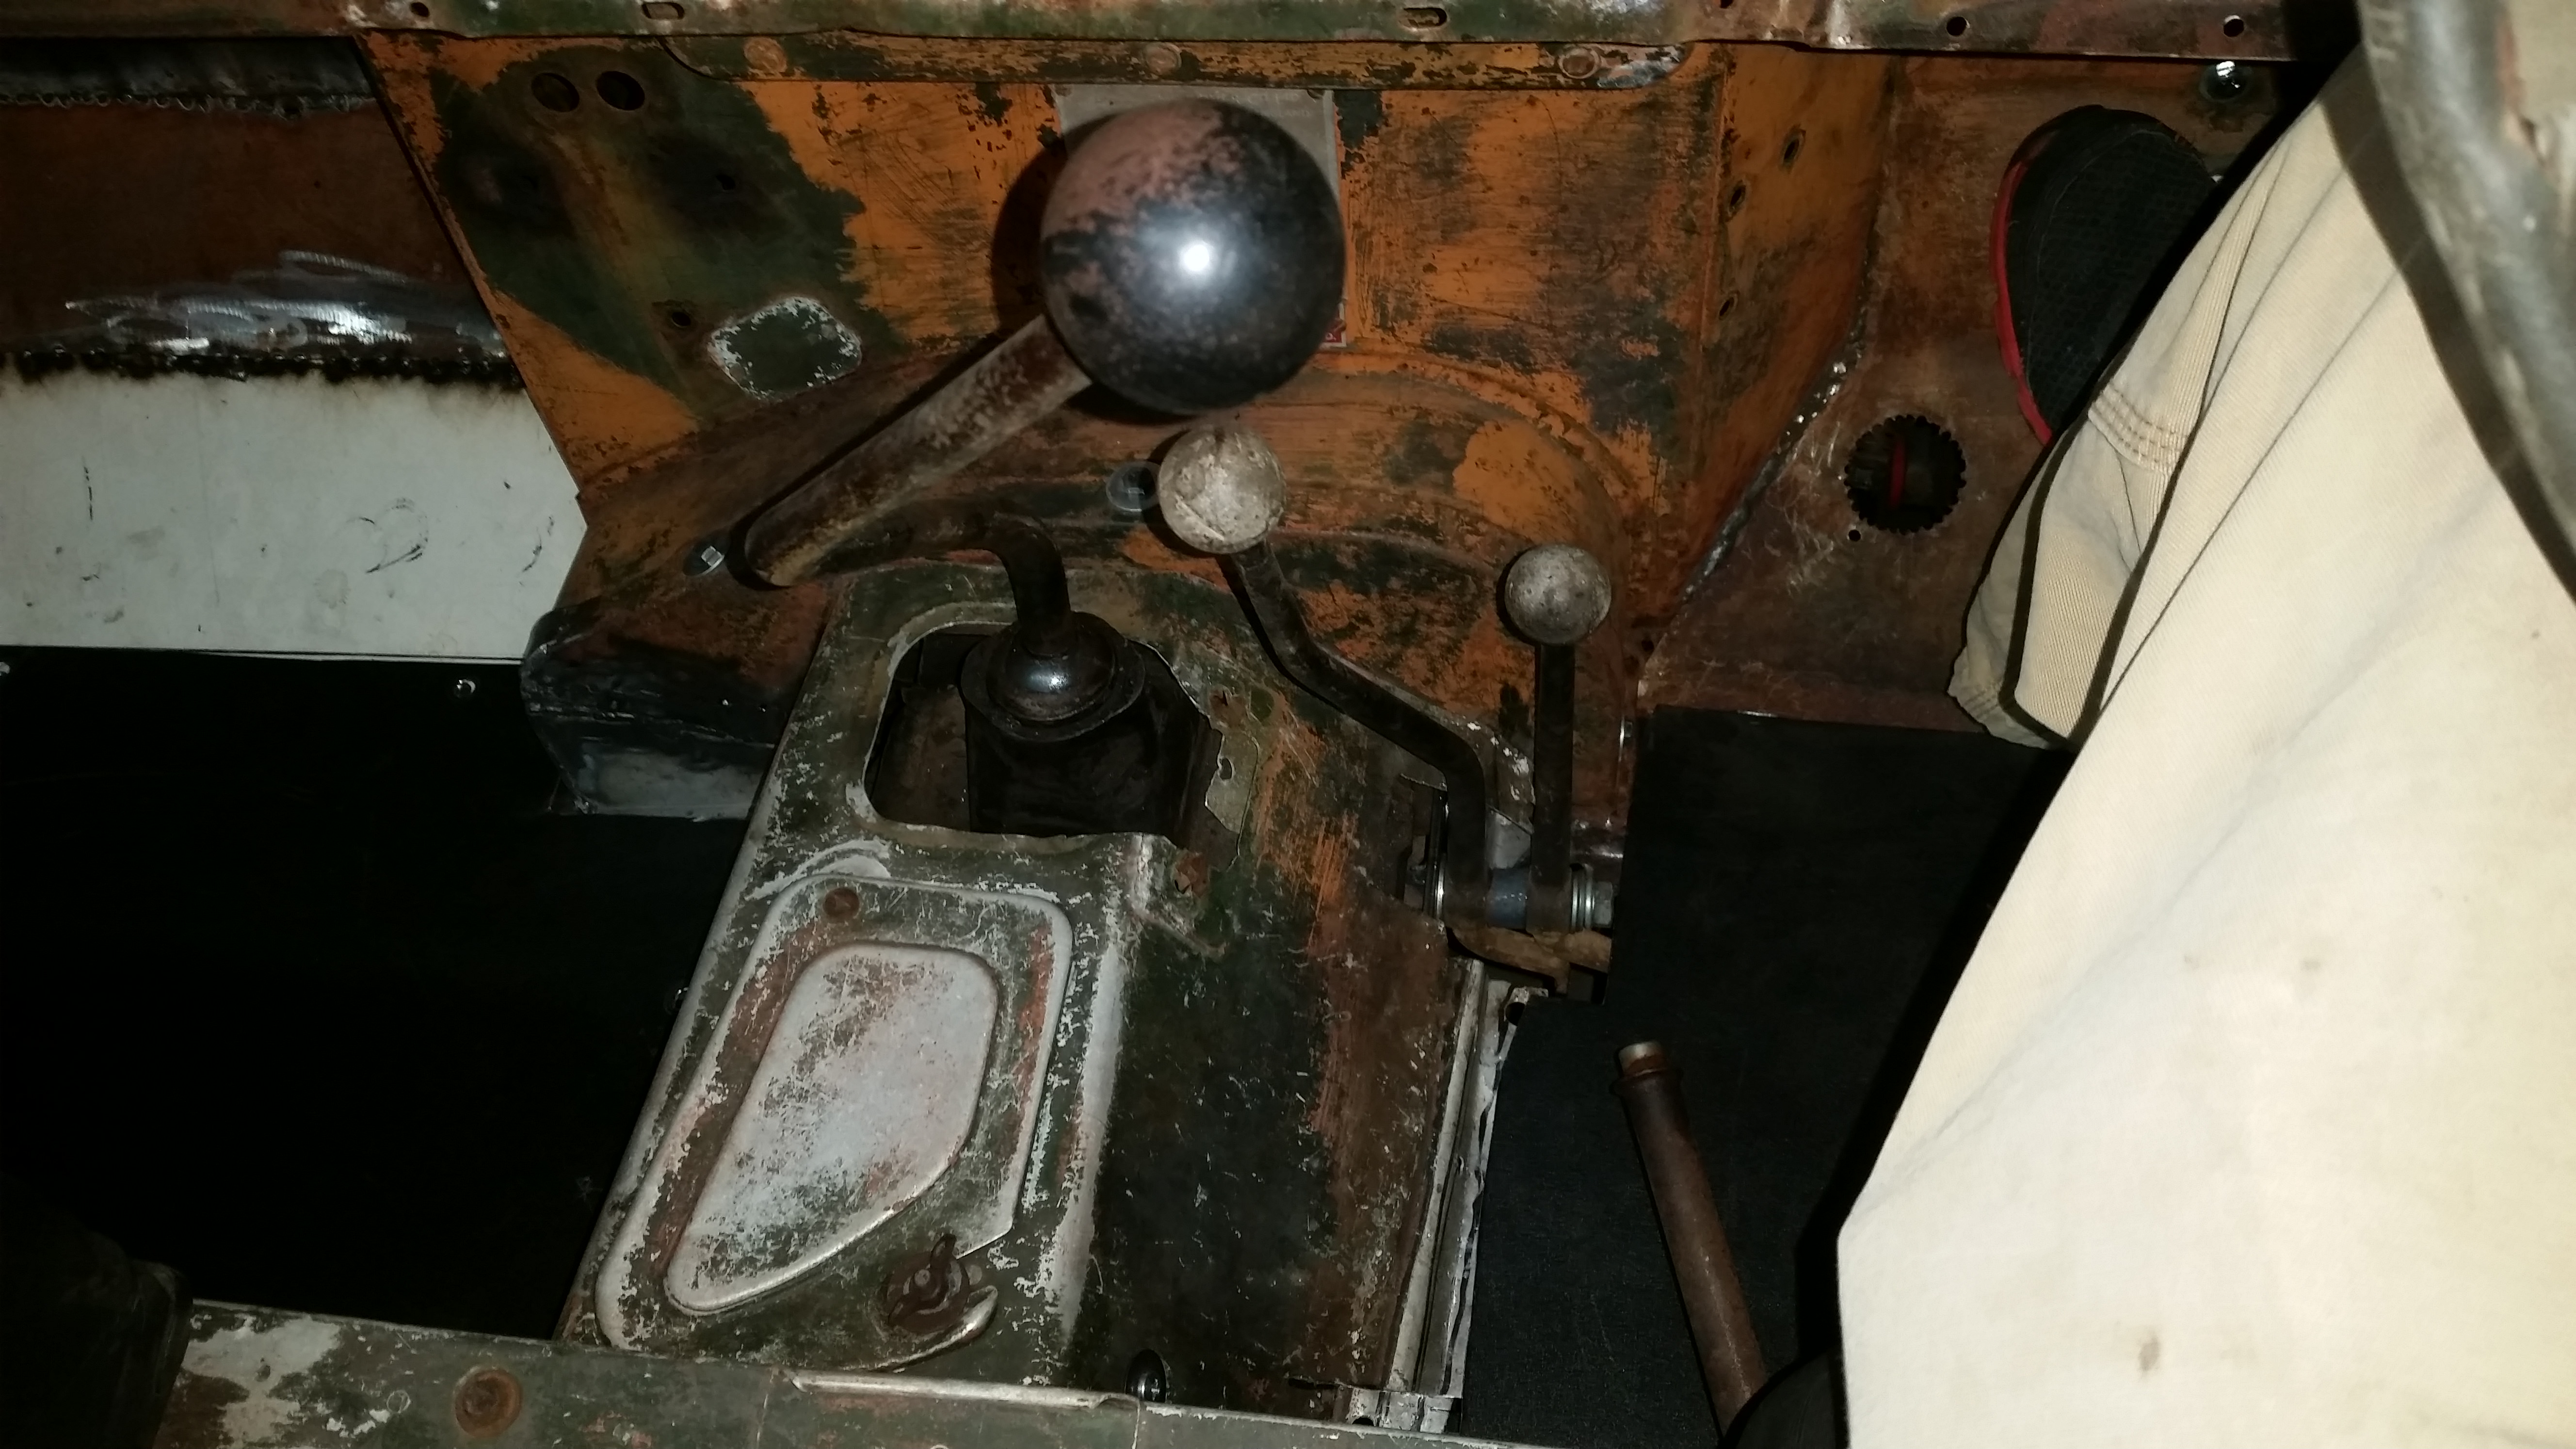
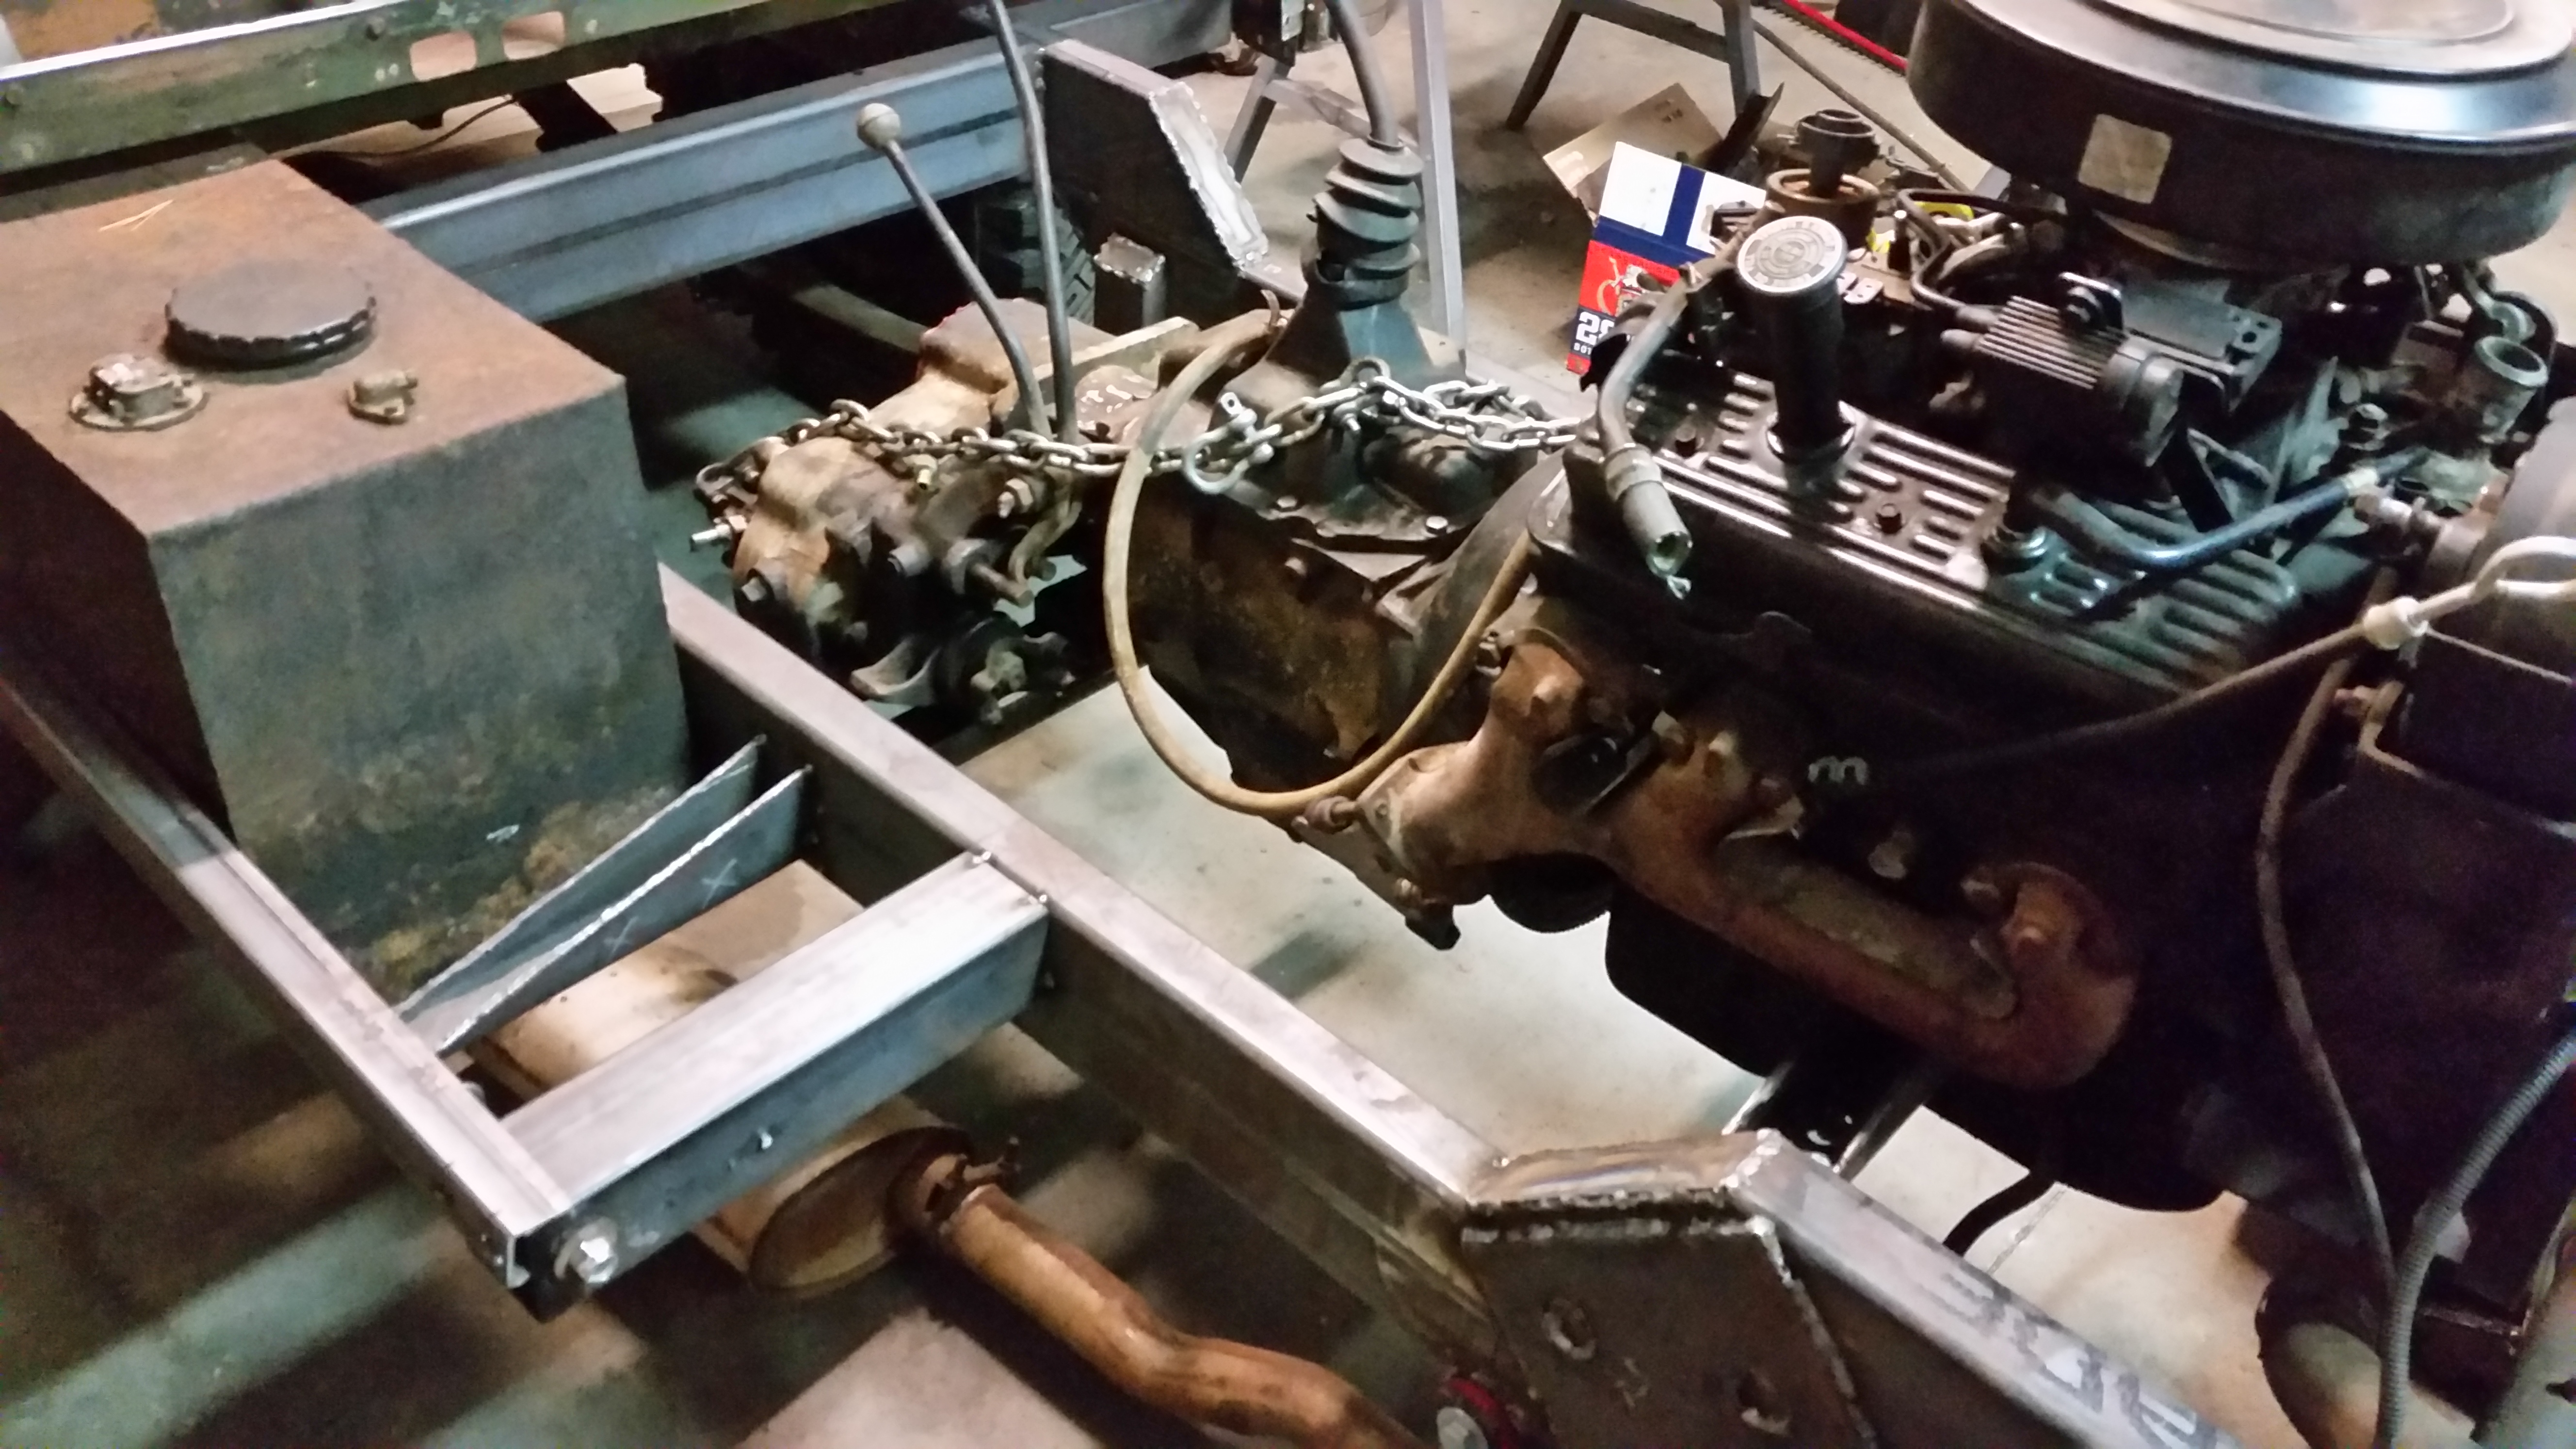
I will have to think about the transfercase shifters, they are gonna be in a touch location. I have to look into doing something like a dana 20 and try to get the shifters farther forward of the stock location so i dont have to hack the seat riser box. Baby steps I guess.
 
I got my motor mounts in this week. I clamped on the frame mounts and set the motor in for first mockup. I need to come down a touch and i need to come over to get the offset correct for the driveshafts to axles.
9MDzXGw.jpg

yjn5X31.jpg

eIOwC0i.jpg


Also need to get angle on the engine back figured out.

One issue i noticed is i will have interference with slave cylinder to the exhaust. So need to research how to make it work, or i may have to use a push type slave cylinder.
 
So I pushed the beast outside into the sun to prove to myself that it is indeed a rolling chassis with drivetrain :)
DnSYEs6.jpg

jQd7pT0.jpg

q87FHuR.jpg

zhe81v5.jpg


I pulled off the chain from the engine and tranny and tried my hand at seeing where i was with the seat frame panel and interference with the transmission.

Well this is why I am still mocking things up and only tack welding things down.
The seat frame just hits the the tranny over corner by about 3/4 of an inch
L6mGHBO.jpg

e7WJFtQ.jpg


The other side the Dana 18 shifter housing hits the panel really good.
lgL0zwb.jpg

aFws6xN.jpg


I already knew i was going to modify it to get the shifter handles forward from the original location. I am going to have to cut the ears off for the panel to clear.

So I am going to have to move the engine and everything forward 2 inches. This will center the shifter tower of the transmission with the factory transmission cover.
GVle1vE.jpg

I removed the engine fan which gave me lots of room and i can use an electric fan which is not an issue. I can also trim the grill a bit to get more room for radiator.

Not really a set back, just part of the project :)
 
What is nice about having things tack welded in, is that they are easy to remove.
I pull the engine and tranny and cut out the mounts and put them forward 2 inches.
Tacked it back and reinstalled. Much much better.
9MxpCpl.jpg


I also cut off the dana 18 shifter ears and now the seat box fits great
jBdrrBm.jpg

PLhgKb4.jpg


Center cover has the shifter centered in it, but i will have to modify it to fit around the transmission, it is much fatter than the original Rover unit.
wYyRnoM.jpg


I put back some more parts and it is starting to look like something
LIEMiPL.jpg

9fB1ISk.jpg

bV5rqm4.jpg

IcSrQbw.jpg

wOpJysZ.jpg


Now to get back to work on the bulkhead.
 
Patched up the toe boards and welded in one door pillar and door hinges. Next to get the other door pillar on and I can try to fit it on the chassis

toe boards
v9NzlBV.jpg

0VcV9yq.jpg


Door pillar
tvgxObS.jpg

HyvmEcL.jpg
 
From July 25 until now you have done several years worth of work for most people! I'm very impressed with your progress. Things are looking great!
 
I got the bulkhead patched up, still some more work to do. I am finding new issues everytime i patch. I have come to realize the bulkhead needs to be replaced in the future. I am patching it up and it will look a little frankenstein-ish if you look really close. I will save for a new bulkhead, or maybe the future owner of it might have to do that. Since it is in the garage, it most likely wont see rain that much. After measureing and guessing and researching and measuring and guessing some more, I got the door pillar and the bottom mount to the chassis figured out. I bolted it up to the chassis and it fit real good. I did pull it and raise the outriggers up a touch but i think it is right where i need it.

oKmvEs8.jpg

kqTpQtU.jpg


I hung the doors and now it looks like a vehicle again

ooLYTvZ.jpg

qzkS4k6.jpg


Engine and transmission clearances are bout near perfect. i couldnt have guessed it better
hLuV8Pv.jpg

yjaCV9t.jpg

aM5nJo9.jpg


I will next work on the door sills and then pull the bulkhead again to finish my welding on it and then clean, prime and paint it.
 
Excellent work Mister Meacham.
 
Well the seats are in, i probably have bigger things to do than that, but i needed a quick easy project to do. I have been super busy at work and other commitments.
I had to make the wood runners to bolt the seats to and the runners index into a hole in the rear of the seat riser box.
1B7uM40.jpg

hbXfeij.jpg

VRHIzXk.jpg


And the front hold down is a leather strap (old Belt) that goes over a small knob
8eYTXCY.jpg

NpacBUO.jpg


The rear bolts to some brackets and the backs can lay forward to get access behind them.
foaYaZn.jpg

okpWImU.jpg


The seat looks off, but it is the camera angle
cLoizeR.jpg


I still need to make some brackets for the other seat, the Rover did not have them when i got the rig.
 
I had a chance today between Thanksgiving food prep to finally move the front axle back.

The tire axle and tire were a little far forward. Not that noticeable but it was just a touch off, and my front shackle angle was not where i liked it.
I the front mount back 2 inches and everything fell into place. I threw it back together and put the windshield on to just let me look at it and give me a little sense that I might actually get it running soon.

QFQ72Nj.jpg

dUJ8y1G.jpg

tGq9KH0.jpg

NbzZGbd.jpg

XSq7BOH.jpg

aAHBbQl.jpg

uAMEVsH.jpg

FnU5L0a.jpg
 
Well I got the last of the big things of the project procurred.

TjGPgWC.jpg

XvTJ8Fs.jpg

kCI5r6F.jpg


I originally had a lead on a rear FJ40 axle and was going to get that, but the seller had another set of complete axles and I grabbed them.
They are from a 1979 FJ40 so i lucked out and also got the disc braked version. The thing i have never seen before was the rear drums have two wheel cylinders. I have never seen that before.

The reason i am using these instead of the Land Rover axles are due to parts availability and there is alot more aftermarket support for the axles. I do need to find a set of wheels for it now. :(
 
Well this evening i had a pretty good time in the garage.
The time change has had me not wanting to go out and work in the garage and just didnt have much motivation.
I wanted to get the bulkhead in place and finished so i had to bolt everything on the rear bed to the bulkhead in place. Previously i just had the bolts lightly holding things together. I had an issue with my drivers door being off and i needed to adjust the bulkhead. After playing with it, i need to move the bottom back about 1/4 inch. I cut the outrigger mount off again and moved it. After some more fitting the driver door fit excellent and the gaps match.

After that I decided that I needed to address the grill. I got new headlight buckets in a few weeks ago.
So i installed the new buckets and at the same time i cut off the fan shroud so i can gain more room in the engine bay for a radiator.

Headlights and cut down grill
wIt3B38.jpg

feVDeG4.jpg


Room for radiator

Before
2TgaSL5.jpg


After the trim
XWySsFu.jpg

aIqqF8w.jpg


I talked to a friend who is able to machine me a bushing for the lower end of the steering column. Bringing that to him tomorrow and then i can get the steering figured out.

After that i work on making new pedals for the clutch and brake.
 
Well broke out Ole' Blue today. I made the sheetmetal brake about 10 years ago. Still working even though it sits under the shelf most of the time

It is time to make the fuel tank. Since a new one is hard to find in England, I dont think i can go to Autozone to get one off the shelf. Fortunately it is pretty much a box.

Ole' Blue
vgHX380.jpg


Bendy Bendy
lslz32V.jpg

tbYsRaj.jpg

wNYiHwi.jpg


I had some old Tech cabinet side panels, i had to cut this out with cutoff wheels since the Plasma blew up :(
I will cut out the side pieces tomorrow an keep at it. I hope this will be a bit easier to seal than my last attempt at a gas tank. I was using flux core wire and kept burning through. I need to research universal fuel line inlets and see if i can match the ohms on the Rover fuel gauge with an aftermarket sending unit.
 
It is going together nice. My arms hurt from having to hammer the edges to give it an edge. Cut off the old filler neck and put it on this tank. That as the only piece not rusted out.

o8lcSMR.jpg

2ZugrSc.jpg

amAkp5R.jpg
 
Well got some Christmas garage time in today. Repaired and modified the original transmission tunnel to go over the hog of a SM465. And cut some new floorboards. One was original corroded aluminum and the other was a half assed temp floor the previous owner made up. Floors are now steel. I still need to drill the holes for the bolts on the floors. I have my location now for the Tcase shifter handles i have to make for the Dana 18.

wL5C4cu.jpg

f3pnxvx.jpg

hCU3dJY.jpg

9XWWf4j.jpg
 
Added some more shifters to the Rover. I had to cut off the Shifters to the Dana 18 because the could not be used in the original location. So finally got to mounting the shifters remotely. I still need to make the linkage to connect to the shift rods, but it is nice to actually think the Rig is 4wd. I am going to paint the shift knobs yellow and red like the original Rover handles.

Dkm7CNm.jpg

XjrHLMs.jpg

DNjQ4XQ.jpg

IQoJzhs.jpg
 
Back
Top