Stupid Money Pit buggy build

forgot about this thread...so I will put in the up-to-date posts from my other threads...they cover a few months, so it will seem strange to follow...but it happened in order.


few stupid little updates. Thread so old and slow all my pictures are dead...but i have some new ones.

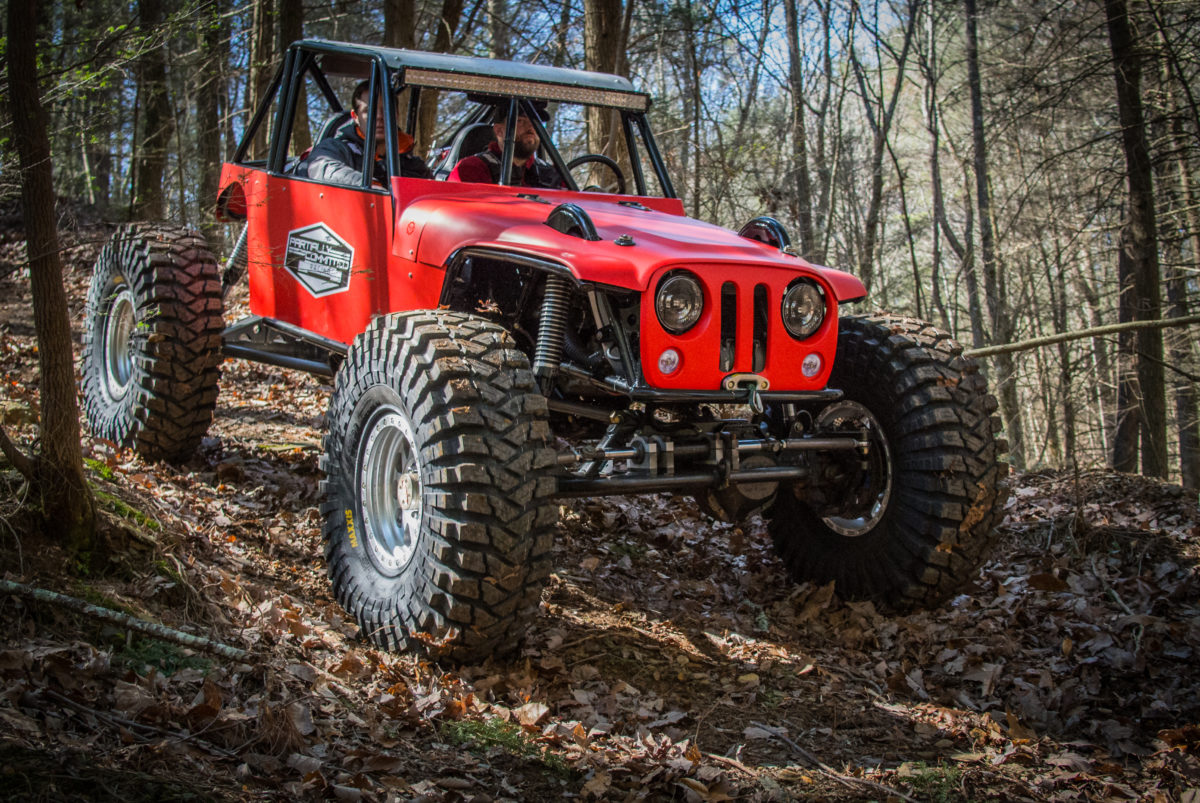
Got it to a "roller" this weekend. We didn't get all 4 tires mounted on beadlocks, but we got it off the jackstands under the chassis (don't mind those ones under the rockers, they were just there in case everything broke and it fell...they weren't holding anything up) and set it down on its own weight at full bump. I am very happy with how it turned out at that point. Everything pretty much clears (i have to move the motor mounts a bit and play with upper axle link locations...but its all pretty close).

Plan is to get the floor and firewall in, weld the chassis up, and then im going to take it to PJ at M&M offroad to get a good bit of work done and hopefully get it back much closer to being done. I just dont have the time anymore to work on this thing all the time.

I also got a better motor.... picked up an LQ9 with some work done to it which should be leaps and bounds better than the 5.3 that i had. Its also already together and ready to run which certainly helps too.

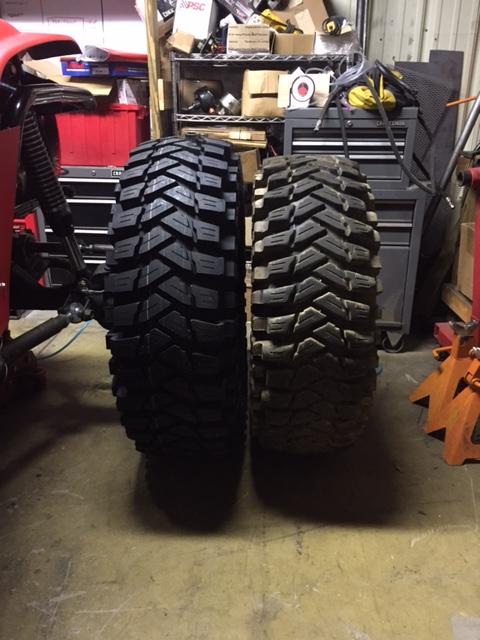
Anyway...on to the pictures:

afbcdn_sphotos_h_a.akamaihd.net_hphotos_ak_xpa1_t1.0_9_q72_s72270665de024206625eb3257fe3ce4fb9.jpg


afbcdn_sphotos_a_a.akamaihd.net_hphotos_ak_xfa1_t1.0_9_q71_s729c3b9f9f78744afee492c08ce7db7324.jpg


ascontent_b_iad.xx.fbcdn.net_hphotos_xpa1_t1.0_9_p180x540_104794d03e6b7f23bced8a0d601d5c531709.jpg


afbcdn_sphotos_f_a.akamaihd.net_hphotos_ak_xfp1_t1.0_9_q74_s72265575410616cac60c899aed9843a101.jpg
 
Finally made its way out of the shop for the first time. Got the firewall and floor pans in, just need to get them tabbed and mounted up...that should happen this weekend.

afbcdn_sphotos_a_a.akamaihd.net_hphotos_ak_xaf1_v_t1.0_9_10603868b5238cc7836195352cc28ab410a4c.jpg


Going to bring it to the house this weekend (its been at a buddies house 45 mins away up until this point) to get a few odds and ends done and then I'm going to take it up to PJ at M&M Offroad to get a little professional treatment and knock out a big chunk of the the work.

There are a few things that I need to address...the motor mounts need to be bent in order to clear the links at full bump, the X in the rear of the chassis for some reason isnt centered? So I need to do some measuring and moving to find out what is going on there.... and then I may add a 2nd "upper" b pillar just to make things flow a bit better. Purely for looks though...I'm not worried at all about the strength of the single b pillar.
 
And to where we are today:


just a few more stupid pictures before it gets sent off in a couple weeks. I have been chipping away at some small stuff that needed to be done before it goes to PJ.

-welding the chassis for the most part
-firewall/doghouse mounting (still need to do some trimming to make the panels final)
-mounted the radiator (it will also get some alum pucks welded on to add 2 more mounts)
-I fixed the offcenter "x" and will add a single vertical tube in the middle as well
-mounted a front winch plate as a basis to build from up front
-i have a box of gussets and such to add to it as well

Lots of little things that don't really look like much, but make a huge mess in the garage (as you can see)

There are a few other last minute things that will get done before it goes as well. (mount the orbital, maybe look at an engine skid of some kind, I need to swap in the 6.0 and change the motor mounts to clear the links)

ai.imgur.com_W3S8y29.jpg


Full bump...belly at ride height is 19-20 and the roof is right at 73" at the highest point

ai.imgur.com_7o0LagZ.jpg


Few of the pretty basic radiator mounts up top. Again there will be puck mounts on the side, so i didnt feel like these needed to be super beefy, overbuilt mounts up here

ai.imgur.com_CkjdGNL.jpg_c4ca4238a0b923820dcc509a6f75849b.jpg


What im working with in the belly...its pretty tight in there, not alot of room for stuff, which may come back to bite me when im trying to skid everything and fit all the other shit

ai.imgur.com_IoaZHHw.jpg


Need to move the Roark mount over about a half inch to get the atlas just a bit away from the chassis rail. Right now its only about 1/16" away and I dont like that...thats why it looks crooked here.

ai.imgur.com_jPXuHcb.jpg


This one didnt really come out...but it shows the Barnes4wd winch mount, and the pretty simple radiator layout

ai.imgur.com_c9J15AG.jpg_c4ca4238a0b923820dcc509a6f75849b.jpg


Down the driver side (panels arent mounted here, they are just laying in there)

ai.imgur.com_0GakSlu.jpg_c4ca4238a0b923820dcc509a6f75849b.jpg


As I was welding things up...obviously the glass isnt trimmed and mounted yet

ai.imgur.com_EZvpCtA.jpg


Little cleaner shot of the interior.

ai.imgur.com_UsOV6kv.jpg
 
Shot behind the radiator. There should be plenty of room here for the air filter and fan. Maybe even a turbo setup down the road :flipoff2:

ai.imgur.com_HDAlUgs.jpg_c4ca4238a0b923820dcc509a6f75849b.jpg


Stuff all in the way....but here is how tight the whole thing is. Not a whole lot of room in a small chassis like this, but I think it will pay off with how nimble it will be. Ignore the upper links on the axle...just for mockup. I will build a whole new truss setup for both axles when it all comes apart after PJ is done.

ai.imgur.com_32ECWTk.jpg


ai.imgur.com_VKNd4A1.jpg
 
I really like that Don Ravis radiator!
 
Couple little updates....

Got the orbital mounted, I may have to do some sort of steering linkage and move the orbital as space is really at a premium up there and im not sure i can fit brake pedals in there easily as it is now...we will see:

ai.imgur.com_3q8zrbA.jpg


Also added in some Ruffstuff gussets to support a few little areas. and then proceeded to spill ATF all over the place...so pardon the nastiness all over the joint.

ai.imgur.com_KjdOFt9.jpg


ai.imgur.com_uhMPY0u.jpg


Just a couple of pictures of how the upper links are captured at the chassis. Nothing too special here really.

ai.imgur.com_UyaHr6f.jpg


ai.imgur.com_clq30wI.jpg


Now a question...I added in a second b-pillar to fill in some space behind the first b-pillar. You cant really tell in these pictures but it looks "long" in the back without the 2nd pillar in there when you can step back from it. I'm not totally sold on it...but thoughts? If it stays it will get a few horizontal tubes in there as well connecting the two.

ai.imgur.com_Ktsaveu.jpg


ai.imgur.com_2uajDHV.jpg


ai.imgur.com_qtqLEwQ.jpg


As for not having a "dead end" tube here, i was just going to add a short diagonal from the bottom of this over to the original lower B-pillar (or another ruffstuff gusset). I dont think it really needs one, as this isnt really for strength as much as it is looks...but still it cant hurt i guess.

ai.imgur.com_f2ZO4Kd.jpg
 
Bend the bottom 1/3 of the second b - pillar bar back 15 deg. And see what It looks like. Maybe even taper the two together towards the top above that bend.
 
totally forgot about this thread.... anyways, the thing is done and been wheeled a few times. No issues really to speak of. Everything works as it should, and I am damn happy with how its all turned out:

QifxAng.jpg


GYlN22g.jpg


thw2sDZ.jpg


was part of an event for Maxxis and they shot this really cool sequence with RedBull

Ne076Ob.jpg
 
very nice. I like how clean the front is.

The 42 Treps still look massive on stuff, to me.

Thanks! PJ was the mastermind on the front end, I initially wanted a bumper and a big whack-a-friend bar up there, but he pushed for a clean front end...and I am glad he did.

They ARE massive! they measure over 42" and are easily 3" bigger than the 40"s they replaced.

LQbQGjv.jpg


I am super happy with them though. They work better (IMHO) than the 40's did right out of the box. This buggy is little though...oddly it "photographs" smaller than it is in person (as so a few people have told me) but they look a bit bigger on there than they do on "normal" size trail diggers.
 
Back
Top