slravene
Well-Known Member
- Joined
- Sep 8, 2005
- Location
- Atlanta, GA
Have a thread on another site, figured I would check back in here too! This is just a hobby build, we both have full time jobs, so its not going to go super fast...just a build for a friend, but it could give some folks some good ideas and we always welcome feedback too. It might read a bit strange at first since I am just bringing this over from there. Thread is a few months old over there.
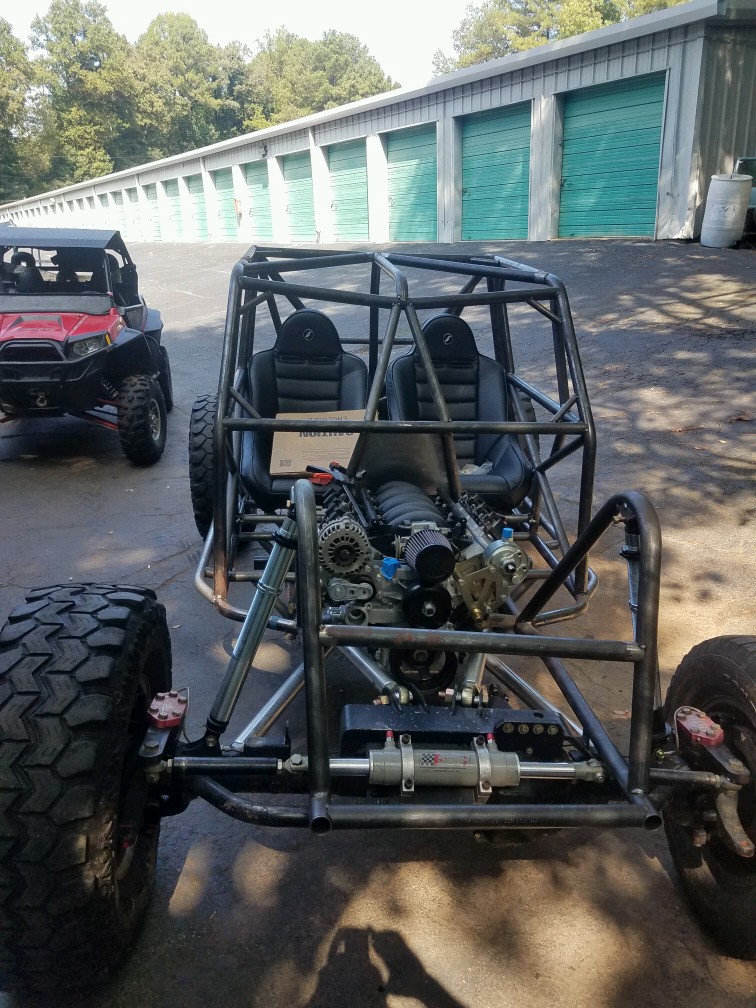
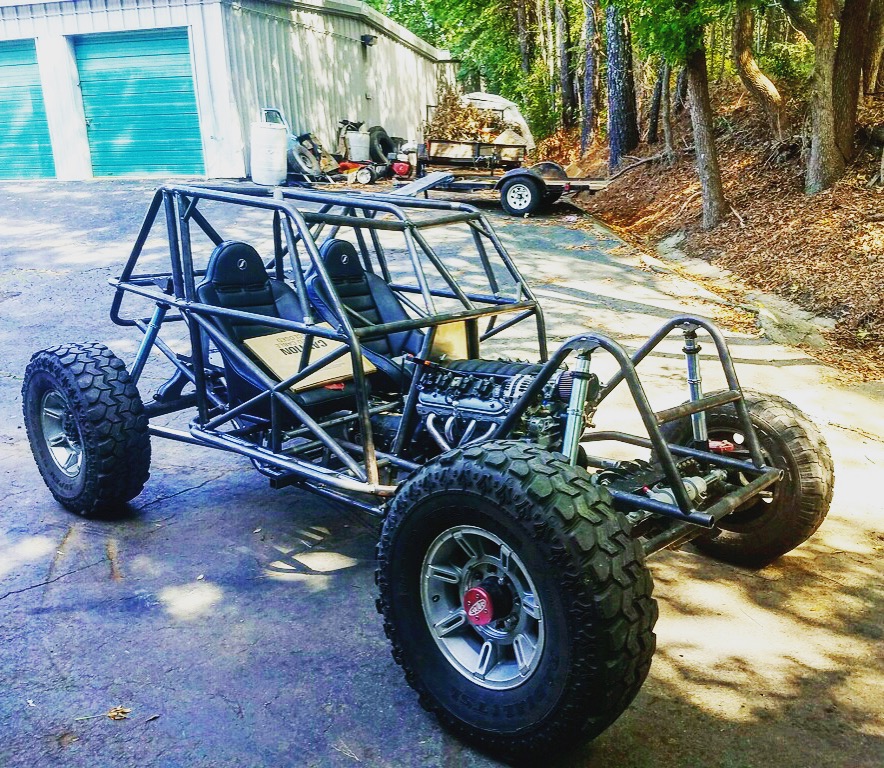
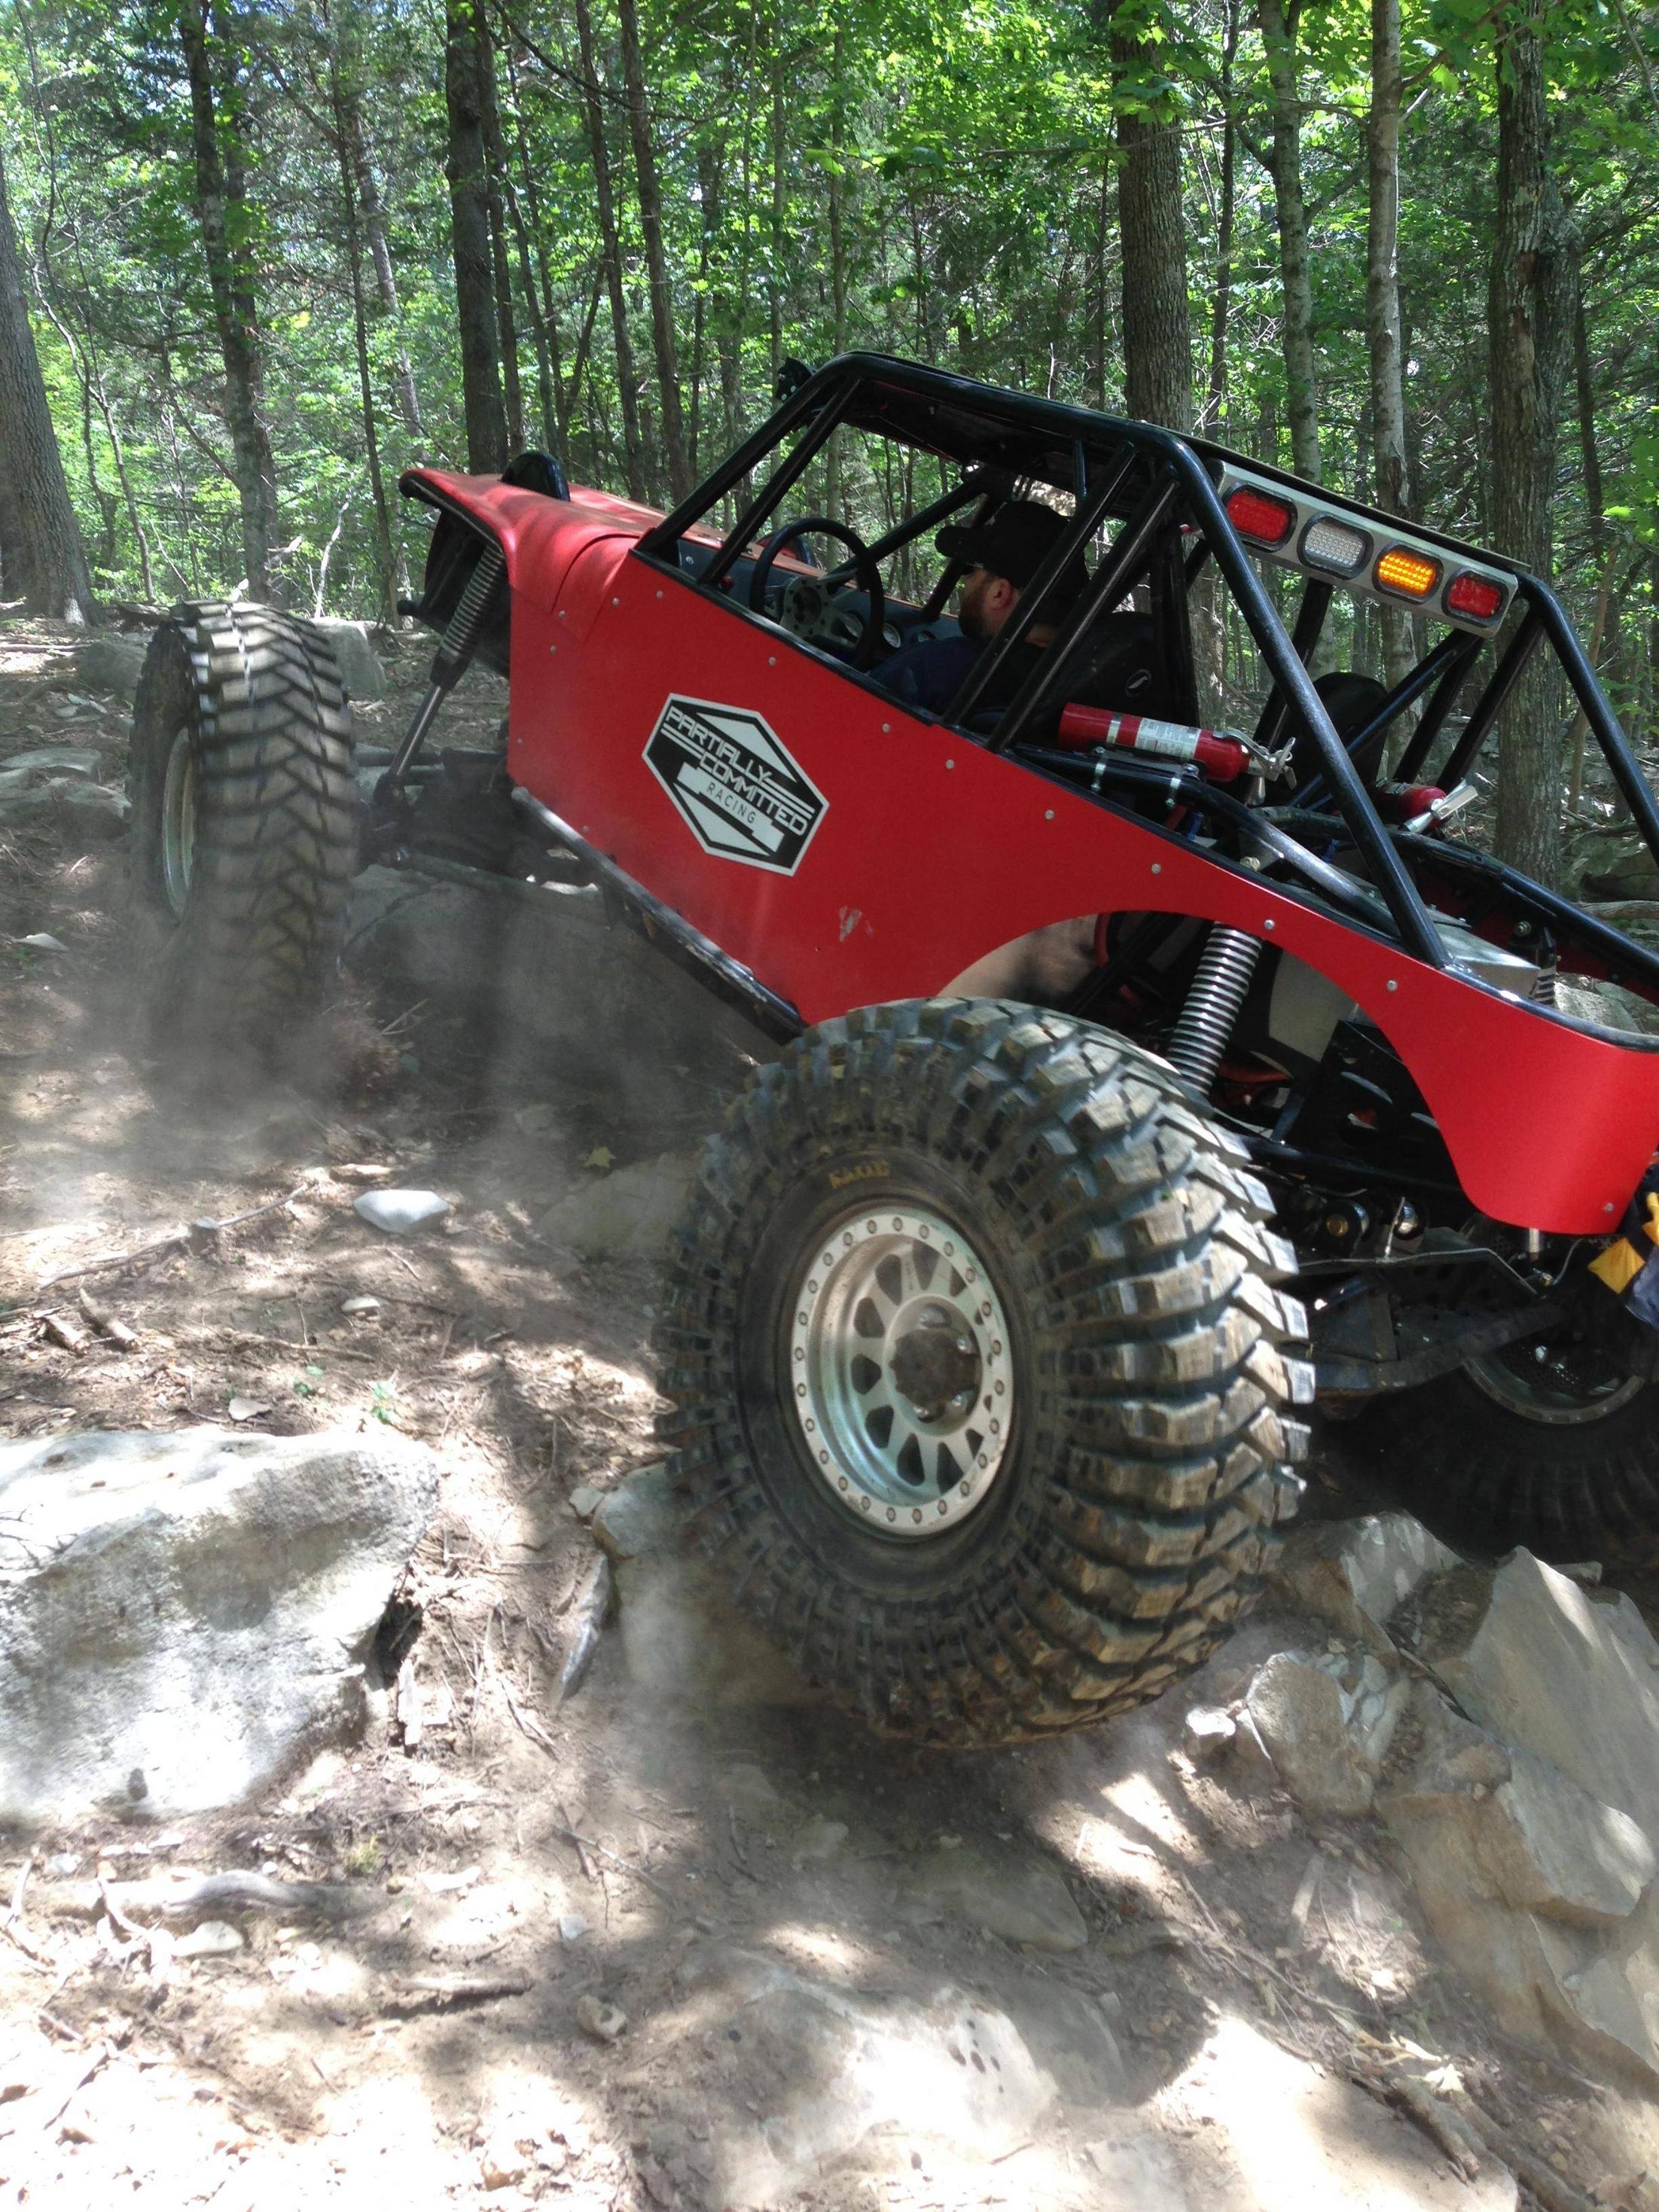
So a good friend and I have built 2 of these buggies already (and the #001 is a little toyota buggy). The 2nd two are basically identical save from a few cosmetic changes and the width of the chassis. Mine (the red one) is 48" wide at the cowl and 50" wide at the B pillar - 6.0, 4L60e, Atlas, 60/14b, 42 treps, 112". The silver one is 52" all the way through - 5.3, TH350, Atlas, 60/60, 39 reds, 110". They were started a few years ago and finished about a year ago. They both work pretty well and we have been super happy with them - even if the learning curve for driving them was quite a bit different than our old (also similar) 4.3 V6 short wheelbase cone dodger style buggies!
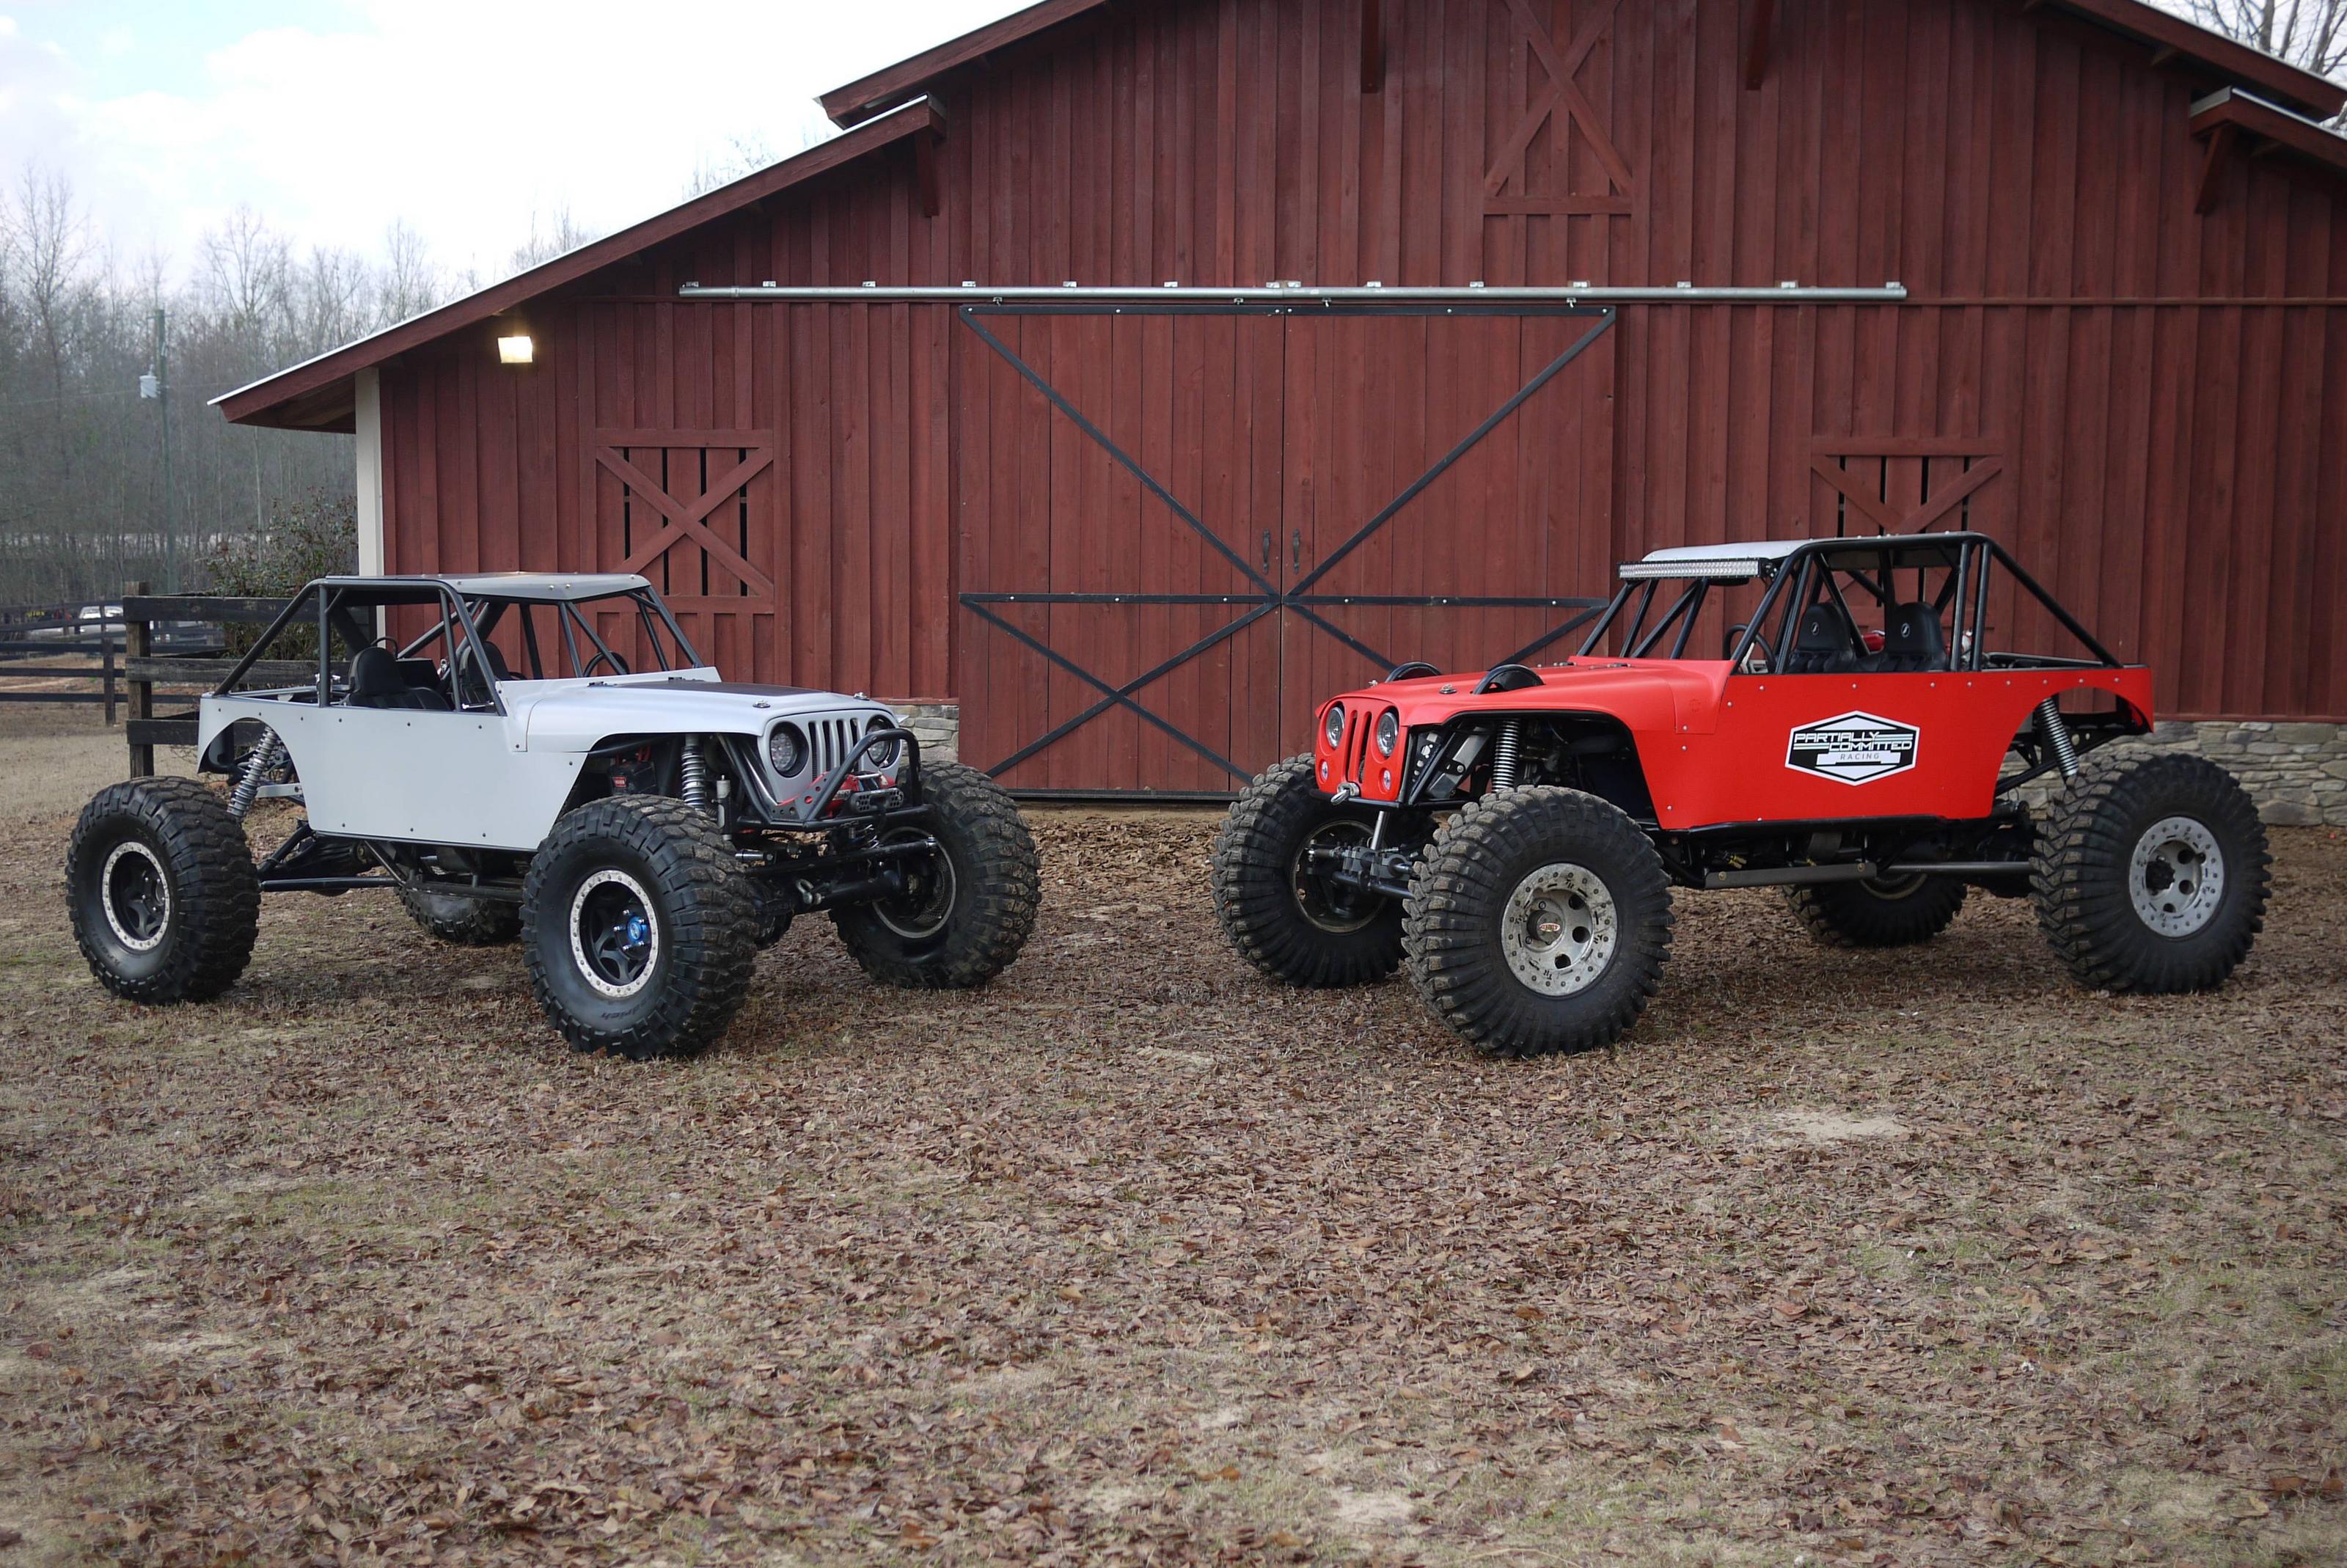
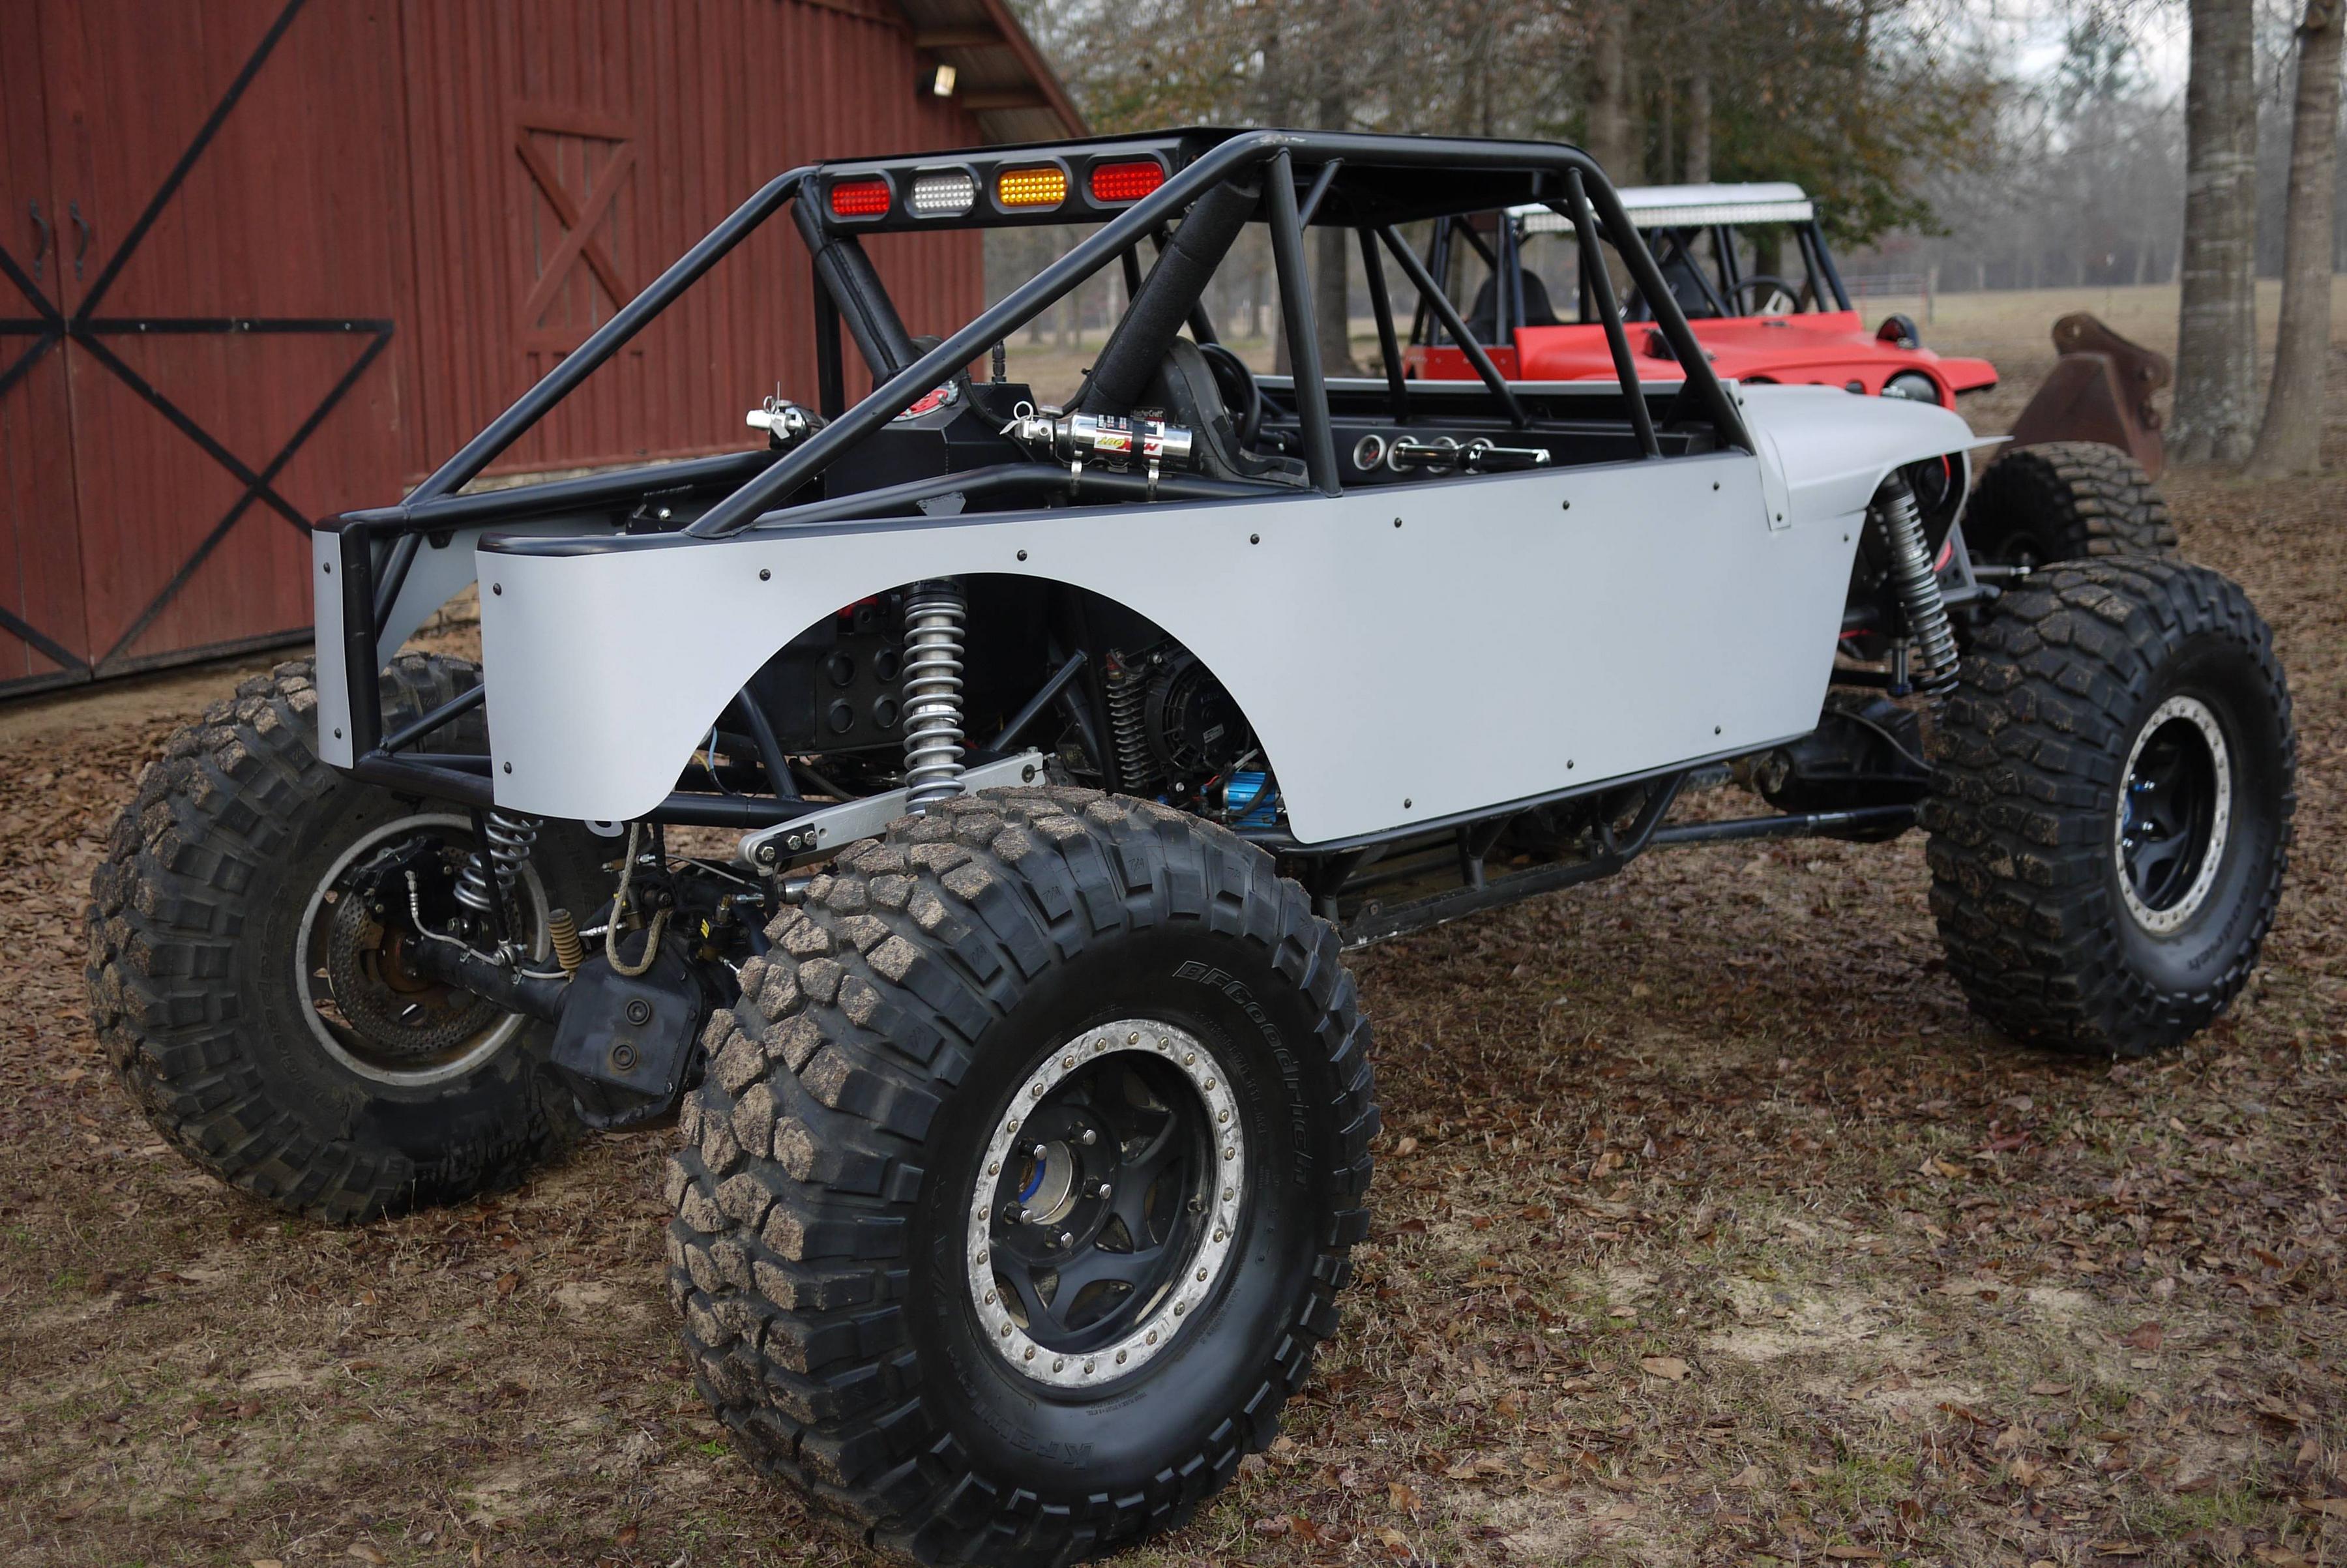
originally on 40s:
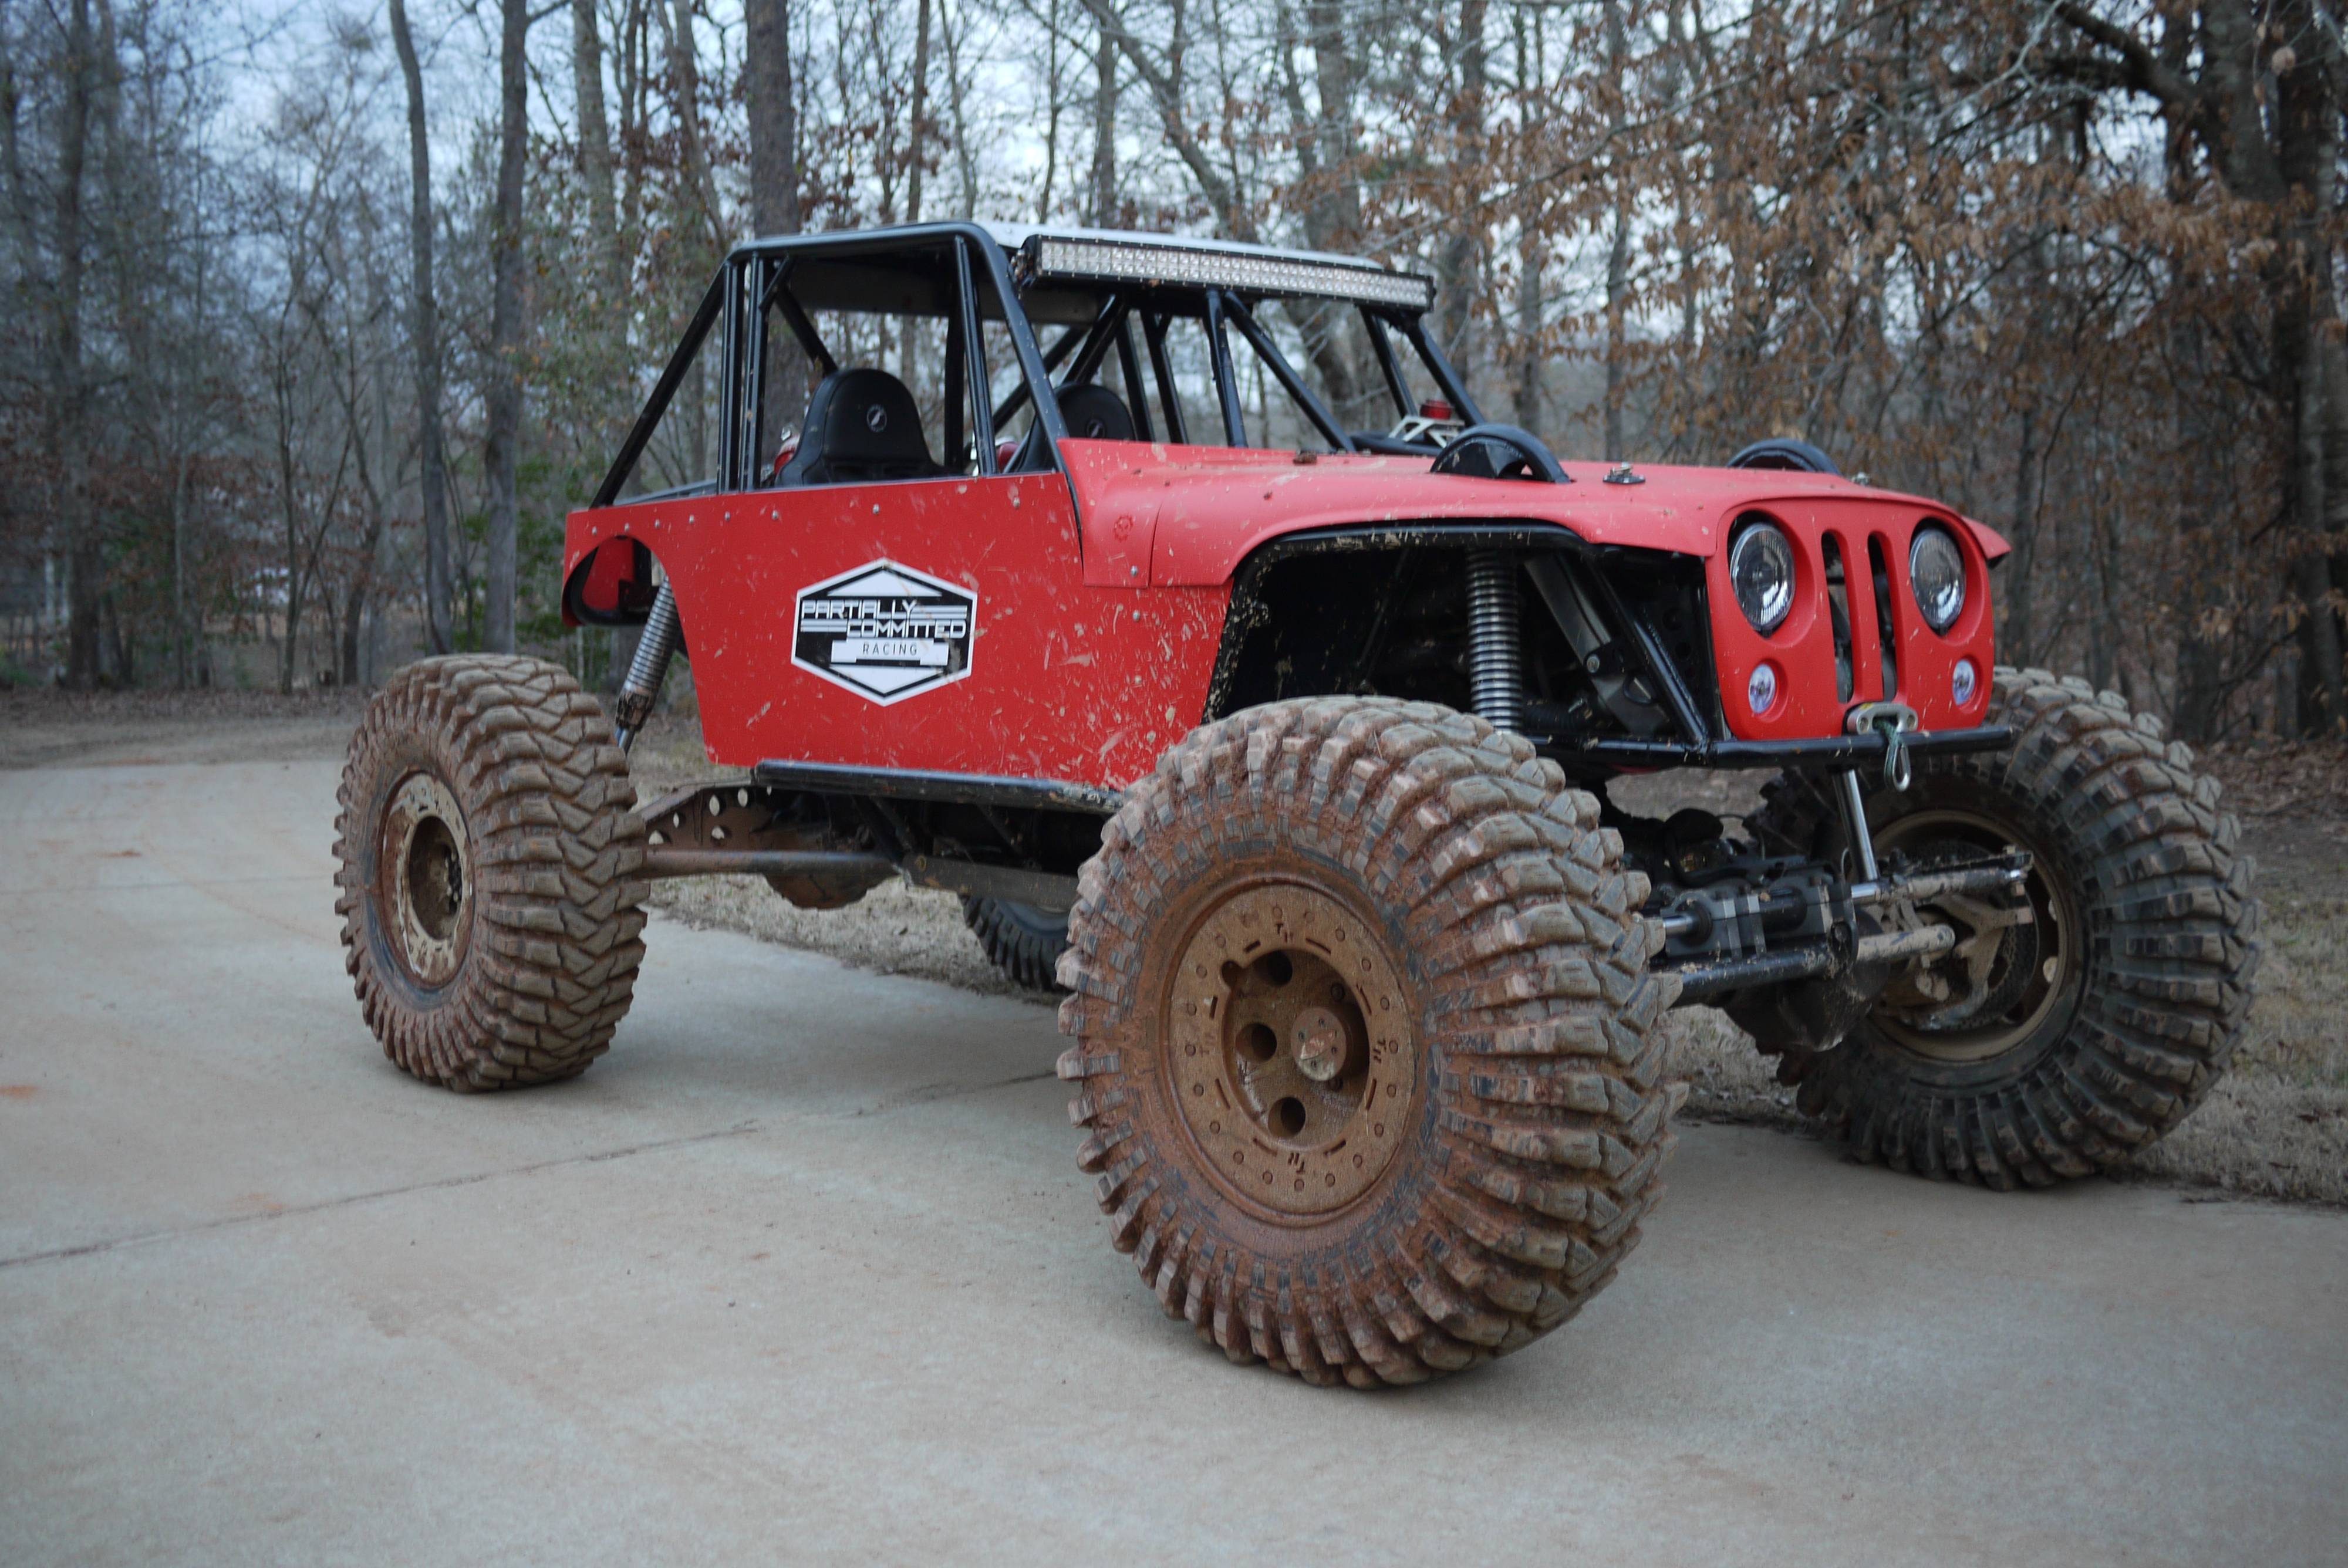
then on 42s:
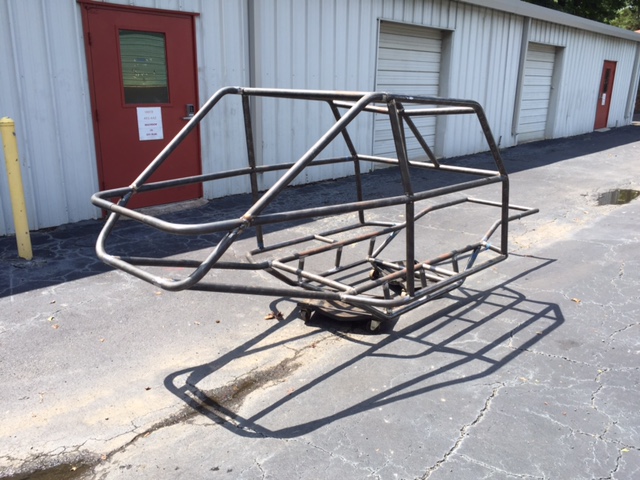
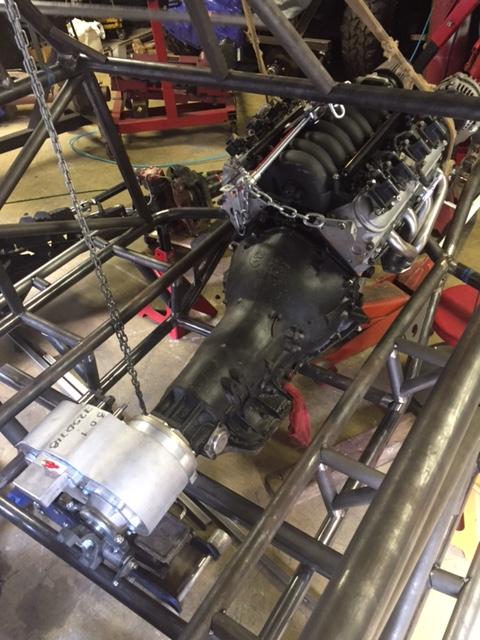
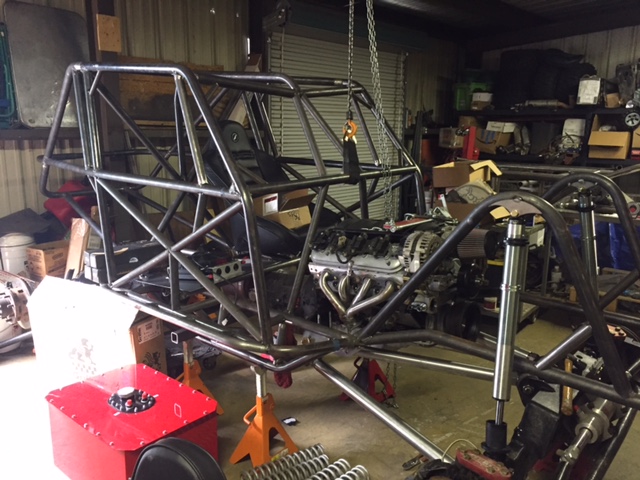
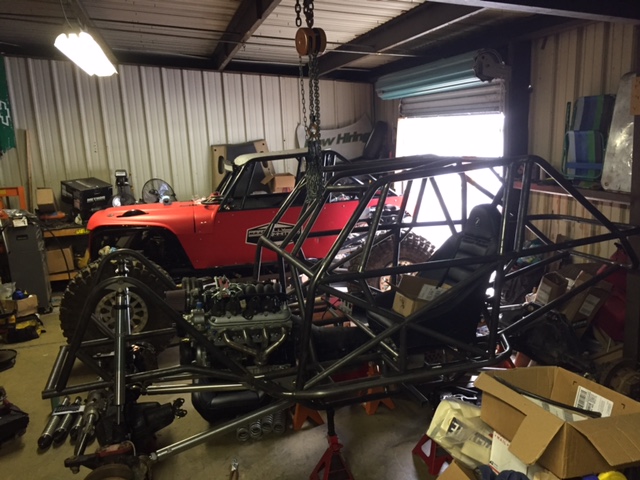
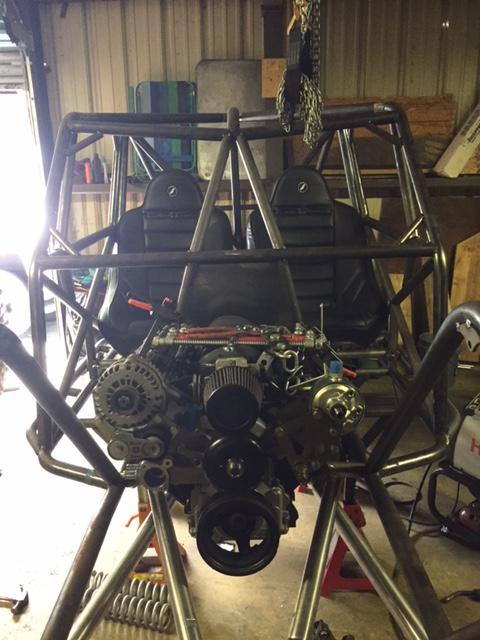
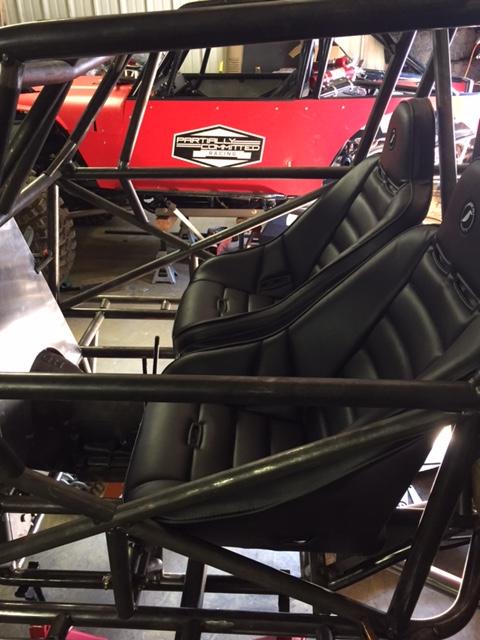
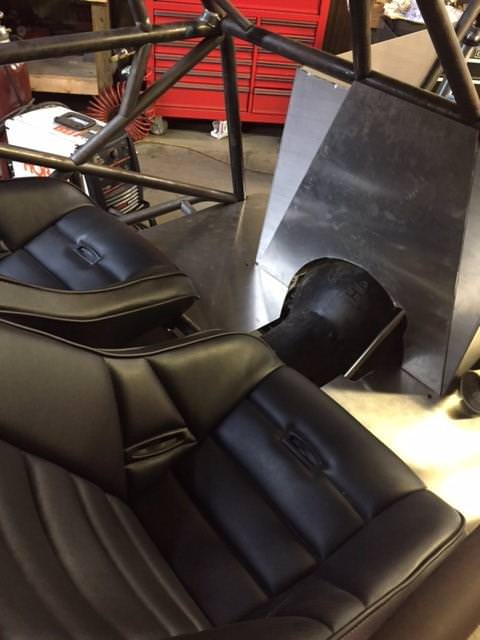
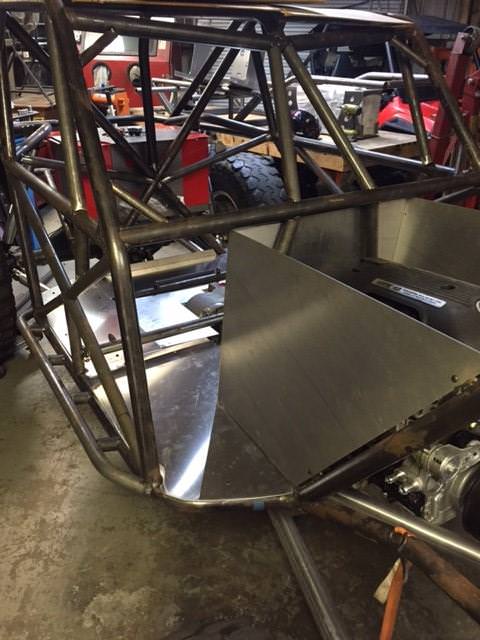
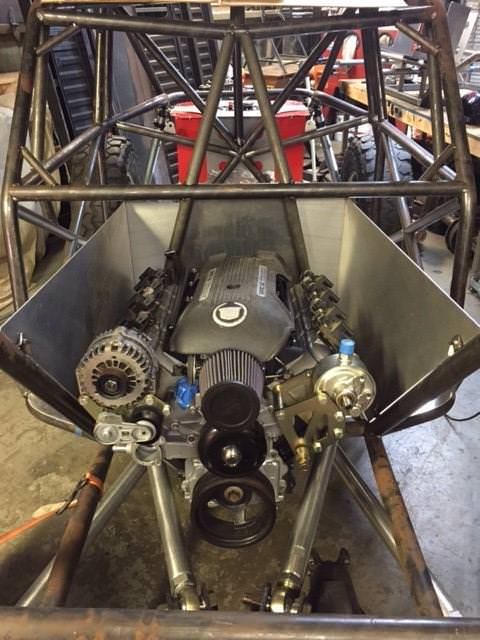
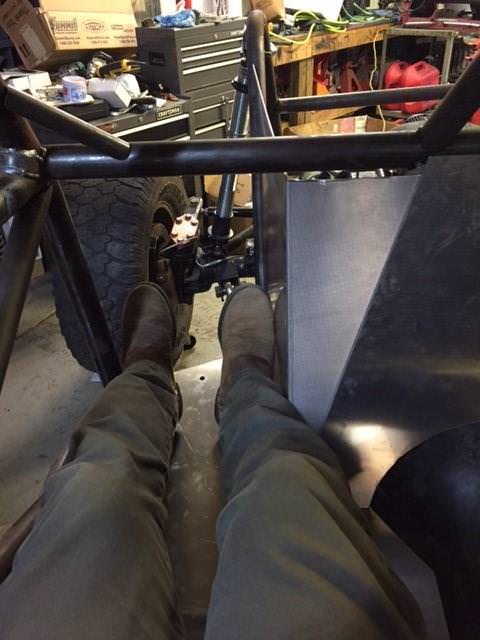
In any case, not too long after we got these running and wheeling, we had a guy from our wheeling group ask if we would be interested in building him one. At first we were a bit timid as we hadn't ever really given much thought to building for other people; but decided if we were, he was going to be a good one to work with as he was pretty much giving us a blank slate and is a friend. He wanted a copy of mine, except 54" wide throughout and 115" wheelbase for a little extra trail partying. After discussions and agreements we got going on this build. Originally it was going to be just a chassis, but the stars aligned in both directions and we are going to take it all the way to turn key, minus a few steps that he will have done outside.
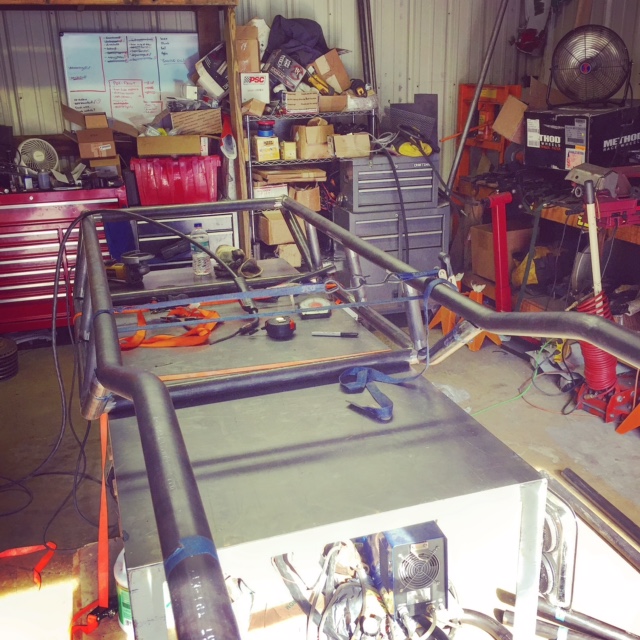
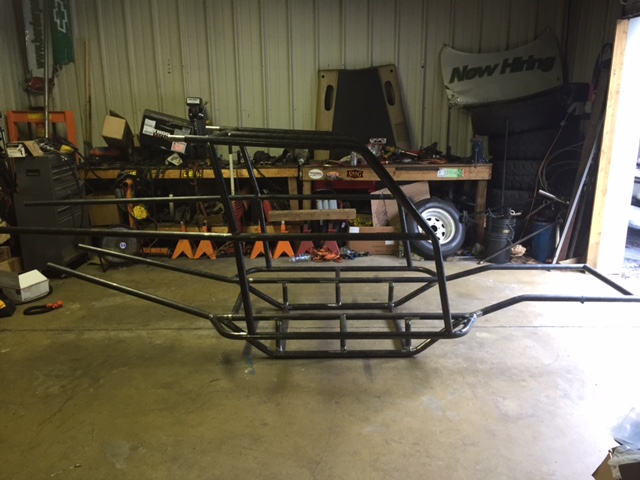
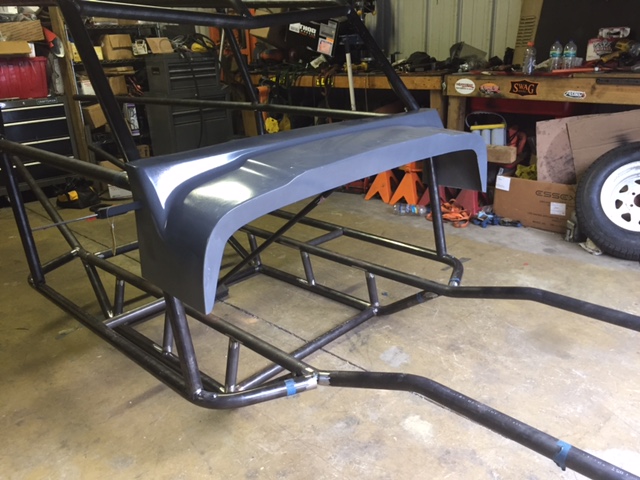
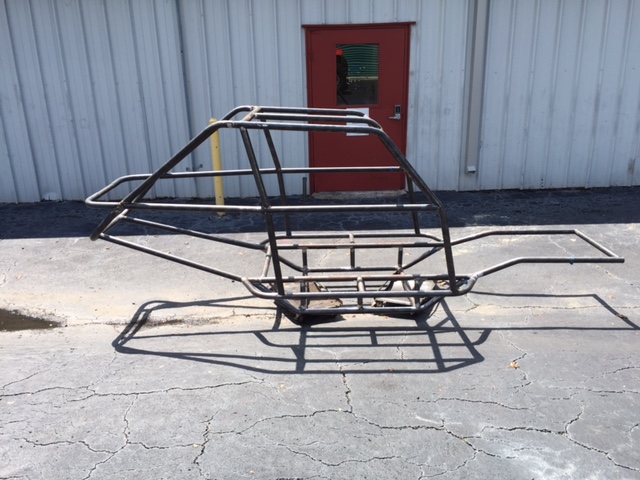
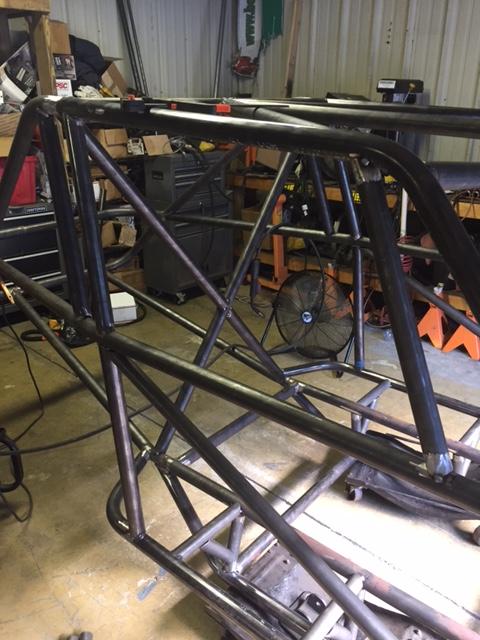
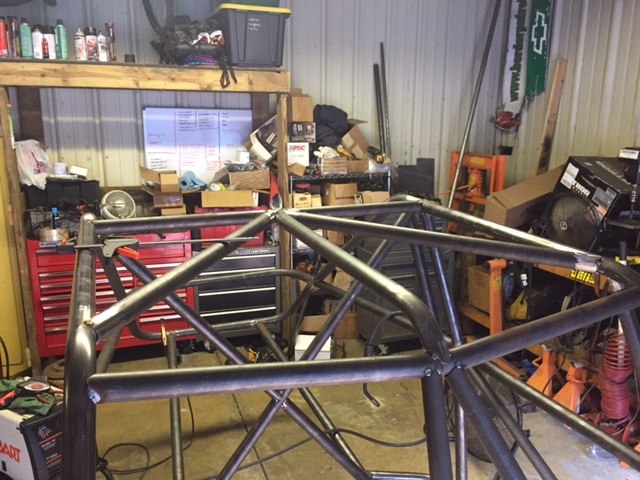
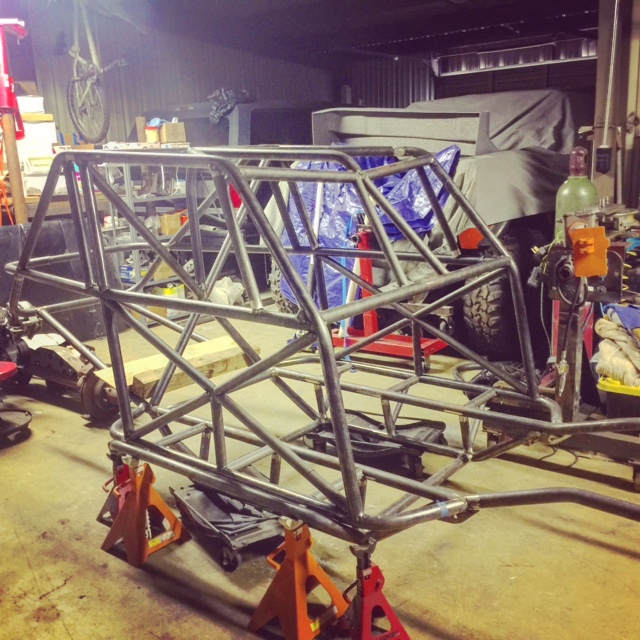
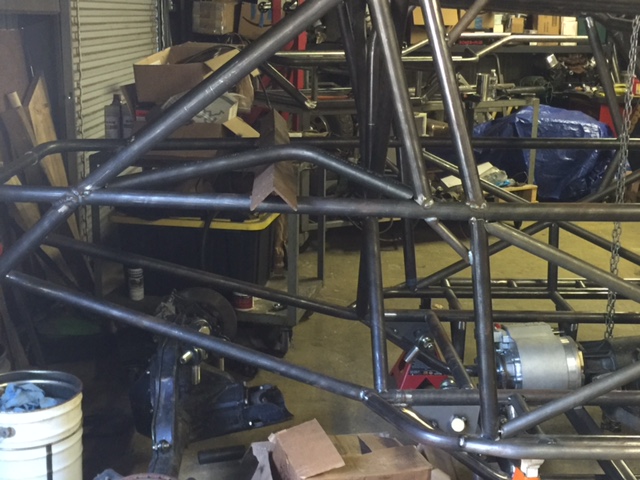
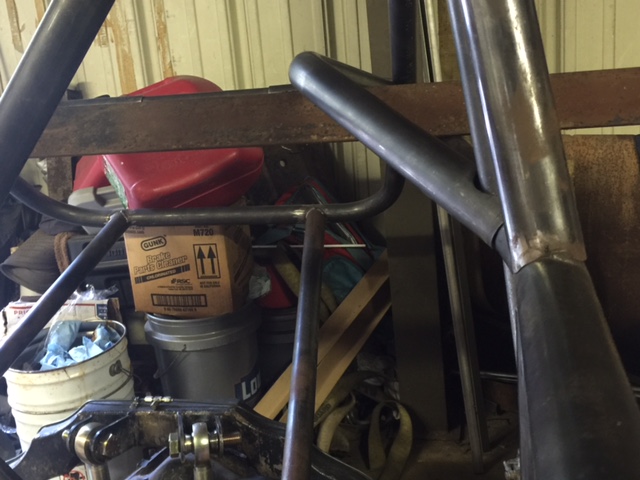
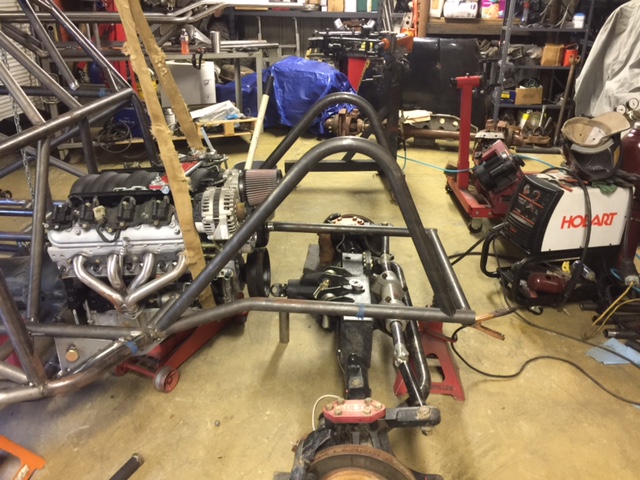
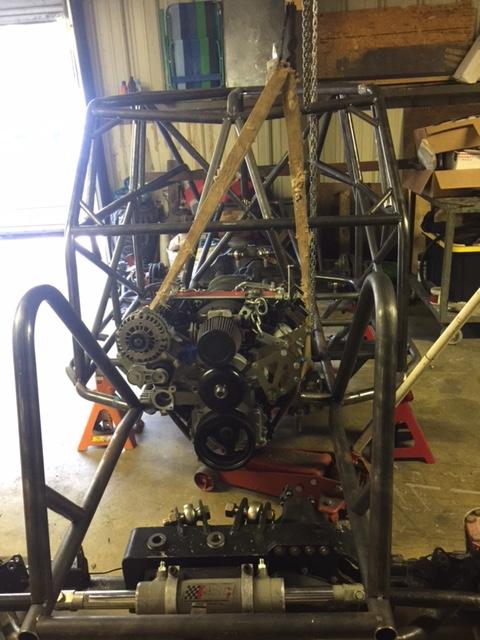
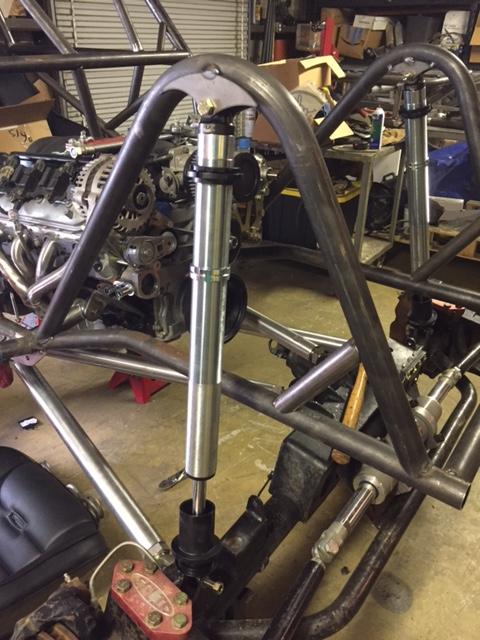
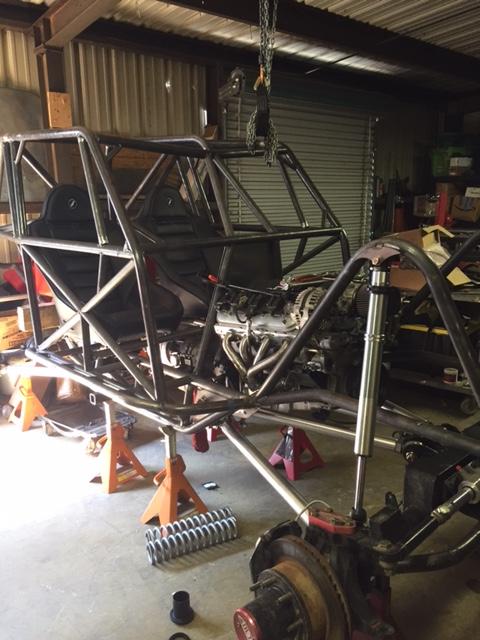
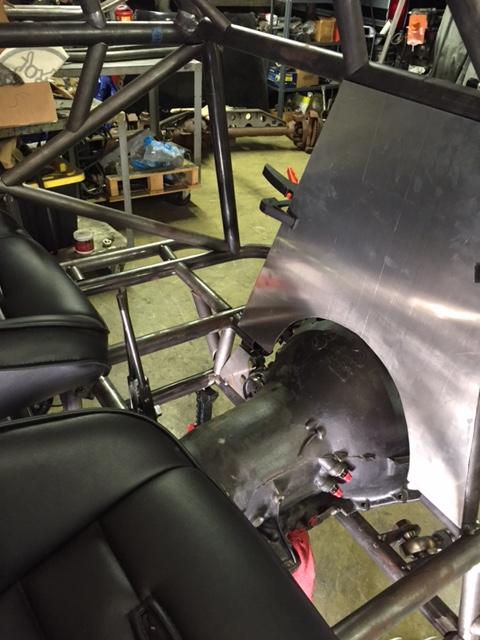
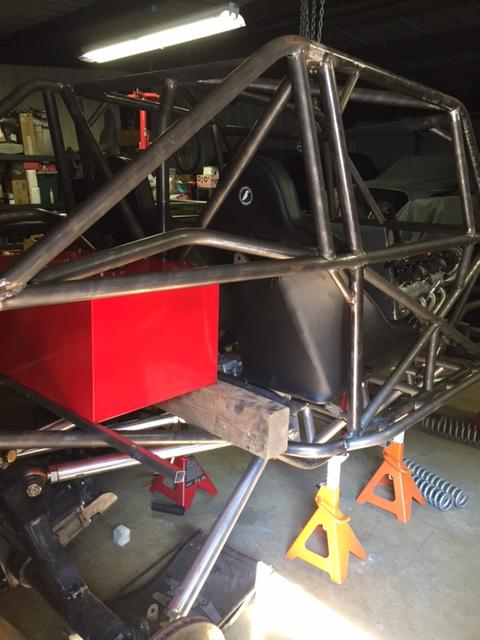
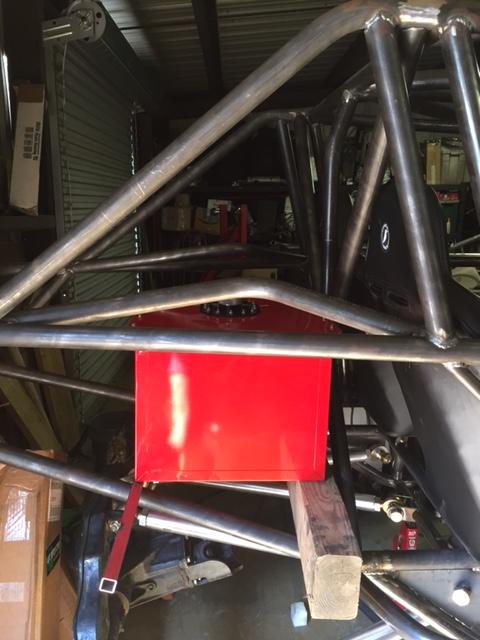
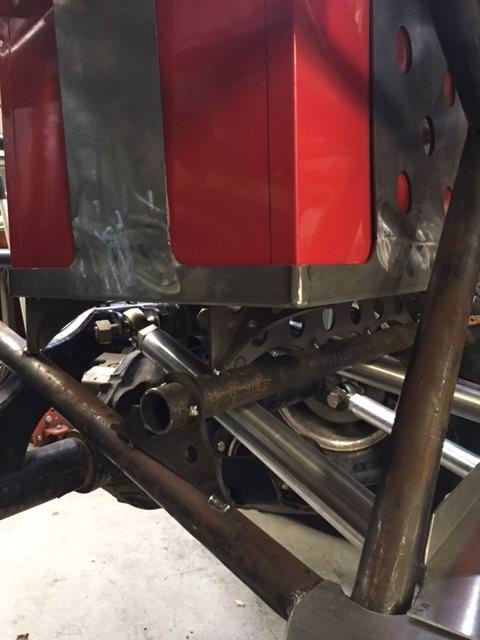
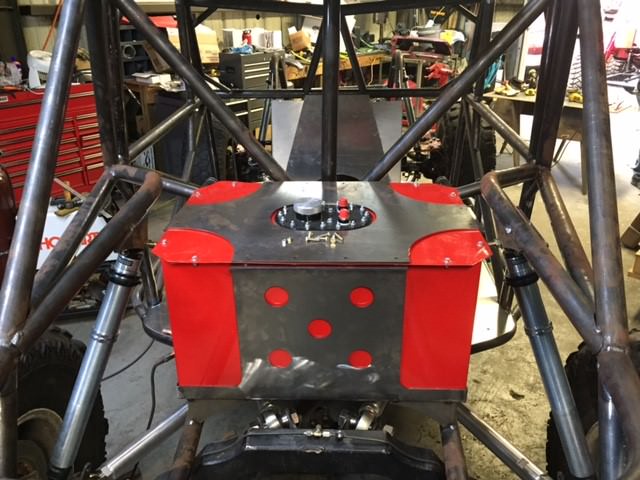
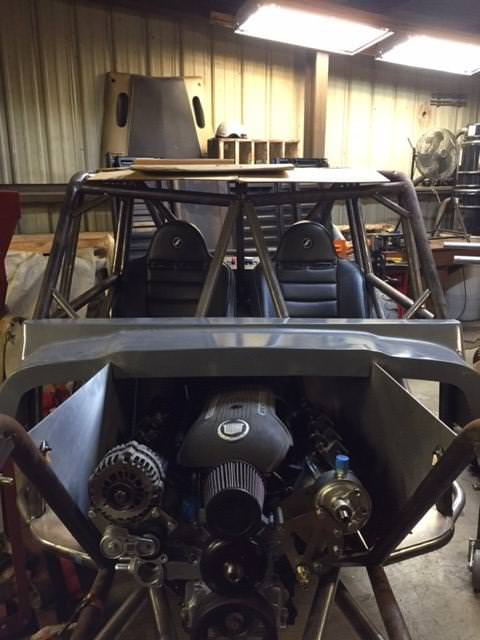
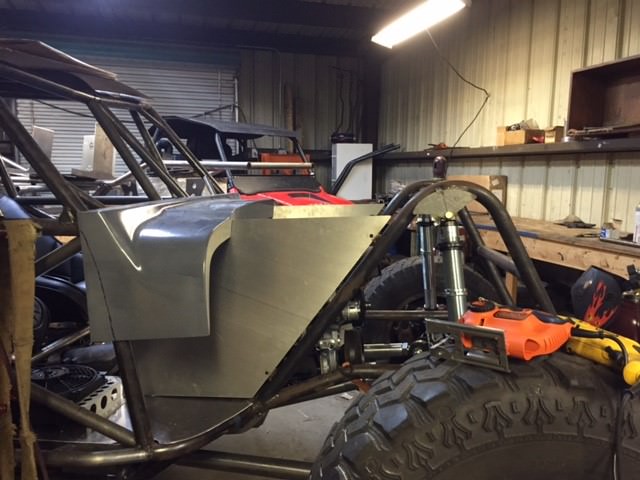
We are using .188 wall tubing in all the critical spots - belly, rockers, A B and C pillars and along the roof line. The sliders are .250 wall. The rest is .120 in various sizes. It will be a JK fiberglass body; so it will match mine pretty damn closely.
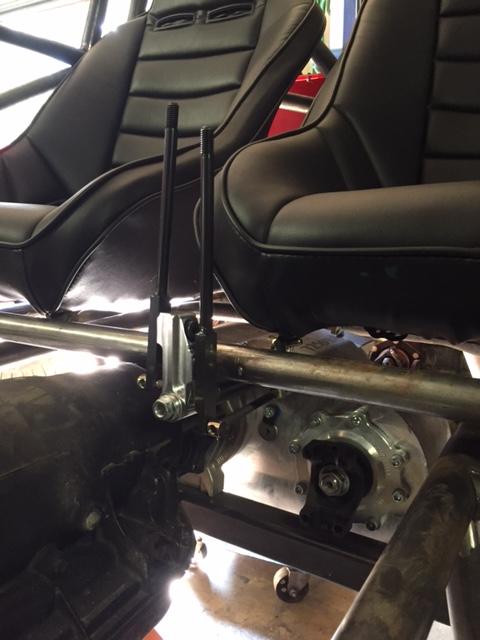
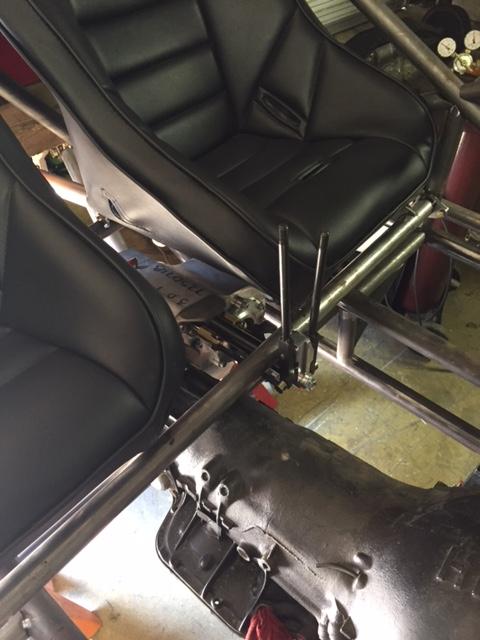
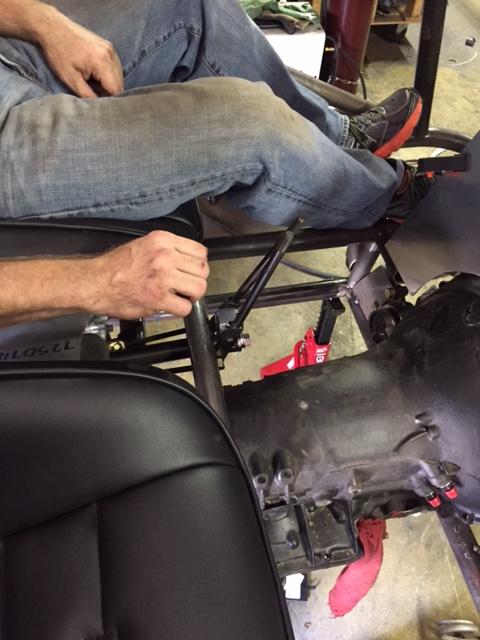
We have been building for a bit, so I will catch everyone up with pictures:
So a good friend and I have built 2 of these buggies already (and the #001 is a little toyota buggy). The 2nd two are basically identical save from a few cosmetic changes and the width of the chassis. Mine (the red one) is 48" wide at the cowl and 50" wide at the B pillar - 6.0, 4L60e, Atlas, 60/14b, 42 treps, 112". The silver one is 52" all the way through - 5.3, TH350, Atlas, 60/60, 39 reds, 110". They were started a few years ago and finished about a year ago. They both work pretty well and we have been super happy with them - even if the learning curve for driving them was quite a bit different than our old (also similar) 4.3 V6 short wheelbase cone dodger style buggies!
originally on 40s:
then on 42s:
In any case, not too long after we got these running and wheeling, we had a guy from our wheeling group ask if we would be interested in building him one. At first we were a bit timid as we hadn't ever really given much thought to building for other people; but decided if we were, he was going to be a good one to work with as he was pretty much giving us a blank slate and is a friend. He wanted a copy of mine, except 54" wide throughout and 115" wheelbase for a little extra trail partying. After discussions and agreements we got going on this build. Originally it was going to be just a chassis, but the stars aligned in both directions and we are going to take it all the way to turn key, minus a few steps that he will have done outside.
We are using .188 wall tubing in all the critical spots - belly, rockers, A B and C pillars and along the roof line. The sliders are .250 wall. The rest is .120 in various sizes. It will be a JK fiberglass body; so it will match mine pretty damn closely.
We have been building for a bit, so I will catch everyone up with pictures:
Last edited: