Commando Build

jpcommando

Well-Known Member
Joined
Apr 4, 2017
Location
Richmond VA
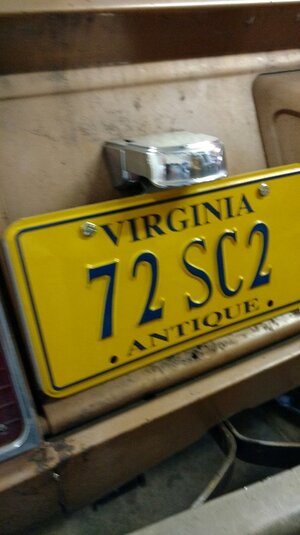
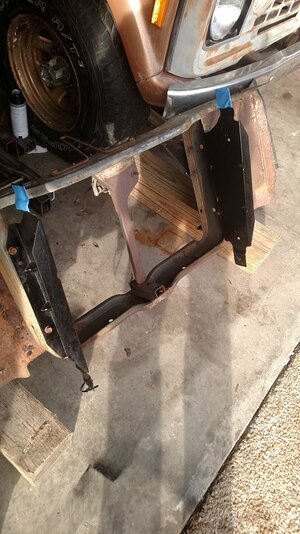
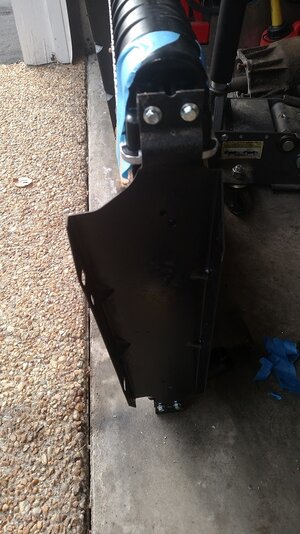
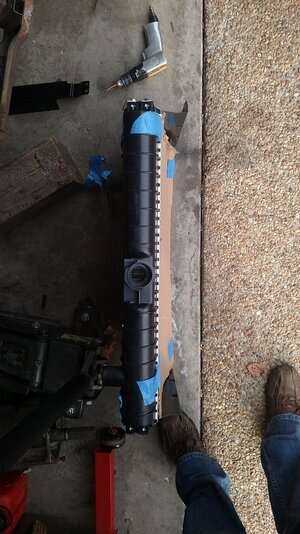
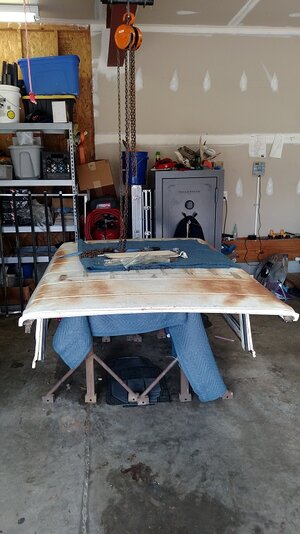
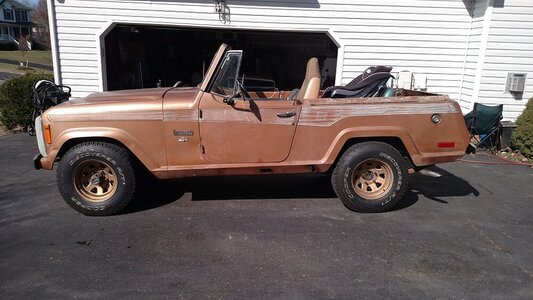
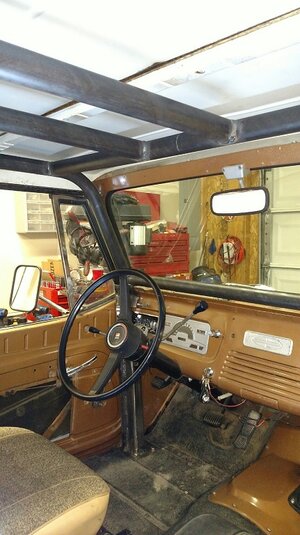
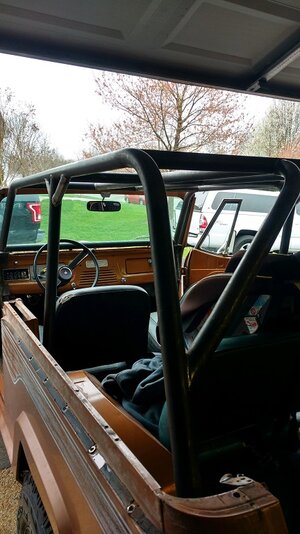
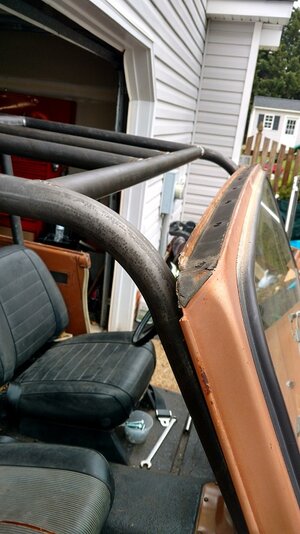
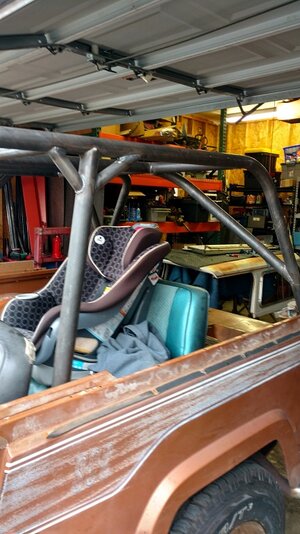
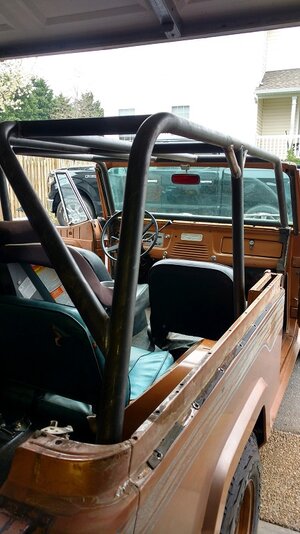
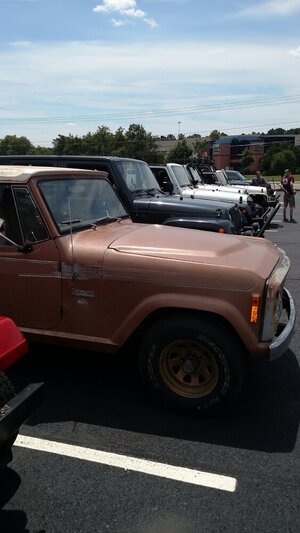
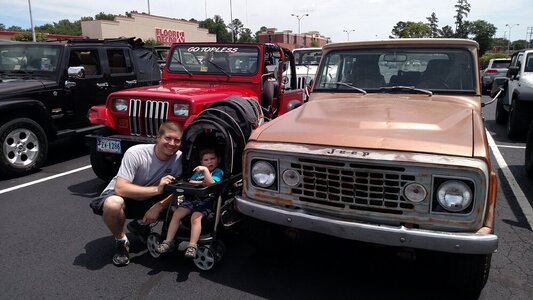
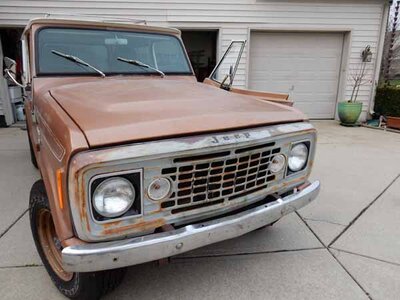
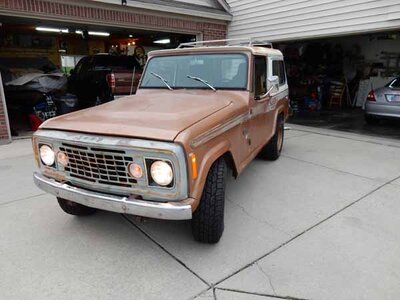
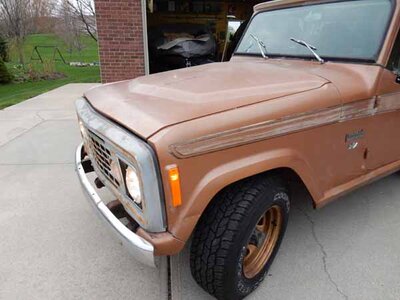
I had recently purchased a new to me 72 Jeep Commando SC2. It was a driver for sure. I’m going to start with some basic fixes and go from there. It won’t be a restored vehicle just something I can really enjoy and drive whenever I want without fear of it braking down or other issues. I want to eventually get back to being the driver on the trail and not the help/passenger.


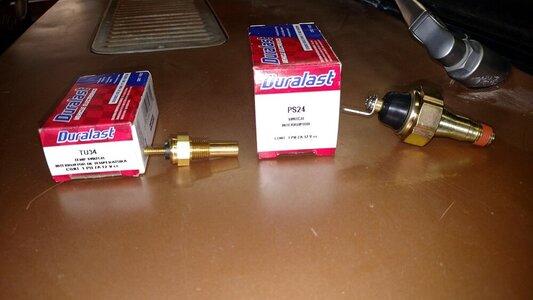
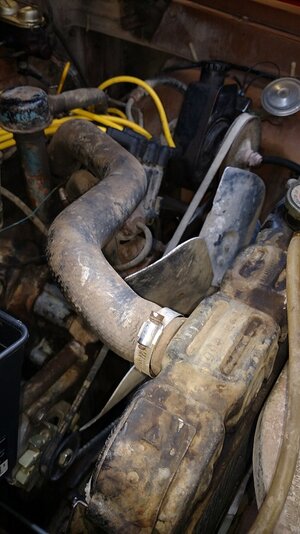
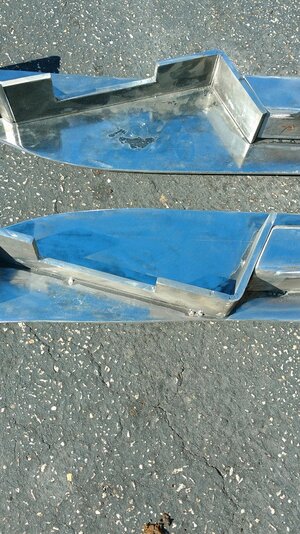
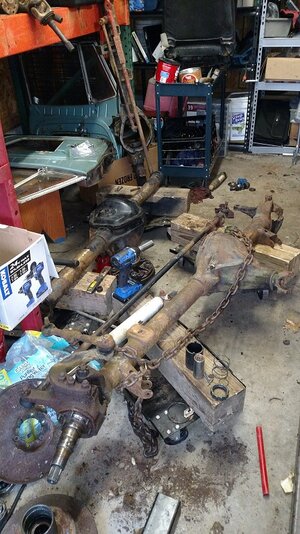
Ive already gotten a bunch of work done. With TONS of pictures. Just hadn't had time to post. (FYI)
 

Attachments

  • DSCN2734.jpg
    DSCN2734.jpg
    53.8 KB · Views: 68
  • DSCN2736.jpg
    DSCN2736.jpg
    55.5 KB · Views: 61
  • DSCN2737.jpg
    DSCN2737.jpg
    52.4 KB · Views: 68
Last edited:
Well the next biggest fan of this jeep is my son, so the first modification will be making it more family friendly and get a car seat installed in the back. It came with no rear seat, so off to the shed to find one in the parts bin. Now hopefully this will be somewhat easy since I parted a couple jeepsters out.


Parts to find:

-Rear seat

-rear seat brackets and bolts

-seat belts


Got the DMV and insurance straight. So now its legal.


Not that it will stop the other people from saying nice bronco or scout.
 

Attachments

  • IMG_20180613_164110312.jpg
    IMG_20180613_164110312.jpg
    99.3 KB · Views: 50
Went to take the jeep for a ride around the block and it wouldn’t start. Battery was checked at NAPA and turned out to be on the bad side. Went with a Legend series from NAPA (part #7524F)

Also went ahead and purchased a new starter solenoid (part# MPE ST81SB) while I was at it.


The ride was nice, I didn’t venture far from the house incase there was any issues with a jeep build in 1972.


Next time I was planning on a ride I noticed a puddle of fluid on the garage floor. Now I know this is usual as all jeeps leak or something is wrong with it.

Turns out the transmission cooler lines, hard ones along the frame and hose clamps under the radiator, were loose.

One of the hardlines that runs under/near was touching the crank pulley under the engine. It rubbed and there was a kink in the line. As soon as I tried moving it, it broke.

Got a coupler/adapter from NAPA and replaced part of the broken hard line and the flex line from the cooler. I rerouted the replaced hardline along the frame a little better Also tightened the hose clamps. I would still plan on replacing and re-routing all of the cooler lines in the future. But for now it will do.
 
The obvious electrical issue plagued the dash cluster and other electronics.

-no radio

-AMP and voltage lights aren’t working

-turn signal works for the left but not for the right

-cigarette lighter doesn’t work

-heater fan/motor issue

I found some LED bulbs from the PO to install in the cluster lights. The PO already replaced the circuit board so that’s good.

Cigarette lighter didn’t have the red wire going back to the circuit breaker. I used a piece of wire from a spare harness to fix it and added the lighter part.

I could hear the flasher going off but only one turn signal was working in the dash. Turns out that the bulb holder was installed incorrectly.

The heater sounded like it was on hi no matter if the switch was low or hi position. I didn’t want to hassle with pulling the whole unit apart from the firewall. I know these things never really worked great from even when they were new. I took the blower motor out. It looks like someone had previously swapped a single seed fan in. I found another blower motor in the parts bin with the wiring harness and swapped it in. 2 speeds now. Lubed the cables to make then move a little better. Smells like a mouse nest inside but I’ll address that at a later time.


I ordered another temp sensor from the store and an oil pressure sensor.

Oil Pressure #PS24

Temperature #TU34


Had to remove the alternator to get the old oil pressure sensor out and the new one in. While I was at it I replace the ends of the connectors for the alternator wiring. They looked a little frail and worn.


I quickly replaced the temp sensor (should have drained some of the radiator fluid first), it got a little wet.


New temp sensor is working in the gauge cluster now. Oil pressure light still won’t come on. I think it supposed to come on when the key is turned on or there is a low pressure issue? Amp light still isn’t coming on, but the gas gauge works.
 

Attachments

  • IMG_20170707_193447065.jpg
    IMG_20170707_193447065.jpg
    81.1 KB · Views: 53
The first local radiator place I called to see about having it re-cored was way too high for my likings. Quoted around $350-400. So I ordered the new one from Rock Auto. Also got it with the transmission cooler built in as the stock one had that.

The radiator does not appear to be leaking at all. Some of the fins by the power steering lines are damaged badly and there is some other damage in other parts of the radiator. A quick internet search later and this was in the mail

Rock Auto Part# APDI 8010583​


Well of course it says it will work but I know from experience that is going to be a long shot. The radiator is plastic and aluminum with metal brackets. The mounts are removable on the side.

Drum roll… The mounts are completely wrong. They aren’t anywhere near being close.

I had recently acquired a 6 cylinder radiator from another commando. I heated the soldered mounts (on the side of the tank) off, modified them and reattached them to the new radiator. Checked the fit and applied a coat of paint. Re-installed and good to go. I don’t really care for the plastic top and bottom of the radiator, but I will update if there are any problems

New upper and lower hoses as well

Rock Auto part# 22611 (upper) and # 22090M or 20923 (lower) I ordered 2 for some reason.
 

Attachments

  • IMG_20171107_131805504.jpg
    IMG_20171107_131805504.jpg
    128.7 KB · Views: 71
  • IMG_20171107_135623269.jpg
    IMG_20171107_135623269.jpg
    116.7 KB · Views: 55
  • IMG_20171107_142813698.jpg
    IMG_20171107_142813698.jpg
    122.6 KB · Views: 55
  • IMG_20171111_144252981.jpg
    IMG_20171111_144252981.jpg
    159.2 KB · Views: 57
  • IMG_20171111_151724943.jpg
    IMG_20171111_151724943.jpg
    142.3 KB · Views: 55
  • IMG_20171111_151737882.jpg
    IMG_20171111_151737882.jpg
    158.7 KB · Views: 57
  • IMG_20171113_222507825.jpg
    IMG_20171113_222507825.jpg
    111.8 KB · Views: 53
  • IMG_20171113_222519490.jpg
    IMG_20171113_222519490.jpg
    153 KB · Views: 57
So I don’t think that the commando would be all that safe in a crash or a roll over. Since I plan on wheeling this thing a roll cage was in order. I found plenty of cages I liked the look of online that I liked the look of.


Without a 220v welder at my disposal and limited time. I began looking for a reputable local shop to use. I also had a timeline and needed to get this done in the next month or so. Also I had a specific way I wanted the cage to wrap the dash. I had to make my own to keep cost down a bit.

I made the dash huger pillars that I wanted the cage to connect to.


Independent 4x:

This place is not far from me, I have seen a bunch of their work, and they come highly recommended. I checked in with them about my ideas. Good news is they could schedule me in. The bad news is it would be over a year at the time. No new projects for a year! Well off to the next place.


Weldone Fabrication:

Checked in with this local shop as well. I was referred to another shop (Rollcage Components). This was to keep within the budget.


Rollcage Components:

Also not to far out of the way with less than an hour drive to get there. This place I believe supplies a lot of the DOM to the other places in the area. So I could keep the cost down a bit. Scheduling was a small issue. Problem came when they were not sure how to make or how long it would take to make the dash part of the roll cage. They could obviously make them but not sure on cost.


Creech Motorsports:

Never been to this place before. It is only a mile or so from my neighborhood. I’ve passed it a bunch and see they do chassis for circle track cars. So I stopped by one day and showed them some pics. I checked out what they were working on also. I got an estimate with a time to get it done and it was on budget.


Now that that was planned time to take the top off. I also ordered the hard top seal kit for when the top goes back on.
 

Attachments

  • IMG_20180220_132348958.jpg
    IMG_20180220_132348958.jpg
    137.9 KB · Views: 60
  • IMG_20180220_132324201.jpg
    IMG_20180220_132324201.jpg
    134.9 KB · Views: 60
  • IMG_20180218_122712468.jpg
    IMG_20180218_122712468.jpg
    193.7 KB · Views: 73
  • IMG_20180218_095708625.jpg
    IMG_20180218_095708625.jpg
    184.2 KB · Views: 60
  • IMG_20180218_095318533.jpg
    IMG_20180218_095318533.jpg
    201.6 KB · Views: 57
  • IMG_20180218_090929382_HDR.jpg
    IMG_20180218_090929382_HDR.jpg
    149.2 KB · Views: 62
Creech Motorsports finished the cage the other day...
 

Attachments

  • IMG_20180228_212150601.jpg
    IMG_20180228_212150601.jpg
    71.3 KB · Views: 79
  • 7154.jpeg
    7154.jpeg
    120.3 KB · Views: 72
  • 7152.jpeg
    7152.jpeg
    138.1 KB · Views: 72
  • IMG_20180403_105724128_HDR.jpg
    IMG_20180403_105724128_HDR.jpg
    130.1 KB · Views: 78
these look familar caver dave....lol


GM dana 44 shortened on the long tube side and a semi float 60 rear.... both 5x5.5 lug pattern..


rough shape but that shouldnt be to much of a problem
 

Attachments

  • IMG_20180129_091310485.jpg
    IMG_20180129_091310485.jpg
    187.4 KB · Views: 69
Ive been collecting parts for a while so I wouldnt have much down time. Craigslist and marketplace have been my main source.


The plan is to eventually swap these axle in, suspension lift, and some larger tires. this is the plan for the first major part. I want to be able to continue to drive it around and find more problems and weak points.


Good bad and ugly on the axles.

They have 4.56 gears front and rear... Rear has a detroit

The front axle had scout outers on it.. will be changed out to GM knuckles and outter shafts

Front 4.56 are junk.... they had previously exploded.. ring and pinion are both missing teeth and lots of shinny glitter in the oil
Rear axle bearings are not the correct ones. This is a mopar 60 from back in the day. Looks like a set of set10 or 20 were swapped in and it should have been the green bearings.
 

Attachments

  • IMG_20171219_201212172.jpg
    IMG_20171219_201212172.jpg
    129.3 KB · Views: 62
  • IMG_20171107_150549445.jpg
    IMG_20171107_150549445.jpg
    91.1 KB · Views: 51
  • IMG_20171107_150224879.jpg
    IMG_20171107_150224879.jpg
    153.2 KB · Views: 53
  • IMG_20171107_150127679.jpg
    IMG_20171107_150127679.jpg
    113.4 KB · Views: 54
  • IMG_20171107_144803392.jpg
    IMG_20171107_144803392.jpg
    90.5 KB · Views: 51
  • IMG_20171107_144612894.jpg
    IMG_20171107_144612894.jpg
    128.2 KB · Views: 51
My memory could be off, but I recall Scout outers having 8 bolt spindles, and also having a coarse spline stub shaft. Dodge also used the external flanges through the years. If that is a GM knuckle, a Ford hub should work on a small bearing spindle.
 
My memory could be off, but I recall Scout outers having 8 bolt spindle
Correct on the spindle/caliper brackets
also having a coarse spline stub shaft.

Nope, Scout D44 used 27-spline D30 outer stubs... what I've run on the "new" D44 & 38"s (until I could collect the 1/2-ton parts) = an broken outer stub per ride, shocker right? 🤣
 
Correct on the spindle/caliper brackets


Nope, Scout D44 used 27-spline D30 outer stubs... what I've run on the "new" D44 & 38"s (until I could collect the 1/2-ton parts) = an broken outer stub per ride, shocker right? 🤣
Gotcha. I recalled they were different that "normal" but couldnt recall what it was.
 
Well the next biggest fan of this jeep is my son, so the first modification will be making it more family friendly and get a car seat installed in the back. It came with no rear seat, so off to the shed to find one in the parts bin. Now hopefully this will be somewhat easy since I parted a couple jeepsters out.


Parts to find:

-Rear seat

-rear seat brackets and bolts

-seat belts


Got the DMV and insurance straight. So now its legal.


Not that it will stop the other people from saying nice bronco or scout.
I might have some or all of this in my parts Jeep. I am not to keen on going into it till we get a freeze though😂
 
I ordered a twin stick kit from JB Fab for the dana 20 Tcase. The original single stick shifter was sloppy and worn. I took it apart to inspect it and added some grease, but that didnt really do much.


Removed the old shifter and linkage from the tcase side. Reinstalled the new shifter assembly. Everything went pretty straight forward. Had the take some time getting the new shifters in place and linkage adjusted. Making it a 2 person job to speed things up a bit.


Shifted it a few times to make sure it would work and wouldn’t bind.


Went ahead and replace the TH400 isolator mount while I was at it
Napa# BK 6201031
 

Attachments

  • download.jpg
    download.jpg
    4.1 KB · Views: 58
  • 0613181523b.jpg
    0613181523b.jpg
    194.1 KB · Views: 65
  • 0613181523.jpg
    0613181523.jpg
    171.3 KB · Views: 56
  • 0613181522a.jpg
    0613181522a.jpg
    143.7 KB · Views: 64
Its about to get expensive.

I'm ready for more modifications and to get ready for trail riding.

The "plan" I have is to get the new to me axles cleaned and rebuilt. Which will require new everyting. For the suspension I want to do leaf springs for the time being. For the rear I'l plan on a spring over using the existing rear springs with a longer shackle. The front is set up for a spring over with the perch cast into the passenger side housing/pumpkin. I'll add a perch on the long tube drivers side. For the rest of the suspension I'll use a mix of springs for the lift and a shackle reversal.

Probably end up swapping and upgrading a bunch of other stuff while Im at it. I know I will have multiple projects going on at one time.
 
Back
Top