93 XJ build

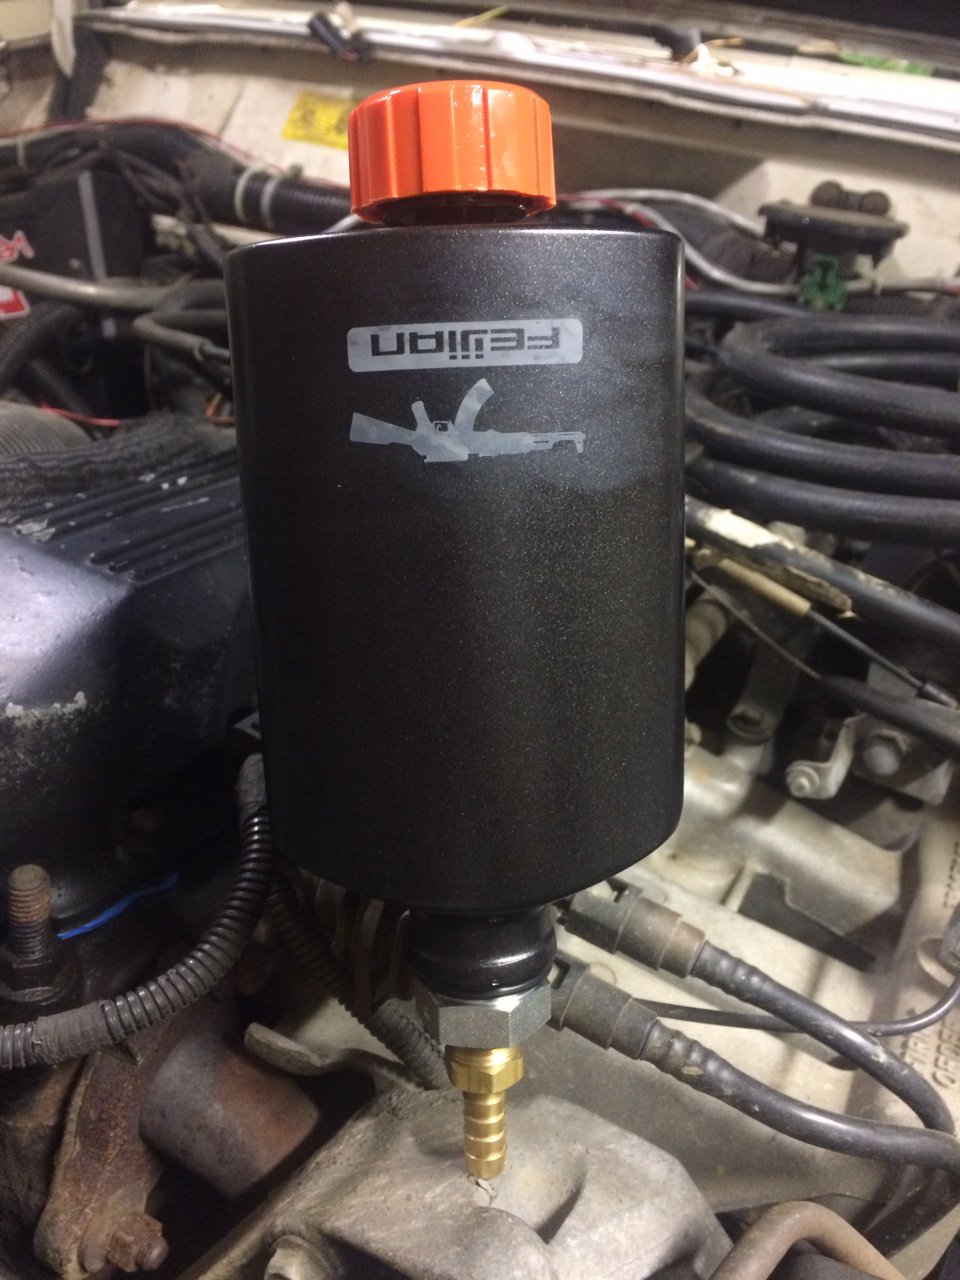
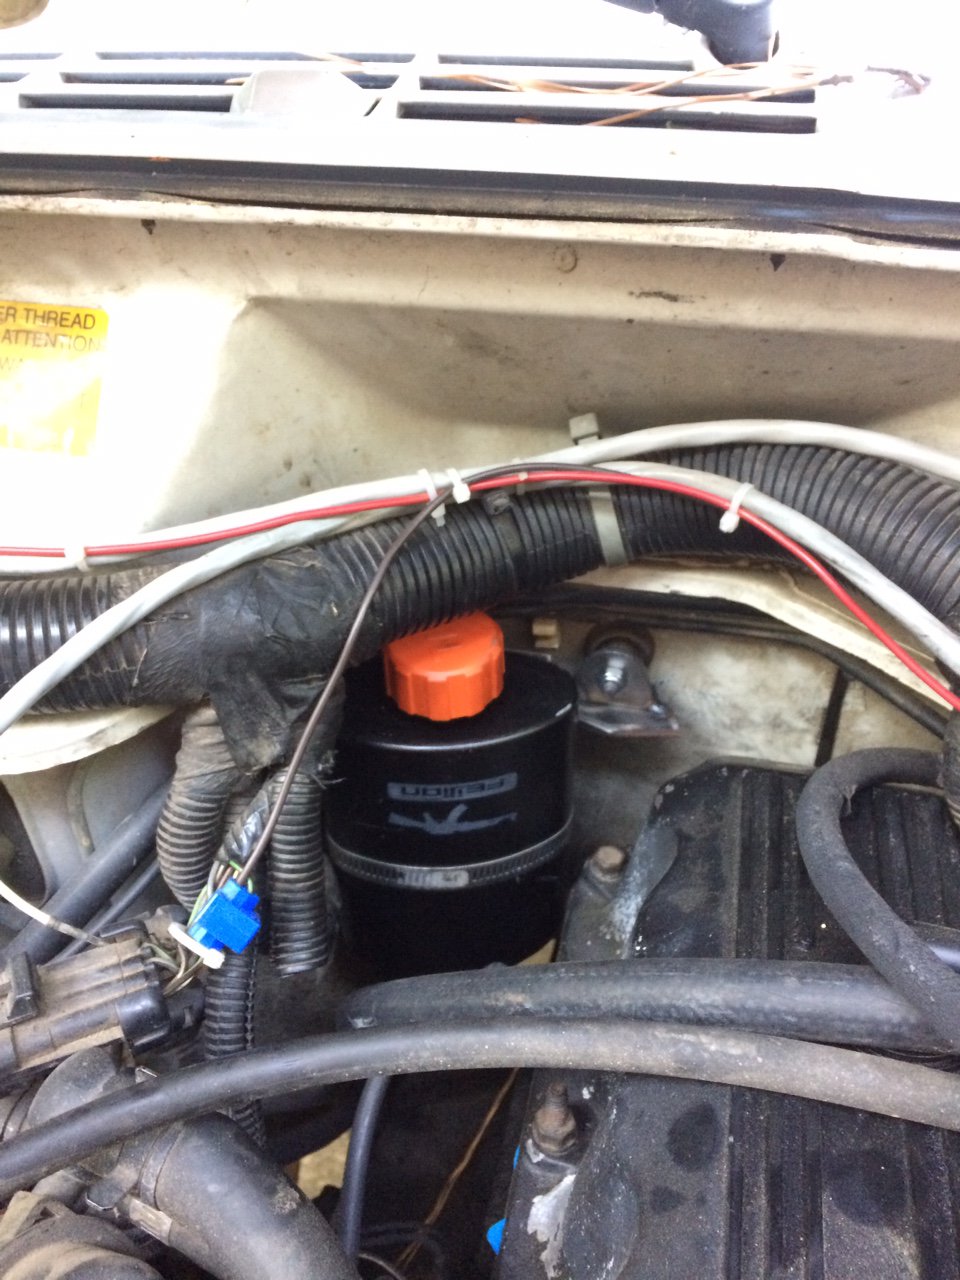
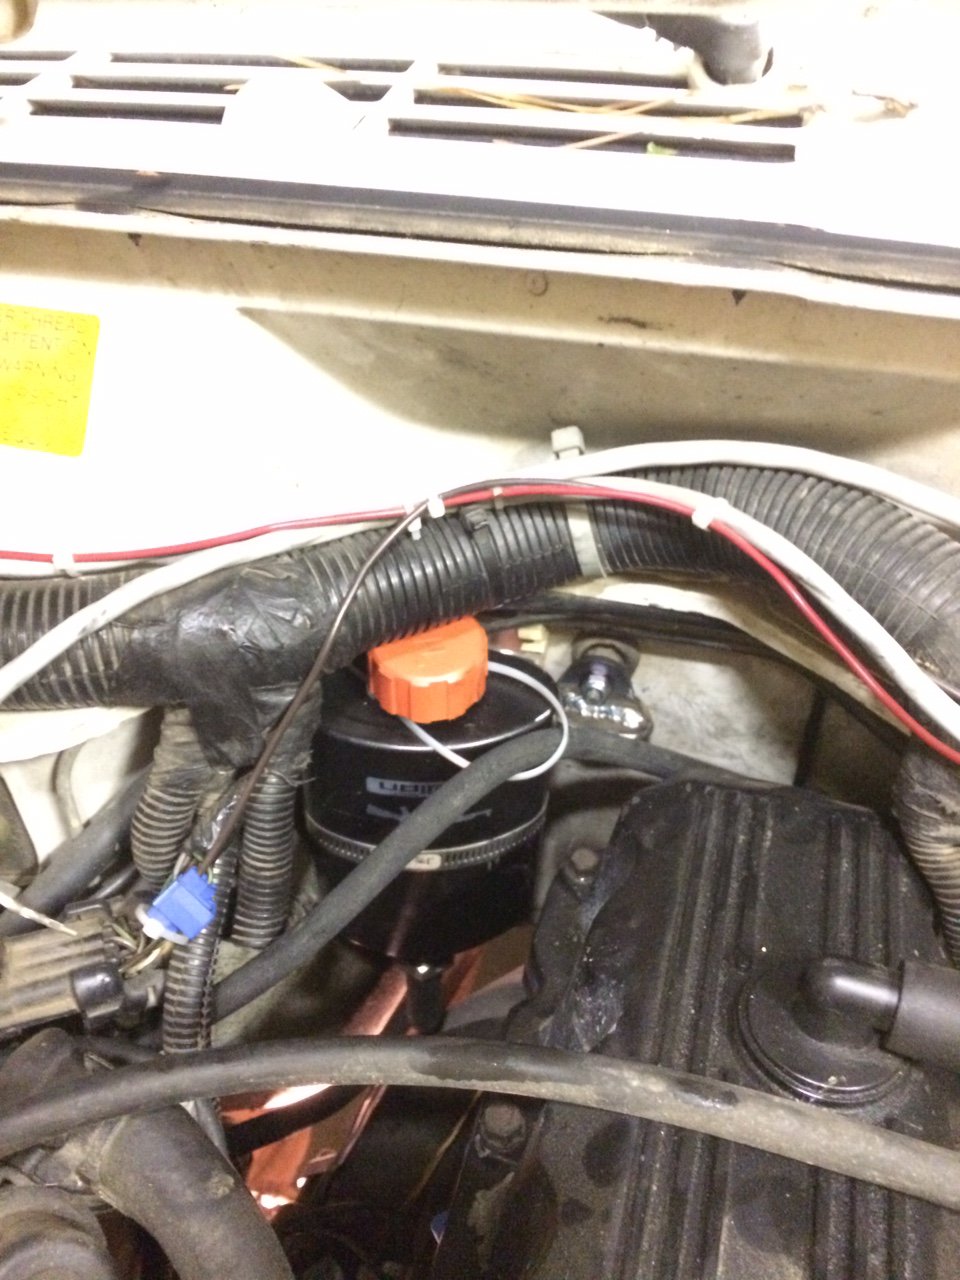
I put in a lot of hours to try and make a CTB ride but the dana 300 wasn't having it. Blowing oil out of the vent hose line like crazy. Pretty sad but at least the big work is done. A few finishing touches and I won't have to work on this anymore. Mainly painting everything since it already has a little surface rust on it.

So the rear seats will just barely sit in their normal spot. I believe the latch is off by a inch or so. I can't remember the last time someone even sat in my back seat but it should still be comfortable enough.


The shifters sat in the old shifter spot. A little tight around the knee area but overall not too bad. Have to seal up the hole where I cut it to keep the cab a little quieter. I can hear all the gear noise from the tcase and trans now (I kind of like it :rockon:)


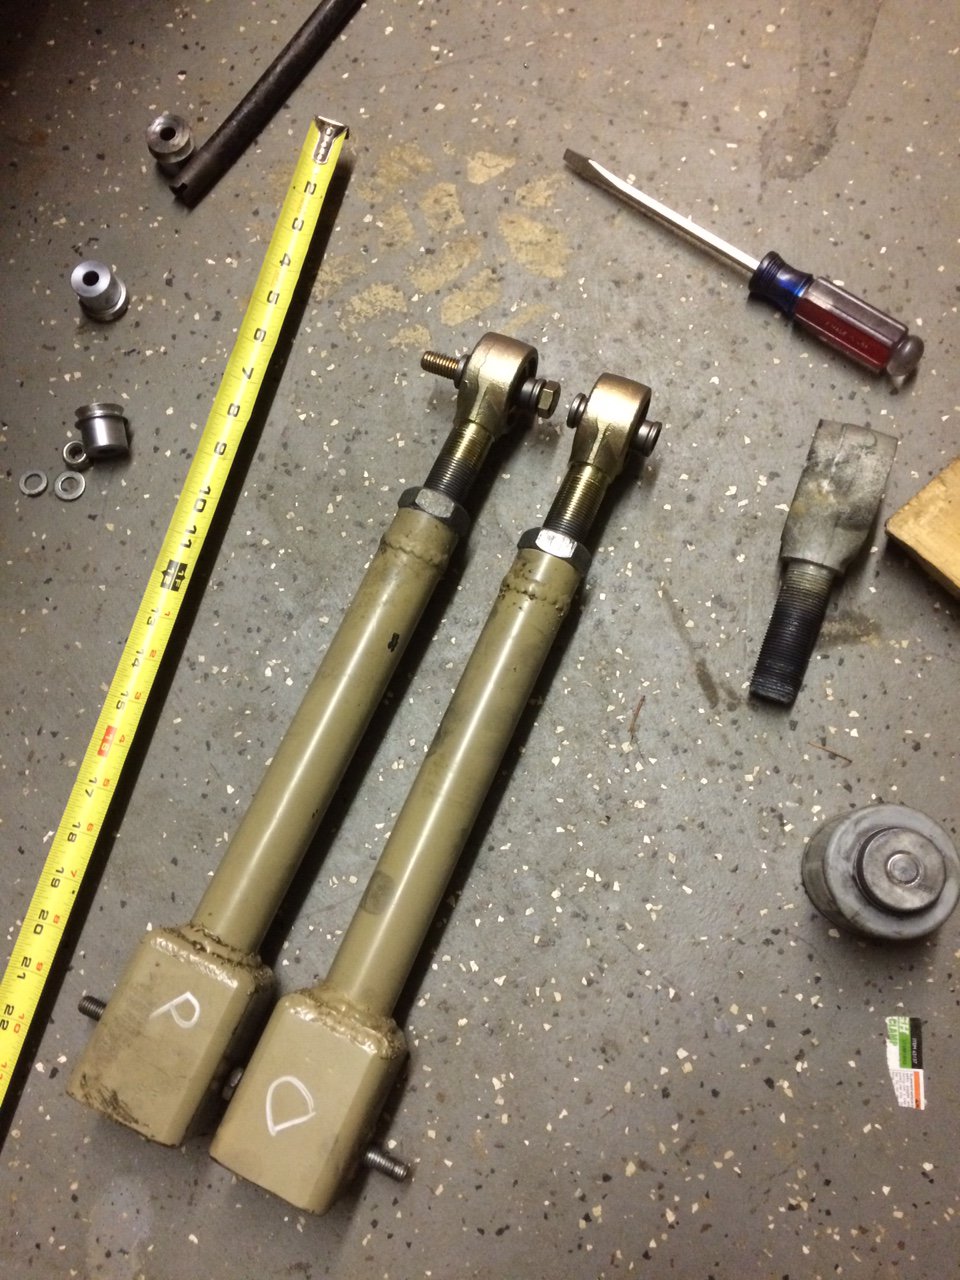
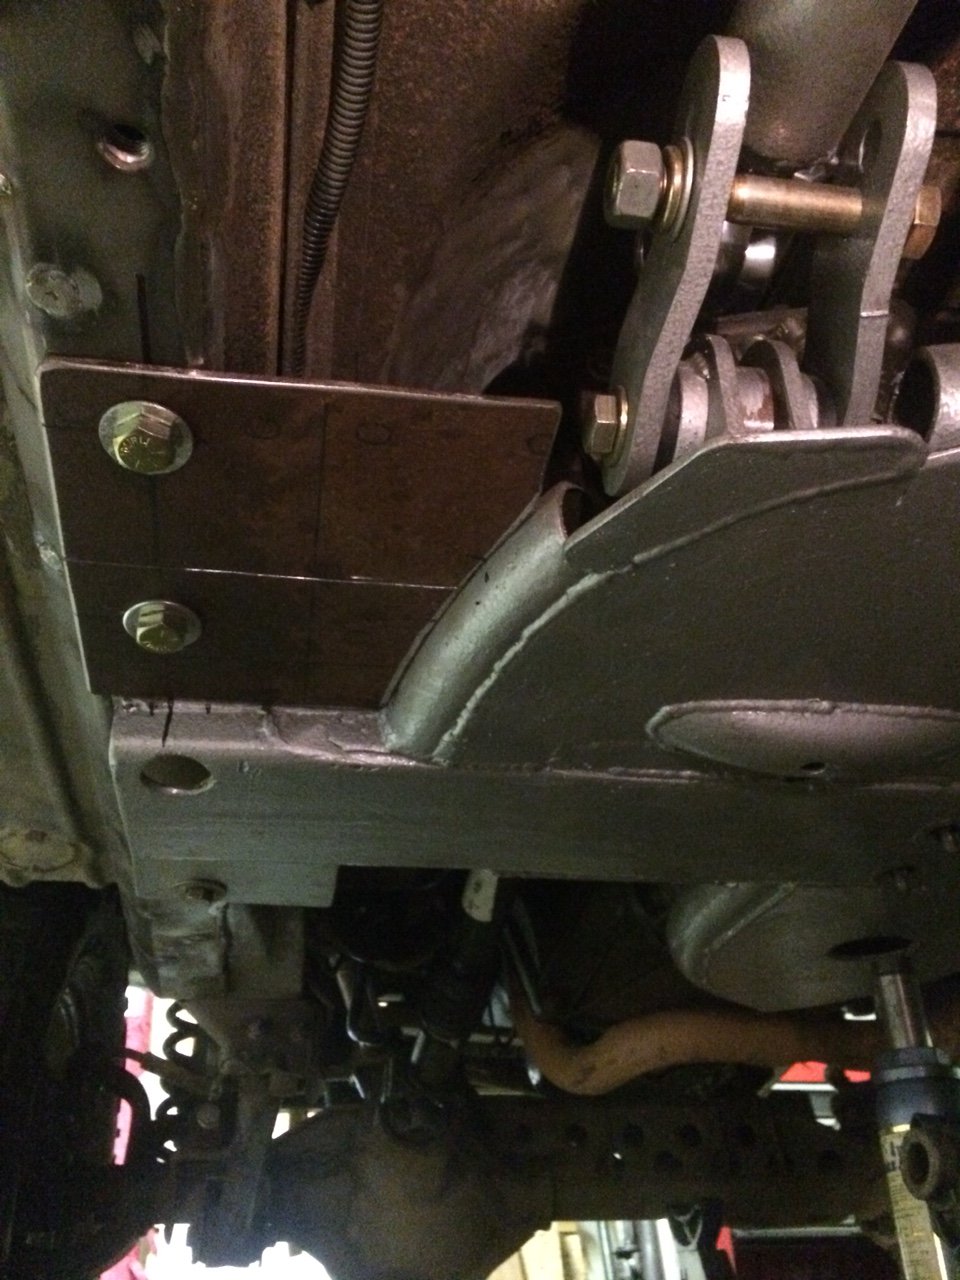
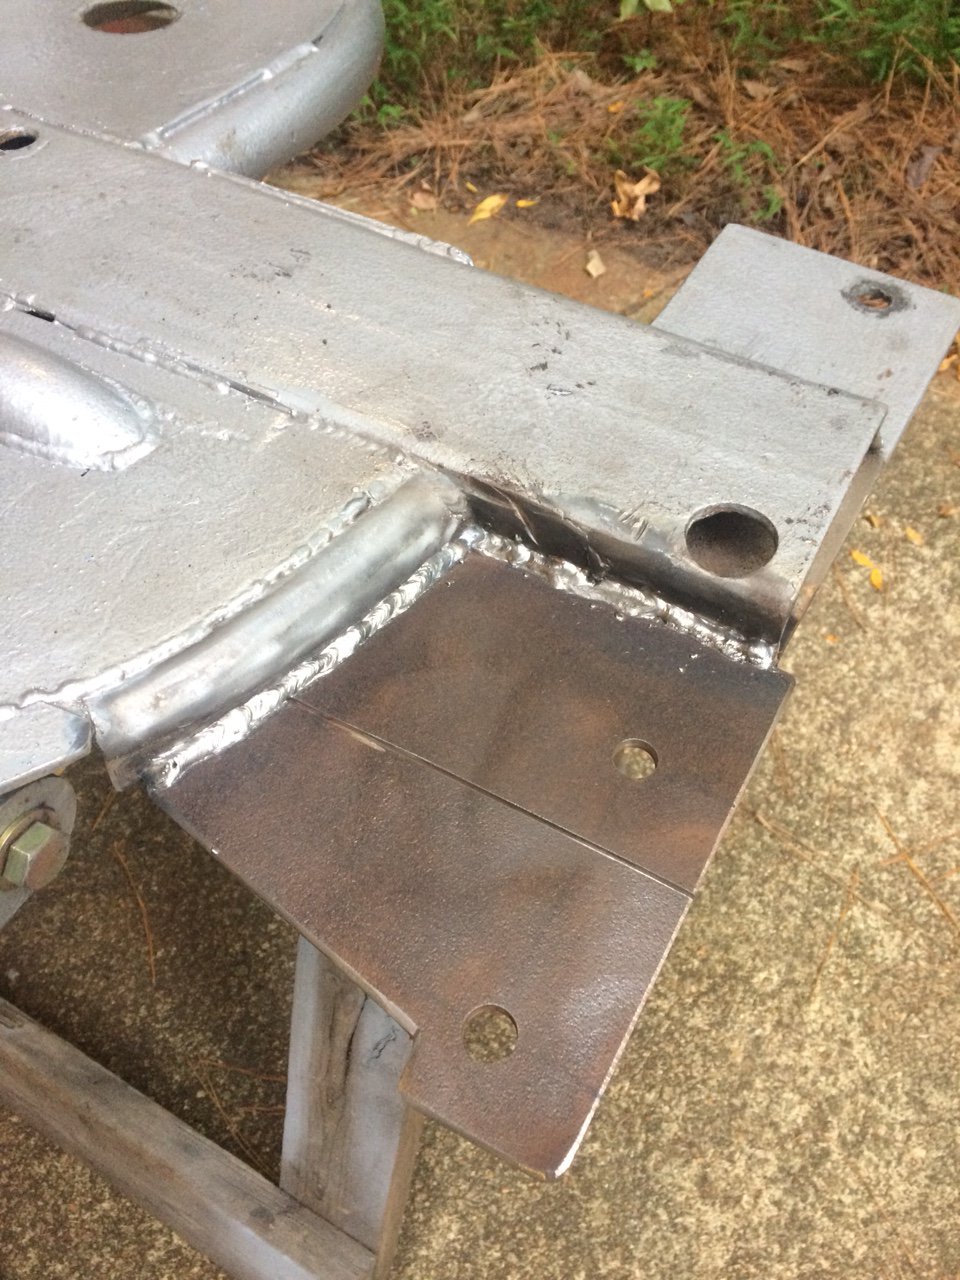
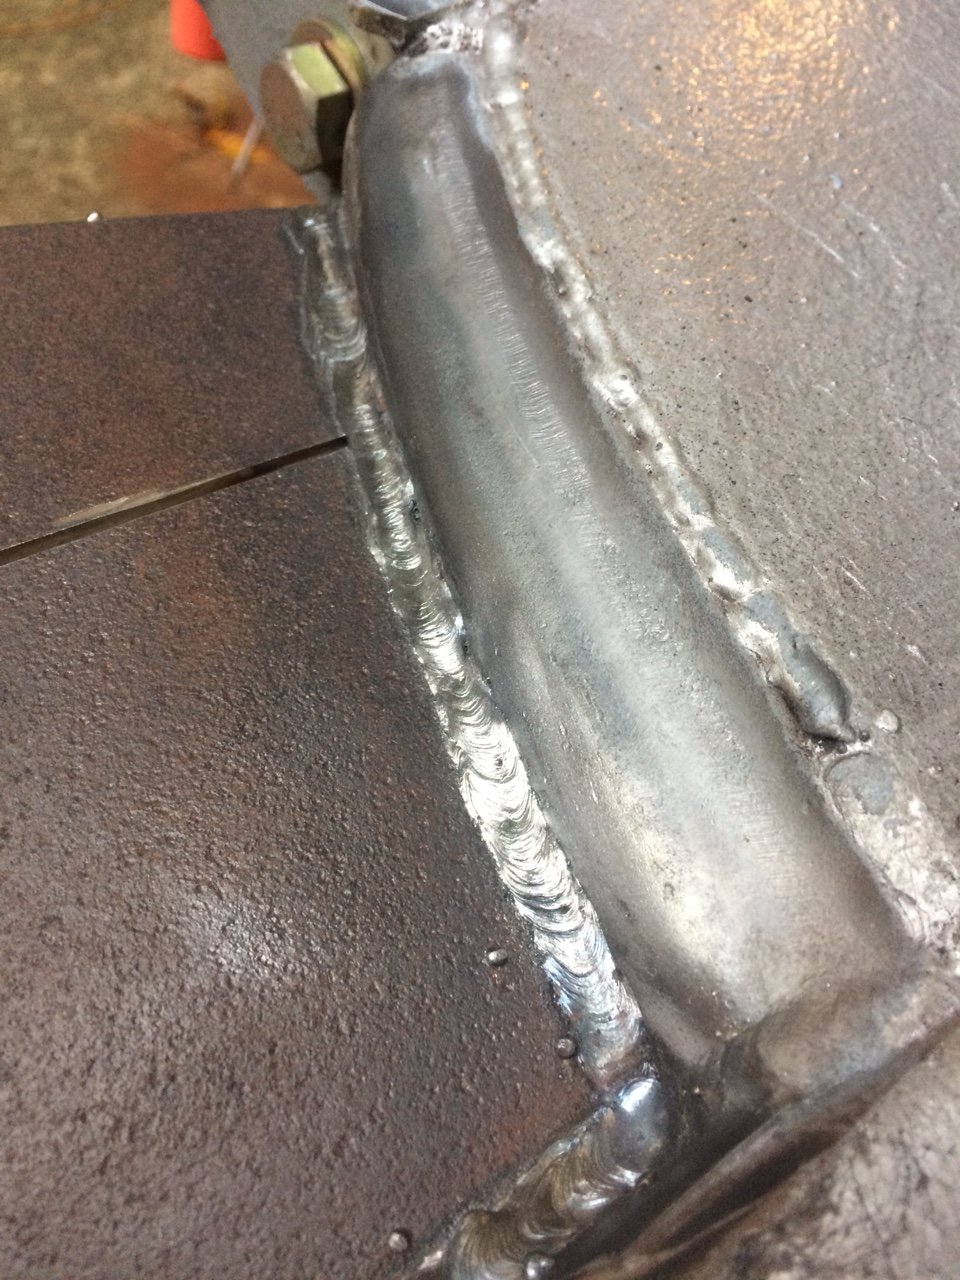
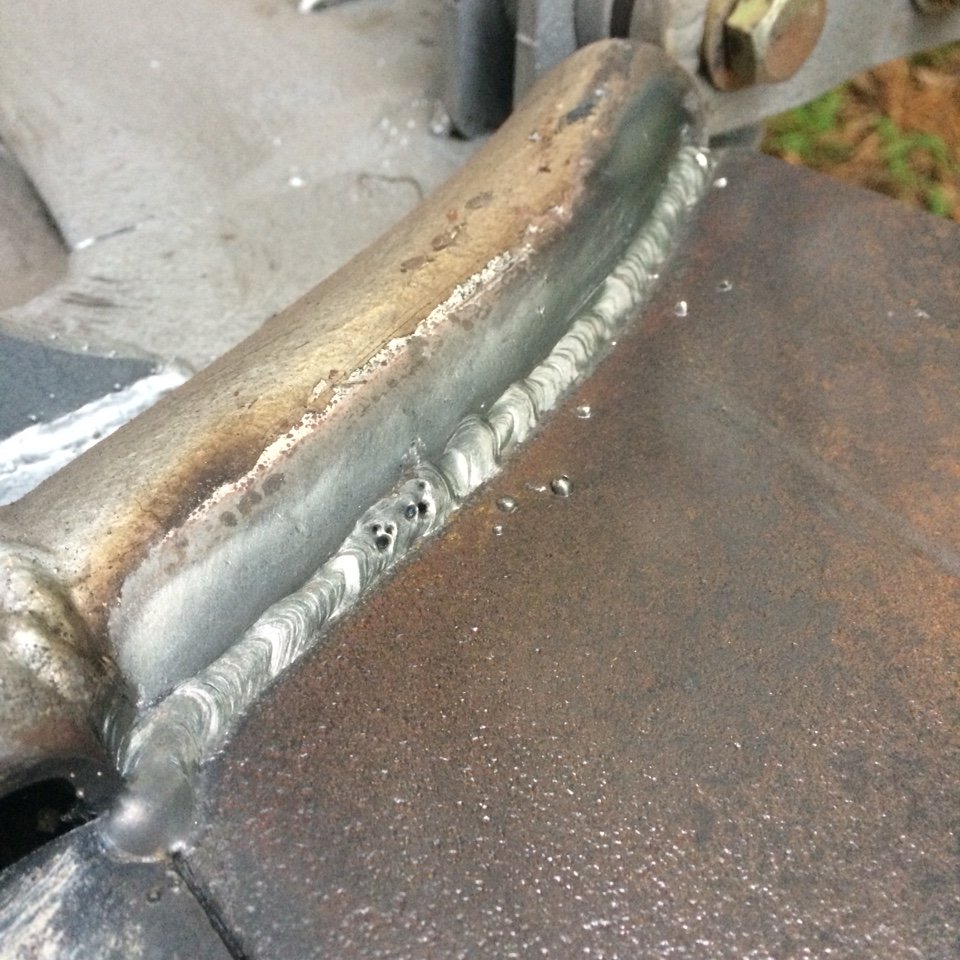
My last big fabrication project I had to do from the stretch was a traction bar. I was on the fence about it at first but now I feel good it is in there. I only have 3"-4" lift over stock so packaging was a little interesting. Had to clearance on spot on the floor pan. It isn't very ideal, maybe if it were a radius arm, but the bottom tube is 2" round 1/4" thick so me thinks this should hold up fine.


Long term goal for this jeep is to slow down the time I work on it and the money I spend. Realistically I want to buy a bunch of DOM and starting bending some tube for a hybrid cage. Maybe during the winter I can try to knock that out. For now I want to wheel :driver:
 
Nice!! Excellent job on the traction bar!
 
i cant remember and havent looked back threw your build thread, but have you plated the uni-body yet?
if not id put that a head of a cage. mine got beat up pretty good before i put them on and i think thats why im having so many small failures of parts due to the amount of flex that is happening because the uni-body is all beat to hell.

I haven't yet. It has been on my list for a long time and was supposed to come before I finished these mods but the timing wasn't right. I am thinking I can plate them soon though.

I have thought about it and I have a substantial crossmember, OEM trailer hitch, and a substantial front bumper that ties the frame rails together tight. It is no frame stiffener but I think it has helped keep my jeep from falling apart. Also keeping all the doors in while wheeling helps.

I have noticed the corners of the body starting to crack a little bit though :D


Sent from my iPhone using Tapatalk
 
Check the frame where it turns up under the back
Seat mine had cracks on both sides. Also where it turns down behind the front wheels takes a beating from rocks. Tying the two
Sides together does help, I've got bumpers that tie in front and back and two cross members in the middle but the frame still takes a beating from rocks and the longer it's put off the harder it is to get to get them on correct


Sent from my iPhone using Tapatalk

Okay. I inspected the rear frame near the seats and it looked good. The only real frame damage I noticed was areas where it was dented on the rails from sliding on rocks. I try to not beat on the body that badly!


Sent from my iPhone using Tapatalk
 
Okay. I inspected the rear pie tin thin unibody near the seats and it looked good. The only real pie tin thin unibody damage I noticed was areas where it was dented on the rails from sliding on rocks. I try to not beat on the body that badly except I wheel the piss out of this XJ!


Sent from my iPhone using Tapatalk


Fixed it for you :D
 
Lol looking good dude. Once the YJ is done I will be wheeling way more often. We'll have to catch up.
 
Little update: I pulled the Dana 300 yesterday because of the problems I am having. Mainly the heat it is generating and my poor choice in vent line location.

I also recognized the front output had way more play in it than I originally set it as. Alternatively the rear output might be shimmed too tight and generating the heat. I ordered another gasket kit so I can tear into it again.

I had zero gear noise when I put about 100 miles on the setup so I am going to try and not set them up too loose. Fingers crossed this is the final solution.


Sent from my iPhone using Tapatalk
 
So hindsight: would you go this route again (just as of now, I know you haven't had it on the trail yet)?
 
So hindsight: would you go this route again (just as of now, I know you haven't had it on the trail yet)?

Ha! At this point I wish I could have found a rubi case.

I am confident once I am on the trails the Dana 300 will prove it's worth. Just requires more tinkering than I thought. While scheming a while ago I contemplated running it PSD unflipped and grabbing some yota axles but I have faith this will hold me down for a while.


Sent from my iPhone using Tapatalk
 
Little update: I pulled the Dana 300 yesterday because of the problems I am having. Mainly the heat it is generating and my poor choice in vent line location.

I also recognized the front output had way more play in it than I originally set it as. Alternatively the rear output might be shimmed too tight and generating the heat. I ordered another gasket kit so I can tear into it again.

I had zero gear noise when I put about 100 miles on the setup so I am going to try and not set them up too loose. Fingers crossed this is the final solution.


Sent from my iPhone using Tapatalk

Did you put the front output shim pack back exactly as it was when you removed it?
 
Did you put the front output shim pack back exactly as it was when you removed it?

I did not. I installed all new bearings and races so I figured the old shim stack wouldn't work. The problem is sealing the old shim pack with rtv. I guess that threw off my preload.

Amazon is delivering non hardening rtv Friday and that should be better for the shim pack and preload than hardening rtv.


Sent from my iPhone using Tapatalk
 
This weekend I re shimmed and resealed everything. The front was too loose (0.008" endplay) and the rear was too tight (no end play). I got the front to ~0.004" and rear to ~0.002".

I am rebuilding the junkyard front driveshaft and going to point the pinion directly at the tcase. It is a hair below where it should be. I have researched and in a lot of cases weird gear noise comes from bad driveshaft alignment which jogs the gears at different speeds.

Fingers crossed this thing is road ready now :)


Sent from my iPhone using Tapatalk
 
I decided to go to different joints on the front upper control arms. I originally had some QA1 rebuildable rock ends. They are ridiculously beefy. However they are too robust for my use. There is so much preload on the bushing inside that it caused the joints to make noise all the time.

So instead I ordered some Johnny joints that will fit and also have 5" of thread on them. When I made my upper control arms I definitely made them short on accident. Being that they are uppers I can now without a doubt have total thread engagement. I am also dialing in my castor with these too so my pinion is pointing right at the tcase.

While the suspension was unloaded I figured I would also check for front driveshaft binding. I found that it takes the coil to unseat for the cv to bind. I ordered a 12" and a 16" limit strap from ruff stuff. Haven't really planned out a spot to attach everything but that won't take too long.

Tomorrow I am going to take it to an off-road shop in town to get the alignment dialed in just right. After that hopefully I can do a shake down run test somewhere! :D

ff15f5e5ccaa89645c92ab3d6f7b0591.jpg


Sent from my iPhone using Tapatalk
 
After seeing the mess the dana 300 vent line did last time I hit highway speeds I did some pirate4x4 research and began a hunt for the parts to make a catch/breather can. During that time I read that dana 300s, atlas, and big axles with high gears can generate a ton of heat that pushes oil out of the breather tube. Now that I reshimmed the output bearings and relocated the vent line fitting on the case I can believe that I will not have a venting issue but decided this catch can will keep me from second guessing while rollin down the interstate.

Parts list were a bottle with a 1" NPT threaded throat, a 1" to 3/8" NPT union, a oil vent cap from mcmaster, and a 1/4" NPT nut that clamps the oil vent cap onto the bottle from the inside.
ff720ec2ab036ae1f1415d4a07e1ced1.jpg


c7c01d3fca126b2abb2effe85dd1f344.jpg


6f804171590d64948b203e007ca40968.jpg


72ed5c52d7f5db5db77d9d7696356f8f.jpg


I also got 1 12" and 1 16" limit strap plus hardware from ruffstuff. This will keep my front driveshaft from exploding if I droop too much. I am going to try and figure out a friendly way to mount that soon.
9ce8f789a977e5a646af6edfa6f13660.jpg


And the offroad shop I was going to get an alignment at didn't have any techs to do the job on Saturday. I drove there doing about 50 mph and things felt fine. I have no idea what my exact castor is but I know it is less than -5 degrees. It wanders a little bit but nothing too terrible to be honest.
Sent from my iPhone using Tapatalk​
 
Last edited:
Looks good dude. I'm worried about the same issue with the Stak since it was a common issue. Hoping for a shake down run this weekend. Trailer Queen style... but still hoping to avoid that issue.
 
Looks good dude. I'm worried about the same issue with the Stak since it was a common issue.

I would only be concerned at highway speeds to be honest. And if it starts coming out of the vent line you will know. I could smell it in my cab.

On the trail I don't think you will have a single problem.


Sent from my iPhone using Tapatalk
 
Well it will never see highway speeds so I hope you're right.
 
So I snuck this into the engine bay today. I think I have used up the last bit of the engine bay to its best use besides the stock air box. Fabbed up a small bracket that cradles the bottle and attached it to a fastener that penetrates the firewall. A nylock nut and some loc tite and it should hold. Lets hope this does the trick :D
47b04e12af5260e6ae7c5db4108734a0.jpg


09ebf9e8ef5c6d8138ab4b5cd3573d3c.jpg


Sent from my iPhone using Tapatalk​
 
Last edited:
The line you have the zip tie around is a vent line from the gas tank. Just be aware that if it's the original line, it will chafe a hole in it easily with the vibration of the motor. Gas fumes will fill the cab if you have the blower motor running. Ask me how I know...
 
The line you have the zip tie around is a vent line from the gas tank. Just be aware that if it's the original line, it will chafe a hole in it easily with the vibration of the motor. Gas fumes will fill the cab if you have the blower motor running. Ask me how I know...

Yeah I spent a year smelling gas fumes. It drive me nuts. I discovered it had fallen off of the emissions canister only when I did a valve cover job. I couldn't believe that tiny line made the whole jeep so damn nauseating. I think it is a 1/4" line so I will grab some the next time I am running errands.


Sent from my iPhone using Tapatalk
 
@Loganwayne So I decided to go ahead with the frame stiffeners. Jesus I never want to do that shit again. Fit up was a nightmare and hands down the dirtiest/dustiest time I have ever spent on the garage floor. While I was suffering I added three bolts per rail for additional cross member tie in and welded them all the way in. No breaks.

This will support additional/needed bracing for the anti-wrap bar attachment point on the crossmember. I think the crossmember skid plate combo is about to be plus 70lb :shaking:

One limit strap and I am ready to get this back on some damn trails :beer:
 
So I got down to business after work on Monday. Determined to get this thing back on the road. Additional reinforcement was needed around the traction bar shackle. I found some 1/4” steel and made it happen.

4687110e554f21216d5b6c76cc694c22.jpg


Did a little prep and fired up the POWCON stick welder. Unbaked 7018s were on the menu. Did a few passes on some scrap to shake the rust off and then went at it. I had to make two passes at it. Was having a bitch of a time keeping the puddle from running ahead of the electrode. So the first pass was small. Second pass I was able to control it better. Still have some slag bubbles every now and then but she will hold :flipoff2:

002e886d50c26c6fbb591144f84a042c.jpg


73e1b3634cf5734a7f4df279d50f3346.jpg


82c6d7e09bb03ea0c9dc5ee3b56ba86d.jpg


Sent from my iPhone using Tapatalk
 
Back
Top