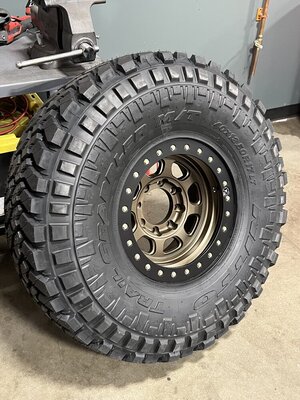
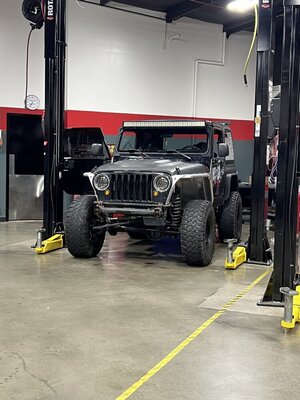
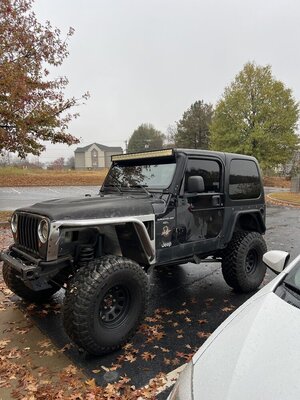
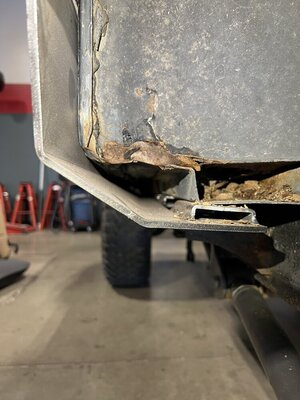
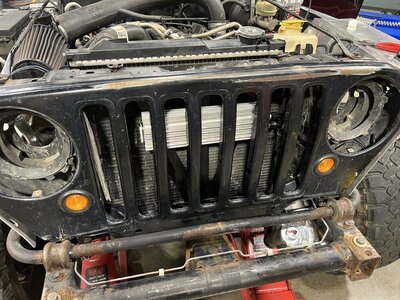
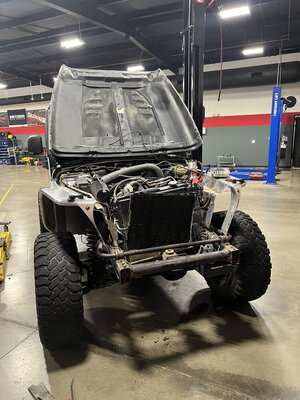
Gonna post a customer build I have been work on for the past few months. A good friend of mine came to me a few months back and wanted me to ton swap his jeep. He originally wanted to keep it fairly budget friendly but as you will see things have kinda snowballed into not being very budget friendly at all lol. The jeep we are doing all this to is a 2000 tj that’s way to rough to be doing all this too. I tried to talk him into selling it and getting a clean, bone stock tj to build. But he was set on building this one for some reason. Basic goals for this build: front sd60/ Eaton elocker/ hi-steer/ coil sprung/ rear 14 bolt/ yukon grizzly/ 4inch stretch on coil springs, 40 inch nittos on trail ready beadlocks, Barnes4wd link kit, full psc hydro assist kit, and Genright hingline fenders


You are using an out of date browser. It may not display this or other websites correctly.
You should upgrade or use an alternative browser.
You should upgrade or use an alternative browser.
Krusty turd goes tons
- Thread starter MrKmart
- Start date
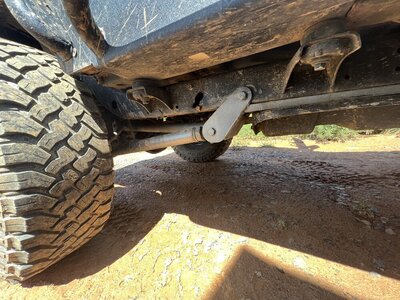

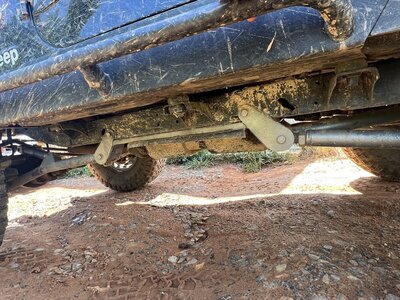
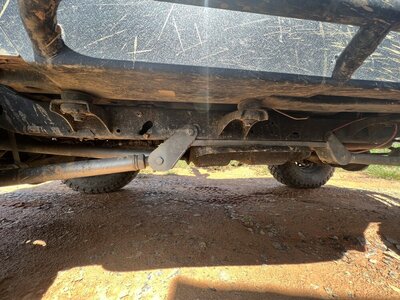
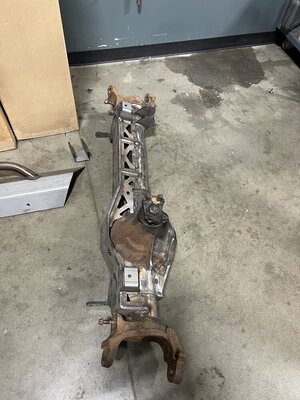
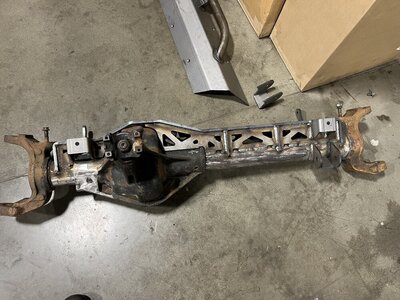
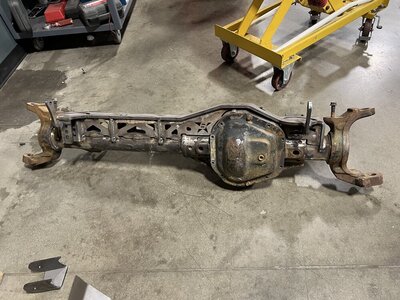
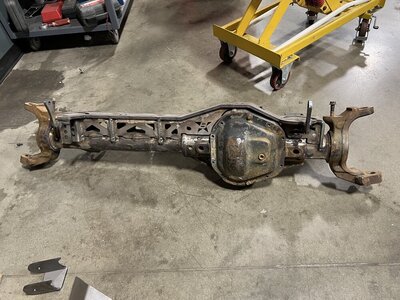
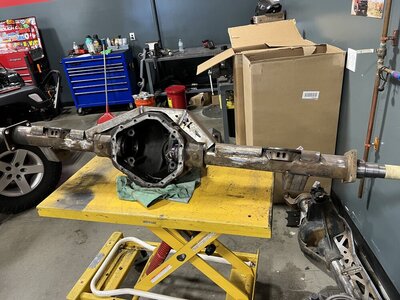
Still working on getting the axles put together, but I got them cleaned up and boggerd the trusses on
Attachments
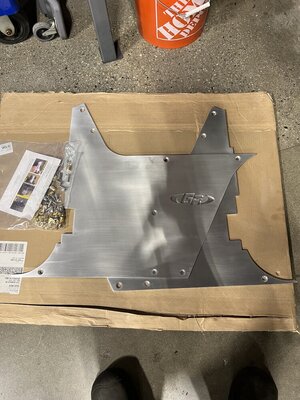
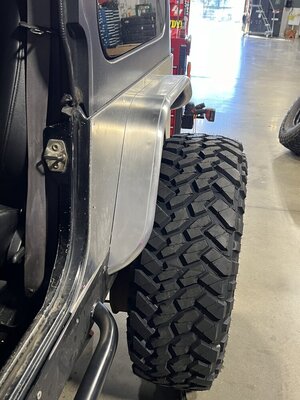
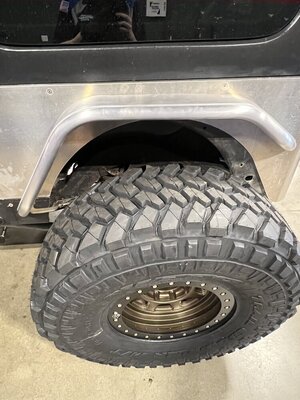
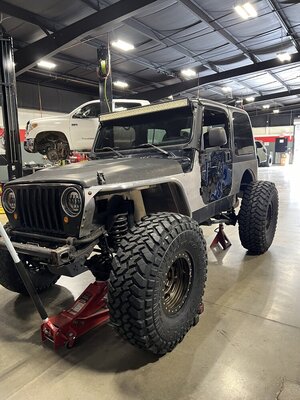
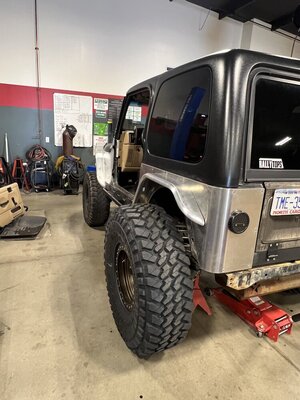
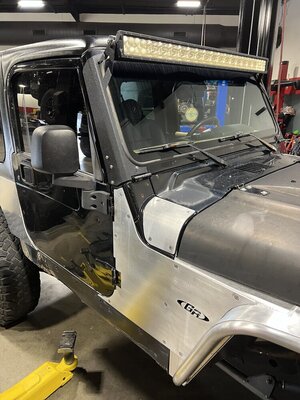
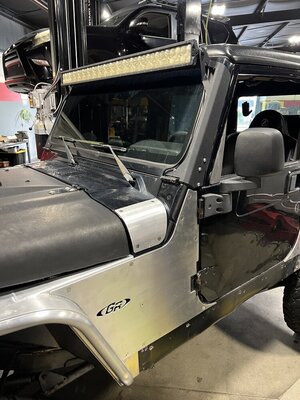
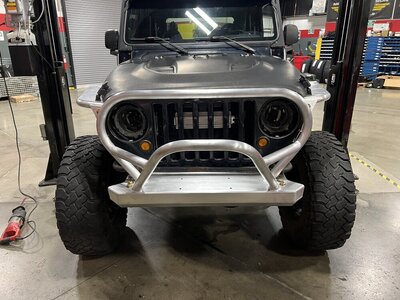
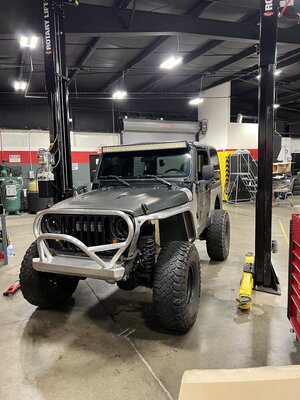
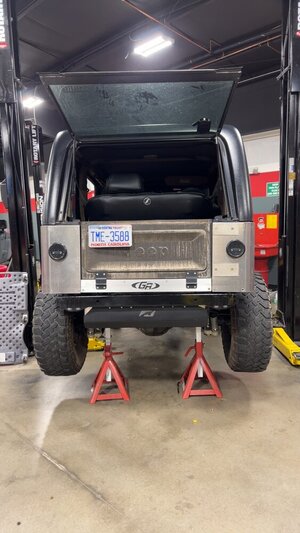
I started getting the Genright stuff bolted up a few weeks ago, I have really been trying to take my time and get everything as good as I possibly can on this build so the body armor stuff has been pretty time consuming but I have been making steady progress
Attachments
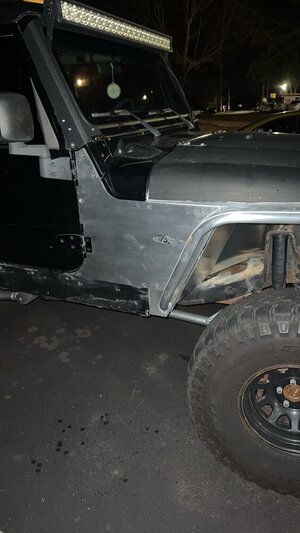
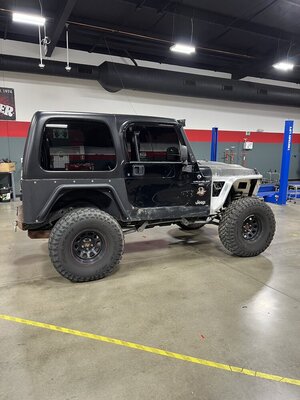
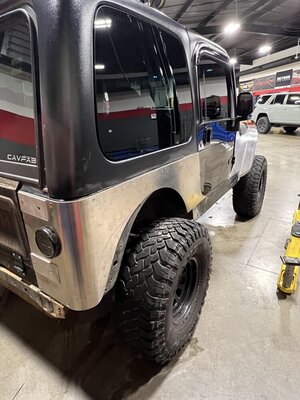
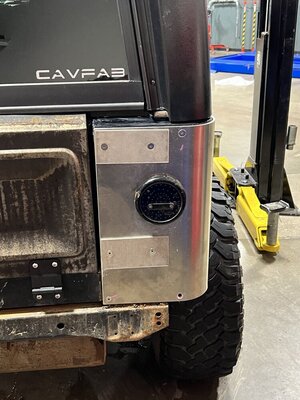
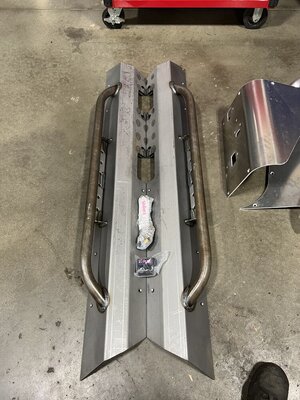
I have been working on the mini boat sides this week. Getting them to fit right has been challenging, wich I wasn’t expecting considering all the armor is one brand. But nonetheless, had to do some trimming on the slider and lots of hammering on the body lol
Attachments


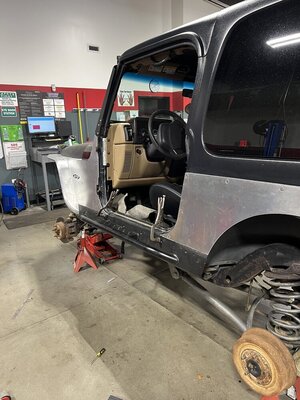
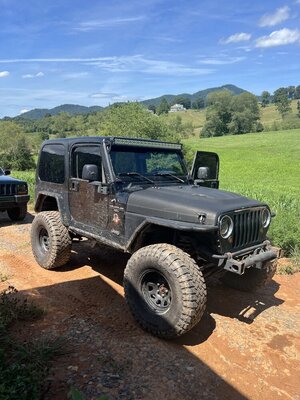
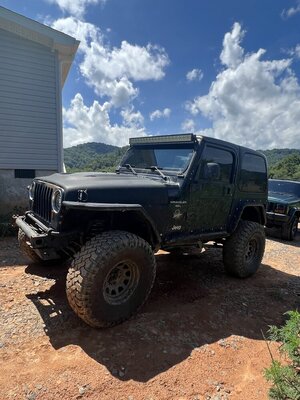
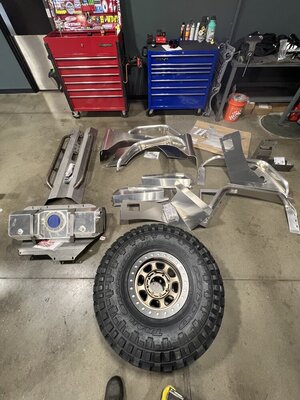
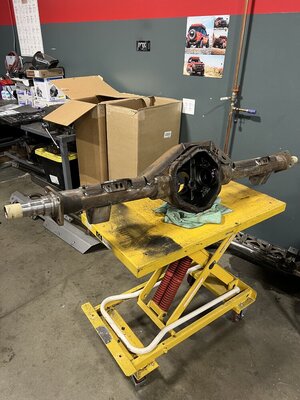
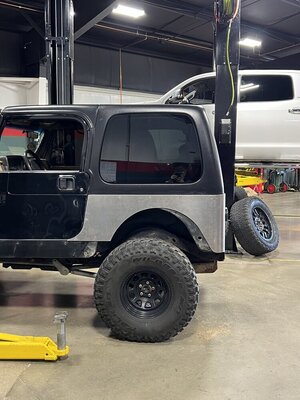
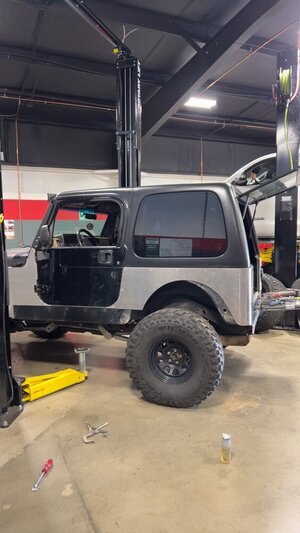
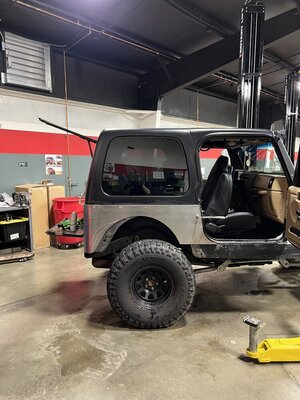
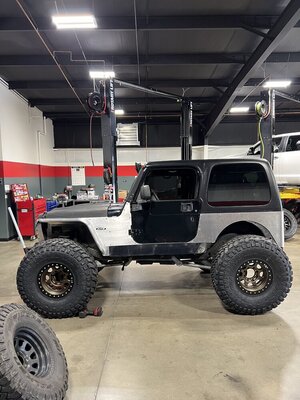
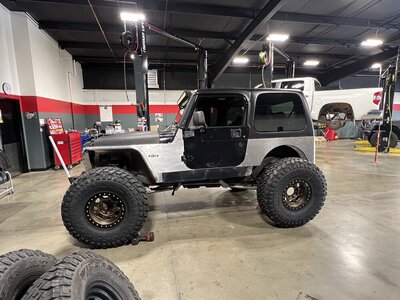
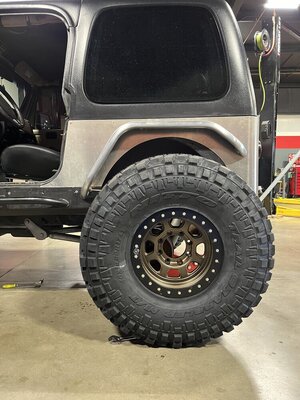
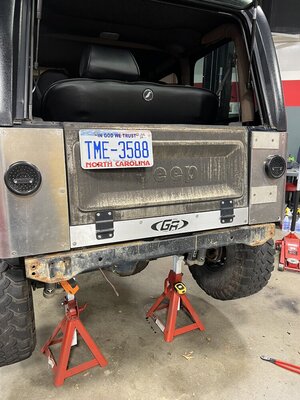
I was able to roll the wheel and tires up next to it and kinda get a good idea of what it will look like when I get the axles under it
Attachments

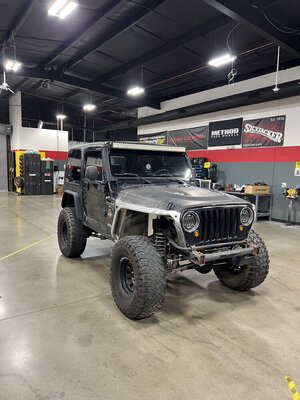
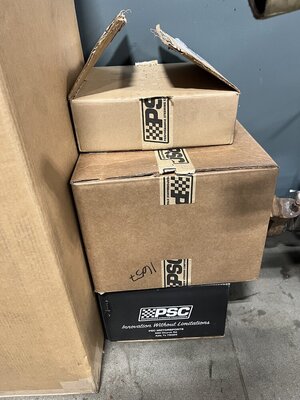
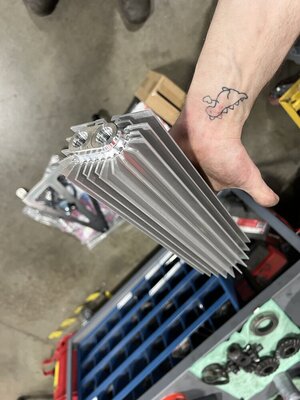
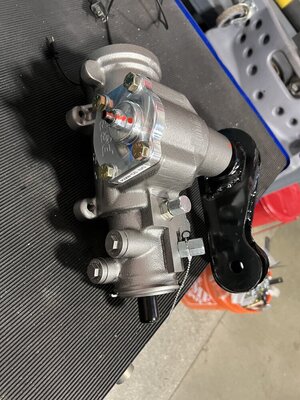
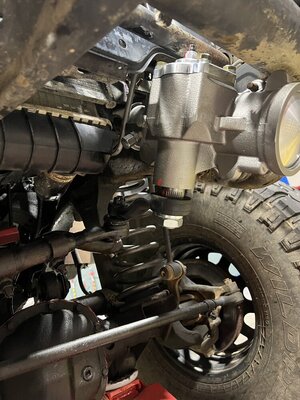
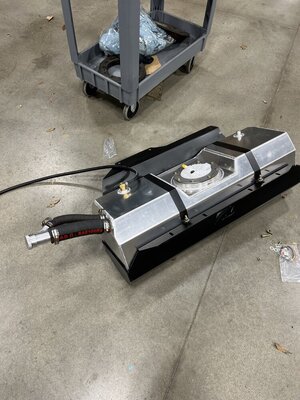
More parts coming in, gonna be running a psc hydro assist kit and a Genright twisted pitman arm on this build. I pretty excited to put this stuff on
Attachments
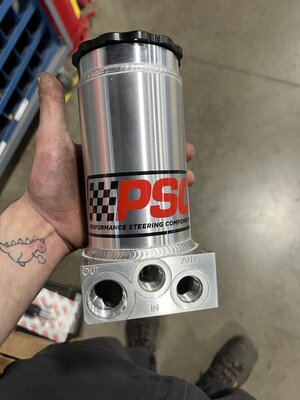
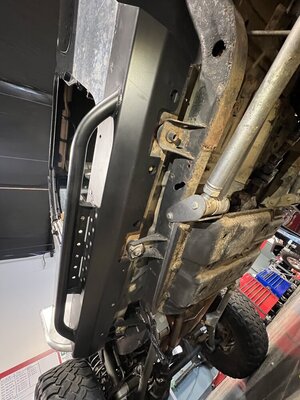
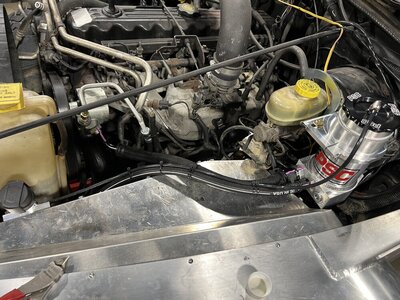
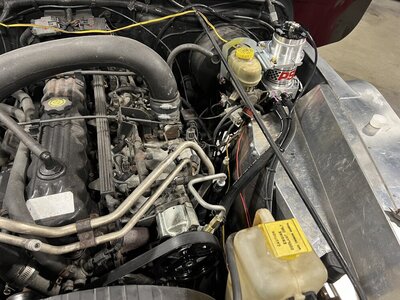
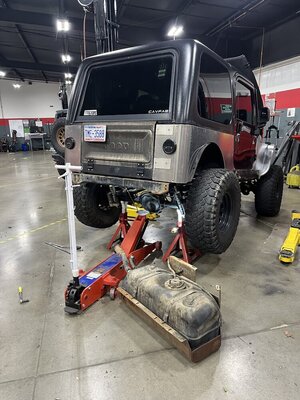
Power steering installed today, waiting to put the ram and twisted pitman arm in until I have the front axle under it. So stock pitman arm for now
Attachments
baggednissan
Well-Known Member
- Joined
- Sep 24, 2010
- Location
- Monroe,NC
Hope you get those tons under it soon,
otherwise its starting to look like a mall crawler
Looks good man!
otherwise its starting to look like a mall crawler
Looks good man!
It’s definitely a mall crawler at the moment lolHope you get those tons under it soon,
otherwise its starting to look like a mall crawler
Looks good man!
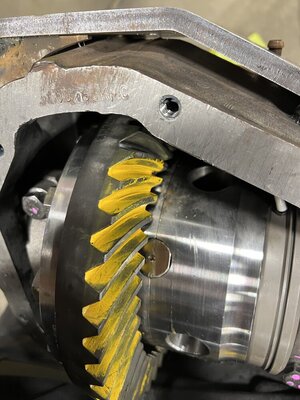
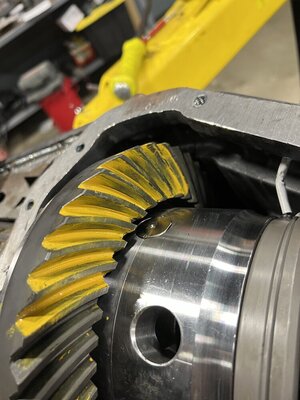
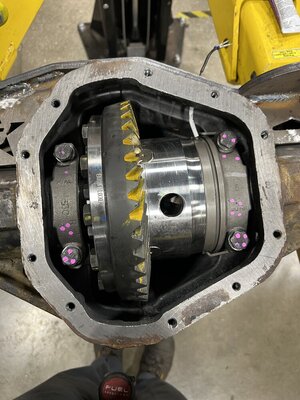
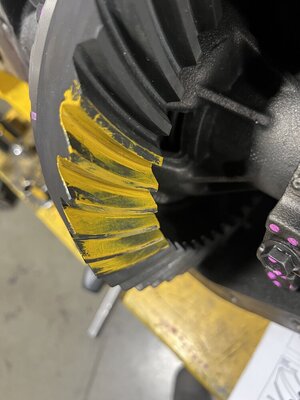
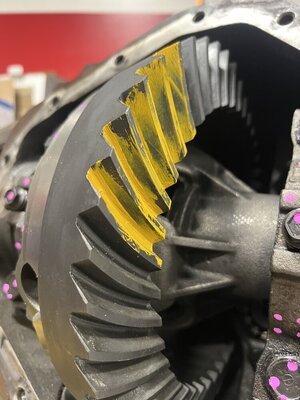
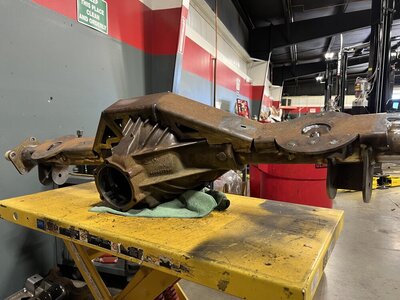
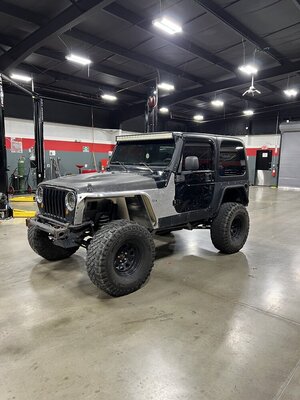
Making steady progress. Got the gears setup in both axles. This was my first time ever doing gears.
Specs for anyone wondering…
Front: Eaton e locker, Yukon 5:13’s and master rebuild kit. Not running a crush sleeve. Pinion preload- 25in/lbs backlash- .007
Rear: Yukon grizzly, Yukon 5:13’s and master rebuild kit, crush sleeve eliminator
Pinion preload- 20in/lbs backlash- .008
I might play with the 14 bolt a little more and see if I can get the pattern a little bit better