Incompetent gear install

Get Ugly used to have a shop out towards Raeford. I didn’t even know they had moved or were still in business. I have “known” tank for probably 10 years. I have also “known” of Keith Wilson for about the same amount of time. I wouldn’t let either of them change the oil on a lawnmower.

Well that’s good to know..was talking to the get ugly folks bout doin some stuff and I don’t think I will now...since I’m new at this who do y’all recommend for stuff?
Shops
 
Well that’s good to know..was talking to the get ugly folks bout doin some stuff and I don’t think I will now...since I’m new at this who do y’all recommend for stuff?
Shops
Good choice not to let them touch your rig.

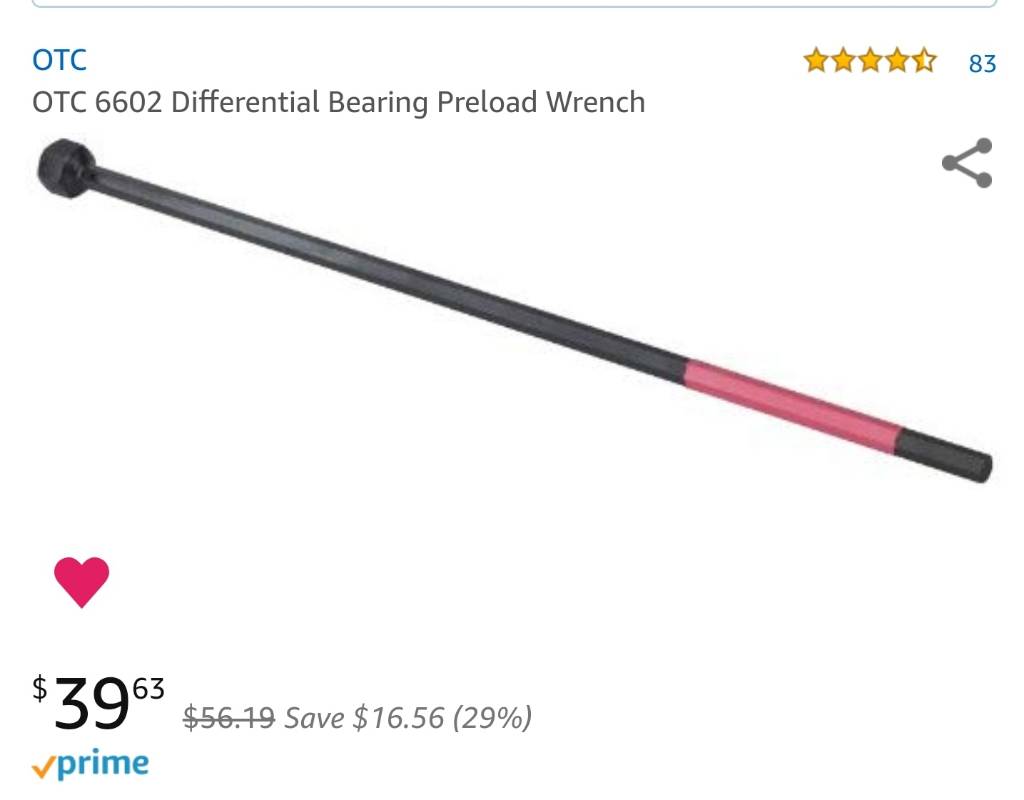
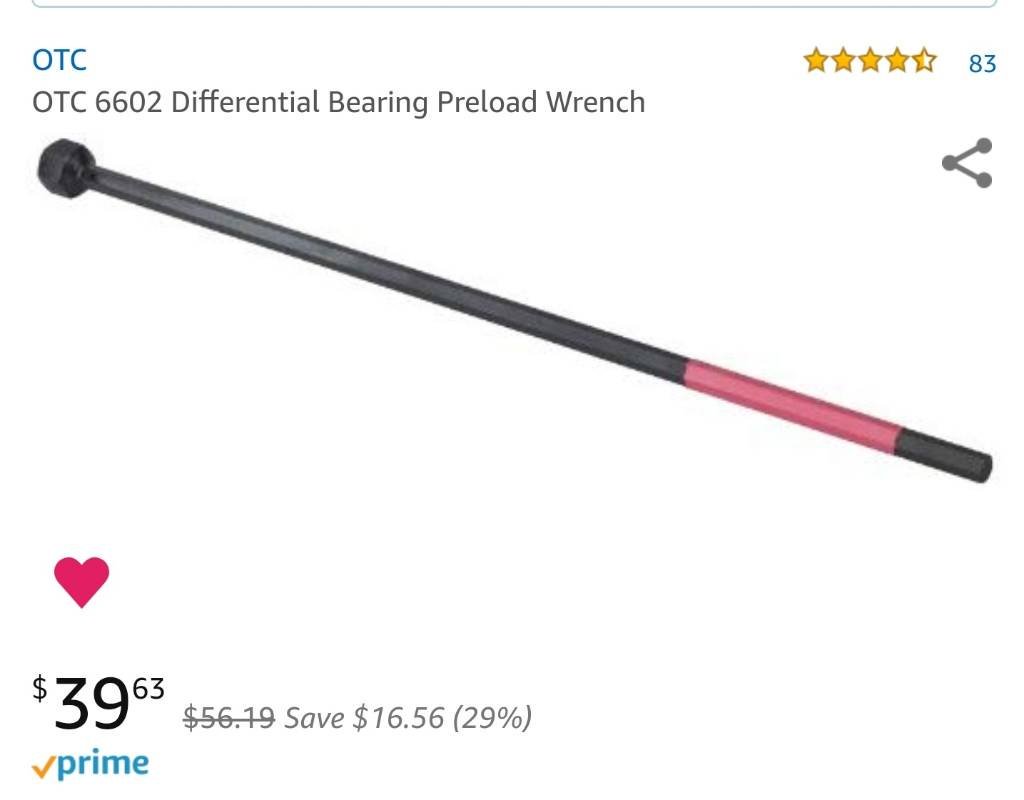
Last time I did gears, it was 2007. Im think I'll do mine since no one in Fayetteville seems to know what they're doing and I want them done right. I went ahead and got the tools I'll need including a neat long tool to reach the carrier adjustment cups. I just really want a lift to use. Guess I'll do it on the ground. Gonna suck but whatever. Im not as young as I once was. Lol
 
I'll need including a neat long tool to reach the carrier adjustment
I think you can make one. A bolt/nut the right size and a chunk of tube. I'm sure you can find pictures and sizes of what I'm talking about on the interwebs.. ah here it is.
The 8.25 uses threaded adjusters on each side of the carrier to achieve preload and proper backlash. You will need a tool to be able to loosen and tighten the adjusters.
I made myself one out of an XJ front axle nut (36mm) welded to a piece of 1" tube about 30" long. I then welded a 3/4" nut on the end of the tube so I can put a socket on it.
ECGS also sells a tool if ya wanna buy one.
 
I think you can make one. A bolt/nut the right size and a chunk of tube. I'm sure you can find pictures and sizes of what I'm talking about on the interwebs.. ah here it is.
This came in today. Should get it done. A decent price too.
1679b8bc1b1d1739f5a14068f392681e.jpg
 
having the right tool (made or bought) makes any job easy (ish).

Another tip: load the carrier with tension (by prybar etc) while turning to check pattern to produce a cleaner imprint
Yep. Hopefully I can have someone apply pressure to the carrier while I spin the pinion. Although right now, I'm thinking it'll just be me. Never know though.
 
I’ve done 1 Chrysler 9 1/4 around 10
Years ago. Dude still drives it in his CJ7, but I’m staying tuned to see what the axle yoda says. But from my memory it went together just like other rears. I was fortunate to have the factory pinion shim work for me with the backlash in spec to produce a good pattern. Take note of how much preload is on the side adjusters, that will keep it living a long healthy life. And typically to read a pattern I just throw a boxed end wrench on a ring gear bolt, after I rotate the ring gear so the painted teeth are centered in the pinion. Then I put some ass behind it rotating it back and forth through the painted teeth. Never tried the pry bar way, haven’t needed to.
 
Ok, I have a few. Hopefully this helps you out.
@iwaxmyjimmy the difference here is on the 9.25, the adjusters stay in the housing while on an 8.25, they come out with the caps. Like a Toy 8". Gotta be super careful not to cross thread them as a result.

@scrubber3
Remember the ring gear bolts are left hand threaded.

Like I said above, be very careful when reinstalling the caps and adjusters. I use liberal amounts of wheel bearing grease to help hold them in place while installing. Place them in the housing being careful they spin freely. Then, while holding the diff in place with a forearm, start the cap bolts and then drop the cap in place. With the cap held down by hand, attempt the spin the adjuster with a pick or similar. When you are confident it isn't cross threaded, sinch it down with a ratchet, spark plug tight. Repeat on the other side.

To get proper backlash and preload do the following:
Tighten the driver side adjuster slowly until all backlash is gone. You will still be able to spin the ring and pinion by hand, just no backlash. When you reach this point, torque the passenger adjuster to 85 ft/lbs. This will give you backlash and preload. Then verify torque on the driver side. Now you torque the caps down. Measure your backlash. I shoot for no more than 8 thou especially if you are installing new bearings as they will seat a little and BL will open us as a result. If the BL is out of spec, adjust your initial zero BL starting point accordingly.

To run your pattern, paint 4-5 teeth and spin the ring gear via ring gear bolt. Rock it back and forth over and over so the ring and pinion mesh where the paint is. A flat line at the base of the tooth means too deep and a flat line at top means too shallow. Shoot for centered and oval shaped dead nuts center.

Post up pattern pics and one of us keyboard experts will help ya.
 
Last edited:
Ok, I have a few. Hopefully this helps you out.
@iwaxmyjimmy the difference here is on the 9.25, the adjusters stay in the housing while on an 8.25, they come out with the caps. Like a Toy 8". Gotta be super careful not to cross thread them as a result.

@scrubber3
Remember the ring gear bolts are left hand threaded.

Like I said above, be very careful when reinstalling the caps and adjusters. I use liberal amounts of wheel bearing grease to help hold them in place while installing. Place them in the housing being careful they spin freely. Then, while holding the diff in place with a forearm, start the cap bolts and then drop the cap in place. With the cap held down by hand, attempt the spin the adjuster with a pick or similar. When you are confident it isn't cross threaded, sinch it down with a ratchet, spark plug tight. Repeat on the other side.

To get proper backlash and preload do the following:
Tighten the driver side adjuster slowly until all backlash is gone. You will still be able to spin the ring and pinion by hand, just no backlash. When you reach this point, torque the passenger adjuster to 85 ft/lbs. This will give you backlash and preload. Then verify torque on the driver side. Now you torque the caps down. Measure your backlash. I shoot for no more than 8 thou especially if you are installing new bearings as they will seat a little and BL will open us as a result. If the BL is out of spec, adjust your initial zero BL starting point accordingly.

To run your pattern, paint 4-5 teeth and spin the ring gear via ring gear bolt. Rock it back and forth over and over so the ring and pinion mesh where the paint is. A flat line at the base of the tooth means too deep and a flat line at top means too shallow. Shoot for centered and oval shaped dead nuts center.

Post up pattern pics and one of us keyboard experts will help ya.
Thank you. I'll keep this in mind. You're awesome. Maybe I can get good enough to do axles here in Fayetteville. After I got out of the Army I actually turned wrenches for decade. Had a clutch assembly fall on the back of my head. Had enough of it. Used my GI bill and got educated in the medical field. I like metal more than sick people though. Think I'll go back to getting my hands greasy.
 
Update:
Get Ugly charged me for the entire ring and pinion kits containing all seals, bearings, bolts, etc.Going down the rabbit hole it was discovered that the only thing they decided to "install" were the ring gear and pinion. No new crush sleeve, no new bearings, no new seals, no new bolts, nothing. I even paid them for a new front carrier (needed going from 3.55 to 4.88) for the D30. Guess what.. factory carrier. Front gear was pretty sharp and I'm glad it's out.

Anyway, for those looking to do gears (they also rebuild a couple of 4.0 engines a month) in or around Fayetteville, Automotive Performance on Raeford rd is the place to go. My plan was to do it myself, but I unfortunately couldn't swing it.

So far im working with my bank to get my money back from Get Ugly and I've made some progress.

I'll post pictures soon of what was taken out as I've kept the parts Get Ugly "installed".
 
Last edited:
Also, I'm selling this for $30 or best offer. Not returning it to Amazon since I dropped it and scuffed it up in a couple places. If anyone wants it let me know.

SOLD IT

7495e19d6e88161546cf49d297283709.jpg
 
Last edited:
Back
Top