GIJeepN: Tons, 40's, and Stretch

DriverJC

Member
Joined
Aug 8, 2017
Location
Mira Loma, Ca
Thought I ought to start one of these new-fangled build threads to document GIJeepN's transformation from mild-wheeler to.... well something else. lol

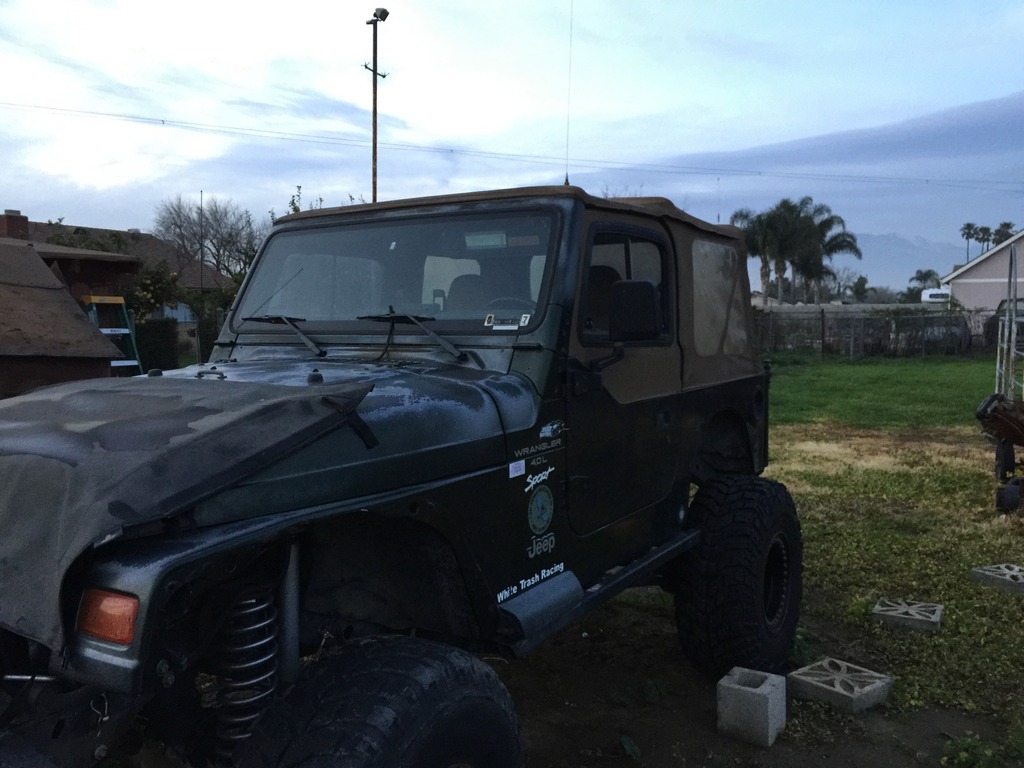
The plan is to give GIJeepN (my 1997 Jeep Wrangler Sport) some much needed upgrades and breathe some new life into her.

This includes:
Dana 60 front from a 2008 F350 w/ 5.38:1 gears and an ARB Air Locker 10.5"
Rear from a 2009 F350 w/ 5.38:1 gears and either a Detroit or ARB Locker
Fox 2.5" 14" Air Shocks
Klune-V under drive unit with 2.72:1 low range
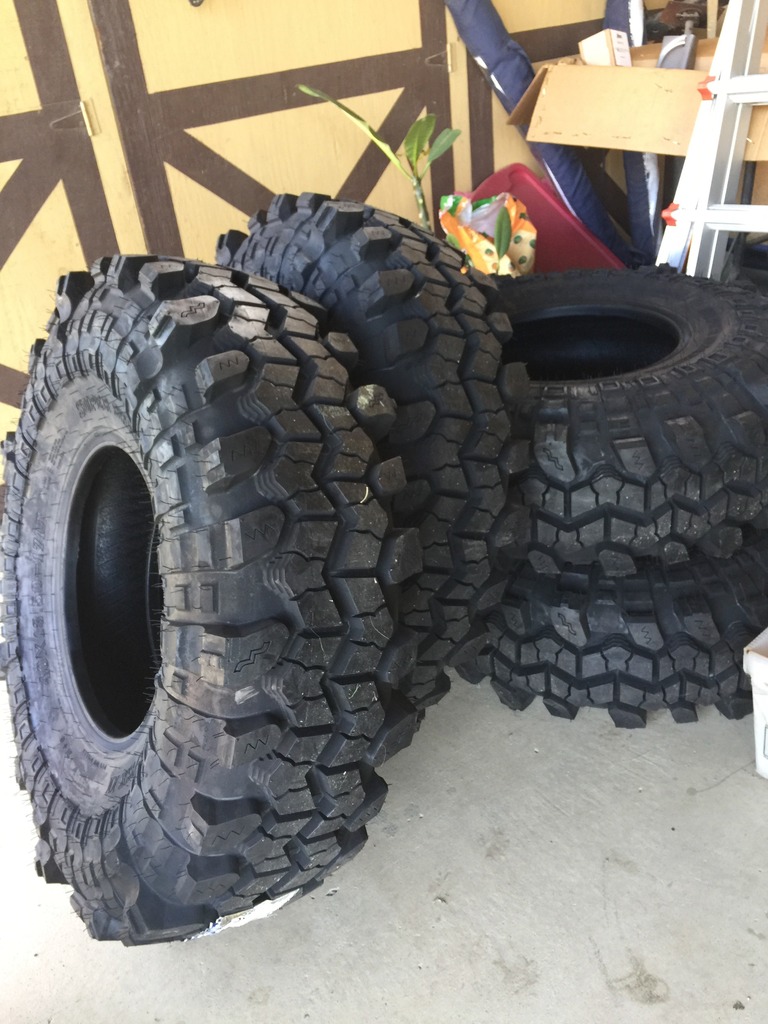
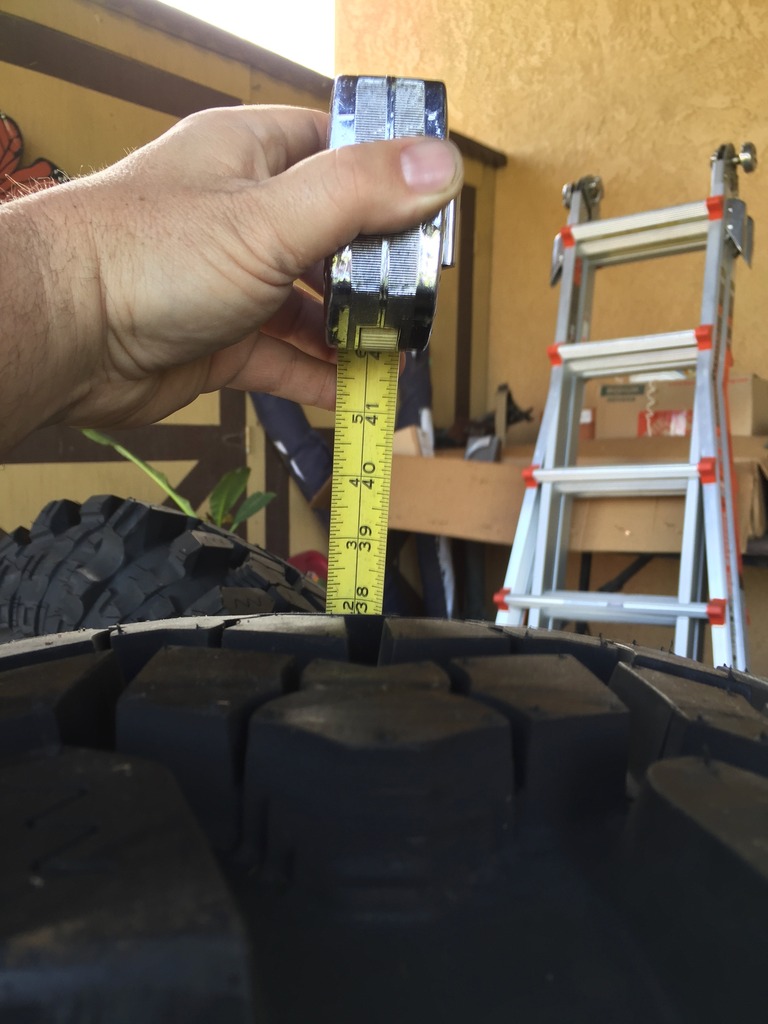
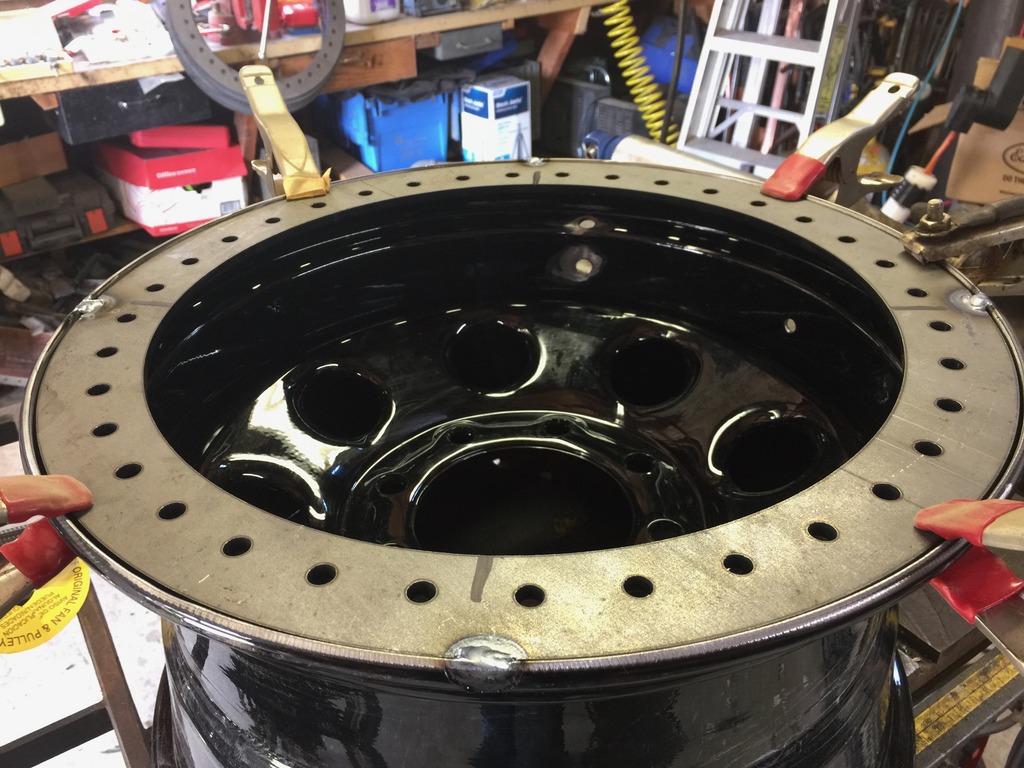
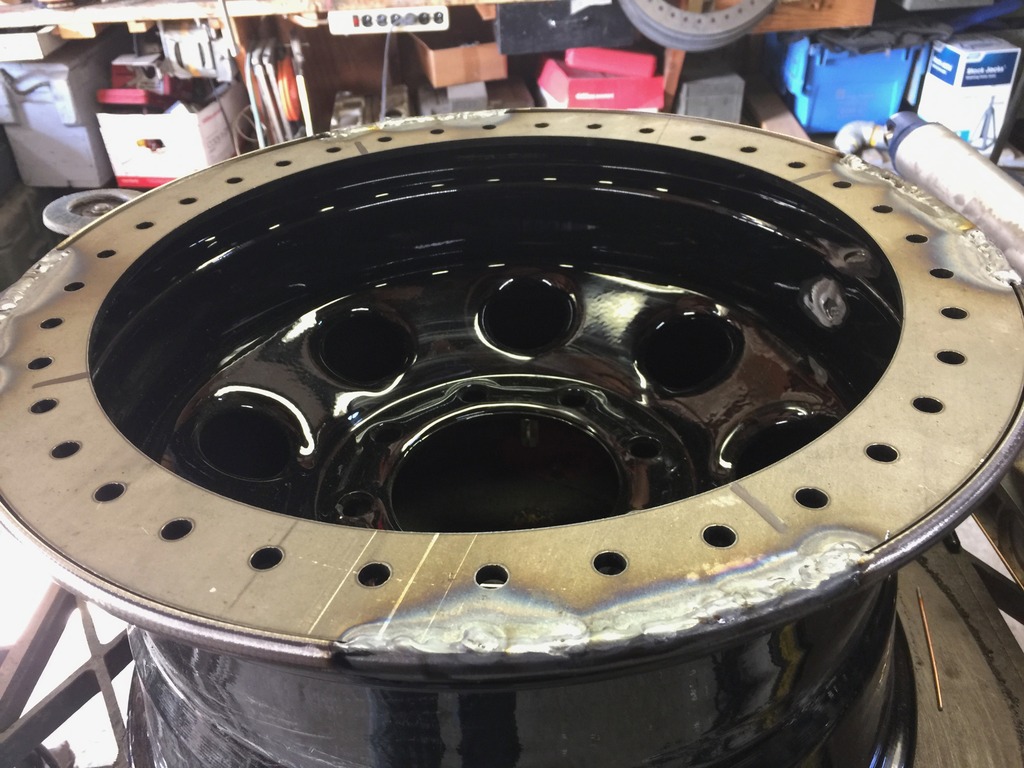
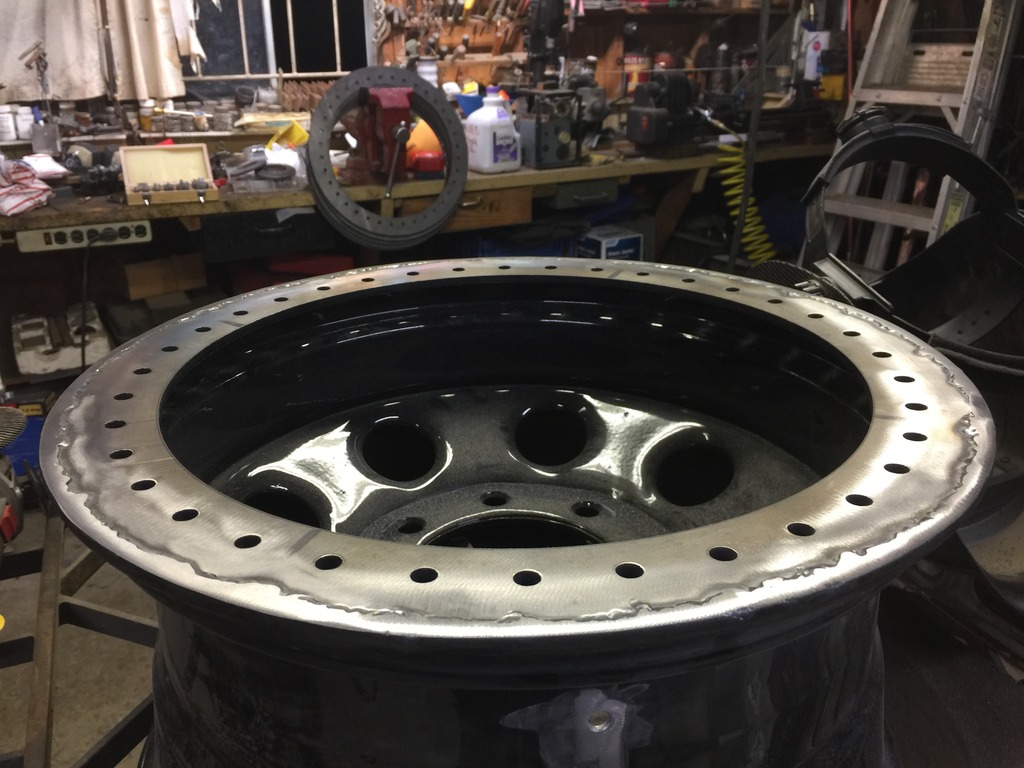
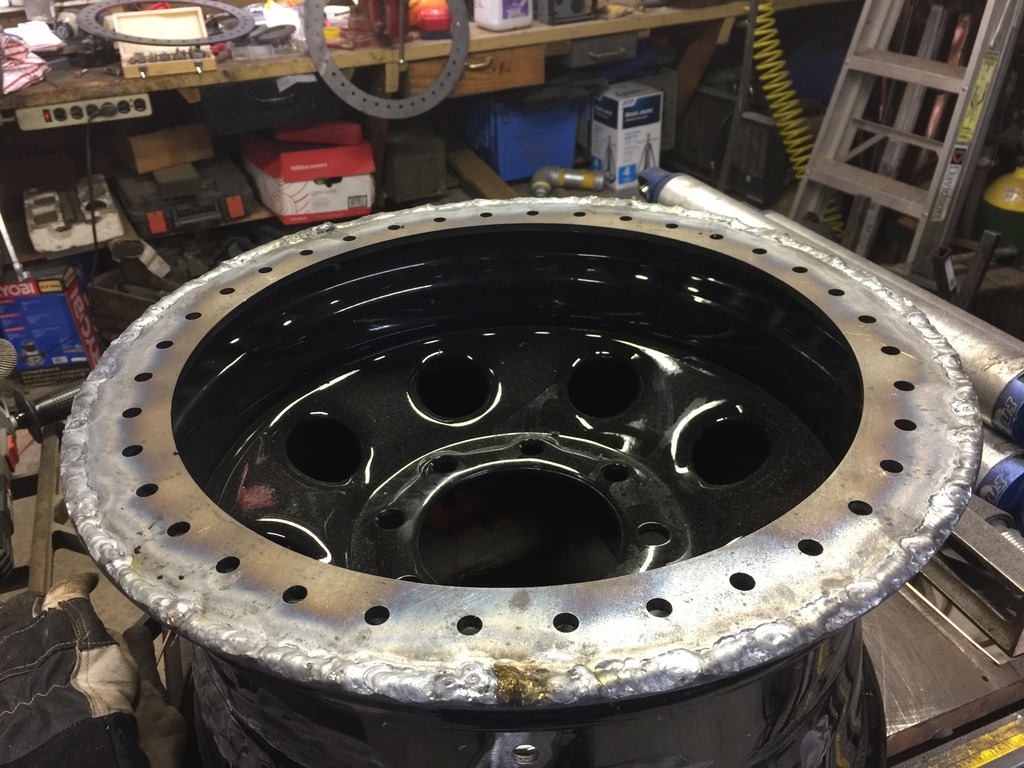
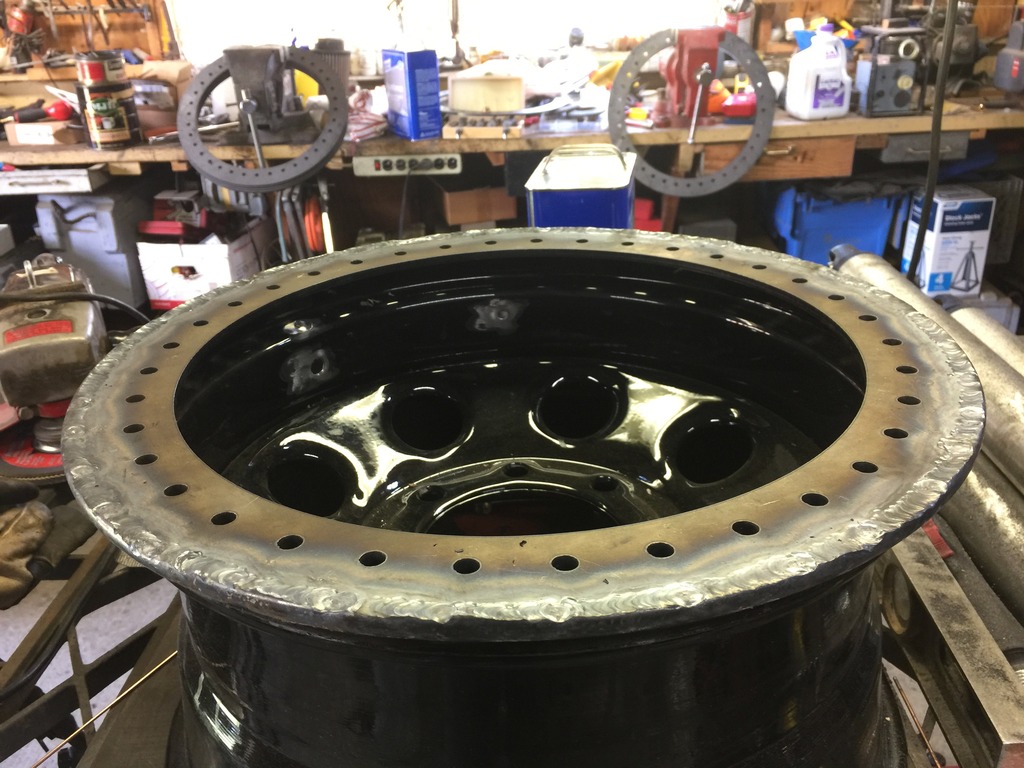
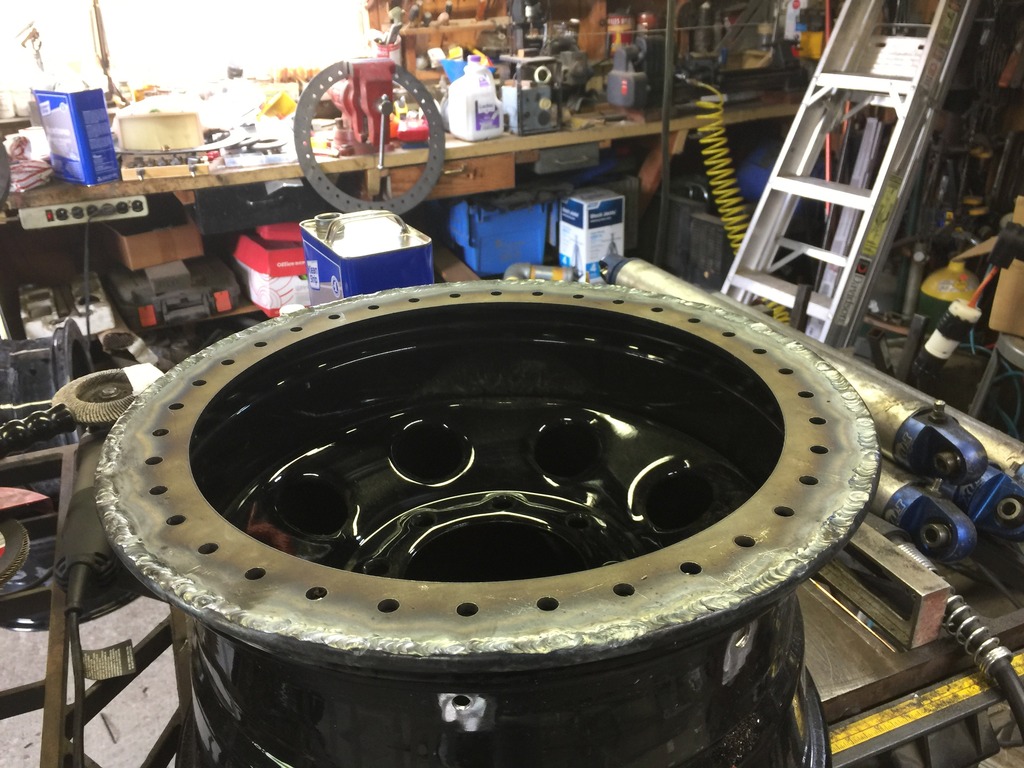
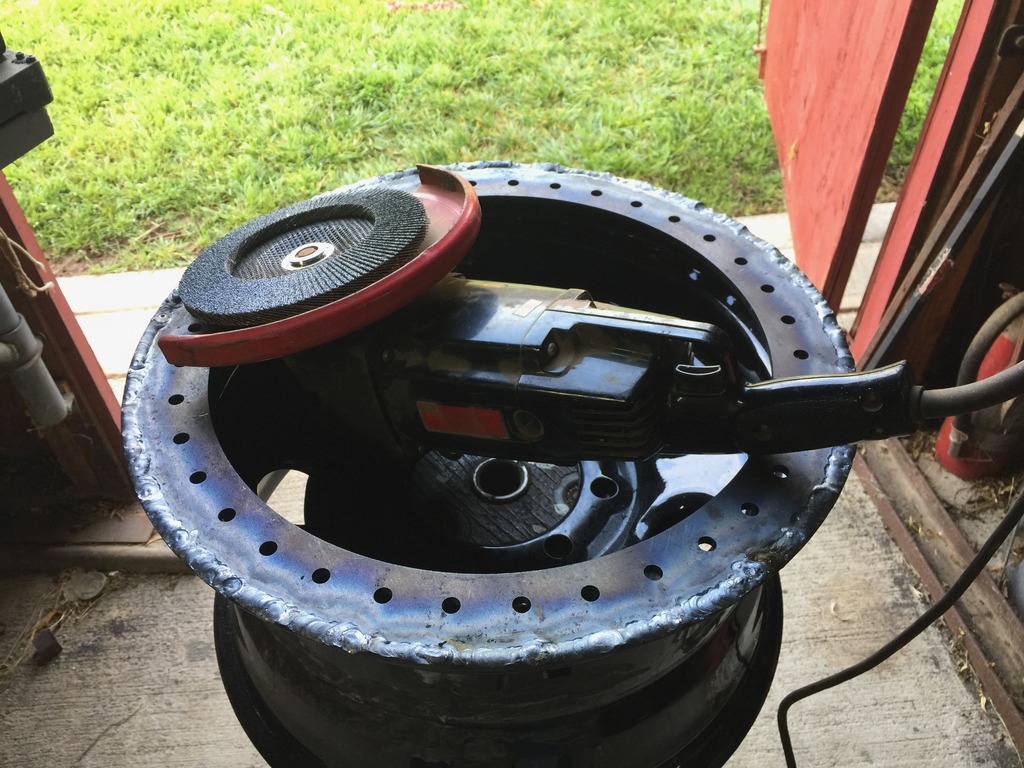
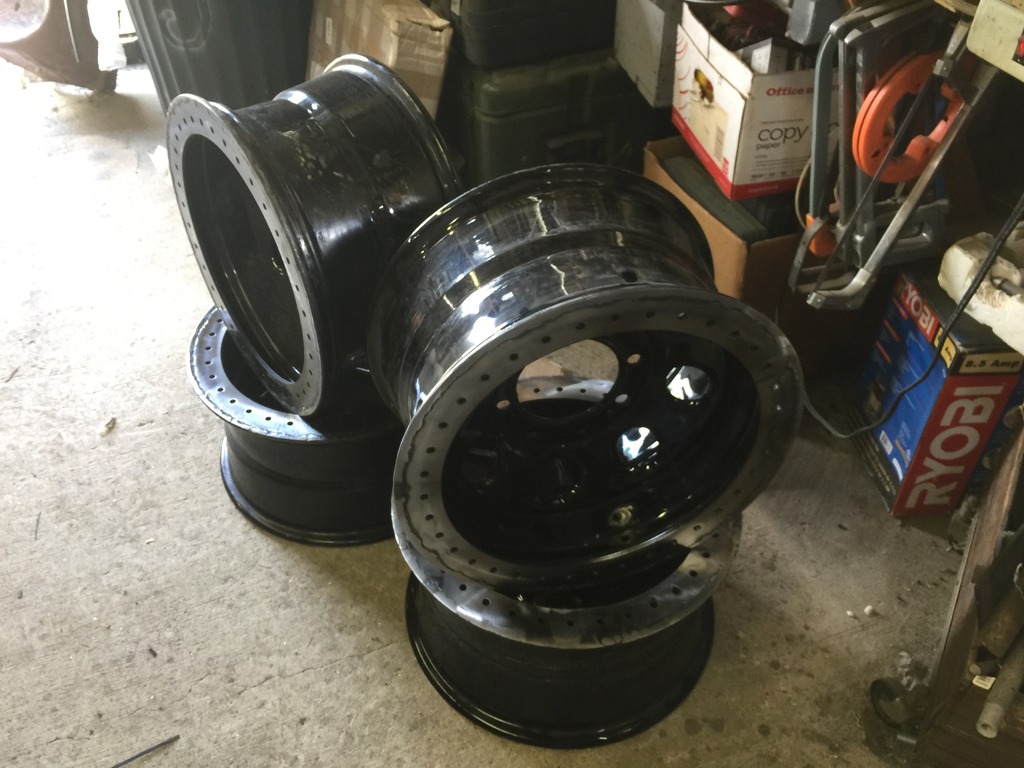
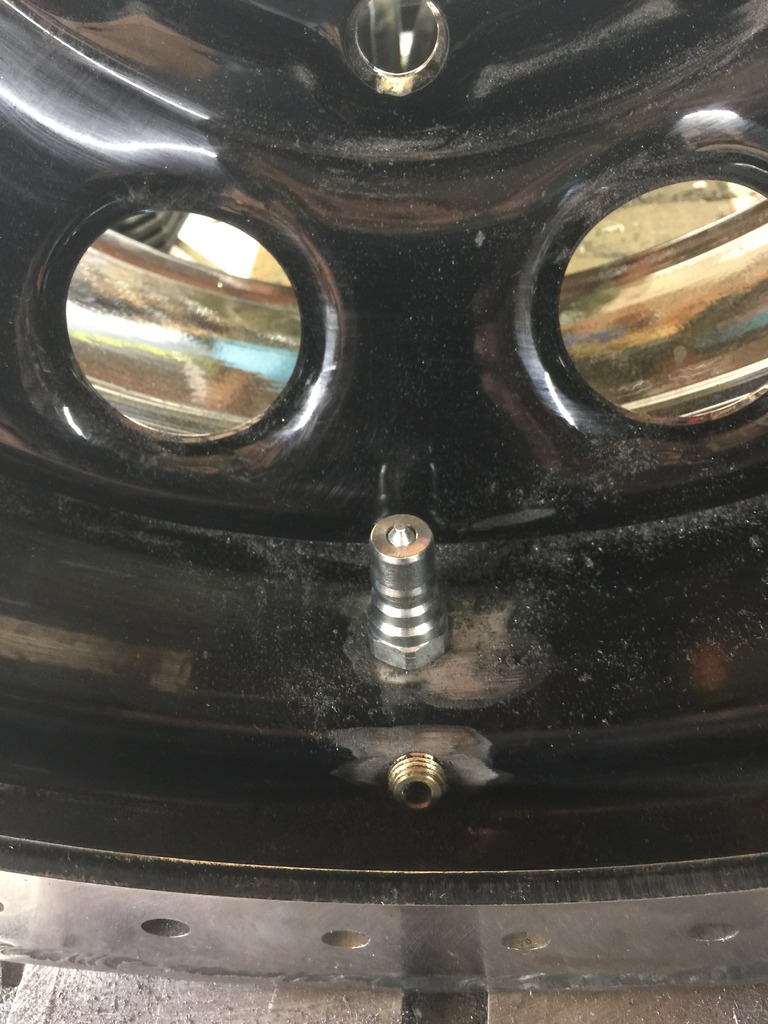
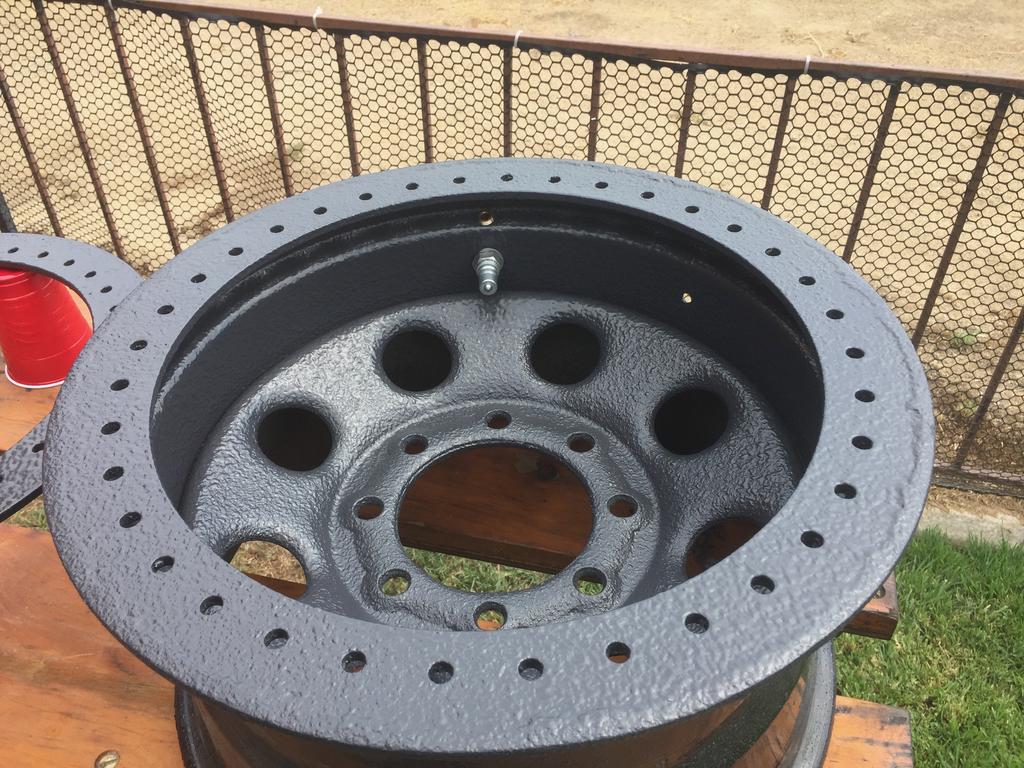
40x13.50-17 TSL/SXII Tires on ProComp wheels with Staun internal beadlocks
3-4" or more front stretch
5-7" or more rear stretch
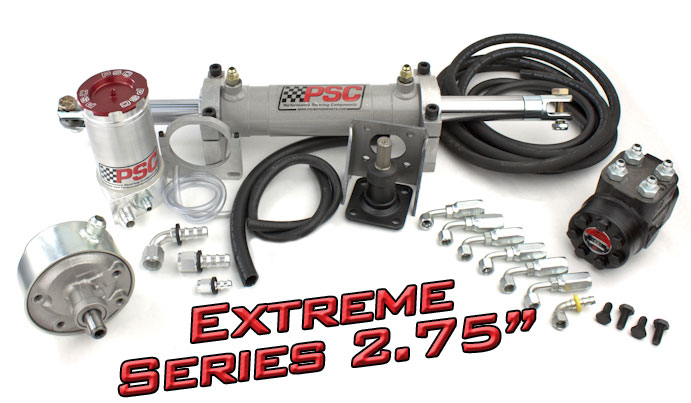
Full Hydraulic steering

What she looks like now. 35" Mickey Thompson Baja Claw tires, Dana 30 front axle with 4.56:1 gears and an ARB Locker, Dana 44 rear axle with 4.56:1 gears with a Detroit Locker, 4.5" lift provided by ProCom springs and rough country long arm upgrade kit, 4:1 low range with slip yoke eliminator kit, York on-board air system.
GIJEEPN_zpserc9ef2v.jpg


Axles
2016-11-26%20131852%20Axles_zpsf41raq2b.jpg


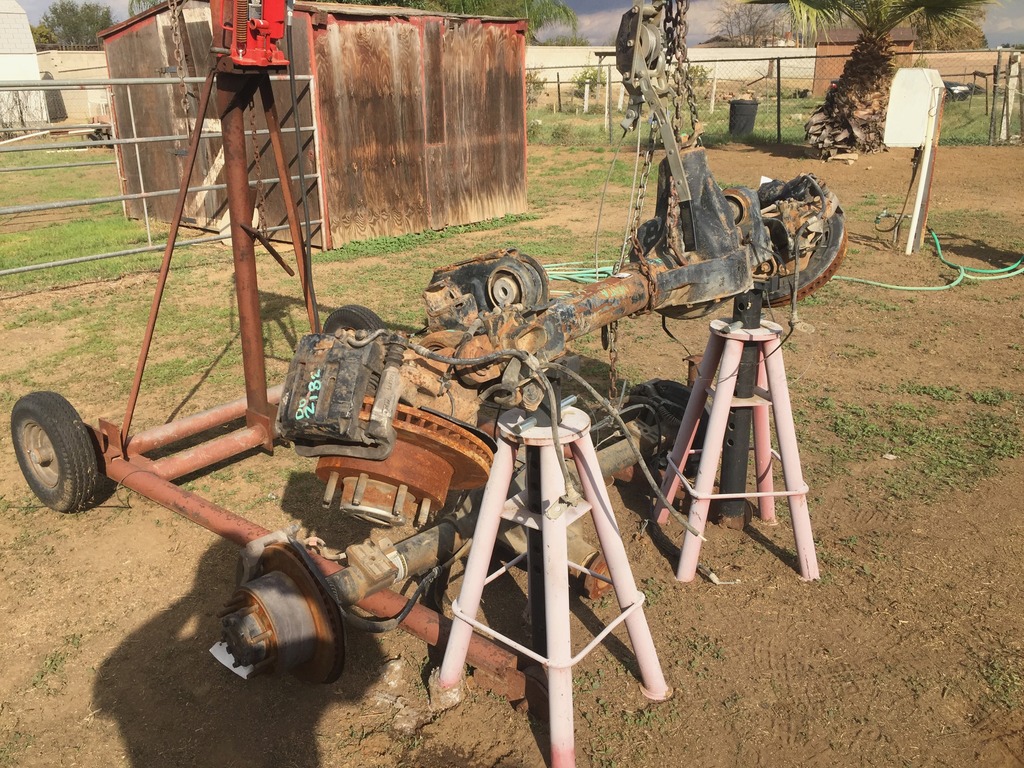
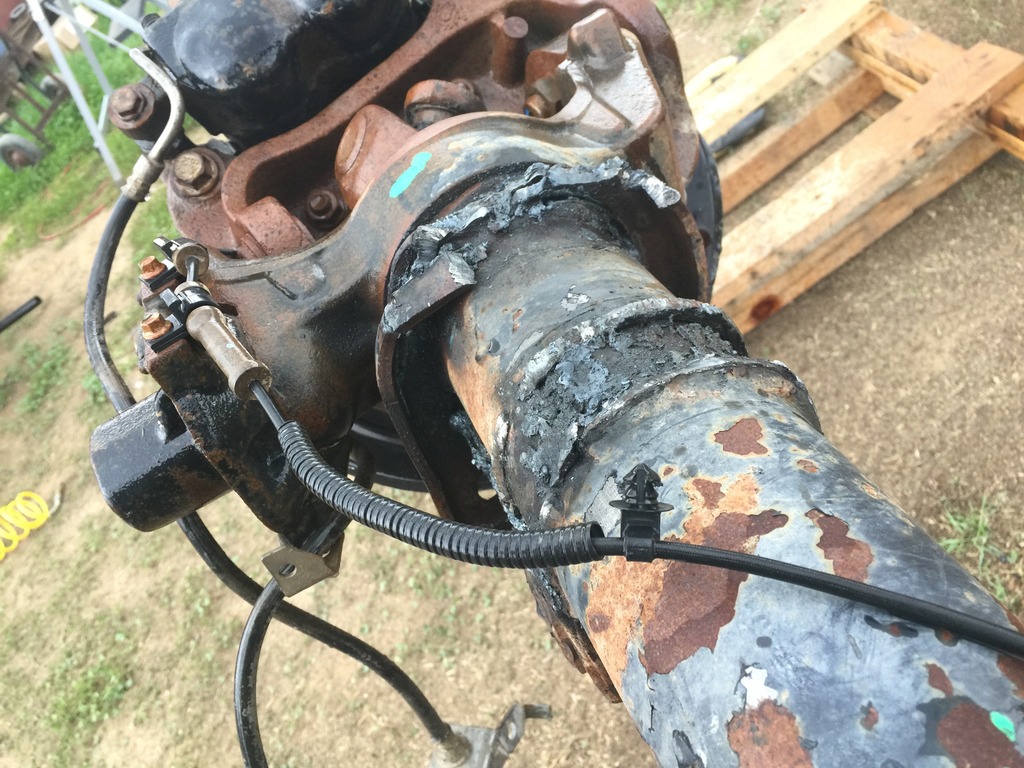
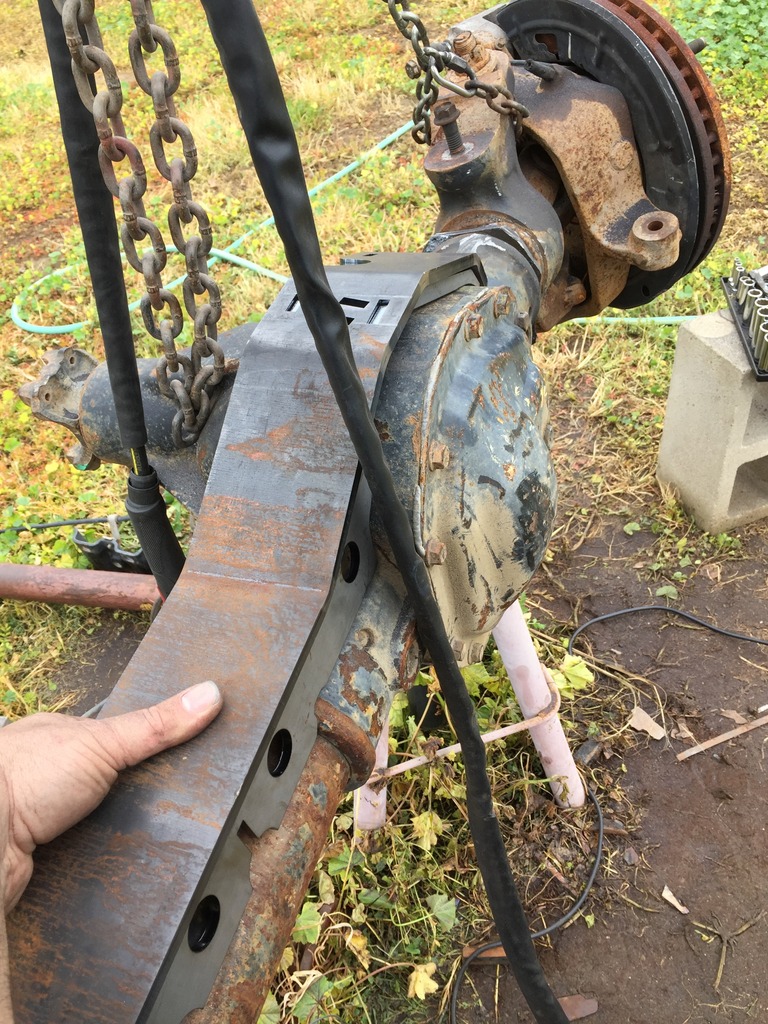
Removing all the brackets from the front axle
2016-11-26%20141810%20Front%20Axle%201_zpsu1kaokoz.jpg

2016-11-26%20141818%20Front%20Axle%202_zpsqewfwxj1.jpg


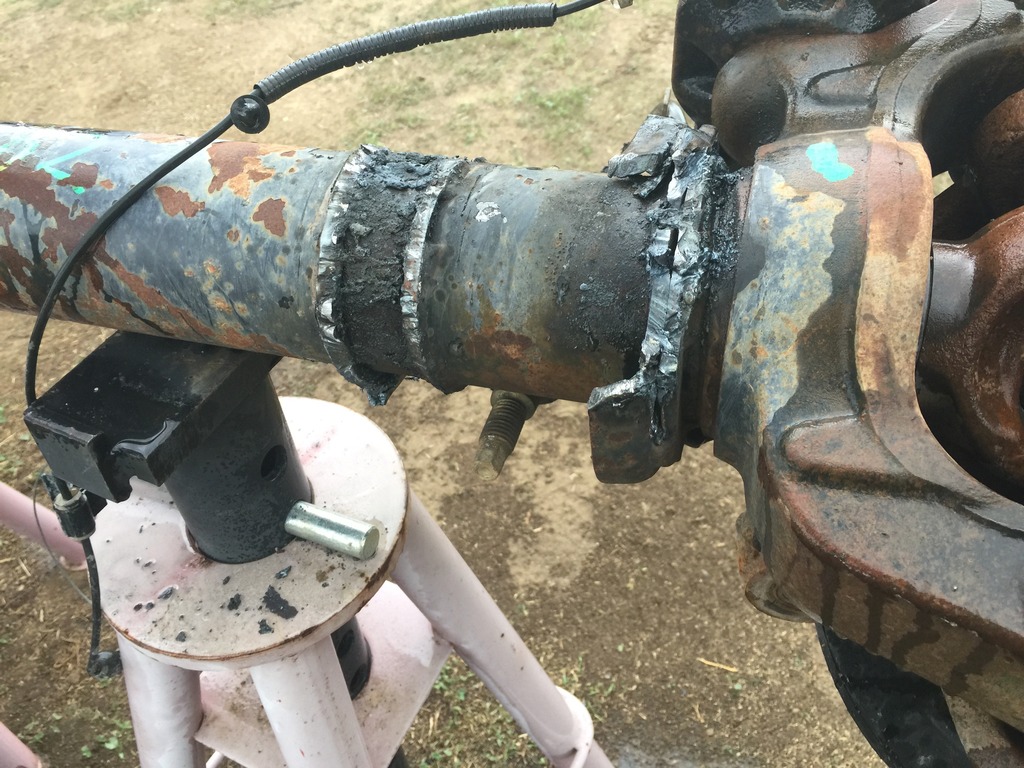
Test fitting the truss (Artec TJ 1Ton truss kit)
2017-02-10%20135853%20Front%20Axle%206_zpst4lyyteu.jpg

2017-02-10%20135840%20Front%20Axle%204_zpsb9an2jas.jpg


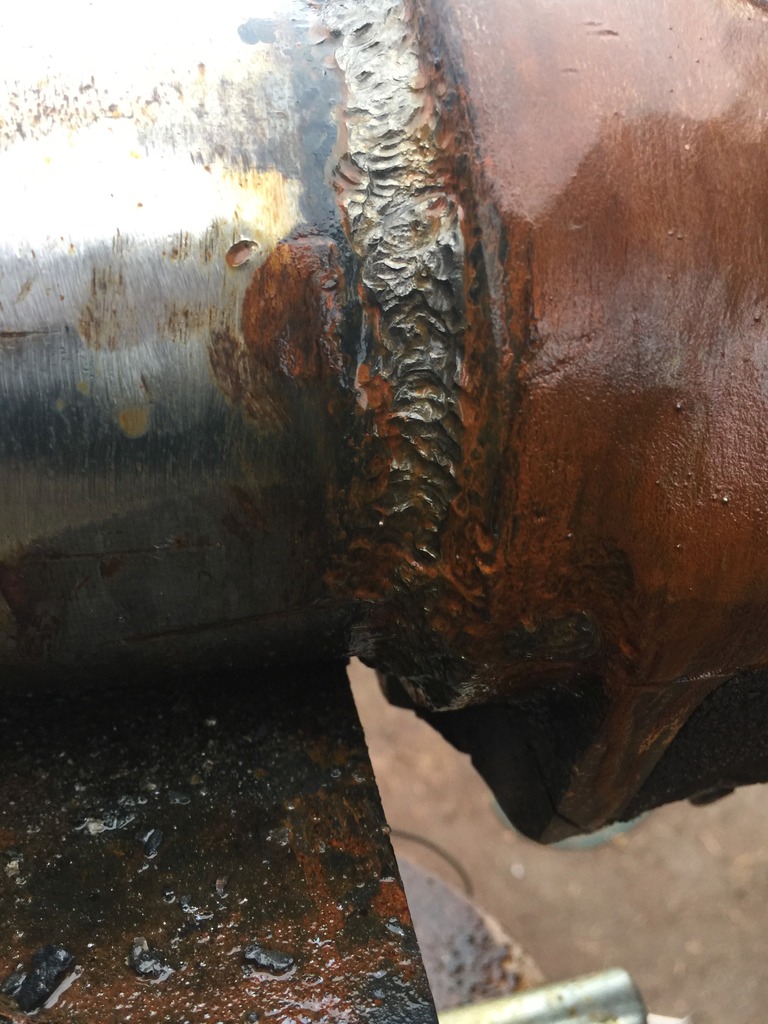
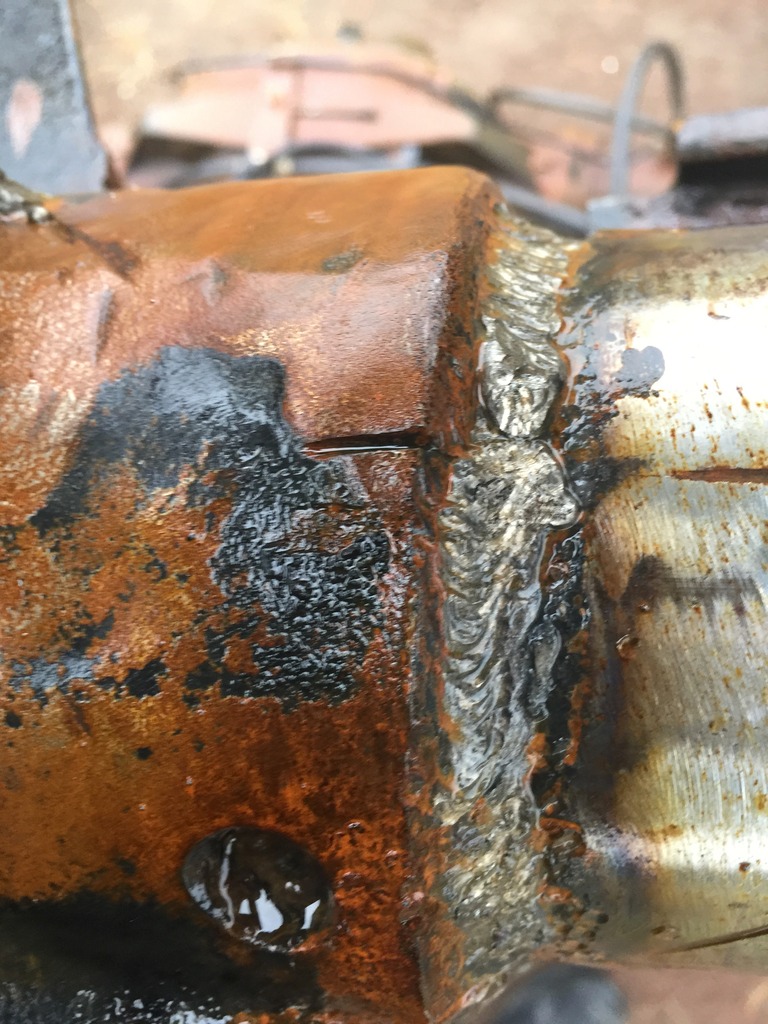
Welding the truss. I used an Eastwood MIG250 with .035" solid wire and C25 mix gas for the welding of the truss to the tubes and a Lotus 200amp TIG/Stick/Plasma with the Ni99 rods and an Air Hammer for the welding to the cast.
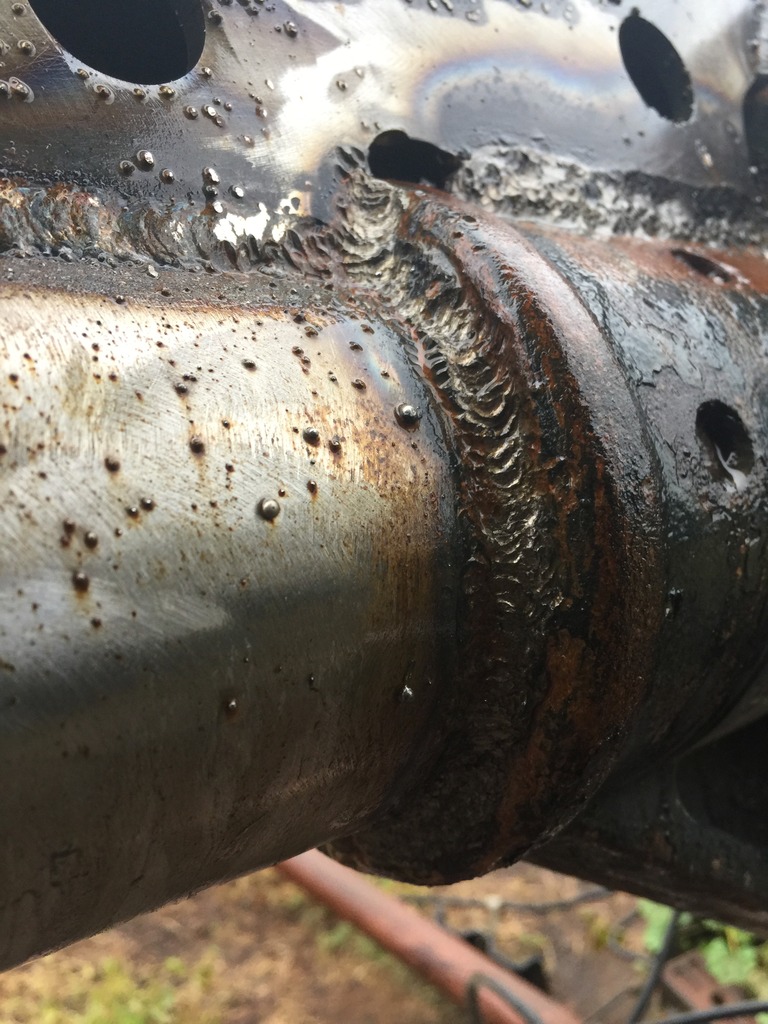
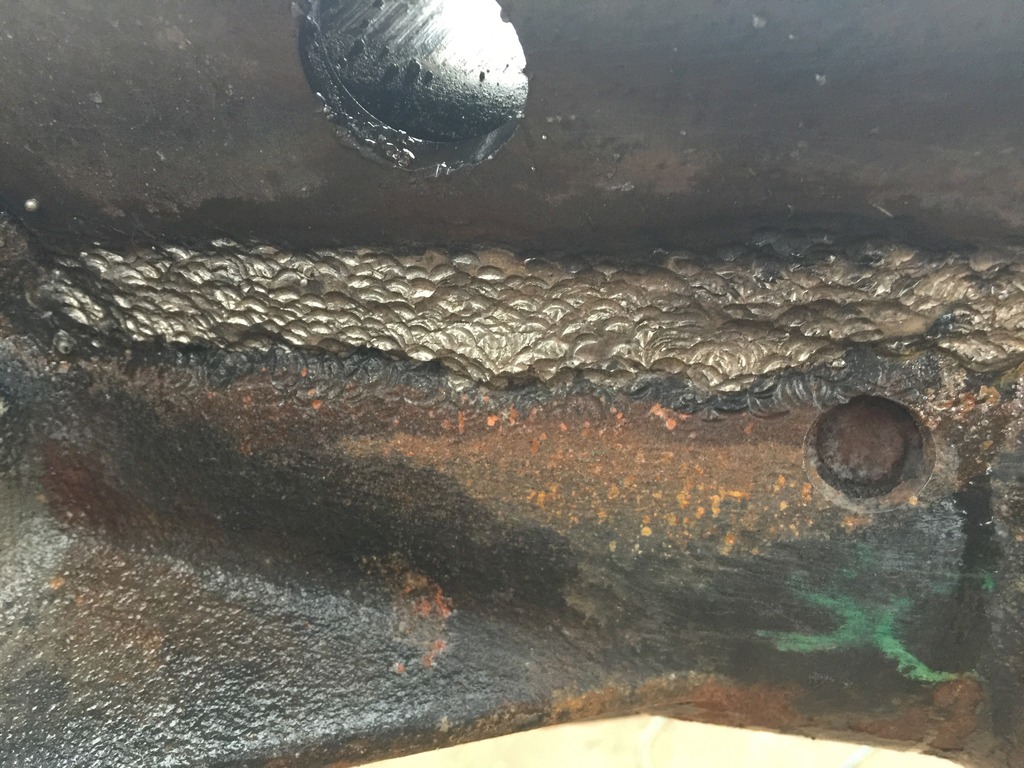
2017-02-27%20162924%20Front%20Axle%2019_zpsl4z6tacn.jpg

2017-02-27%20162936%20Front%20Axle%2020_zps7d0ur7p7.jpg


Welding axle tubes.
2017-02-27%20163003%20Front%20Axle%2024_zpsmdmzwlra.jpg

2017-02-27%20162912%20Front%20Axle%2015_zpswhjsu0xm.jpg


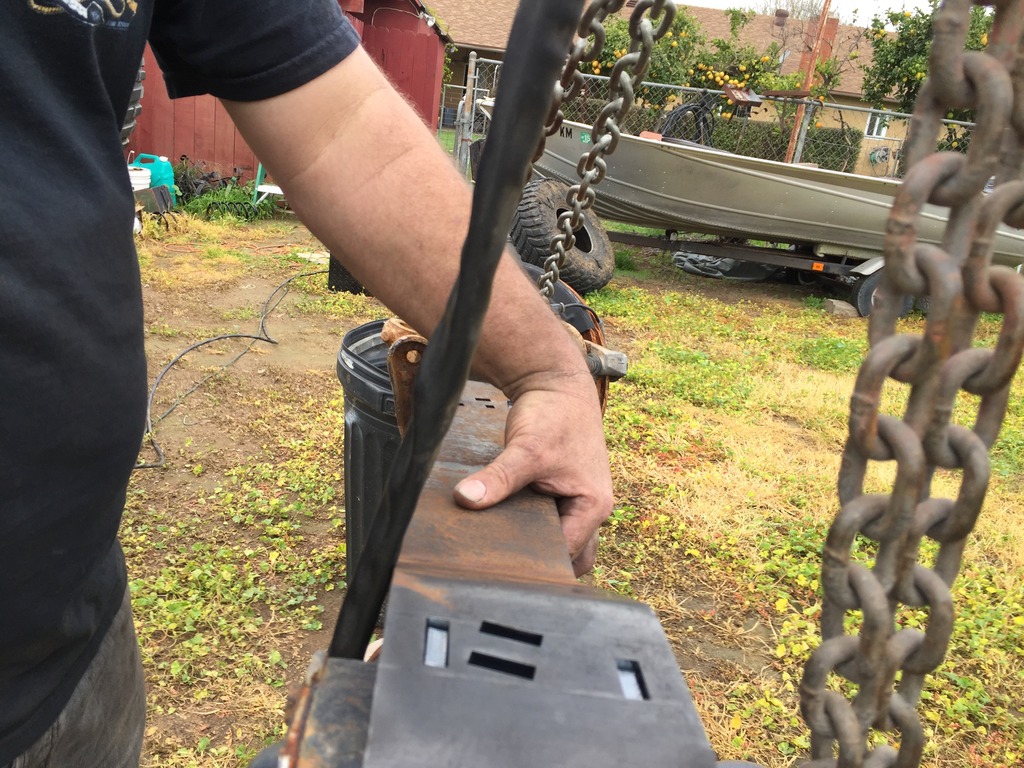
I should be starting to disassemble the front end of GIJeepN and finishing up welding the brackets on the truss this weekend.
 
Got a shipment of new stuff on Friday.

4ea 40x13.50-17 TSL/SXII
Super%20Swamper%20TSL-SXII%2040x13.5-17_zps2d4bqlo5.jpg


I was originally going to go with the 47" LTB's but decided to save the 800 dollars (difference in tires) and put that toward the steering system.

TSL-SXII%2040x13.50-17%20Height%20Unmounted_zpscoi0euvc.jpg


They measure out at just under 38" unmounted and just under 40" tall (like 39 7/8") mounted with 65psig in them.

Joel
 
Got some time to work on GIJeepN today.

I was getting the AtoZ Fabrication weld-in beadlocks in this afternoon so I set about setting up the wheels so I could weld them in.

This meant that I had to drill the hole for the Staun internal beadlock then drill and tap the location for the new Quick Disconnect air valve and tap the original valve stem hole so I could install a plug.

New Valve and location.
IMG_1213_zpstiefrfqh.jpg


AtoZ Fabrication Weld-in Beadlock clamped in place
IMG_1214_zpsb9tl7gmk.jpg


Tacked in
IMG_1215_zps5v6wuxjq.jpg


First wheel 1/2 welded. Had to stop welding to take the wife to dinner.
IMG_1216_zpsu5pcyq11.jpg


First wheel fully welded and ground down
IMG_1218_zpscipgpeg1.jpg


Second wheel fully welded. This one was a little worse for me. The fist one had a pennies worth of gap between the lip of the wheel and the wheel lock. This one had a 3/32" gap all the way around.
IMG_1219_zps4aplw8of.jpg


Be kind when you critique the welds, I have a grand total of 1.5 hours working a TIG welder. lol. I will, however, take any advise on making the welds better.

Joel.
 
Well I got a lot of time to work on GIJeepN. I got the wheels set up and ready to be painted.

Wheel #3
IMG_1222_zpsceuhqhfo.jpg


Wheel #4
IMG_1223_zpsa5tjjx2p.jpg


Had to pull out the big guns to grind these. Old school 9" Grinder
IMG_1220_zpsdjcybdjy.jpg


All wheels welded up
IMG_1224_zpsasa4pemi.jpg


Quick Disconnects and Valve plugs installed
IMG_1225_zpsuk212gqr.jpg


Wheels with out the outer rings weighing in at 41lbs
IMG_1226_zpsw47tocnq.jpg


The only problem I have with the beadlock kit is that this version does not come with any anti-coning rings. So I'll have to fab something up.

That's about it for this weekend. Next weekend I won't be able to make any headway as we are going to WonderCon in Anaheim.

Joel.
 
Got the rims and lock rings primed and painted today. Just need to drill out the mount holes to fit the bolts and build up the tires.

Priming the Lock Rings with Self Etching Primer:

MJgsAQv.jpg


Painted the Rims with Monstaliner tinted to "Pyroclastic", thinned with 6oz of MEK, and sprayed at 50psi at the gun:

sR21b2P.jpg


Fully painted with plugs and valves.

lWkoytV.jpg


yCqqwUx.jpg


Unfortunately, I won't be able to work on them for the next few weeks due to other commitments. lol

Joel
 
Last week I received the steering parts I needed to finish up the front axle.

One pair of High Steer Arms from Artec Industries:
hs6151a.jpg


One Superduty 60 Full Hydro Ram Mount from Artec Industries:
rm6009c.jpg


One PSC Motorsports Extreme Series 2.75" Double End Steering Cylinder Kit with P-Pump
fhk400custom.jpg


One Superduty Full Hydro Tie Rod Kit from Artec Industries
sk1001.jpg


On Friday I started disassembling the front end, I need to remove the Unit Bearing and dust shield so I can mock up the High Steer arms. Unfortunately, I had to stop the disassembly due to not having a set of snap ring pliers. :confused:.

Saturday was dedicated to the Metallica Concert so nothing got done. :p

Sunday was a day spent mounting the tires to the rim and installing the Staun Inner Beadlocks as I was still waiting for the snap ring pliers to arrive. I got three of them onto the rims by using a Goplus 17.5" to 24" Tire Changer Mount Demount Tool Tools Tubeless Truck Bead.
ODj4fdLb.jpg

It was rather difficult and required me standing on the rim but I got 3 of them mounted before I ran out of steam and had to clean up. lol. Installing the Stauns was rather straight forward, just requiring some manpower to get the items inside the tires.

Unfortunately my air compressor wasn't quite up to the task of seating the inner bead with all the leakage I was getting from the outer bead. lol. So that would have to wait until Monday and the use of some Bead Sealer.

After work on Monday, I got one of the tires sealed up, It will hold air with no leaks up to 40psi. That is a good thing, however, I had to go up to 60psi to seat the inner bead and that took a lot of time with my little home use compressor and I had to use a bead sealer to seal the mounting surface to stop the leakage. Unfortunately, I do not have pictures of the installation, however, I will post a picture of the final product when I have it.

I was able to get an overall height measurement of the tire on the rim with the Staun and tire each inflated to 40psi. It came out to 39.25" tall and I should have a weight for you guys later today.


So far that is it. I'm hoping to have at least one more tire sealed up this afternoon.

Joel
 
For anti-coning, I got strips of UHMW from mcmaster and cut to length. They worked out great.
 
Just a few questions.

Why run outer beadlocks and stauns? Why grind down the weld from the beadlocks?

I would guess to have the double beadlock so he doesn't loose the inner bead like I have read so many people have done on racelines and all other single beadlock wheel out there. As for the welds I would think they would nto hold air for shit if they were not ground smooth.
 
I would guess to have the double beadlock so he doesn't loose the inner bead like I have read so many people have done on racelines and all other single beadlock wheel out there. As for the welds I would think they would nto hold air for shit if they were not ground smooth.

I guess my thinking would be, if running stauns, why run a clamp style outer beadlock. Id just put rock rings on the wheel.

Grinding doesnt fill any of the weld. So if the weld has a hole, its got one either way. I know either way works fine, but I feel that the weld bead actually helps to hold/center the tire on the flange. Either way, I always put a sealer under the tire bead and along the inside of the weld flange to help with leaks.
 
Grinding doesnt fill any of the weld. So if the weld has a hole, its got one either way. I know either way works fine, but I feel that the weld bead actually helps to hold/center the tire on the flange. Either way, I always put a sealer under the tire bead and along the inside of the weld flange to help with leaks.

Between me and a few friends we have made several sets of the diy beadlocks. At first we ground weld down and had leaks. (May be due to bad weld not sure didn't break it back down) but The last 2 sets we decided not to grind weld and neither set has leaked in several months.
 
For a proper introduction,

Welcome to NC4x4! I'm digging the hell out of the build already and it makes an excellent addition to the current build list. Seeing you're in Cali really makes me miss it out there.

I'll be following this one closely. I'm doing Project Steampunk on here if you want to check out really weird shit. I'm a total bastard that stick welds EVERYTHING and it is nice to see more of that.
Cheers to ya mate! :beer:
 
I ground the welds down because I didn't know you could do it with grinding down the weld. That was my first attempt at welding a Beadlock, and my first attempt at TIG welding. After grinding the welds down I checked the welds for leaks with Acetone and came up with a few that I fixed, ground down and tested again. All was good when setting up the wheels. I kind of feel impressed that I have only found one weld leak in the two wheels I built up.

As for the use of a mechanical lock and the air lock. I wanted to lock both beads to the wheel, so I had 4 choices. 1. Use a mechanical lock (eg. Weld in DIY beadlocks on both beads), 2. Use inner air lock type locks. 3. use a two piece rim and a PVC insert to lock both beads. and 4 use a combination of 1 and two.

Option 1 was 800 (DIY Beadlocks)+ the cost of the rims total of 1040, but I had heard that it was a royal pain to get the tire bead over the inner bead of the rim to use the mechanical lock on the inner side of the rim. There was also the issue of rim size with a 2005+ D60. 17" rims fit great, but I will have to trim the high steer brackets to fit the rims with out using spacers. If I added the DIY beadlocks to the inside of the rim I would have had to run wheel spacers to clear the extra wheel width.

Option 2 was the cheapest option because I got the air locks used but I heard about issues with the tire spinning on the rim even when the tube is inflated to 50psi.

Option 3 was the most expensive. 2000 for TWF 17" rims.

So that left me with option 4. Total cost of this option was 400 for the DIY Beadlocks+ wheel cost + air locks. Total was less than 1000 for the entire package including the valves and bead sealer. I also get the added back up of still having a locked tire if the tube should fail, and the added bonus of the tube and carcass acting as a bump stop for the rim.

Joel.
 
Last edited:
I ground the welds down because I didn't know you could do it with grinding down the weld. That was my first attempt at welding a Beadlock, and my first attempt at TIG welding. After grinding the welds down I checked the welds for leaks with Acetone and came up with a few that I fixed, ground down and tested again. All was good when setting up the wheels. I kind of feel impressed that I have only found one weld leak in the two wheels I built up.

As for the use of a mechanical lock and the air lock. I wanted to lock both beads to the wheel, so I had 4 choices. 1. Use a mechanical lock (eg. Weld in DIY beadlocks on both beads), 2. Use inner air lock type locks. 3. use a two piece rim and a PVC insert to lock both beads. and 4 use a combination of 1 and two.

Option 1 was 500 (DIY Beadlocks)+ the cost of the rims was a total of $750, but I had heard that it was a royal pain to get the tire bead over the inner bead of the rim to use the mechanical lock on the inner side of the rim. There was also the issue of rim size with a 2005+ D60. 17" rims area tight fit and I will have to trim the high steer brackets to fit inside the rims with out using spacers. If I added the DIY beadlocks to the inside of the rim I would have had to run wheel spacers to clear the extra wheel width.

Option 2 was the cheapest option because I got the air locks used but I heard about issues with the tire spinning on the rim even when the tube is inflated to 50psi.

Option 3 was the most expensive. 2000 for TWF 17" rims.

So that left me with option 4. Total cost of this option was 250 for the Beadlocks+ wheel cost $250 + air locks $150. Total was less than $700 for the entire package including the valves and bead sealer. I also get the added back up of still having a locked tire if the tube should fail, and the added bonus of the tube and carcass acting as a bump stop for the rim.

Joel.

I know you guys in Cali probly dont do some redneck crap like here :flipoff2:
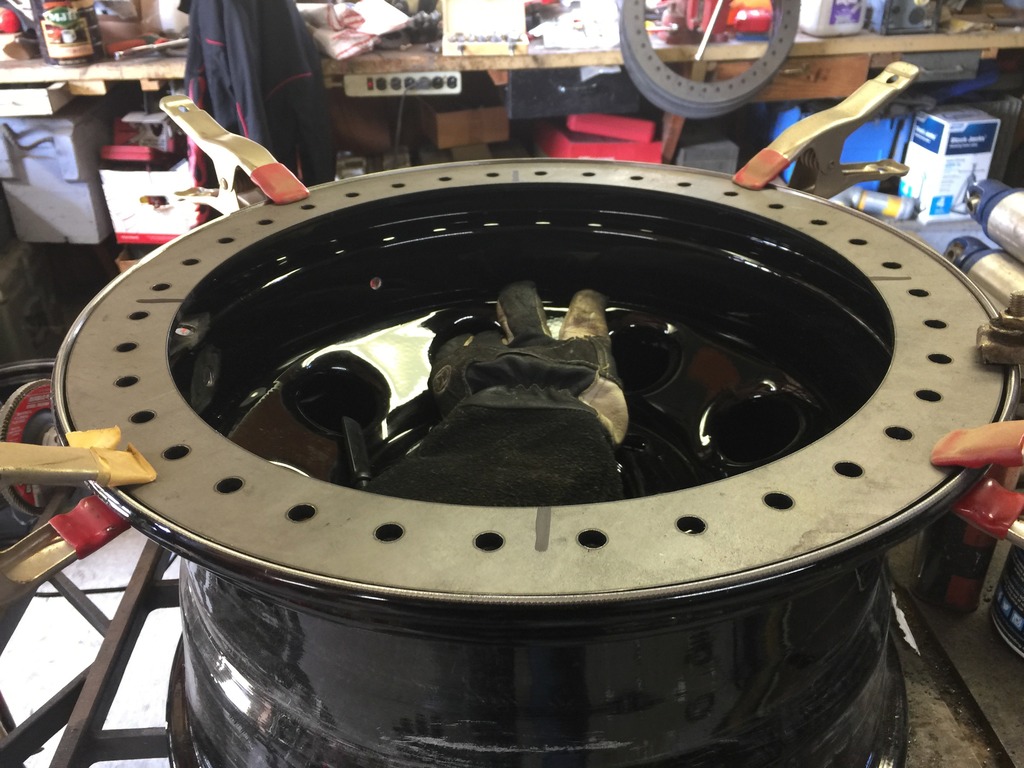
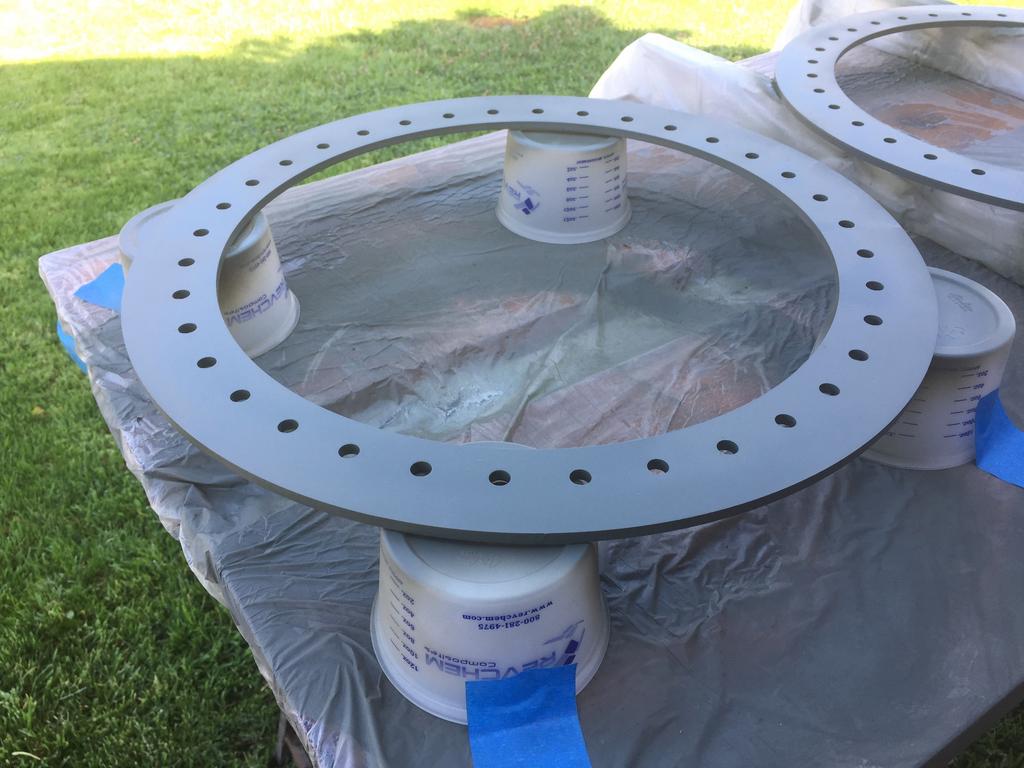
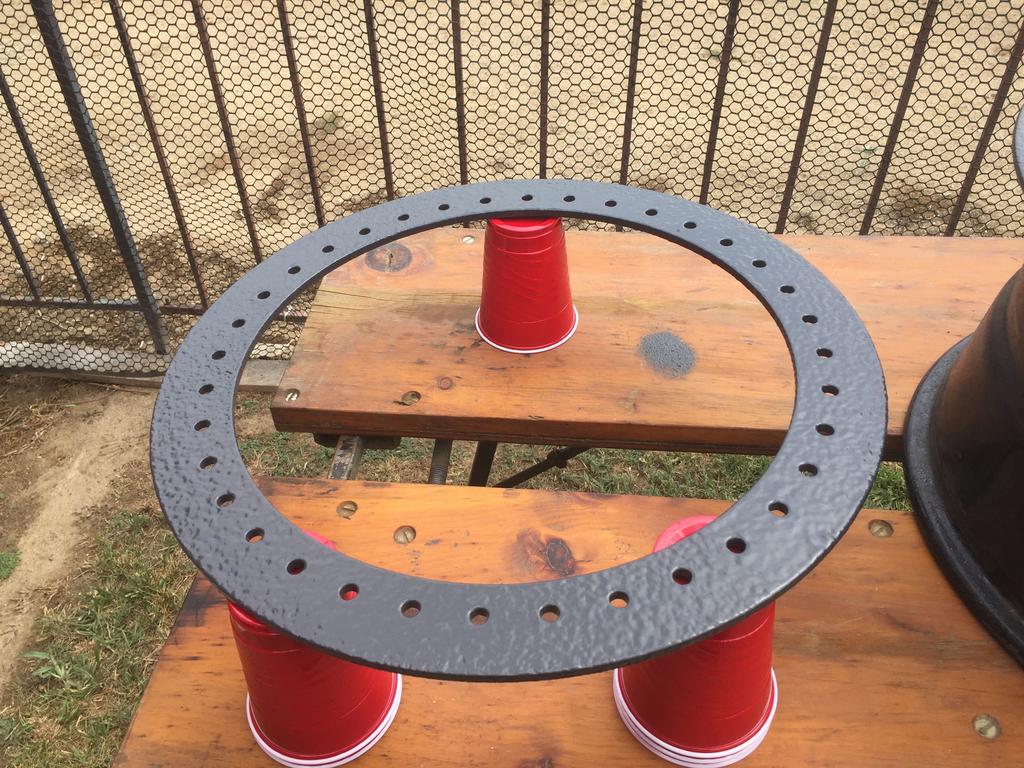
, but you could just tape the inner bead and eliminate burping issues.
 
Rim screws I've heard of but tape?
Put 2-3 wraps of duct tape around the wheel, over the inner bead. Sounds like bs, but give it a shot and then try to break the bead back down.

Sent from my SM-G955U using Tapatalk
 
I used a shutz gun at 50psi. worked awesome.

Do you feel the MEk was absolute necessary? About to spray interior and exterior on mine with monstaliner. i have a eastwood shutz gun. how many turns on the nozzle did you do?
 
I do think you will get better adhesion if you clean the surface with MEK or Acetone and lint free rags prior to spraying, then let it dry for 20-30 minutes. The solvent will clean any grease or grime off the surface. However, unless you are in a sealed room you will still get some contamination on the surface of the part (dust and such).

For mine, I cleaned all of the rims with MEK (or at least the California equivalent of it) and it stuck real well. However I do have some spots that peeled when I put the tires on.

As for the shutz gun. Mine doesn't have an adjustable nozzle. I set the compressor to put out 50psi while the trigger of the gun was held down. Then filled the cup and started spraying. Here is a link to the gun I used Amazon.com: Astro 4538 Economy Air Undercoat Gun: Home Improvement

I only mixed what I needed to spray though. So I mixed 10oz, sprayed that, then mixed another 10oz, sprayed that, etc...

1 thing I can tell you is to go slow. Spray a medium coat, then wait 1 hour, spray another medium coat, wait an hour, and repeat as needed until surface is covered. If you spray too fast the epoxy will not set up correctly and won't adhere as well.

Hope this helps.
joel
 
Back
Top